Sweet | Love Always collection | Tarrah McLean
Hi creative friends!
It’s Tarrah back with you and today I am sharing a sweet layout featuring the gorgeous Love Always collection!
My assignment for today was to create a project for the Throwback Thursday feature that we sometimes run, I just had to use the Love Always collection for love month!
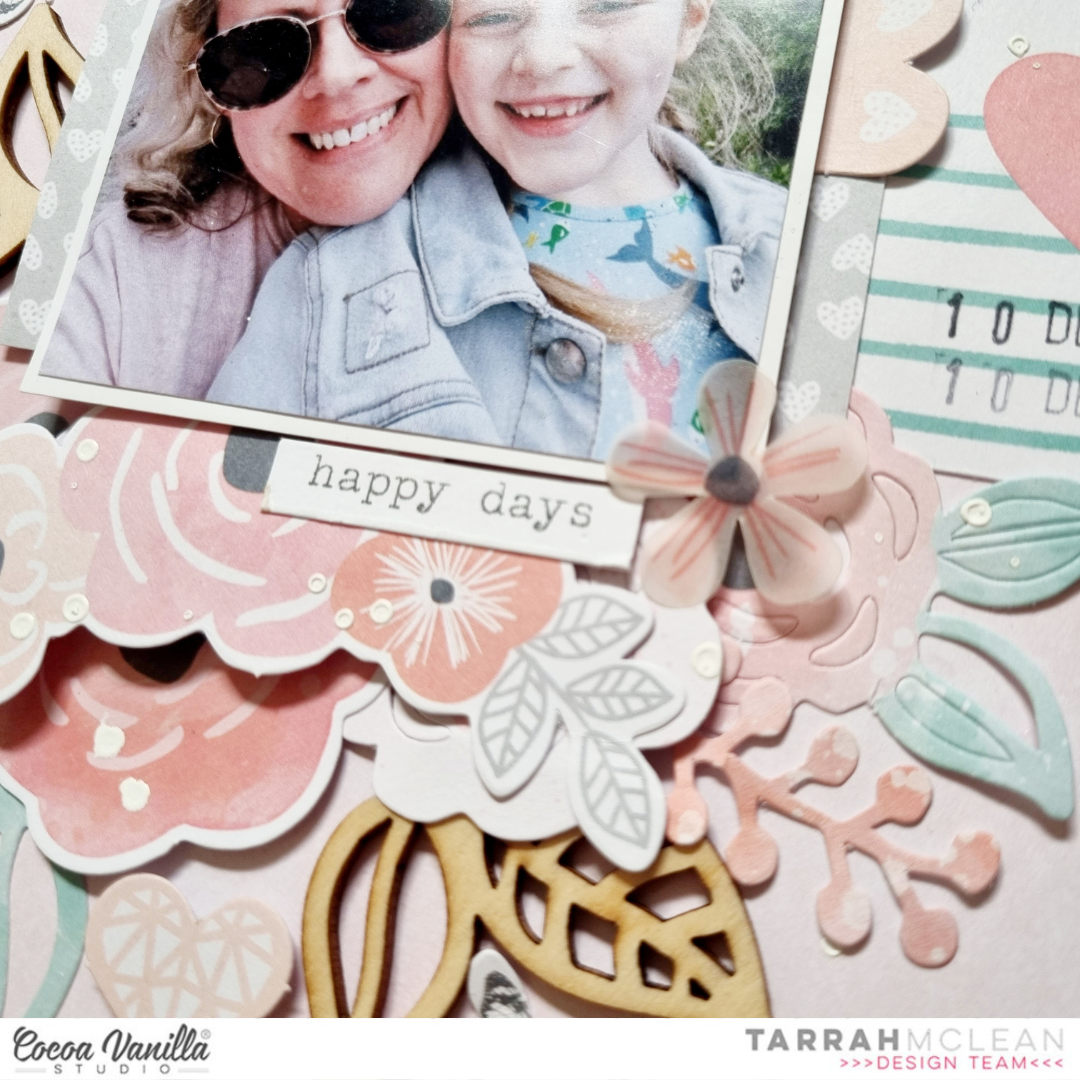
Documenting a sweet photo of myself and my eldest niece together when she was last visiting. She is always up for a selfie with her Aunty! Love her gorgeous face!
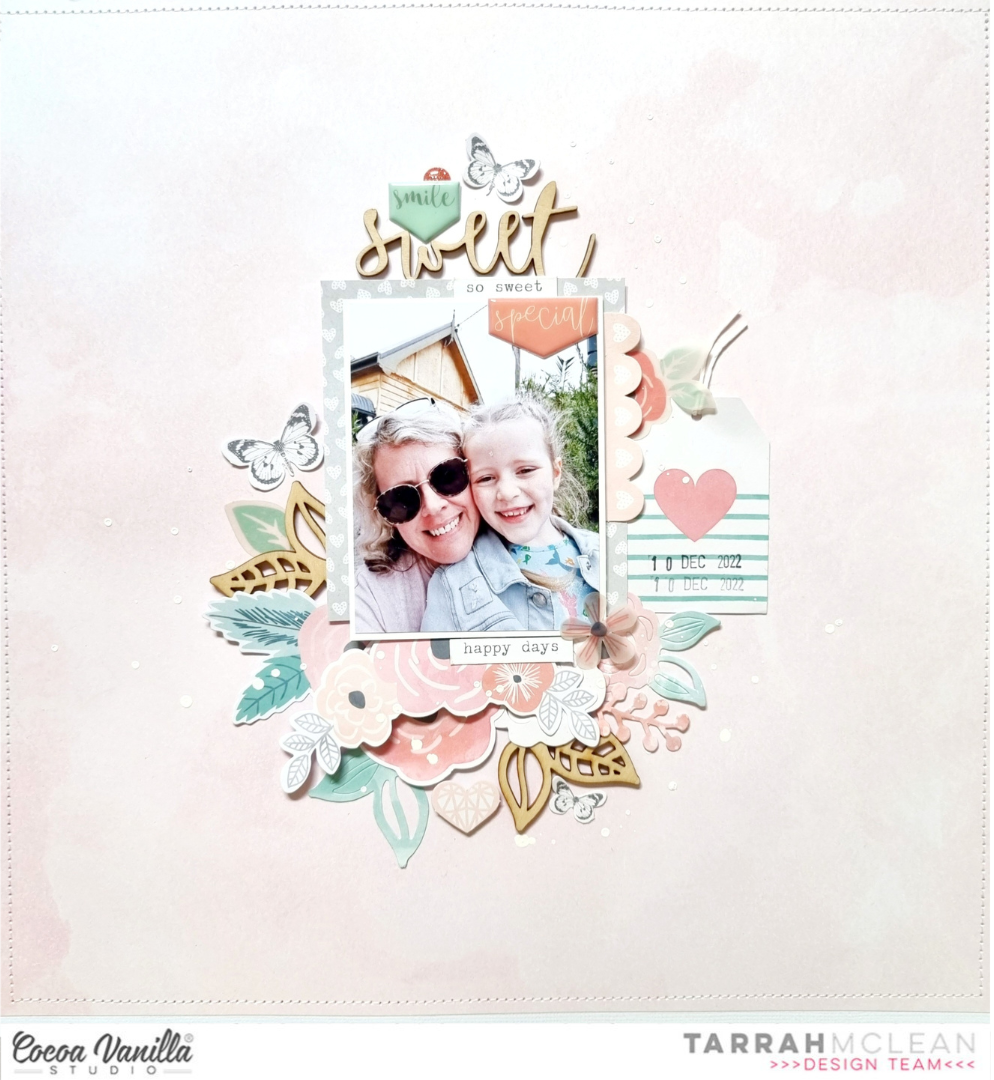
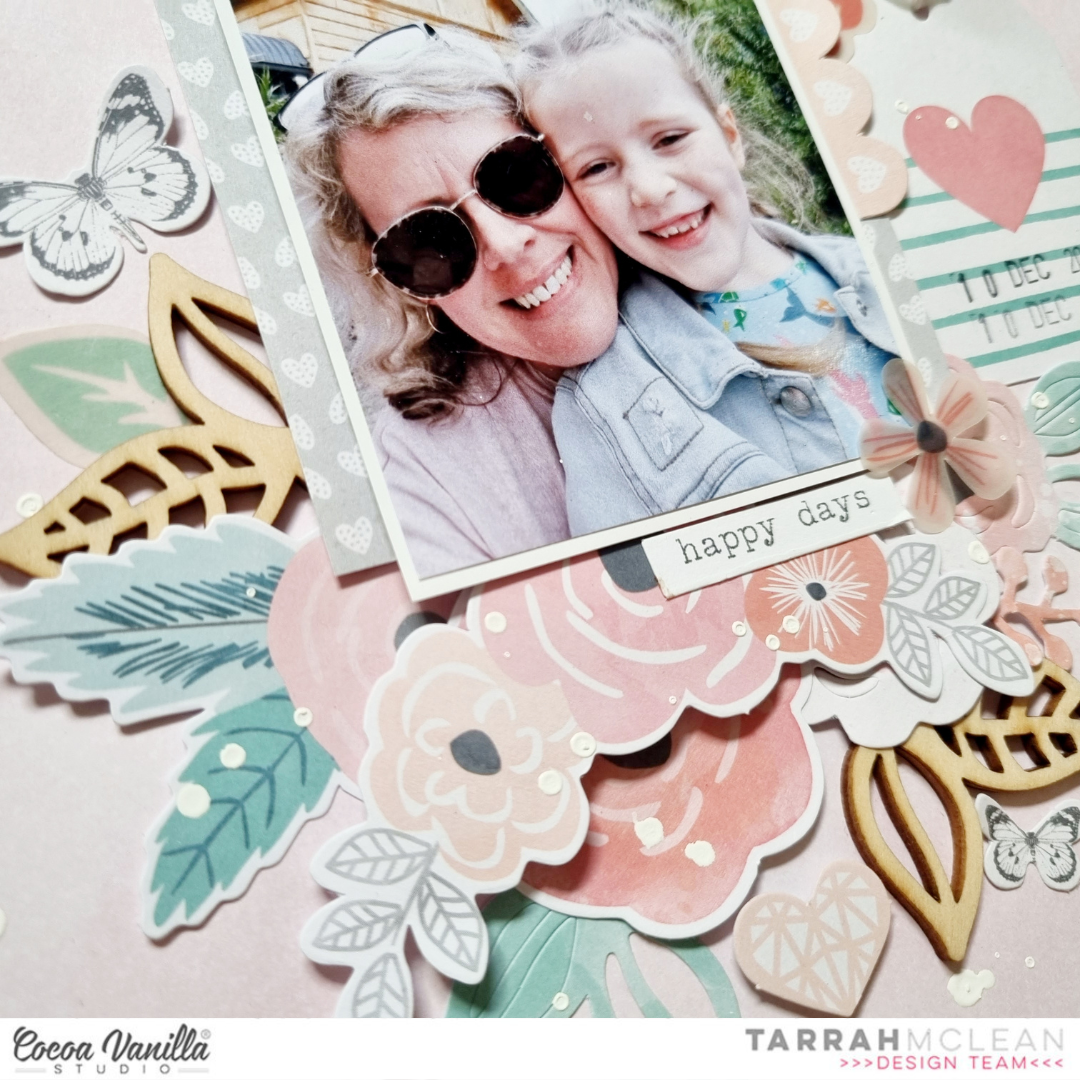
The Love Always collection has such pretty floral ephemera and I knew that I wanted to include a lot of them on this layout. I decided to build some layers of florals below the photo which I made the focus of the page by placing it in the centre of the page. I included both vellum florals and ephemera florals for some different textures on my layout.
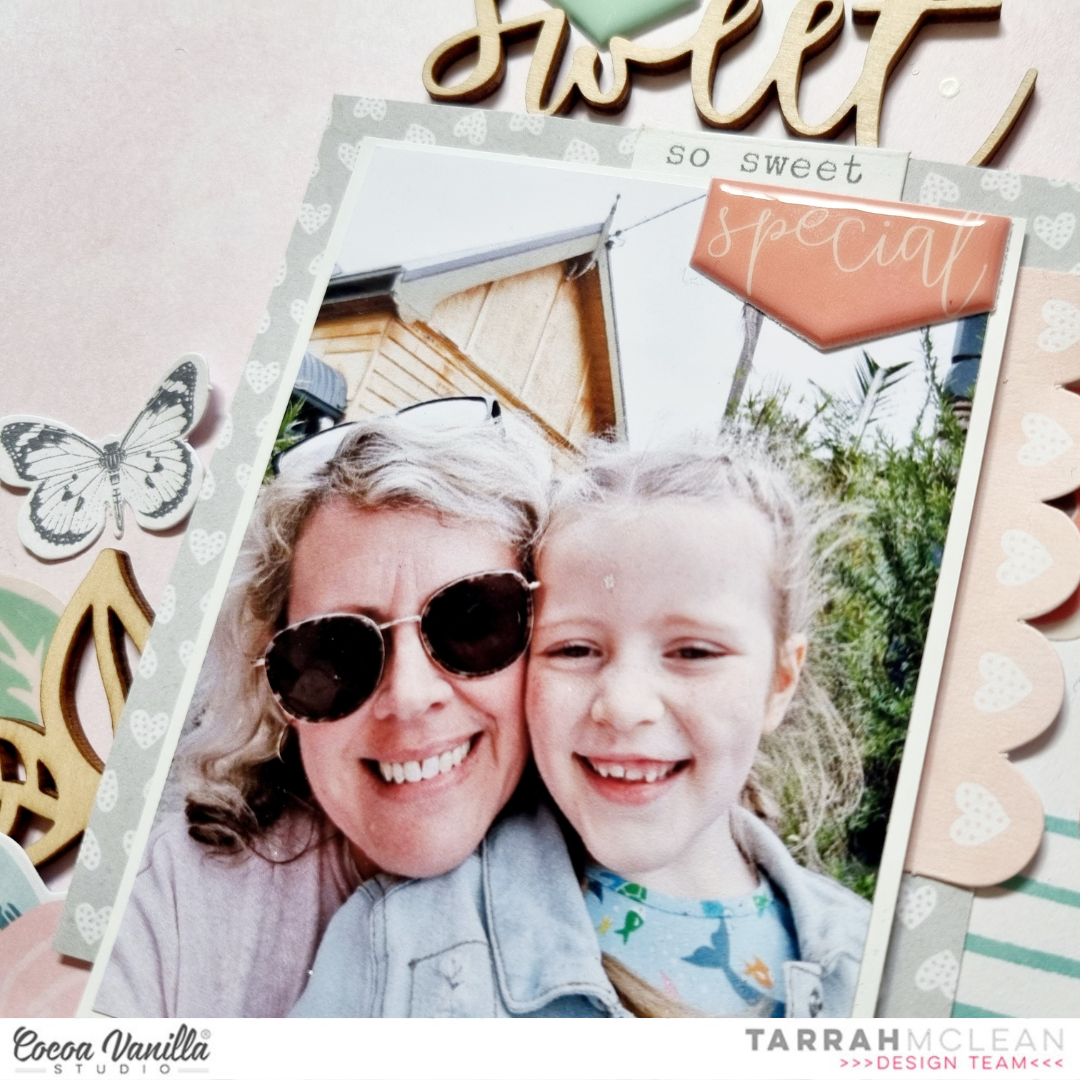
Under the photo, I layered a piece of the grey paper with the small white hearts and I tucked in the scalloped border die-cut on the right hand side as well. On top of the photo, I placed one of the cute puffy stickers and a sticker from the accessory sticker sheet.
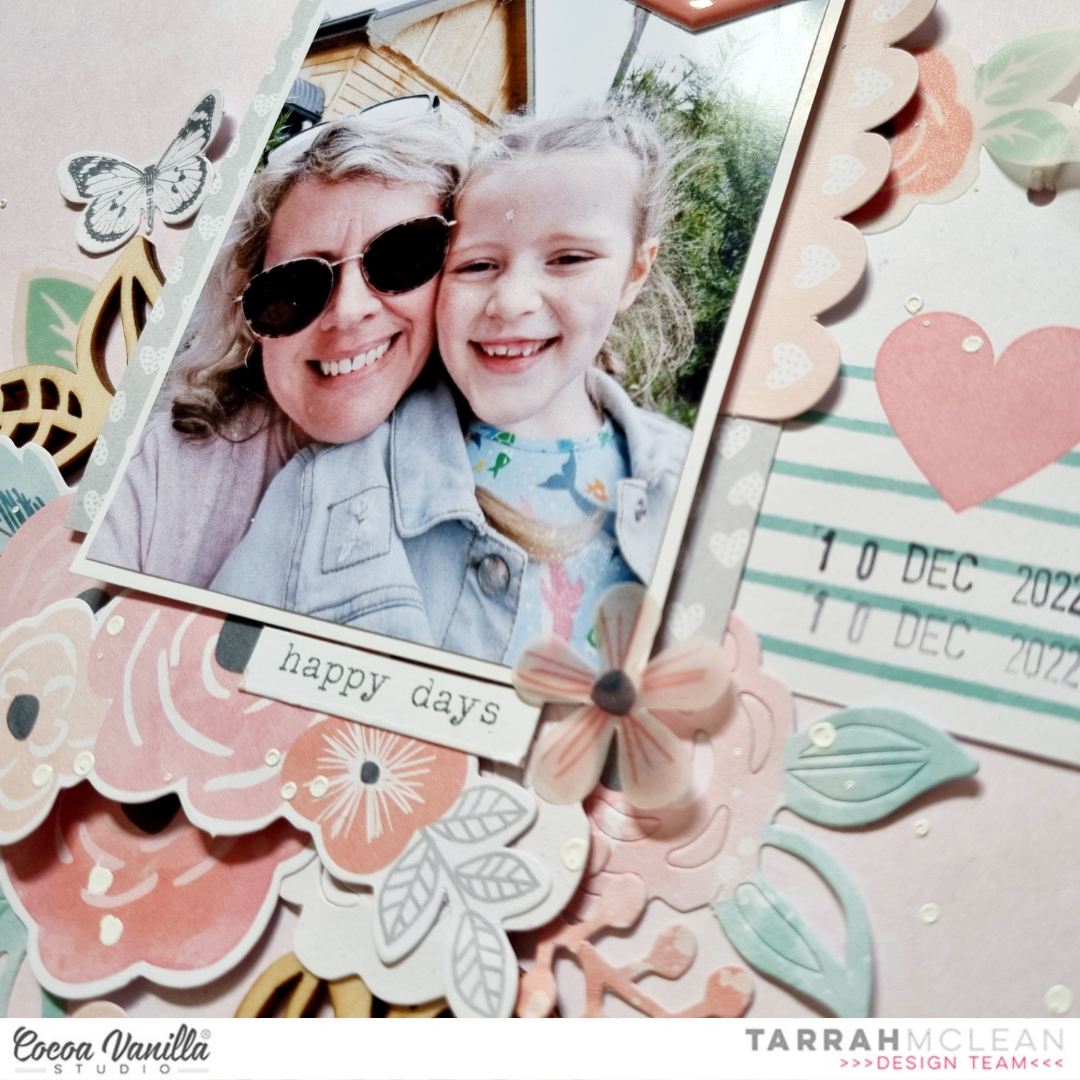
Also on the right of the photo, I tucked in the die-cut tag and added some twine through the hole in the top of the tag. I stamped the date stamp using black ink on the tag also. On the left I continued the floral layers including some wood veneers this time. Here I also added one of the gorgeous butterfly die-cuts.
For my title, I could not go past the gorgeous wood veneer word, deciding on the word ‘Sweet’ from the wood veneer pack. I did however add the cute puffy banner sticker that says ‘Smile’ too. I added another of the butterfly die-cuts here at the top and also a cute small one down the bottom below the wood veneer leaves.
I trimmed down the patterned paper background that I chose for my layout and matted it to a sheet of plain white cardstock. I then machine stitched around the edge of the entire page to create a border. Some of the last things to finish off my page were to add some more of the phrase and word stickers from the accessory sticker sheet, a few more die-cuts and I also sprinkled some white mist on my page.
Thank you so much for stopping by the Cocoa Vanilla blog today! I hope you enjoyed reading about how I created my layout as much as I enjoyed creating it!
See you next time!
Tarrah x


 I started my page by taking a sheet of white cardstock and adding a piece of vellum over the top to mute the white a little bit, as I had lots of the sequins left from the
  I took two of the 12 x 12 papers and cut some vertical strips from them and placed them down each side of the layout. then chose a gorgeous cut file title design by Cut To You and added some of the patterned papers behind each of the words. I added craft foam to the underneath and placed it in the centre of my page. I also popped up the photo of my sons on Christmas Day with craft foam so that it was at the same level as the title on my page. I love the shadows and dimension this creates on my page.
 I then began to embellish my page using some of the accessory stickers (that are still available in the store) some of the die-cuts, wood veneers and of course a bitty bow and the tiny metal key! I only had 1 of the poinsettia flowers in the die-cut pack left so I added just the one to the very bottom of the title and layered the bow over the top. Lastly I added some of the enamel dots from the Tis The Season collection.
  Have you got any of the


