THIS BEAUTIFUL LIFE | HEART & HOME COLLECTION | SOPHIE DELORME
Hello Cocoa Vanilla friends !
Sophie here and I am so excited to share my very first page created with the brand new Heart & Home collection !
OMG where to start ?! I guess you know the feeling when you have a new collection that you absolutely LOVE ? You want to use all the things…and hoard them at the same time ..?!!?
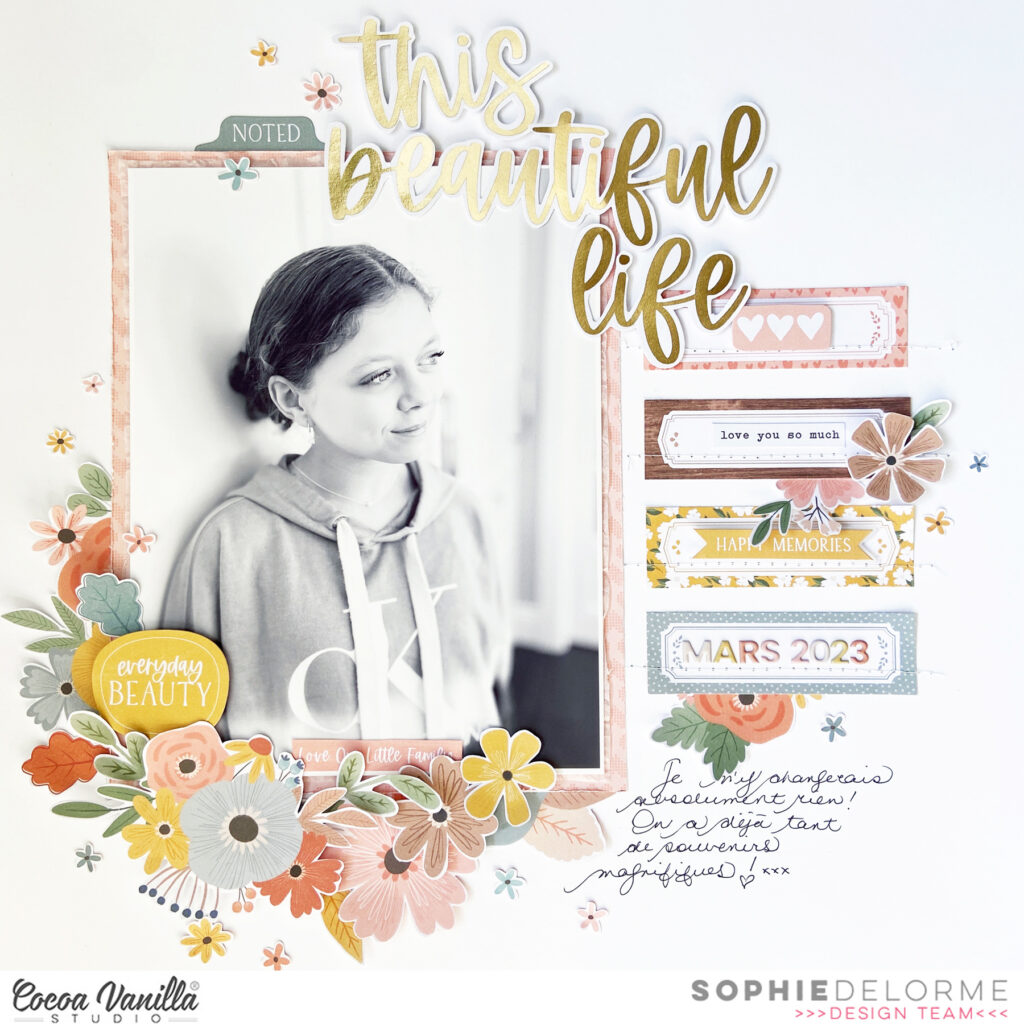
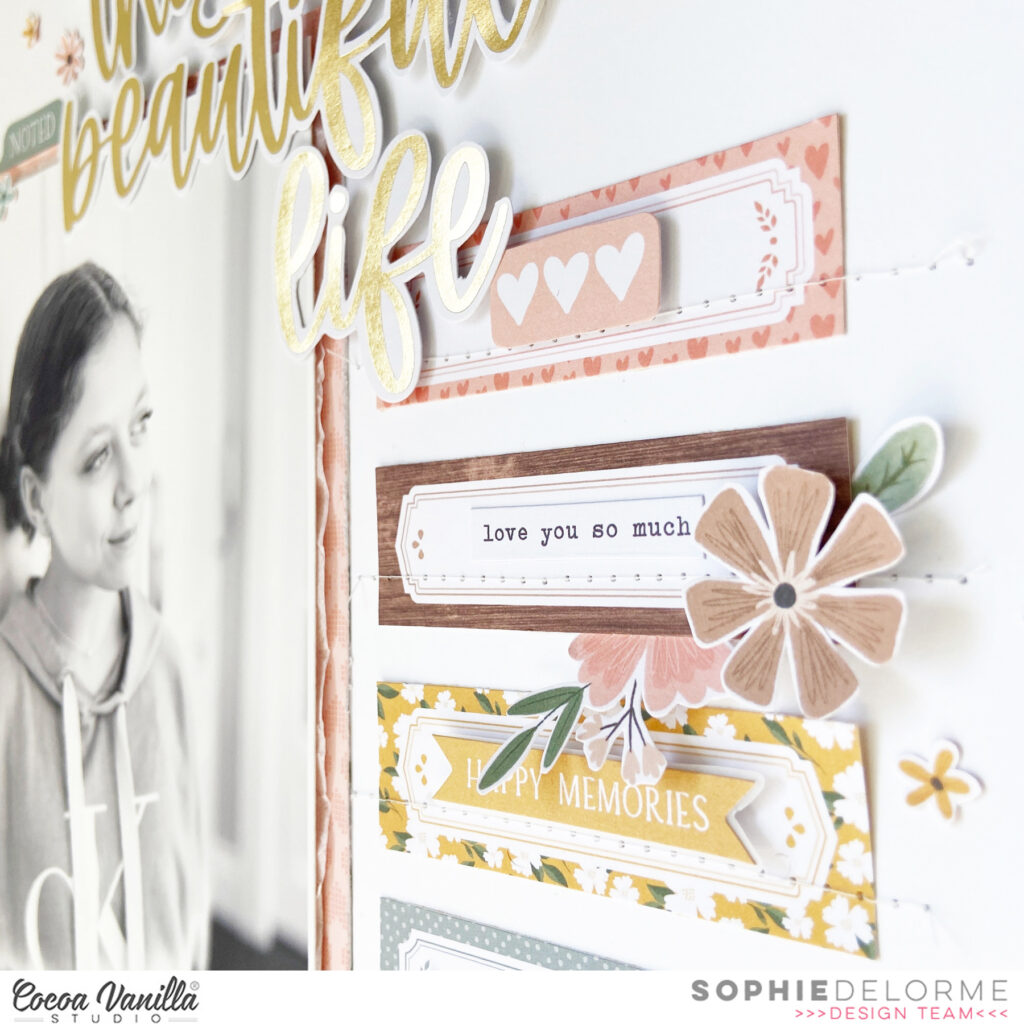
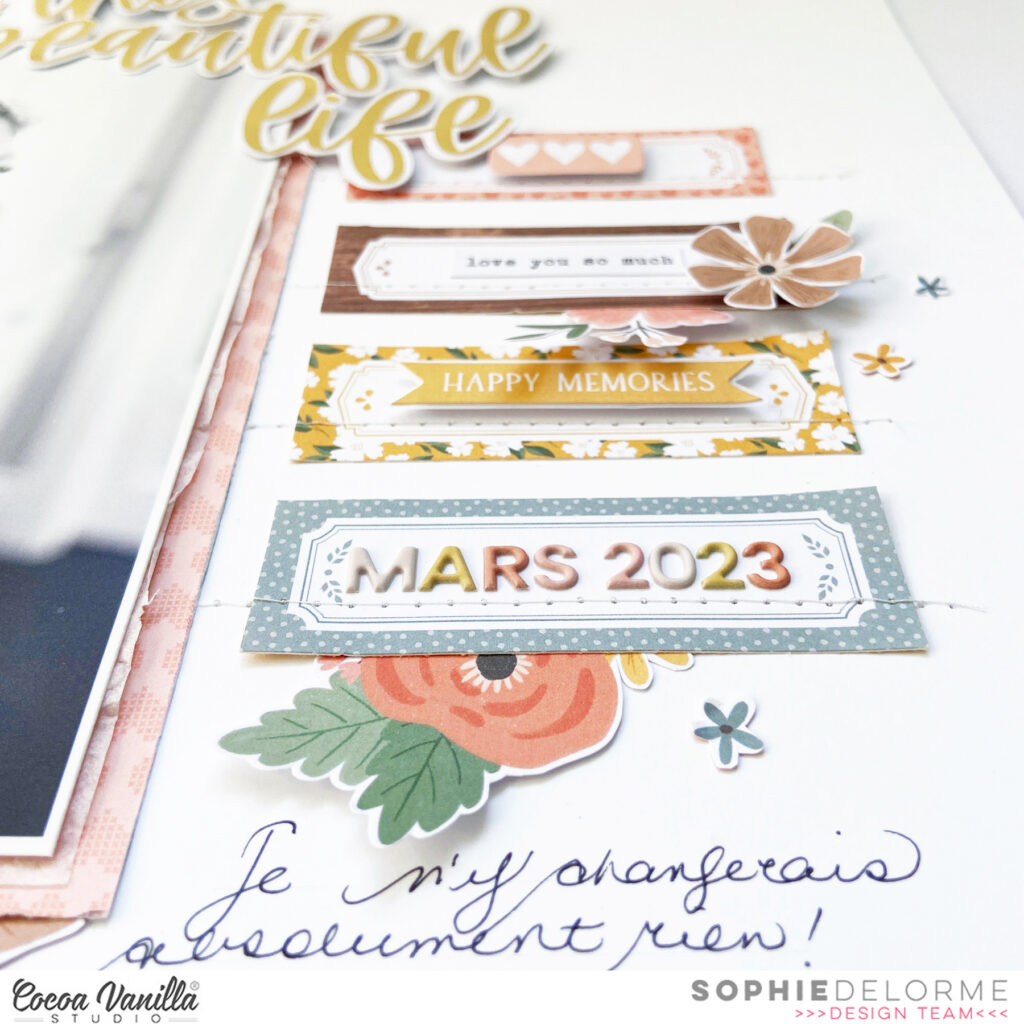
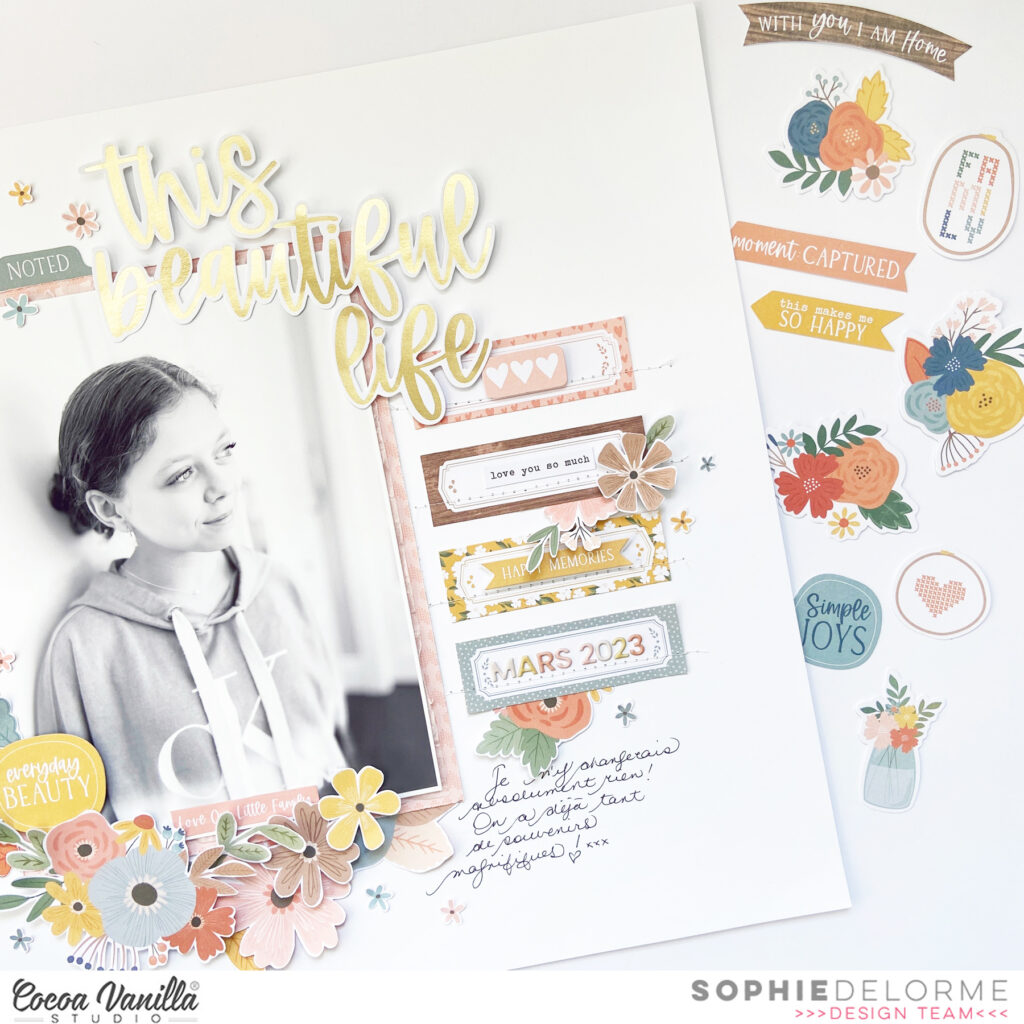
The first paper that caught my attention was the «Gather» paper. I cut out the little labels on it and aligned them vertically on the right side of a thick white cardstock.
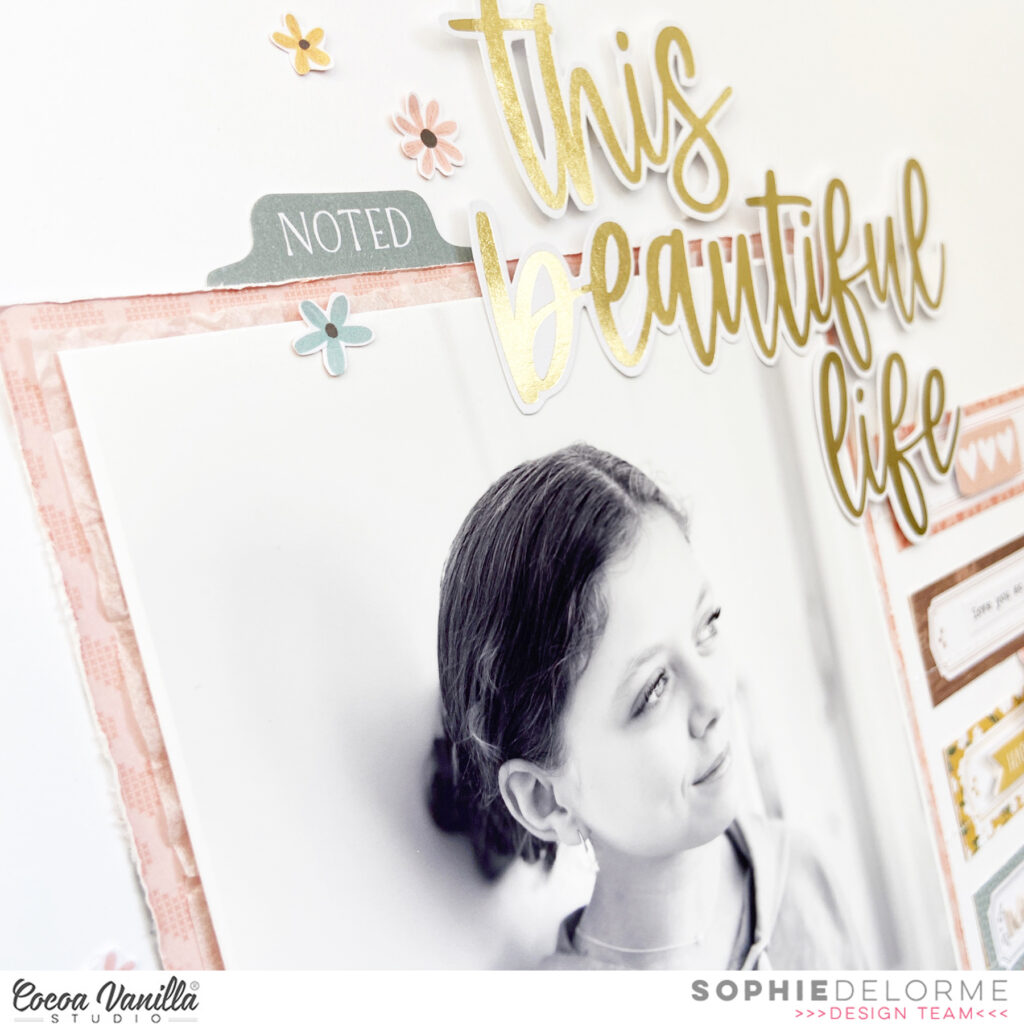
I went for a beautiful black and white photo of my daughter Sabrina that I backed with tissue paper, adhesive foam and the «Fall Beauty» paper. I placed it on the left side of the layout, as she is looking towards the right, at the labels.
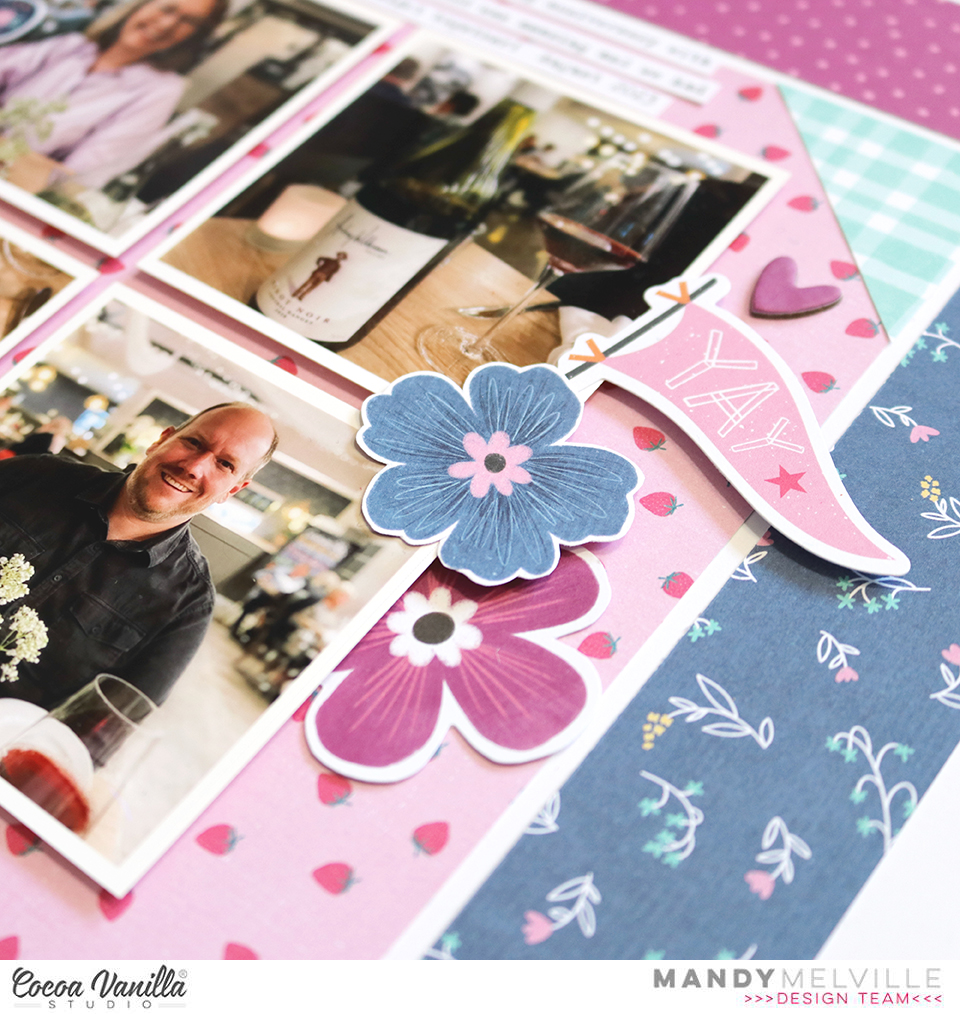
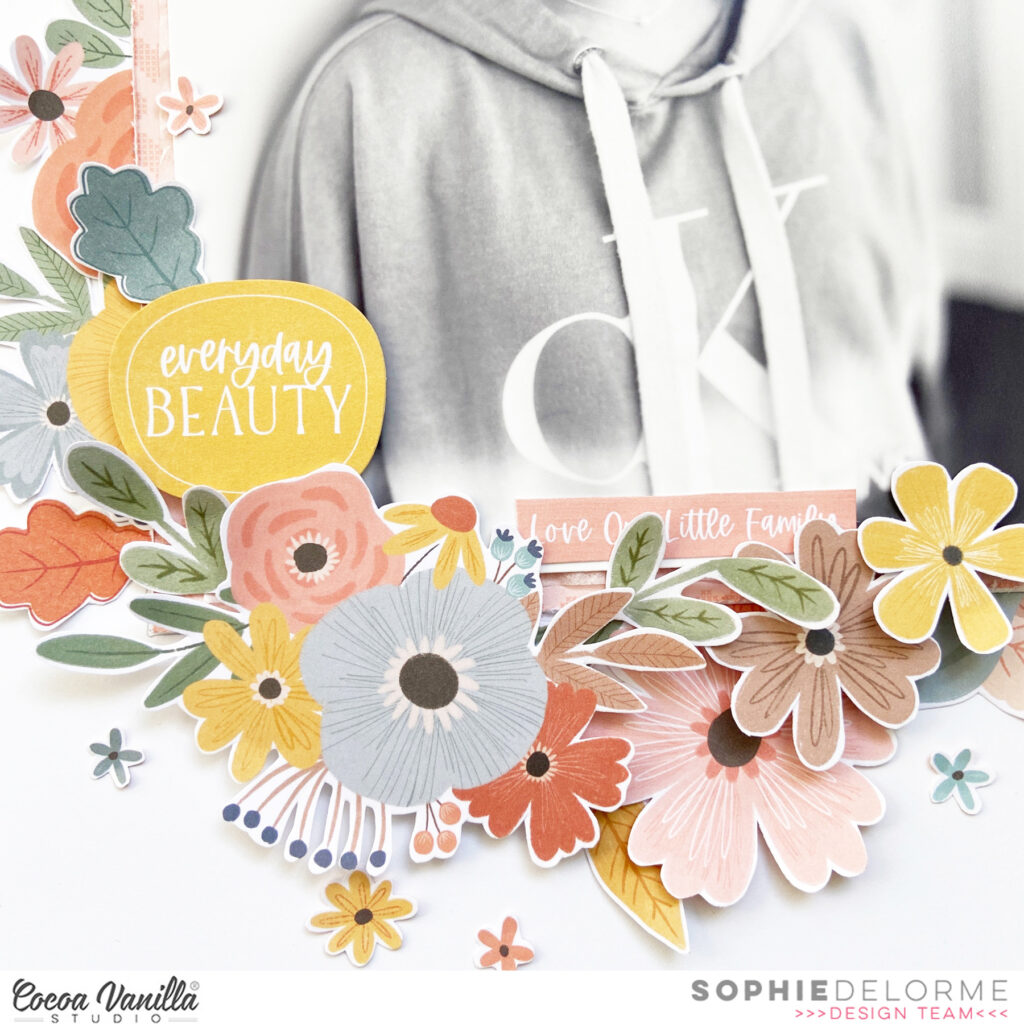
I used words from the «Titles with Gold Foil» pack for my title. I embellished the layout with a big floral cluster that is a mix of the Floral Ephemera pack, and flowers fussy cut out of the Floral A5 Paper Stack paper and the «Bountiful» patterned paper.
The date on one of the labels was done with the mini puffy alpha stickers.
Here are more close-ups:
Ahhh this collection is just GORGEOUS !!!
I hope you felt inspired by my page today,
Happy crafting !!
Sophie xx