LITTLE MOMENTS | UNFORGETTABLE | GWEN WRUCK
Hi Creative Friends,
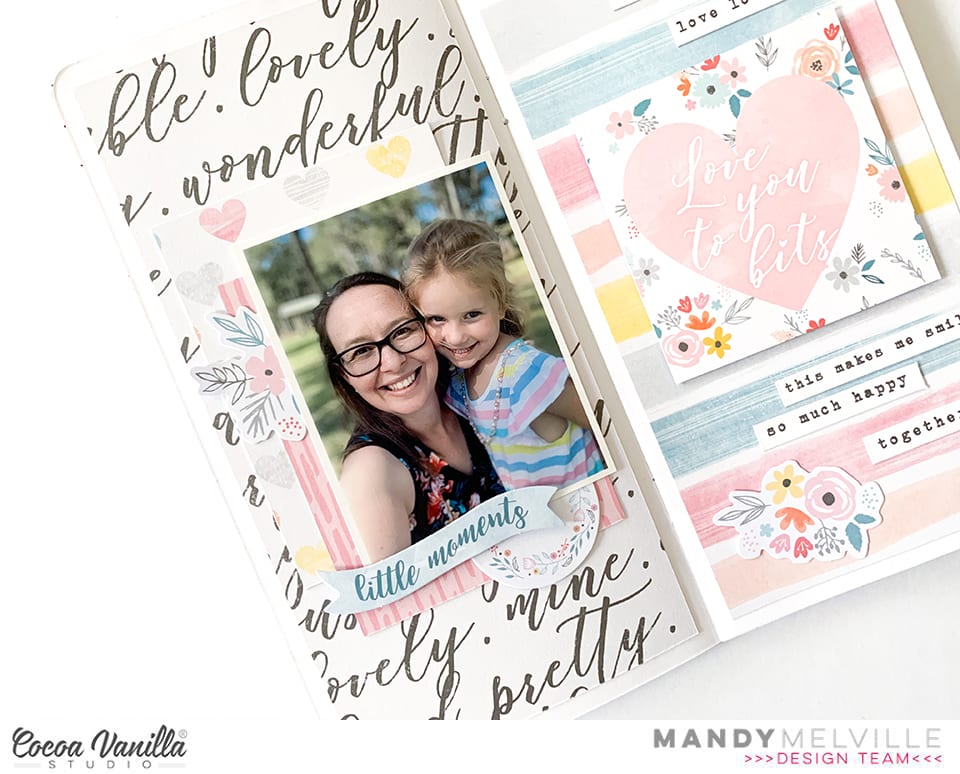
Gwen with you on the blog today, I hope you are all well! I’m back today with a new share using the stunning ‘Unforgettable’ collection. This is the fourth page I’ve made with this collection and the more I use it, the more I just love it! My page features a photo of my daughter the day before heading off to her first school camp. We were both super nervous about the adventure ahead and I had been speaking with her about enjoying the little moments at camp and remembering that these are moments she will look back on and truly treasure, even though right now it didn’t seem that way.

I started the page with the idea of creating a central paper stack for my photo and working outward from there. For this, I’ve used the butterfly quad element from the ‘Pretty Bits’ pattern paper. I’ve teamed this with the ‘Sprightly’ paper which I’ve used as an edge for my layout as well as a double mat for my photo. **TIP – If you want a double mat for your photo and aren’t sure which two papers to use, go with an A and B side of the same paper, they were made for each other :)

With my photo mat sorted, I positioned it overlapping the butterfly quad element (making sure to fussy cut out the two butterflies that were not showing for later) and centered everything onto a plain white card stock background. Now, I could go through all of the pretty elements of the collection to fill out my page.

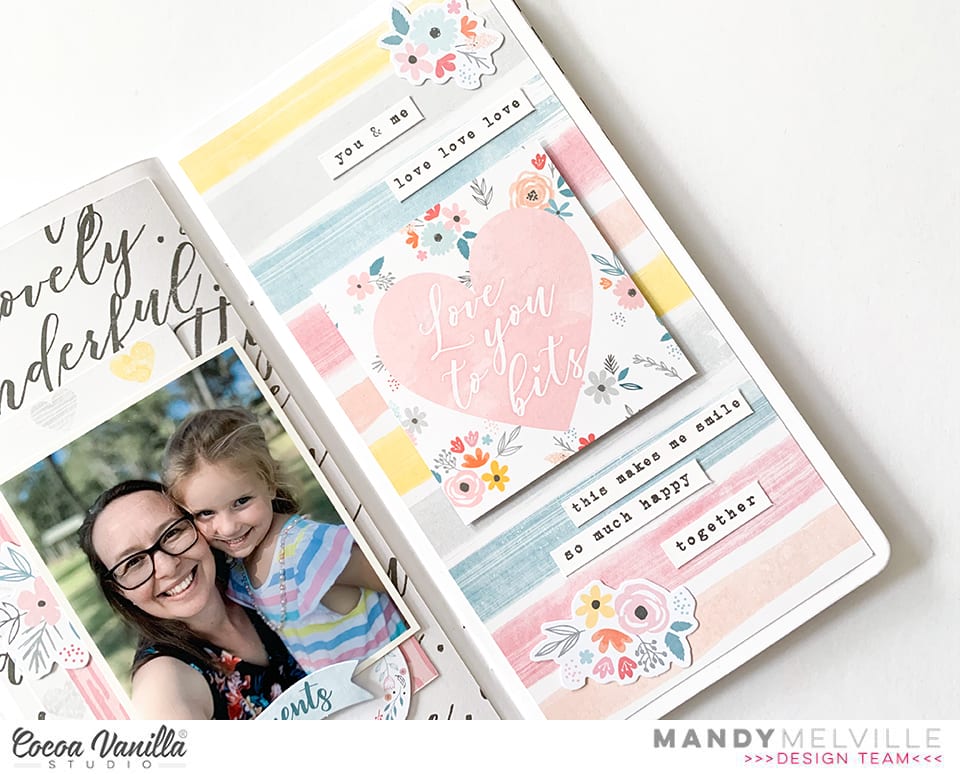
I find it is always best to work with larger elements first and then move onto the smaller ones, so started with the pretty floral die cut from the ‘Die Cut Ephemera’ pack. I’ve used one of the largest pieces here and then added smaller pieces on top using foam tape for a layered effect.

Next, I’ve added in the Orange fussy cut butterfly that I had saved and a smaller one from the ‘Die Cut Ephemera pack’. There is still another Grey butterfly that I had fussy cut, that one will be added to a new project. I’ve also added in here a large sticker from the ‘Accessory Sticker Sheet’ and a medium-sized die-cut Camera. I’ve grabbed a flair button and added that here as well.

I was really happy with the ‘bones’ of my page now so it was time to move onto smaller embellishments. I’ve pulled out several stickers from the ‘Accessory Sticker Sheet’ and positioned them on my page. There were quite a few that really suited the sentiment for this layout and I loved how the colours matched perfectly. Lastly, I went about adding a cute bow from the ‘Tassles and Bows’ pack as well as some Enamel dots and the page was complete.

Thanks for popping by today to see my latest project, I hope it inspires you to get creating with this beautiful collection.
Until next time,
Gwen
xo


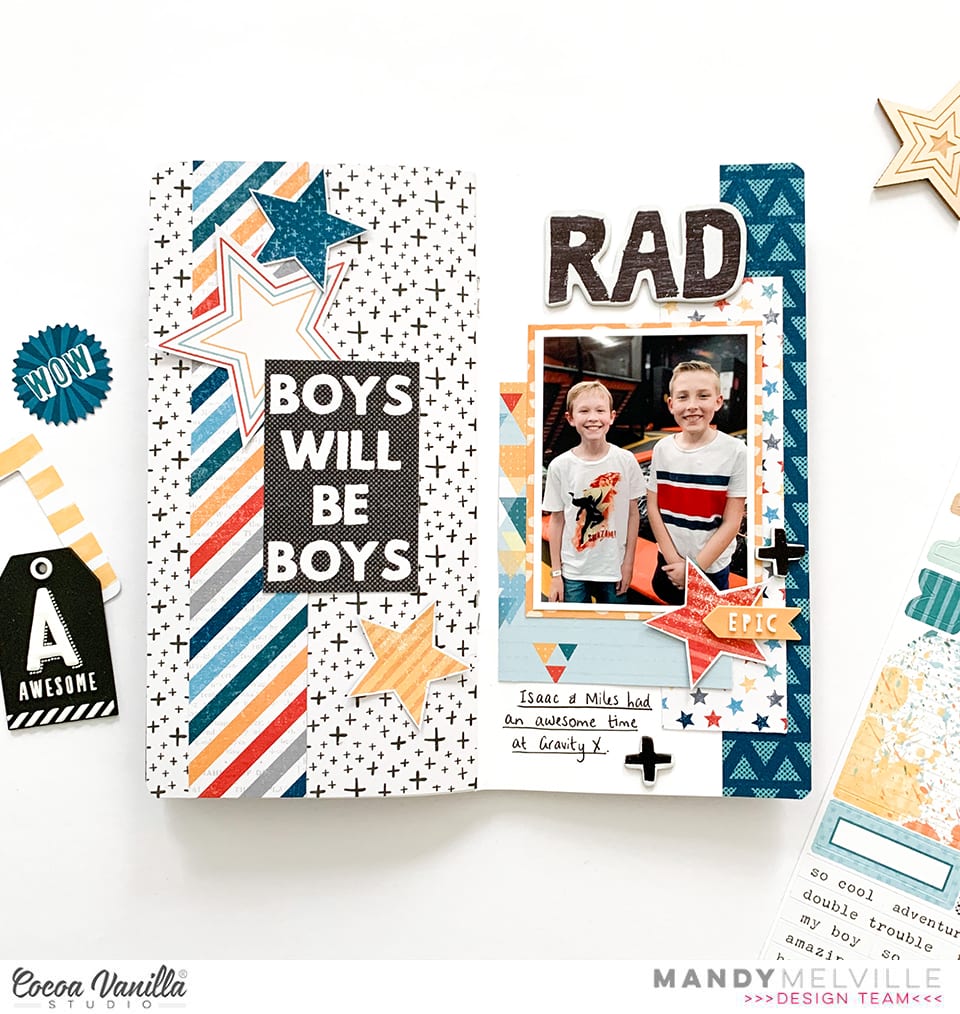

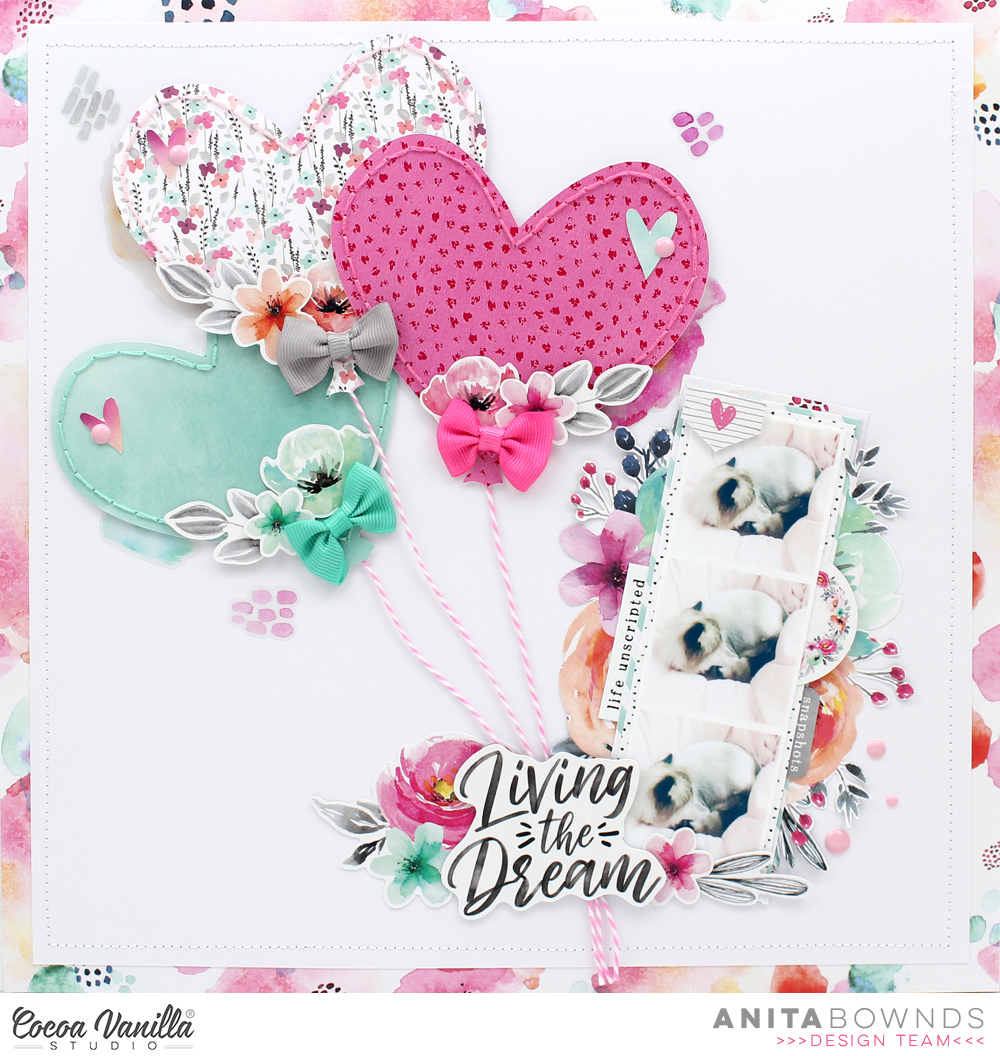
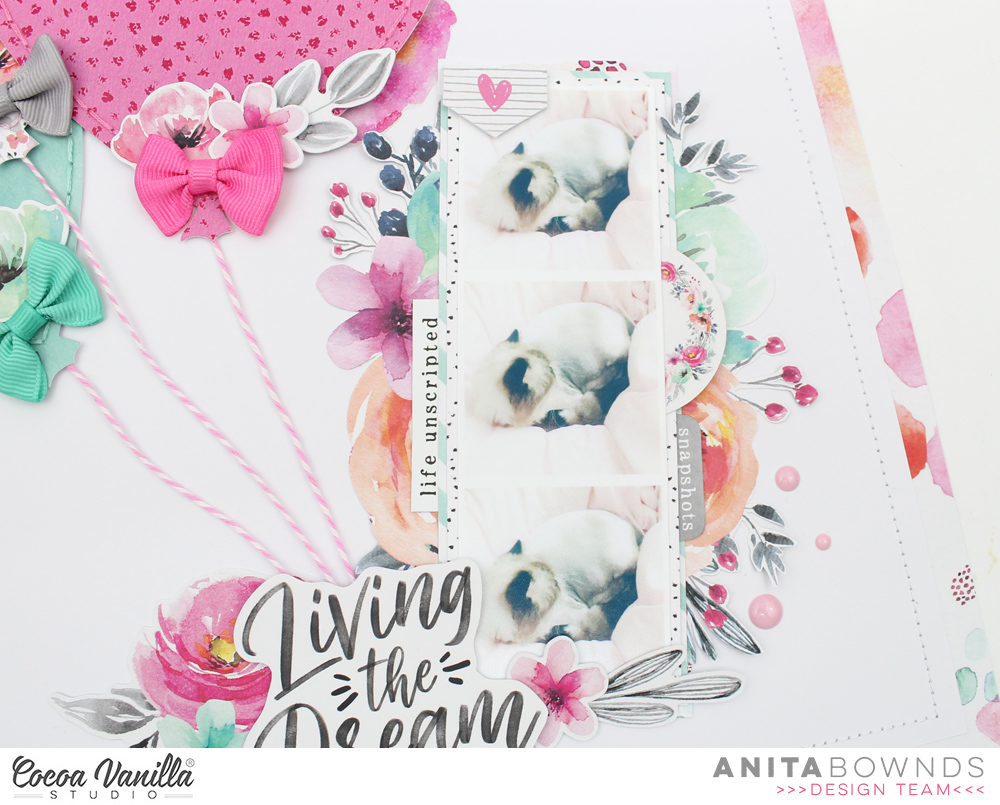
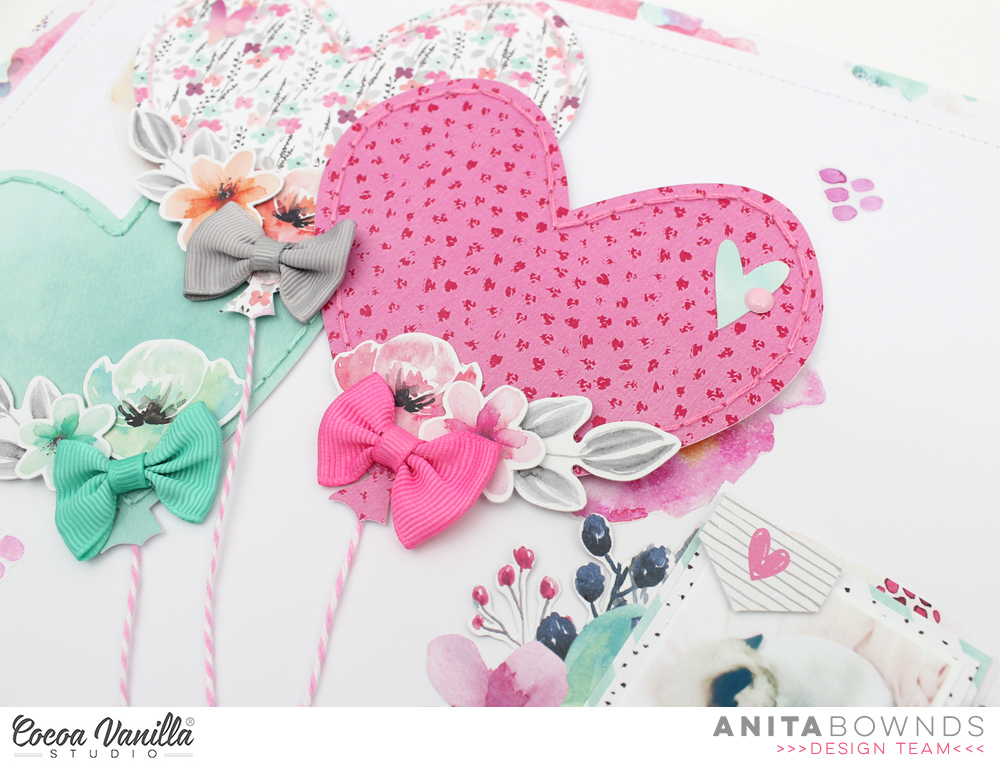
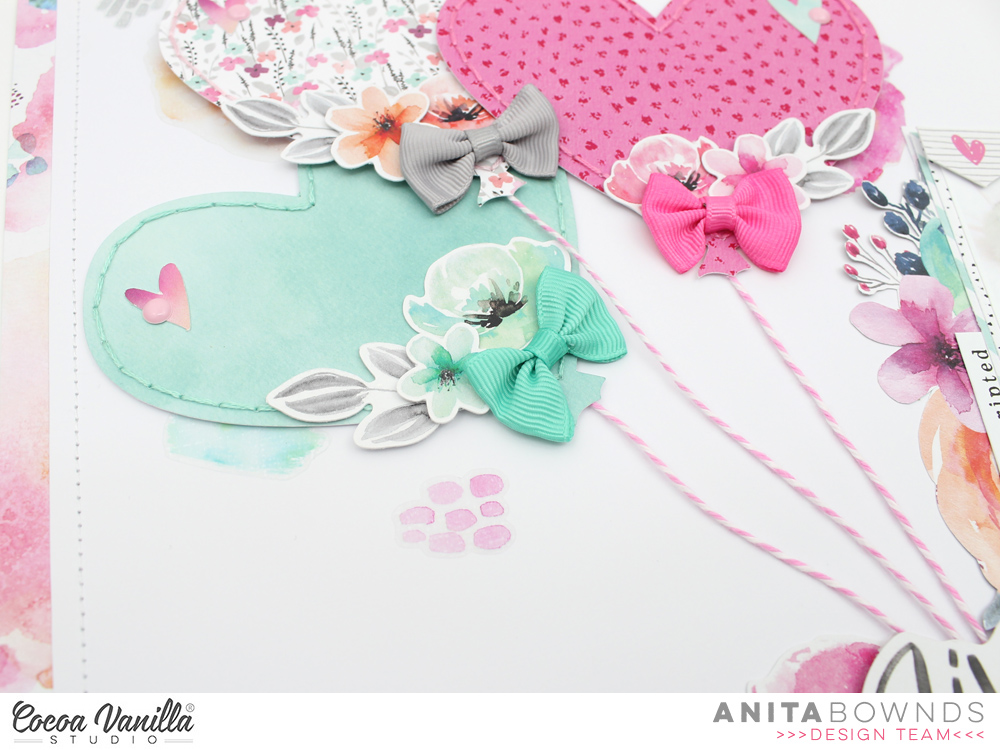


 I chose a pink, grey and white colour scheme for my layout today, I pulled some of the papers and lots of embellishments that were in that colour scheme and started out by cutting the cut file on white cardstock, I cut the file out with the intention of leaving some of the design inside the cardstock. I loved how I could pop out the hearts and create a dimensional look with them. I backed the cut file design with the pink paper and then machine stitched around the circle – you can see more detail in the photo below. I then matted the cut file and pink paper onto one of the grey patterned papers.
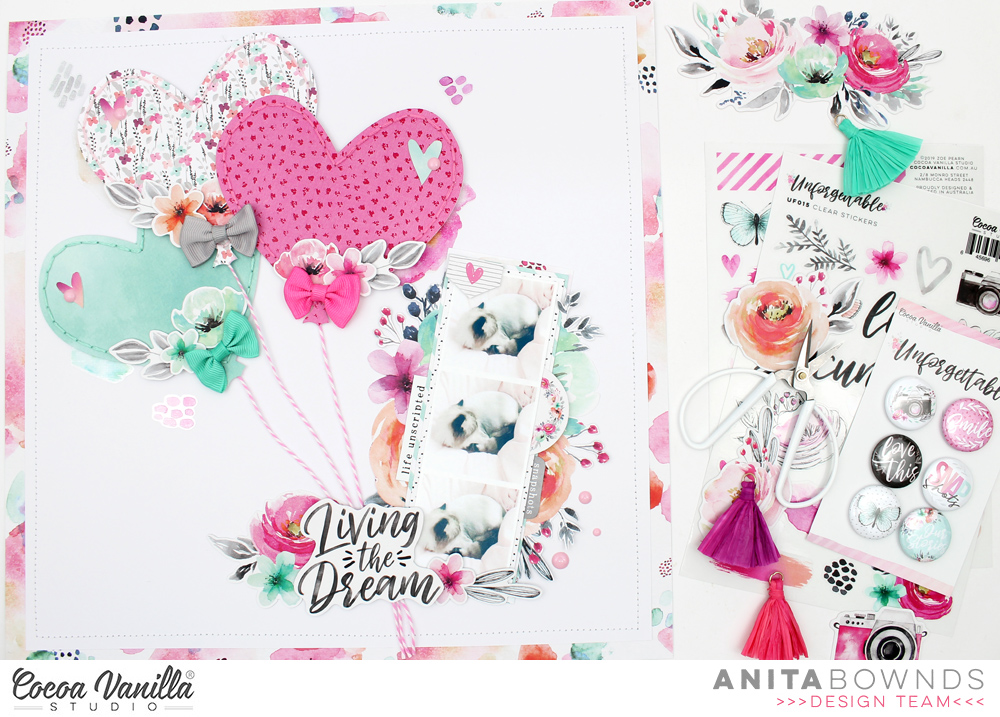
  The photo is of my sister and I at our brothers wedding a couple of years ago, not often we get photos together with both my sister and brother living in England now. I added lots of paper layers underneath my photo and used foam tape to pop up my photo from the page. In the photo below, you can see I added a cluster of embellishments including some die-cuts and accessory stickers, I used foam dots again to lift up the camera die-cut and I also added one of the enamel dots to the centre – hooray for enamel dots making a come back in this collection! I love them! Over one the right hand side is another cluster featuring some of the floral and butterfly die-cuts. I also added one of the cute bows to the right of my title.
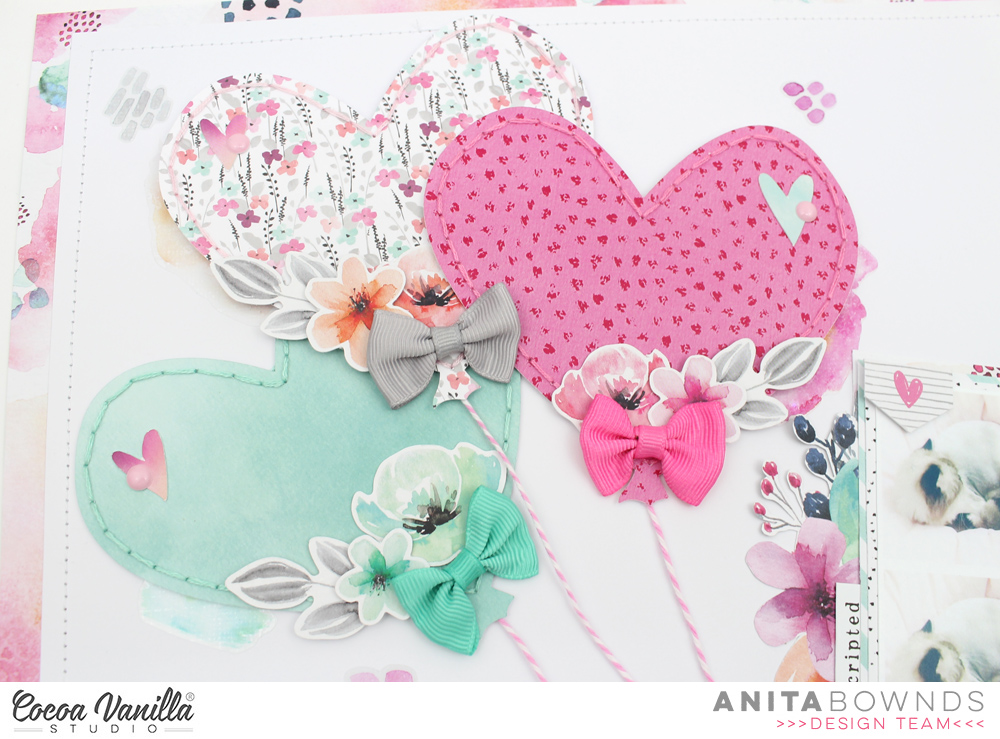
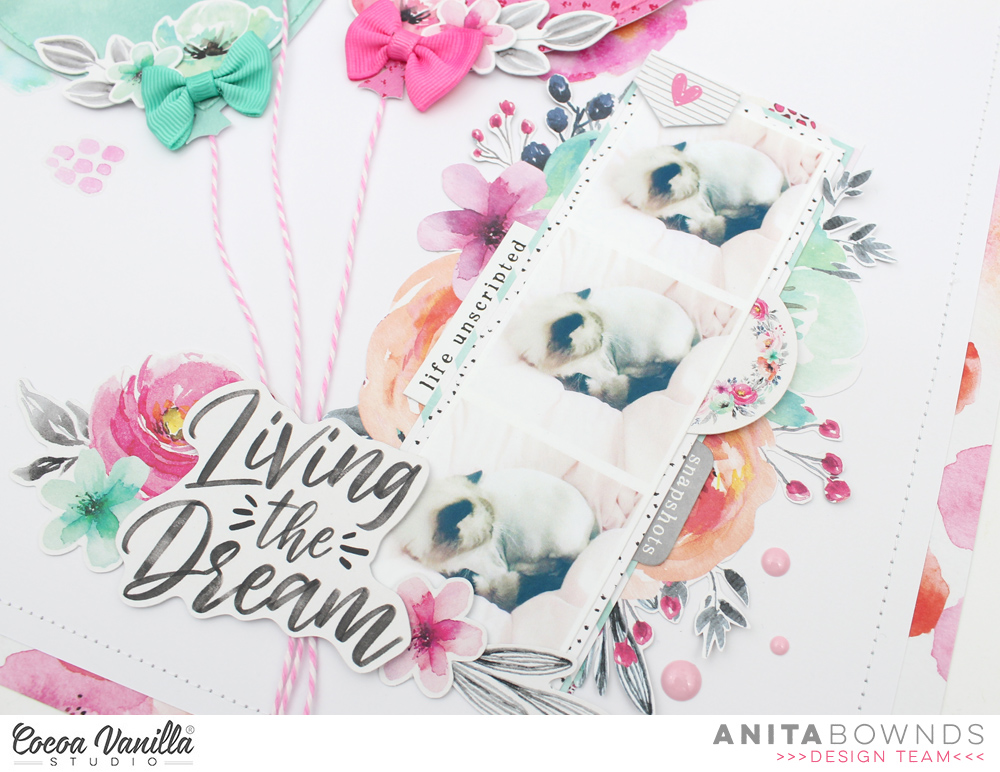
 My title is one of the gorgeous foam word titles, these are brilliant to add to any project, they make a statement and they really pop off the page too! I added one of the larger butterfly die-cuts to the left of the title to balance out the with the smaller one on the right hand side. A couple more enamel dots and a couple pf the gorgeous clear stickers were also added for some extra interest and texture.


