Tower Bridge selfie | Mix of masculine collections | Anna Komenda
Hello, hello! It’s Anna here again and today I have fun, travel themed inspiration for you. Good news – it has zero dogs involved :) This time I wanted to scrapbook a selfie photo of my family we took visiting London few years back (I can’t belive it was so long ago as it seems like yesterday). Photo was already printed and wandering around my desk for a while so I though it’s time to scrapbook it finally. As CVS doesn’t have any specific travel themed collection, I reached for the lines that have colors that would match the picture. It’s quite muted with a lot of earth tones so I focused on masculine lines. No pink this time!

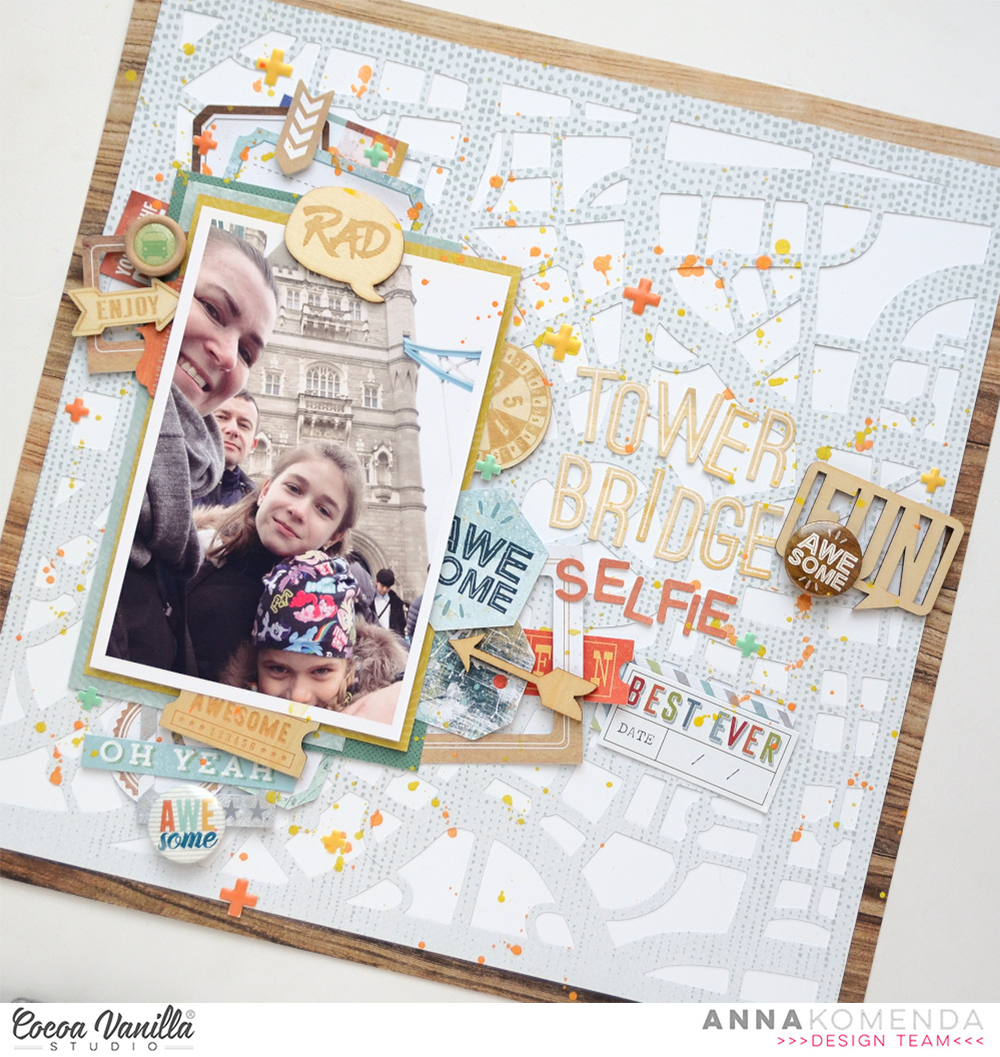
I started with the newest one called “No limits” picking pattern papers for the background – wooden “Big bang” and grey “Universal“. With the second one I cut out the map background using digita die cutting machine. It reminded me of a busy city London is. Sfter all three basic layers were combined, it was time to add photo. It has white frame so I needed some contrastic colors under it to make the picture pop.
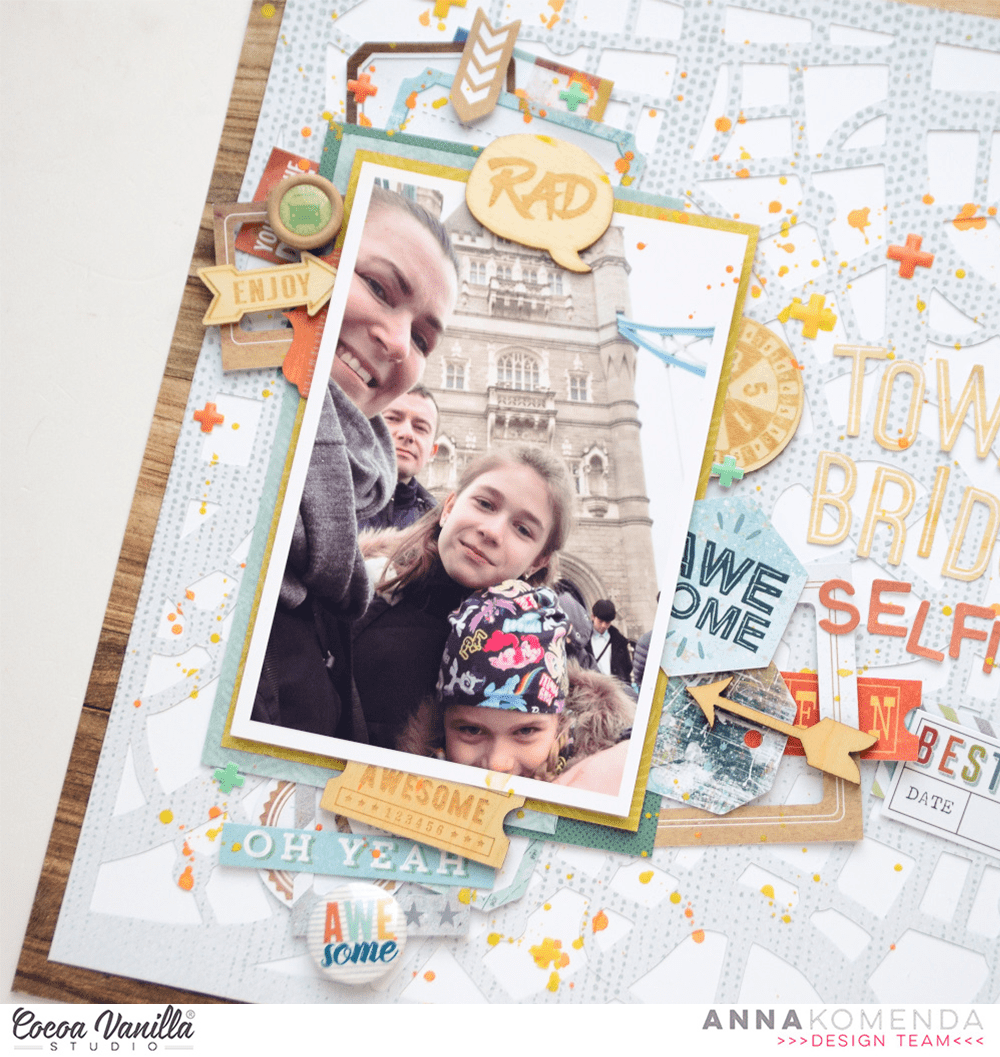
That’s why I added yellow and blue using A5 Paper stack. This is such a great product – it hold some extra patterns for even more fun with collection and you can use them for mini albums and cards too. You get 30 sheets in total – 2 of each designs and they are loose so there is no glue attaches to the one side, which is sometimes hard to remove. After the photo was glued down, I started building composition around it. It’s the moment I reached for some older CVS collections and my leftovers stash. You can find ephemera pieces and stickers from “Legendary”, “You rock” and “Boys rule”. This is the beauty of Cocoa Vanilla lines – you can easily mix and match them!
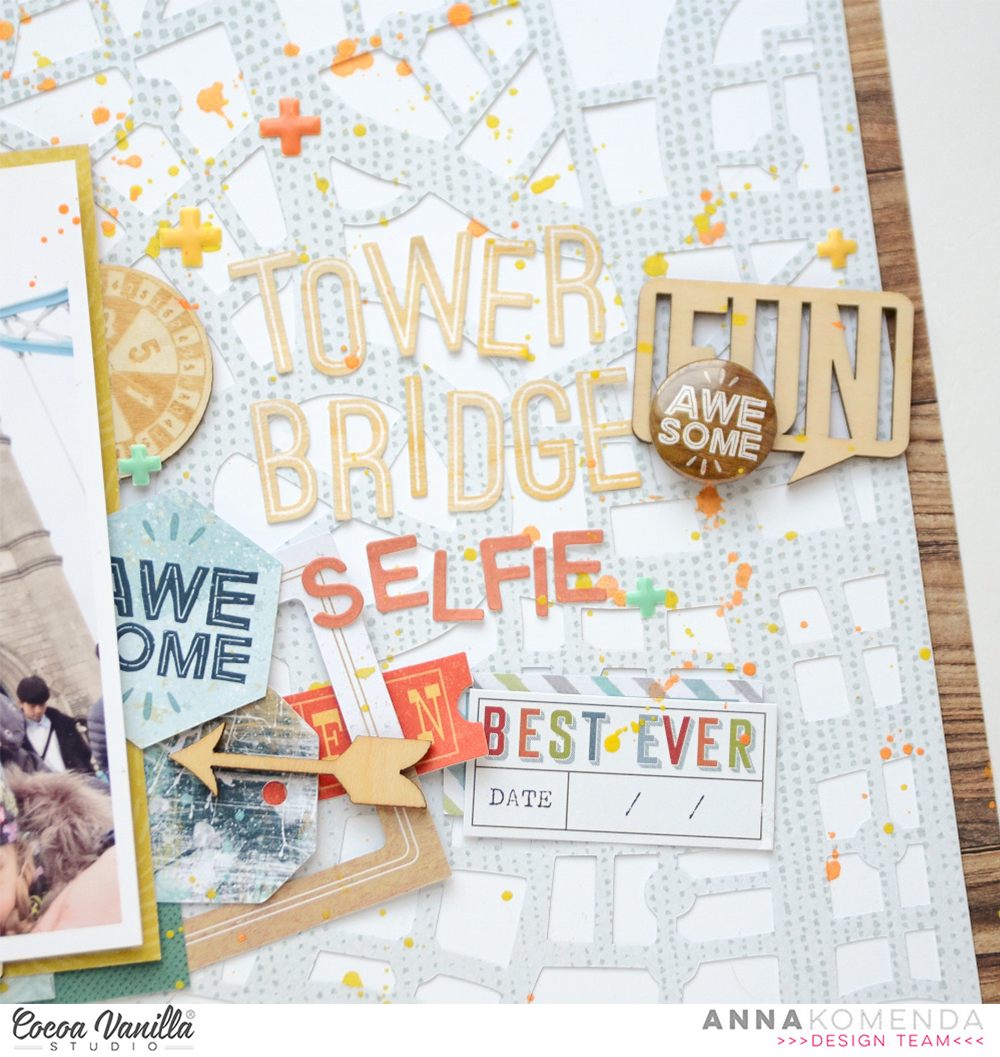
My title was also created with an old set of alpha stickers. they are not being added to the collections anymore but I still have my own stash and I love reaching out to it. Alpha stickers came in two different sizes – with bigger letters and some with smaller letters. I mixed two of them here. I also dug up my stash of wooden elements, that were a part of older collections. I loved them so much and I was saving them for the future (as many of us does with favorite items). It’s finally time to let them go. But worry not – I still have a little basket of them :) They will last me till the end of time.
This kind of layout is my favorite – where I can combine new and old, giving older stash a new life. If also helps me spread the collection even if I am running out of embellishemnts. Last step in making this page was adding some flair buttons (also from my dearly saved stash) and splashing everything with yellow and orange mists.
That is all for today my Friends! Thank you so much for stopping by and see you in two weeks.
XO Anna
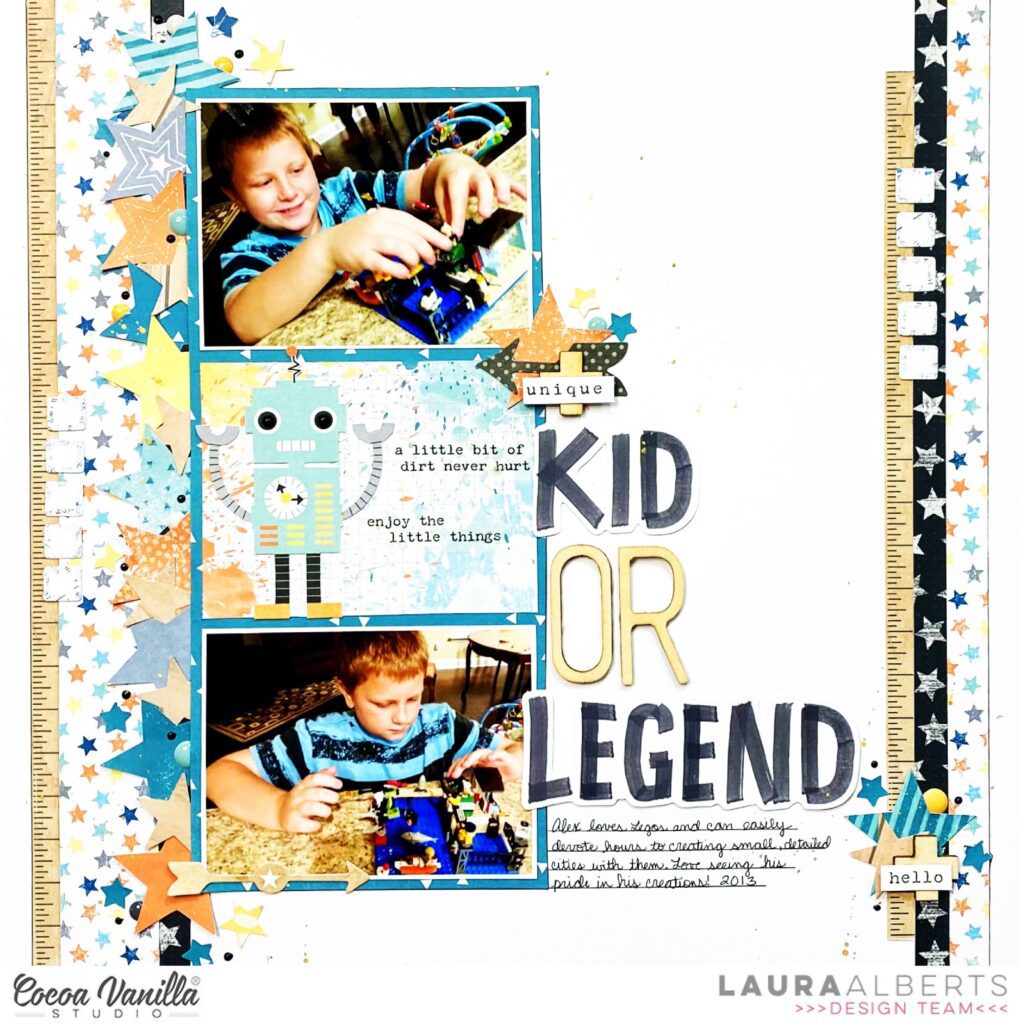


 I added a variety of embellishments including accessory stickers, a rubber charm, wood veneers, wood buttons, a flair button, a die-cut and chipboard stickers from the various boy collections mentioned above. The wood buttons I added to the centres of the letter ‘C’ in the words ‘Back’ and ‘School’. The 100% Awesome sticker in the centre of the ‘O’ in ‘To’ I popped up with craft foam for some dimension. I just love the world globe die-cut from the Totally Rad collection, it was perfect for my school themed layout!


 I took inspiration from the skull and cross bones design in the image and also the colours. I cut out a skull and cross bone design from black cardstock using my Silhouette Cameo and used is one of the main focal points on my layout. I popped up the skull using craft foam and adhered the cross bones flat to the page. In the eyes of the skull, I backed one of them with one of the paper s from the
  The Totally Rad collection has lots of pieces with the skull and crossbones so I pulled out what I had left and used them as embellishments. The large white and black skull and cross bones was fussy cut from the
 To finish off, I added the chippie crown in the chipboard pieces pack from the