Zombie Apocalypse | Boy Collections | Tarrah McLean
Hi Cocoa Vanilla friends!
It’s Tarrah back with you and today I am sharing a Halloween layout created for the October mid month challenge over at CSI: Colour, Stories, Inspiration I used lots of the boy collections on this layout!
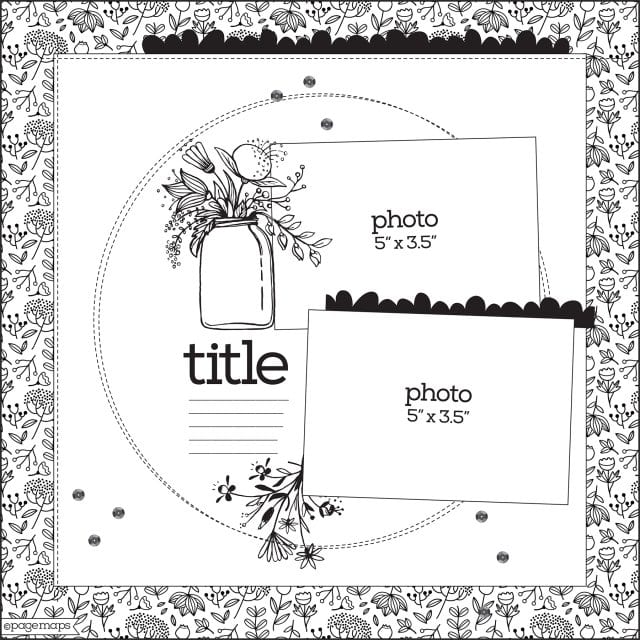
CSI: Colour, Stories, Inspiration Case File No. 298

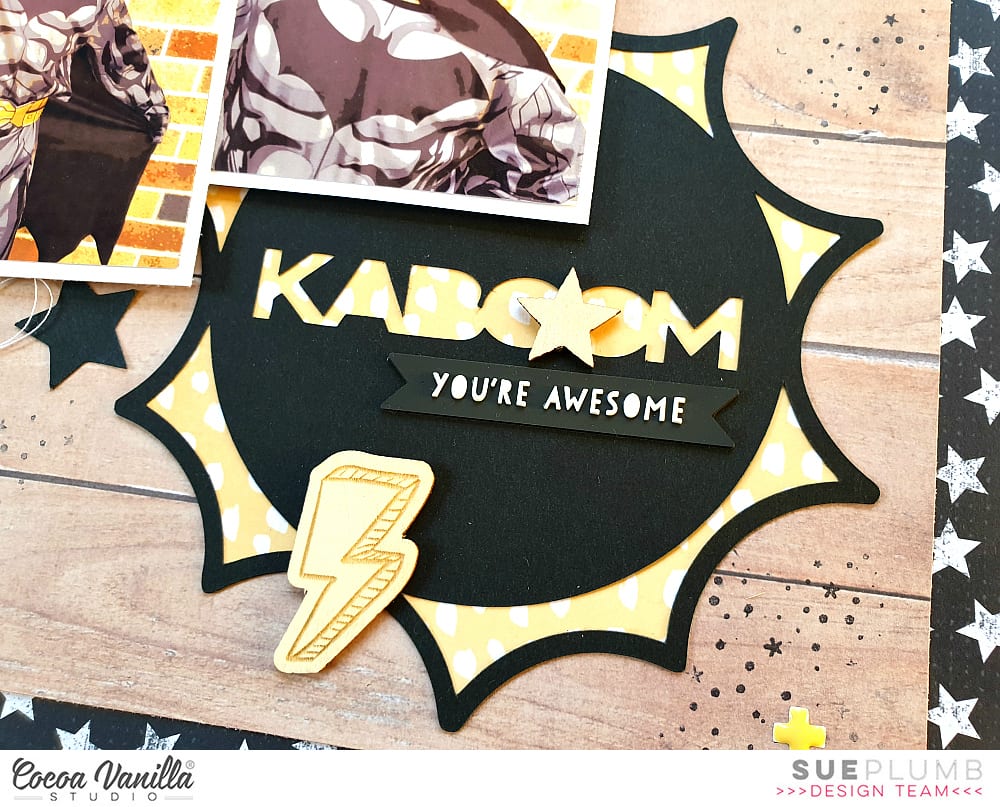
 I took inspiration from the skull and cross bones design in the image and also the colours. I cut out a skull and cross bone design from black cardstock using my Silhouette Cameo and used is one of the main focal points on my layout. I popped up the skull using craft foam and adhered the cross bones flat to the page. In the eyes of the skull, I backed one of them with one of the paper s from the You Rock collection and added one of the woodies from the Totally Rad collection to the other eye.
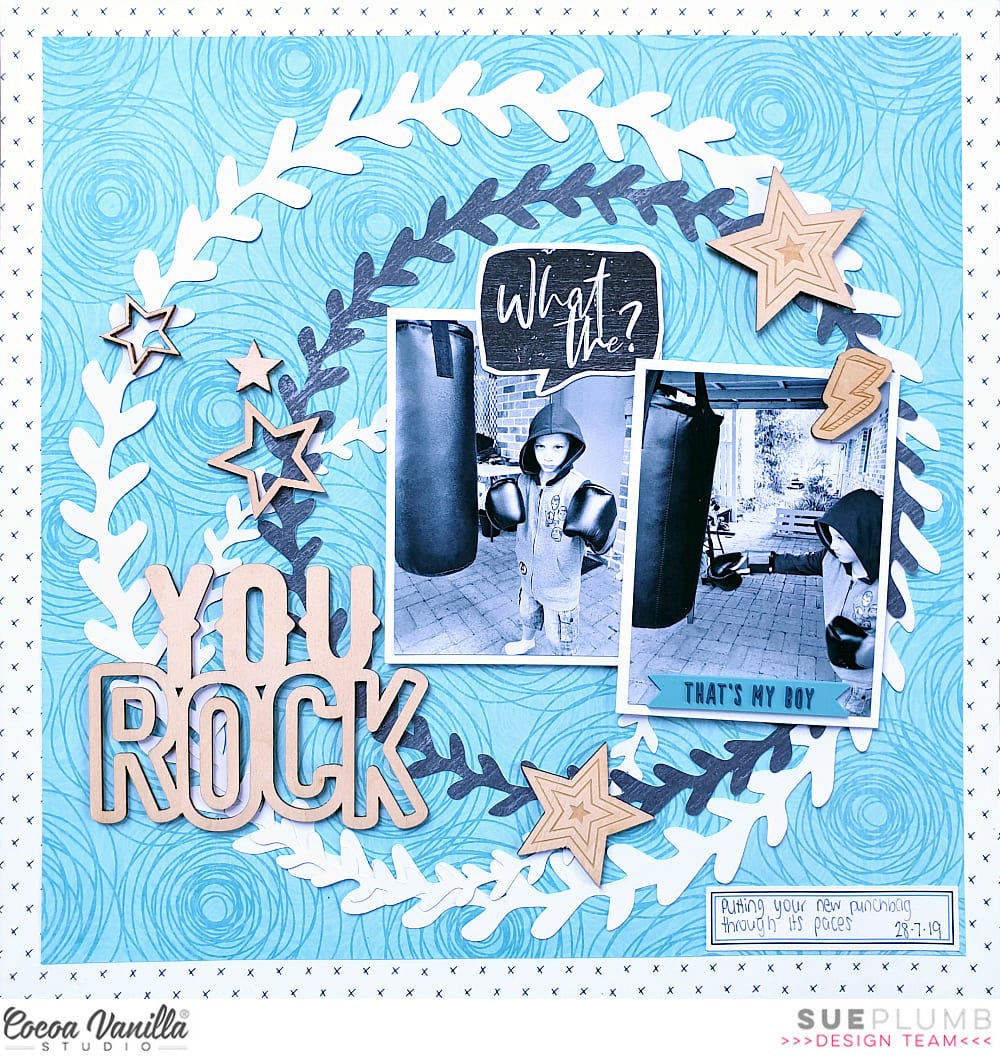
  The Totally Rad collection has lots of pieces with the skull and crossbones so I pulled out what I had left and used them as embellishments. The large white and black skull and cross bones was fussy cut from the ‘Stuff’ paper from the Boys Rule collection The photo is of my eldest son dressed up for Halloween as a zombie a couple of years ago. I just had to add the ‘Admit One Crazy Town ticket and the unbelievable sticker’as they went perfectly with the theme of my layout. I added some of the wood veneer stars from the Flying High collection – I couldn’t believe I still had these!
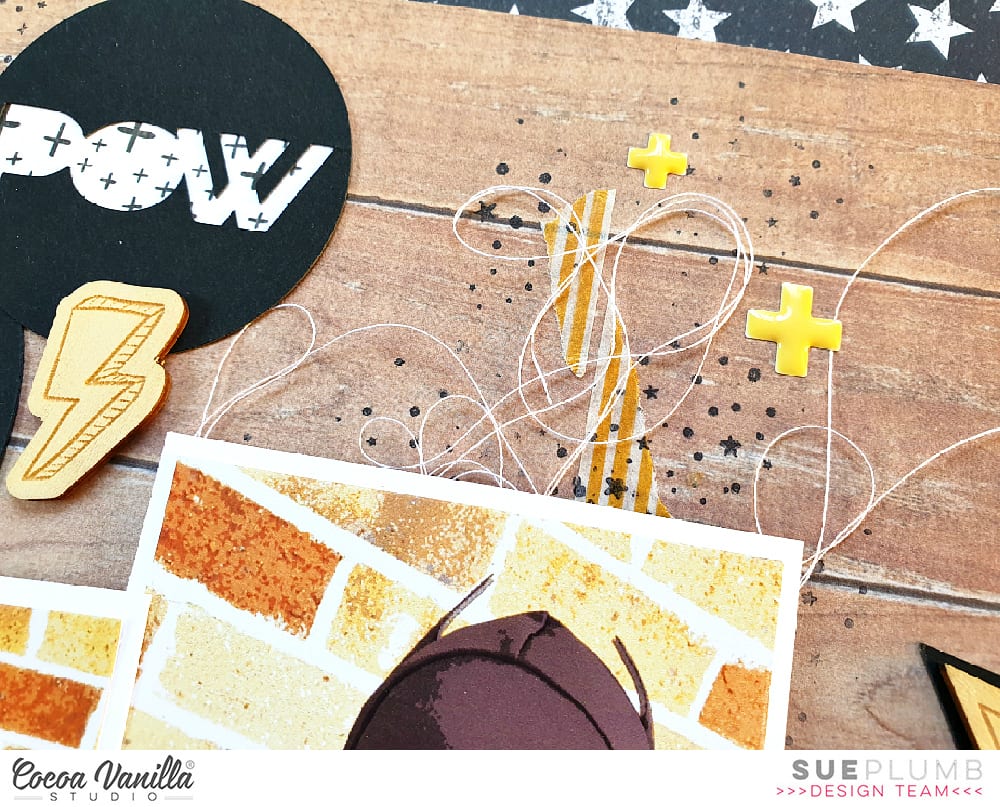
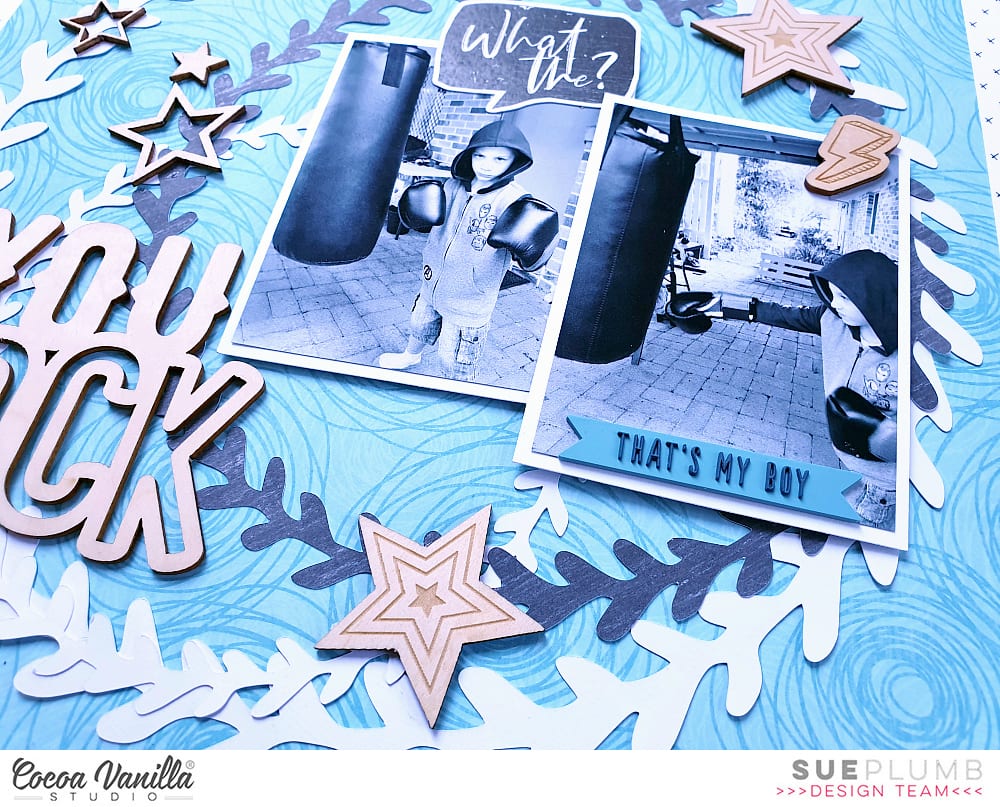
 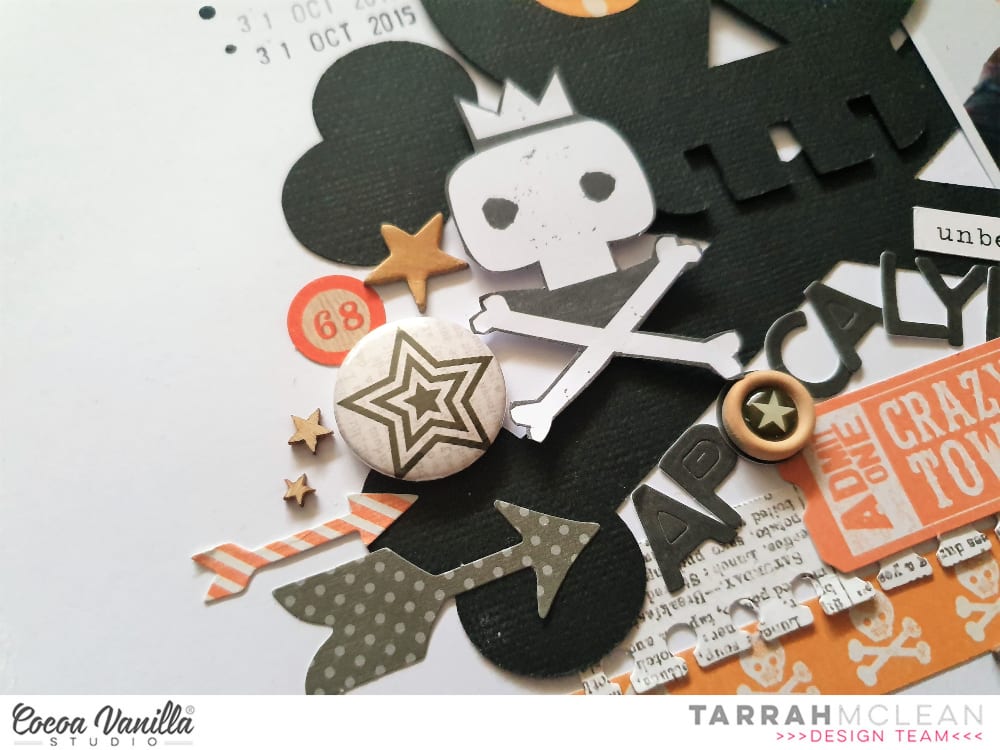 To finish off, I added the chippie crown in the chipboard pieces pack from the Boys Rule collection and added a few last bits and pieces like the arrows, the star flair, the date stamp and some splatters of black mist.
Thanks so much for stopping by today!
Happy creating!
Tarrah x