Hi Scrappy friends its Michelle back today with a new layout share. This one features the beautiful Unforgettable collection, a cut file from CUT to YOU and a couple crazy photos of this little family of mine. Love how it turned out, and it all came together so quick!
To begin I resized the cut file in Silhouette studio, backed the seperate words using 2 pattern papers (both sides of Sprightly) from the 6×8 paper stack then adhered to the centre of the page using foam tape. Next I added the photos that were printed slightly smaller than 3×4 size and layered with a couple more pattern papers (reverse sides of Unscripted and Garland) from the 6×8 paper stack. I cut the main white cardstock backing down in size so that I could mount in onto the beautiful floral pattern paper Glorious for even more colour.
I used 1 large floral ephemera piece, that I cut in half, to create clusters of embellishments to the top left and bottom right of the cut file. I also added a couple extra florals and hearts from both the ephemera and clear sticker pack.
On each photo I’ve added a heart that was left over from a previous layout I created using the awesome wreath of hearts in our FREE Cut file set. Theres also a couple more ephemera pieces and stickers tucked into the layers beneath the photo.
Lastly I added a couple of enamel dots and a splattering of gold ink and called it done. A nice quick layout thanks to that massive cut file title.
Well thats all from me today, be sure to stop by the Community group on facebook to chat all things Cocoa Vanilla Studio. And don’t forget to use the hashtag #cocoavanillastudio when sharing your creations on instagram and Pinterest.
Thanks so much for stopping by! Until next time, happy scrapping..
Hi all Rachel here! As most of you know I LOVE cut files and use them on nearly all my layouts. Today I have a pretty layout that is fun to make and there is only one piece of 12×12 paper used. I have used the SPRIGHTLY paper to create these gorgeous flowers.
I chose a super pretty flower cut file from the Silhouette Design Store. I created three different sizes by re sizing to large, medium and small. I then used from 6 to 3 layers for each flower. This creates the effect of different flowers, different layers and sizes which adds dimension to your layout.
Before attaching my flowers I added some Unforgettable clear sticker paint strokes to provide a contrast. I also cut some leaf branches in white so I could tuck them under the flowers.I laid out my flowers and worked out where I was going to add some stamping. I have used the gorgeous Bohemian Dream stamp set. Once I had done all this I added my flowers to the left of my page.
I added my 4×4 inch photo tucking it slightly under the flowers to connect the elements. I added a bright pink paint brush stroke from the Unforgettable clear stickers under my photo to draw your eye to the photo.
I used the word Shine from the black foam title stickers and again added another bright pink paint stroke clear sticker before attaching to add contrast and draw the eye.
To finish off I added some butterflies from the Unforgettable die cut pack, adding a paint blotch clear sticker under the wings finished off with an enamel dot under the wing. I added several black hearts from the Unforgettable foam titles around my page.
When using a cut file such as a flower, and you want to use more than one, before you purchase another think of resizing and how many layers can be added or taken away, this way one cut file can look like several different ones.
Thanks for stopping by today and I hope my layout using one piece of paper and one cut file inspires you to get creative this week!
Gwen with you on the blog today with a new share using the beautiful ‘Unforgettable’ collection. For this page, I’ve jumped out of my comfort zone again to scrap another picture of me, this one was taken on my birthday recently. I’m also sharing some extra tips and tricks for working with cut files!
Many of you will already know that I just love working with cut files on my pages. I love that they are super inexpensive and the designs really are limitless. It will be no surprise that once I had chosen a photo to work with for this page, I went to my extensive library. This file is from my cut file store CUT to YOU and I love that it helps me document this snapshot in time, my 43rd birthday. I’ve done a stack of journaling on the back talking about where I’m at right now in my life.
To begin the page, I started by backing the letters in the file. Tip #1 – If you have a limited supply of coordinating pattern papers, this is a fab way to use them up or make them stretch. You’d be surprised just how little you need to make a bold title like this one, AND you can mix and match all of your scraps amongst the letters for a really pretty look. Tip #2 – Pattern paper pads such as the one from this collection are perfect for backing cut files. The smaller print designs work so well with the small spaces within the files.
While we are talking about backing the letters… Tip #3 – I find it much easier when working with a small area in a cut file to glue the pattern paper to my cut file and then use fussy cutting scissors to cut it out. I find this way of backing the files the fastest for me, much faster than tracing each section and then cutting it out and then trying to position it back into the open space of the file.
Once my file was all backed and I was happy with it I went about backing my photo and thinking about the composition of my page. Tip #4 – It’s a good idea to use the software from your electronic die cutting machine to help you with the size and placement of the design on your page. I consider the layout of my page design when resizing the file so that once cut and you get to create it’s not too big or too small for your design idea.
I was now looking at the file and photo on my layout and it wasn’t quite popping off the page in a way I’d like so Tip #5 – I’ve added some foam tape to lift it off the page AND some soft watercolour behind the file to really help the white edges pop off the white background. I use both of these techniques a lot to help give the cut file definition on a white background.
It was now time to embellish the page, this bit is super easy and fun with the larger elements in place. For this, I’ve fussy cut out the large green butterfly element from the ‘Pretty Bits’ pattern paper and teamed it with two more smaller butterflies fussy cut from the ‘Lacewing’ pattern paper. I’ve also added in a pink butterfly from the ‘Ephemera Pack’.
To create a small cluster in the top right-hand corner of my page, I’ve combined elements from the ‘Accessory Sticker sheet’, enamel dots and a flair button. The larger floral die cut at the bottom of my photo is from the ‘Die Cut Ephemera’ pack. To finish the page off, I’ve added some typed sentiments from the ‘Accessory Sticker Sheet’ using more foam tape for dimension.
Thanks for popping by today to see my latest project, I hope you enjoyed the tips and tricks I’ve shared for working with cut files and that they inspire you to give working with them a go, they really are the best fun! If you haven’t checked out the latest collection ‘Unforgettable’ yet, you really must, it is DIVINE!
Hello Hello its Michelle back here today with a new layout to share with you all. I’ve used the stunning Unforgettable collection again for this creation to tie in with our current ‘white out’ challenge. What a challenge it was for this lover of white cardstock to create something using pattern papers as my background paper. I think I did ok?
I chose a super cute selfie of my little niece as I felt it was time to scrap something other than another photo of Leila. This sweet little lady LOVES a selfie, and this photo is one of many in my camera roll that needed to be documented.
I started the layout by creating the photo stack using multiple pattern papers layered together with a fun messy cut file from CUT to YOU. I added pieces of foam between the layers to create more dimension.
Next I played around with multiple pattern papers for the background, and I mean multiple as there is so many wonderful patterns within this wonderful collection its hard to decide on just the one. I finally settled on 2 B side pattern papers – the black on white text paper “PRETTY BITS” and the grey squiggly chevron pattern “GLORIOUS“. I turned the chevron paper on its side and cut a triangular shape to adhere to the left side of the background
Next up I adhered the photo stack to the background papers using more foam tape for even more dimension. Cant help it, must add the dimension lol
I tucked loads of florals from the ephemera pack into all the layers for extra pops of colour before creating a title using the foam title stickers and an accessory word sticker
I chopped the R off the word ‘our’ from the pack to create the word ‘your’. The black hearts can also be found in the title stickers pack
Lastly a little hint of florals and black along the bottom right corner to balance all the elements of the layout. I added a sprinkling of gold ink and some enamel dots and called it done.
I hope you’ve enjoyed seeing my take on our White Out challenge just as much as I enjoyed creating it. Be sure to share all your crafty goodness with us in the CVS Community group on facebook, and don’t forget to tag all your shares on Instagram using the hashtag #cocoavanillastudio
Thats all from me today, thanks so much for stopping by.
Hey y’all! Guest Designer Laura Alberts back with a 9×12 layout using a patterned paper background!
I love this sweet cut file from my friend, Miranda Webber, and backed it with papers from the 6×8 paper pack. I tucked in tons of tiny flowers, clear heart stickers, and butterflies in a gentle cascade from top to bottom.
I wanted to keep the title small on this one so that it didn’t stand out too much on this already busy background, so I just focused on one phrase, “The best things in life are free,” which is certainly true and very applicable to this photo of my daughter enjoying her perch on our back patio. I loved her dreamy expression and decided to make this layout just as dreamy to match!
I hope you enjoy this layout and find inspiration! If you would like to see how I created this layout, you can watch my process video on YouTube here: https://youtu.be/-ocEnSkR_6U
Thank you, Cocoa Vanilla Studio for the amazing opportunity to design for you!
It’s Tarrah back with you and today I am sharing a new layout featuring the gorgeous Unforgettable collection!
The colours in the Unforgettable collection are beautiful so I decided to showcase them all on this layout! I pulled out the 6′ x 8′ paper pad and starting using the papers to back a heart cut file available in The Cut Shoppe. Once the heart design was backed, I added craft foam underneath and adhered it to the black and white spot paper also from the Unforgettable collection. I decided to trim down the black and white spot paper so that I could add the grey chevron paper is a border right around the page. I trimmed this paper down slightly also so that I could add a black cardstock border also.I added my photo of my 2 beautiful nieces slightly to the right of the heart and added a couple pf layers underneath including a paper doily and some more of the 6′ x 8′ papers from the paper pad. I also added one of the tags from the die-cut pack to the left of the photo and I popped up the photo and paper layers to give even more dimension. I pulled out the ‘Hello’ foam title and added it to the bottom of my photo and added a flair button and a phrase die-cut on the left of the photo.The butterflies in this collection are beautiful, quite a few of those made it onto my page also. To further embellish, I added 2 of the black foam hearts, some die-cut hearts and florals, some enamel dots and some of the stickers from the accessory sheet.
Thank you so much for stopping by the Cocoa Vanilla blog today! I hope you are inspired to pull out your Unforgettable collection and create with it!
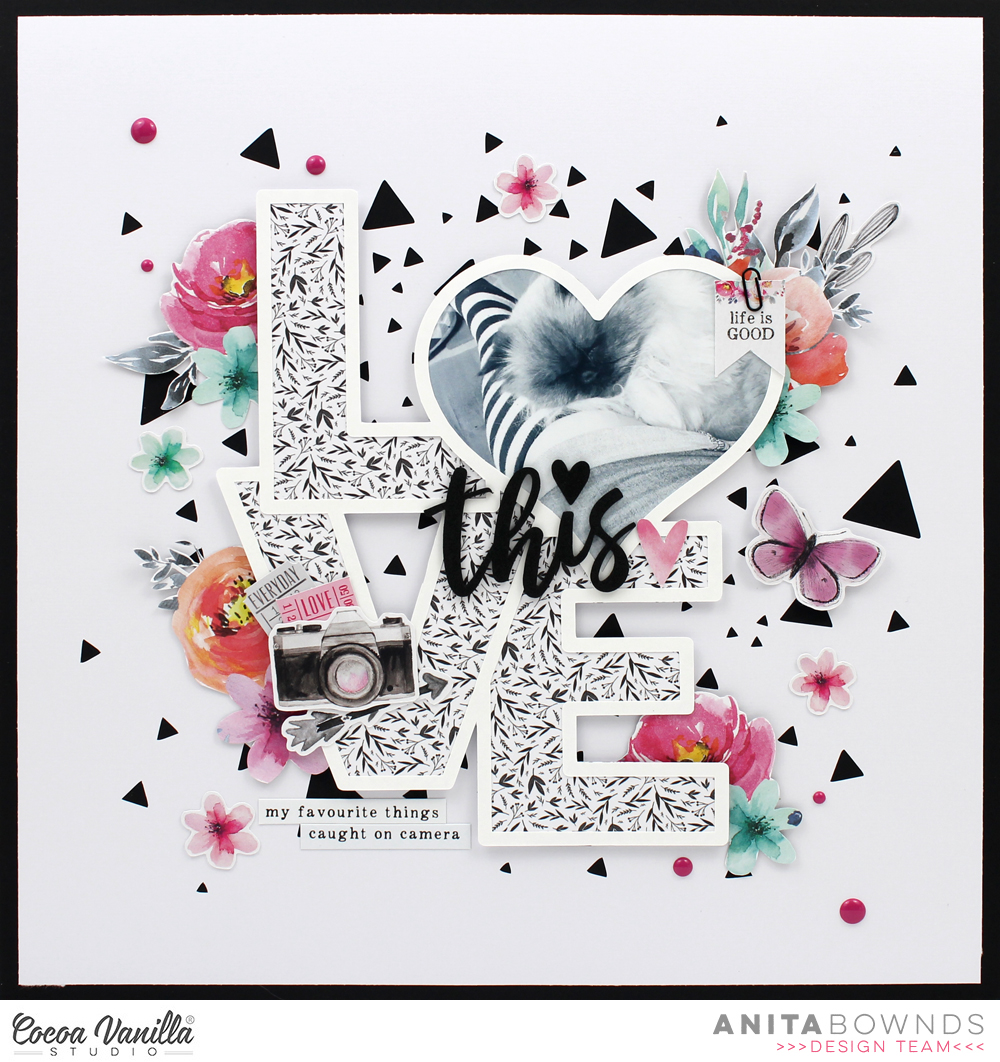
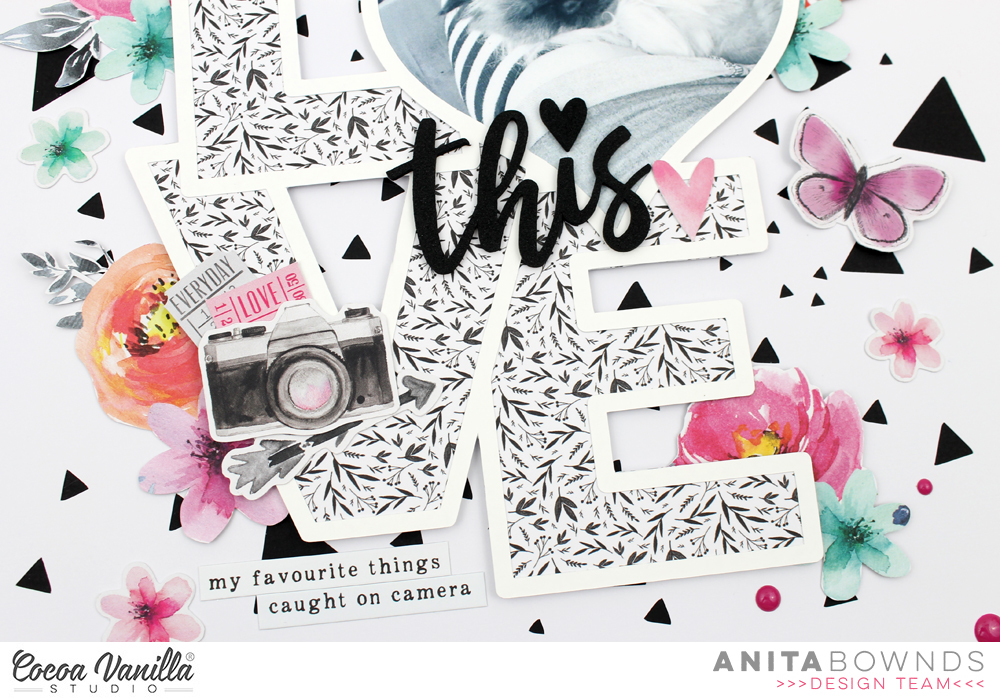
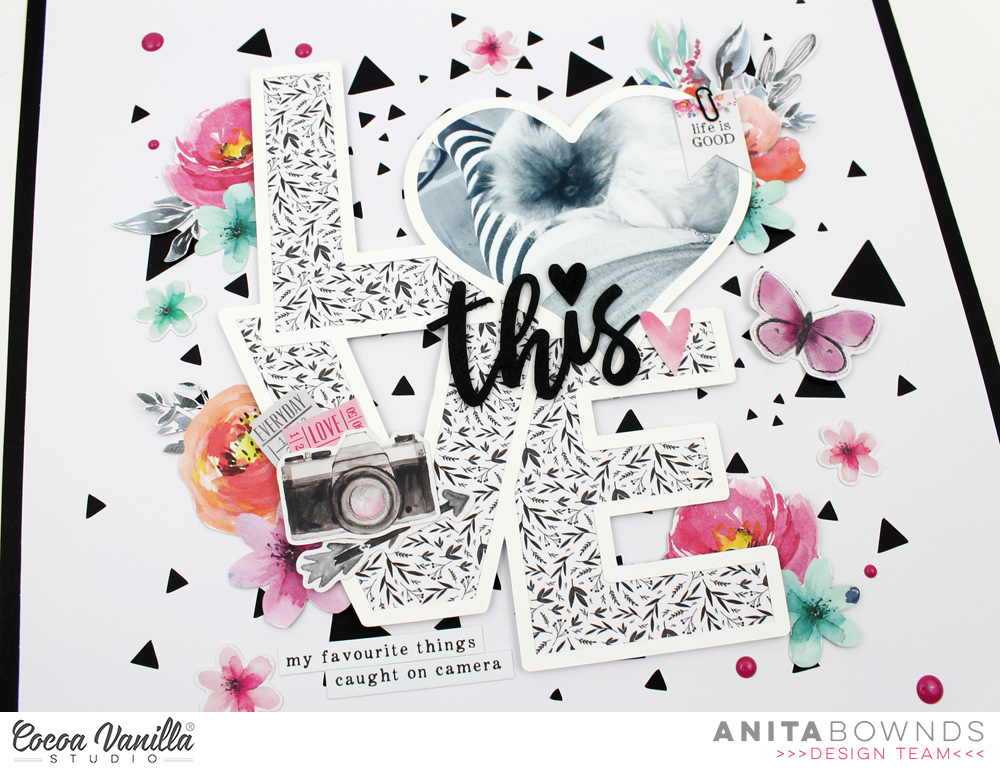
Anita here with you today sharing a love layout using the beautiful unforgettable collection.. I using a photo of my kitty Kushan, I guess most people wouldn’t know this but he is blind as he had a stroke 3 years ago and has become very clingy to the point he meows all the time and wants to be picked up and hugged or just be close so he like to lay on my legs while I play video games or watch tv…
Ok so for my layout today I was inspired by a plate I have for my ephemera and bits on my desk that has triangles scattered on it so I thought this triangle confetti background cut file from Paige Evans was just perfect.
I used my cameo to cut out the background on white cardstock and back it with black cardstock
Then using another cut file from Paige Evans this time the word love I cut with my cameo in white cardstock
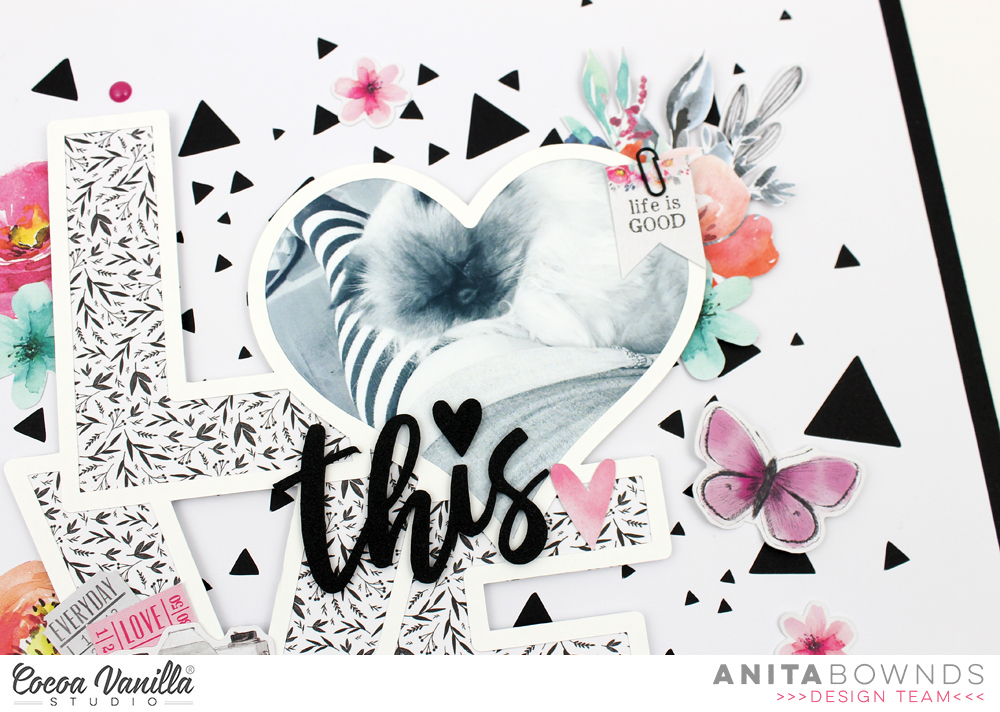
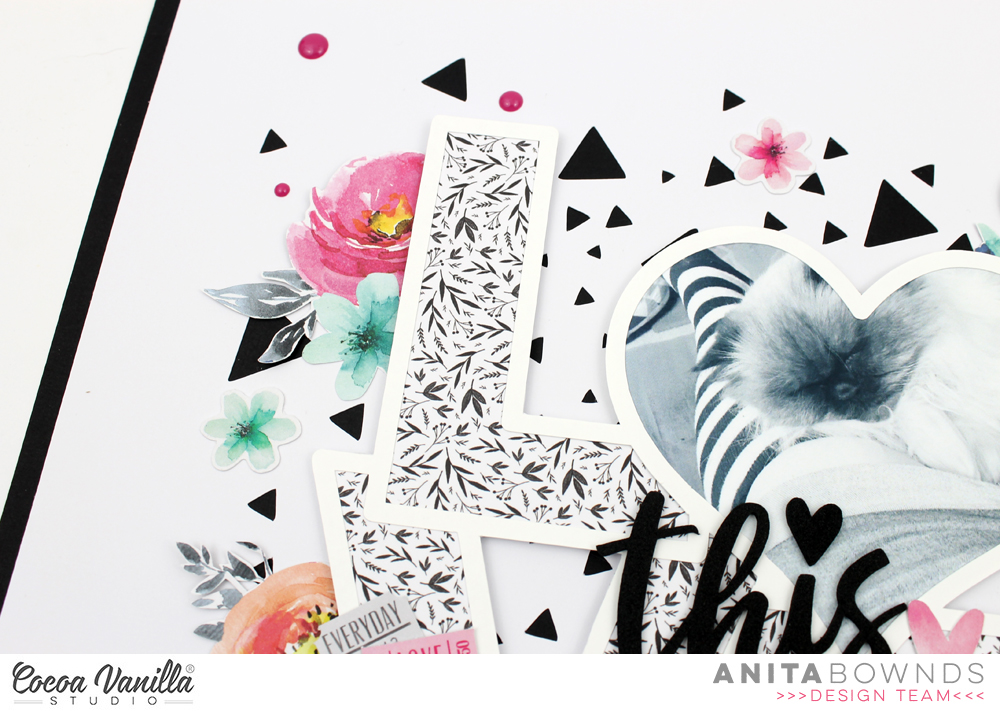
And backed the heart with my photo and the rest of the letters with natural beauty from the 6×8 paper pad
Then I added some double sided foam tape to the back a added it in the middle of the layout
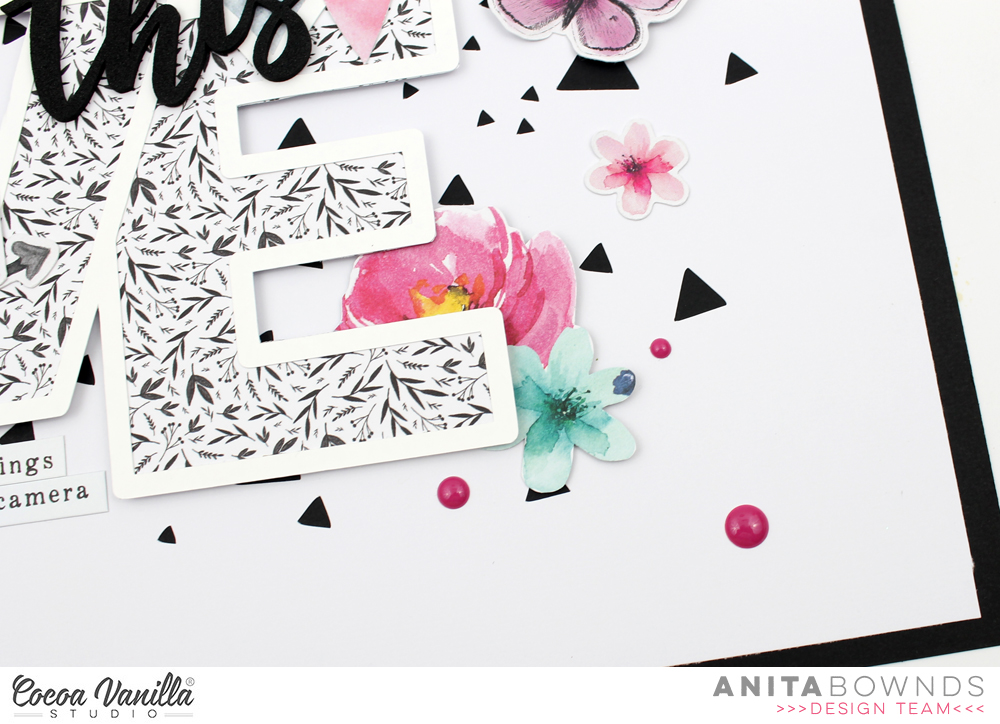
Then I fussy cut out some flowers from patterned paper glorious to add floral’s around the cut file word
And for the other part of my title I use the word this from the foam title stickers and a few phrase stickers from the accessory stickers to the bottom of the love cut file.
Then I pulled out the ephemera and started adding it around the photo and cut files
Then to finish off the layout with a few enamel dots at the top and bottom of my layout.
Hi scrappers! Danni here with another layout for you using the incredible Unforgettable collection. For this layout I gave in to my love of fussy cutting and mixed media – the butterflies were calling to me! I started with white cardstock primed with gesso and used a combination of pink and purple watercolours to create a swirled pattern. I included some shimmery paints and some gold spray ink to add some extra prettiness. I decided on a circle shape for my photo to continue with the shape of the watercolour on the page.
Next, I went to town with my fussy cutting scissors and cut up a storm! I fussy cut a bunch of the butterflies from both the 6×8 and 12×12 Lacewing papers and the large floral clusters and tiny flowers from 12×12 Glorious paper. I bent the butterflies in the centre to create dimension and glued them down in clusters around the watercolour swirl, making sure to just add glue to the centre and keep those wings popped up. They look like they could fly up off the page any second! I sprinkled the teeny tiny flowers in amongst the butterflies – they are so sweet.
I glued my fussy-cut florals in two main clusters either side of my photo, overlapping them to keep it looking natural and add lots of lovely layers. I finished off my floral clusters with some of the branches and flowers from the clear stickers to fill in any gaps. The clear stickers are great for this! The beautiful berry-coloured enamel dots were the perfect touch to round out my floral clusters.
For my title, of course I couldn’t go past the foam title words, but this time I decided to colour them. I used a mint acrylic paint for the base colour, then dry brushed over the top with dusty mauve to tie it in with the florals. I love how this turned out! The titles took the paint with no problems and look amazing.
The edges were looking a little plain and unfinished so I tore the page edges in three places, distressed them and layered the tiny floral pattern from the 6×8 paper pack behind so you can see the pattern peeking out. This is one of my favourite techniques to do on a white background layout.
For the final finishing touch, I added some glass bead gel on top of the watercolour swirl between the butterflies and around my photo. It dries clear and leaves a lovely subtle sparkle, especially on top of watercolour. It’s so much fun to play with different mediums and see the different effects you can achieve.
I hope you love this layout as much as I do! Thank you so much for joining me today, happy scrapping!
Hello Scrappy Friends! This is Laura Alberts, Guest Designer and huge fan of Cocoa Vanilla Studio! I’m sharing a 12×12 Layout using the Unforgettable collection, a large heart cut file from Cathartic Scrapper, and a photo with two of my daughters snuggled up together for a story.
By using the inside pieces of this cut file, which I normally might have tossed, I’ve created a geometric heart background! I hand-stitched a border all the way around to give it an outline and add texture to the page.
For my three clusters, I started with the Cut to You cut file with leafy fronds cut from the Garland paper and then backed the leaf outlines with vellum. Layering the large floral swag from the ephemera pack on top made for a lovely large cluster! I added a tag from the 6×12 sticker sheet as well as two tickets, tucked behind the left side of the photo, and a few word phrases on the right side. A tab and small cluster on the right of the photo as well as a few clear stickers created a tiny cluster there and a cluster of florals and leftover fronds on the top left of the heart finished it off! I added clear tiny heart stickers and enamel dots for the detail embellishing, then splattered with gold mist.
This layout wouldn’t be complete without using one of the striking titles from the Unforgettable collection and “Stories” was perfect! I’m absolutely in love with the font on these titles as well as the small foam hearts, that I sprinkled into my clusters to help tie in the black from the title.I had so much fun with this layout and I hope it inspires you!
Hello Crafty Friends! It’s Michelle back here today with a fresh new layout using the super sweet Unforgettable collection and some oh so adorable photos of Leila from a few years back. I went all out with loads of pink for our current Think Pink theme, in honour of Pink Ribbon day. There are so many variations of pink within this collection, and it was hard not to use it all.
I started the layout by cutting the loopy hearts cut file from CUT to YOU on the reverse of UNSCRIPTED paper. I also used the same pattern as the backing/border for the layout.
I chose 2 sweet photos of Leila and printed them in B&W and slightly different sizes, framed one using the photo frame from the Happiness Collection ephemera pack, and adhered them over the right side of the cut file piece using foam tape. I tucked all the floral elements and ephemera pieces (some are fussy cut from the 6×8 GLORIOUS paper) under the frame to the left of the layout using different forms of adhesive for loads of dimension. I also tucked in a heart from the heart wreath cut file I used on a previous layout that complimented the subtle hints of turquoise I’ve added in to break up all the pink. Don’t get me wrong I LOVE pink, but theres only so much one lover of pink can handle HAHA
Over on the right side of the photos I added an extra ephemera piece and some text pattern paper from the 6×8 paper stack, its the same design as the reverse of PRETTY BITS just in the smaller design. I altered a large floral ephemera piece to create a smaller cluster for the bottom of the photo.
Kept the title super simple using a foam title piece and accessory sticker, then a couple of enamel dots and a sweet butterfly to finish it off
Lastly up in the top left corner I’ve added a black foam heart, enamel dots and accessory sticker before splattering the layout with 2 different colours of pink inks.
Well thats all from me today, thanks so much for stopping by. Be sure to share all your beloved CVS creations within our Facebook community group HERE, and use the hashtag #cocoavanillastudio when sharing on Instagram or Pinterest


 Once the heart design was backed, I added craft foam underneath and adhered it to the black and white spot paper also from the Unforgettable collection. I decided to trim down the black and white spot paper so that I could add the grey chevron paper is a border right around the page. I trimmed this paper down slightly also so that I could add a black cardstock border also.
 I added my photo of my 2 beautiful nieces slightly to the right of the heart and added a couple pf layers underneath including a paper doily and some more of the 6′ x 8′ papers from the paper pad. I also added one of the tags from the die-cut pack to the left of the photo and I popped up the photo and paper layers to give even more dimension. I pulled out the ‘Hello’ foam title and added it to the bottom of my photo and added a flair button and a phrase die-cut on the left of the photo.
 The butterflies in this collection are beautiful, quite a few of those made it onto my page also. To further embellish, I added 2 of the black foam hearts, some die-cut hearts and florals, some enamel dots and some of the stickers from the accessory sheet.