My Lovely | unforgettable and Happiness | Anita Bownds
Hi there crafty friends,
Anita here sharing a fun mixed media layout with lot’s of flowers and leaves using unforgettable and happiness collections I really love how all the cocoa vanilla studio collections always work so well together and I absolutely love the bright and beautiful colours…
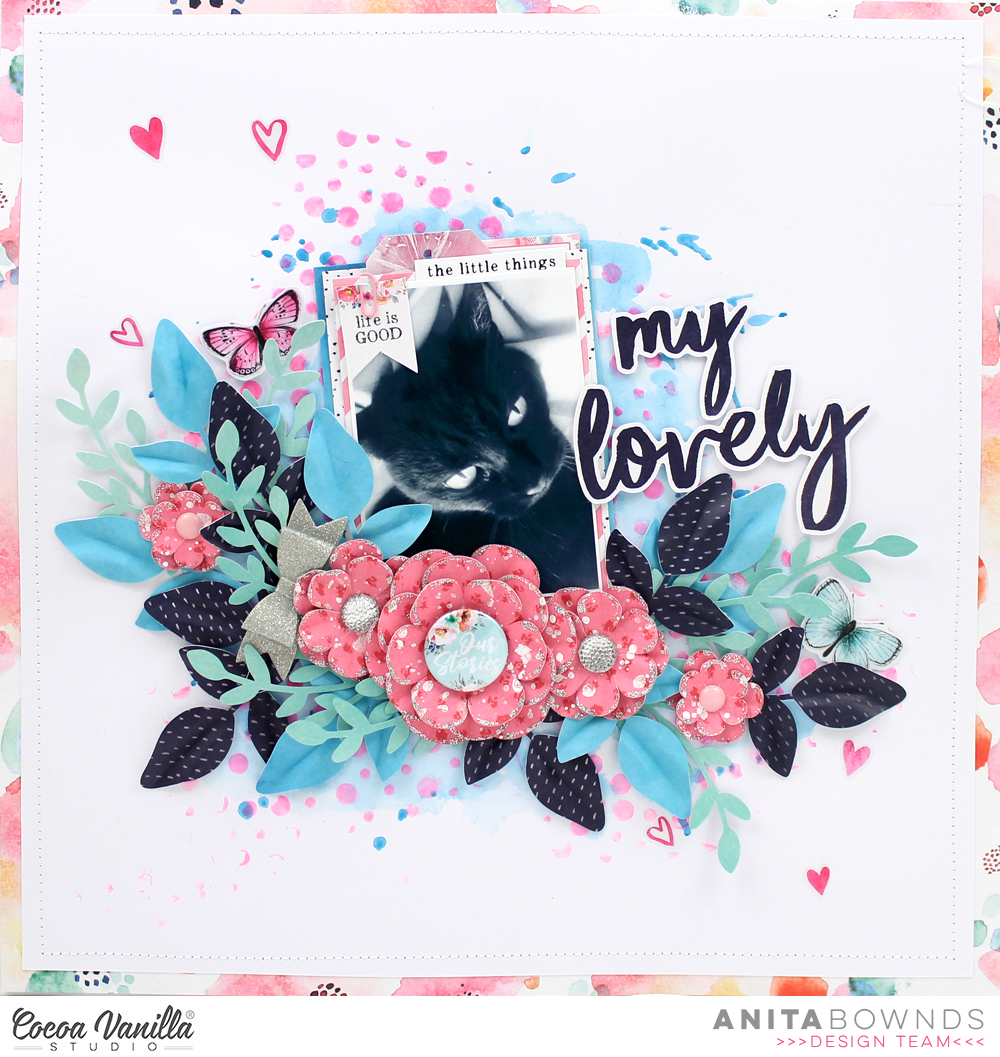
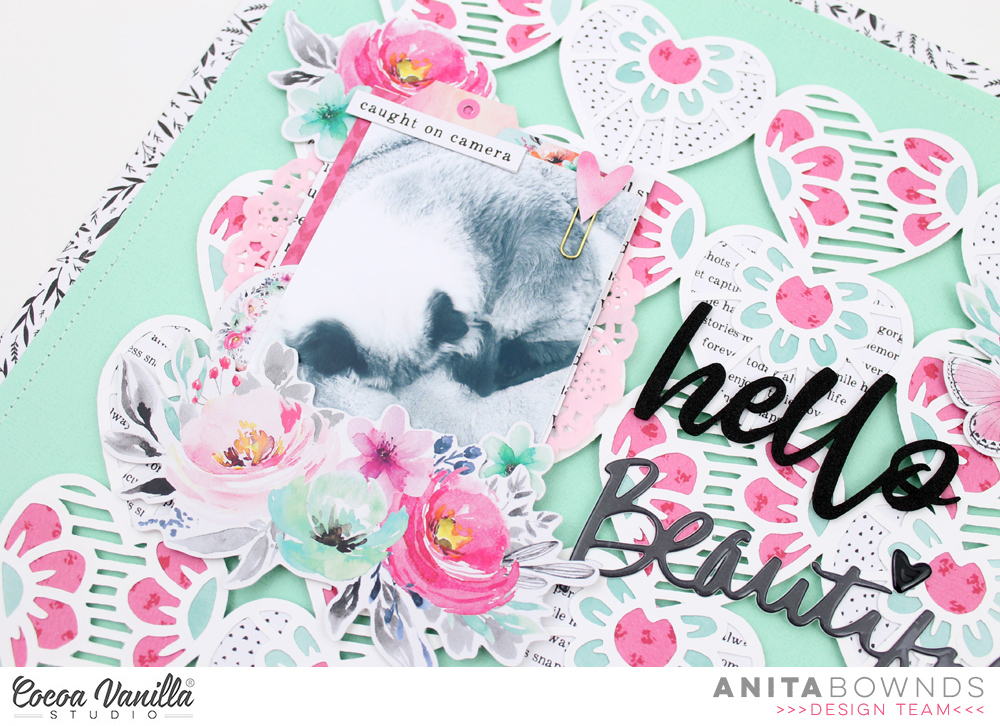
I started off with white cardstock and adhered it on sprightly pattered paper to add colour to my border around my white cardstock then stitched around the edges using my sewing machine

Then I added watercolour to the cardstock and then mixing pink paint with heavy body gel
Through a dots stencil to add more texture to the background

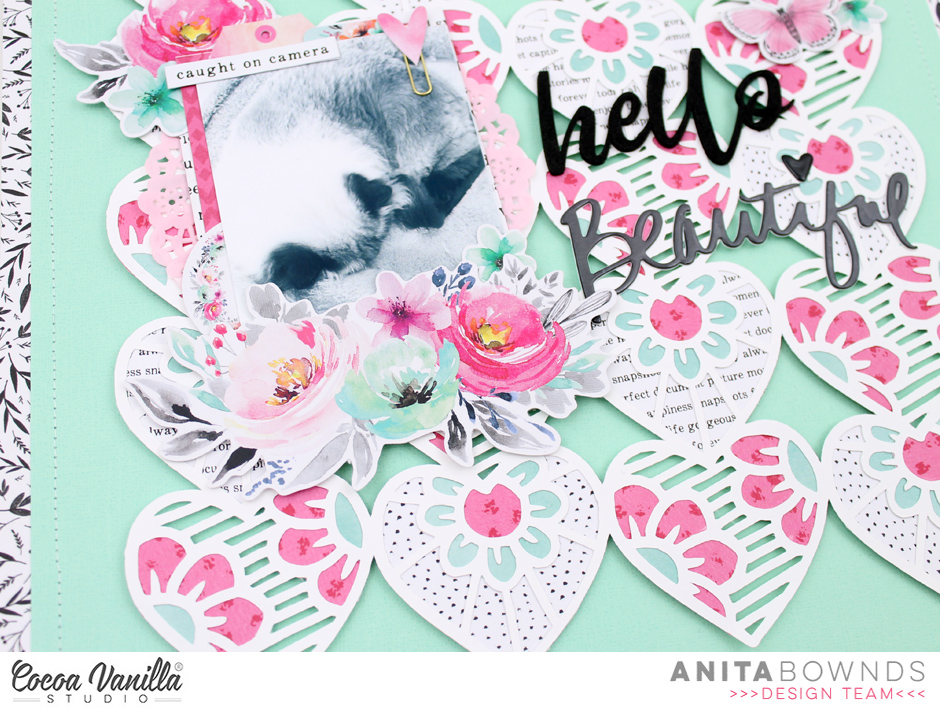
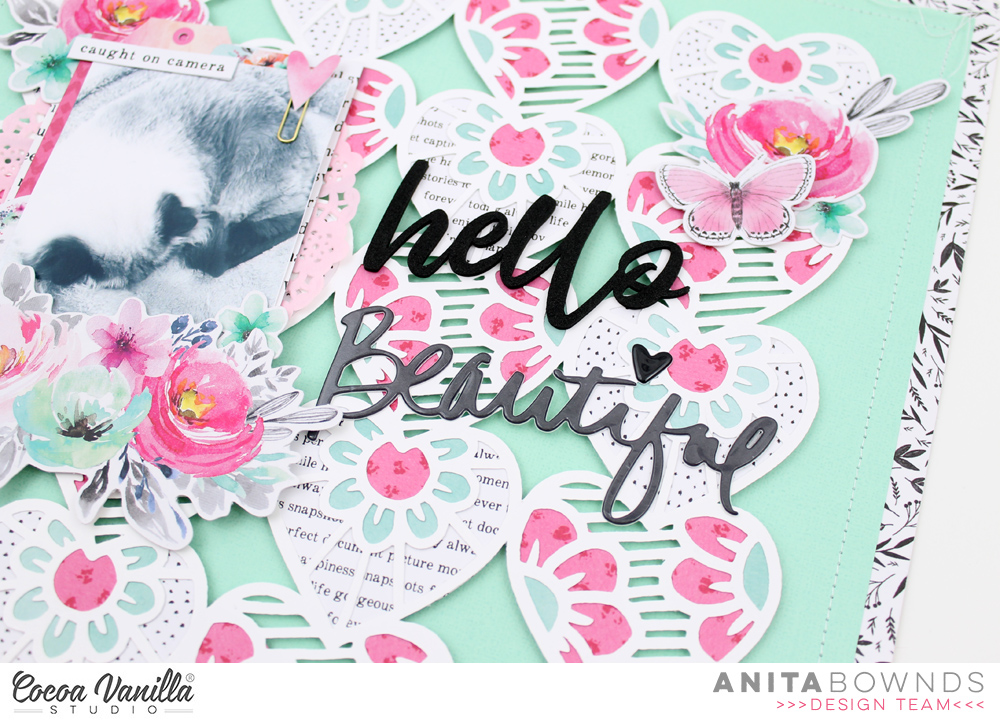
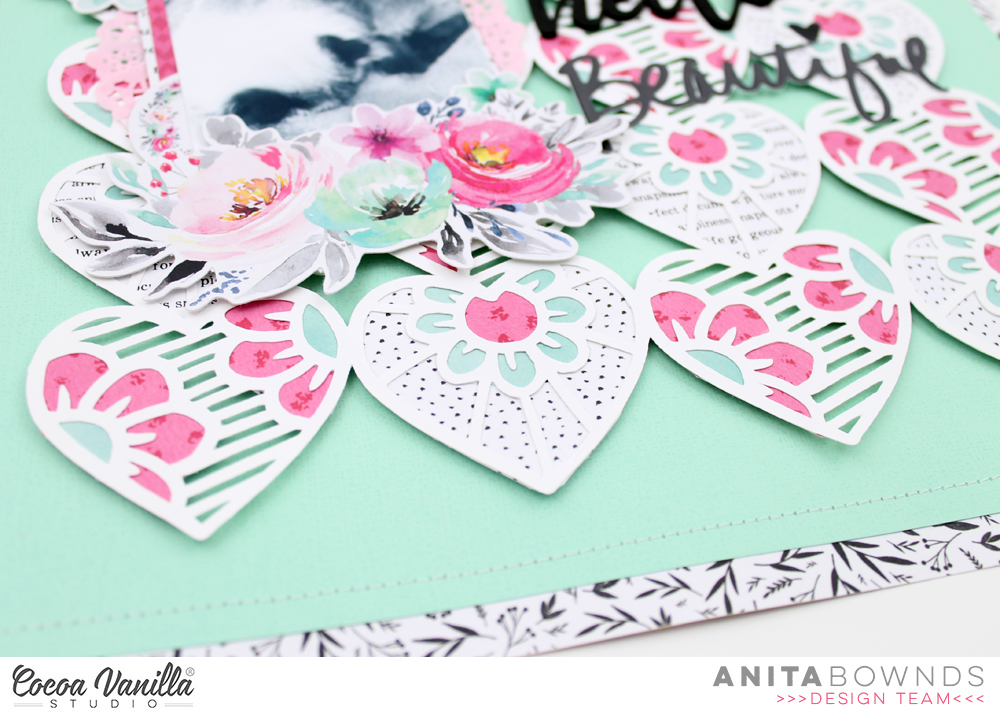
Then I started adding flowers and leaves from a cut file from Paige Evans that I cut from unscripted ,garland papers and the 6×8 happiness paper pad using my silhouette cameo I added a flair and enamel dots and a few rhinestones from my stash

Then I matted my photo on papers From the 6×8 unforgettable paper pad and the blue pattern paper from the happiness paper pad and tucking it in the flower clusters and i used a title from the happiness cardstock titles
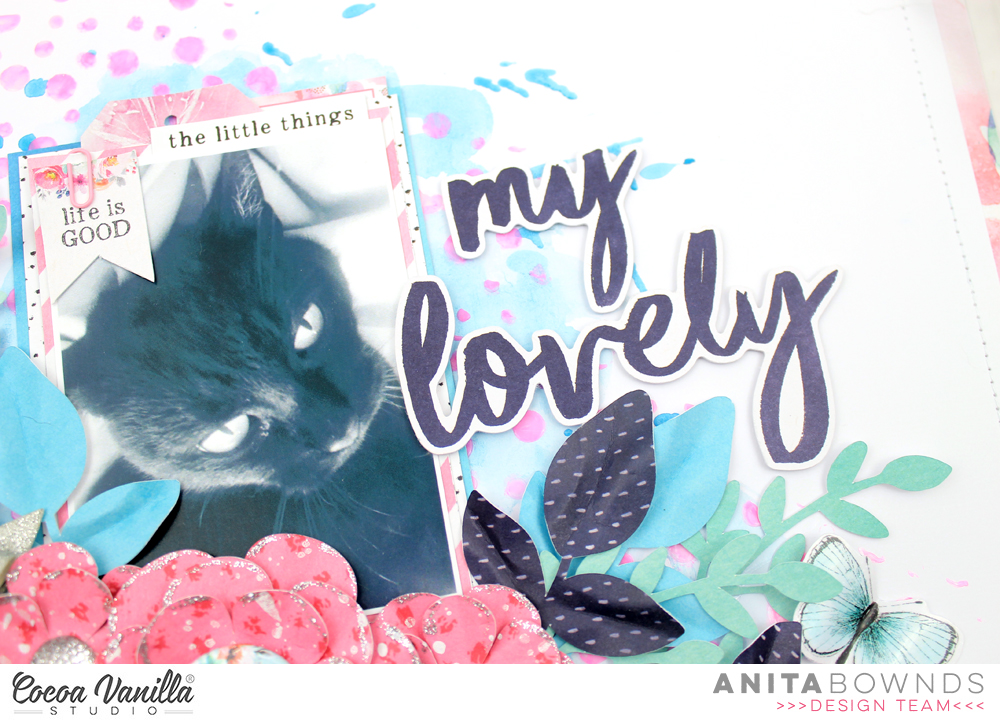
And I finish off the layout by adding some ephemera and stickers around my photo
And clear stickers around my floral cluster.

I hope I’ve given you some fun mixed media and floral inspiration
Happy crafting…