Love This | Storyteller collection | Mandy Melville
Hello everyone!
Mandy here today to share another layout featuring the new Storyteller collection! I’m especially loving the gorgeous bright colours and the beautiful florals in this collection, which I think perfectly complement this lovely photo of my kids with their cousins and their grandparents.
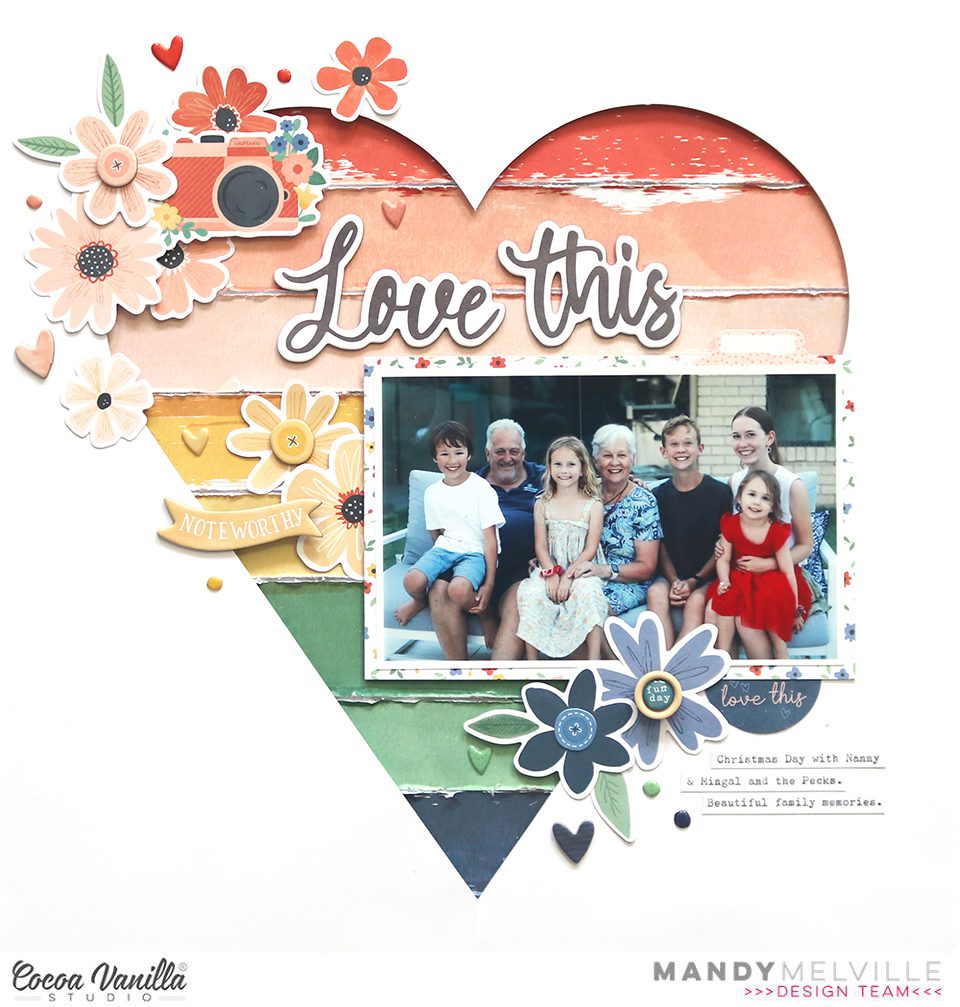
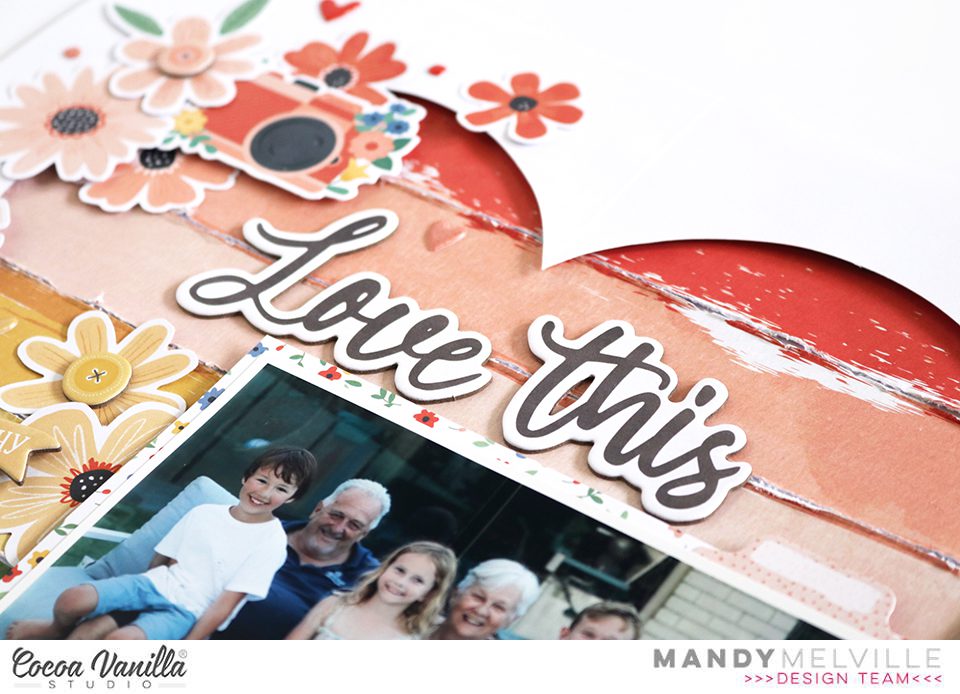
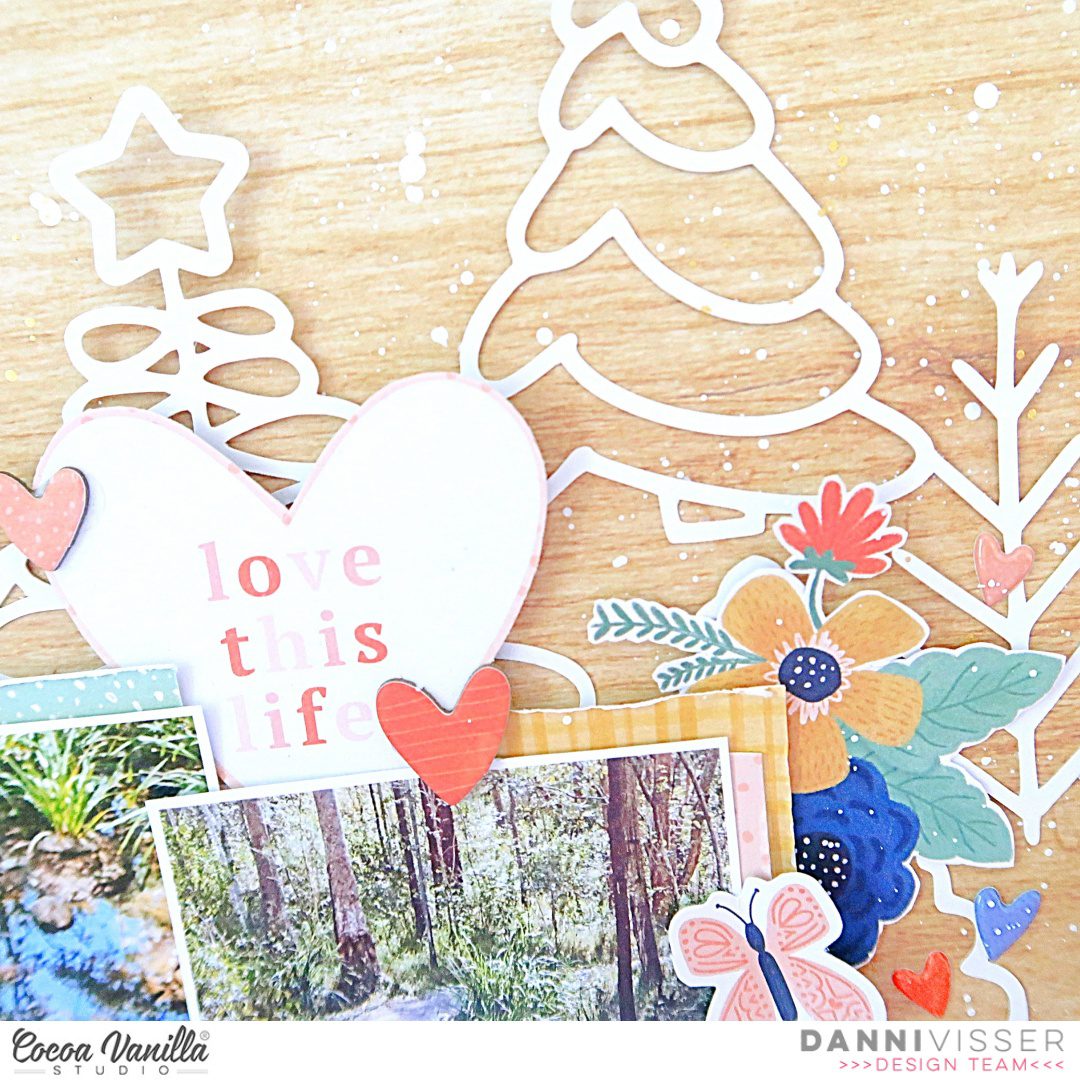
I started this layout off by cutting a large heart out of the centre of a sheet of white cardstock. I knew that I wanted to back the heart with one of the patterned papers from the collection, and I couldn’t go past using the gorgeous Brighter Days paper. This is one of my favourite papers from the collection! I decided to cut apart the coloured stripes on the paper so that I could distress the edges of each before adhering them back together on another sheet of cardstock. Once I’d done this, I then added the piece with the cut out heart over the top. I love the way this adds lots of colour and texture inside the heart! You can see that I also added a layer of craft foam between the white cardstock and strips of patterned paper to give the layout some extra dimension.
Next I matted my photo with one of the papers from the A5 Paper Stack and then adhered it on the right hand side of the heart.
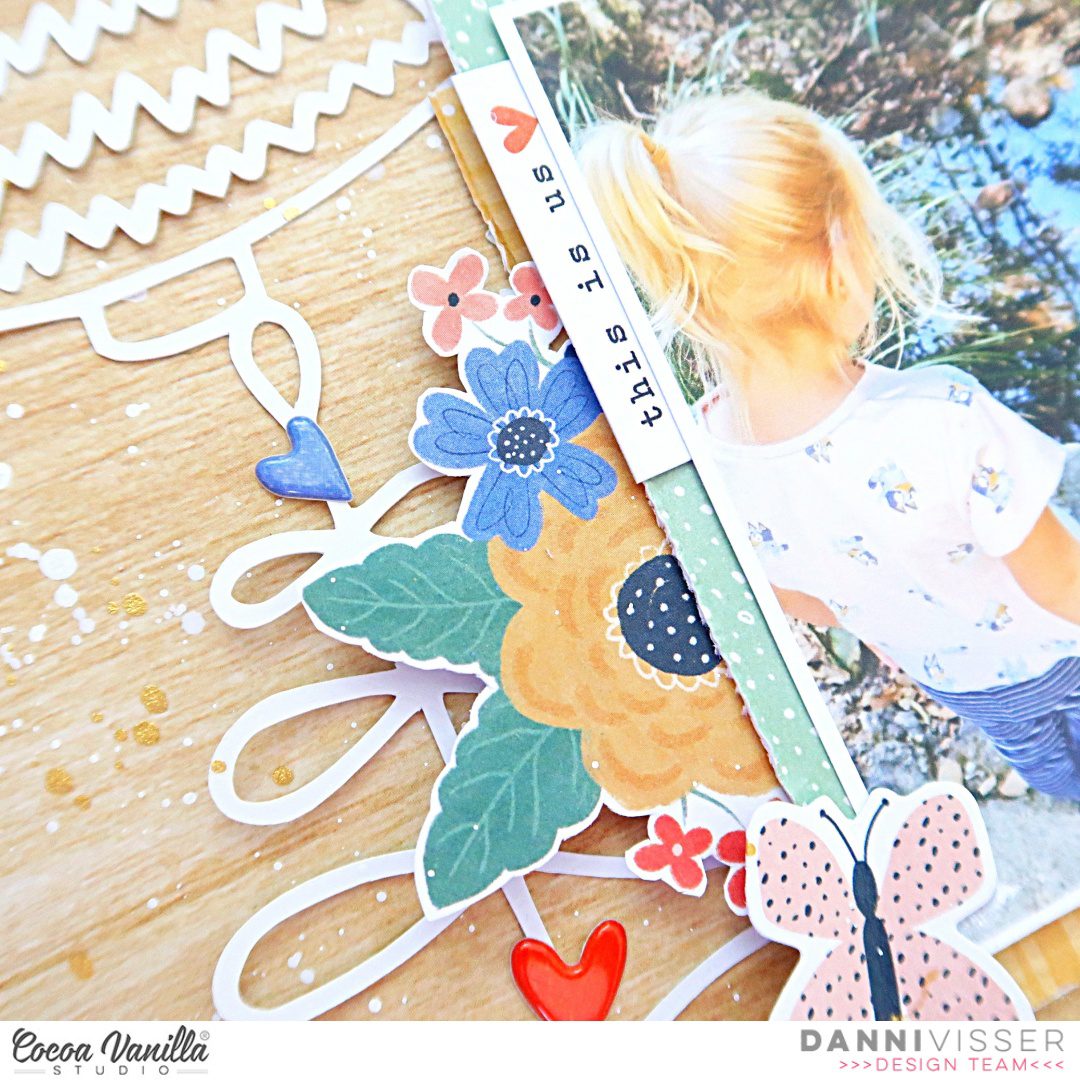
To highlight the rainbow of colours on the Brighter Days patterned paper, I decided to keep my embellishing tone-on-tone. I started at the top left hand corner of the heart where I clustered together some Floral Ephemera pieces and a Die Cut camera, all in the pink and red tones. I adhered some with foam tape, and others I stuck directly to the background to give the cluster lots of interest.
Moving down the page, I created another embellishment cluster on the yellow section, again using tone-on-tone embellishing. This cluster includes more Floral Ephemera, as well as a couple of Chipboard Stickers.
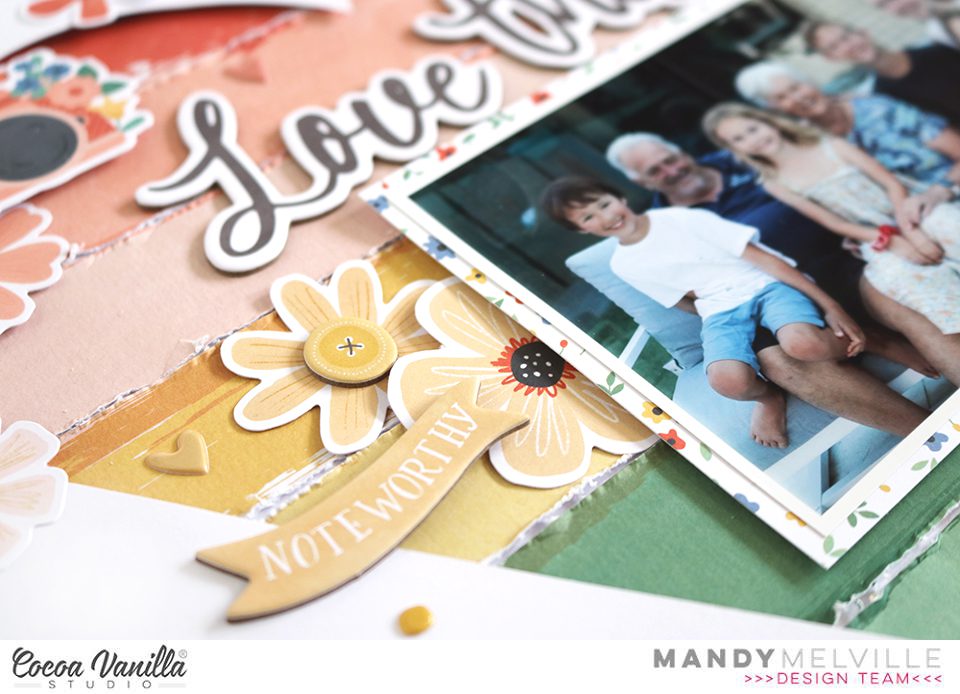
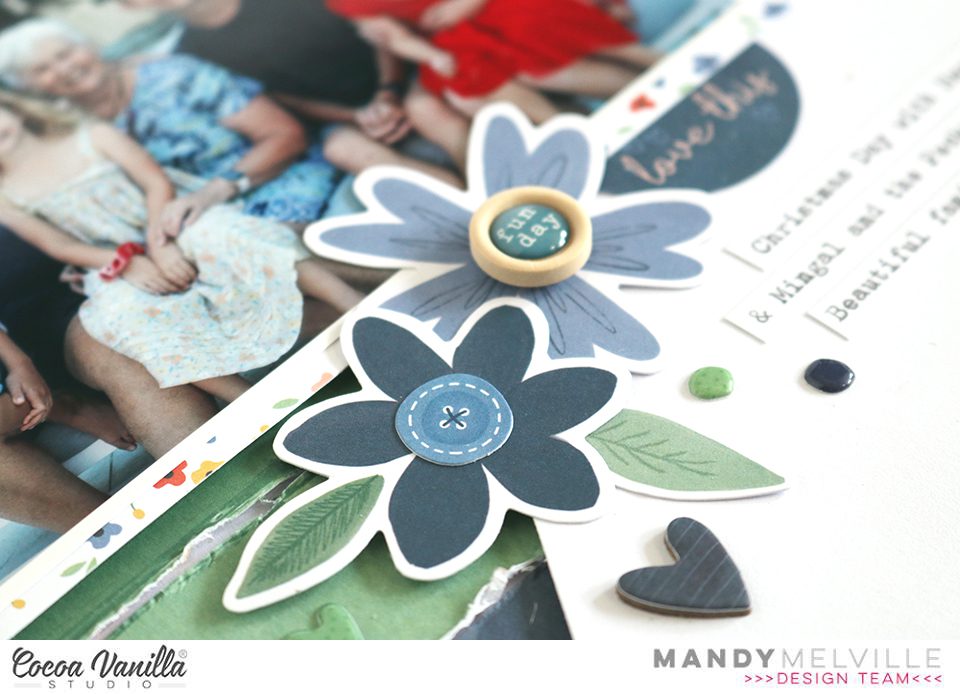
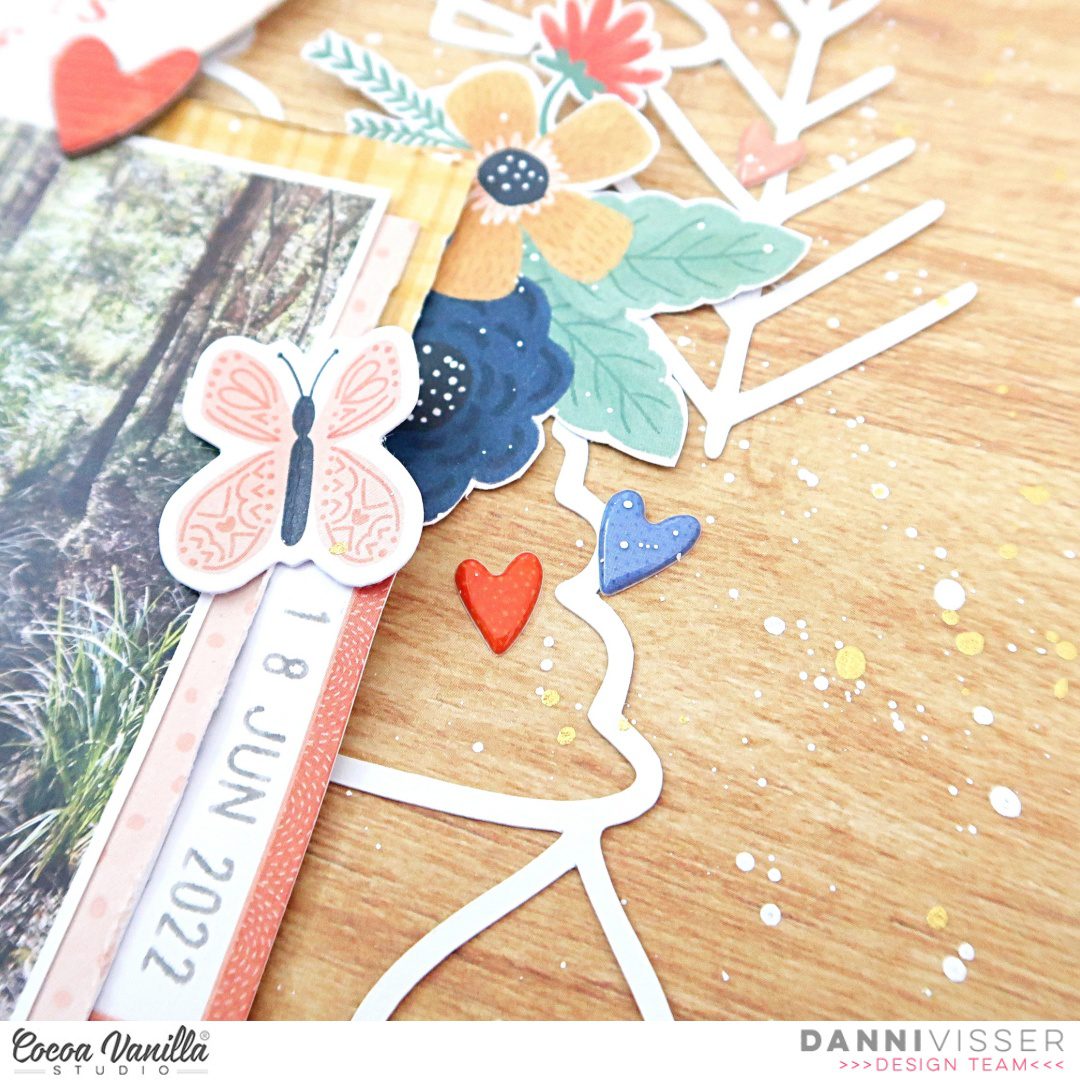
Finally, I created a third cluster on the green and blue section, using similar elements that I’d used in the previous two clusters. I also added a Wood Epoxy Button to the centre of one of the flowers in this cluster. You’ll notice that the three clusters are positioned diagonally down the page, drawing the viewer’s eye from the larger cluster in the top left, down through the title and photo, and to the cluster in the bottom right.
For my title I decided on using the ‘Love this’ words from the Chipboard Stickers, which I added above the photo.
To finish the layout off I added a sprinkling of smaller elements around the three embellishment clusters. For this I used the little hearts and dots from the Puffy Stickers, as well as a couple of Chipboard hearts.
Thanks so much for joining me here on the blog today! I hope that you’ve been inspired by my layout!
Mandy x


 I placed my photo slightly to the right of the page using craft foam to add dimension. I layered some papers from the A5 paper stack underneath the photo and distressed the edges slightly to add some texture and to help make the photo pop! I searched through the pocket cards and found the perfect one to suit the photo of my son as photographer! I used craft foam to adhere the pocket card to the left of the photo. When I am placing elements on my page and I am not 100% certain about their position, I will mostly always only use a very small amount of adhesive in case I need to reposition anything or add an extra layer underneath. Once I am happy with where everything ends up on my layout, I add extra adhesive for reinforcement.
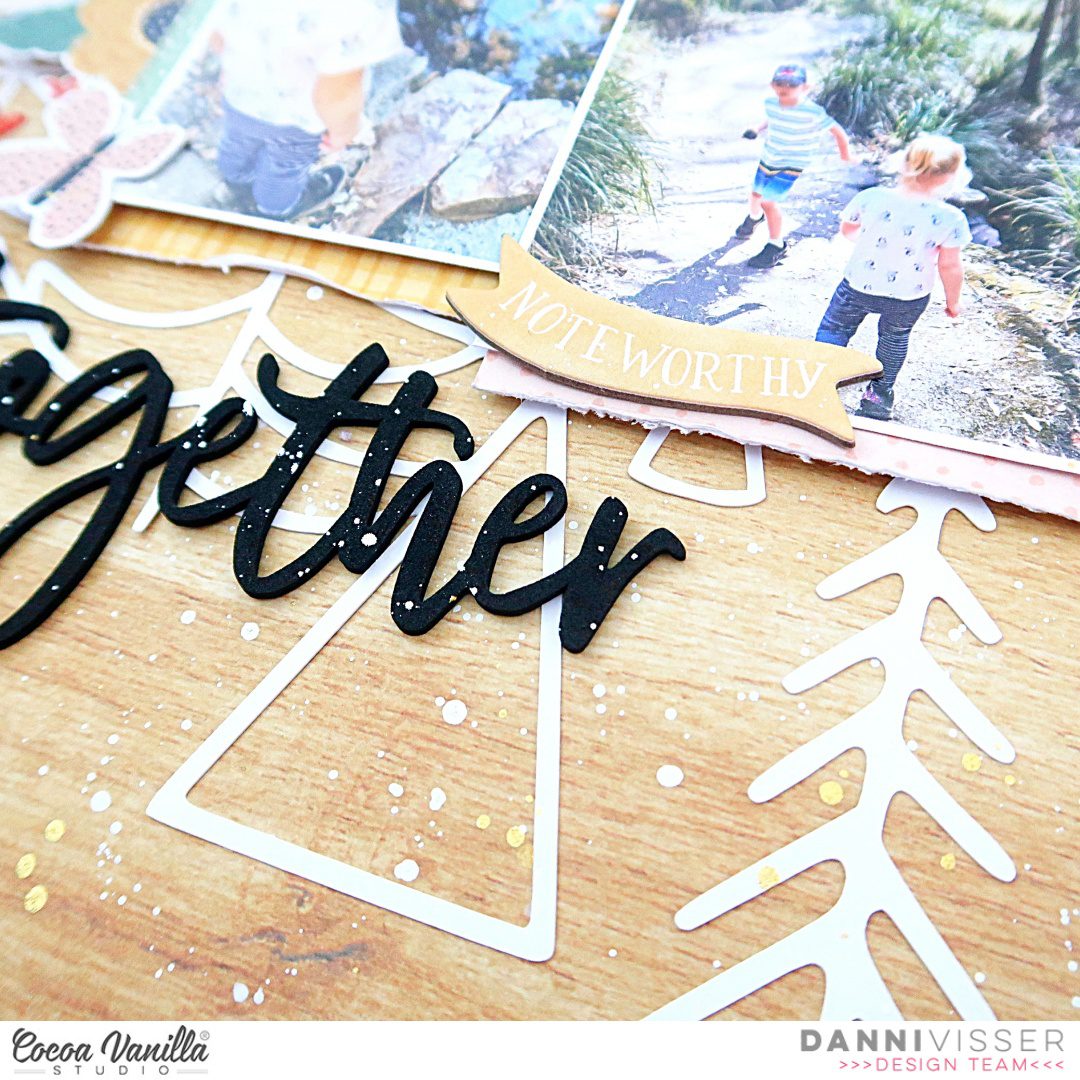
 Now I have the main focus of the layout sorted out, next I added a title. I went through the gorgeous black Foam Titles and chose the word ‘Smile’. I placed this word at the bottom of the pocket card to help tie the photo, pocket card and title together. At either end of the photo and pocket card, I tucked in some pretty flower ephemera pieces, I also added the little piece that says ‘Snap Happy’ to the right of my photo.
 On top of my photo, I adhered the ephemera piece that says, ‘The Story Behind the Photo’ and also a small phrase sticker from the Accessory Sticker sheet in the top right corner. I also added some more of the phrase stickers above the photo and below the photo, these are great additions to a page to help tell a story! Above the pocket card, I added the camera die-cut using craft foam. From this point, I decided to add my embellishments in a tone on tone look…I took some of the super cute heart die-cuts, enamel hearts and wood epoxy buttons and placed them on their corresponding colours.