You Are Cute | Storyteller Collection | Kylie Kingham.
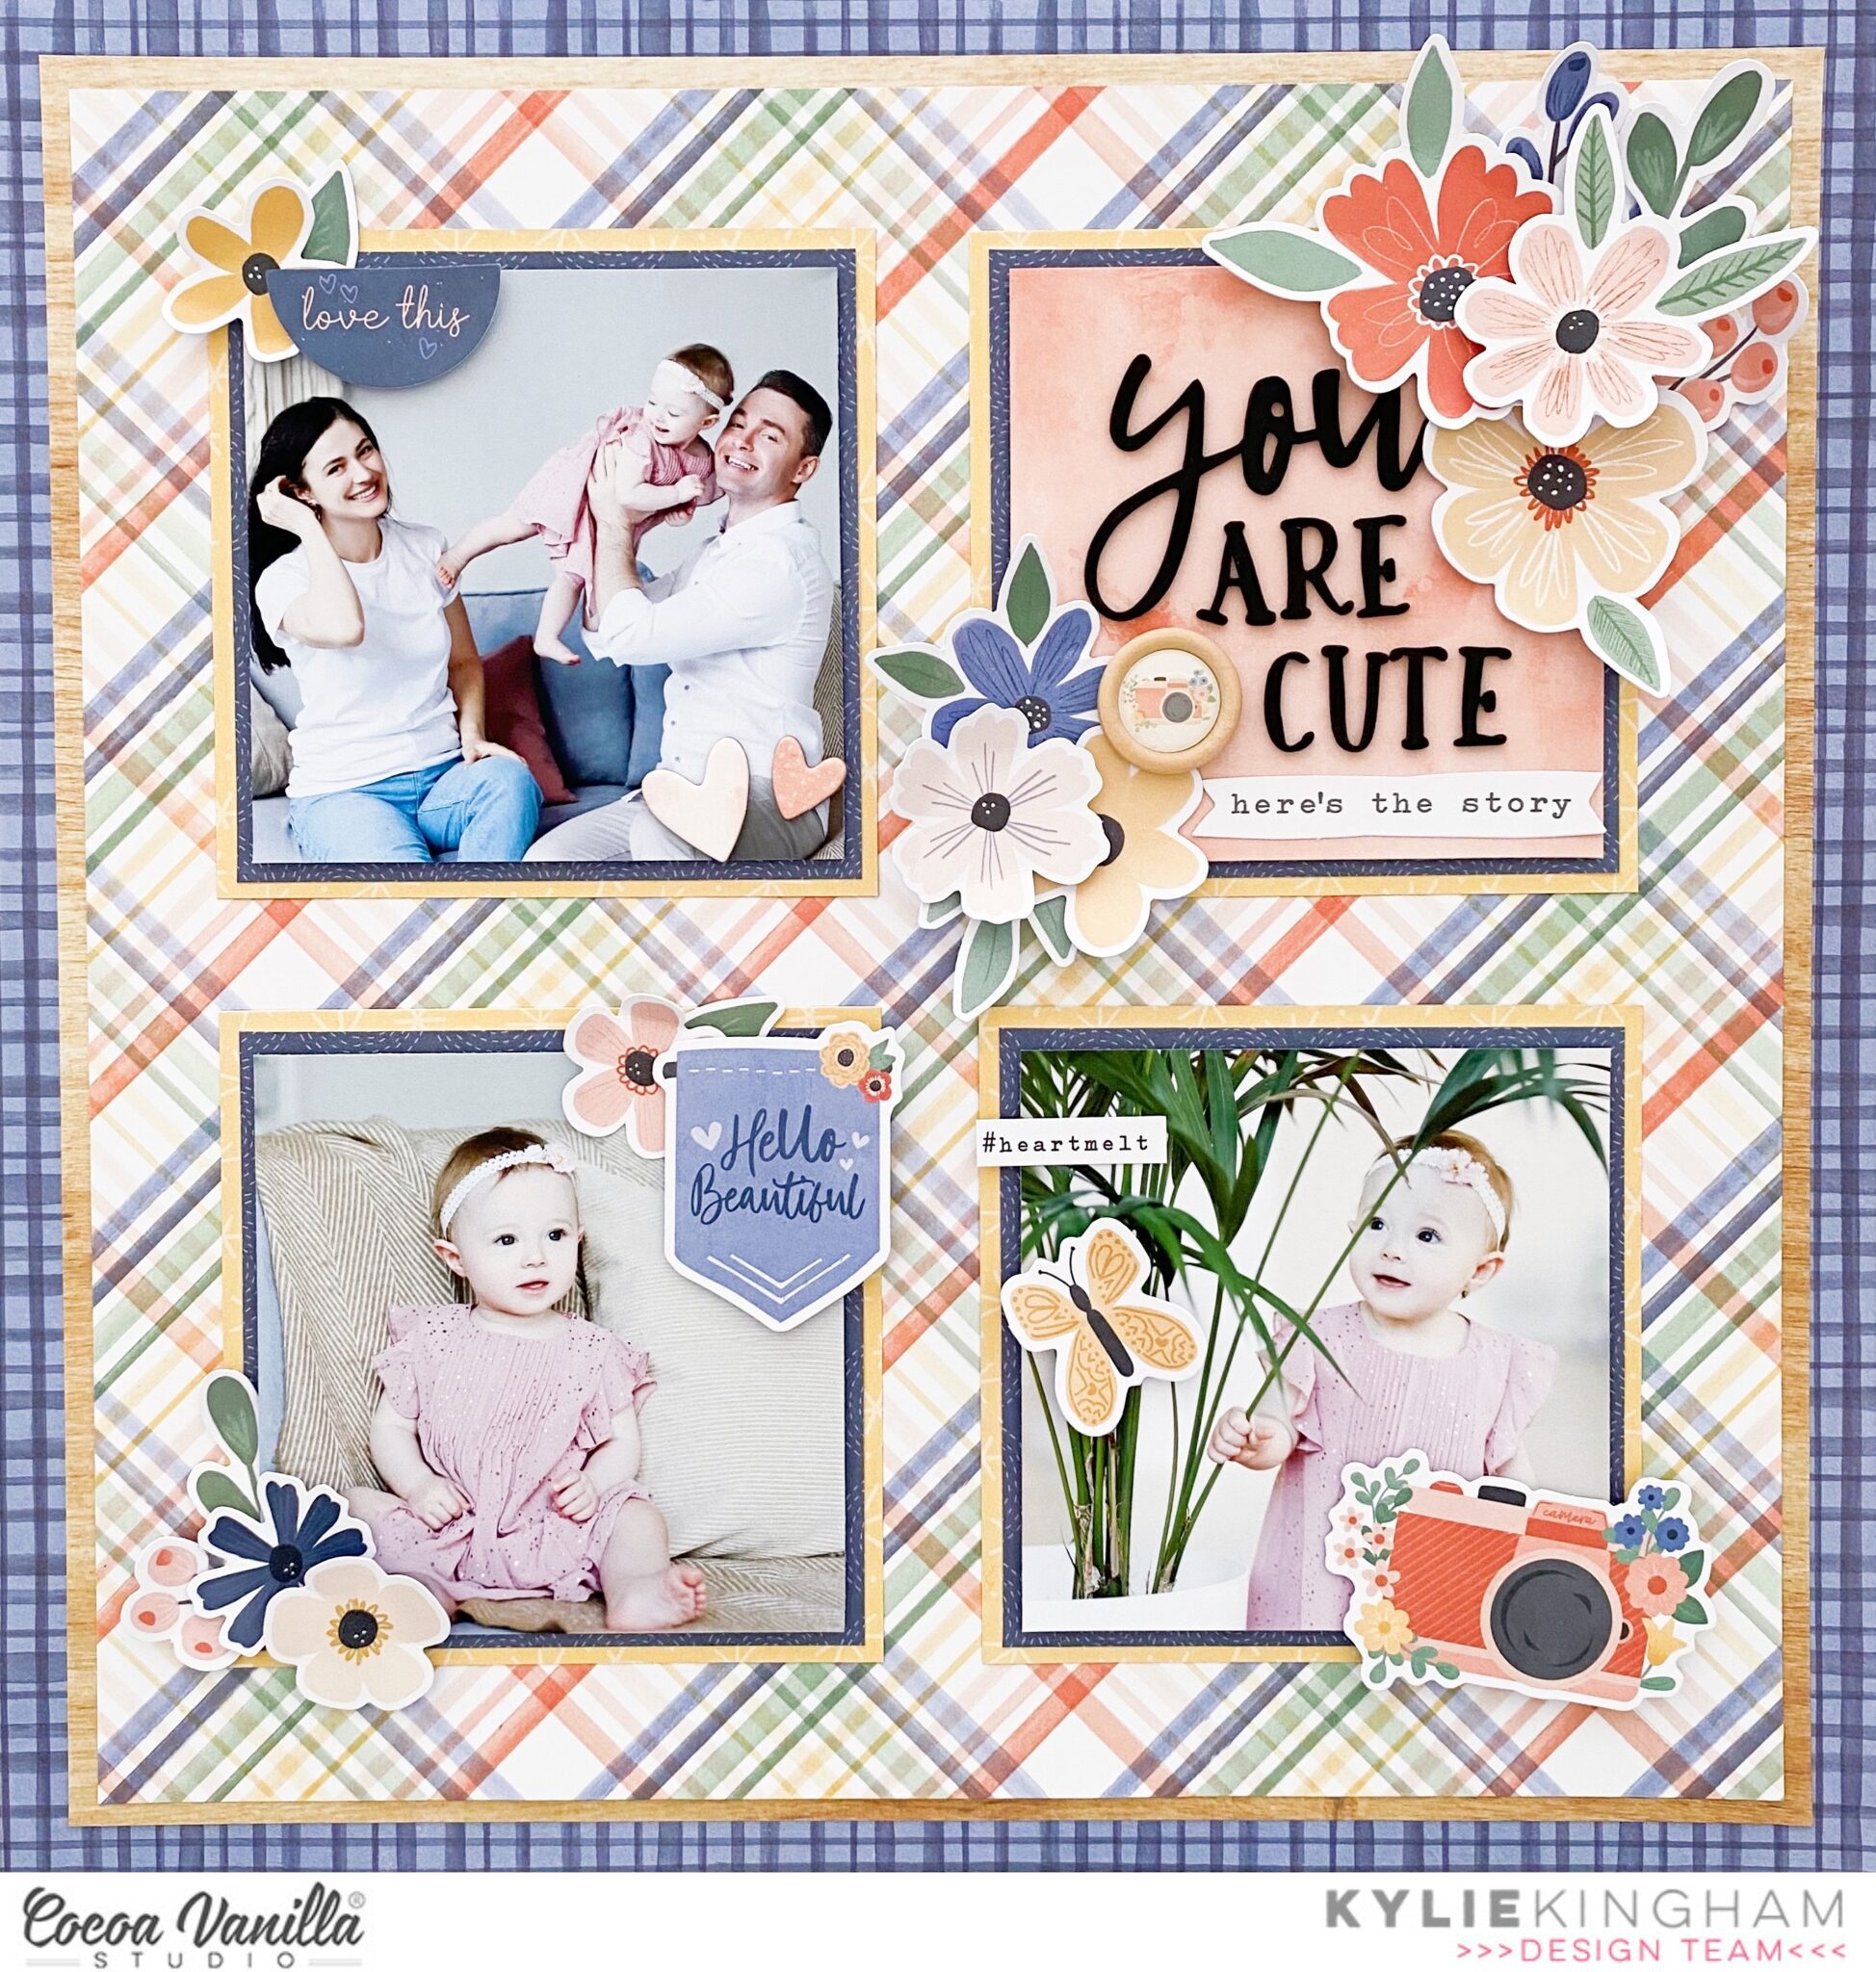
Hello friends! It’s Kylie back with you and I am SO excited to share my very first layout created with the new ‘Storyteller’ collection. I’m SO in love with all the prints and florals…So very yummy! Lately I have been trying to incorporate more than one photo to a page so that was the main inspiration for my design today. I decided to use a good old fashioned grid format, showcasing three photos as well as an embellishment square.
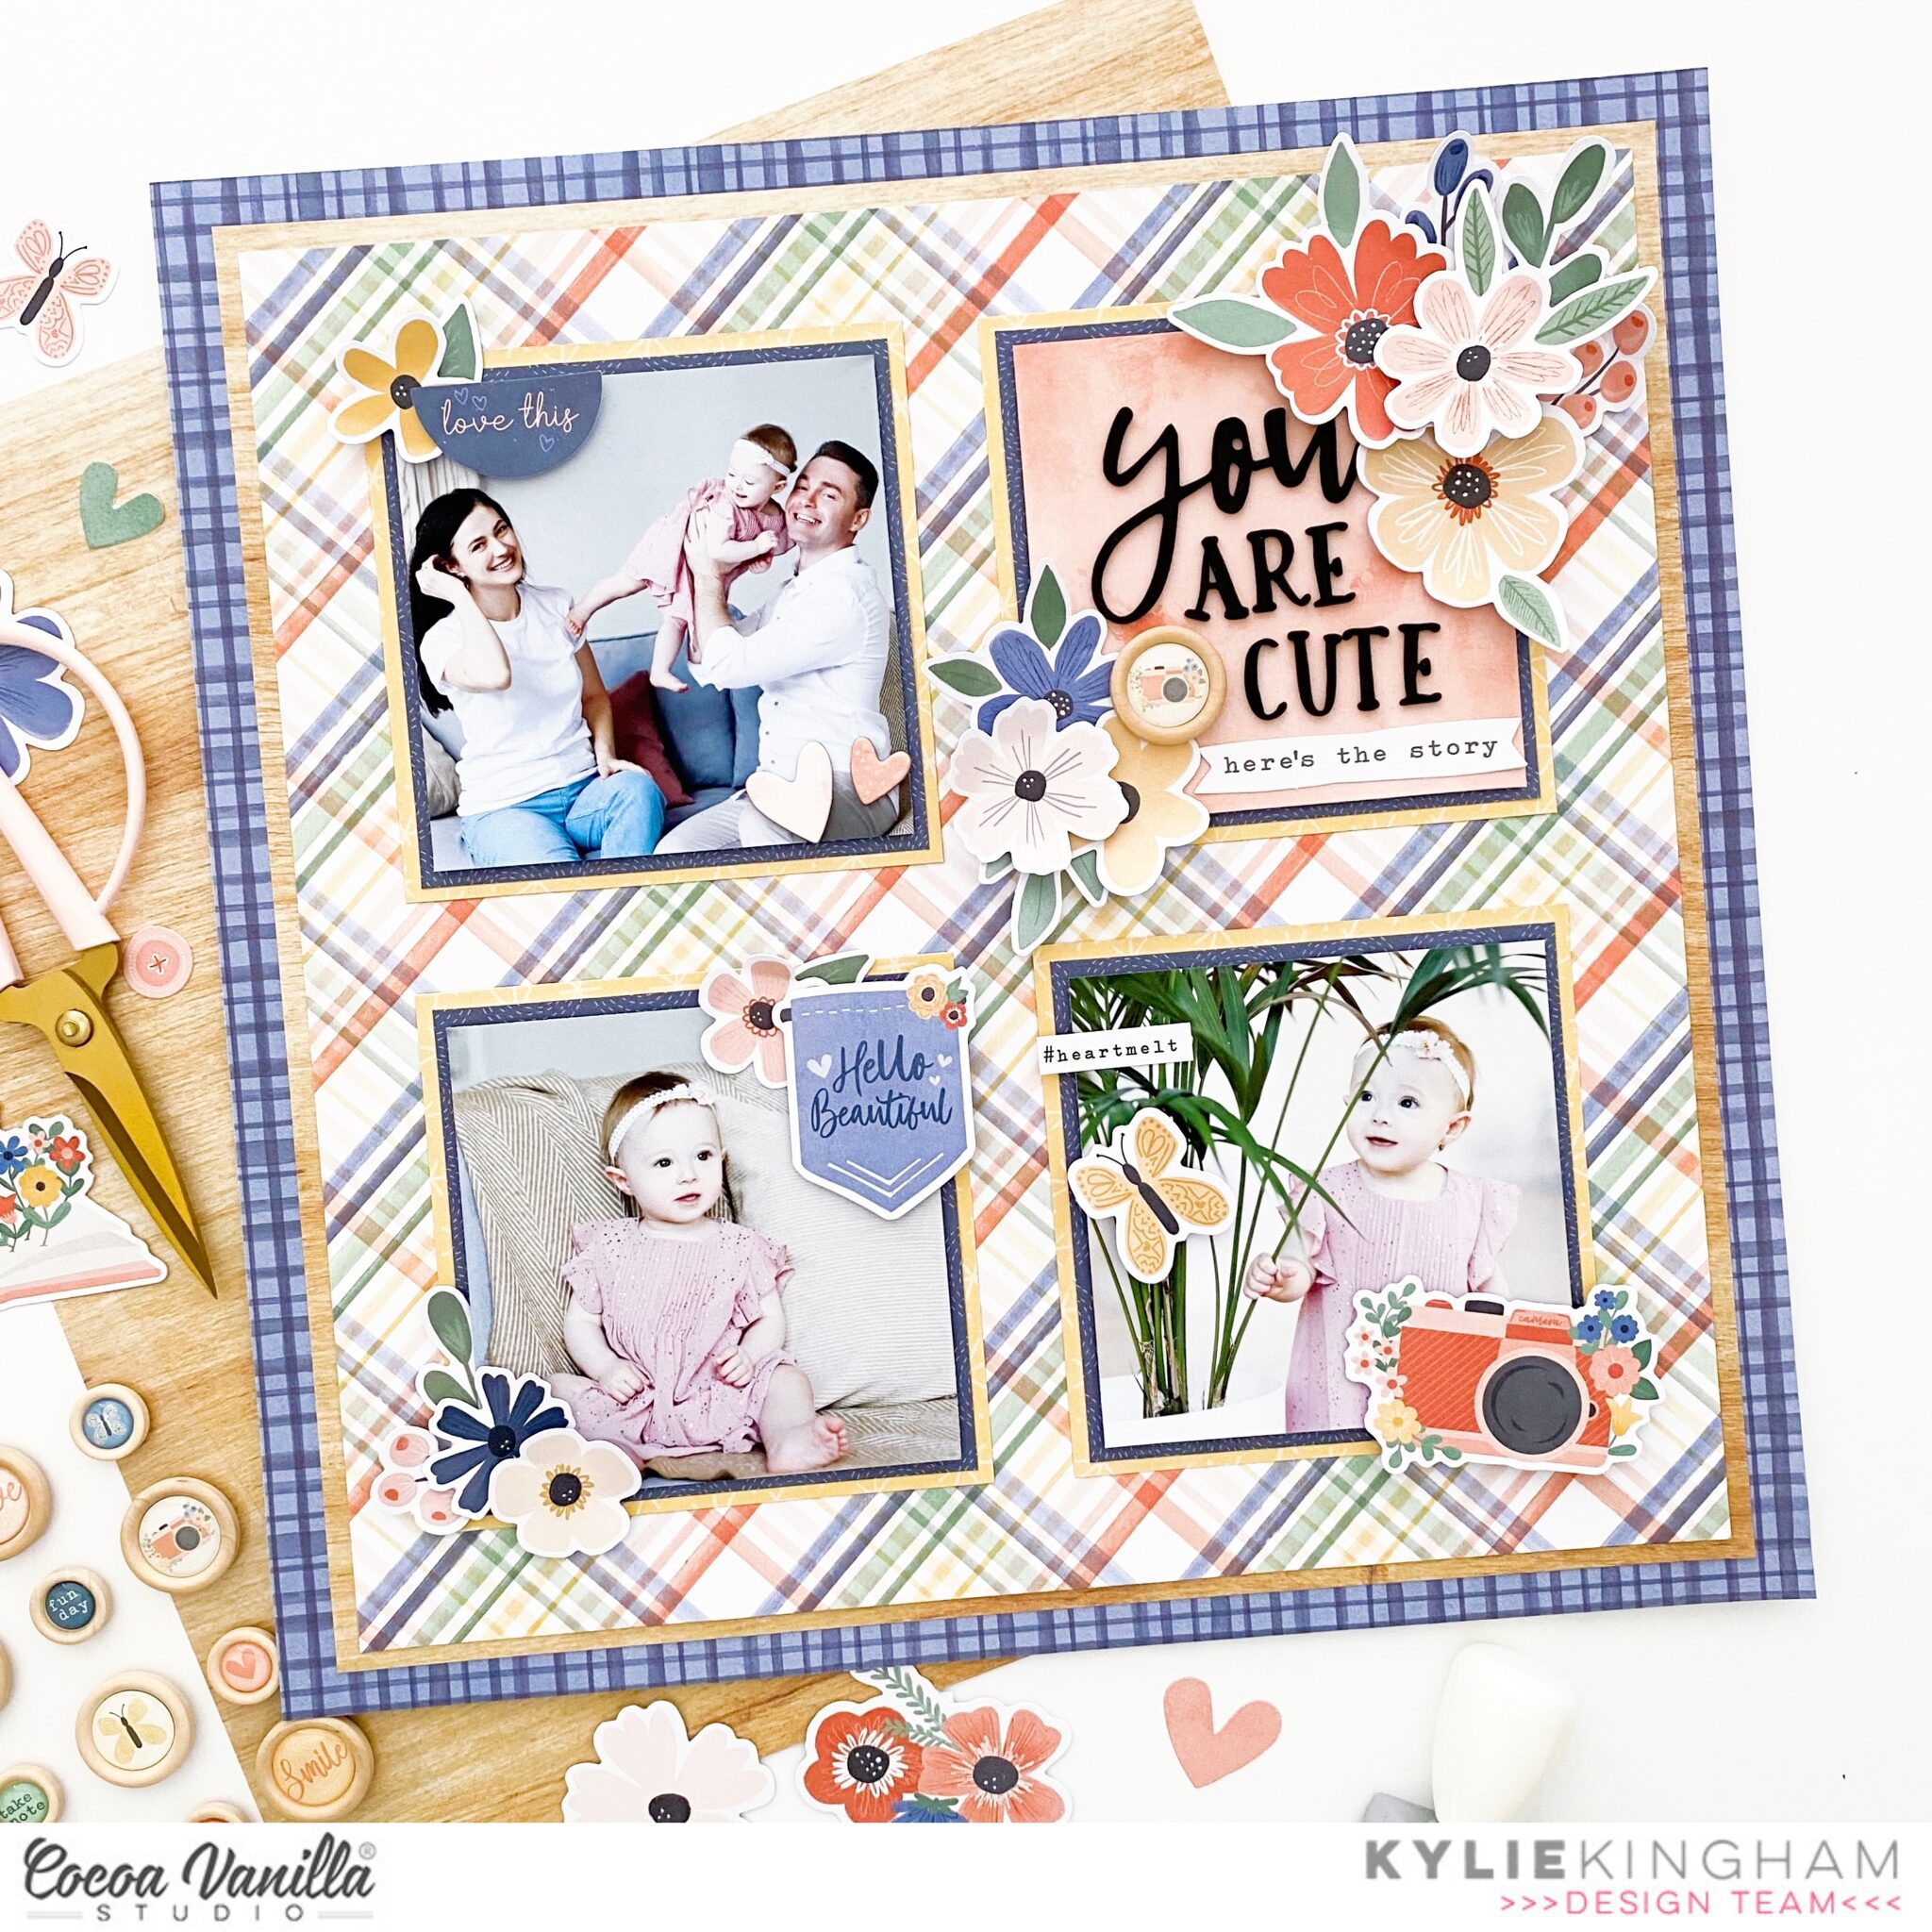

I layered several papers together to create the background. First I trimmed 2cm from the top and one side of the CROSS IT OFF paper and adhered it over the DITSY DAISY paper. Next I trimmed 2.5cm off the top and one side of the STORY TIME paper before adhering it as my main background. (**To conserve paper you could remover the centre from the first two layers.)

Using some of the papers from the A5 paper stack I cut a double photo mat. The first sized square was 4.25″x 4.25″ and the second was 4″x 4″. My photos were trimmed down to 3.75″x 3.75″ and adhered centred over the mats in place. These measurements ensured I had a lovely even and neat sized border frame to surround each photo.

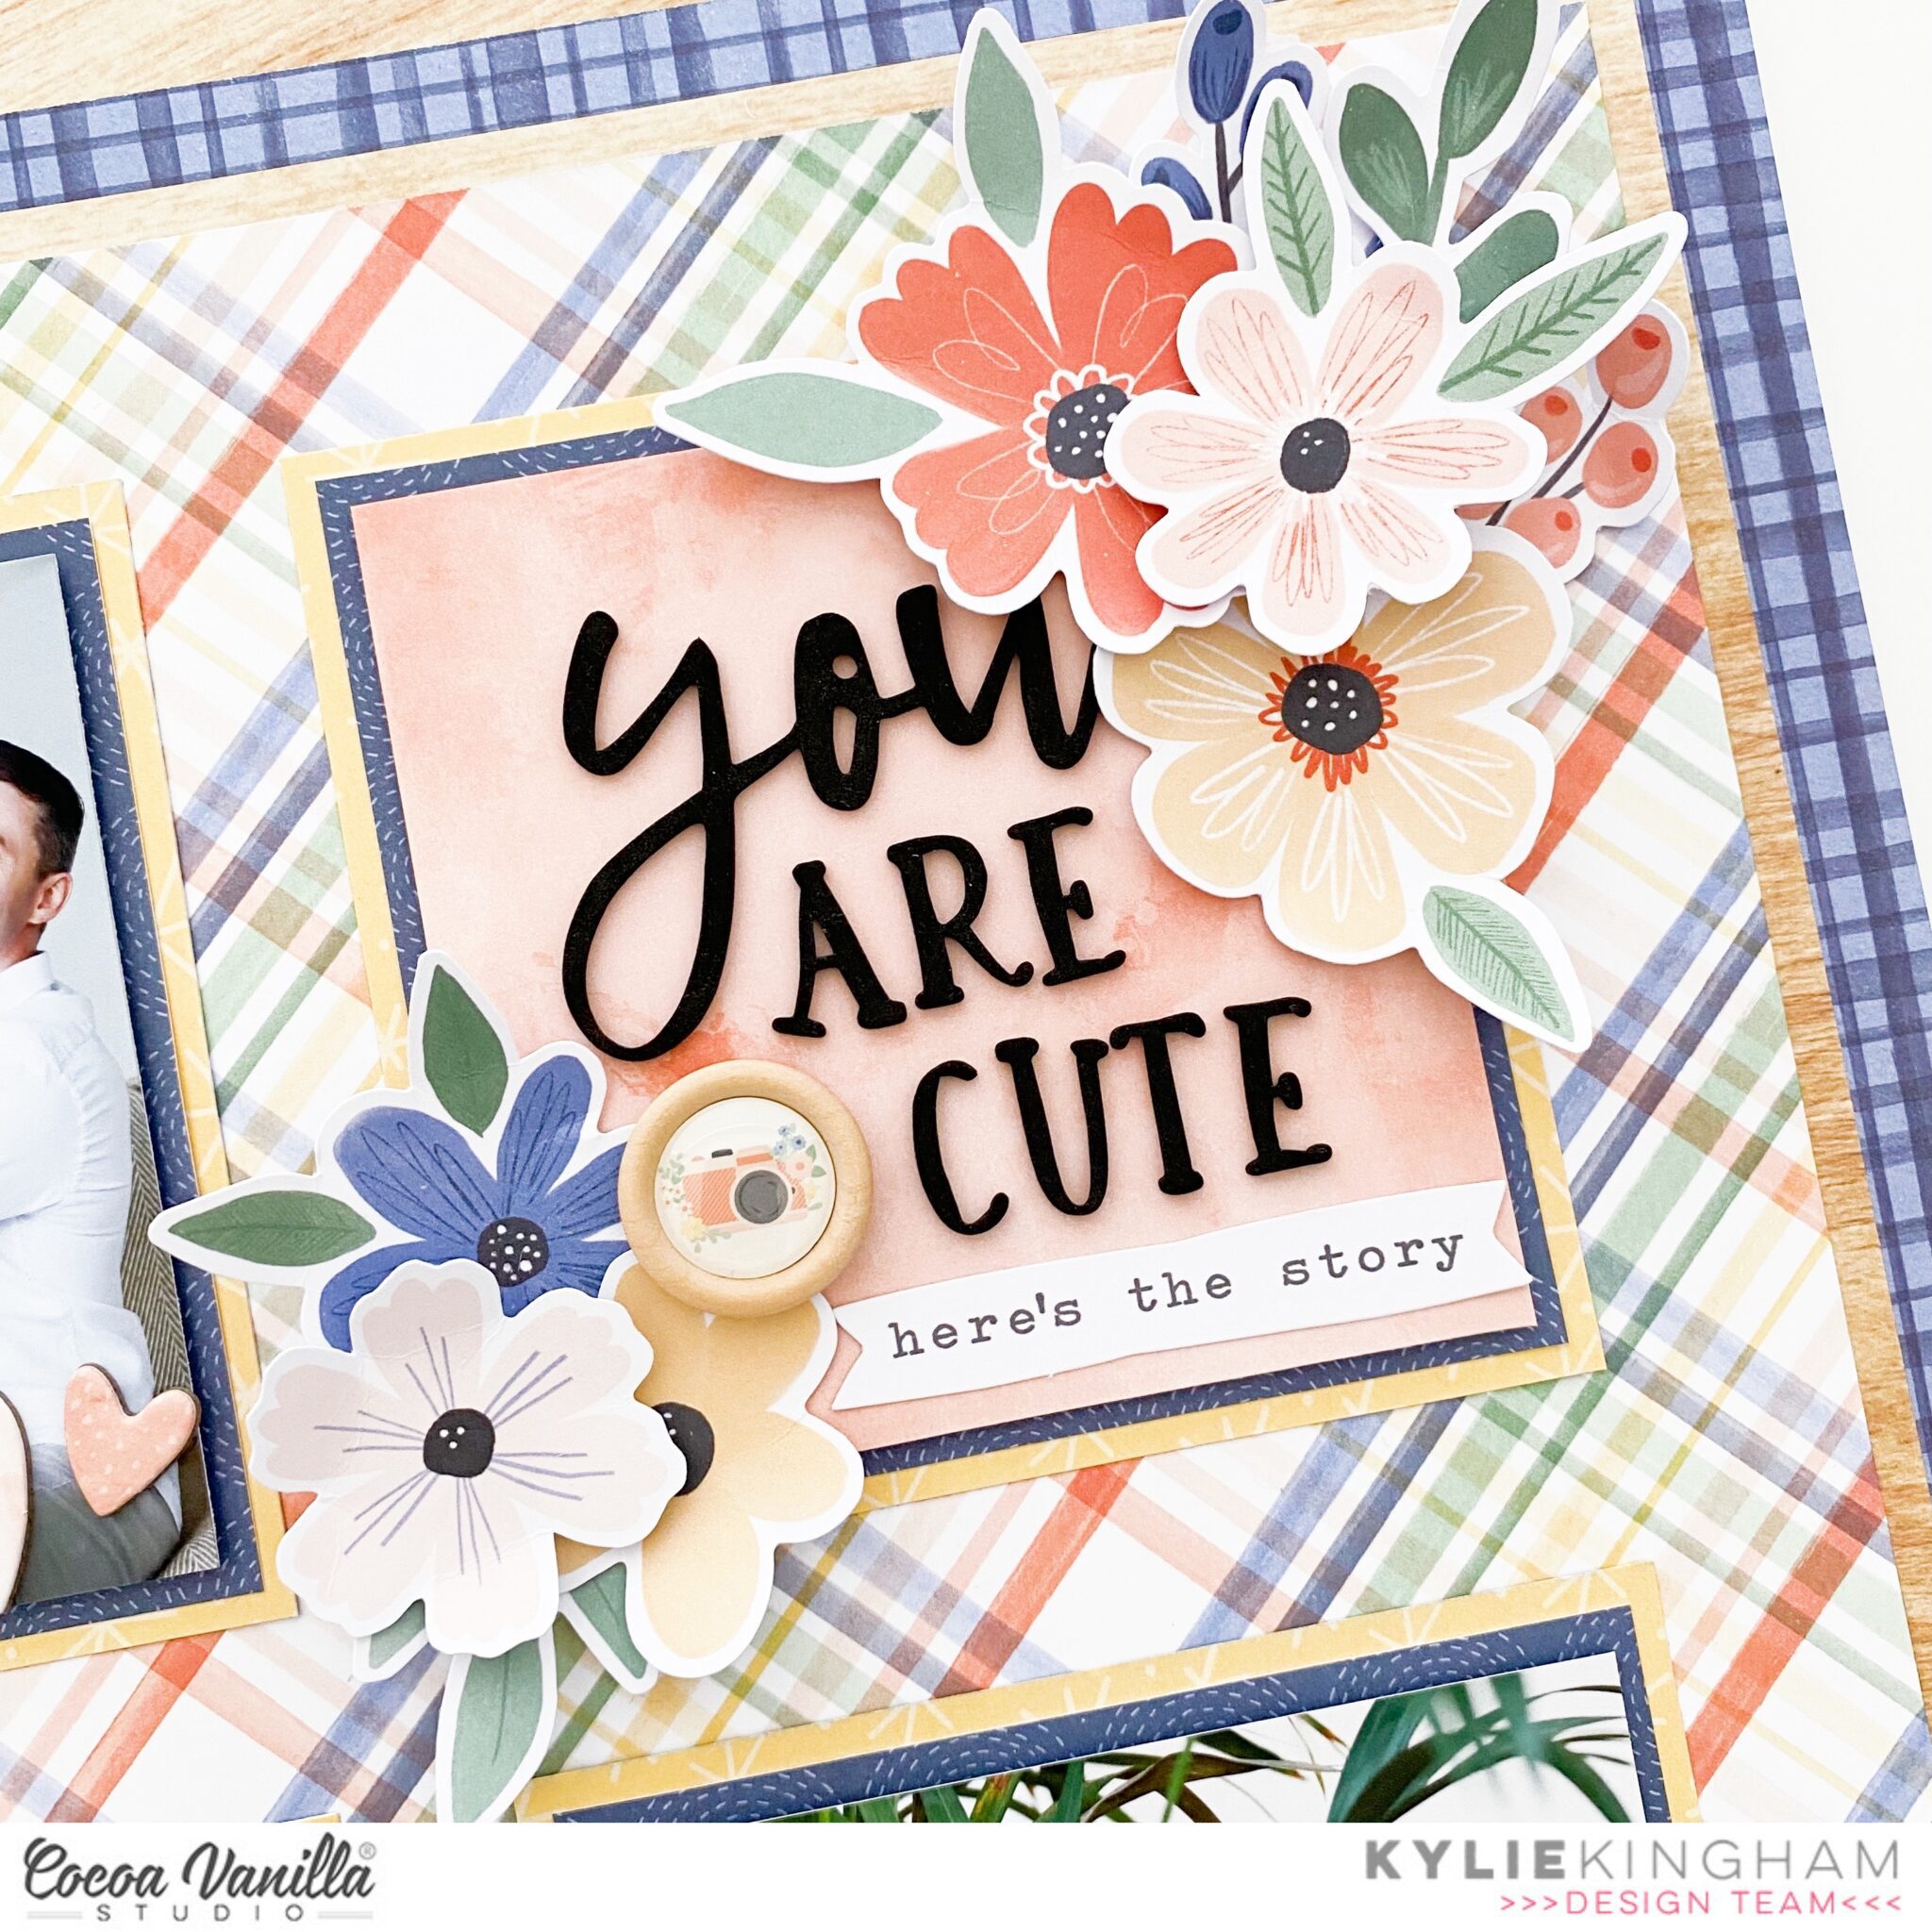
The FLORAL EPHEMERA pack is one of my most favourite items and I loved creating a little ‘title’ square to embellish with them. I did turn up the petals a little on each bloom as well as any foliage, before layering them into the square. I used foam squares to stick some in place to create varying height and added dimension. To complete the page I created a title from the FOAM TITLES STICKERS and I couldn’t resist adding some smaller ephemera layered to the photo squares to bring a feeling of balance to the overall page.
Thanks for stopping by the blog today! I hope you enjoyed seeing what I have been creating with the new ‘Storyteller’ collection.
Kylie.
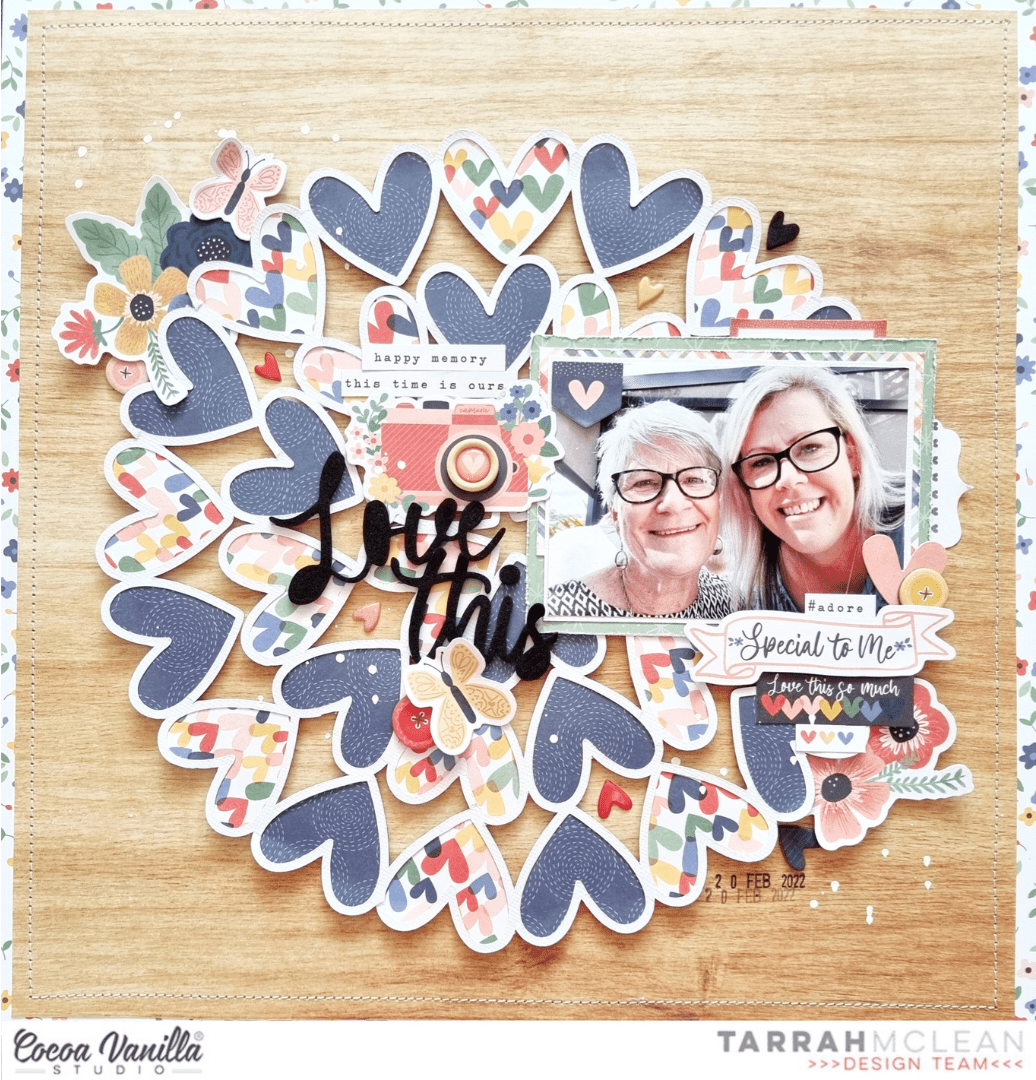


 I placed my photo slightly to the right of the page using craft foam to add dimension. I layered some papers from the A5 paper stack underneath the photo and distressed the edges slightly to add some texture and to help make the photo pop! I searched through the pocket cards and found the perfect one to suit the photo of my son as photographer! I used craft foam to adhere the pocket card to the left of the photo. When I am placing elements on my page and I am not 100% certain about their position, I will mostly always only use a very small amount of adhesive in case I need to reposition anything or add an extra layer underneath. Once I am happy with where everything ends up on my layout, I add extra adhesive for reinforcement.
 Now I have the main focus of the layout sorted out, next I added a title. I went through the gorgeous black Foam Titles and chose the word ‘Smile’. I placed this word at the bottom of the pocket card to help tie the photo, pocket card and title together. At either end of the photo and pocket card, I tucked in some pretty flower ephemera pieces, I also added the little piece that says ‘Snap Happy’ to the right of my photo.
 On top of my photo, I adhered the ephemera piece that says, ‘The Story Behind the Photo’ and also a small phrase sticker from the Accessory Sticker sheet in the top right corner. I also added some more of the phrase stickers above the photo and below the photo, these are great additions to a page to help tell a story! Above the pocket card, I added the camera die-cut using craft foam. From this point, I decided to add my embellishments in a tone on tone look…I took some of the super cute heart die-cuts, enamel hearts and wood epoxy buttons and placed them on their corresponding colours.


