Adventure | Legendary Collection | Tarrah McLean
Hi Cocoa Vanilla friends,
It’s Tarrah McLean back with you today to share my second layout using the awesome Legendary collection! Having 2 sons and a hubby, I get so excited when the boy collections are released! It makes it so easy to create pages about the boys with all this amazing product!
As you can see I stuck with a sort of mono tone colour scheme for this layout, pulling out pieces that were blue, grey and black.
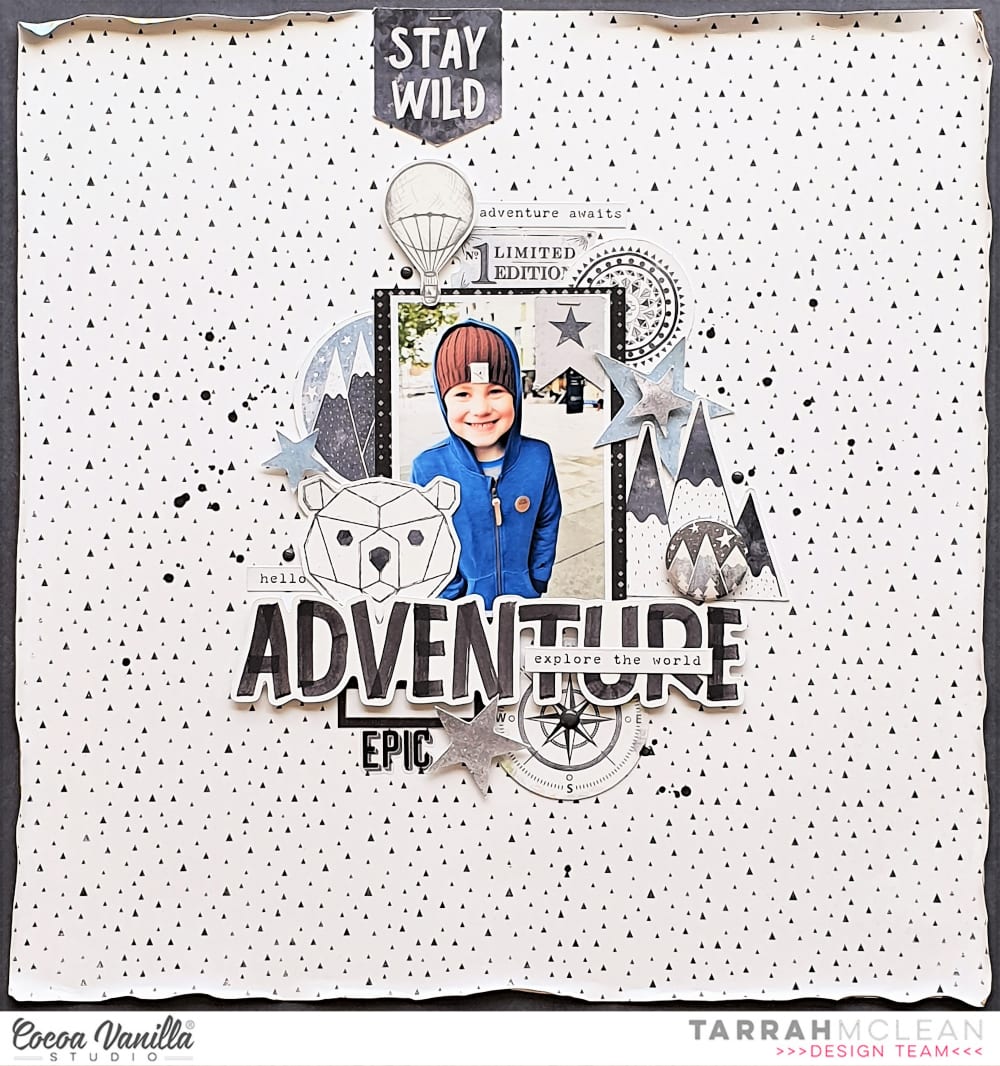
For this layout I chose one of the muted background papers to begin my page with and then I added the dark blue paper behind to lift it and act as a frame for the entire page. The photo I have chosen to document, is one of my youngest son when we last traveled 3 years ago, there are lots of exploring references in this collection so this was the perfect photo! I matted my photo in one of the papers from the large 12′ x 12′ cut out sheet and adhered it flat the background in the centre, only adding adhesive to the centre and top and bottom of the under side of the photo. This allowed me tuck in those die-cut pieces either side of the photo with ease.
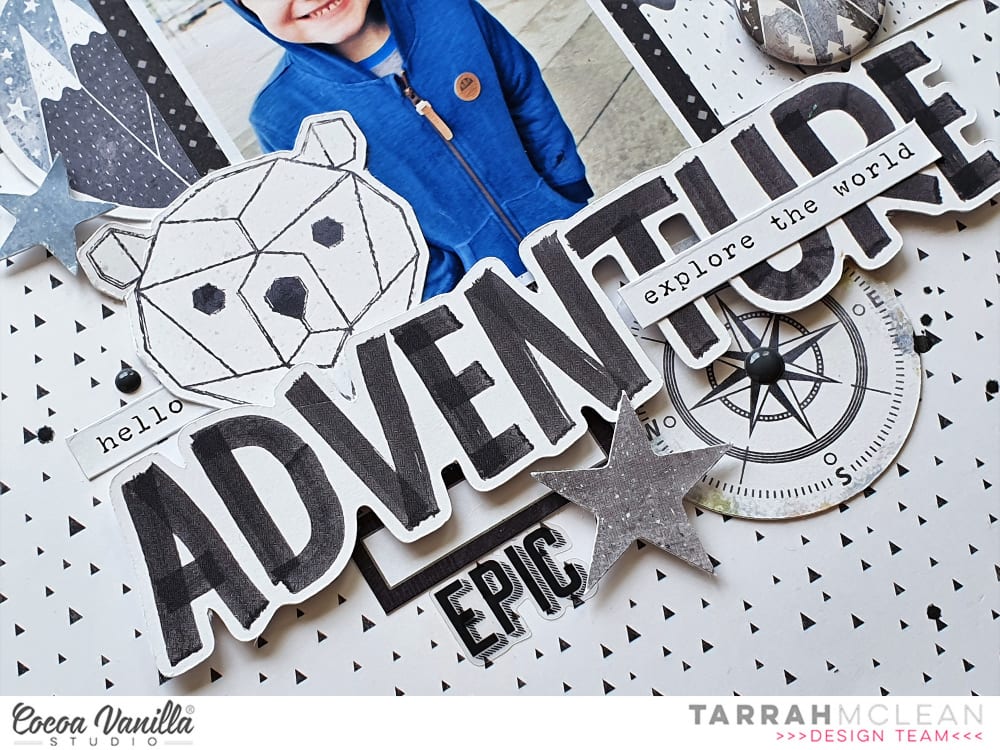
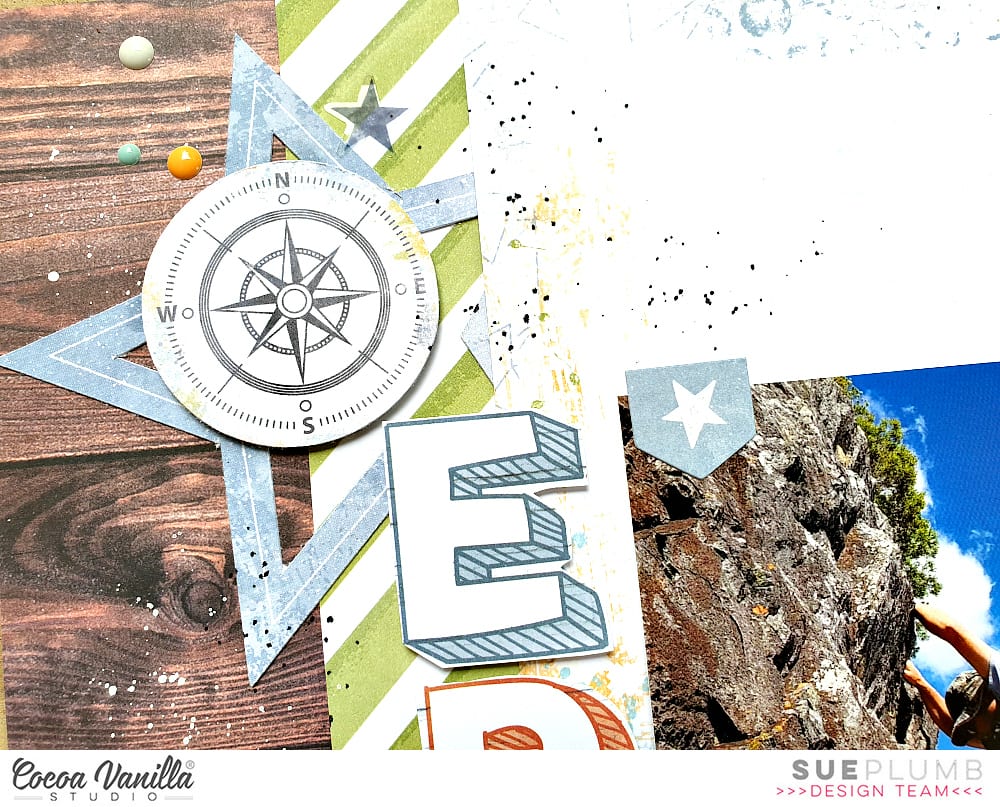
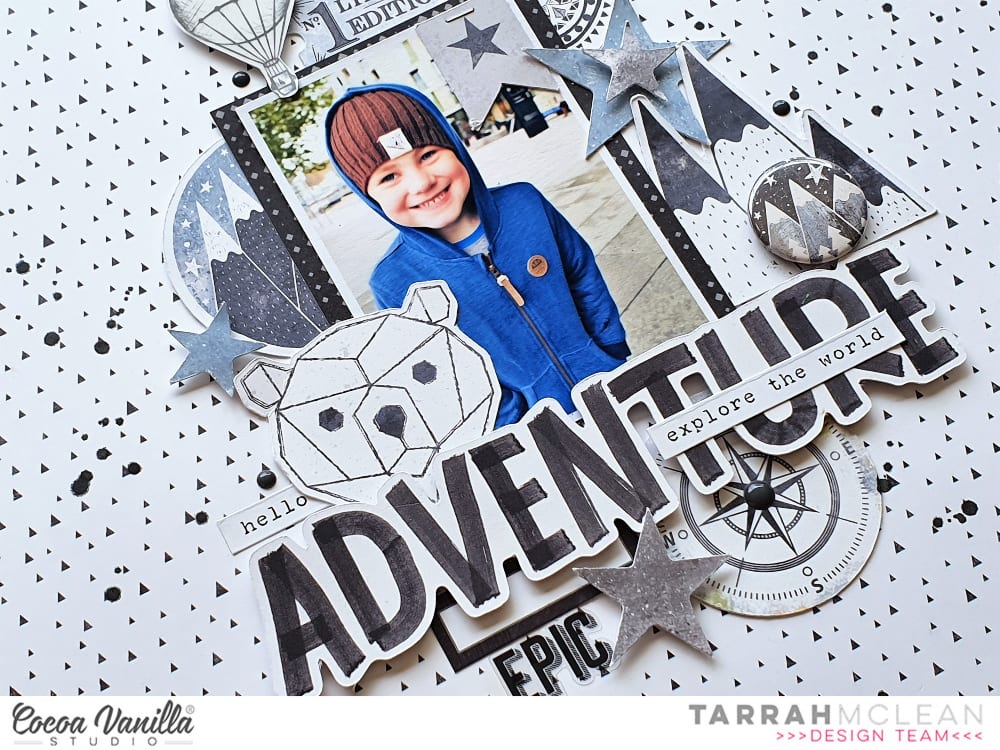 My title is one of the awesome cardstock titles and I added foam dots under this to pop it up at the bottom of my photo, I also layered one of the accessory phrase stickers over the top of the title. I absolutely adore that bear face die-cut so that had to make it on to this page! He looks super cute just above the title on the left overlapping on to my photo. Some more die-cuts were added including the mountains, the stars, hot air balloon, Limited Edition ticket, compass and Stay Wild banner at the top. Some of the stars are popped up using foam dots, I love how this creates shadows and height on my page.

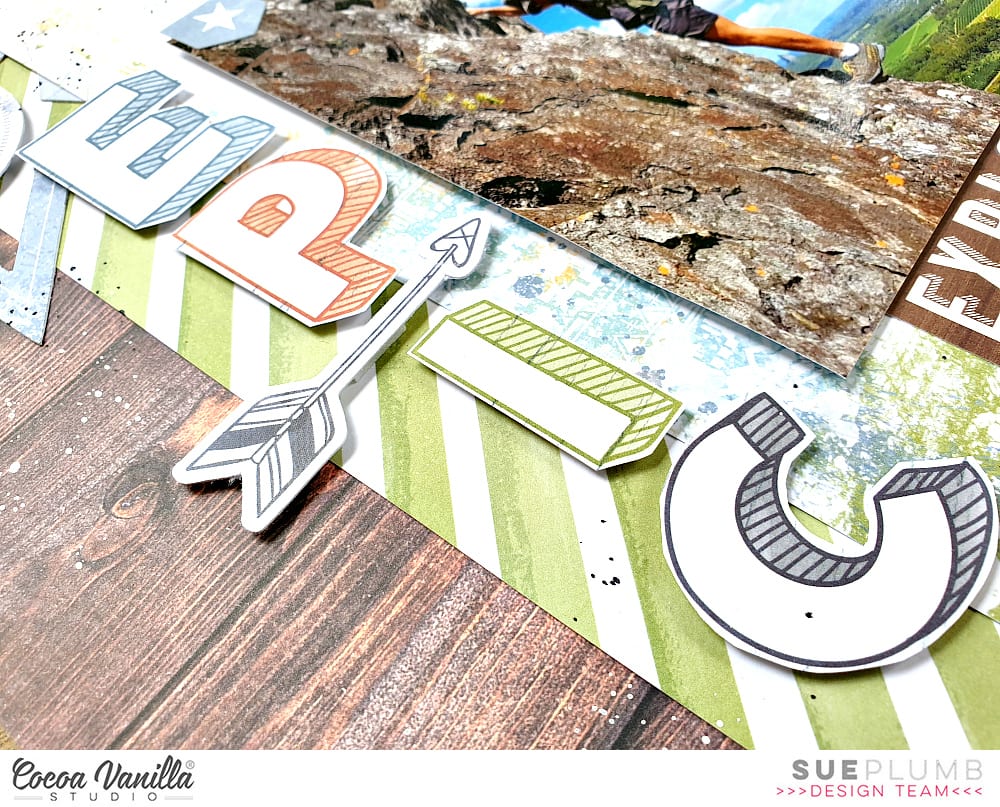
Under the title I tucked in the round compass die cut and added a navy enamel dot to the centre, I also tucked in one of the tabs from the accessory sticker sheet and the large grey star here too. The ‘Epic’ clear sticker was also added here to enhance the adventure theme. I added a few more of the navy enamel dots around my page and also one of the gorgeous flair buttons. I chose the one with the mountains so that it could be layered over the mountain die-cut on the right. Lastly a few more accessory phrase stickers were added and some black mist splatters to finish off.
Thanks so much for stopping by today! I hope you are inspired in some way by my layout and that you can take an idea or 2 from this page and create your own layout!
Happy creating!
Tarrah x
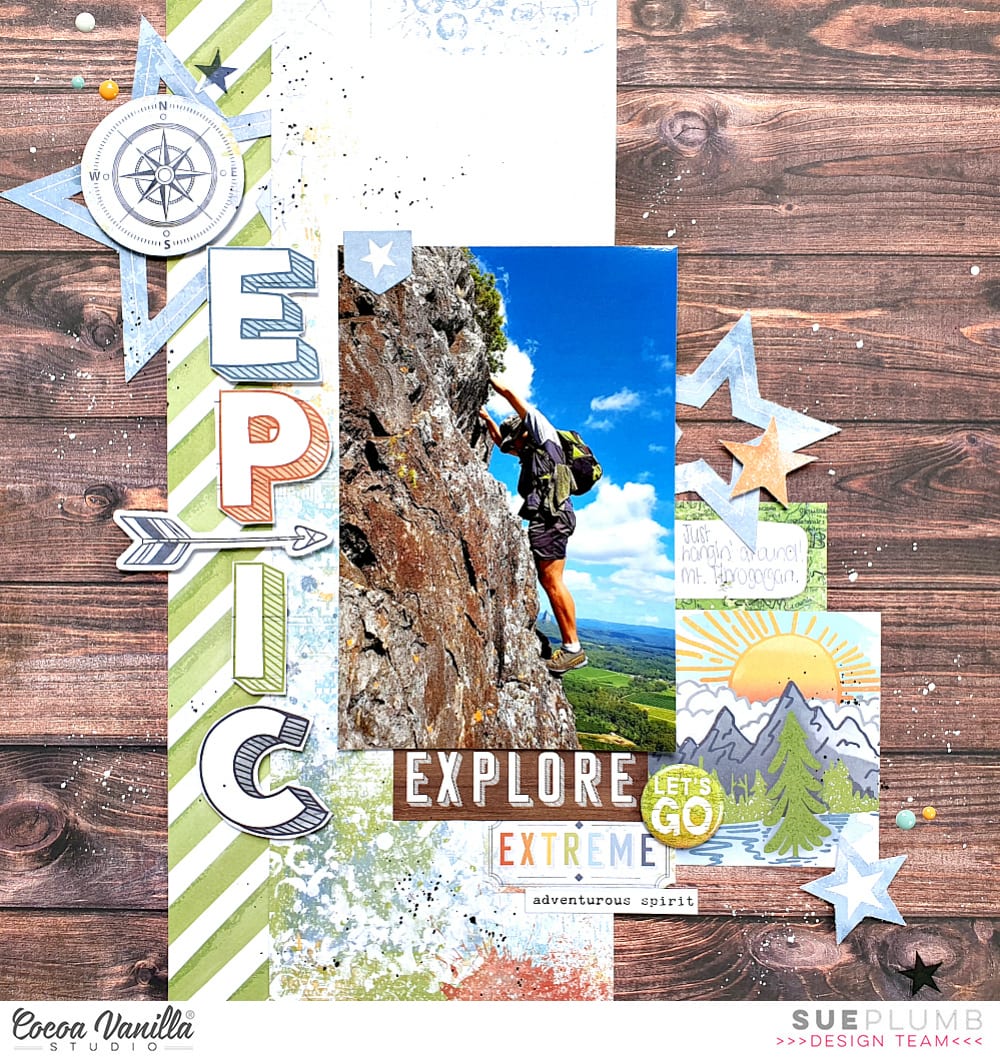


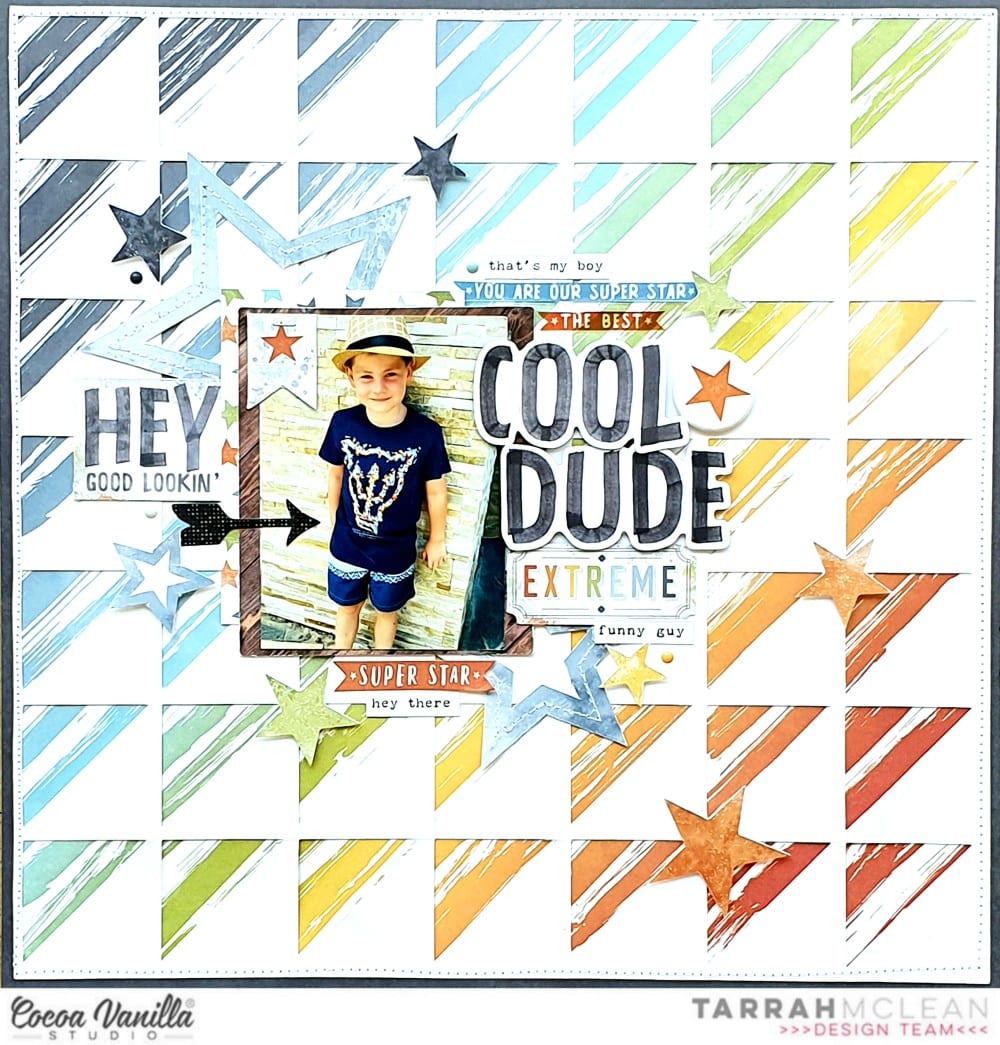 One of my favourite papers from the collection is the rainbow one called ‘Wild One’, I love how it is in a diagonal design! I trimmed it down slightly and added it to the ‘Explorer’ paper, I like the navy as a mat for the page. I then cut out a diagonal triangle cut file design from The Cut Shoppe from white cardstock and placed it over the top of the paper. I love how the white breaks up some of the rainbow paper. I machine stitched around the outside edge of the layout.
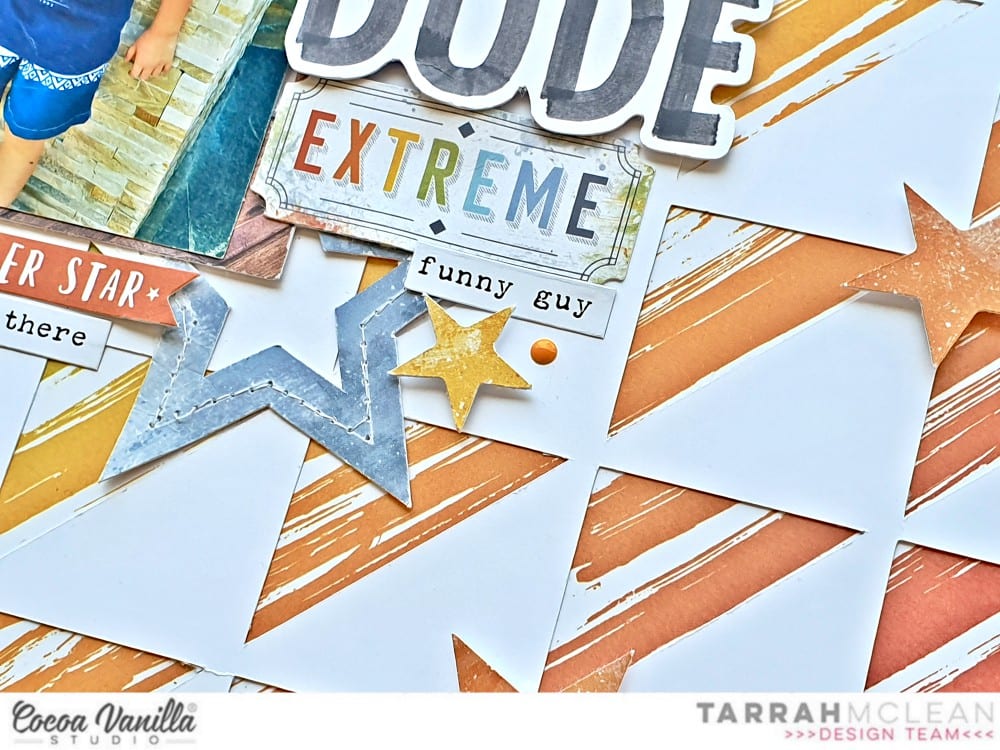 The large stars in the ephemera pack have a line drawn on them so they were perfect to machine stitch, see the detail on 2 of the larger stars in the photo below. I matted my photo using the wood grain frame die-cut and one of the small cut out papers from the ‘Total Legend’ paper, I also stapled one of banner die-cuts to the top left corner of my photo. I adhered the largest star in the top left corner and the smaller one in the bottom right corner and then adhered my photo over the top.
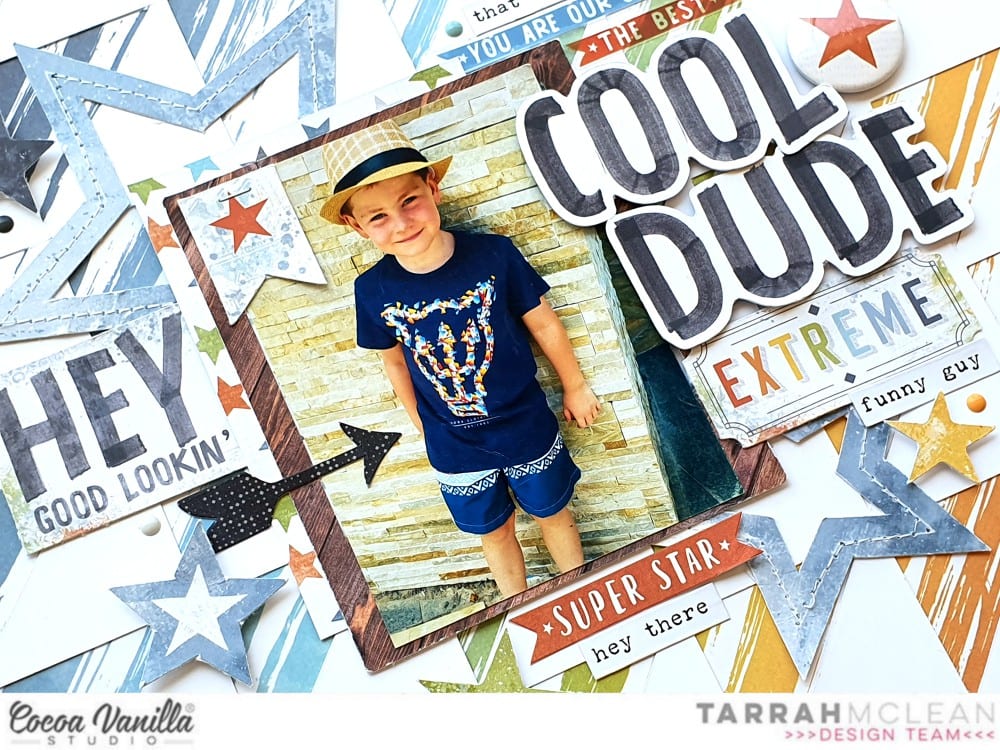 The Die-Cut title pack are awesome and I love the font of these! I chose the words ‘Cool Dude’ for my title and popped it up with pop dots underneath and placed to the right of my photo. I took lots of the coloured stars from the die-cut pack and popped them up in rainbow fashion like the paper. I love the height and shadows this creates! I also added one of the awesome flair buttons with the star on it to the right of the ‘Cool’ word in my title. Lastly I added a few of the clear stickers, accessory stickers and enamel dots to finish my layout.


