Write your own Story | Heart & Home collection | Rachel Lowe
Happy New Year crafty friends!
My layout, using the beautiful Heart & Home collection is about documenting some goals for 2024 (I will add some handwriting to the journal card).
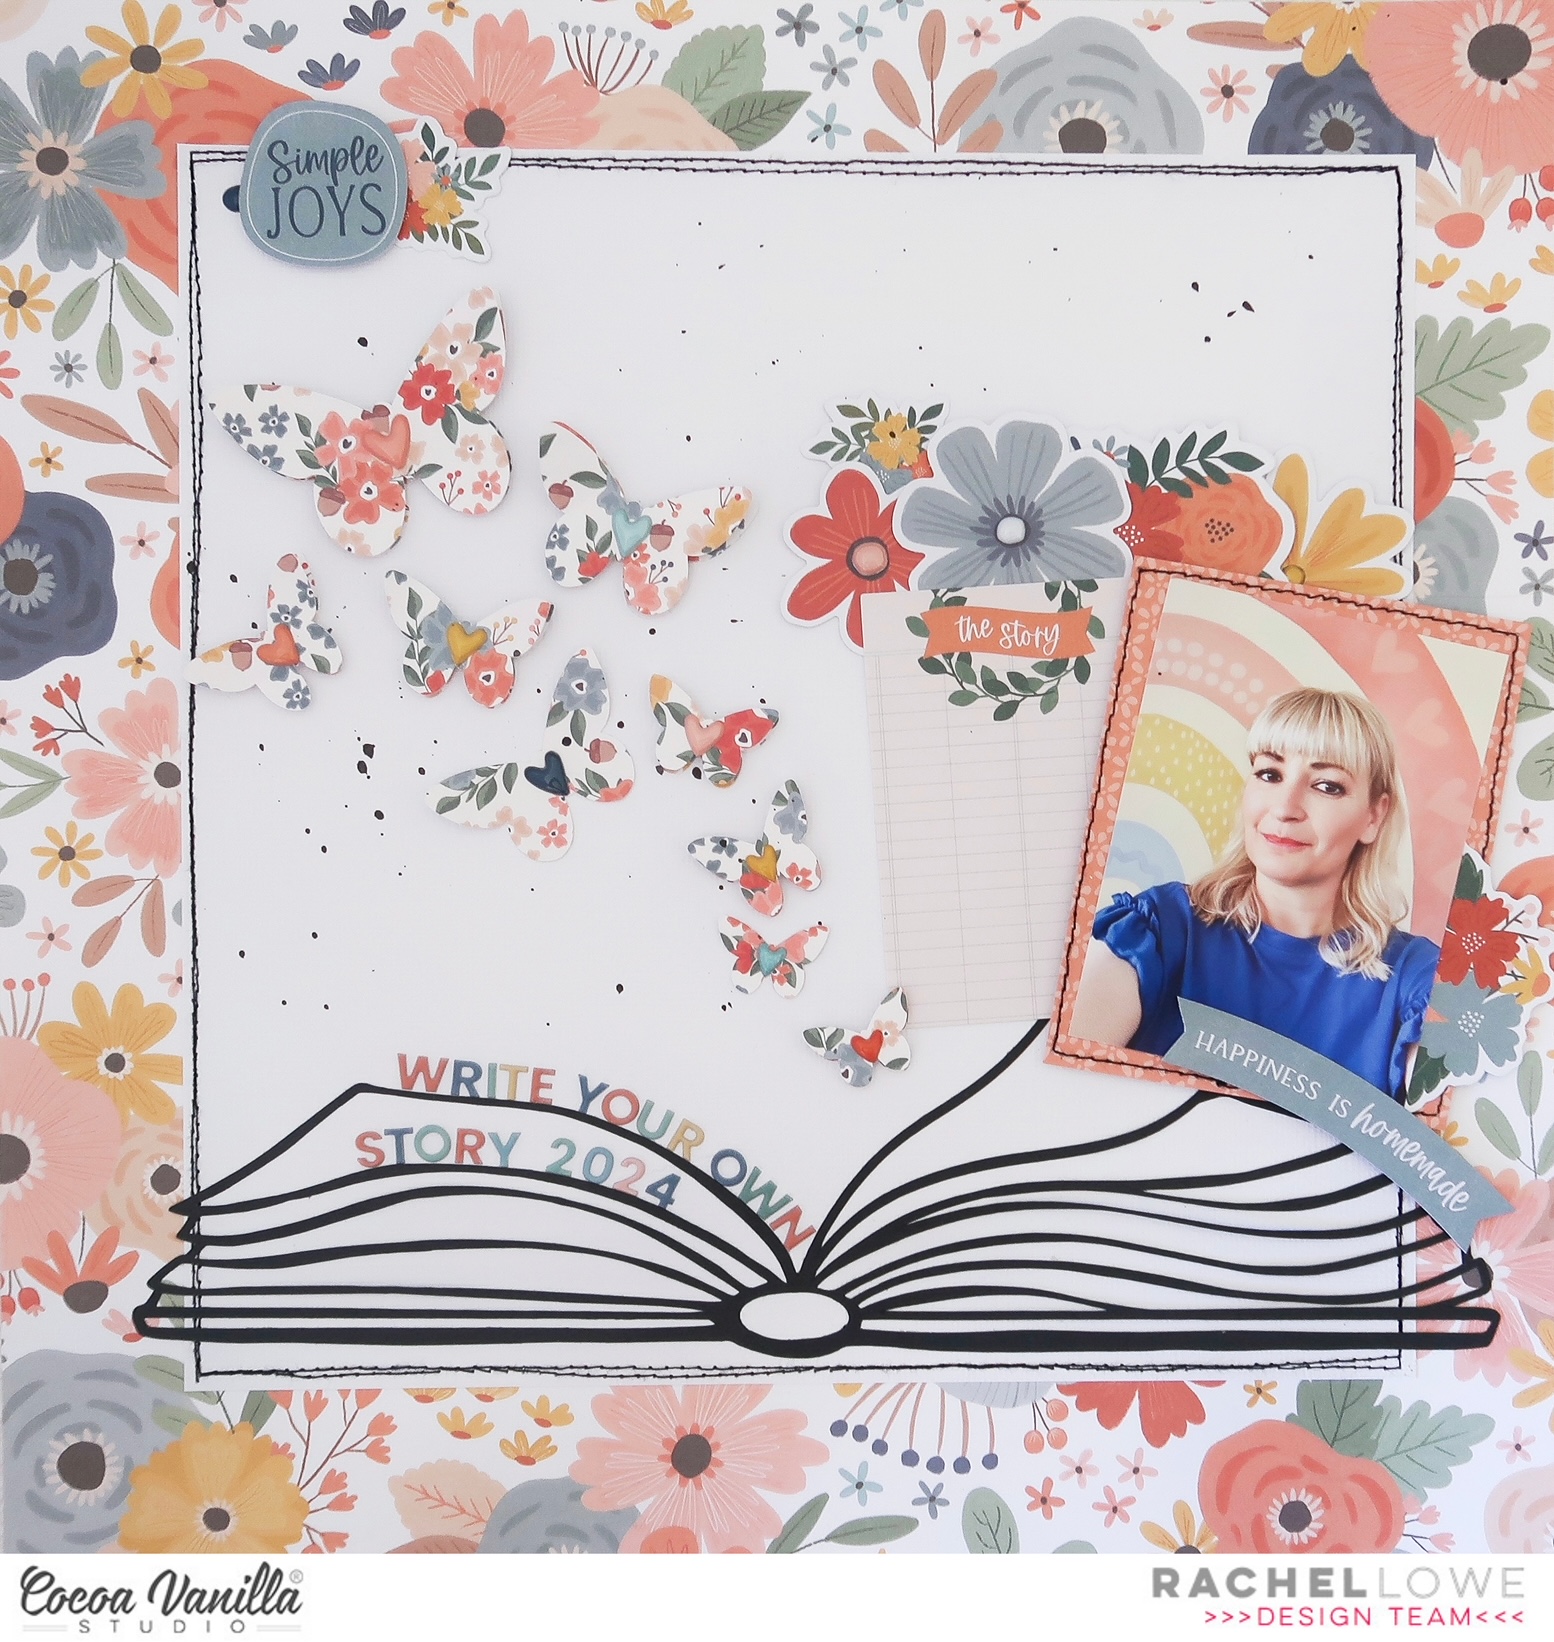
I found this book cut file in the Silhouette Design store and cut it in black for impact. I cut the white cardstock down to 9 inches square and added to the beautiful Bountiful Paper. I added black machine stitching to add definition between the floral and white papers. I next added splatters of black paint to the white cardstock to break up the white.
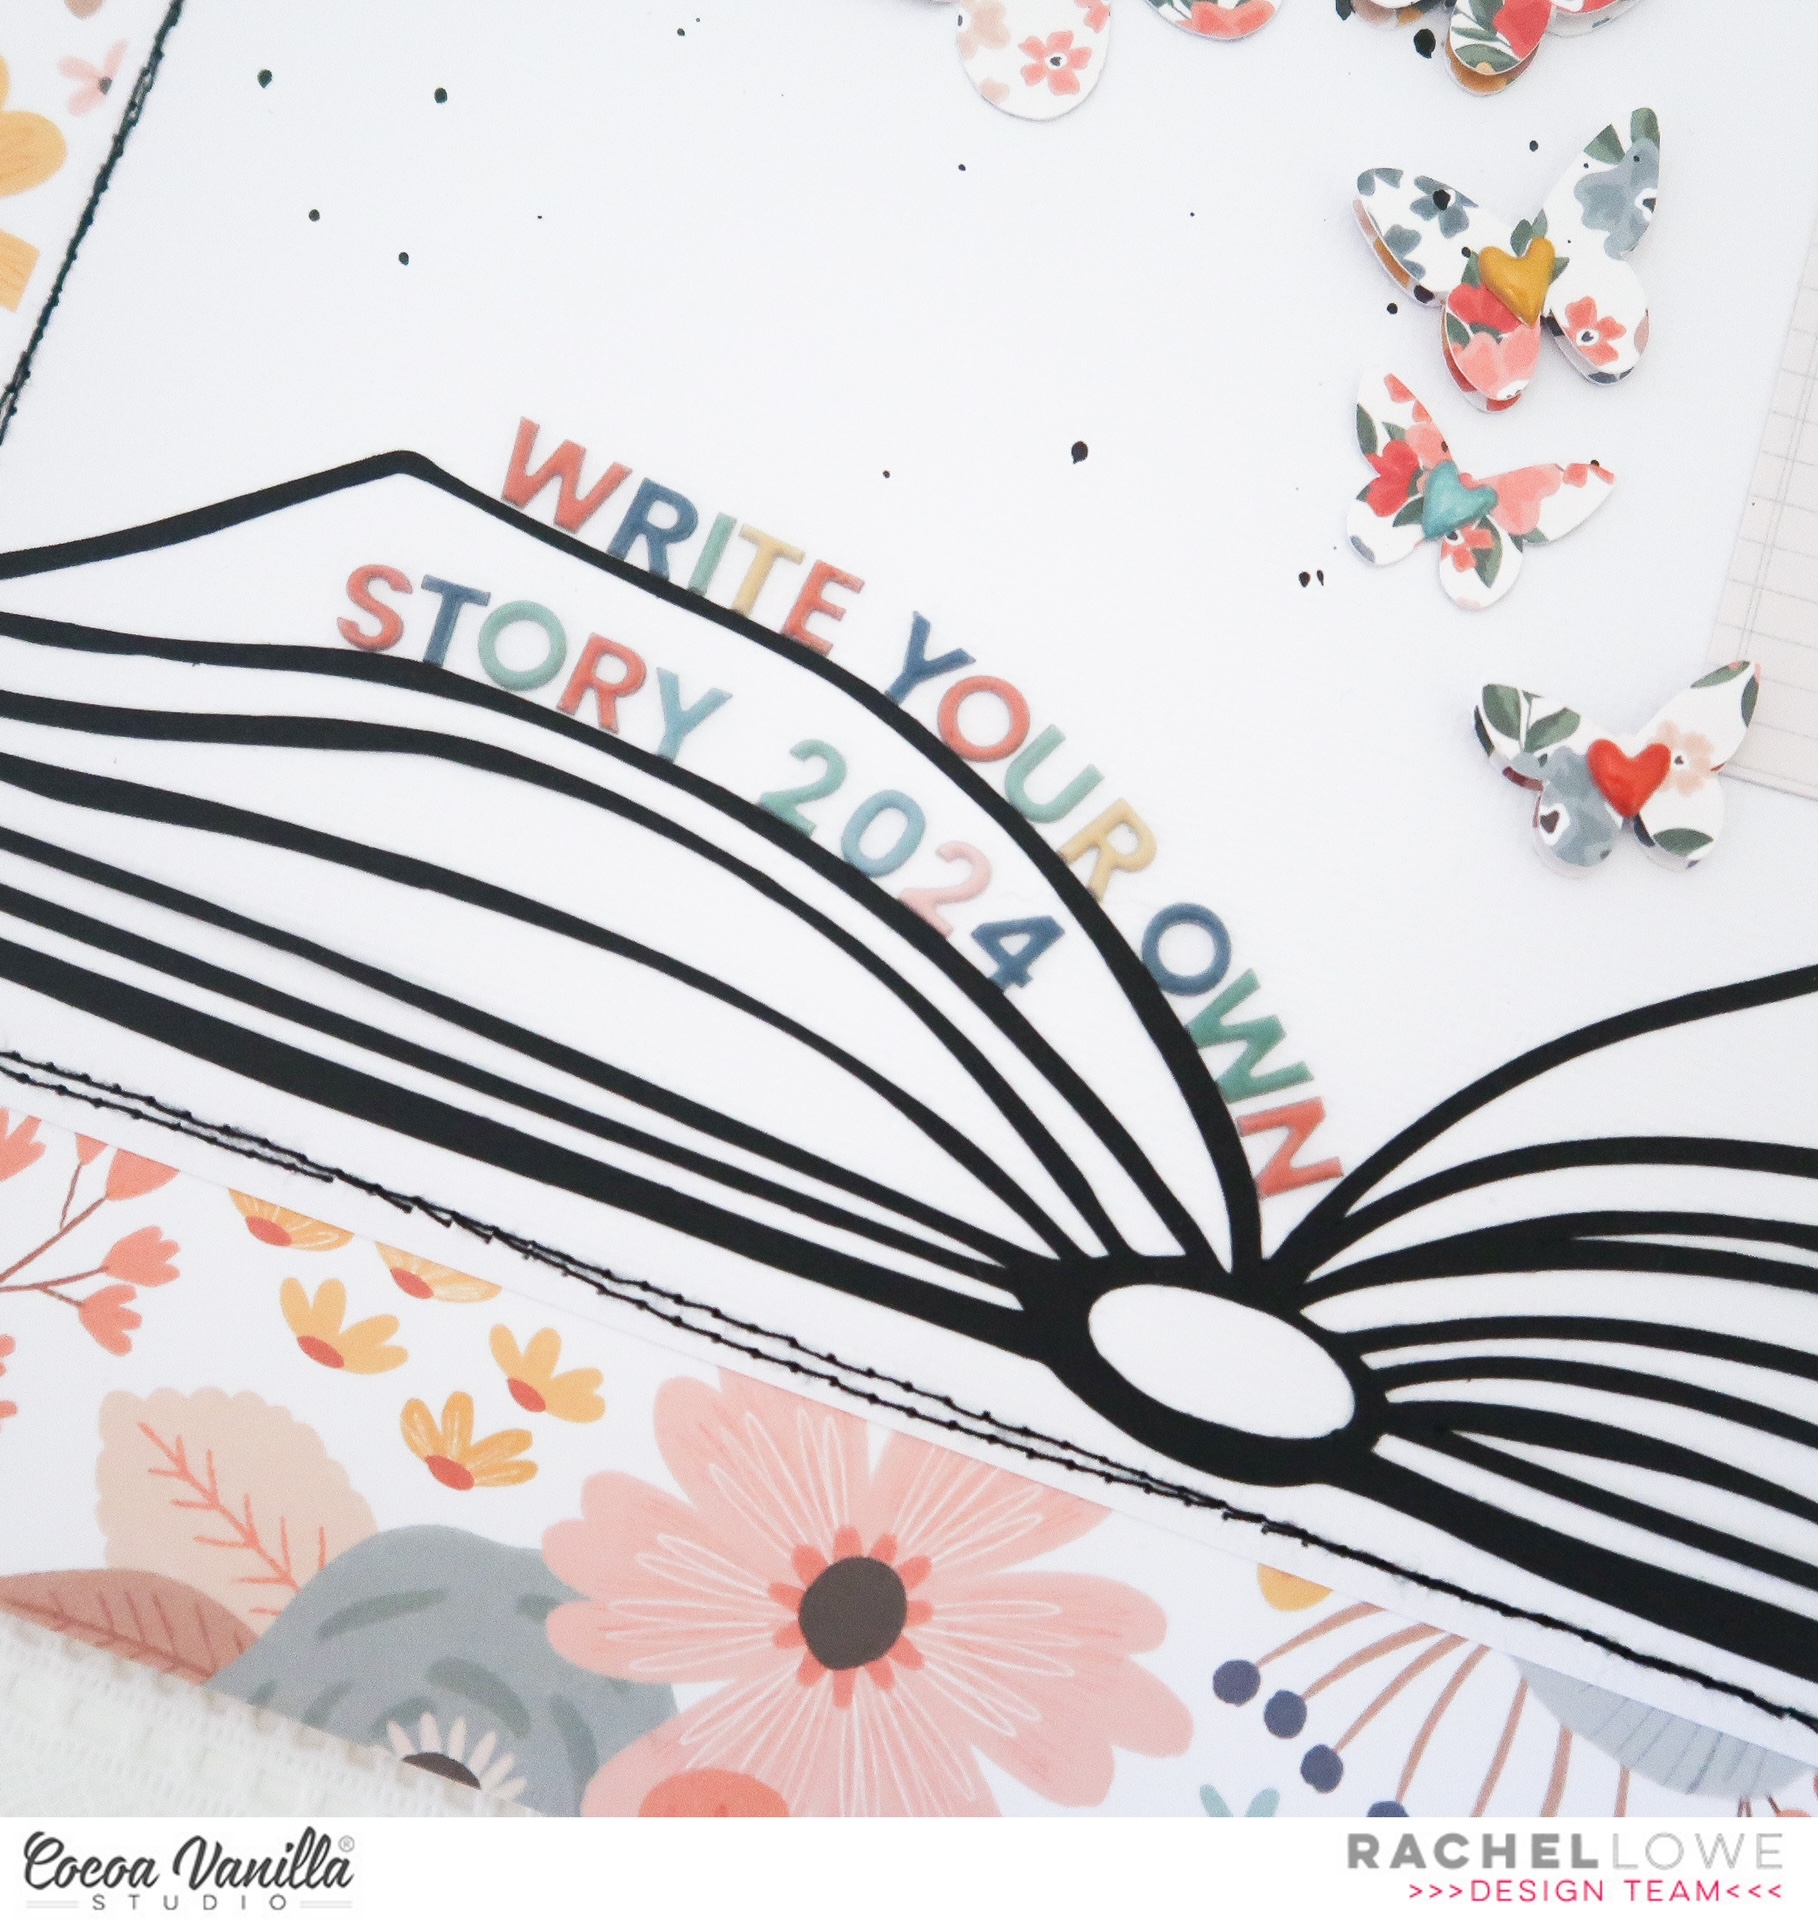
I used the puffy alpha stickers to create my title which I added to the book pages. I used Golden Fields paper to create my layered butterflies. I used foam tape to layer them and used the puffy stickers to add hearts to them. I arranged them so they appear to be flying off the page.
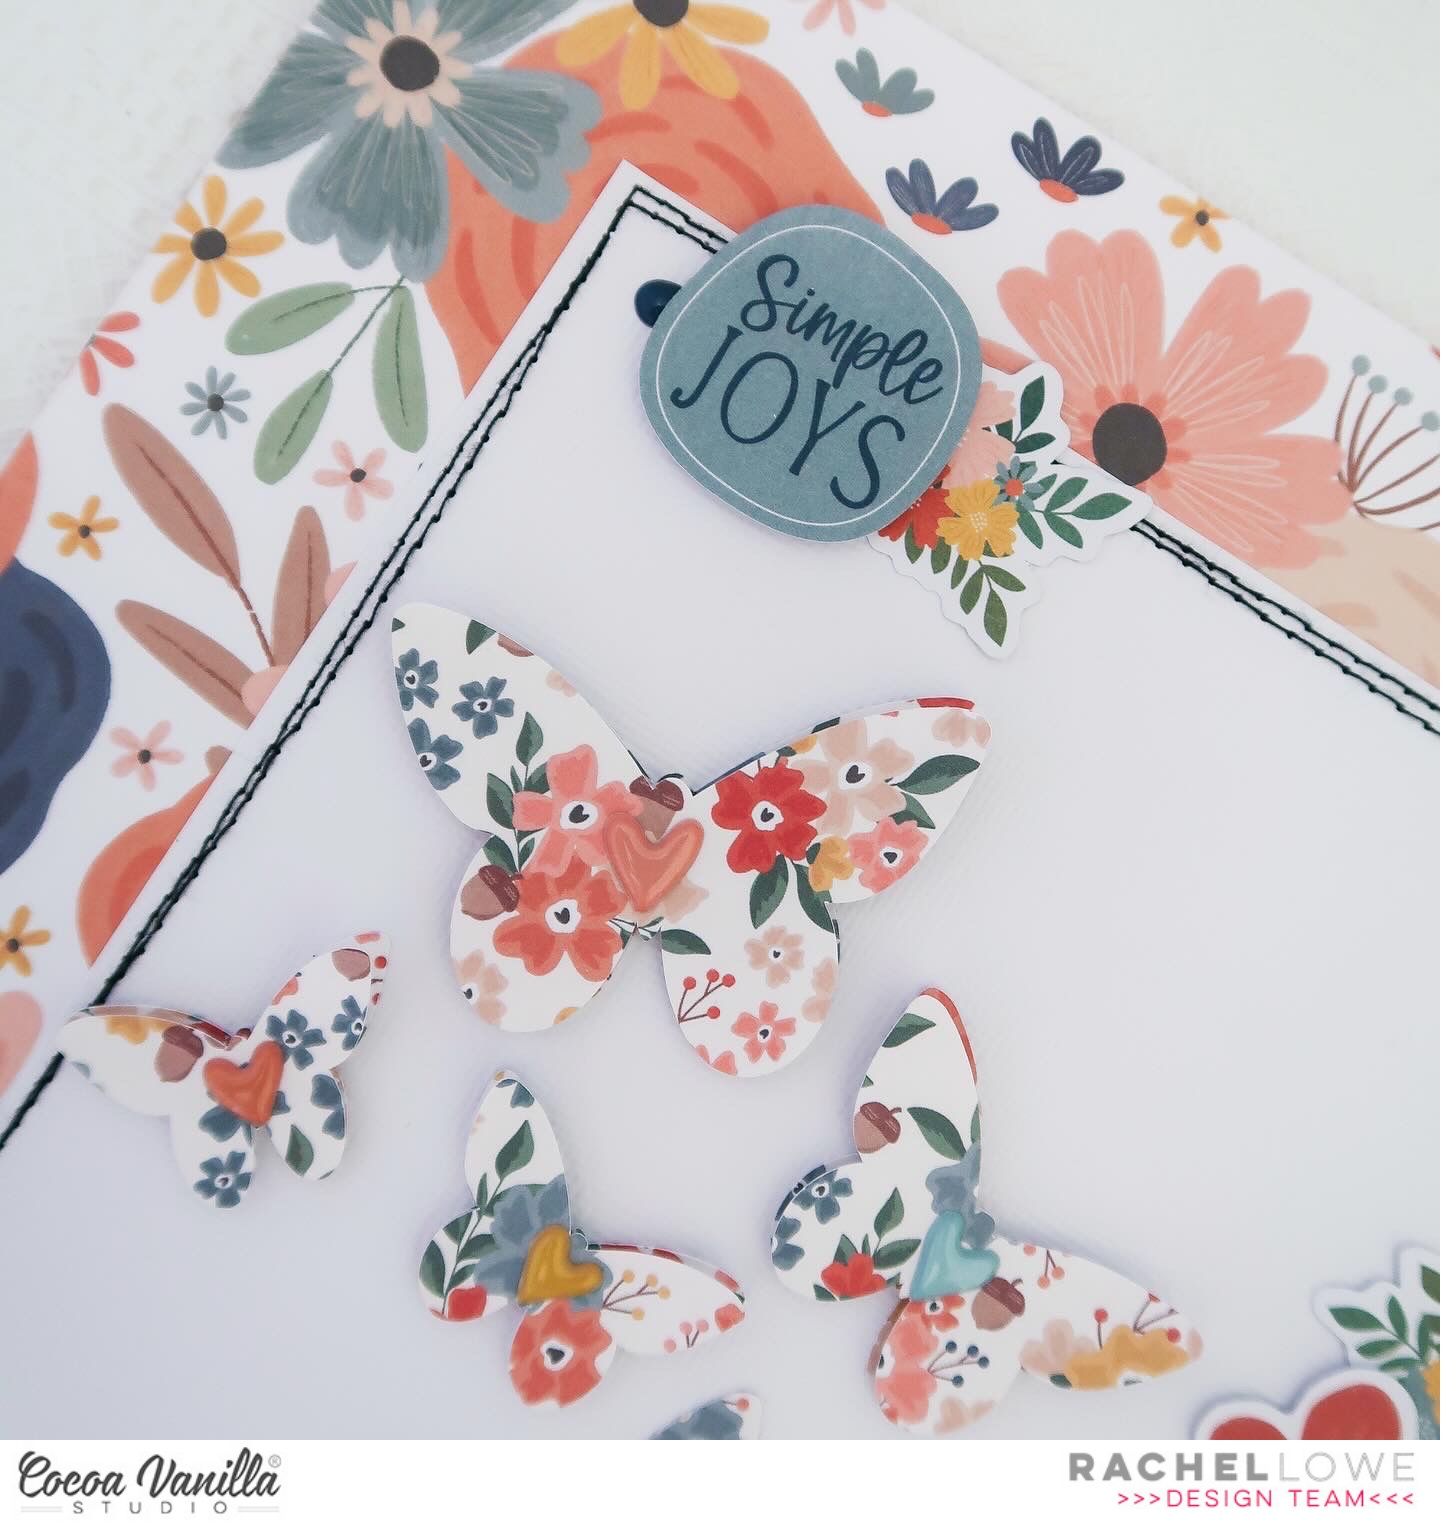
I created a small embellishment cluster at the top left of my page using the die cut ephemera.
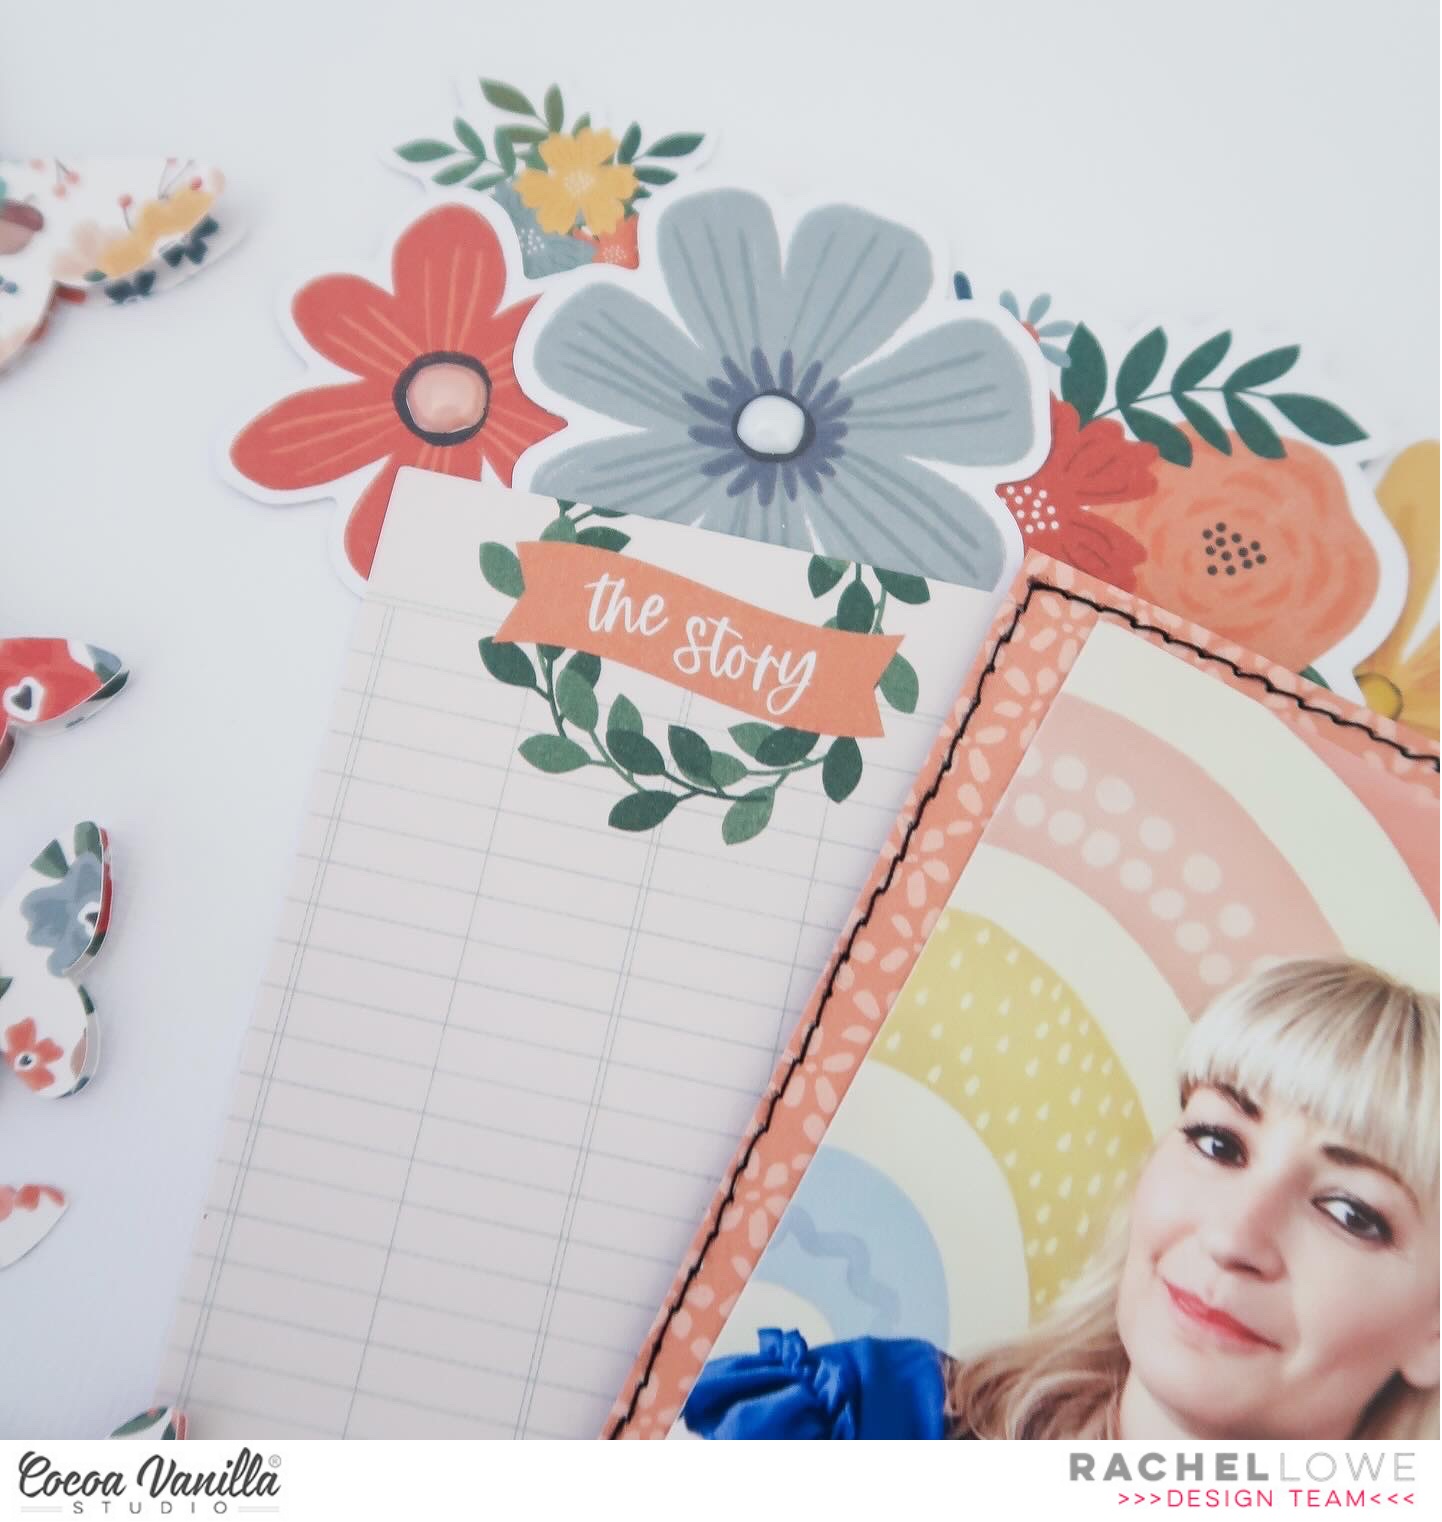
I matted my photo on a paper piece from the A5 paper pad and machine stitched a border in black. I added to my page with foam tape and before securing I tucked to the left the journal card ‘the story’ from the die cut ephemera pack. Lastly I added a floral bunch using the flowers from the floral die cut ephemera at the top of my photo and journal card. My photo size is 3×4 inches but you could certainly add a larger photo. I used thee puffy sticker dots for the centre of these flowers.
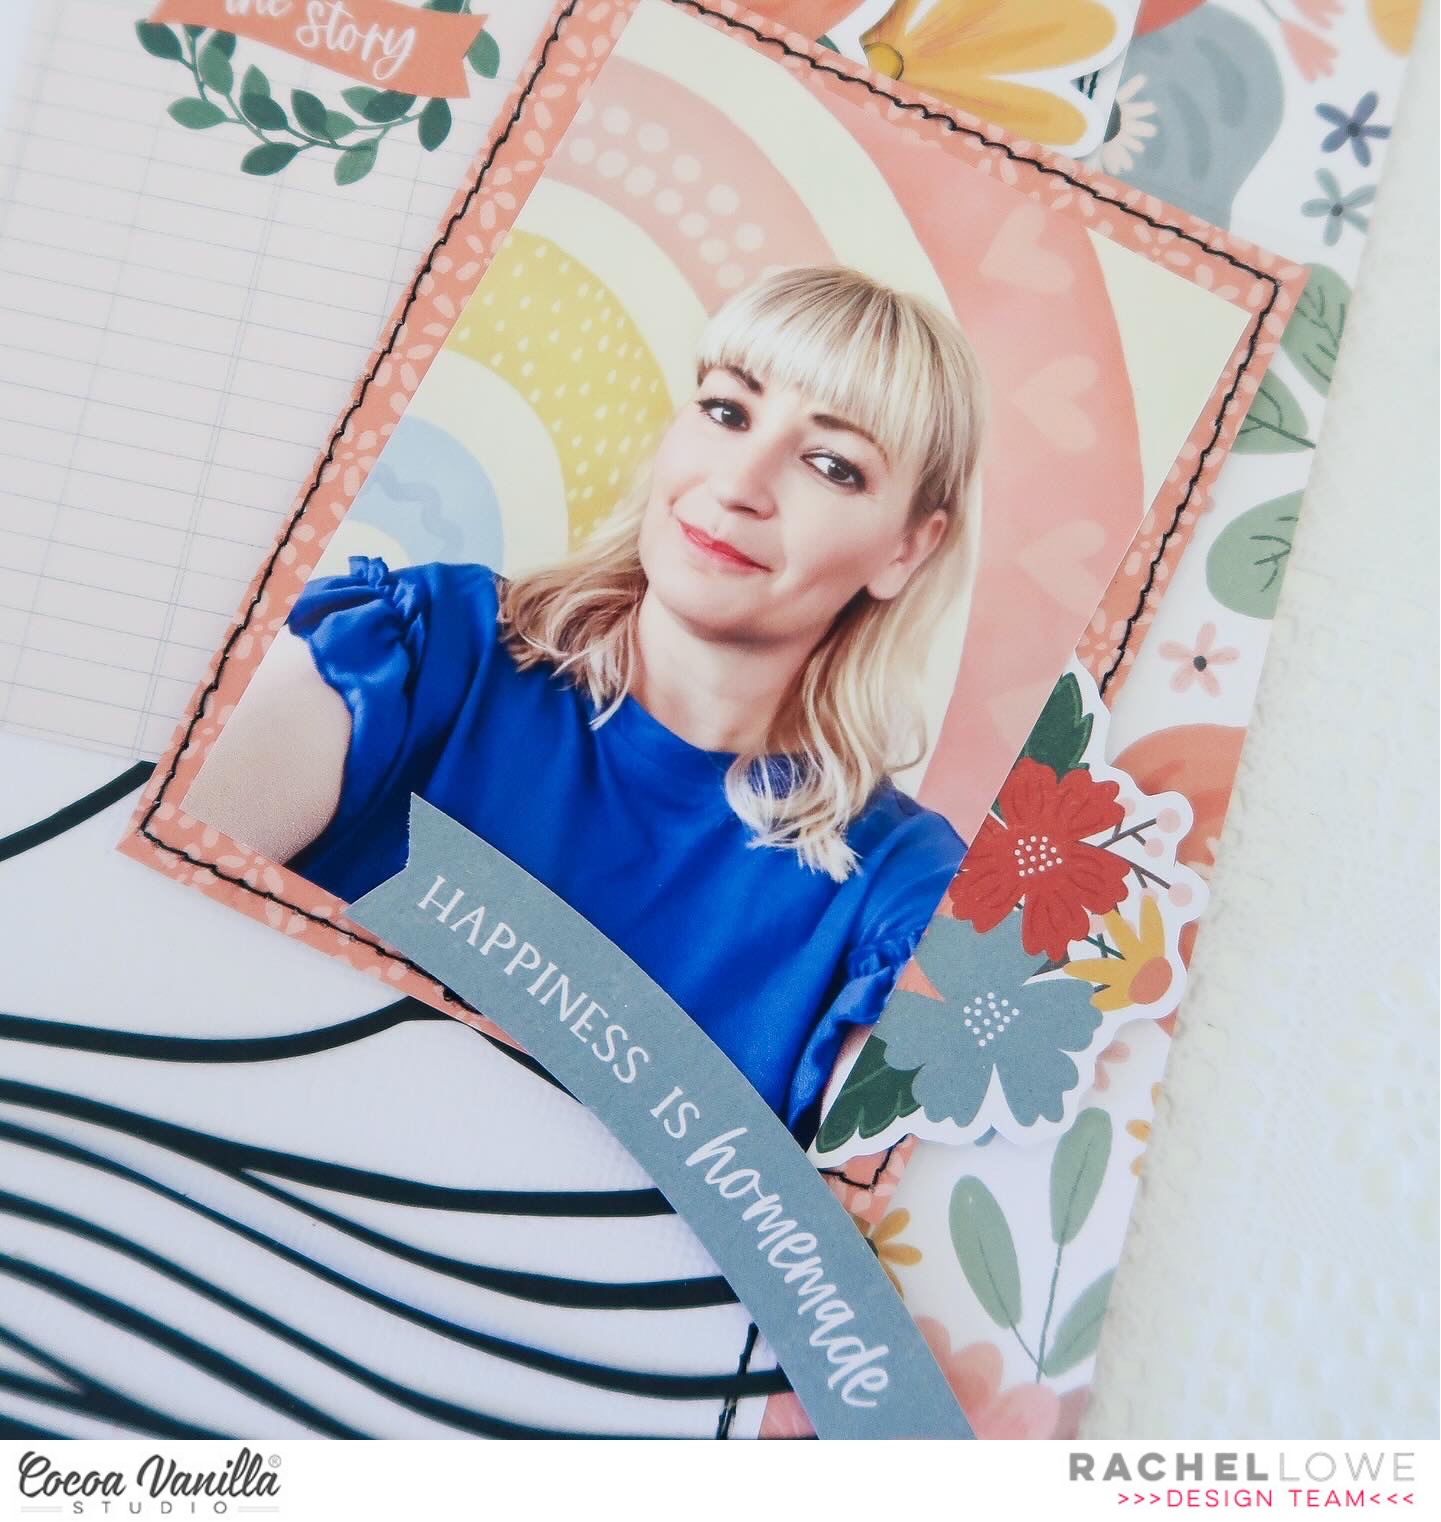
I created another small embellishment cluster to the bottom right of my photo to balance my layout.

You could add more photos and more journalling using the puffy alpha stickers. You could also paper piece the book if you wanted to add another colour to the layout.
As always thank you for stopping by and happy 2024 to you all!
Rachel X


 I have used a 5×5 inch photo and added foam tape to adhere, as I like to tuck elements under the photo, my foam tape is not directly at the edges. I then set about creating two embellishment clusters on either side of my photo. I used a palm leaf die and then added


 My photo is of my daughter at one of our gorgeous beaches in Western Australia. I used a swimsuit cut file from the Silhouette Design Store. I placed this on a slight angle of my page but only putting double sided tape in the middle of the swimsuit so I could tuck some


 Let’s talk about texture. If you are not a fan or experienced in mixed media how do you add texture to a layout? I focused on texture when creating this layout. Paper tearing is one way to add texture, and paper tearing also allows you to add elements under and over the tears which also adds more visual impact.
 Another way of adding texture is to sew on your layout, either by hand or using a sewing machine. I always add machine stitching to my layouts. Another technique with stitching is sewing over a strip of paper and then tearing the paper away from the stitching.
 Paper layers, dimension (ie foam tape to attach some elements and enamel dots) and a light spray of paint (here I have used black) all add texture to a layout.
 Recently I have dusted off my embossing folders and started to add texture to papers and elements using various embossing folders. So my 2020 did not look ‘flat’ I embossed with a polka dot folder and added dimension fluid dots which I also added over my title also.
 I really enjoyed putting this layout together focusing on textures! I also wanted to scrap a part of the Covid 19 journey that I am involved in, because memory keepers is what we are.


 Instead of my go to white cardstock I used the beautiful and subtle grey white washed wood grain paper Artisan. I wanted a real pop of colour so used the bright pink paper
  I added my photo off centre with foam tape and finished off with a bow from
  I have used two different cut files from the Silhouette Design store to create my layered flowers but for those who do not have a cutting machine use a hand punch, punching at least 3 and then layer with foam tape. If you want to recreate these centres, they are super easy! Cut a 12 inch strip at 1/2 an inch. fringe cut with a pair of scissors and then roll as you would any rolled flowers. Once the glue has dried then push outwards all the way around, then glue to the centre of your flowers. I have used
  You will see that I then tucked in-between the flowers fussy cut butterflies, some die cut leaves and a sentiment from the accessory stickers.
 I then created my title using
  I love using word and phrase sentiments from the Accessory Stickers sheets and you can see I added some more under my photo and under my large title.
 And there you have it, I love how this turned out! A great colour palette even though I have used several different collections. Don’t be put off because of the flowers on this layout, you can make. beautiful one’s too, time to blow the dust off those punches!


 To create my title I used the Super word from the Clear Stickers and adding a blue paint brush stroke clear sticker over it, finished off with a word sentiment from the Accessory Sticker Sheet.