You’re fantastic look | No Limits collection | Josefine vd Hoeven
 Hey crafty Paperlovers,
Welcome and so happy to see you on the Cocoa Vanilla blog today! It’s Josefine here and I’m sharing a new layout with you today. I got to work with the amazing collection “No Limits. I am so surprised by this stunning boys collection. I really love the color combinations and the cool vibe!
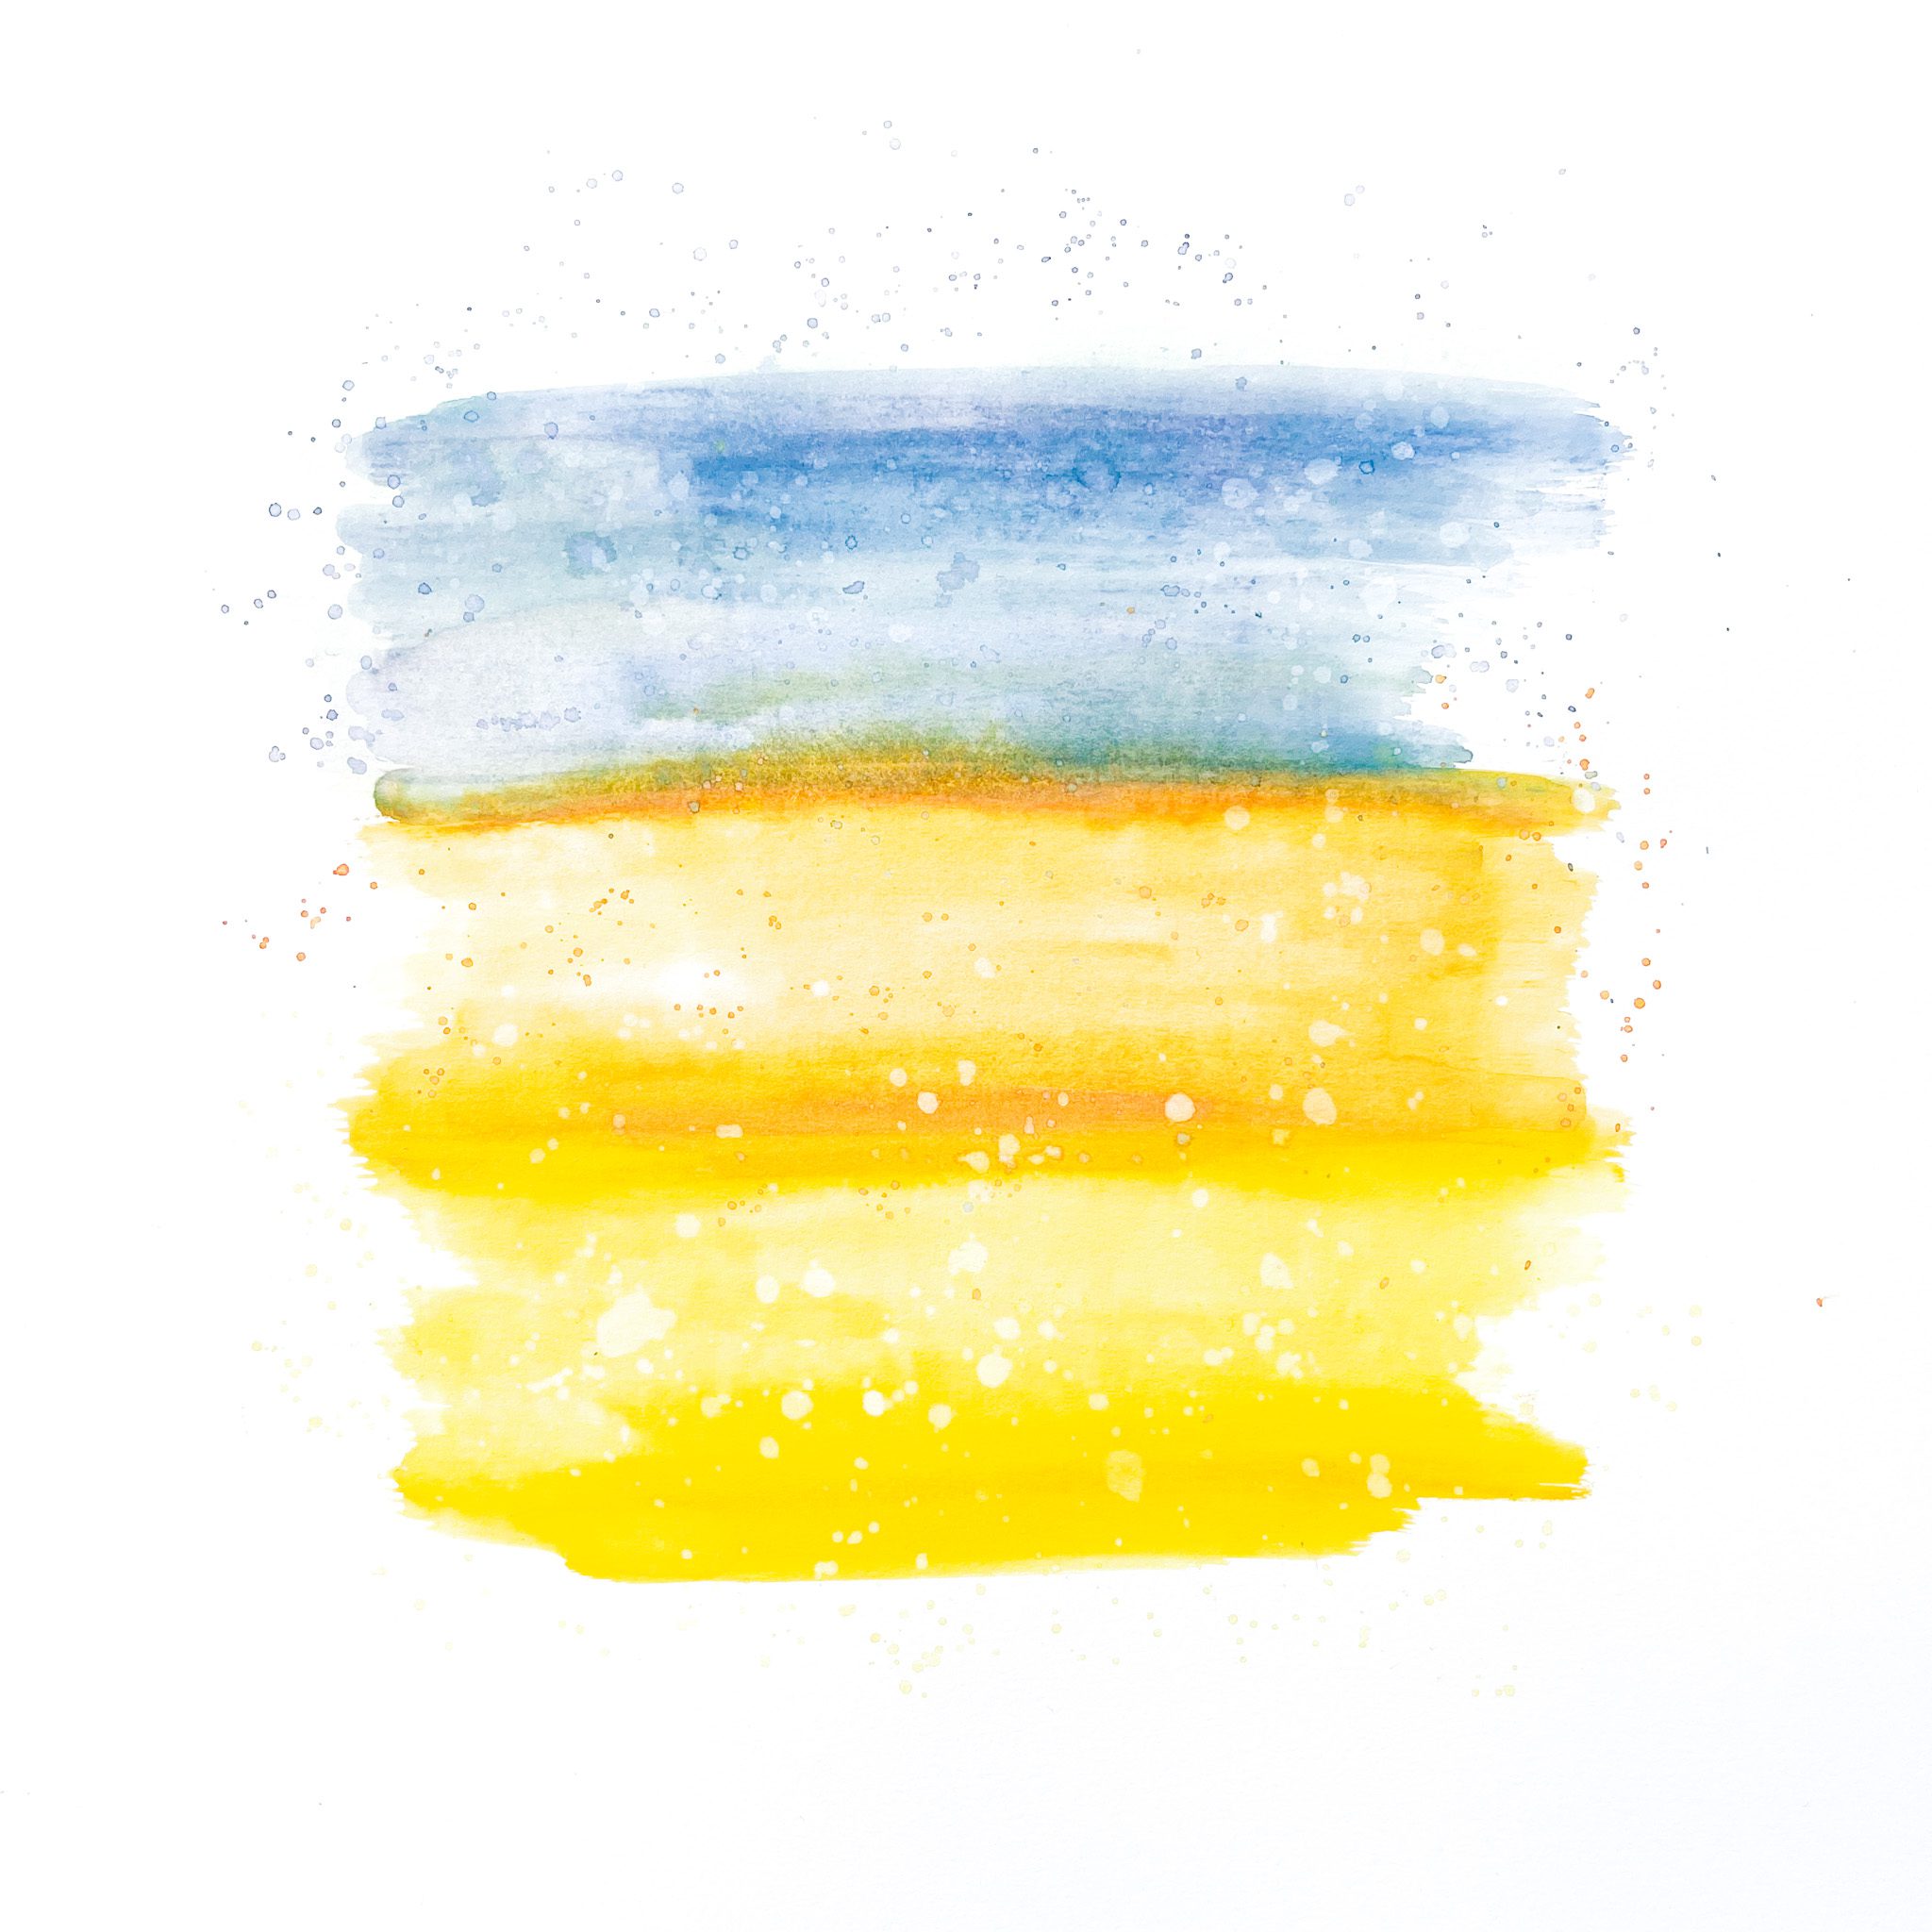
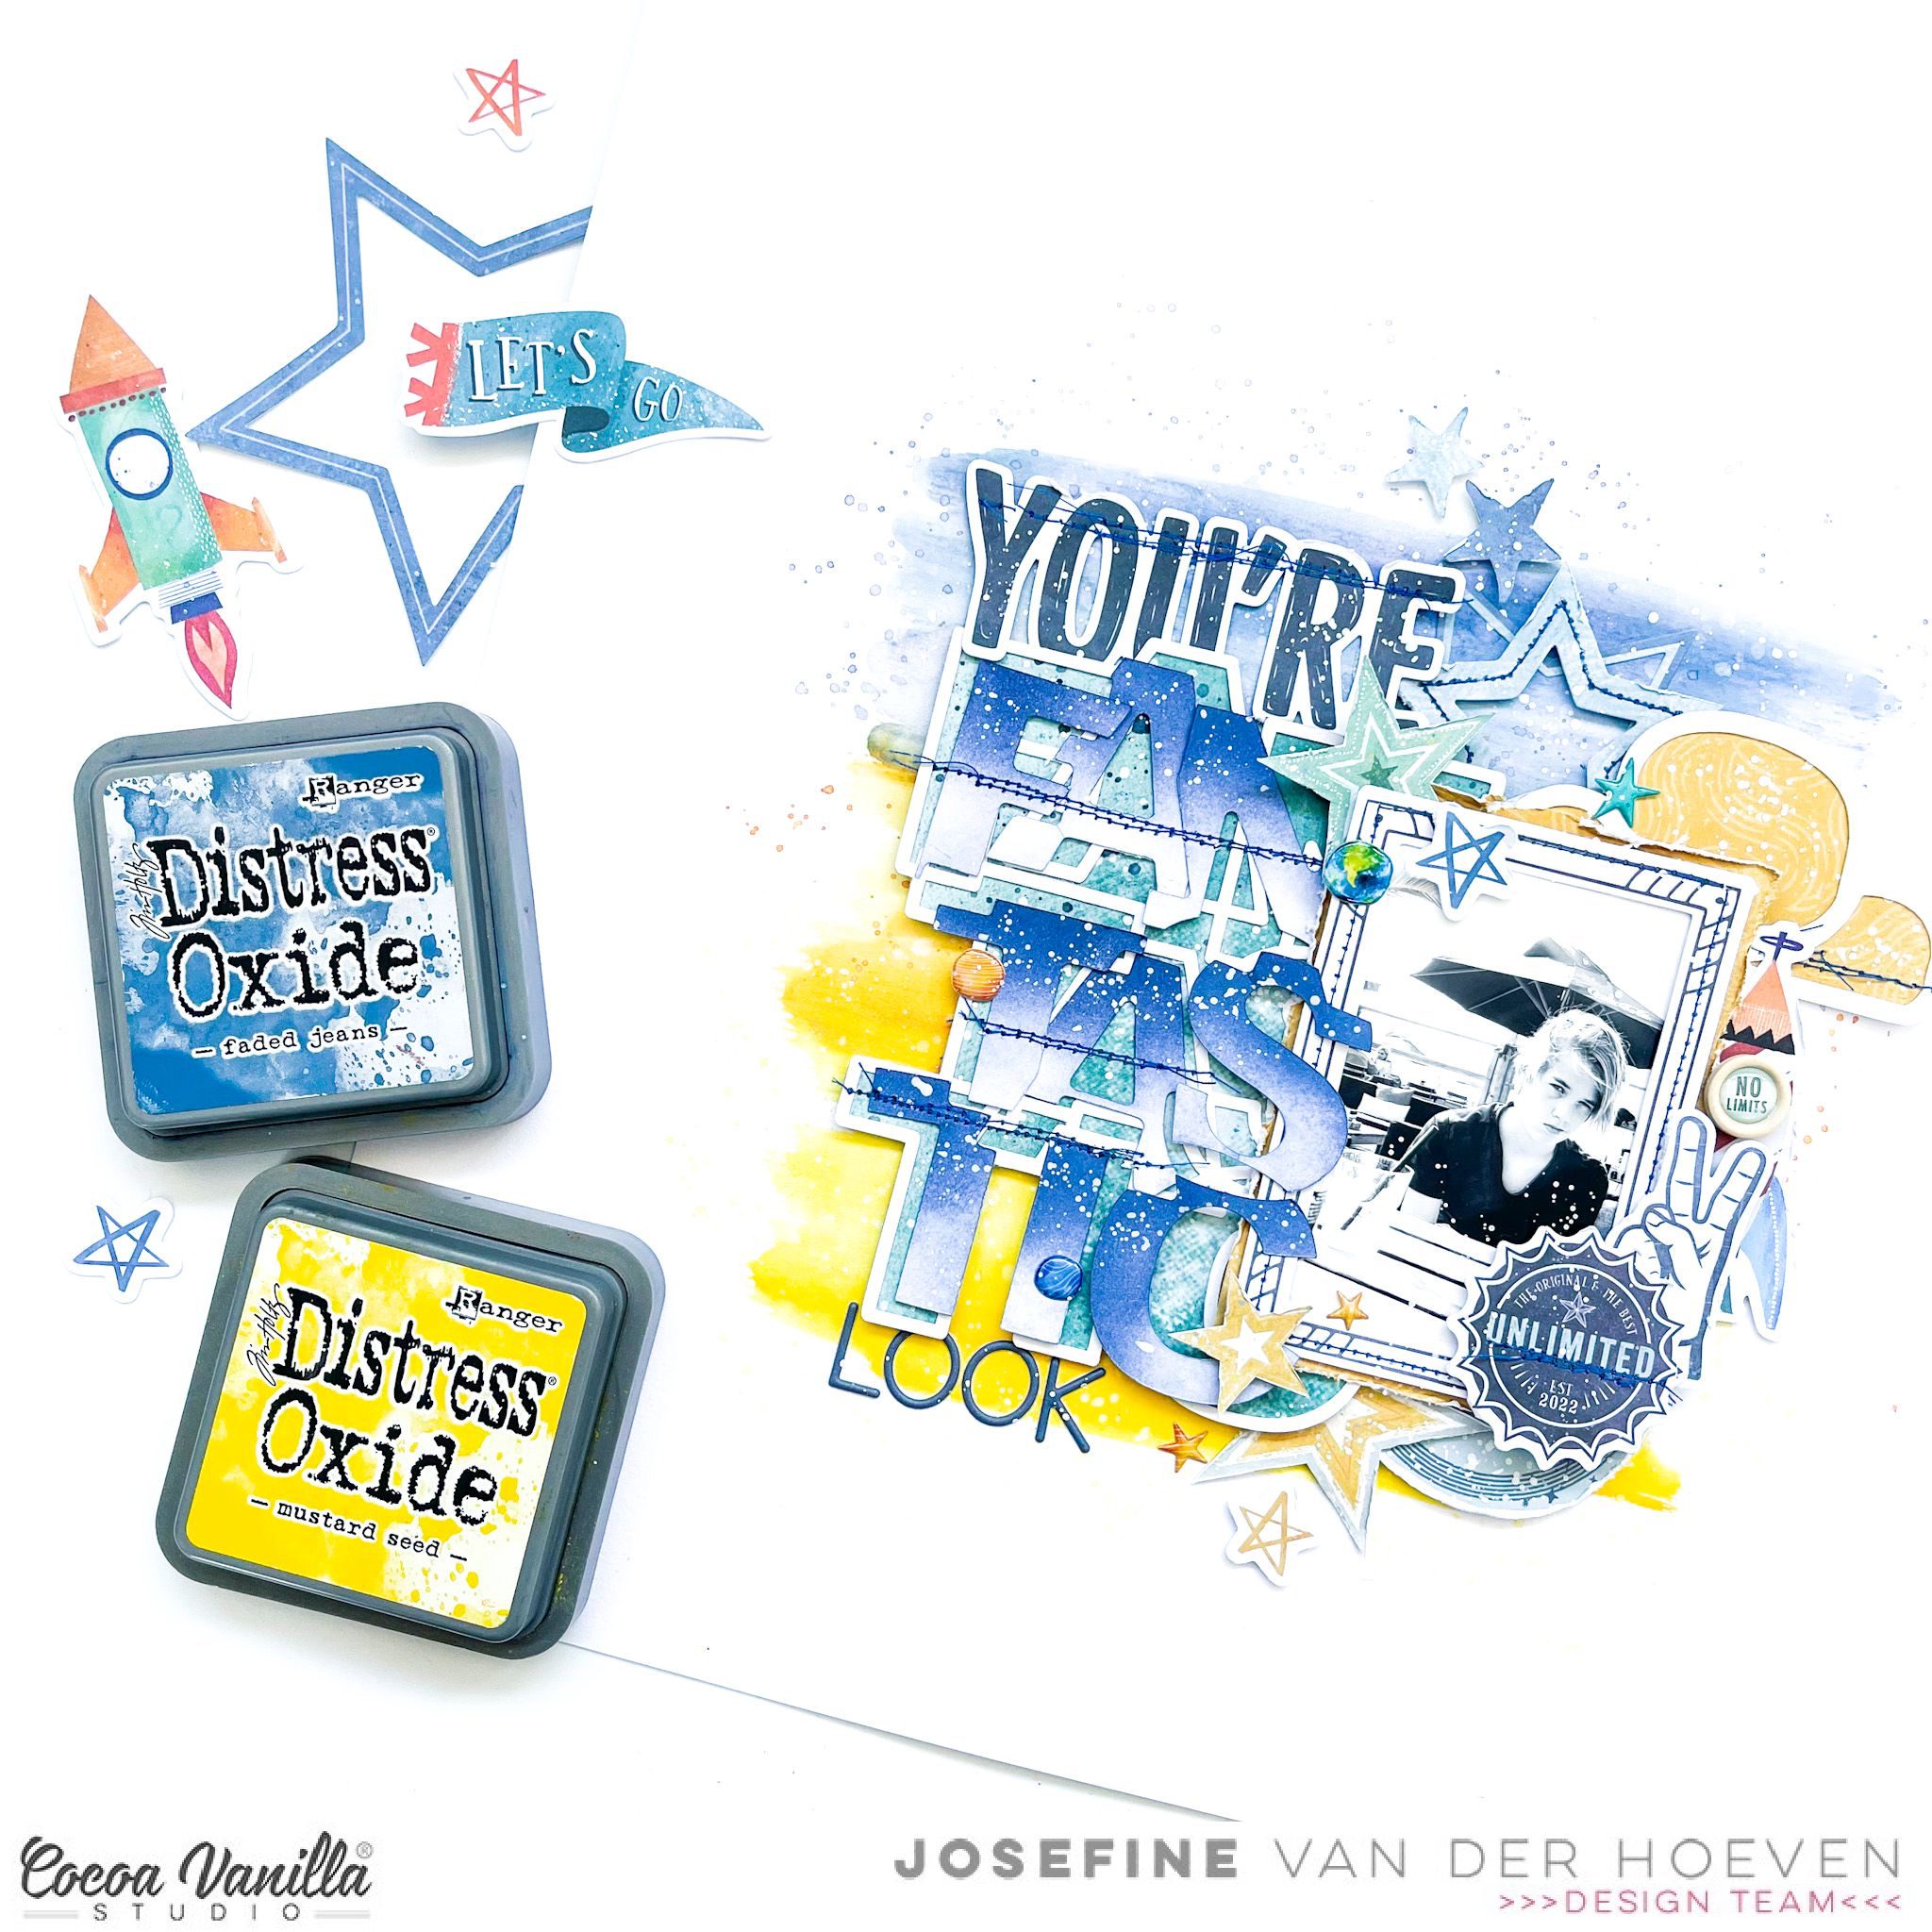
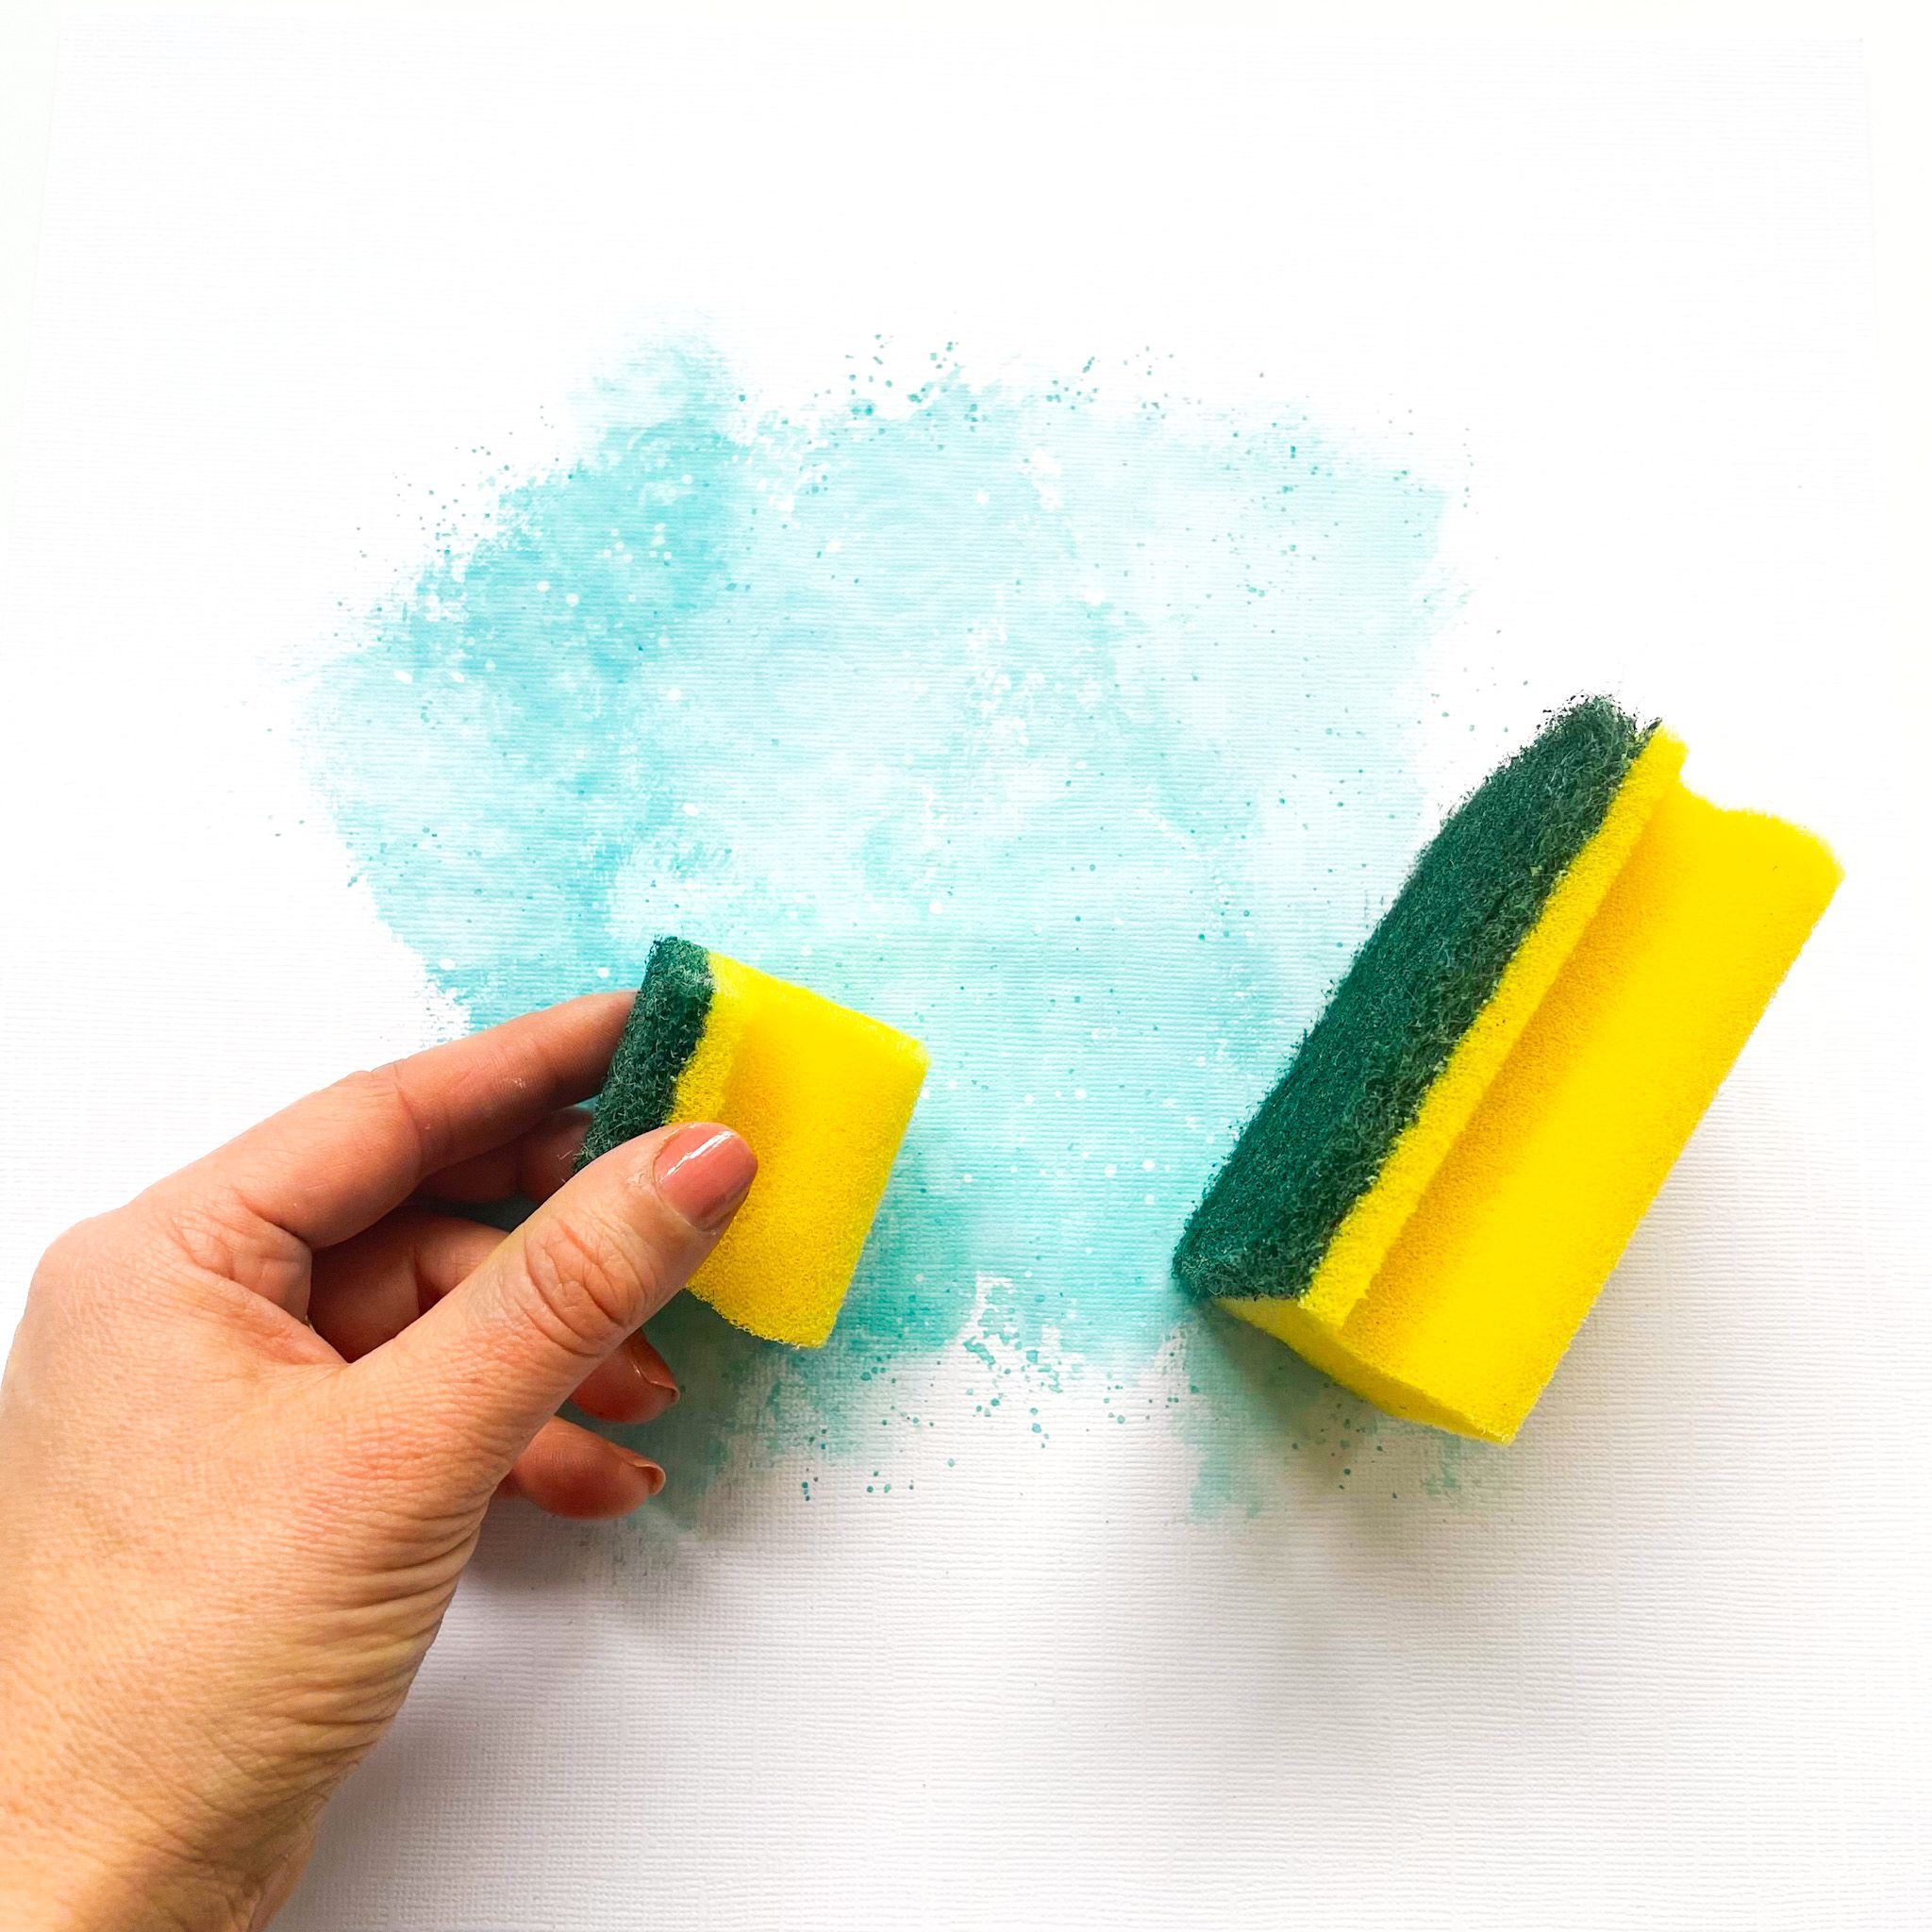
I grab a 12×12 watercolor paper and choose three colors of distress oxide. The colors I used are, faded jeans, mustard seed and spiced marmalade. I placed an ink pad on my white background and make a horizontal line. I do this with all three colors. Then I take a brush and blend the colors with each other. I splash some more with the colors and water and then let it dry by air. By splashing with water and then dabbing it dry with a piece of kitchen paper you create a cool water color effect.
I use a cutfile by Paige Evans called “Fantastic” as part of my title. I cut out the cutfile with my Cricut Maker and backed it with design paper. I color the alphas with the distress oxide “faded jeans” and then I stitch them with blue sewing thread on my cutfile. The stitch details give my layout more dimensions.
 I use a cutfile by Paige Evans called “Fantastic” as part of my title. I cut out the cutfile with my Cricut Maker and backed it with design paper. I color the alphas with the distress oxide “faded jeans” and then I stitch them with blue sewing thread on my cutfile. The stitch details give my layout more dimensions.
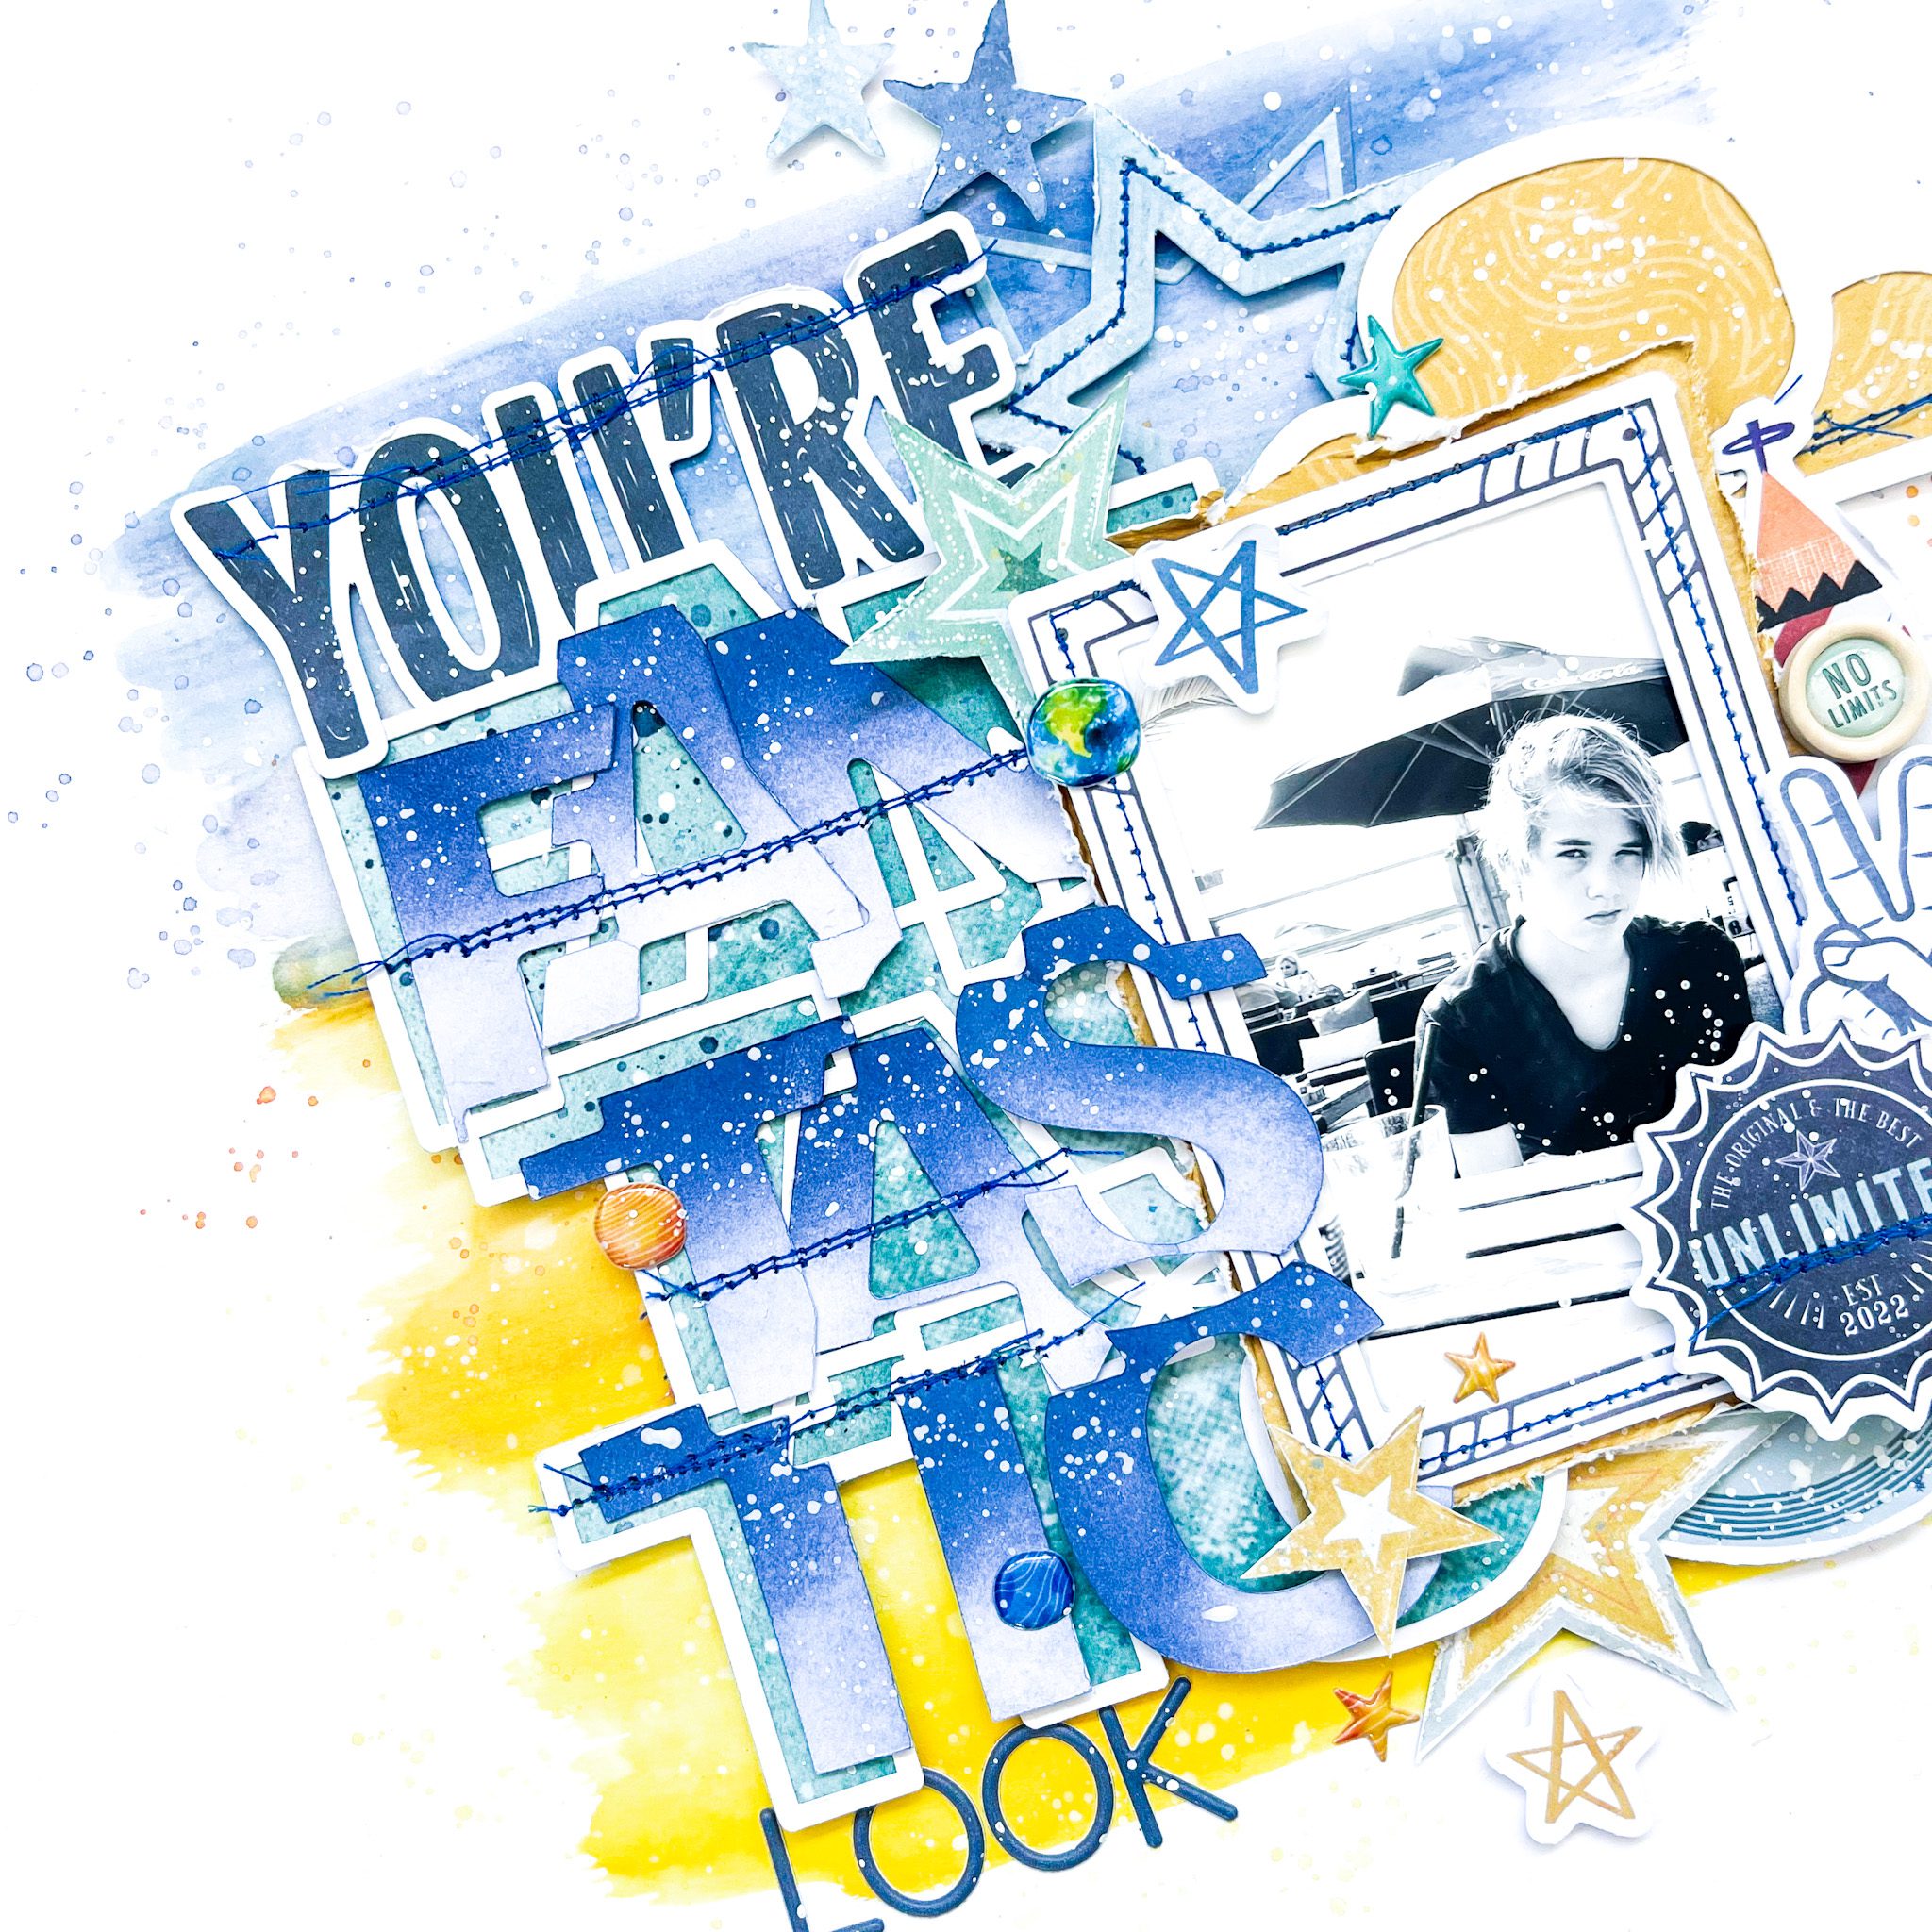
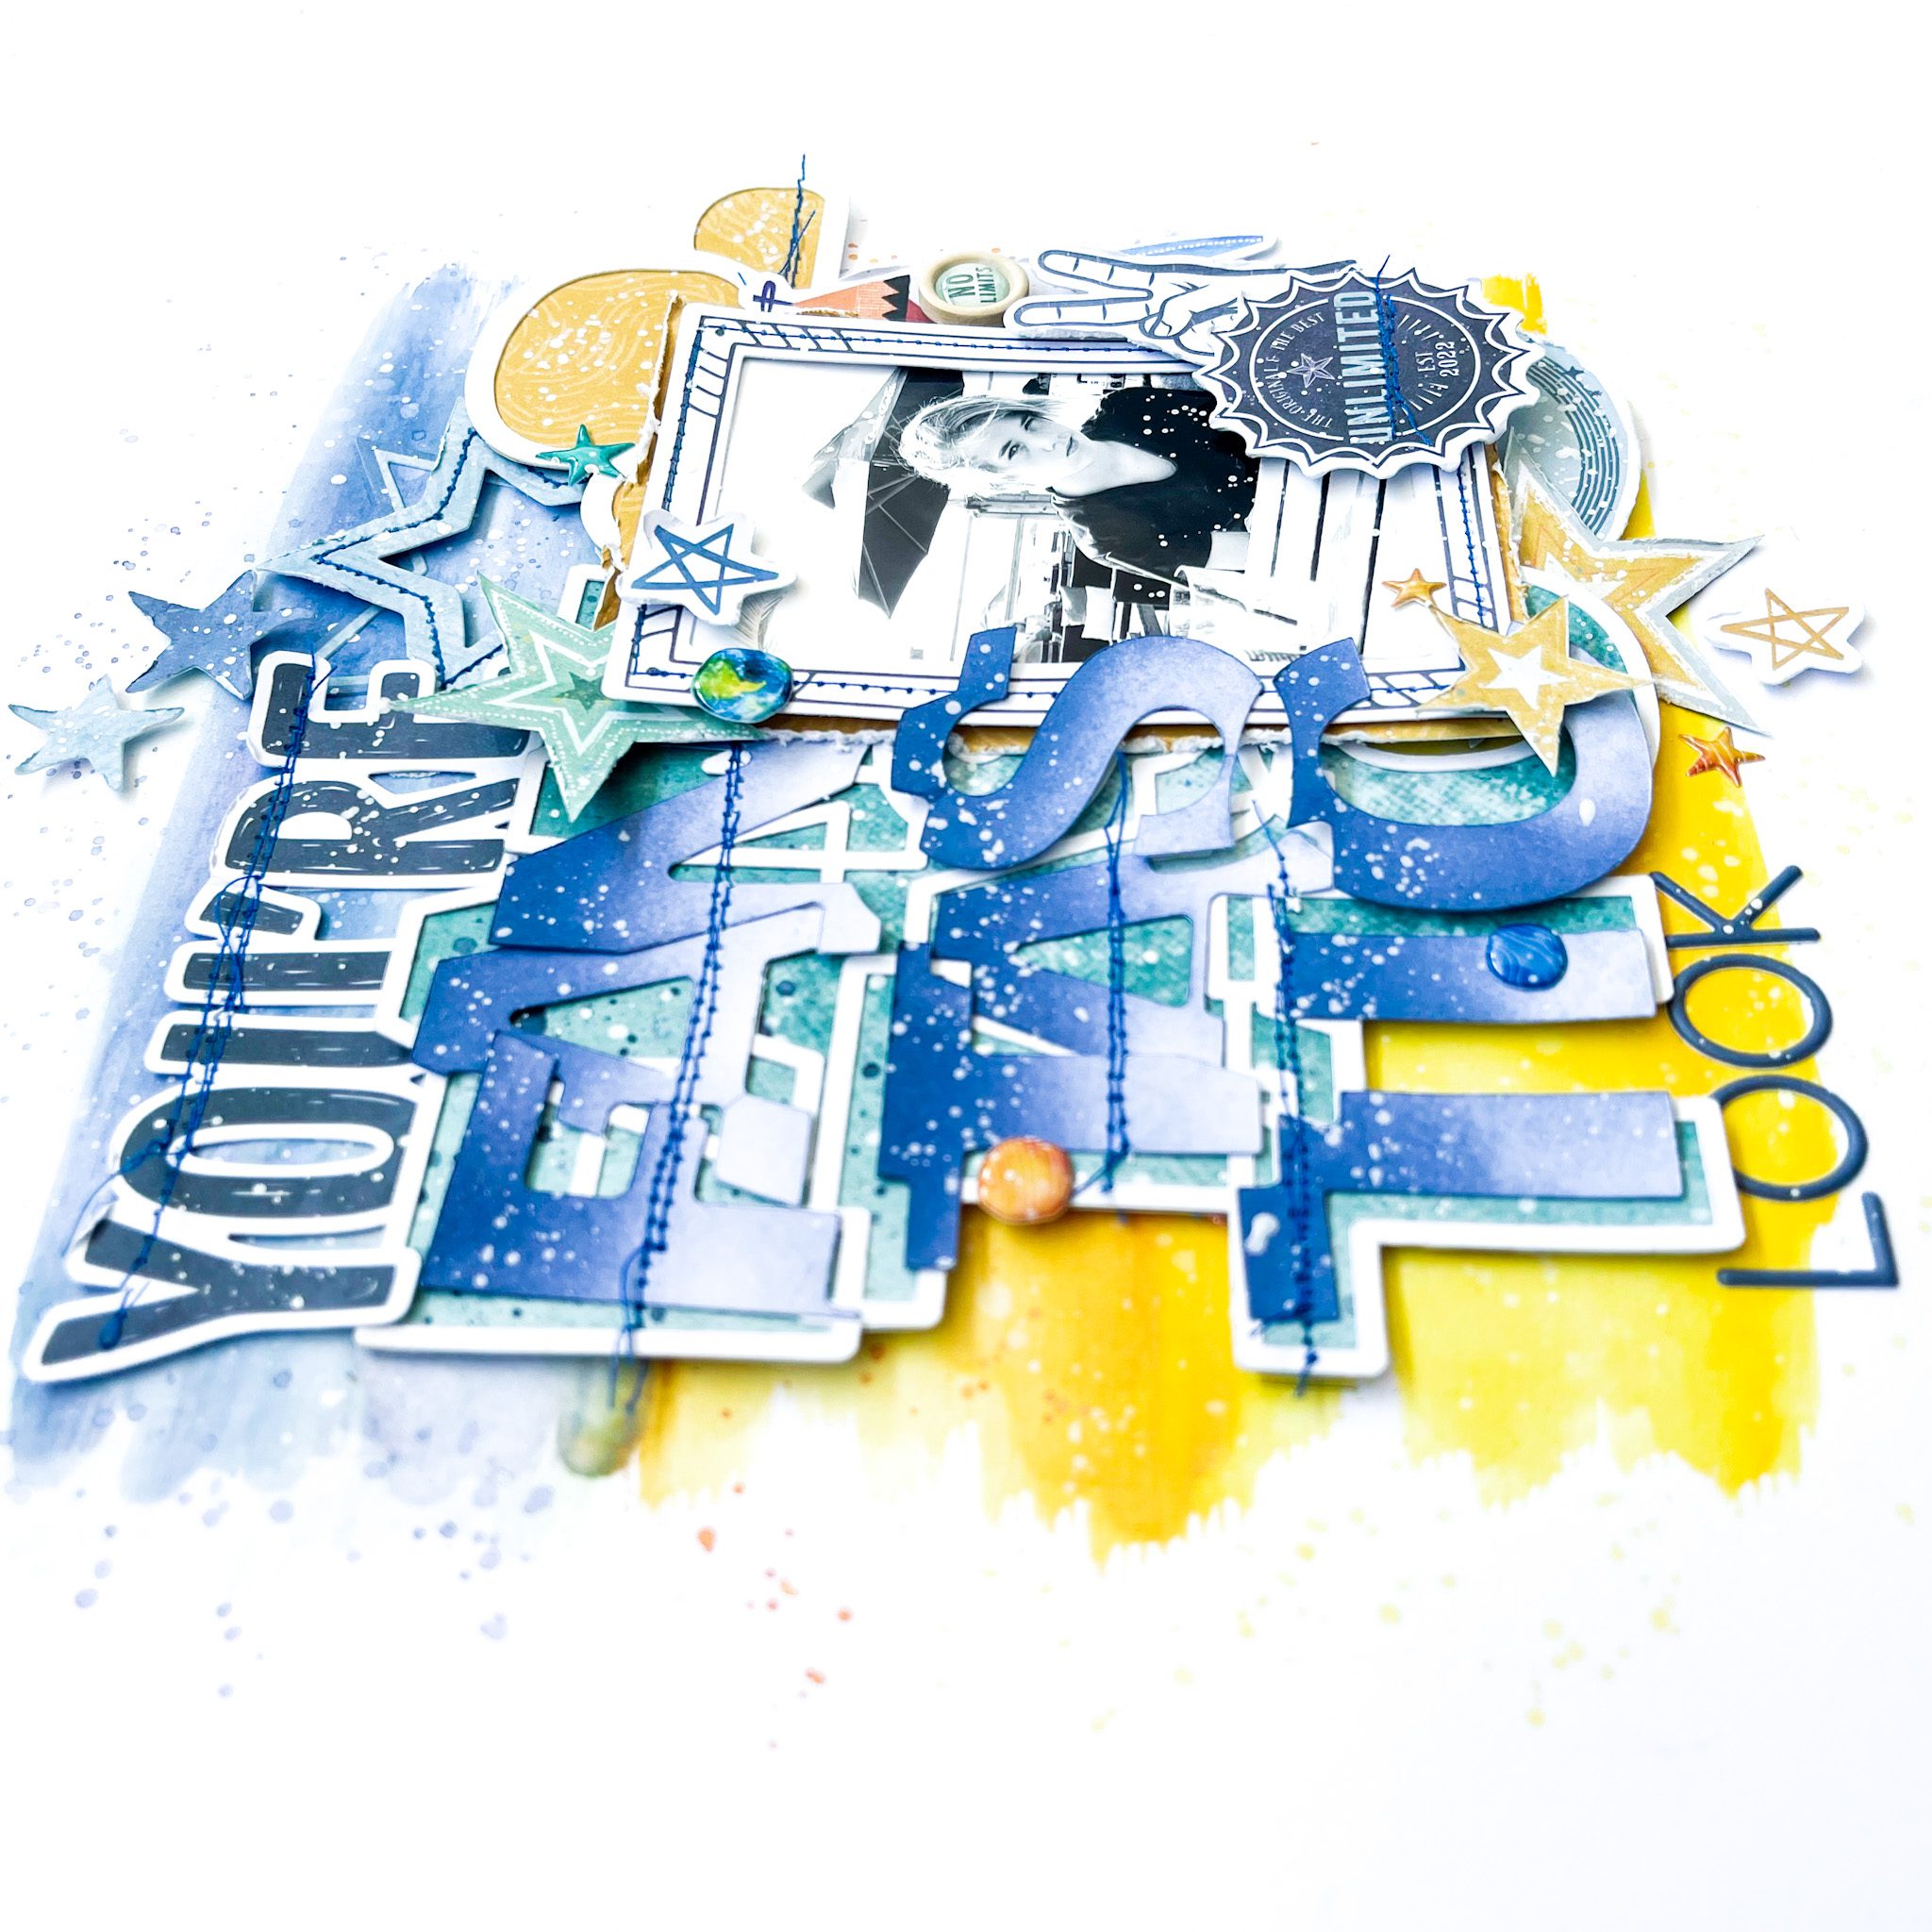
I cut pattern paper to size and placed it behind the photo of my son with his cool looking face. On top of the photo, I placed a frame from the Die-cuts elements figures. I select some more figures and make a cluster on the right side of the photo. Some die-cuts I give a blue stitching details.
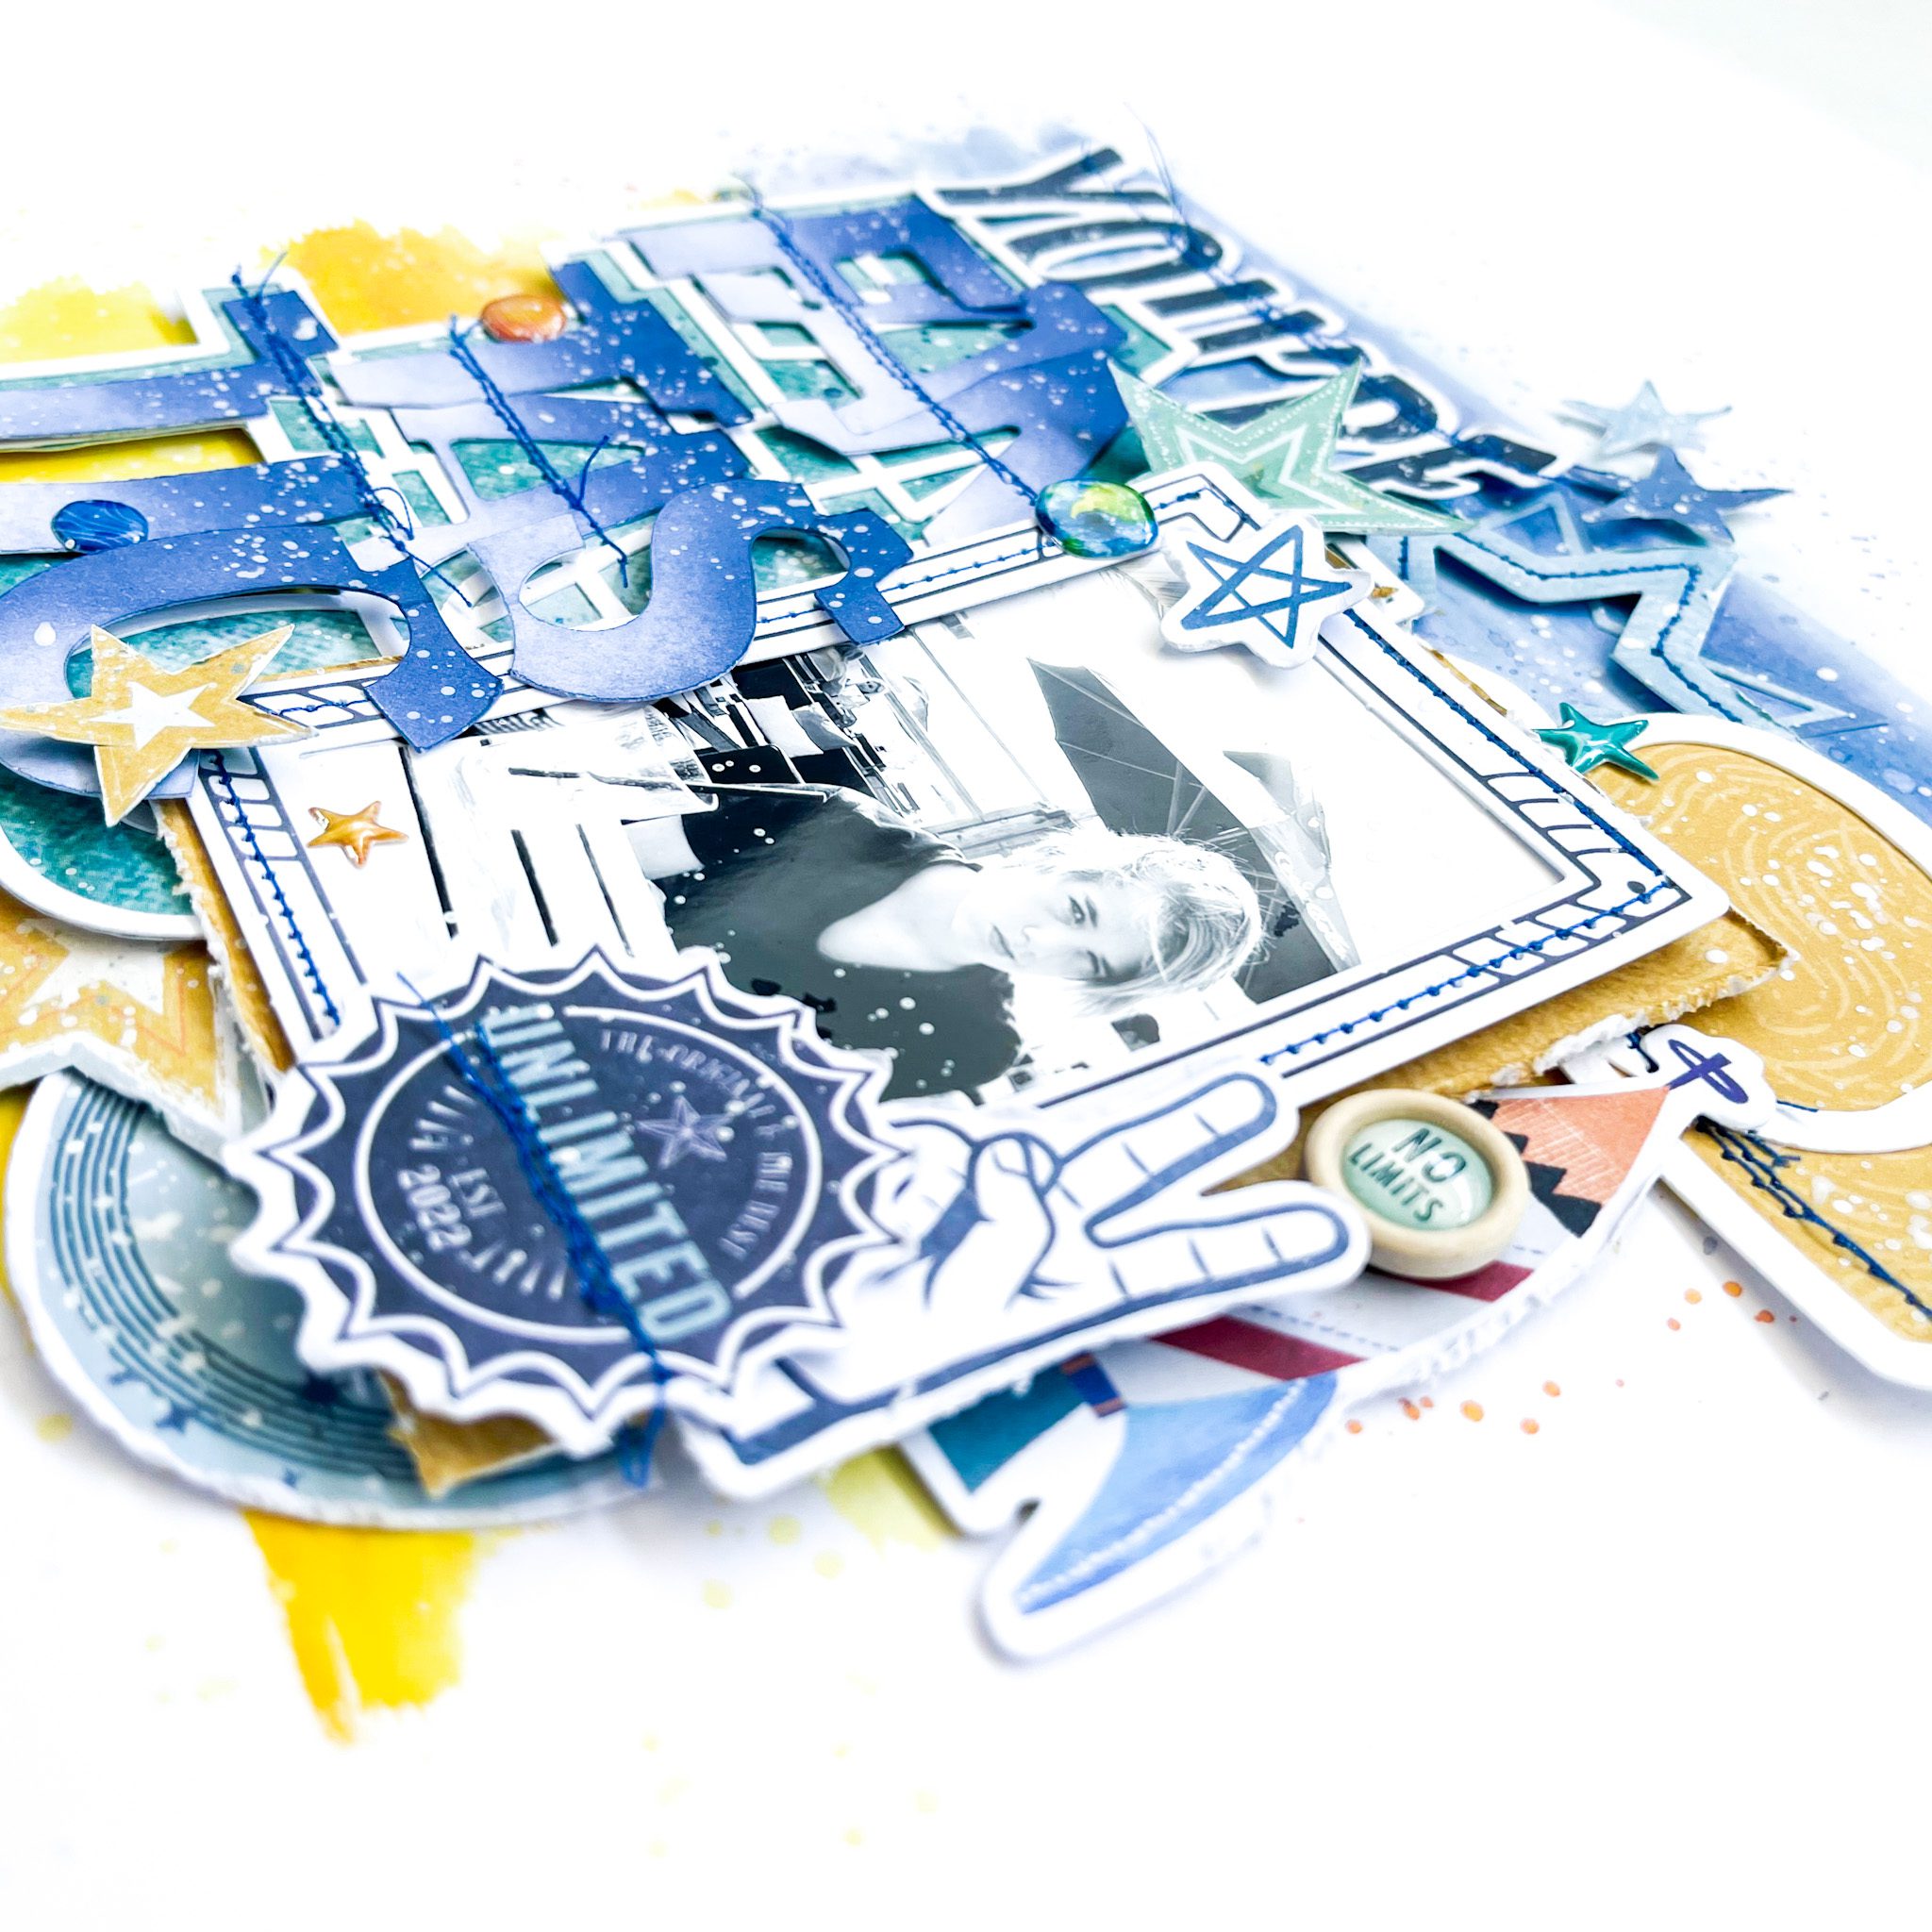 I cut a few more stars from the fabulous pattern paper and spread them around the layout. I use another second cutfile from Paige Evans “Clouds” and use one cloud I back it with pattern paper, stitch some details with the blue sewing thread and place it behind the picture. I placed a few more puffy stars and planets here and there and finally I give my layout some white splatter with white gesso.
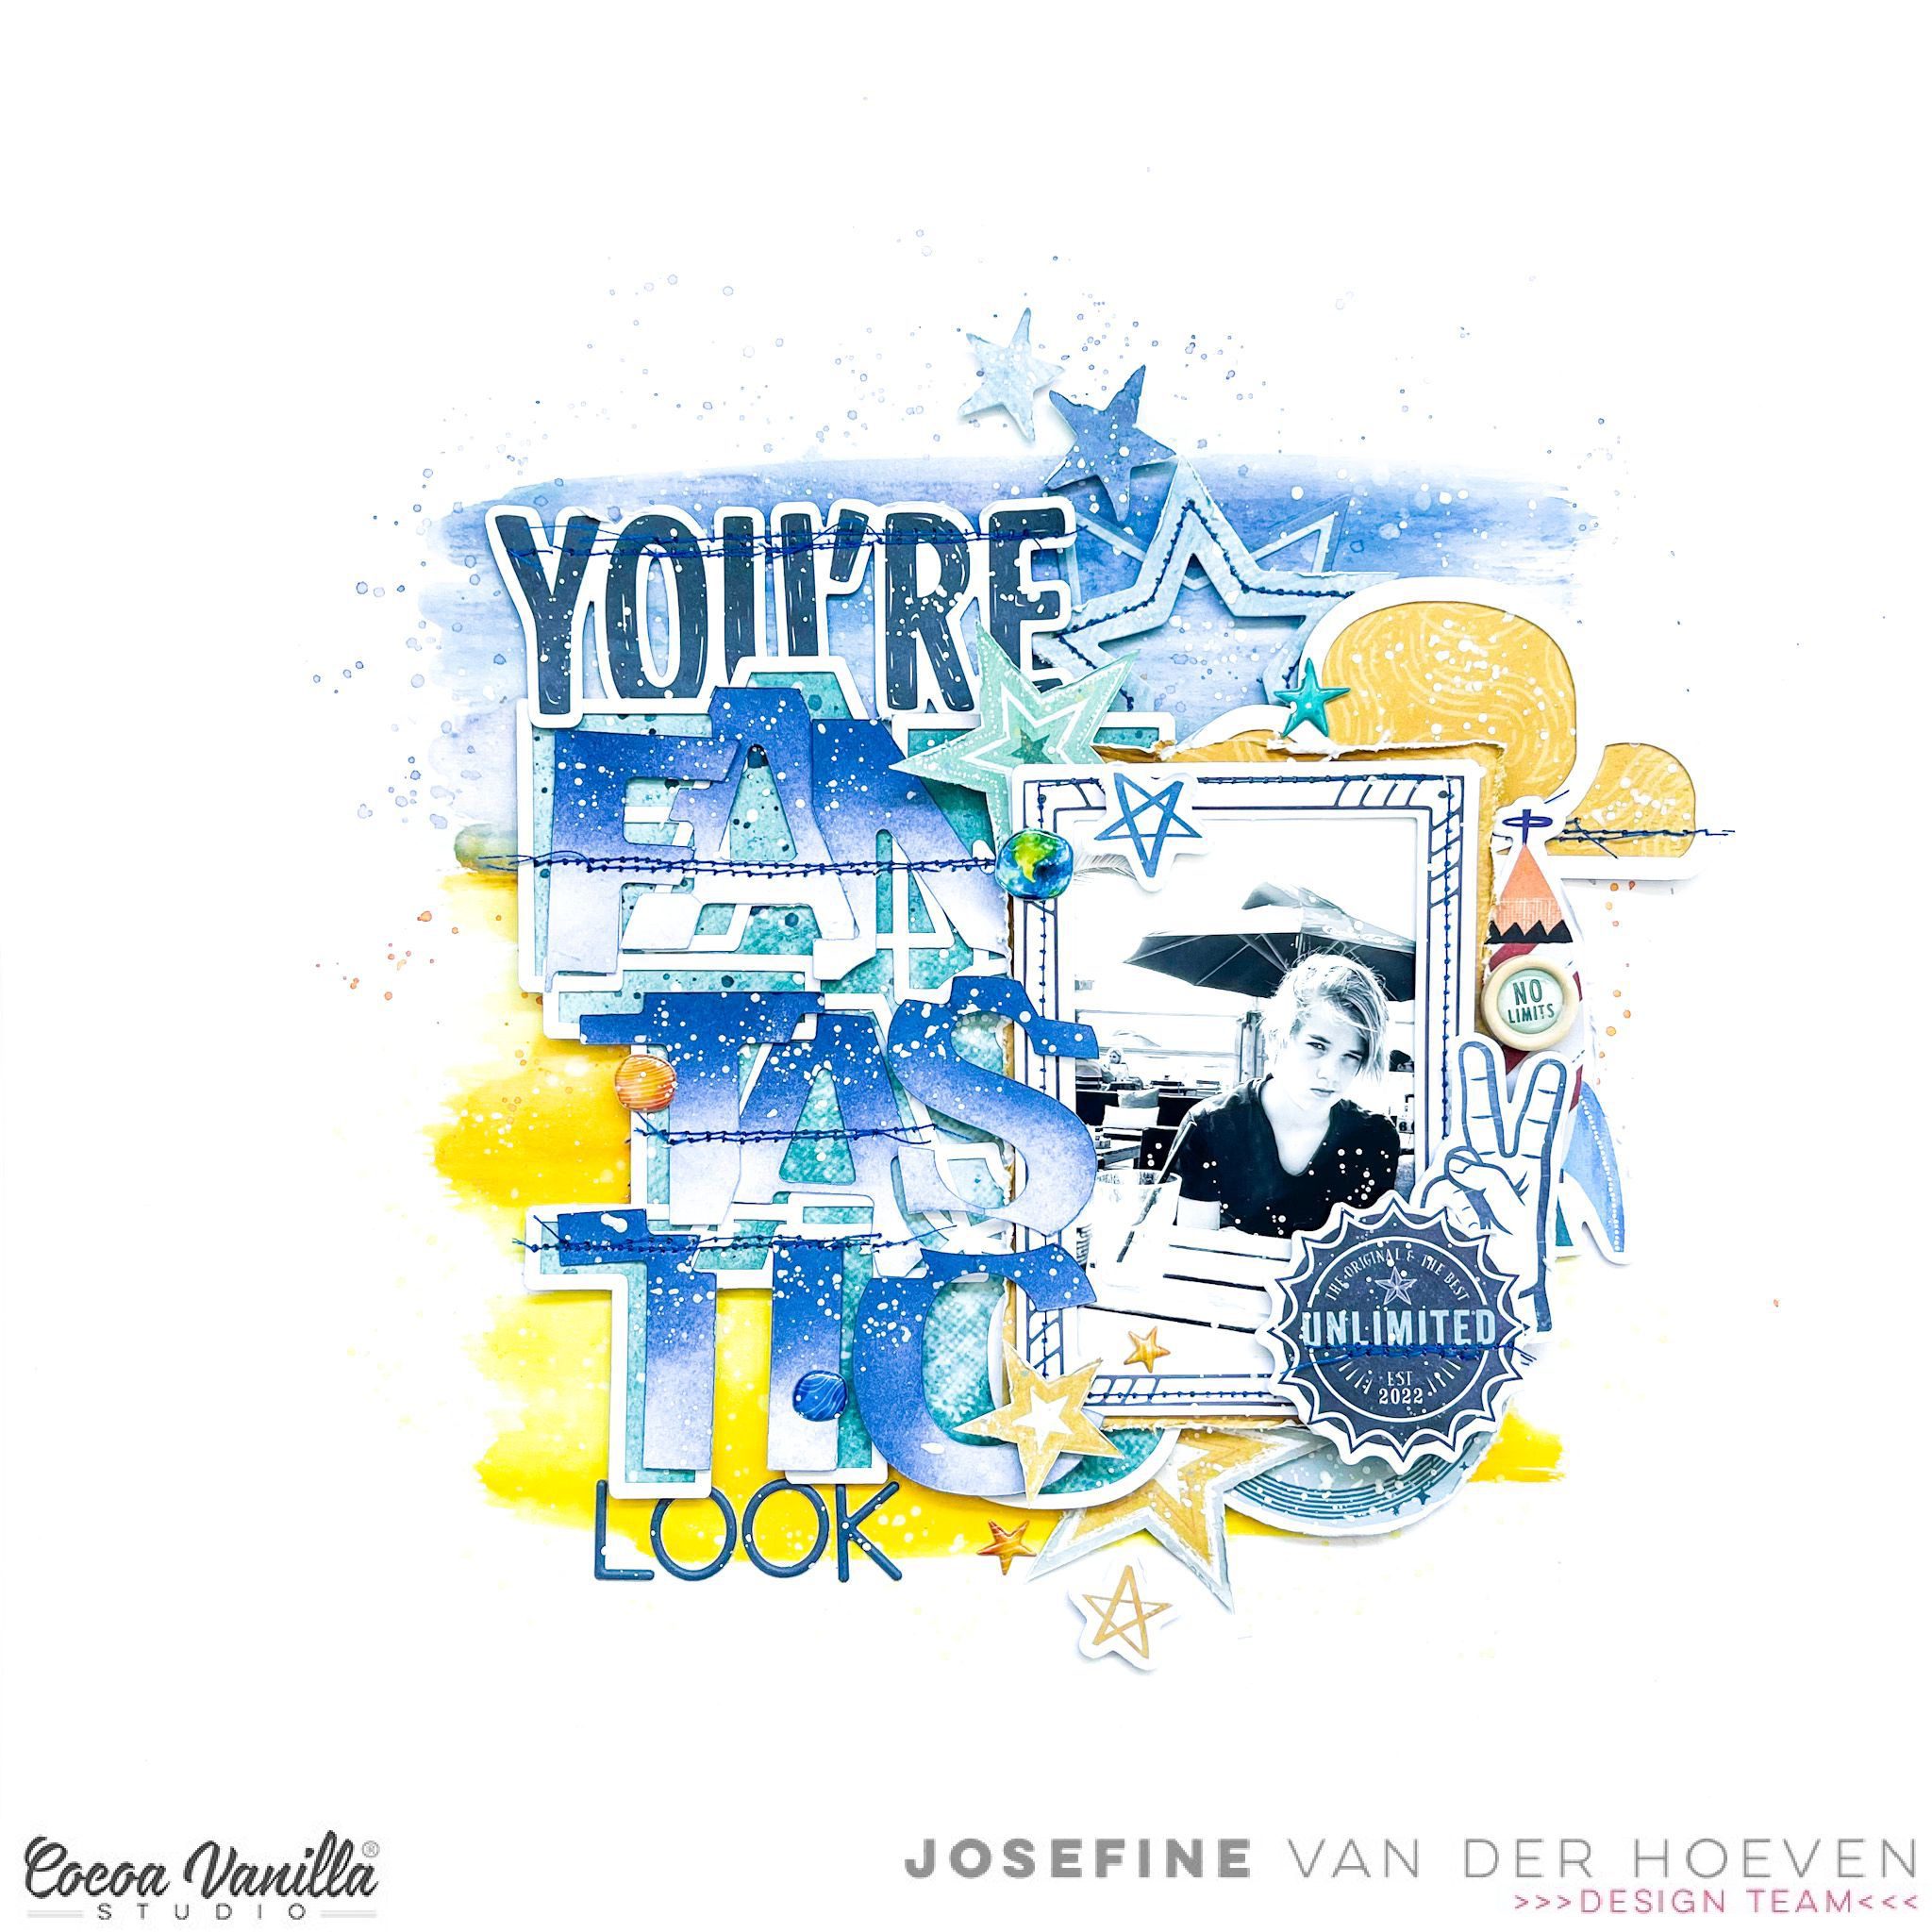
I hope I was able to inspire you with this boys layout and give you some new ideas. Of course, I hope to see you back here on the blog next time with a new project! Can’t wait to see your beautiful projects on the Cocoa Vanilla FB groep! I wish you a very happy and crafty day friends!
XoXo, Jo

 I cut another circle from the dark blue patterned paper and placed it with 3D tape in the center of the yellow/orange mixed media background. Now it’s time to decorate my layout with die-cuts, stickers, stars and of course a title.


 The challenge for this week is, scrap lifting myself. I couldn’t wait to make the “Pool Party” layout again. I wanted to challenge myself to use a different collection though and chose the beautiful “Daydream” collection.
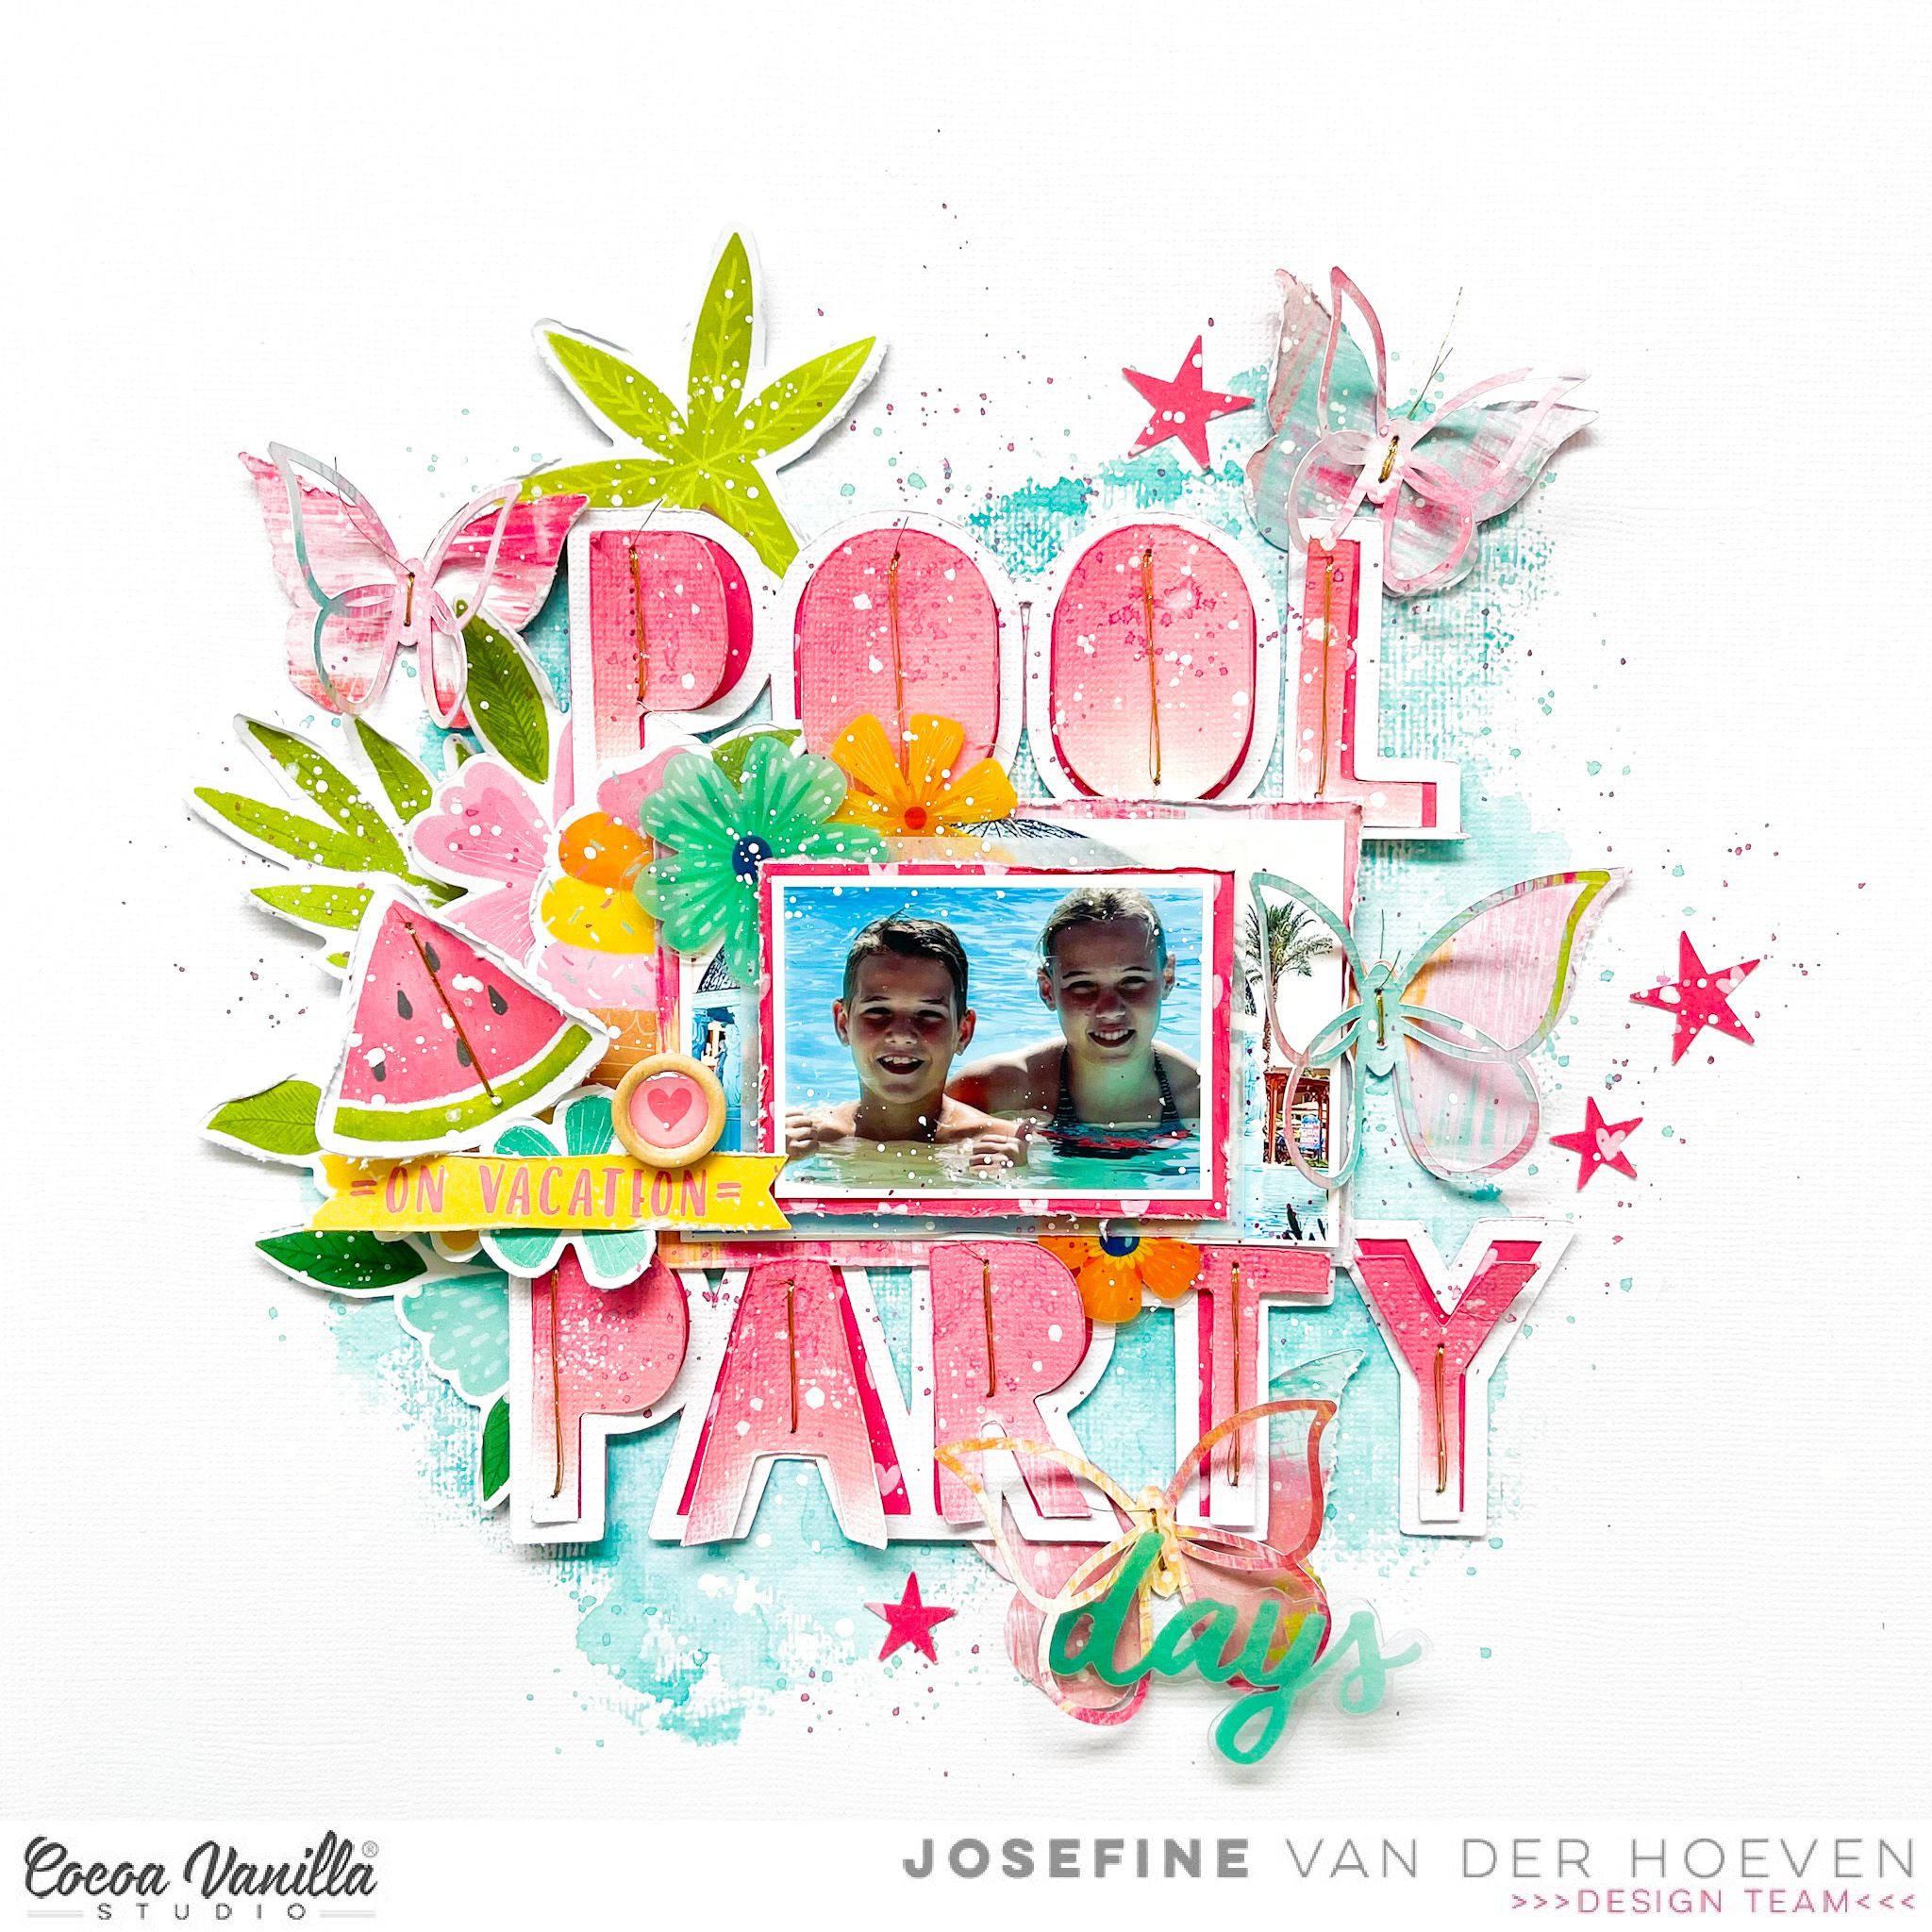
 I cut the title loose and placed the photo in between. I placed the cut file and photo in the center of my mixed media background. I picked different die-cuts, butterflies and flowers to made a cluster on the left side of the photo.


 I used two cut files on this layout. The deer in the background I cut out twice and glued half on top of each other. The cut file is from the Cricut design studio. The “Outdoor Adventure” title is a cut file from Cut to You. I cut a circle from the design paper and stitch the edges with brown sewing thread. I place the circle in the center of the mixed media background. I placed the deer on top and cut some design paper to size and glued it behind my son’s photo. I placed the design papers with the photo on top of the cutfile. I use 3D foam to create more dimension.
 I make a cluster of die-cuts and word strips on both sides of the photo. I stitched the words “So Epic” in the middle. I colored the cutfile title with a green Distress Oxide color. The color I used for that is “Peeled paint” I cut out several stars from the design paper and placed them in different places on my layout.
 I attached the stars with 3D tape. I like the way the stars. stand out a little from the background. I mix the white gesso with water and with a thin brush I make white gesso splatters on my layout. I like the effect. I think Legendary is a great collection with pretty cool colors. I am so happy that No Limits will be the next wonderful boys collection from Cocoa Vanilla Studio!
 I hope I was able to inspire you with this boys layout and am curious if you are also looking forward to the new collection “No Limits” I want to thank you for visiting for the blog today and hope to see you again next time with a new project.


 I placed die-cuts, flowers and stickers between the butterflies. I loved how that turned out. Look the gorgeous word strips on my layout and the gold title Memories under the butterflies. I splashed white gesso and gold acrylic paint splatters on top of the butterflies and embellishments.I punched some white twigs out of white cardstock and gave them a winter look with the Nuvo glacier. WoW, such a cool effect! I really love the shimmers. Curious to see more details and exactly how I made the layout! Just hop over to the Cocoa Vanilla Youtube channel for the process video!
 I used the beautiful designer paper with the Christmas wreath for this layout. Love, love, love the beautiful wreath design and also so easy to use with all the great embellishments. I cut the center and glued a design paper behind it with golden dots.
 I made two rosettes from the beautiful design papers. I punched out several leaves and stitched them with gold thread. I put everything in a wreath on the design paper and used adhesive tape and 3D foam. This way I create different layers. I cut different flowers from the design paper and put them between the leaves. I used die-cuts, stars, chipboard figures and puffy stickers to decorate my layout.

 I love the magical atmosphere during the month of December! Everything feels so much nicer and always look forward to spending the Christmas days with my loved ones. I made a mixed media background with the Distress Oxide color “flamingo kitch” by using a background stamp. I make various prints on the white cardstock and when the mixed media background is large enough I made some splashes with the pink Distress Oxide color.
 I stitched a pattern on my layout and used two colors of embroidery thread and some glass beads. I love how festive it looks. I cut out a picture of my daughter into a circle and also cut two circles from the beautiful design papers of this wonderful collection. I stitch the edges of the circles with gold sewing thread. I place the circles in the center of my layout and now it’s time to decorate.


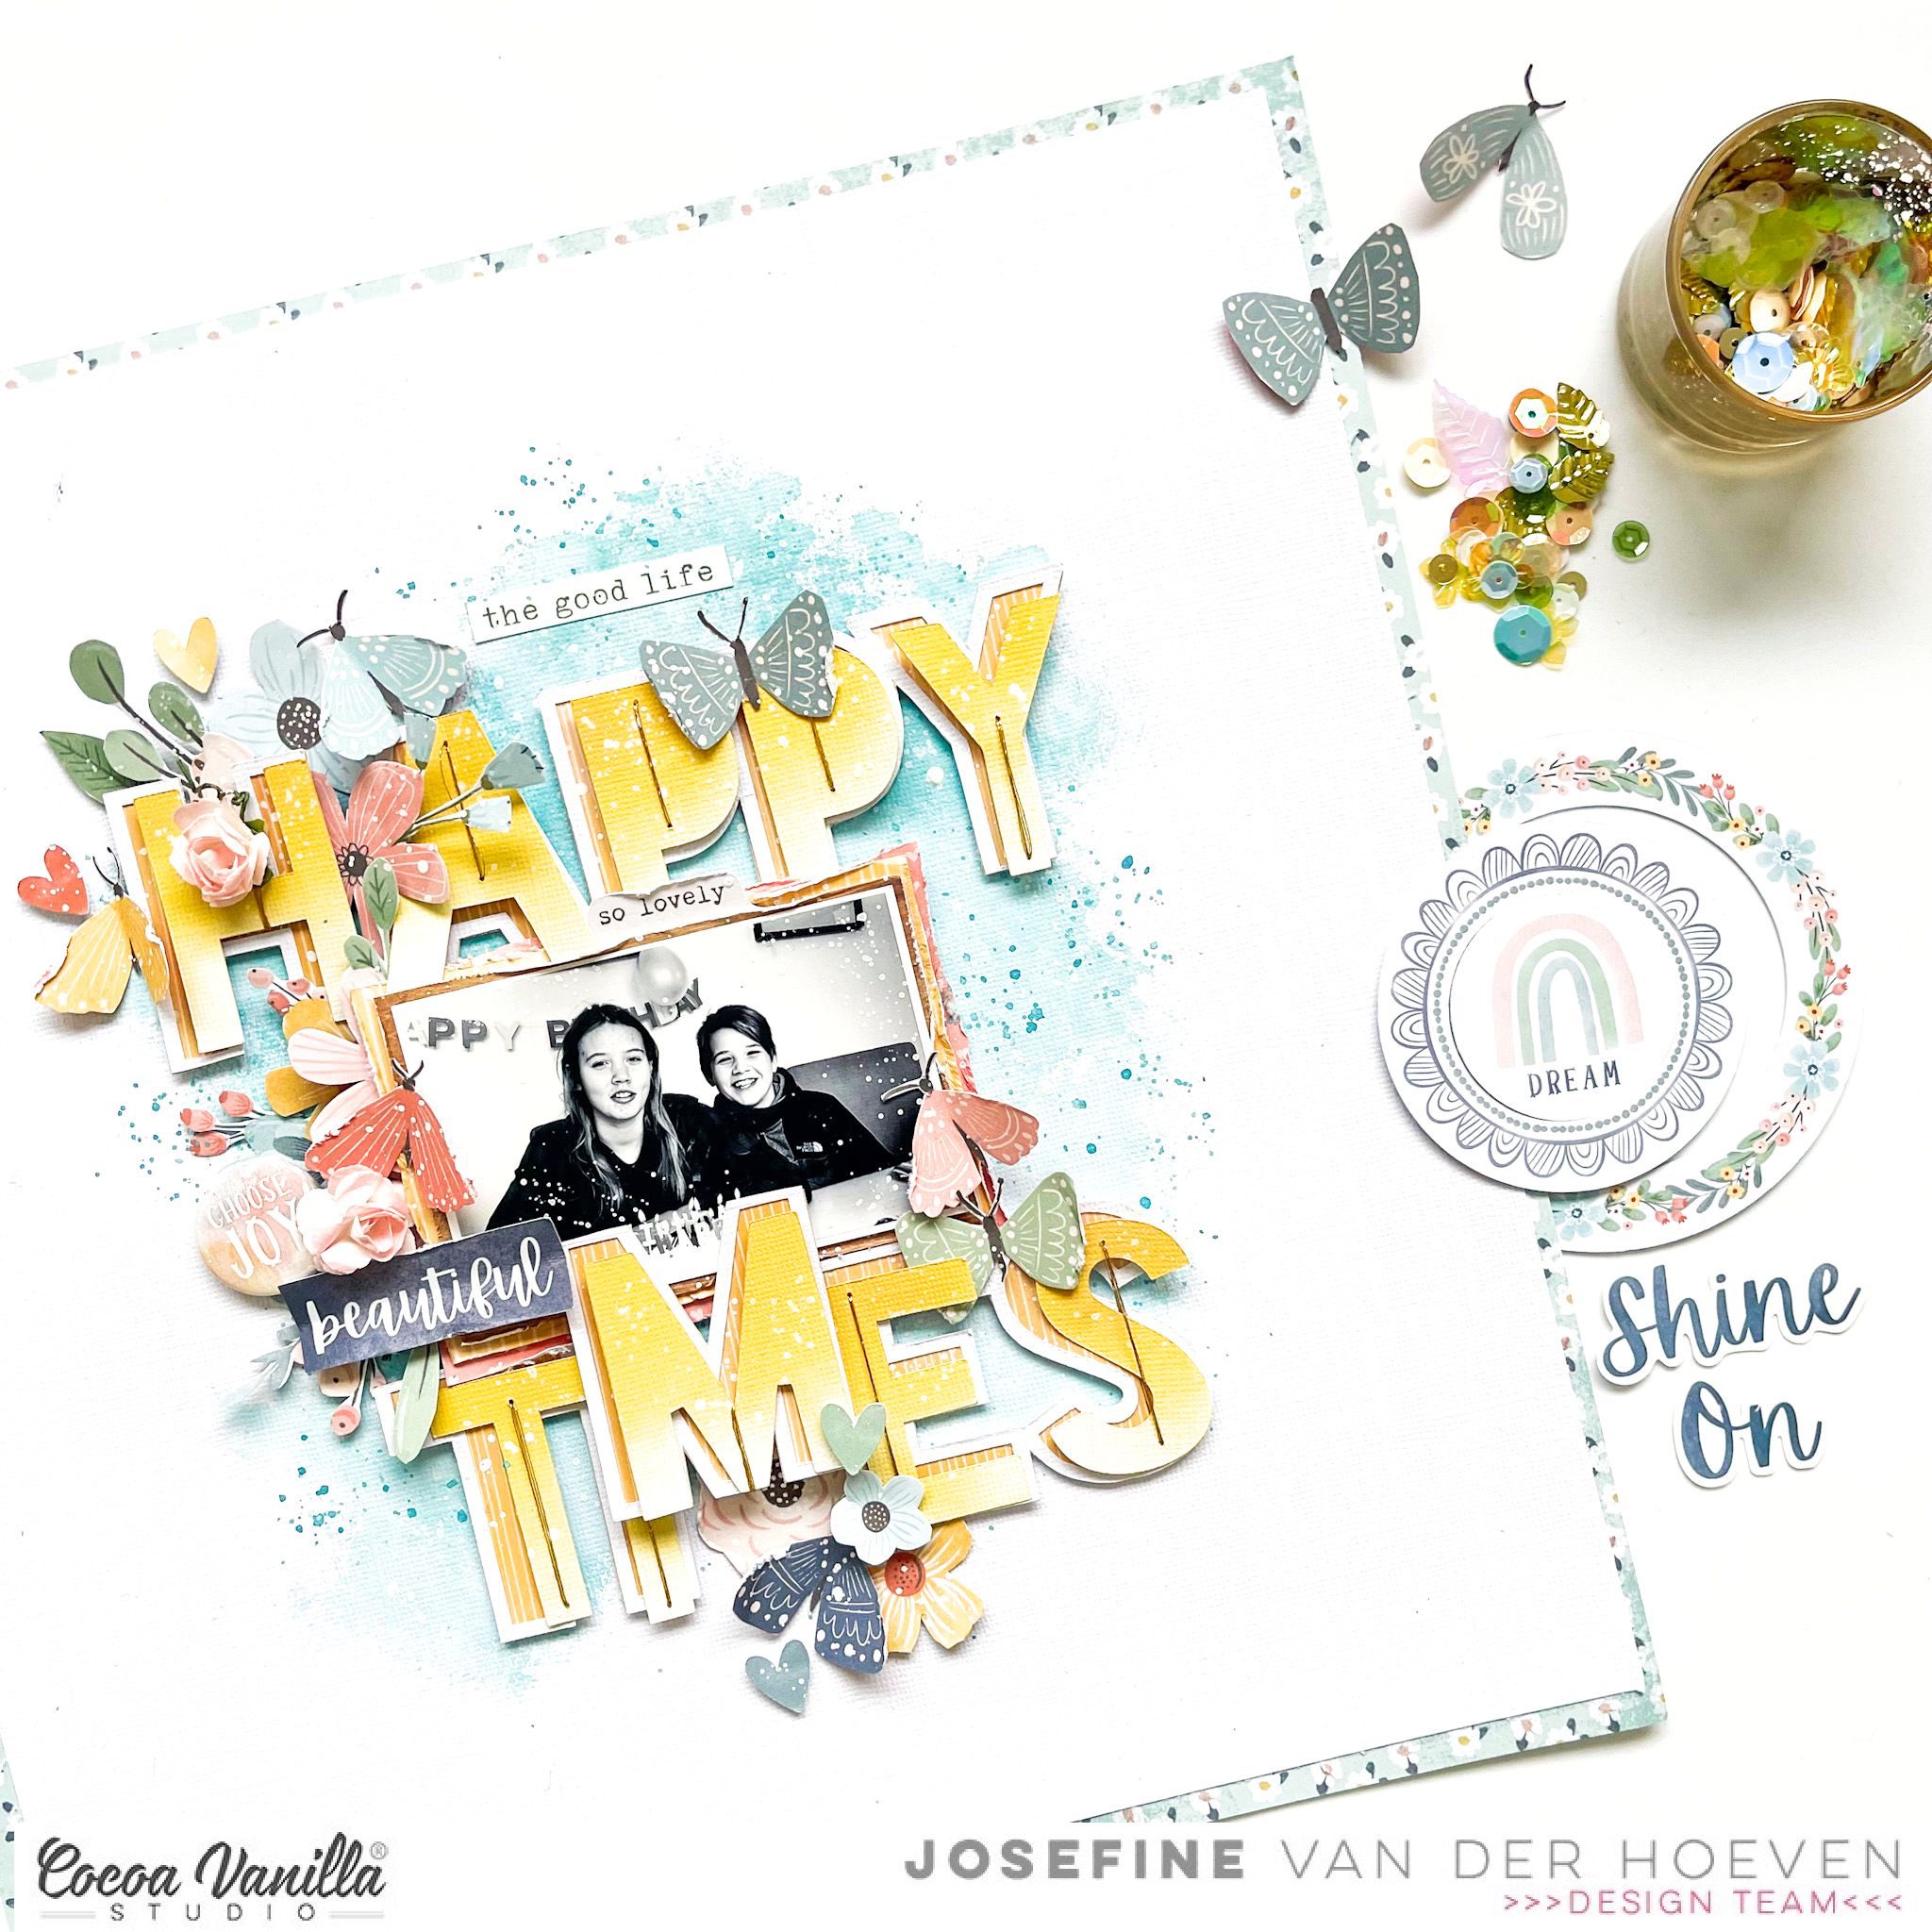
 I started with a white piece of cardstock. I cut the beautiful designer paper from the “These Days” collection to size by 6×6 inches. I stitched the square with gold sewing thread in the center of the layout with my sewing machine. I picked out several pocket page cards and folded them in half. I created layers and put them on top of each other with adhesive tape.
 I placed the photo on top of these design paper layers. I start by making a cluster on the left side. I use different flower die-cuts, leaves from white cardstock and wooden buttons. I cut photo frames from the design paper and sew the edges with gold thread. I slide the photo frames between all these layers.
 I am decorating my layout with more beautiful embellishments from this amazing collection by Cocoa Vanilla studio. I used word strips, stickers and butterflies. I cut the clouds from white cardstock and colored them with Distress Oxide. The color I used is “spiced marmalade” I stitch the clouds with gold thread and I placed them between these paper layers.

 I start by cutting the photo frames and with gold sewing thread I stitched the edges. I cut the photo into a circle and also cut two circles from the design paper as well. I placed these circles behind the photo and with gold sewing thread I stitched the edges.
 I cut some butterflies and flowers from the gorgeous design papers and used the beautiful flower die-cuts, stickers and the wooden buttons from this awesome collection. I placed them I around the photo. I love creating layers with these amazing embellishments. For the title, I use a pocket page card titled ” Little Moments of Joy” I cut out the text and use it as a die-cut on my layout.

 One of my favorite songs is “Our House” by Madness. I also think the song fits very well with the great style of this collection and it makes me think of my own family. I draw two circles in the center of the page and with the mini alpha set I make my title on the first circle. On the second circle I write part of the lyrics.I used my sewing machine and stitch with gold sewing thread through my title.
 From the design paper “Neighborhood” I fussy cut all the houses and placed them in the center. I cut a 19 cm x 7 cm strip of design paper and fold it in half. I placed the photo on top of it and so I create a place to write my creative journaling in it.

