Love This Story | Storyteller | Laura Alberts
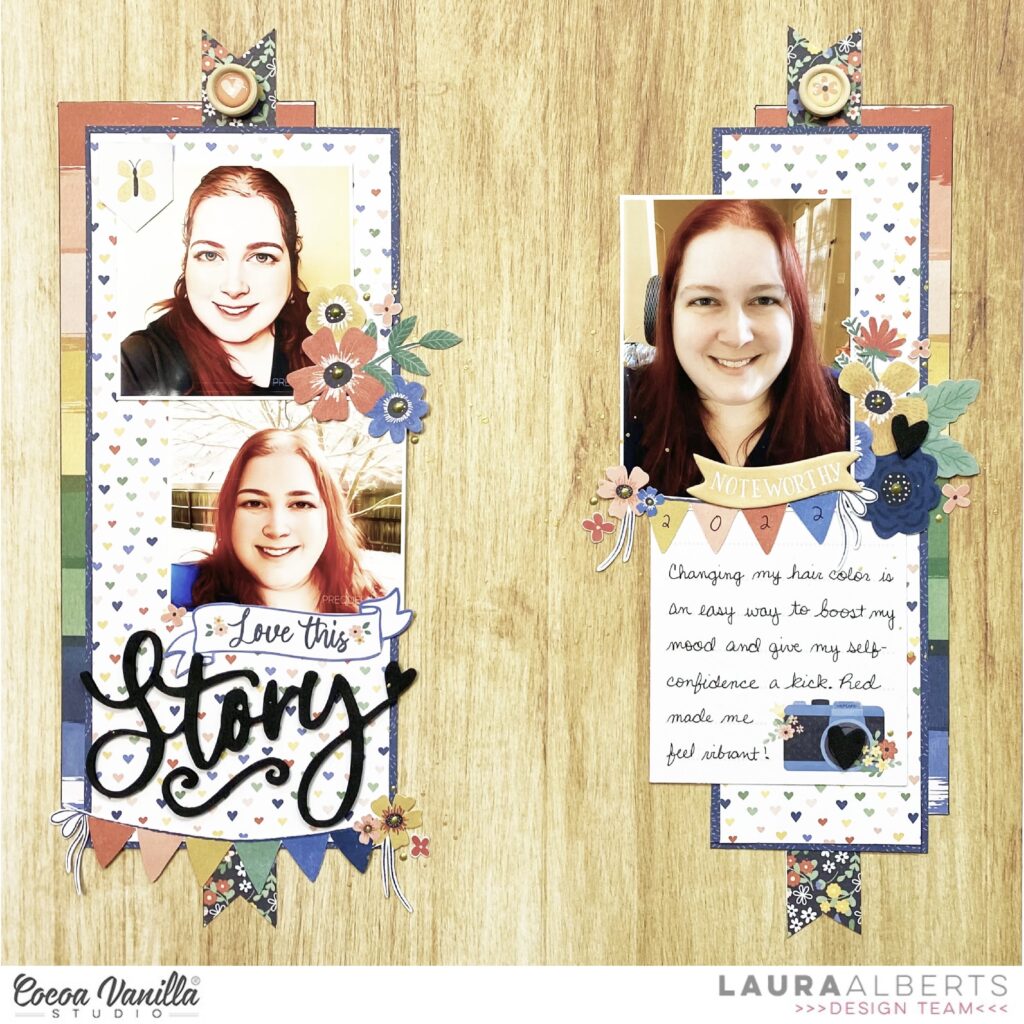
Hey y’all! Laura Alberts back again with a fun column style layout featuring the gorgeous new Storyteller collection! I am completely in love with this one! The stunning color scheme and all of the tiny details are just perfection. Scrapping a handful of fun selfies for this layout, I opted for two columns on either side of the page. Using the Cross It Off woodgrain paper for the background really helps these photos a pop off the page. Then, I pulled in three papers from the A5 paper stack for my columns, as well as a floral strip from the Story Time cut-apart paper.
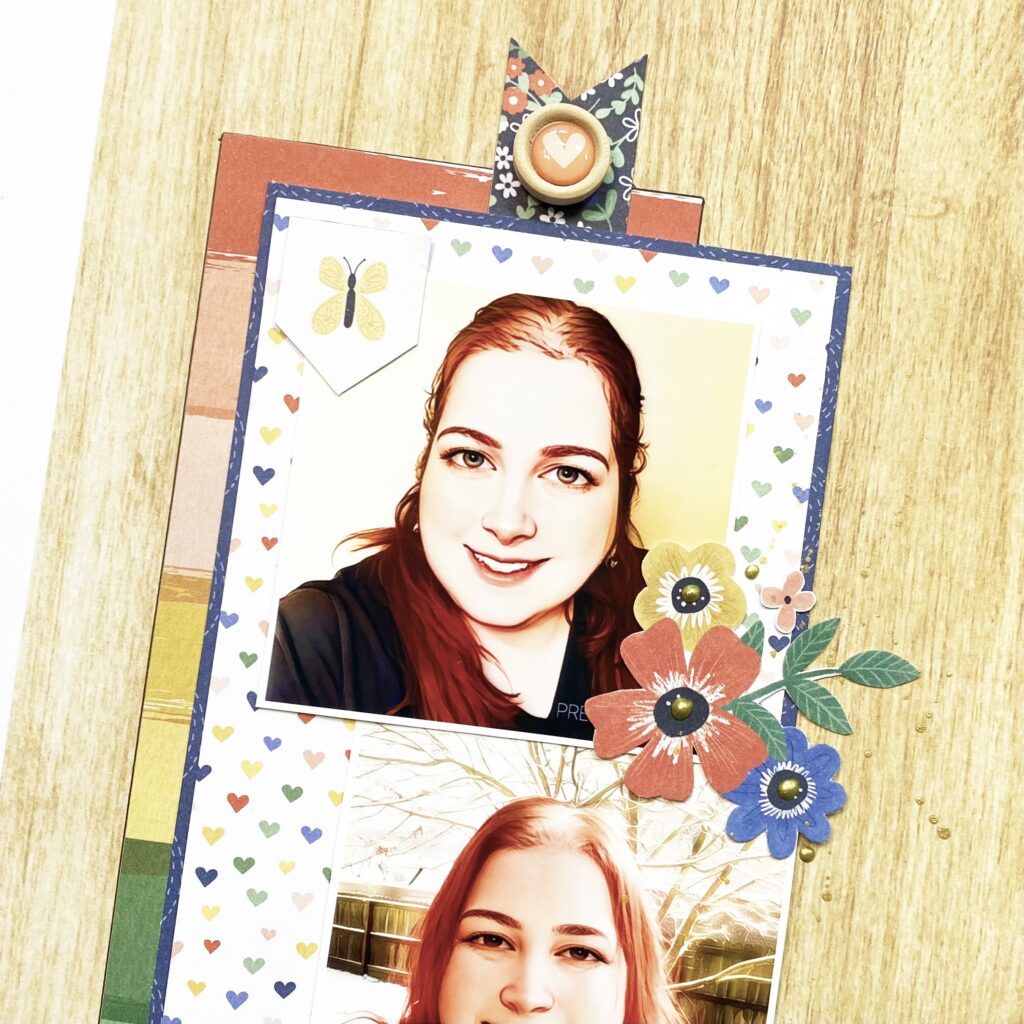
I stacked two 3×3″ photos together on the left column and then added a mixed title below them. The ‘Love this’ is from the icon ephemera pack and then ‘Story’ is a foam title. Along with a floral cluster between the two photos, I added a banner along the bottom of the column. One of my favorite details on this page is the tiny flowers I fussy cut and added around my clusters and title.

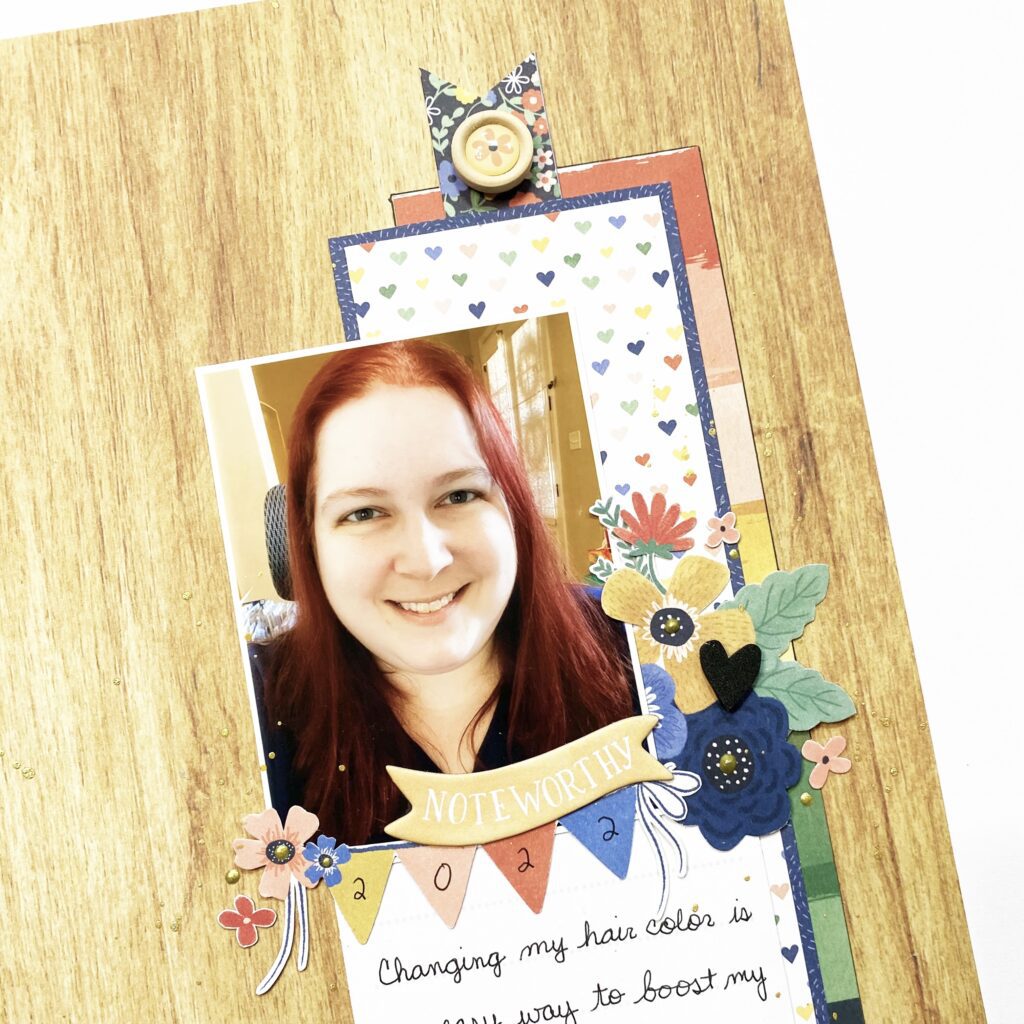
On the right column, I combined a 3×4″ photo and a 3×4″ journaling card to mimic the stacked design on the left. Tucking in a floral cluster between them and then adding a banner gave it the perfect, simple touch it needed. The wood buttons made the best little accents at the top of my columns, giving the impression that they are pinned to this woodgrain paper. Such a fun detail!
I hope this layout gave you some inspiration to incorporate a variety of different-sized photos into your layout! If you’d like to see how ‘Love This Story’ came together, check out the process video below!


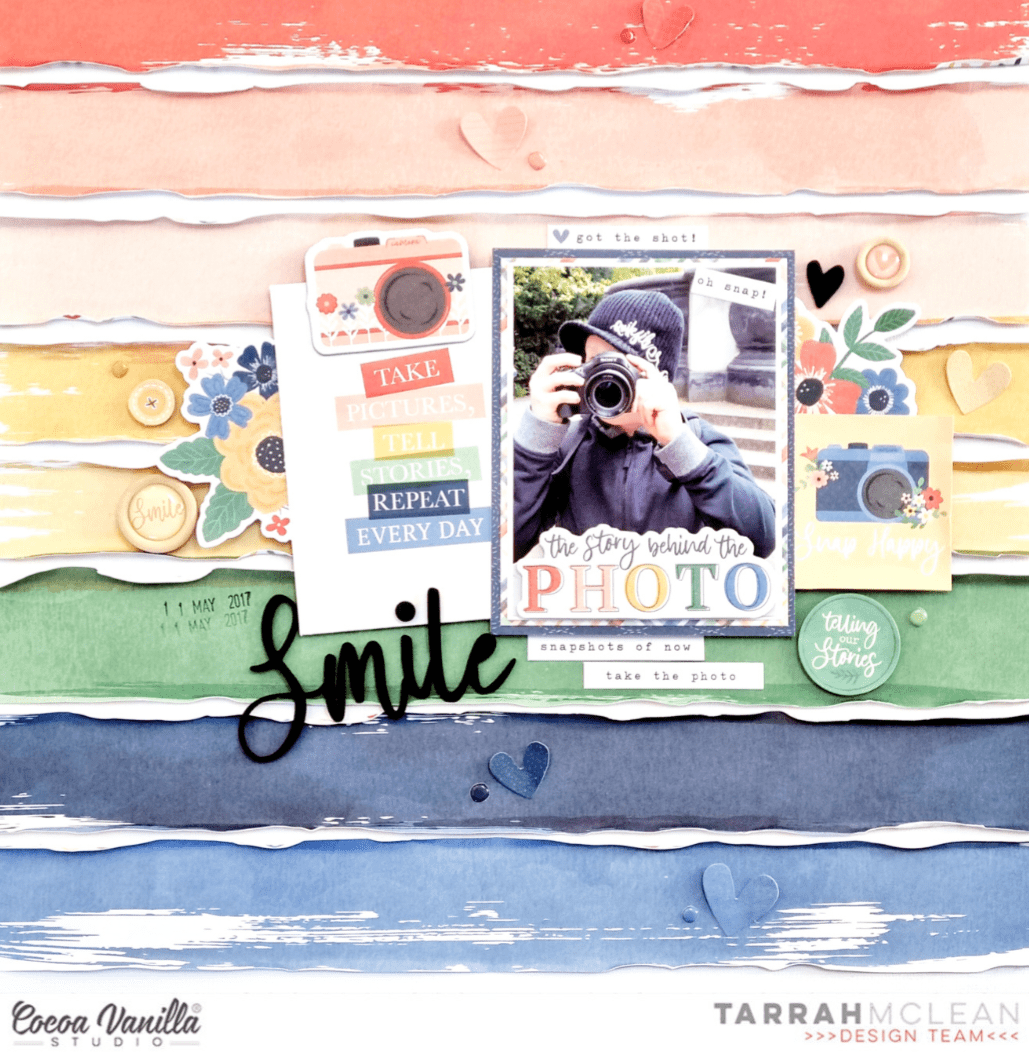
 I placed my photo slightly to the right of the page using craft foam to add dimension. I layered some papers from the A5 paper stack underneath the photo and distressed the edges slightly to add some texture and to help make the photo pop! I searched through the pocket cards and found the perfect one to suit the photo of my son as photographer! I used craft foam to adhere the pocket card to the left of the photo. When I am placing elements on my page and I am not 100% certain about their position, I will mostly always only use a very small amount of adhesive in case I need to reposition anything or add an extra layer underneath. Once I am happy with where everything ends up on my layout, I add extra adhesive for reinforcement.
 Now I have the main focus of the layout sorted out, next I added a title. I went through the gorgeous black Foam Titles and chose the word ‘Smile’. I placed this word at the bottom of the pocket card to help tie the photo, pocket card and title together. At either end of the photo and pocket card, I tucked in some pretty flower ephemera pieces, I also added the little piece that says ‘Snap Happy’ to the right of my photo.
 On top of my photo, I adhered the ephemera piece that says, ‘The Story Behind the Photo’ and also a small phrase sticker from the Accessory Sticker sheet in the top right corner. I also added some more of the phrase stickers above the photo and below the photo, these are great additions to a page to help tell a story! Above the pocket card, I added the camera die-cut using craft foam. From this point, I decided to add my embellishments in a tone on tone look…I took some of the super cute heart die-cuts, enamel hearts and wood epoxy buttons and placed them on their corresponding colours.


