Crazy divers | Sunkissed Layout | Anna Komenda
Hello Friends! Welcome on Throwback Thursday kind of a post. This time I get a pleasure to rediscover one of the older Cocoa Vanilla collections. You know I love them all and I love coming back to them, combining bits and pieces and pattern papers. This time however I focused on one line only and I pulled out “Sunkissed”. It was hidden for the period of winter but it’s time for the big comeback of vivid colors and summer motifs! I pulled out two most expensive photos in my mamarazzi career and scrapbook them with little mixed media vibe. If you wonder why they are the most expensive, let me only tell you that I was convinced my new smartphone is waterproof… It wasn’t. At least I got those photos, right? :D
![]()
I started with sheet of watercolor paper as my background. I knew I wanted to use water so I had to be sure to use the proper base paper. Next step was to apply some clear gel medium through stencil with circles in different sizes. They are going to mimic the air bubbles in water. Gel medium is transparent and shiny when it’s dry and it’s also color resistant. Just make sure you dried it well before moving to next step.
![]()
I picked three Distress Oxide inks in “Mermaid lagoon”, “Broken china” and “Peacock feathers” colors and tap them all over the background and sprayed everything with clear water. Colors mixed with water well and started floating on the surface. I dried the background with the heat gun removing excess of water with paper towel. When everything was dry, I took a blending brush and applied some ink through the stencil in random spots. The background was done!
![]()
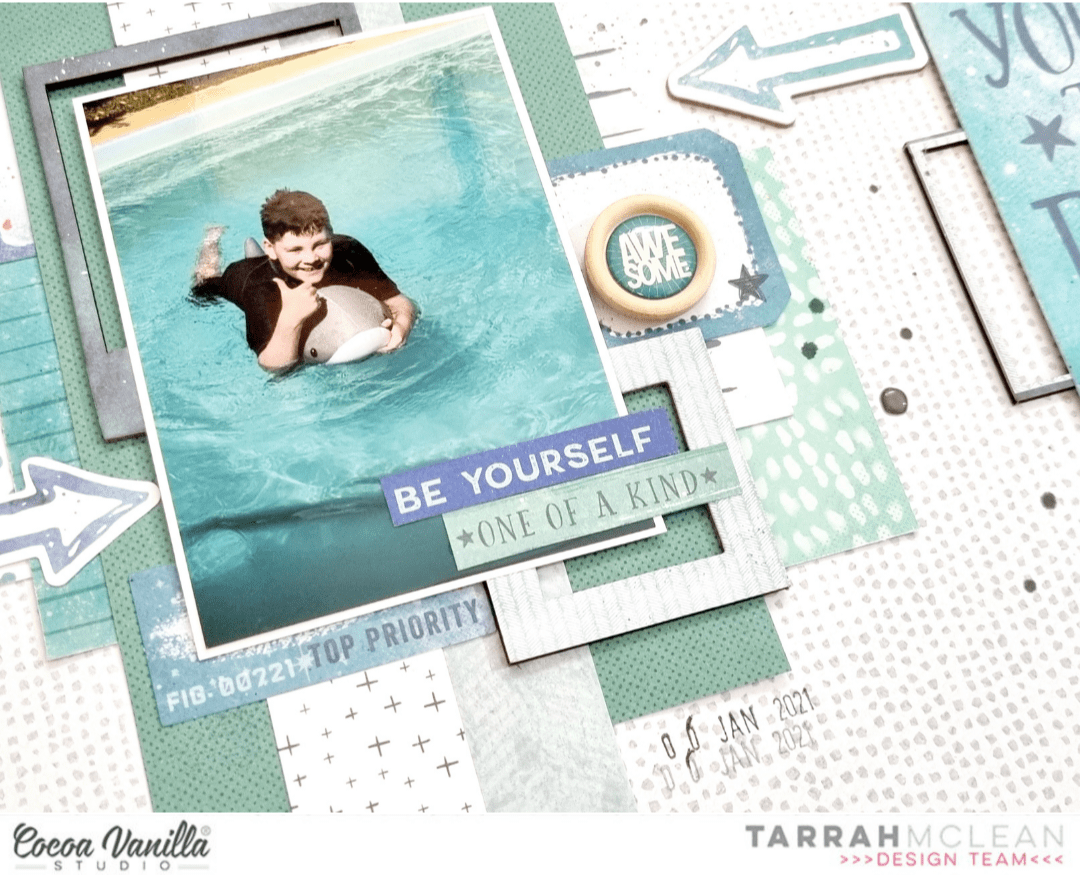
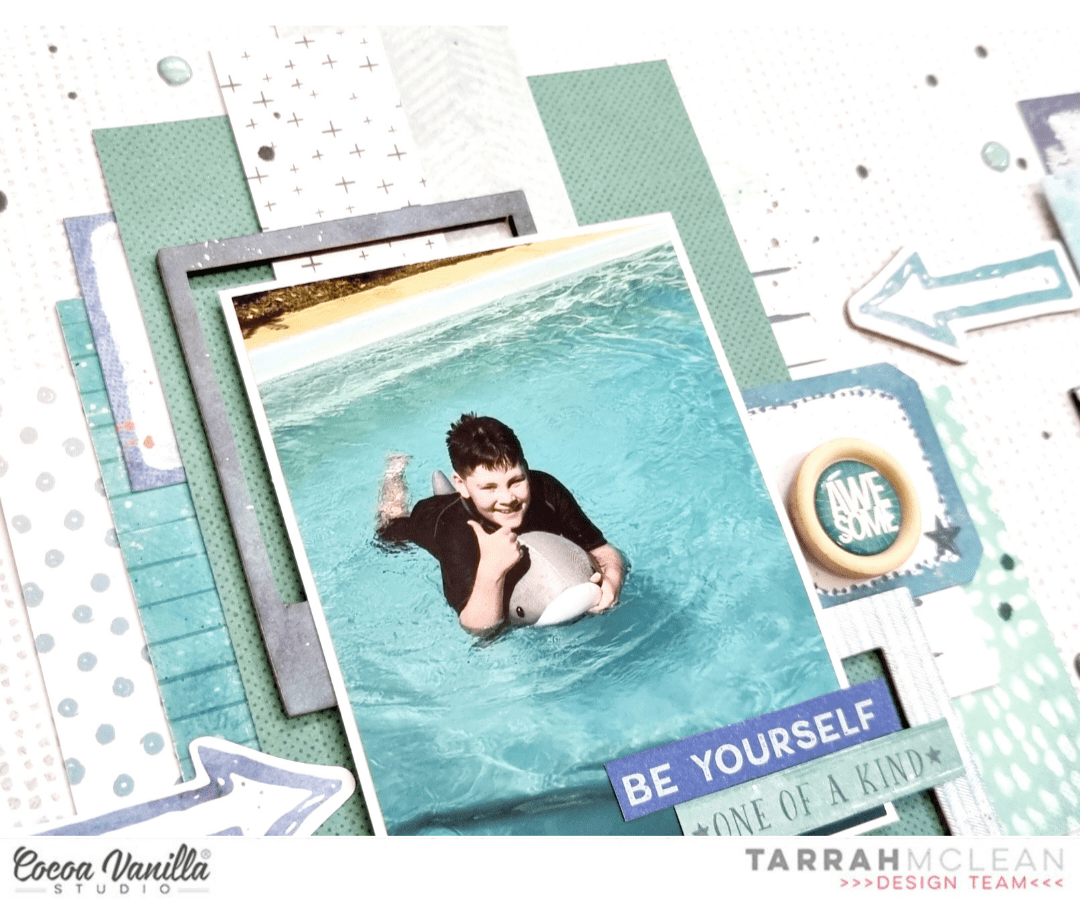
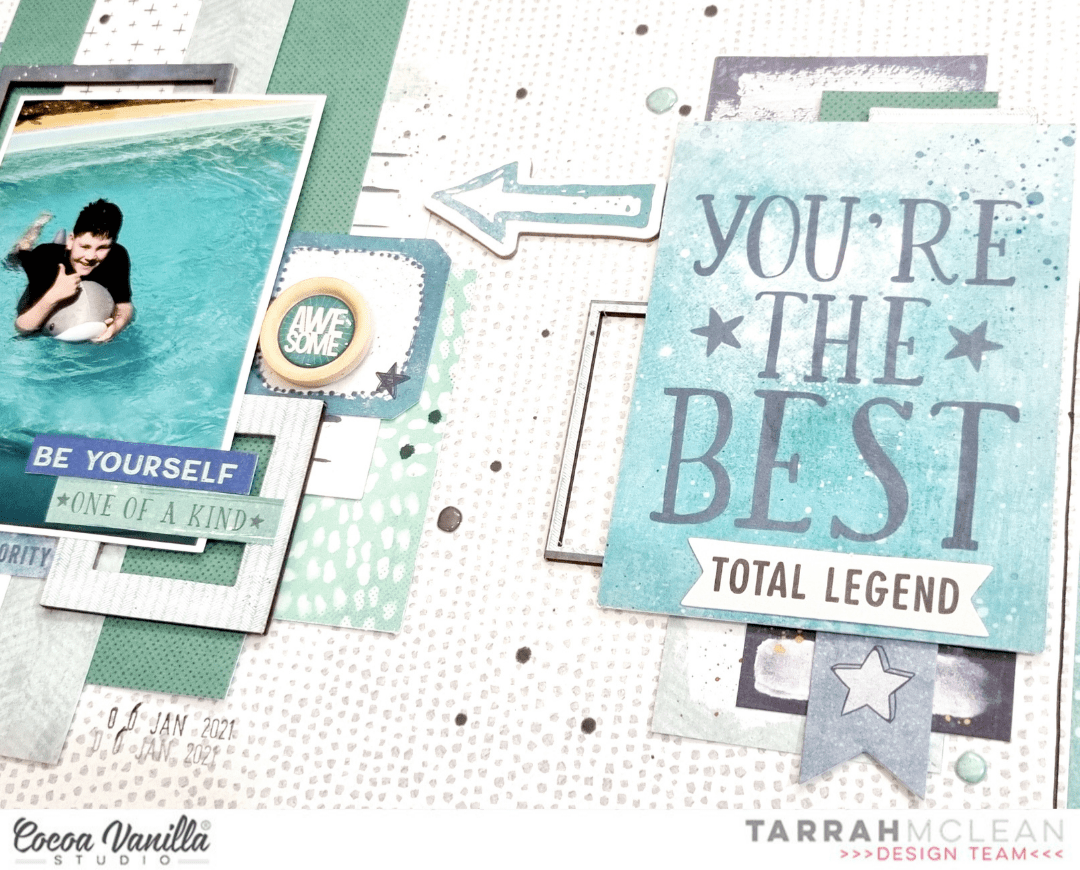
I was ready to start building my composition. My pictures didn’t have any white outline so I back them with some pattern papers to make them pop from the background. I used “Bright side” and “Sunny days” for this purpose. Idea for this page was to create an underwater scene so I kept it very monochromatic, in all shades of blue. I also cut out circles in various sizes using the same pattern papers adding few scraps from A5 Paper Stack.
![]()
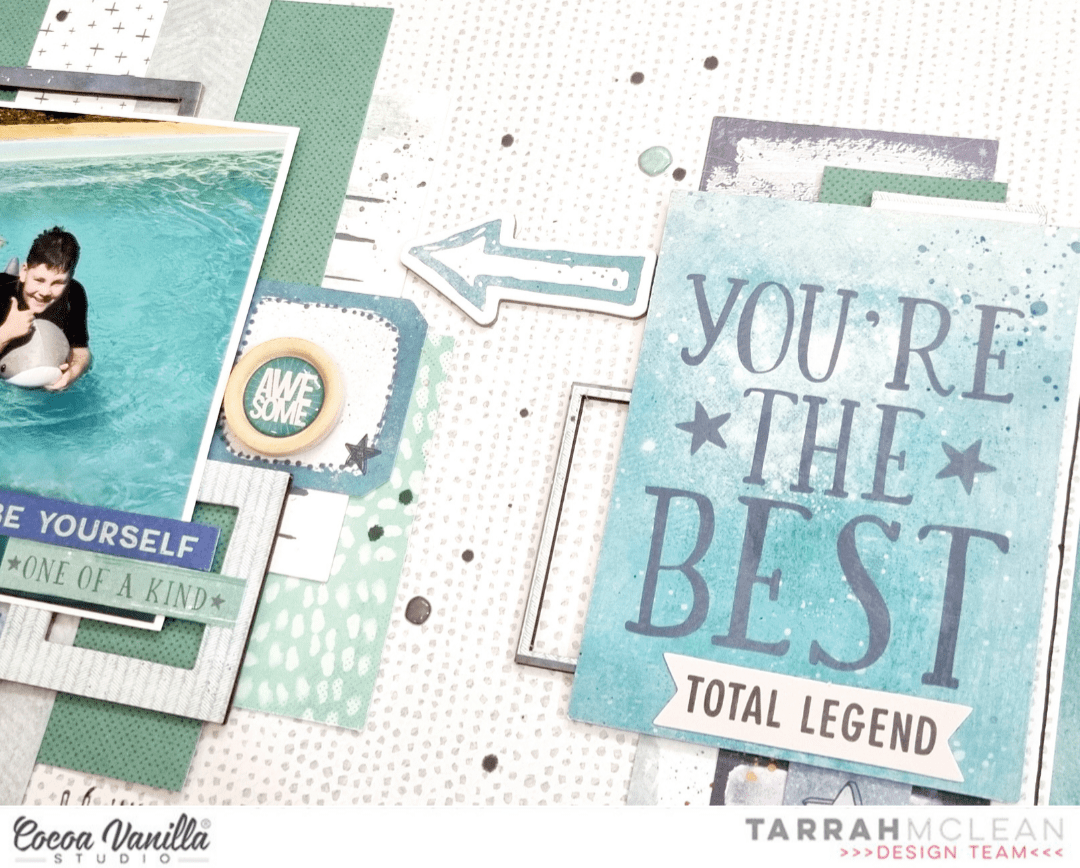
Few bits and pieces from Ephemera Pack serve as an embellishments scattered around the photos. I also added my beloved Wooden Buttons and Puffy Stickers here and there. They are the best finishing elements. I was almost done with my page, when I noticed I also got some transparent stickers left so I added few of them in the background using mostly blue ones. They work best on light backgrounds, like the one I have in my page.
And that’s it! Simple, right? My favorite type of layout. That is all for today. Thank you so much for stopping by and I we will see each other in two weeks! I already created fun page with “No limits” collection for you!
XO Anna
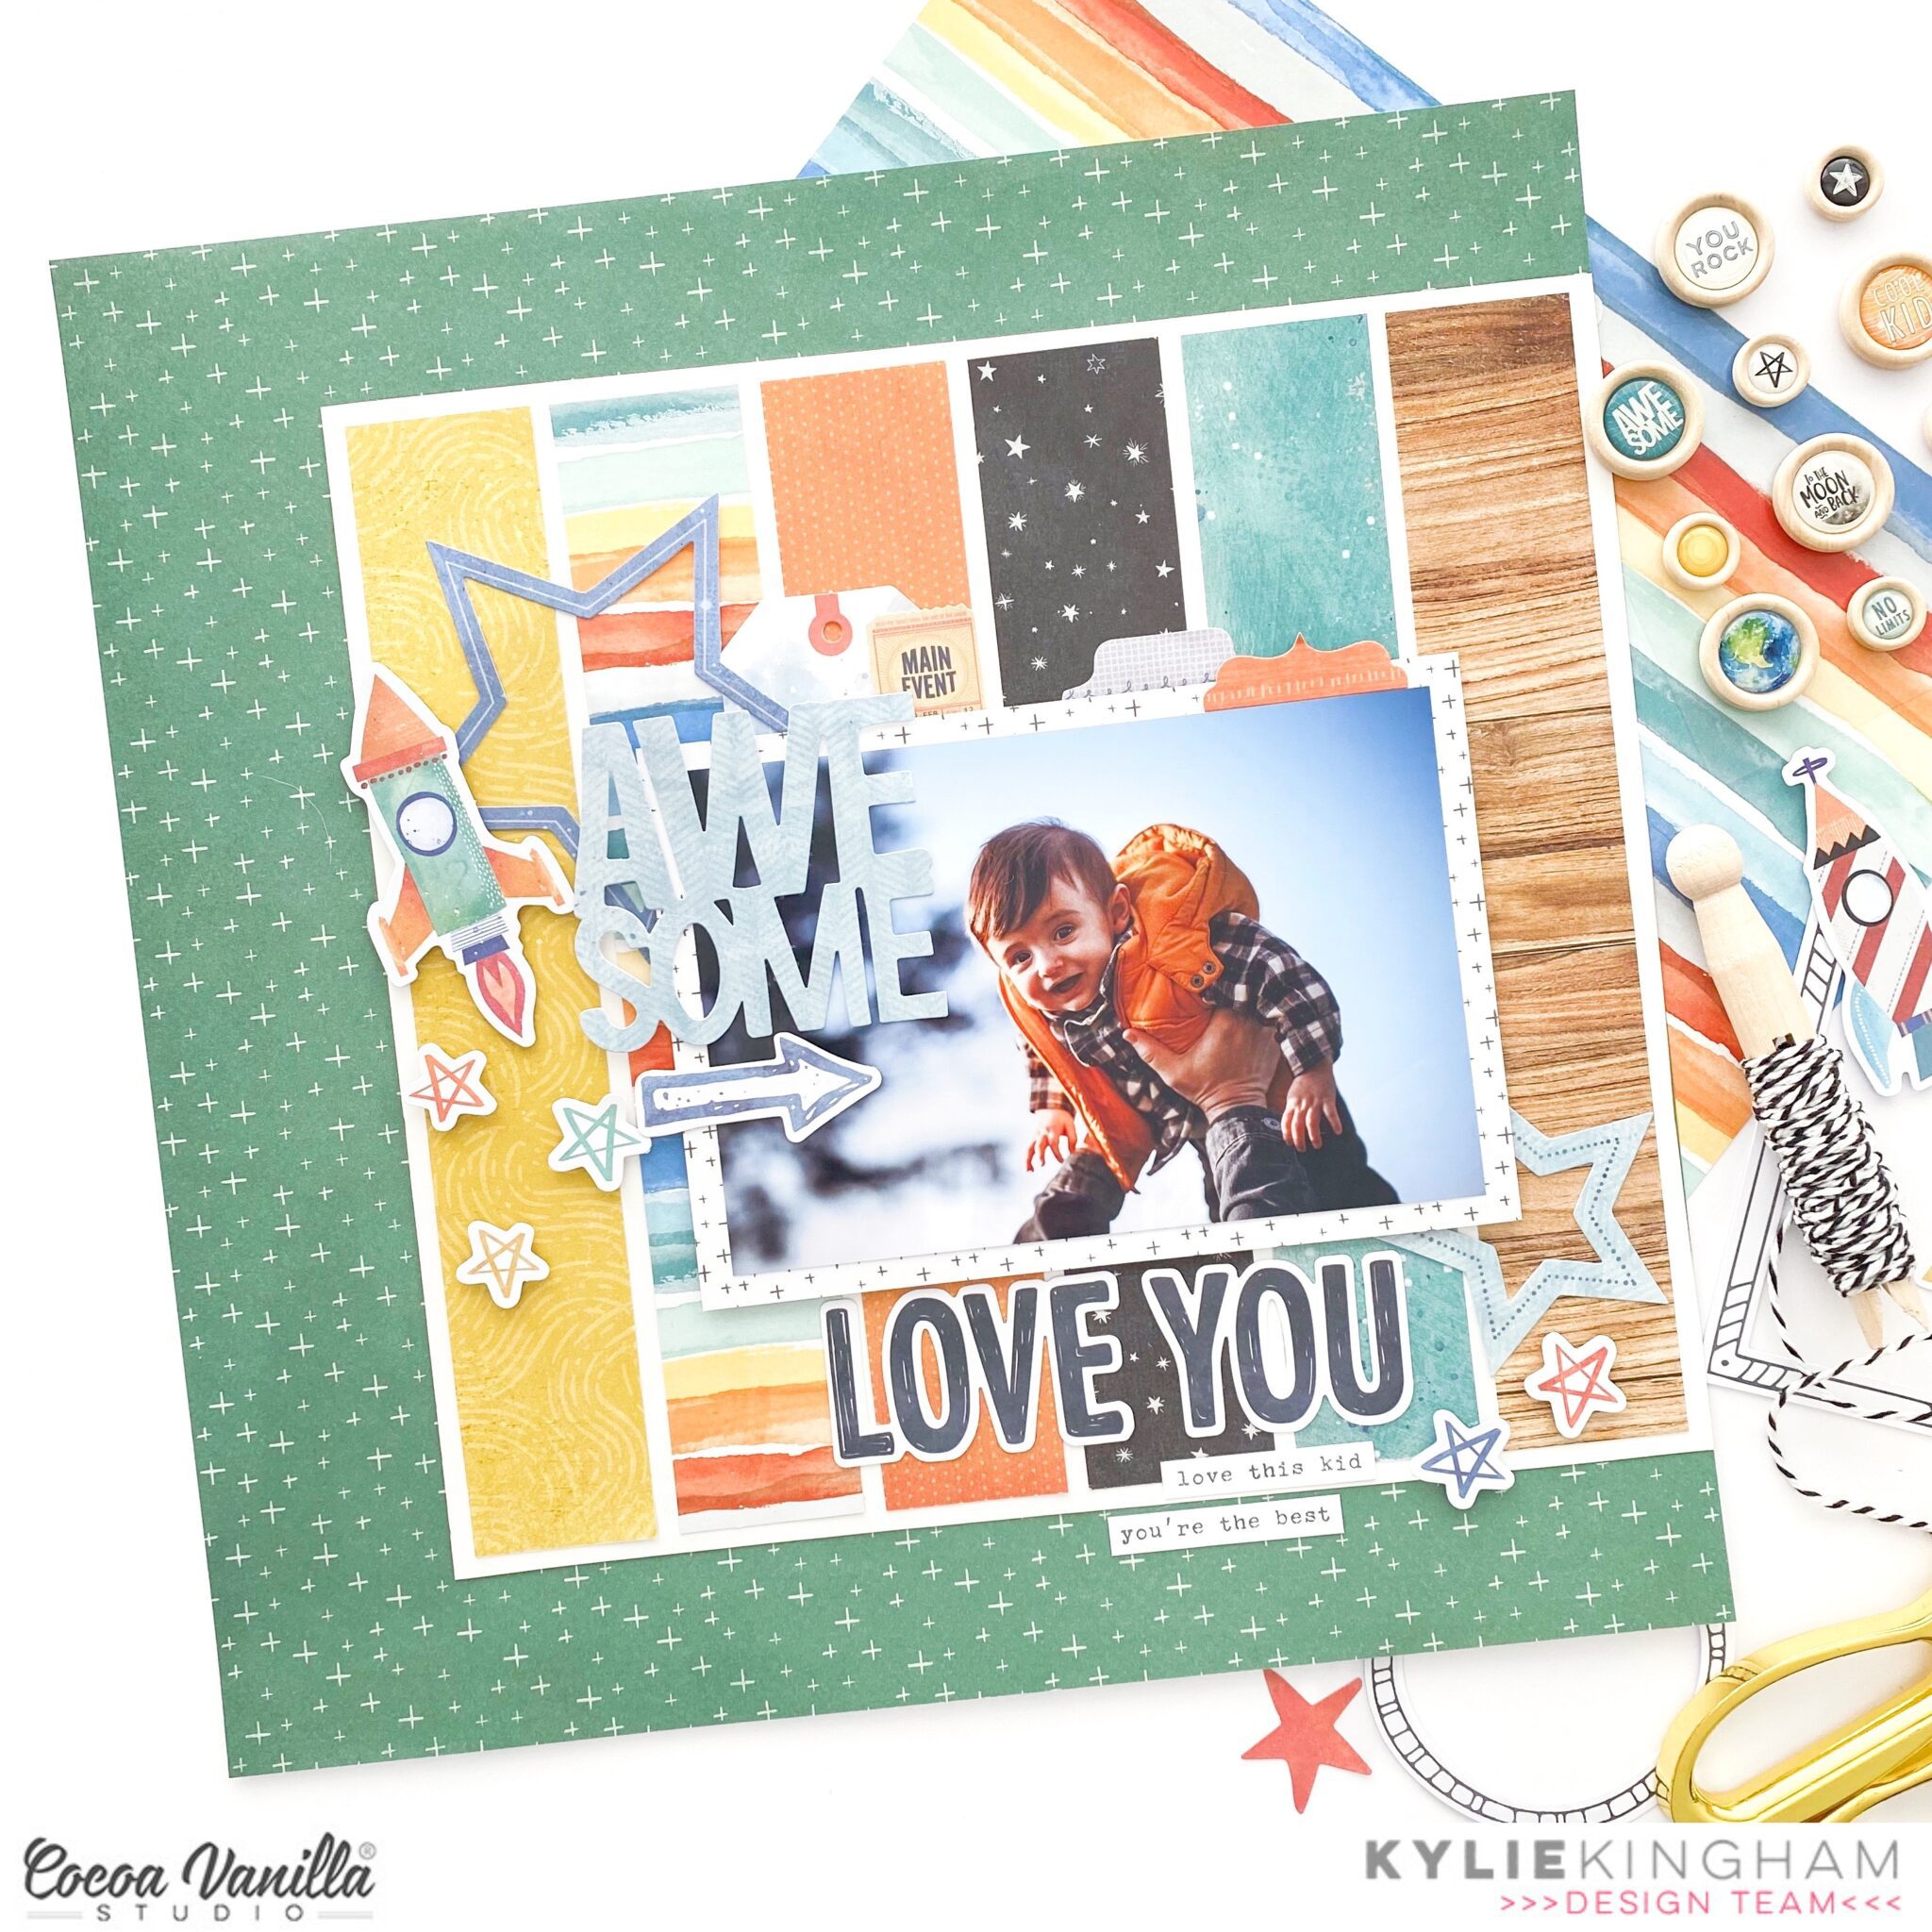
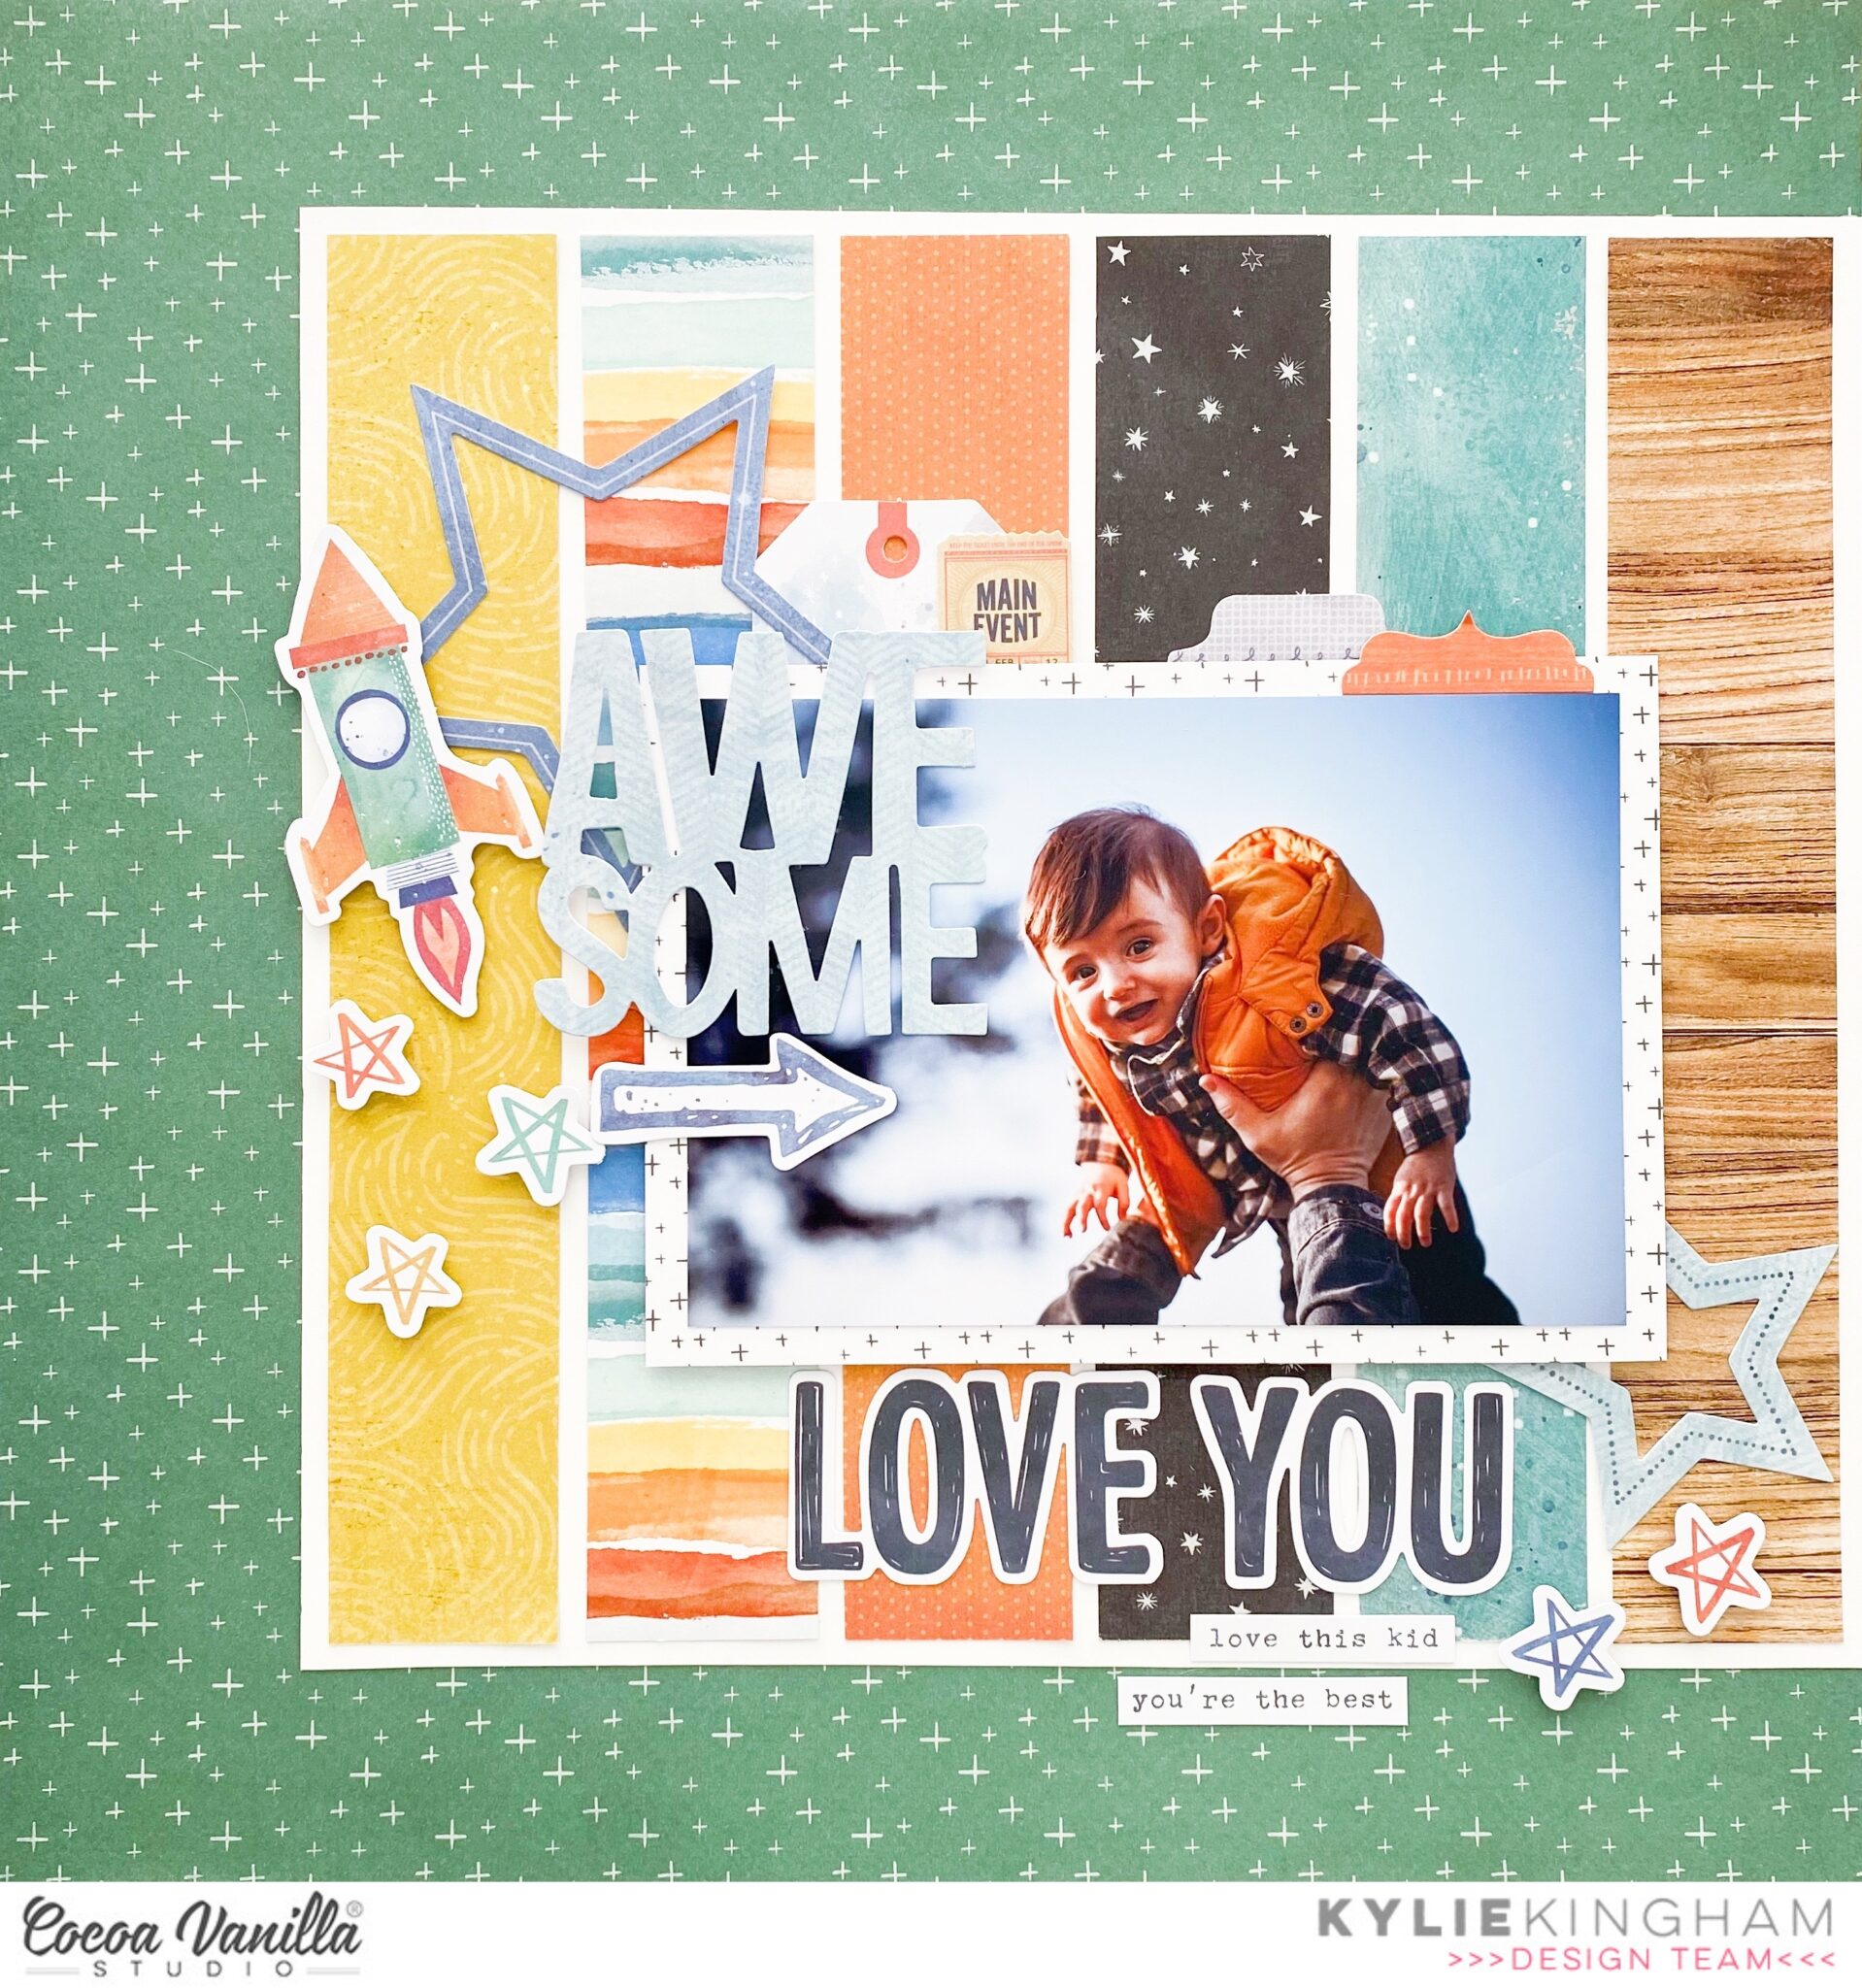


 I grab a 12×12 white cardstock paper and choose the colors of Distress Oxide I want to use. The colors I chose are, antique linen, fossilized amber, worn lipstick and spiced marmalade. I start by blending the Distress Oxides and use my blending tools. I start with the color antique linen. Then fossilized amber, spiced marmalade and lastly worn lipstick. I gently blend the colors together and the soft tones in my background come more and more to life. I splash some more with the different colors of distress oxides. Now it’s time to decorate my layout with the awesome collection “These Days” and the cute picture of my son.
 I used different metal dies sets for the leaves and twigs. Some leaves I stitch with gold and white sewing thread. I like lots of little different details in my layouts. I select several die-cuts and along with the leaves and twigs I make clusters on both sides of the hexagons. I use the cute wooden buttons as additional decoration.


