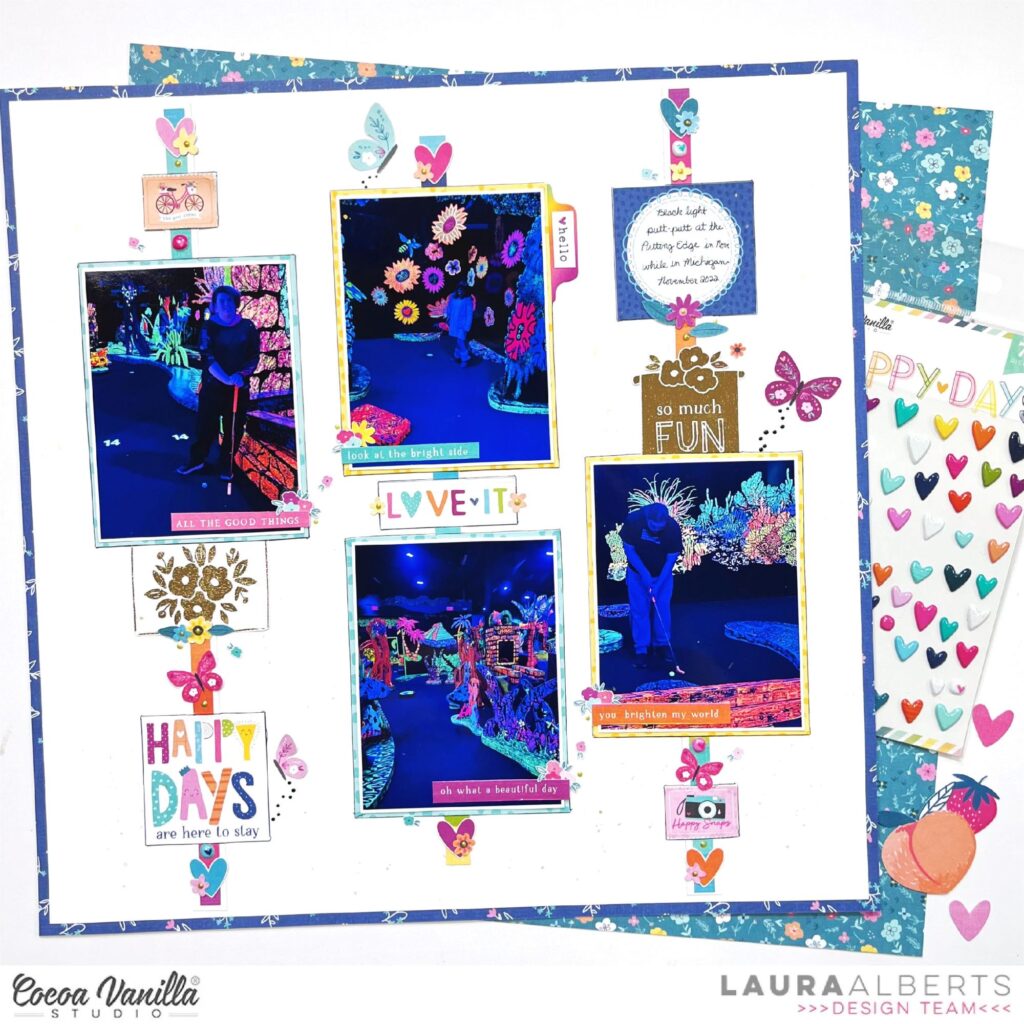
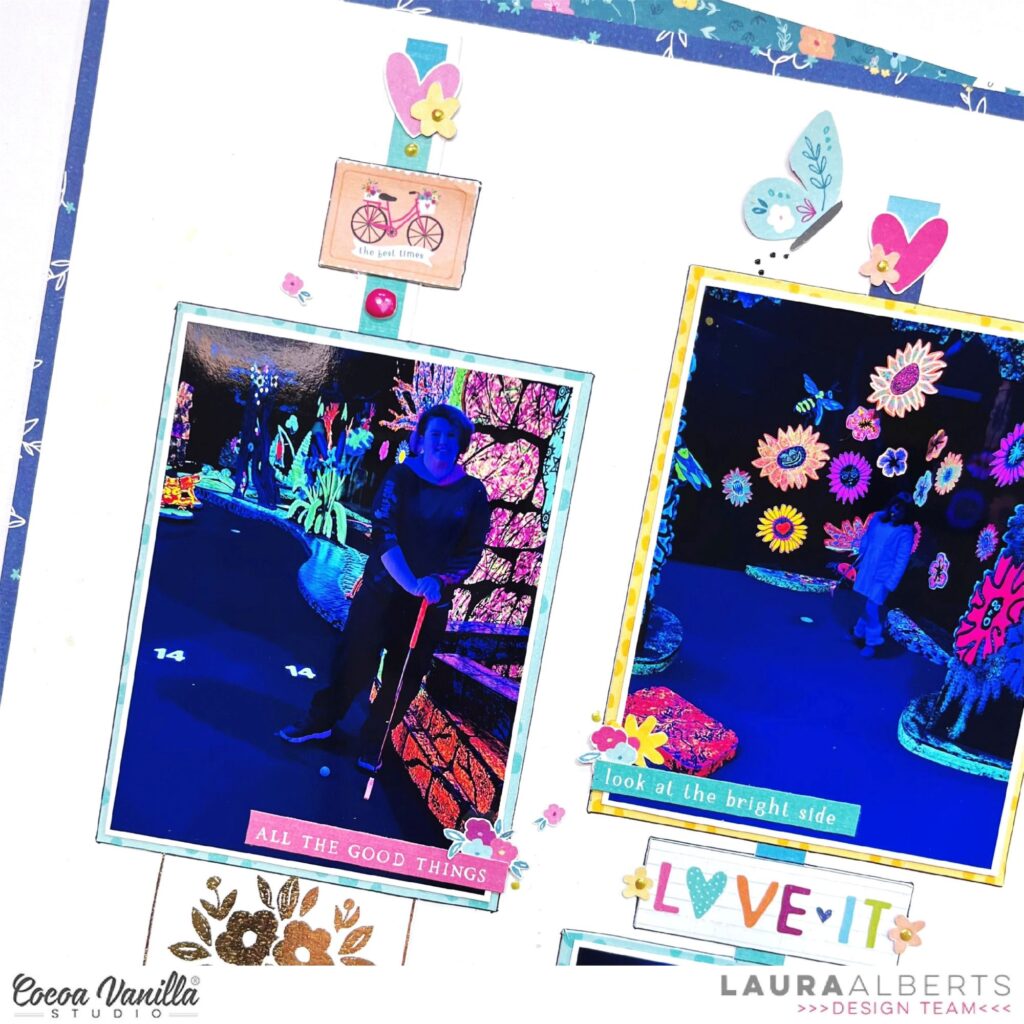
Hey y’all! Laura Alberts back again with a fun column design using the new Happy Days collection from Cocoa Vanilla Studio! Using the manufacturing strips to create these fun, super slim columns allowed me to add four 3×4 inch photos on this page.
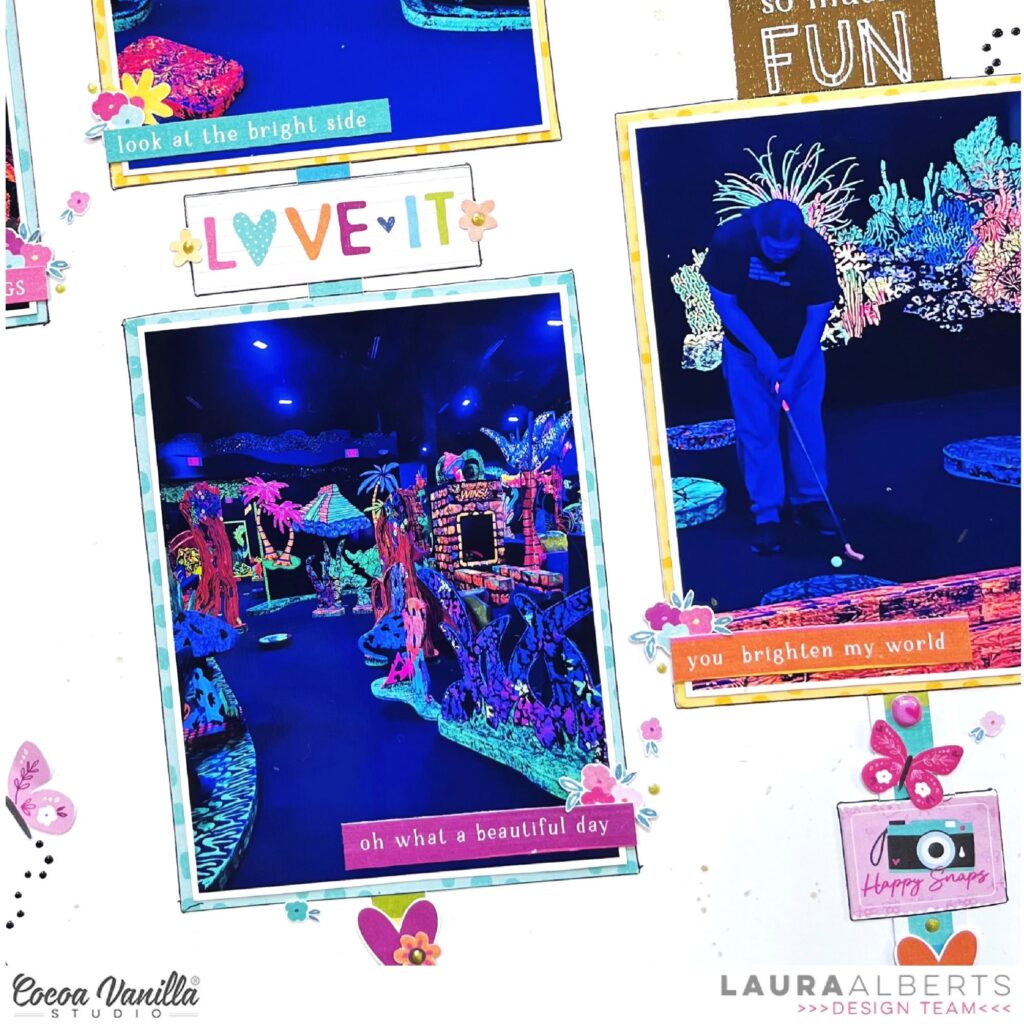
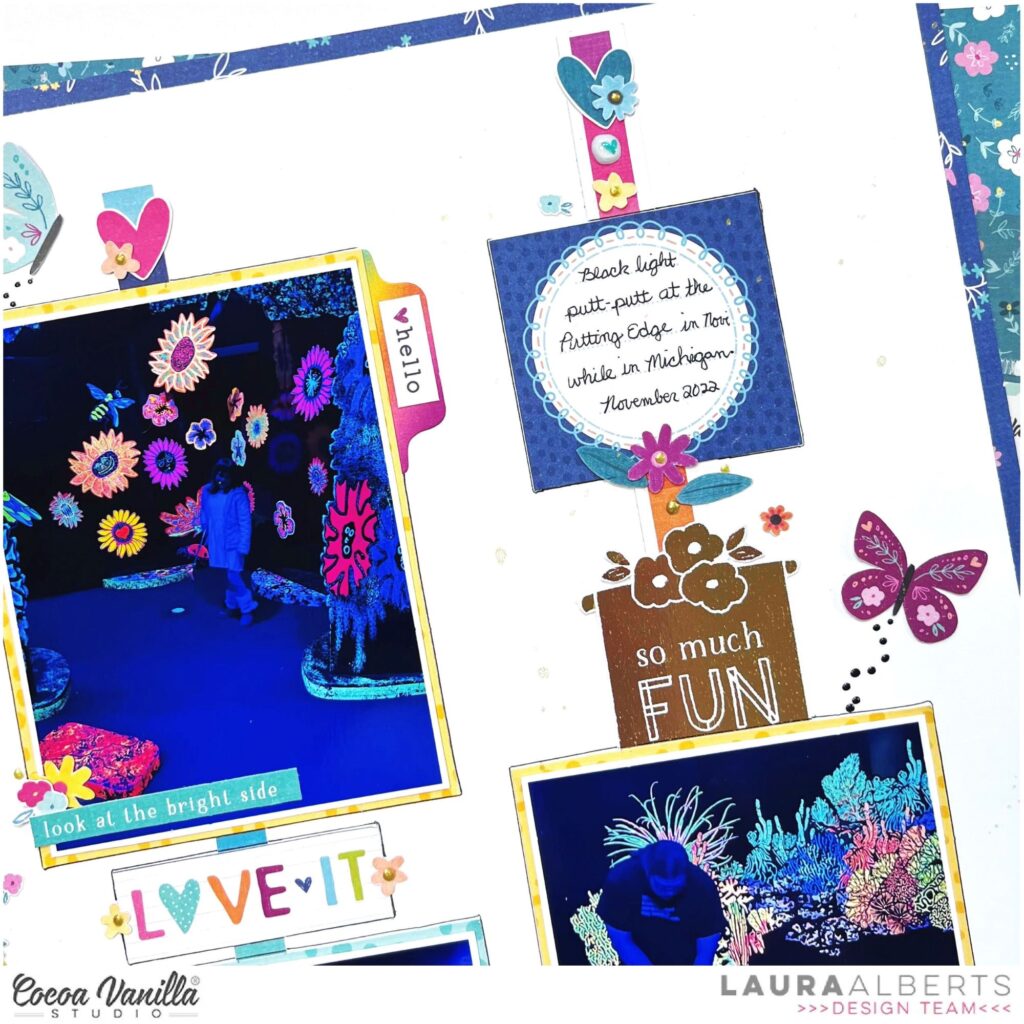
On each of the columns, I added a ton of cut-apart pieces from both the 12×12 and A5 paper stack versions. Plus, a couple of cute gold foiled accents from the specialty paper. Finishing it off with hearts, florals, and butterflies that are fussy cut from the patterned papers in Happy Days for whimsy and fun!
The little dots of Nuvo and puffy stickers that I added on at the end really help this layout pop! I love how much the tiny details can make such a bit difference. These butterfly trails give the columns a softer look overall.
I hope this layout inspires you to dive into your cut-apart sheets and have a play with the column design! If you’d like to see how this layout came together, check out the process video below:
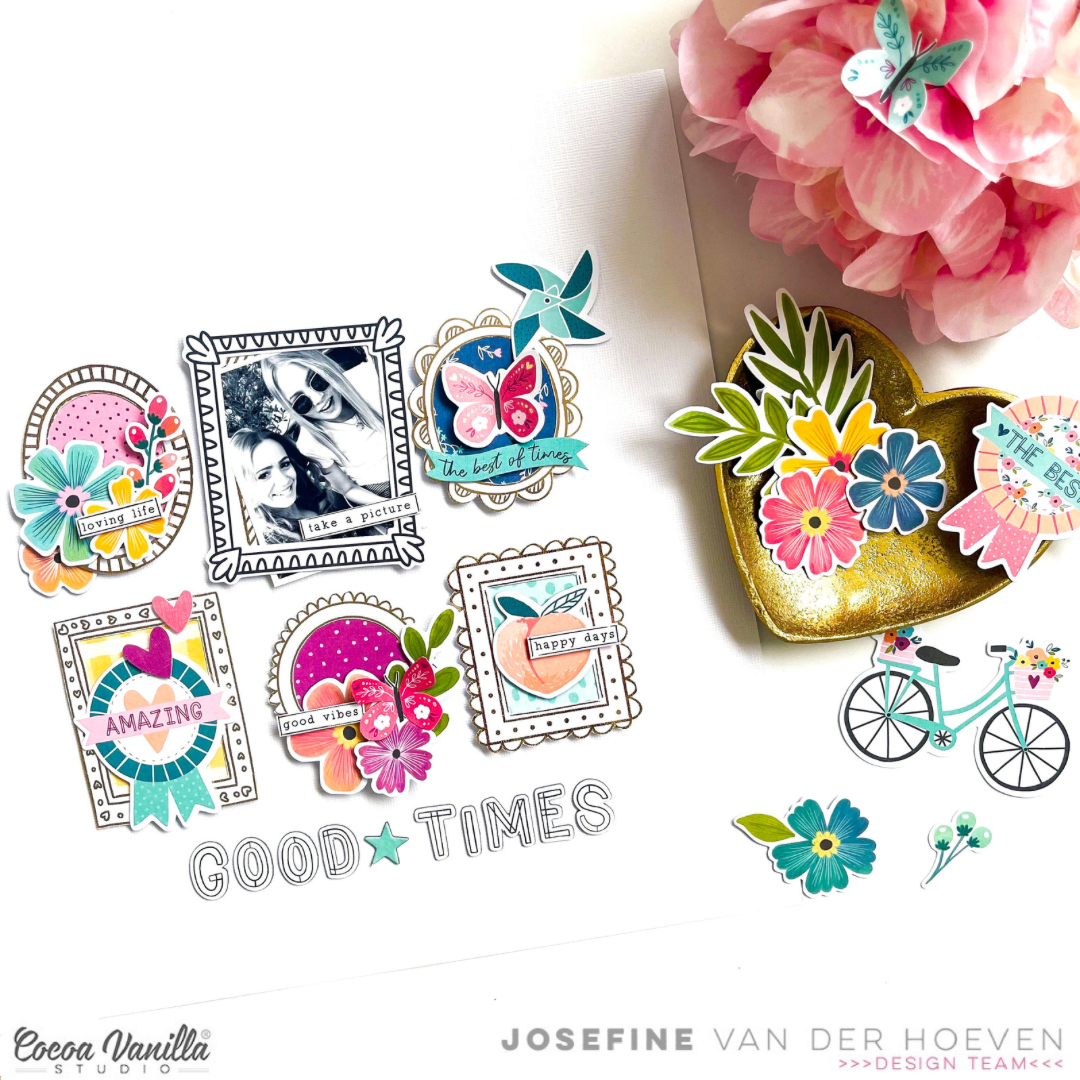
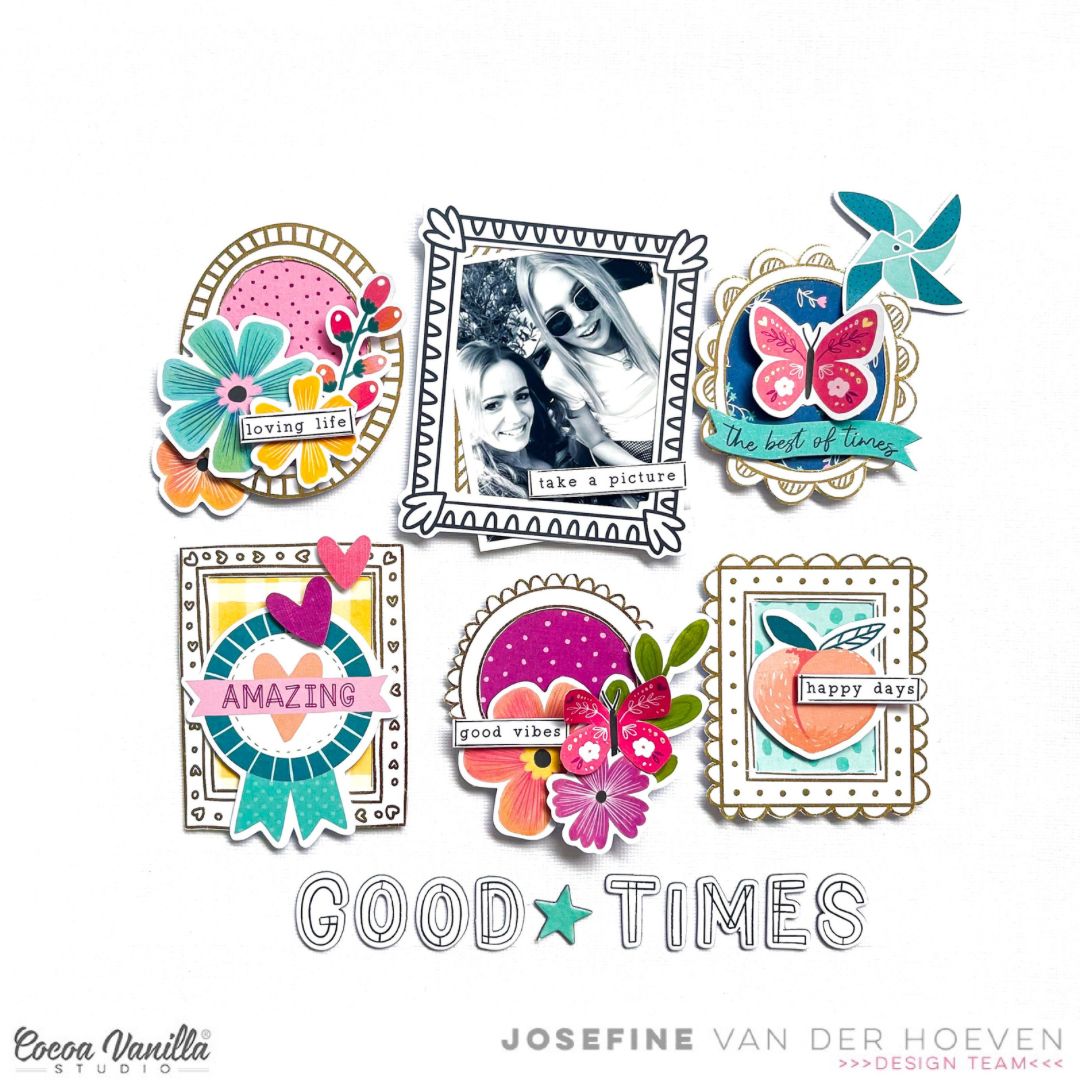
Welcome to the Cocoa Vanilla Blog today. It’s Josefine here with a new scrapbook layout. For this layout, I used the fantastic and colorful “Happy Days” collection. I chose to highlight the gold frames today. The beautiful gold frames perfectly match the colors of the patterned paper.
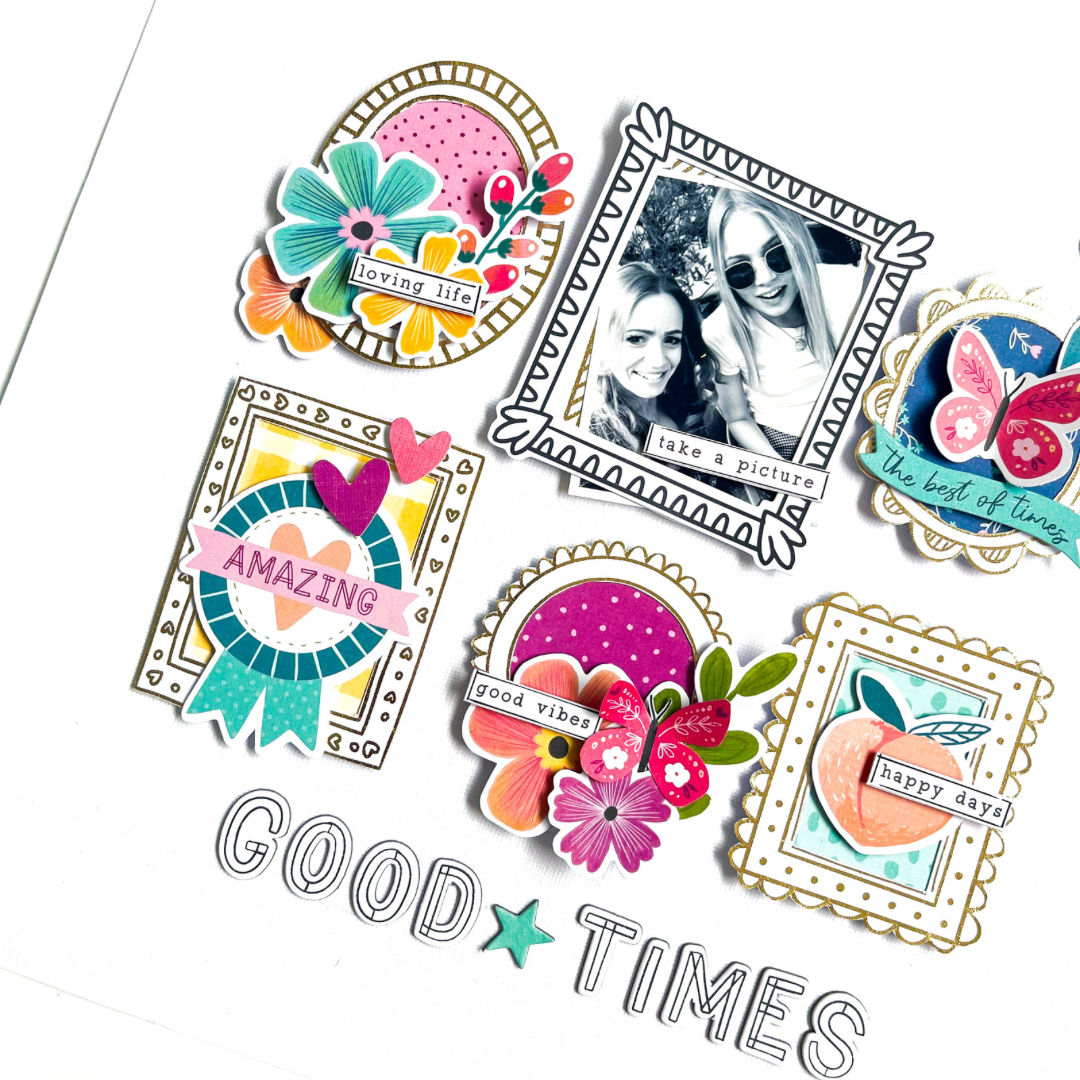
I started by cutting out various gold frames and then selected different patterned papers and placed them behind the different frames. The vibrant colors of the paper create a beautiful contrast with the frames and the white background. I arranged the frames in a grid pattern on my layout and used 3D foam for a lifting effect.
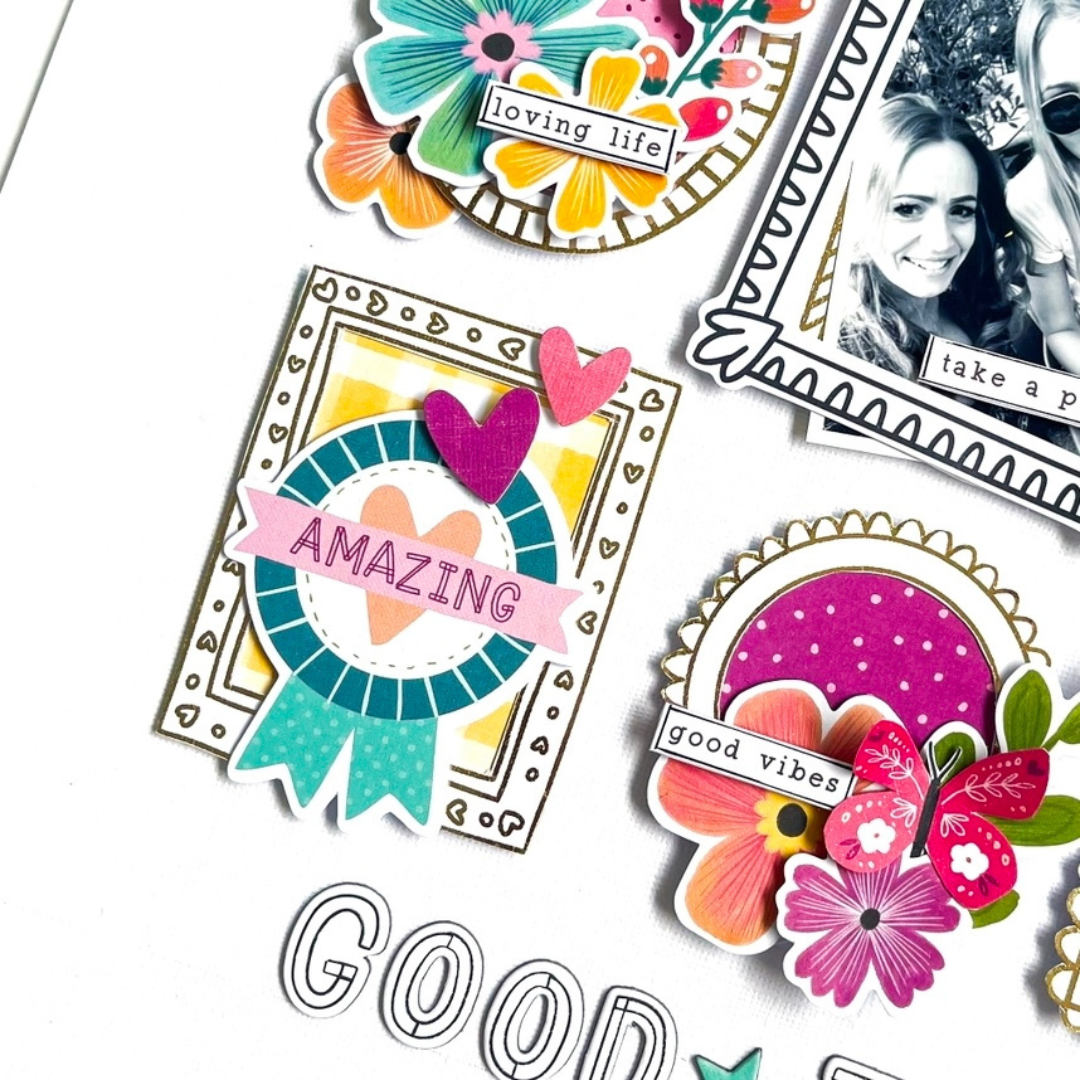
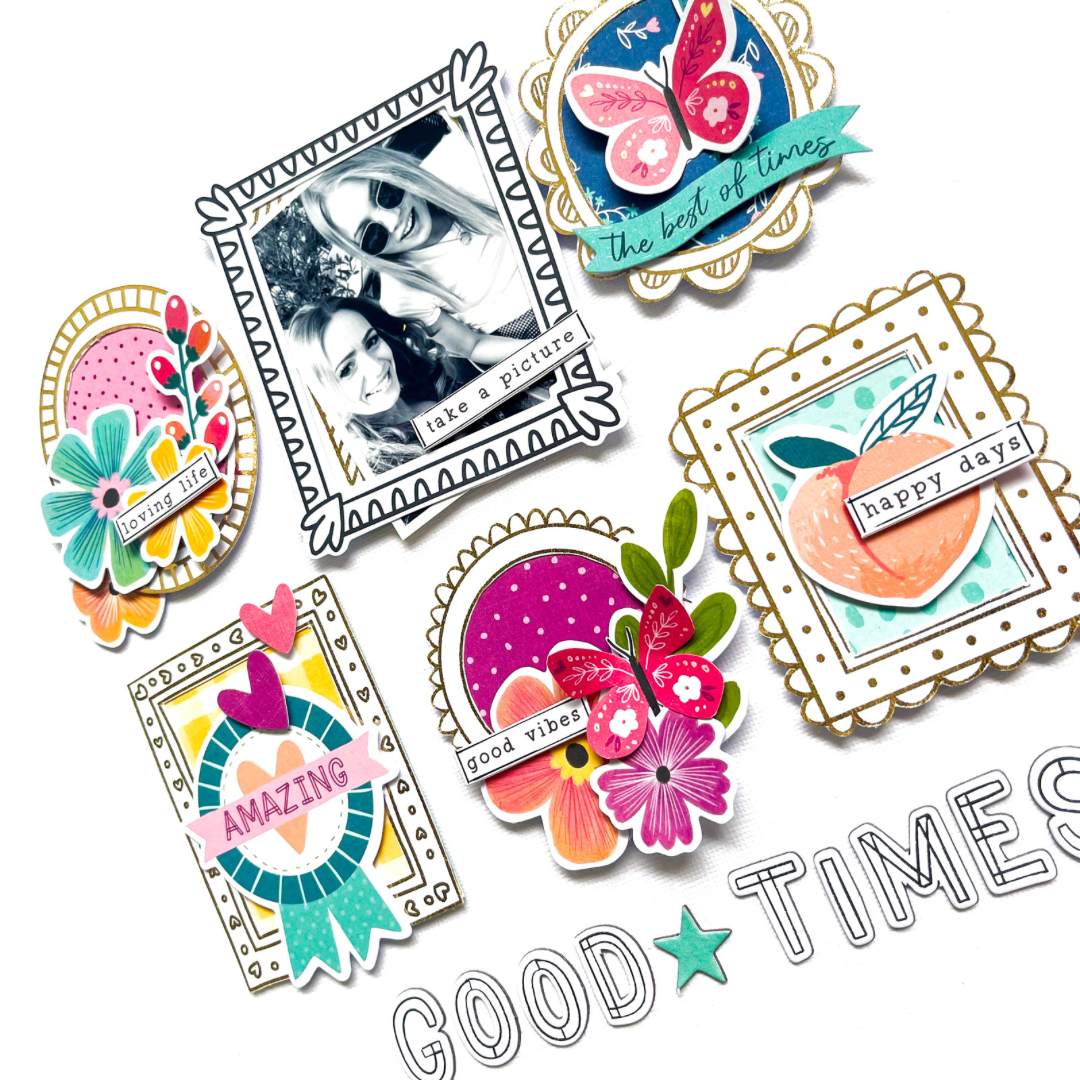
There are plenty of beautiful embellishments that I can use in this gorgeous collection. I picked out various die-cut shapes, flower die-cuts, and word stickers to create small clusters on top of the gold frames. I specifically used a black and white photo to make the colors of this amazing collection stand out even more. The black and white frame from the die-cut ephemera highlights the photo beautifully.
I placed the title at the bottom of the layout, called “Good Times.” This amazing cardstock alphabet set fits perfectly. I accentuated the small word stickers with a thin black line to give them a little extra attention in the overall design. If you like, you can also give this alphabet set different colors yourself using ink, paint, or markers. You can let your creativity run wild and have fun.
I hope I have inspired you with this scrapbook layout and I hope to see you again on the blog next time. Wishing you a creative day!
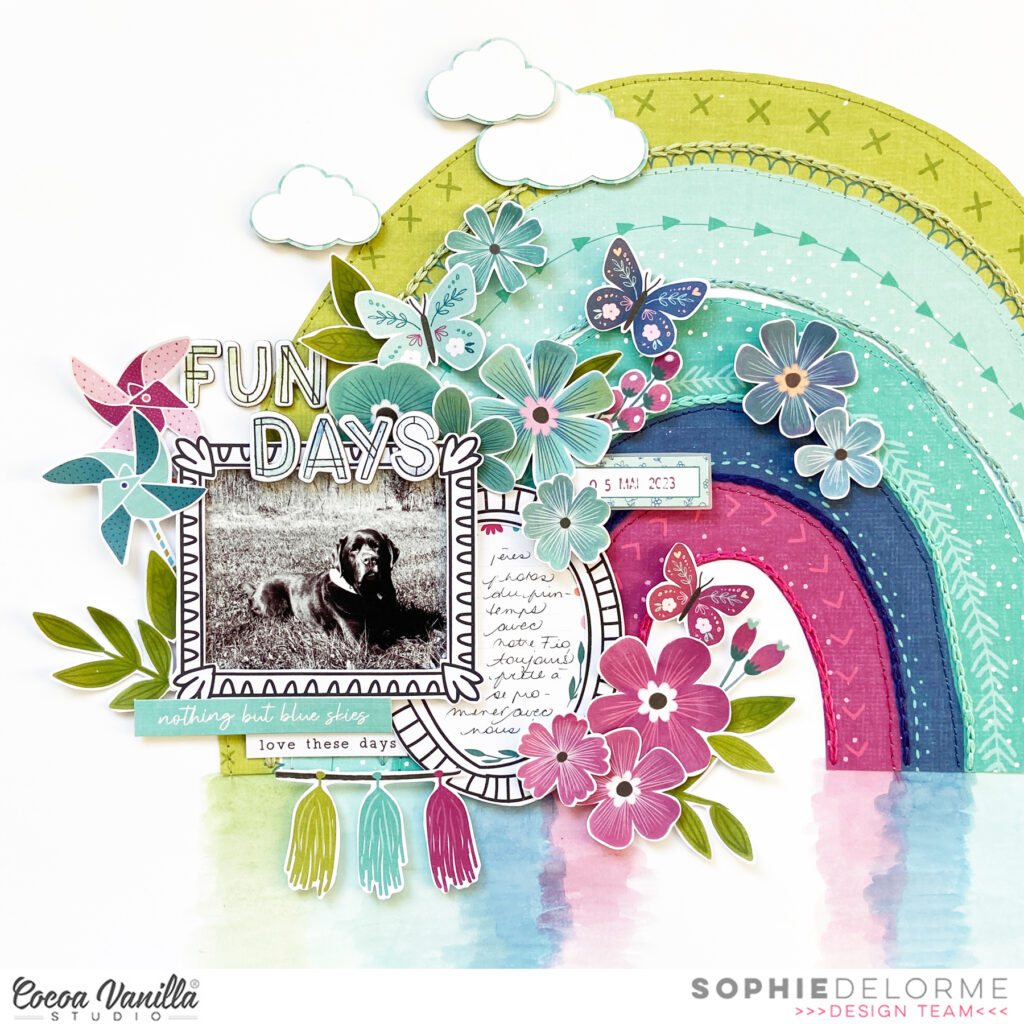
It’s Sophie on the blog today with a brand new page created with the Happy Days collection!
I wanted to use the HAPPY DAYS RAINBOW BRIGHT paper for a long time…! I cut the rainbow to remove the yellow, orange and pink rays. I placed the rainbow on a thick white cardstock and added a little bit of watercolour paint on its bottom, extending the same color for each ray. I also hand stitched and machine stitched on each ray of the rainbow with matching thread.
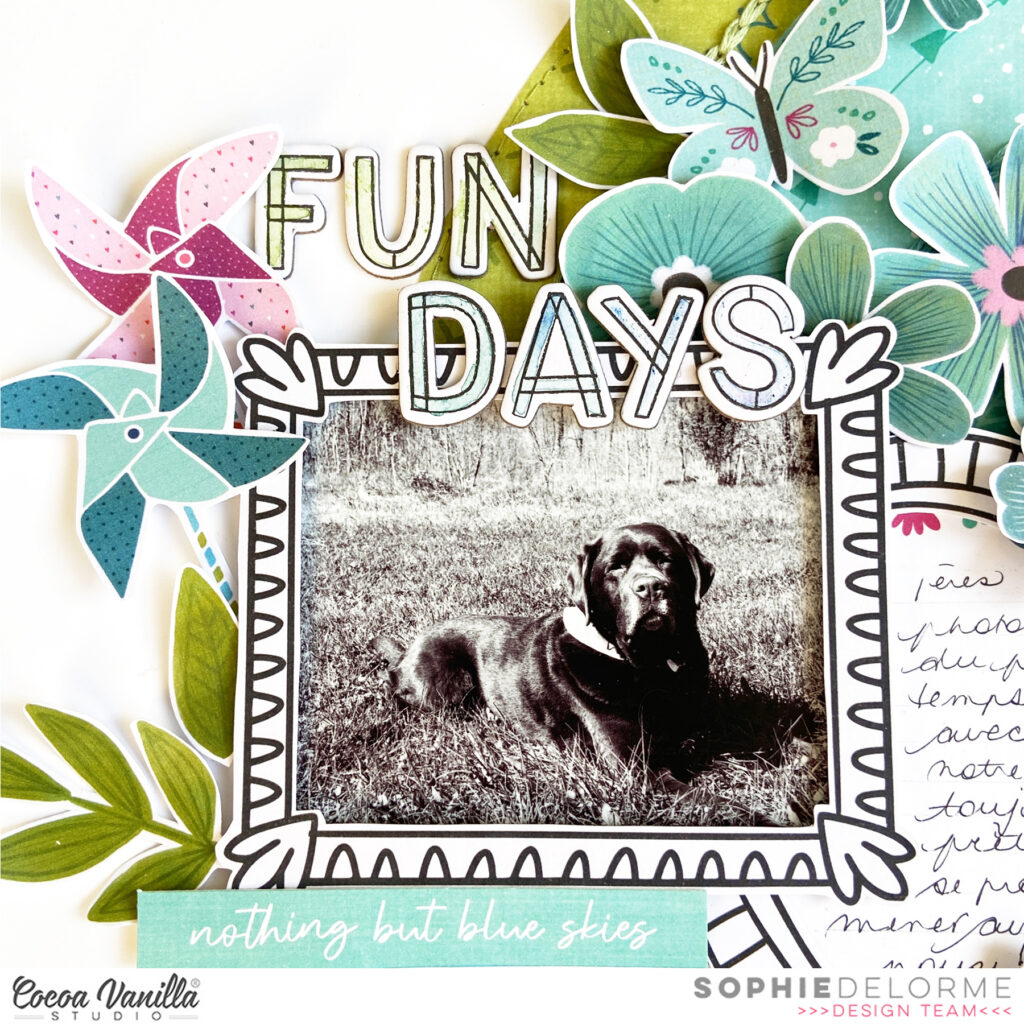
I framed my black and white photo in a die cut from the Ephemera pack, and used another frame for my journaling.
I used the HAPPY DAYS CHIPBOARD TITLE STICKERS for my title, on which I added a subtile touch of color on each letter.
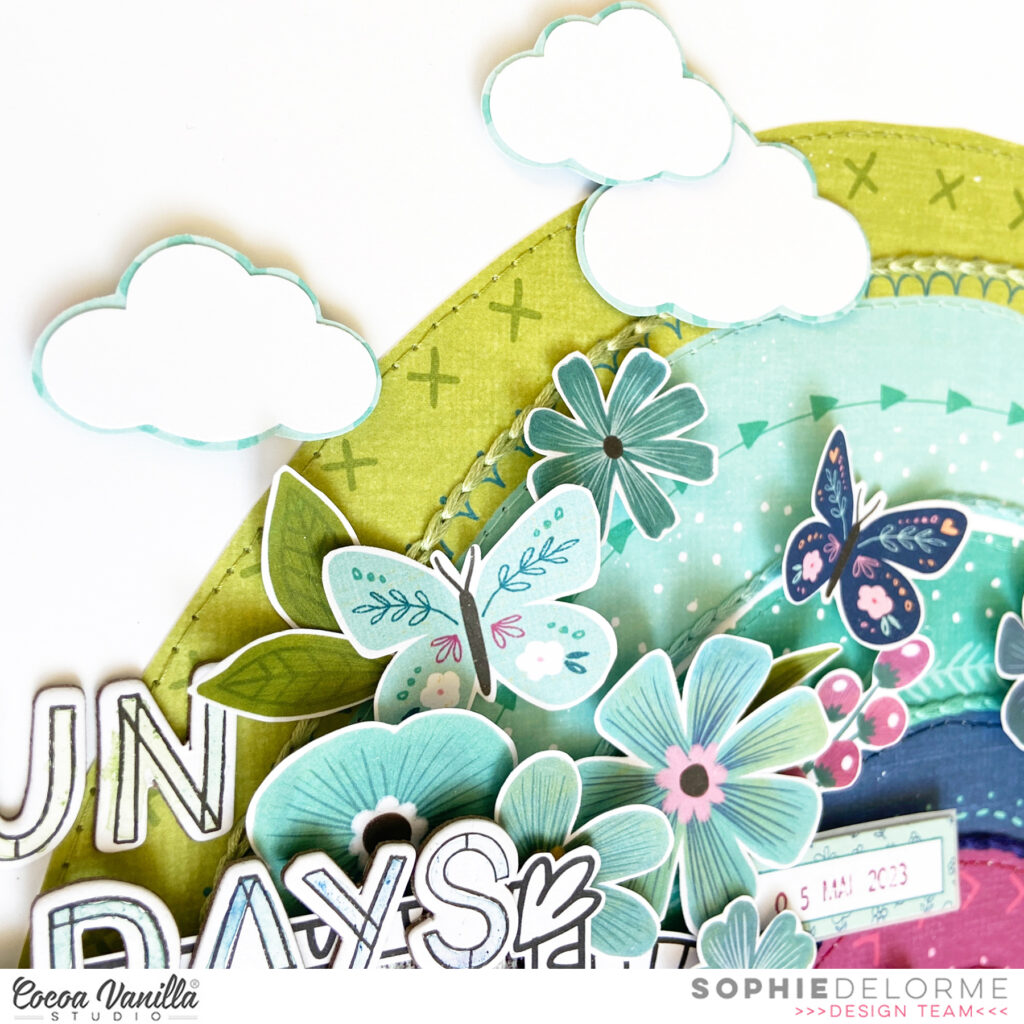
I decorated around the framed photo with beautiful flowers from the HAPPY DAYS FLORAL EPHEMERA pack, in a color block manner. I placed a few other die cuts, 3 clouds, some stickers from the HAPPY DAYS STICKER SHEET and stamped the date.
Here are more close-ups:
I ADORE that color scheme !! This Happy Days collection is so versatile !
I hope you found some inspiration with my page and this lovely collection today!
Hey y’all! Laura here with a fun graduation layout! When I finished my degree last month, it was a proud accomplishment and I couldn’t wait to scrap it! With a dark and mostly neutral color scheme, this photo needed the bright, celebratory colors of Happy Days to make this it pop. I started by fussy cutting out the frames from the specialty paper and backing them with patterned paper from the A5 paper stack.
I then matted my photo on the gorgeous Sunshine Lollipops patterned paper to help it stand out and tie together the main colors I chose from Happy Days to incorporate into my layout. Then, the fun part! I added clusters of fussy cut icons and ephemera pieces to create clusters in and around my frames. Puffy stickers and Nuvo drops added the detailing to finish them off.
For my journaling, I used a journaling stencil to create this lovely scroll design to hold a large block of journaling that imitates the feel of a diploma with it’s elaborate design. Such a fun addition and a great way to include a large block of journaling in a way that doesn’t detract from the photo!
I hope this layout inspires you to have a play with your frames from the Happy Days collection as well as to try some creative journaling techniques! To see how “Happy Moments Together” was created, check out the process video below:
Welcome to the Cocoa Vanilla Studio blog. It’s Josefine here with a new scrapbook layout created with the amazing ‘Happy Days’ collection. In this blog post, I wanted to highlight the die-cuts ephemera. I chose a white cardstock background so that my heart die-cut frame gets all the attention it deserves.
First, I used my Cricut electric cutting machine to cut out a large heart in the center of the layout. I enlarged a black and white photo of my husband and me in Paris and adhered it behind the heart using double-sided adhesive tape. Now, let the decorating begin…
I love all the ephemera die-cuts and matching them by color, pattern, and theme. First, I select which die-cuts I want to use, and then I arrange them in a heart shape around the photo. Once everything is in place, I use 3D foam to secure the ephemera die-cuts. I’m super happy with the result, and the colored die-cut ephemera stand out beautifully against the black and white photo. It creates a explosion of color around the photo.
The small puffy hearts are so adorable that I give them a special place around the frame. For the title, I use the gorgeous colored mini alphabet and choose the title ‘Good Times,’ which is fitting because I thoroughly enjoyed our trip together. I also select a few word strips, add a thin black line to the edge using my fineliner, and place them on top of the die-cuts.
I hope I’ve inspired you with this layout and look forward to seeing you again on the blog for new inspiration! Have a wonderful and creative day!
It’s Tarrah back with you and today I am sharing a new layout featuring the gorgeous Happy Days collection!
For this project I was given the assignment of using patterned paper for my background and chose the ‘B’ side of the ‘Feel Good patterned paper’ to document a photo of my Mum and I taken a few years ago.
I chose a title cut file from CUT to YOU to add to my layout, cutting it from white cardstock. I then backed the open letters in the word ‘Happy’ with various papers from the A5 paper stack. I added craft foam to the underneath of the cut file and then adhered it to the background. I love how the white cardstock is a big contrast to the yellow background, this really helps the elements pop off the yellow patterned paper. I made sure to only use a small amount of adhesive so that things could be tucked underneath the cut file.
Above the cut file I tucked in my photo, I first layered one of the papers from the A5 paper stack under the photo, I also tucked in two of the stickers from the Accessory Sticker Sheet and tucked them in either side of the photo. I cut out some phrases from another sheet of the ‘Feel Good patterned paper’ and adhered one on top of the photo and the other on top of the cut file. I love to layer embellishments on top of cut files to add some more interest.
At the bottom of the cut file, I adhered the long paper strip with the tabs on it to also from the Feel Good patterned paper, I love how that looks like the cut file is sitting on a shelf of sorts. This was a great opportunity to add some of the small phrase stickers from the Accessory Sticker Sheet to the strip. I cut out the Choose Happy journal card also from the Feel Good paper and adhered it to the right of the photo, I then added some quotes about being happy to it.
Some of the smaller embellishments I added to my page are the Chipboard hearts, the gold foil butterflies cut out of the specialty paper, puffy hearts, ephemera, enamel hearts and some more accessory stickers. I love the dimension that my layout has and I love how it turned out too. Lastly I stamped the date stamp as I always do on my layouts. Don’t be afraid to use a busy patterned paper as your starting point for your page, you can still keep the focus on the photo by using clever techniques to draw your eye to the photo.
Thank you so much for stopping by the Cocoa Vanilla blog today! I hope you enjoyed reading about how I created my layout as much as I enjoyed creating it!
It’s Sophie with you today and a beautiful and simple layout to share, created with the Happy Days collection!
I went for a grid design and selected a few patterned papers from the A5 paper stack, and used a scalloped circle die from my stash to cut 6 scalloped circles.
I aligned them in two horizontal lines on a white background cardstock.
I cut three photos of my dog Fiona in a circular shape and placed them on three of the circles.
I mounted everything on adhesive foam.
My title is a mix of the Accessory Stickers, Mini Puffy Alphabet stickers and an ephemera.
I embellished the page in a color block manner with floral die cuts, fussy cut flowers and butterflies, a few accessory stickers and a paper bow.
Here are more close-ups:
Honestly, this page was very simple and easy to make! I love the result and hope you do too!
Hey everyone and welcome back for another share from me combining the new ‘Happy Days’collection mixed with the older ‘Sunkissed’ collection. These two lines combine beautifully, so if you have them both, have a go and mxing them together! Here is my page…
My jumping off point was the rainbow paper from Happy Days called ‘Sunshine Lollipops’. I cut two 2 inch strips and adhered them down to each side of my page. To add some interest I also tore some of the ‘Feel Good‘ paper and had it popping out from underneath.
I have 2 photos on my page which I double matted using papers from the A5 paper stack from the Sunkissed collection.
Next, I worked on my title. I used a cutfile from Peartree Cutfiles. Instead of backing it with patterned papers I decided to use my distress oxides in matching colours to create an ombre effect.. I love how this turned out. Backing the cutfile onto some black cardstock really makes the title pop off the page. I also added some blue oxide behind my title.
Once I decided where I wanted my photos to go, the white cardstock needed some colour so I used a stencil to add some yellow suns to my page.
All of my embellishments come from the Sunkissed collection.
Next to the left photo I added a palm tree and flip flops from the ephemera packand a starfish puffy sticker. On the bottom right there is a pineapple and flower puffy sticker.
Above my photos I have used a cloud, rainbow and word tab from the ephemera packand a sticker from the Accessory Sticker Sheet.
To finish my page, I have added some heart puffy stickers and some of the word phrases from the Accessory Sticker Sheet.
I hope you have enjoyed my page today, and have found some inspiration!
It’s Tarrah back with you and today I am sharing a new scrapbook layout with you featuring the GORGEOUS Happy Days collection!
For this layout, I am documenting a recent photo of myself and my 2 sons. It is not very often that we get a photo together so when we were together recently, I took the opportunity to snap a photo! I did print the photo in colour however as we are all mostly wearing black it goes with the Happy Days collection perfectly!
I started with a plain white cardstock background, as I often do and trimmed it down to 11′ x 11′ inches, adhering it to the ‘B’ side of the Flutterby paper. I then machine stitched a border around the outside of the layout to add some texture. Next I traced a dinner plate onto some cheap cardstock and free hand cut around the circle. I did not bother too much with how the circle was cut out as I knew that I would be covering it with lots of different patterned papers.
I took out the A5 paper stack and chose all of the different papers to include on the circle. I cut them into strips of different sizes and layered them over and under each other to create a shadows and dimensions on the circle. I adhered them all horizontally but changed the angles on many to create the eye catching look to the circle. I used craft foam and regular adhesive to create different heights and looks to the circle. Once I had completed the circle I added craft foam underneath the circle and adhered it to the centre of the white cardstock background. I love creating lots of dimension on my layouts!
I adhered my photo to the right hand side of the circle and also adhered the black and white doodled frame from the Ephemera pack to the outside of my photo. I love how the black in the frame helps to draw your eye to the photo amongst the busyness of the patterned papers. Next I decided to further enhance the photo by adding some of the gorgeous florals from the Floral Ephemera Pack. I added these tucked in and around the photo, using both foam tapes and regular tapes to adhere them. I also added one of the super cute Puffy Hearts to the bottom right corner and placed a tab sticker from the Accessory Sticker Sheet to the right side of the photo also. On the left hand side of the photo, I adhered the Hello banner flag from the Ephemera pack.
Whenever I create a circular design, I like to be able to add embellishments and my title around the outside so I did this again using the Chipboard Alphabet Stickers to add my title. I spaced out the words so that you have to read around the circle which helps to draw the eye around the layout. In between the spaces I added Die-cuts, Puffy Hearts, Puffy Stickers, more Florals, and Accessory Stickers. On the actual circle, in between the paper layers, I placed some of the phrase stickers from the Accessory Sticker Sheet, these help to tell the story about the photo I am documenting on my layout, more Puffy Stickers and some Die-cuts here also.
I absolutely LOVE how my layout turned out and hope you like it too?! I hope you can find some inspiration from my layout and create a similar page to mine using your Happy Days collection!
It’s Sophie on the blog today with a new layout to share! I used the lovely new collection Happy Days again!
I cut three rectangles from the A5 Paper pack and stitched them down on white cardstock. I added a little scalloped border on their upper edge, and a zigzag stitch between them.
I printed a colorful photo of Sabrina and mounted it on tissue paper and foam adhesive. My title comes from a JustNickStudio alphabet cut file. I placed a smaller velum rectangle on the yellow one to soften it up so that my title stands out a bit more.
I added a beautiful bicycle die cut from the Ephemera pack and created a ground with watercolors from my stash. I fussy cut tiny little flowers that I scattered on the ground around the bicycle and wrote down my journaling on a sticker from the sticker sheet.
Here are more close-ups:
It’s a very Springy page and I LOVE the bright color scheme!


 I hope this layout inspires you to have a play with your frames from the Happy Days collection as well as to try some creative journaling techniques! To see how “Happy Moments Together” was created, check out the process video below:


