It’s Sophie here and I am so exciting to share this new layout with you!
This week’s theme is all about florals! Heaven!!! It clearly is my all-time favorite embellishment!
I used the beautiful These Days collection for my page.
I decided to do three cascades of flowers around my black and white photo.
I fixed three white embroidery threads of different lengths with a brad on a thick white cardstock. I punched tiny holes on each flower that I planned to use. They come from the Floral Ephemera pack and some are also fussy cut out of the “Home Grown” patterned paper.
I strung the flowers on the threads in descending order to create the cascades and fixed each of them with adhesive to make sure that they stay in place.
I added many tiny flowers and leaves scattered around the cascades as well.
I used a simple title cut out of “The Good Life” paper.
I placed a strip of the “Pretty Posies” paper and a scalloped strip of white cardstock at the base of the layout to ground everything, and handwrote my journaling.
Here are more close-ups:
This was fun to make!! And although it might look sophisticated, it was a very simple way to highlight the beauty of these pretty florals!
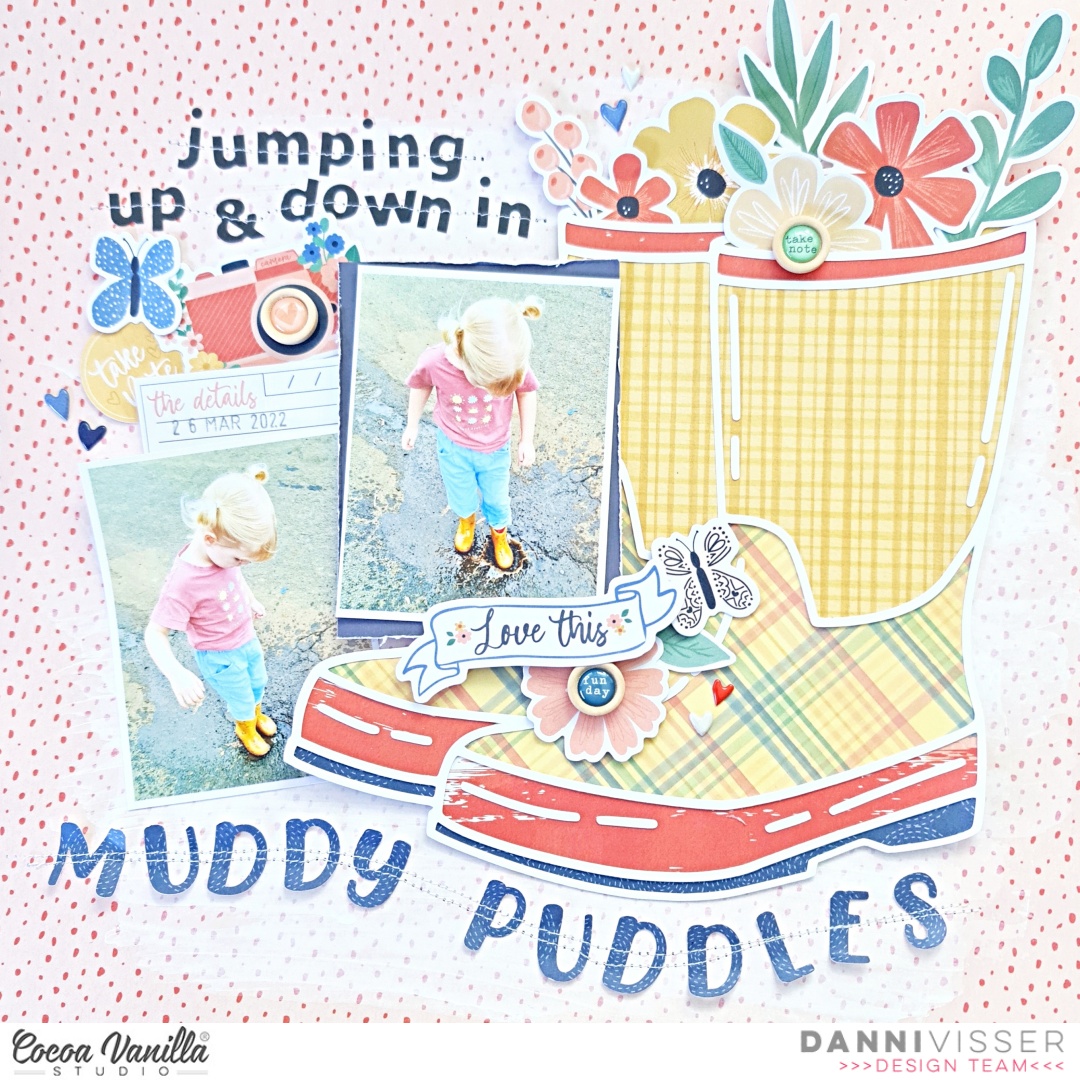
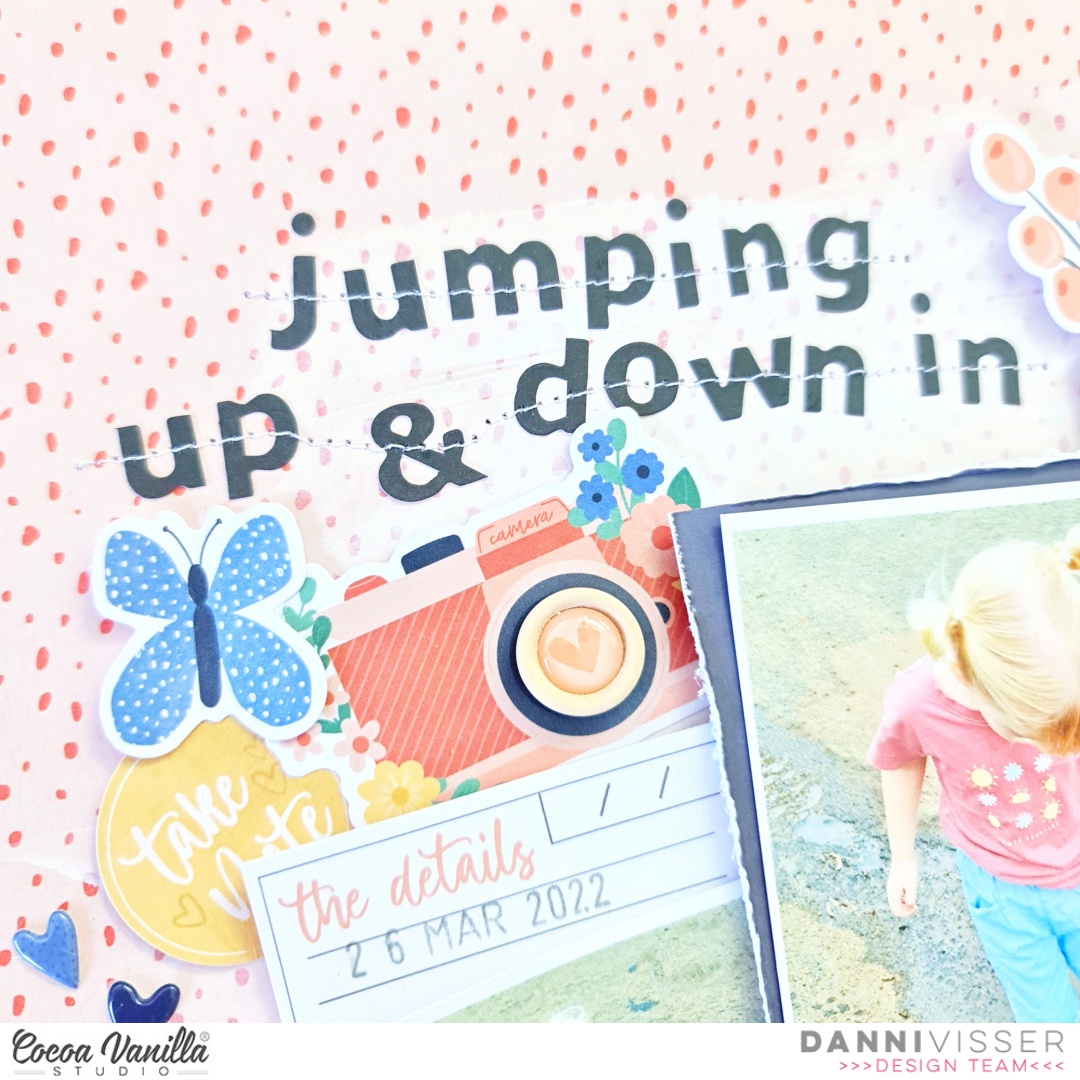
Hi Cocoa Vanilla Studio friends! Danni here with a layout featuring the beautiful Storyteller collection. I used lots of patterned paper in this one; I think patterned paper has to be my favourite scrapbooking supply as it is just so versatile!
I have some photos of my littlest child splashing in some puddles in her bright yellow rain boots that I have been dying to document. This collection features the perfect shade of yellow to match her little boots. I started with the Oh My Heart 12×12 patterned paper for my background because the pattern reminds me of raindrops. I added some white acrylic paint to the area behind where my photos and embellishments would go to help them stand out on the patterned background.
Next I created a cutfile of some rain boots using a free image and my digital cutting machine. I backed it using the A5 paper stack. I used a yellow ink to fill in the white background of one of the patterns to add even more yellow to the boots.
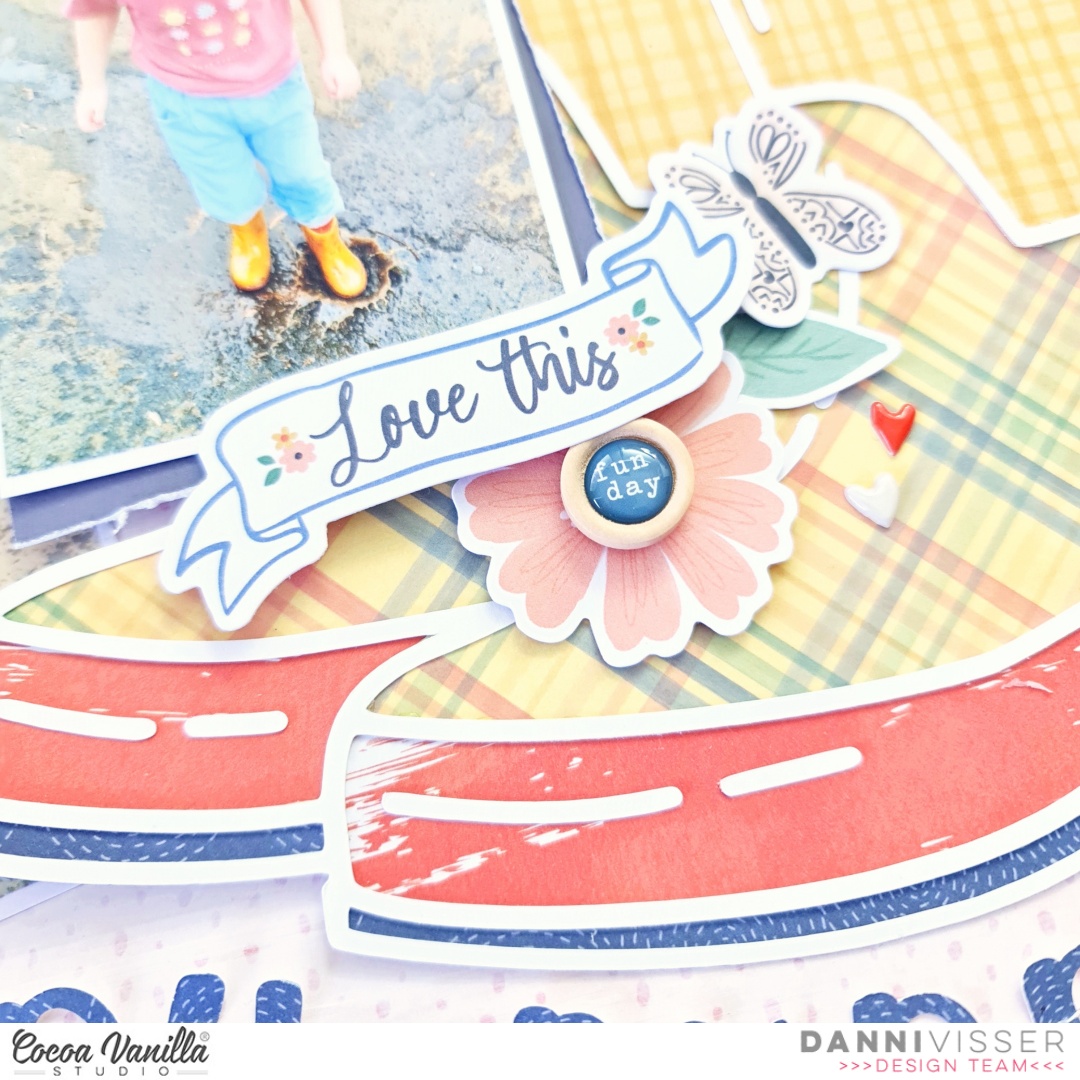
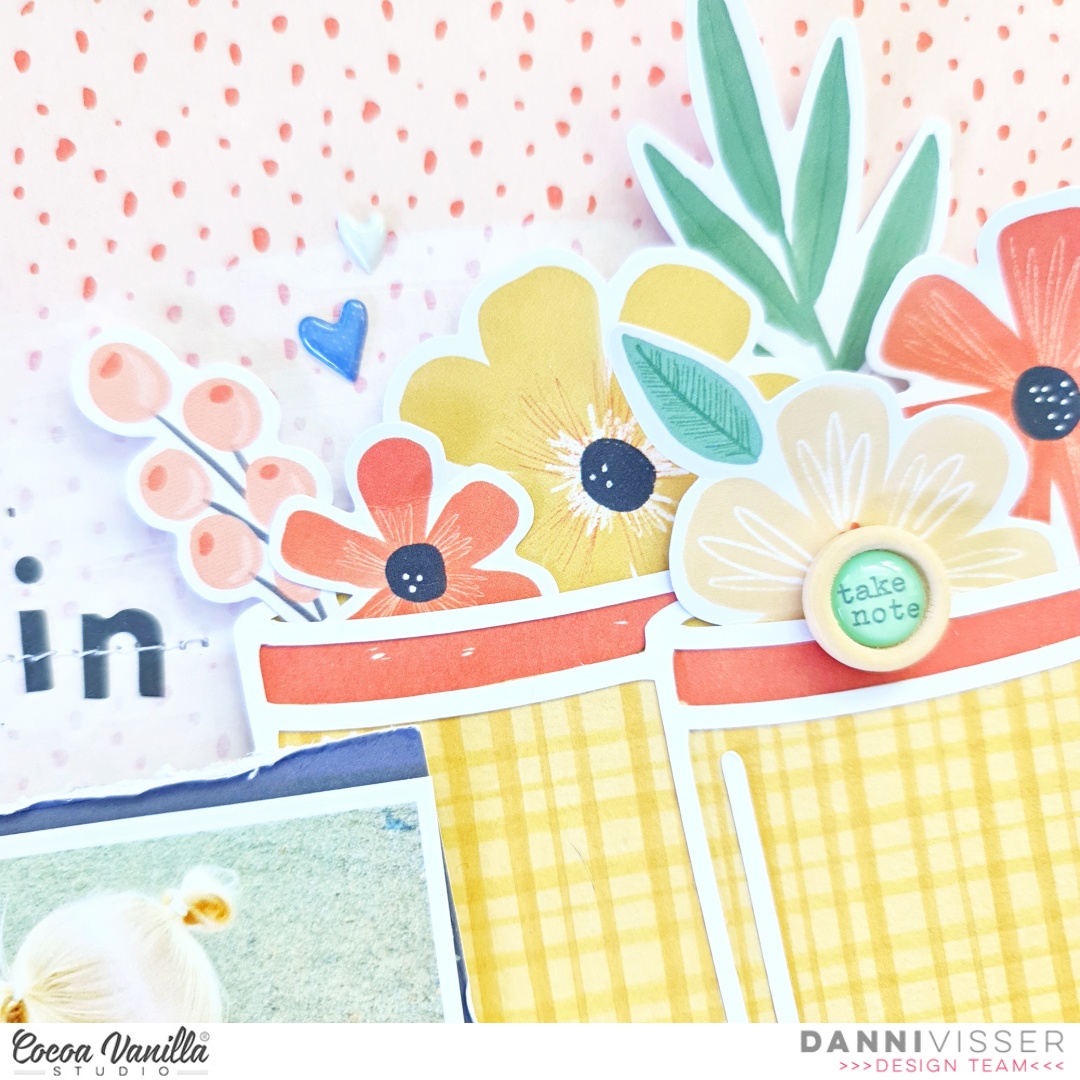
I used a double sided3×4 card to mat one of my photos, distressing the edges for texture. Next I created three embellishment clusters. Two of the clusters I positioned framing the photos using the die cut ephemera, for the third cluster I filled the top of the boots with floral die cut ephemera pieces.
I added some of the small wood epoxy buttons over the camera lens and flower centres of my die cut ephemera. I stamped the date on an accessory sticker and added a sprinkling of puffy sticker hearts around my clusters.
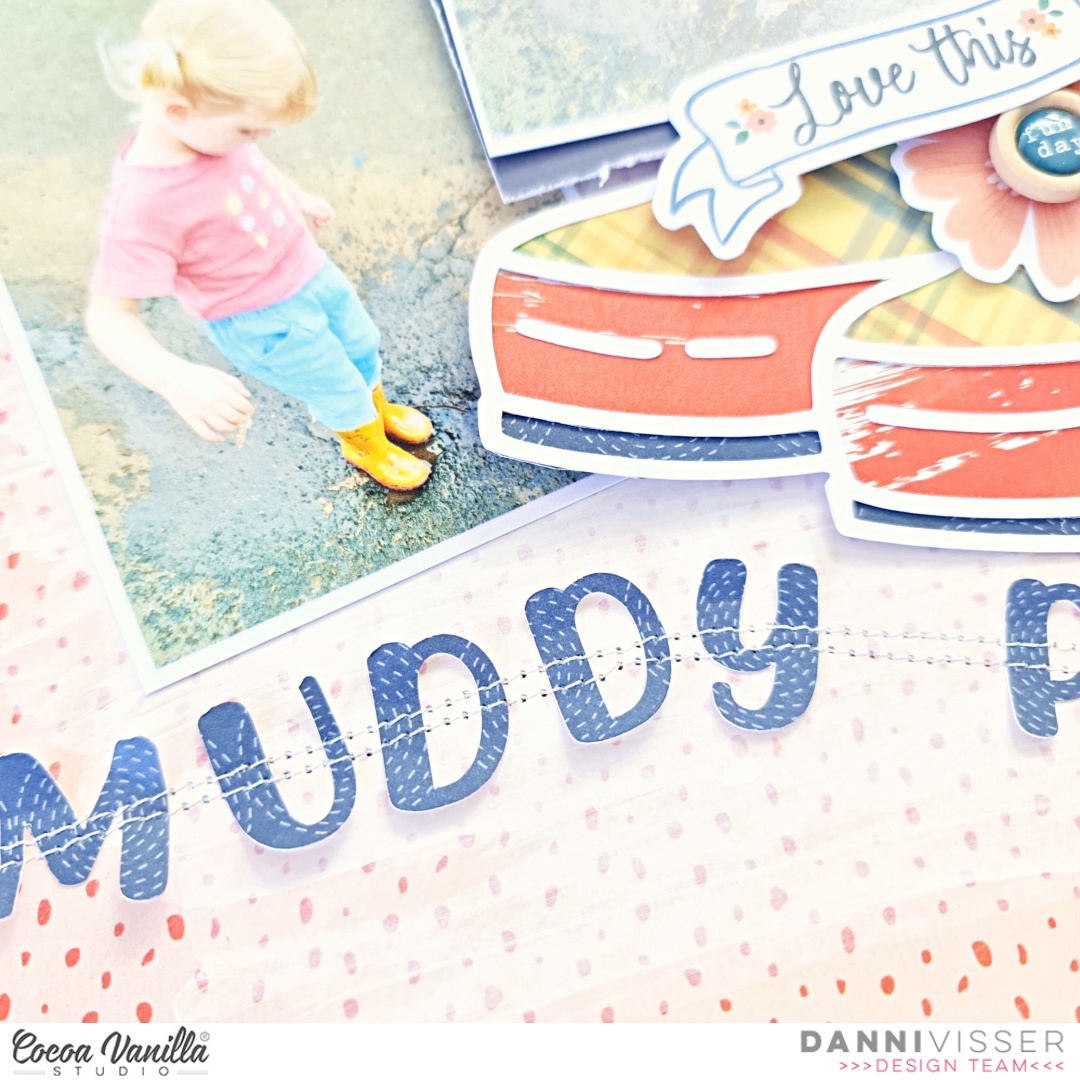
Finally I added my title. I used a navy paper from the A5 paper stack to cut some letters on my digital die cutting machine, then added some messy machine stitching for extra texture and interest. This also enabled me to bend the edges of the letters up to create even more dimension.
I hope you enjoyed joining me for this layout. Happy scrapping!
Hey y’all! Laura Alberts back again with the Storyteller collection! These sweet photos of my puppy were perfect for a heart-filled layout I opted for a fairly simple vertical background with three of the stunning patterned papers in this collection: Oh My Heart, Little Love, and Ditsy Daisy. Layering a lovely paper doily behind my main 4×4 inch photo, then matting with paper from the A5 paper stack gave these photos a real pop on the page!
Underneath of the main photo, I placed a couple of banners from the icon ephemera pack to add a little movement on the page and guide your eye to the small 2×2 photos on the left. Around each of these photos, I added small word phrases and fussy cut florals for extra detailing. The title is from the foam words pack that accompanies this collection and nestled in beautifully around my photos.
For a little extra whimsy on this page, I added butterflies that I fussy cut from the 12×12 and A5 version of the Fly Away patterned paper. Fussy cutting out little details like these add such a special touch to a layout. Along with tucking a small cut apart piece from the A5 paper stack next to my photos, I added a sweet little cluster at the top, center and bottom of my cluster.
I hope this layout inspires you to have a play with clustering your photos together or adding clusters around your photos! To see how “You Are So Cute” came together, see the process video below!
Hello everyone. It’s Anna here and today I have a page for you created for a monthly theme: “Spring or fall”. I am so envy of all you Aussie girls for your current spring season. It saddly means we are slowly entering winter on the northern hemisphere (I know it’s still two months but it always feels like fall, winter and spring are combined into months months period and summer is here for like only two months). That’s why my choice of the season is quite obvious and I made a fall page. I even had a brand new photos of my girls taken in the nearby forest! I am still playing with the “Storyteller” line, that is so versatile that I could easily make a fall page with it.
I had this idea in my head to create a tree branches with some colorful leaves on them, framing my photos. And this is how this page started. Paper called “Cross it off” with wooden pattern was just perfect to hand cut my oak branches. I simply sketched the shape and used my scissors but you can also use your digital die cutting machine, if you do not trust your sketching skills. Next step was to die cut bunch of leaves in “fall” colors using patterns papers from A5 Paper Stack mostly. I focused on yellow, pink and dark green shades.
Next step was to find a proper background. I tried all the “Storyteller” 12*12 patterns but my leaves kept blending in too much. Here is where simple mixed media techniques and sheet of white cardstock come very handy. I picked a greyish blue shade of ink and simply blended it into my background. I wasn’t trying to apply the color evenly to make the illusion of clouds on the sky. I also splashed everything with drops of water for even more texture. I was really happy with how the background made the branches with leaves pop.
When the oak braches were glued down to their assigned spots, I started adding leaves applying glue only in the middle part and bending the edges a bit. It gave some needed texture and illusion of movement to the layout. In the gap between the branches I glued down my two photos. I backed them with pattern papers from A5 Paper Stack as I like when each picture has a frame of color around it. Decorating the composition with ephemera pieces and cardboard stickers was the final step of my process.
My title is a mix of foam title stickers from “These days” collection and some black alpha stickers from my stash. I had so much fun making this page. I just love the moments when idea in my head can be so smoothly and easly transfered to the paper. Because believe me – it doesn’t always work this way :)
I hope you like my idea too. It can be easily used for a spring page, where you would use like apple or cherry blossoms and young leaves on the branches and more blue color of the ink for the sky! Maybe you will scraplift it this way? Maybe I will scraplift myself for some future post :)
Thank you so much for spending your time with me and I hope you found some food for your soul here.
Hello, it’s Melissa here and today I’m sharing a new layout that I created with the gorgeous Storyteller collection. I really wanted to feature lots of the patterned papers so I went with a geometric cut file from Just Nick Studio called Broken Butterfly. Rather than my go to white patterned paper background I used Ditsy Daisy.
This is a very busy page with colour and pattern. In order to break it up I used navy ink applied with the packaging technique, and splatters in white and gold. This separated the butterfly cut file from the busy floral background. I used lots of papers from the A5 Paper Stack to back the cut file.
The photo is my youngest daughter at our new local supermarket pushing the little trolley. Its her favourite reason to help me shop! I clustered several flowers and leaves around my photo from the Floral Ephemera.
My title is from the Chipboard Stickers, and was perfect because sometimes I’m too lazy to think of a title myself! I was so happy to get a Wood Button onto my page too! I wrote my handwritten journaling onto a Die Cut Ephemera label, and the frame on my photo is also from this Ephemera.
I created a process video which you can watch below.
It’s Jo here on the Cocoa Vanilla Studio blog today sharing a new scrapbook layout with you. For this layout, I was inspired by two seasons. I chose to create a fall layout in spring colors. I had some leftovers from the Daydream and These Days collections and chose to combine them both for this layout.
I grab a 12×12 white watercolor paper and choose one of my fave color distress oxide called “saltwater taffy” I create three stains on the white background by using a kitchen sponge. I make a stamping motion on the watercolor paper with the sponge and the Distress oxide color. Don’t forget to wet the sponge a little bit so the ink flows out nicely on your paper. I take a watercolor brush and splash some ink. I love the effect of ink splatters on my layouts. These splatters give my mixed media background more demension and a festive look.
I use a beautiful cutfile designed by Cut to You called “Autumn leaf” I cut out the cutfile twice by using my Cricut Maker and backed it with yellow and pink colored design paper from the gorgeous Daydream collection from Cocoa Vanilla Studio.
I placed both cutfiles on top of my light coral pink mixed media background.
I fussy cut a few flowers from the pattern papers and placed these under my Happy Autumn selfie picture. I made a cluster on both sides of the photo with the gorgeous Die-cuts elements, stickers and figures from the Daydream and the These days collection.
I placed a few extra embellishments like butterflies, sequins, labels and stickers to decorate my Autumn layout with spring vibes. Some of the embellishments I added white sewing thread with my sewing machine. Finally I give my layout some extra white gesso splatters.
I hope I’ve given you some fun ideas for combining different collections and themes like spring and fall with each other. I love to see you next time on the Cocoa Vanilla Studio blog and social with a new crafty scrapbook project! Can’t wait to see your gorgeous inspiration on the Cocoa Vanilla FB groep! Happy creating and I wish you a fun and crafty day friends!
It’s Tarrah back with you and today I am sharing a sweet Spring themed layout featuring the gorgeous Unforgettable collection!
We are focusing on our current seasons this week on the Cocoa Vanilla blog with our projects! Currently we are enjoying some Spring weather here in Australia so my layout today is all about the florals and my title is pretty fitting as well! I am documenting a photo of my niece in front of a beautiful rose bush, the Unforgettable collection compliments my photo perfectly.
I chose the gorgeous teal coloured paper from the Unforgettable collection as my background. I did trim this piece down and adhered it to a sheet of plain white cardstock, I then bent the edges up to create some texture.
I chose a beautiful floral cut file from CUT to YOU that I cut up slightly and then backed it all with some of the gorgeous papers from the A5 paper stack from the Unforgettable collection.
Once the cut file was all backed, I added craft foam to the underneath and adhered it to the background paper. By using the craft foam, it creates shadows and dimension on my page which I love. Because I cut up the cut file, I was able to strategically place my photo between the 2x floral clusters, I added a small banner die-cut to the top right corner of the photo.
Next it was time to embellish and add the title. I decided to use a die-cut title from the Midnight collection – called Bloom & Grow. I added the word ‘Bloom’ to the left of the photo overlapping the small journal sticker that is tucked in to the side of the photo. I also added the ‘&’ and the ‘Grow’ at the bottom of the cut file. On the right of the photo, I added one of the super cute flair buttons from the Unforgettable collection and below the photo, I added a phrase die-cut and a word accessory sticker. I took out some of the larger florals from the ephemera pack and adhered some with craft foam and some with regular adhesive.
Some of the smaller flowers I adhered with craft foam to help them pop up and give the page some more dimension. Next I tucked in some of the pretty feathers from the ephemera pack and bent the edges up slightly on them to make them look more realistic. I just love the enamel dots in this collection and quite a few made it onto this page, I placed 2 in each cluster. I created 3 clusters of the enamel dots.
Lastly to finish my page, I stamped the date stamp and sprinkled some white mist around the page. Do you have any of the Unforgettable collection that you’re hoarding?!
Get it out and use it for some gorgeous projects!
Thank you so much for stopping by the Cocoa Vanilla blog today! I love how my layout turned out and I hope you enjoyed reading how I created it!
It’s Sophie here and I have a new layout to share! I used the Storyteller collection for this autumnal page of my children and doggies going to the pumpkin patch!
I used a thick white cardstock for my background and teared a few different patterned papers to ground my photo. I printed the photo in black and white, mounted it on tissue paper and foam adhesive, and centered it on my page.
My title is from the beautiful Foam Title Stickers.
I created a little pumpkin with a few papers from the A5 paper stack and machine stitched on it for more texture.
I handwrote my journaling, embellished around the photo with fussy cut flowers and die cuts from the Floral Ephemera pack, placed a few stickers from the Accessory Stickers and added white Nuvo Drops as the finishing touch.
Hey y’all! Laura Alberts back again with baseball photos! Today’s prompt was spring or fall and I chose spring! Here in the United States spring is devoted to baseball, particularly spring training. I decided to up the ante with some floral hexagons to push that ‘spring’ feel even further. I have included some backed hexagon cut files from Liz Longest Designs and added some punched hexagons using the A5 paper stack. By puzzling them together, I created hexagon florals that trailed up my layout.
Each of my photos is show-cased inside of the these florals, which gives them an opportunity to shine! My photos are 3×2 inches and fit perfectly inside of these shapes. I love every chance to break out my punches and I find them to be the most versatile tool in my scraproom! Added to these hexagons are small embellishments like fussy cut cameras, wood buttons, and ephemera icons.
For my title, I tucked in a phrase from the foam titles set and added some of the little black foam hearts to the end of my title, as well as to each of the photos. This helps spread that darker color around the page, so that the title doesn’t stand out quite as much. I always prefer to have most of the focus on my photos. To finish this layout off, I added butterfly trails with gold Nuvo drops and then splattered around my cluster with gold ink spray.
I hope this layout inspires you to break out your punches and experiment with puzzling together the shapes into something new! If you’d like to see how ‘Love From the Heart’ came together, check out the process video below!
Hello, hello! It’s Anna here again and today I have fun, travel themed inspiration for you. Good news – it has zero dogs involved :) This time I wanted to scrapbook a selfie photo of my family we took visiting London few years back (I can’t belive it was so long ago as it seems like yesterday). Photo was already printed and wandering around my desk for a while so I though it’s time to scrapbook it finally. As CVS doesn’t have any specific travel themed collection, I reached for the lines that have colors that would match the picture. It’s quite muted with a lot of earth tones so I focused on masculine lines. No pink this time!
I started with the newest one called “No limits” picking pattern papers for the background – wooden “Big bang” and grey “Universal“. With the second one I cut out the map background using digita die cutting machine. It reminded me of a busy city London is. Sfter all three basic layers were combined, it was time to add photo. It has white frame so I needed some contrastic colors under it to make the picture pop.
That’s why I added yellow and blue using A5 Paper stack. This is such a great product – it hold some extra patterns for even more fun with collection and you can use them for mini albums and cards too. You get 30 sheets in total – 2 of each designs and they are loose so there is no glue attaches to the one side, which is sometimes hard to remove. After the photo was glued down, I started building composition around it. It’s the moment I reached for some older CVS collections and my leftovers stash. You can find ephemera pieces and stickers from “Legendary”, “You rock” and “Boys rule”. This is the beauty of Cocoa Vanilla lines – you can easily mix and match them!
My title was also created with an old set of alpha stickers. they are not being added to the collections anymore but I still have my own stash and I love reaching out to it. Alpha stickers came in two different sizes – with bigger letters and some with smaller letters. I mixed two of them here. I also dug up my stash of wooden elements, that were a part of older collections. I loved them so much and I was saving them for the future (as many of us does with favorite items). It’s finally time to let them go. But worry not – I still have a little basket of them :) They will last me till the end of time.
This kind of layout is my favorite – where I can combine new and old, giving older stash a new life. If also helps me spread the collection even if I am running out of embellishemnts. Last step in making this page was adding some flair buttons (also from my dearly saved stash) and splashing everything with yellow and orange mists.
That is all for today my Friends! Thank you so much for stopping by and see you in two weeks.