2019 Favourites | Mandy Melville
Hey friends!
Well, can you believe that we are fast approaching the end of 2019?! Does anyone else feel like this year disappeared in a blur? To finish the year off, our design team will each be sharing their favourite projects that they created during the year. I always find it so hard to narrow down to just a few, because so many memories have been documented on my layouts throughout the year, BUT I think these three layouts would definitely have to be amongst some of my faves!
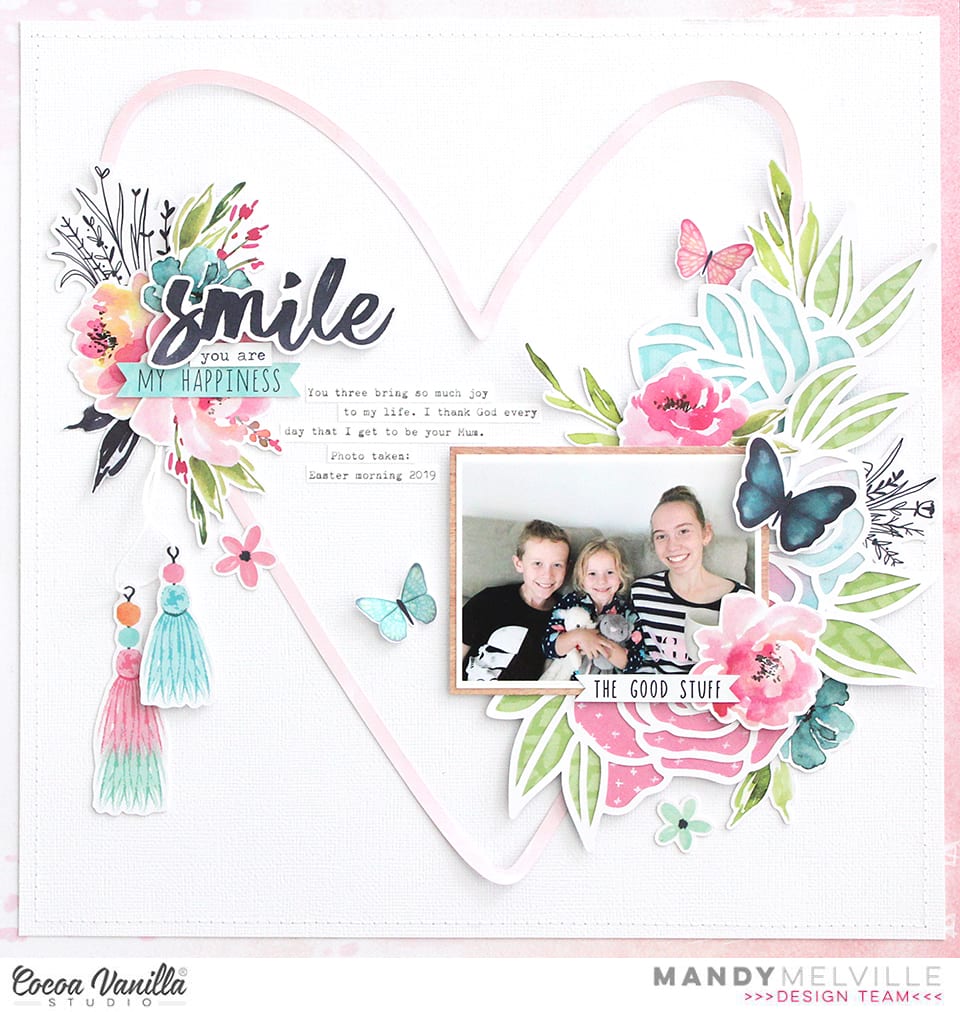
The first layout I’m sharing was created using the super gorgeous Happiness collection, along with the coordinating cut files designed by Cut to You! The colours and the florals in this collection are sooo pretty, and the cardstock titles were definitely a fantastic addition too! It was perfect for documenting a photo of my three kiddies taken on Easter morning!
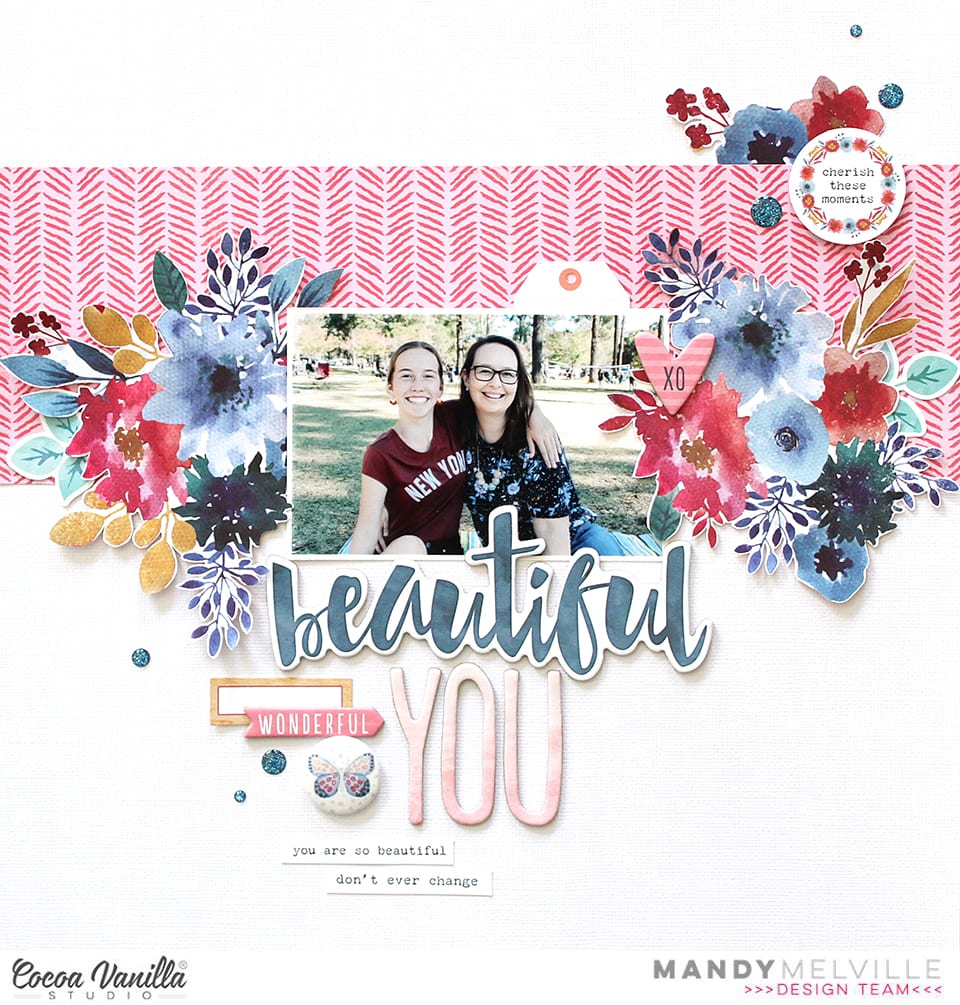
The next layout I’m sharing was created with the beautiful Wild at Heart collection. This collection is still one of my favourites, with its gorgeous rich colours, and I think it worked perfecty with this photo of my eldest daughter and I, taken on Mother’s Day this year. You probably know by now that I’m a huge fan of fussy cutting, and the floral patterned papers in this collection are perfect for this! For more details about this layout go take a look at the full blog post here.
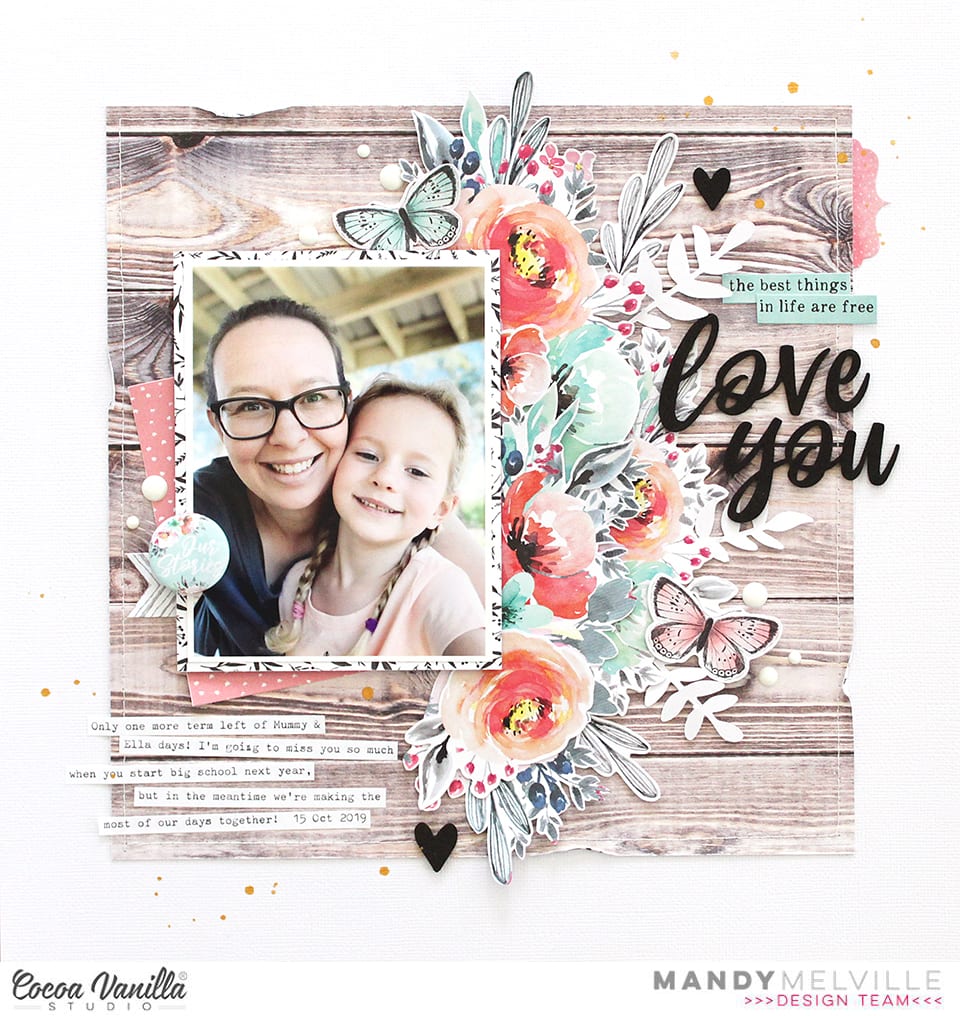
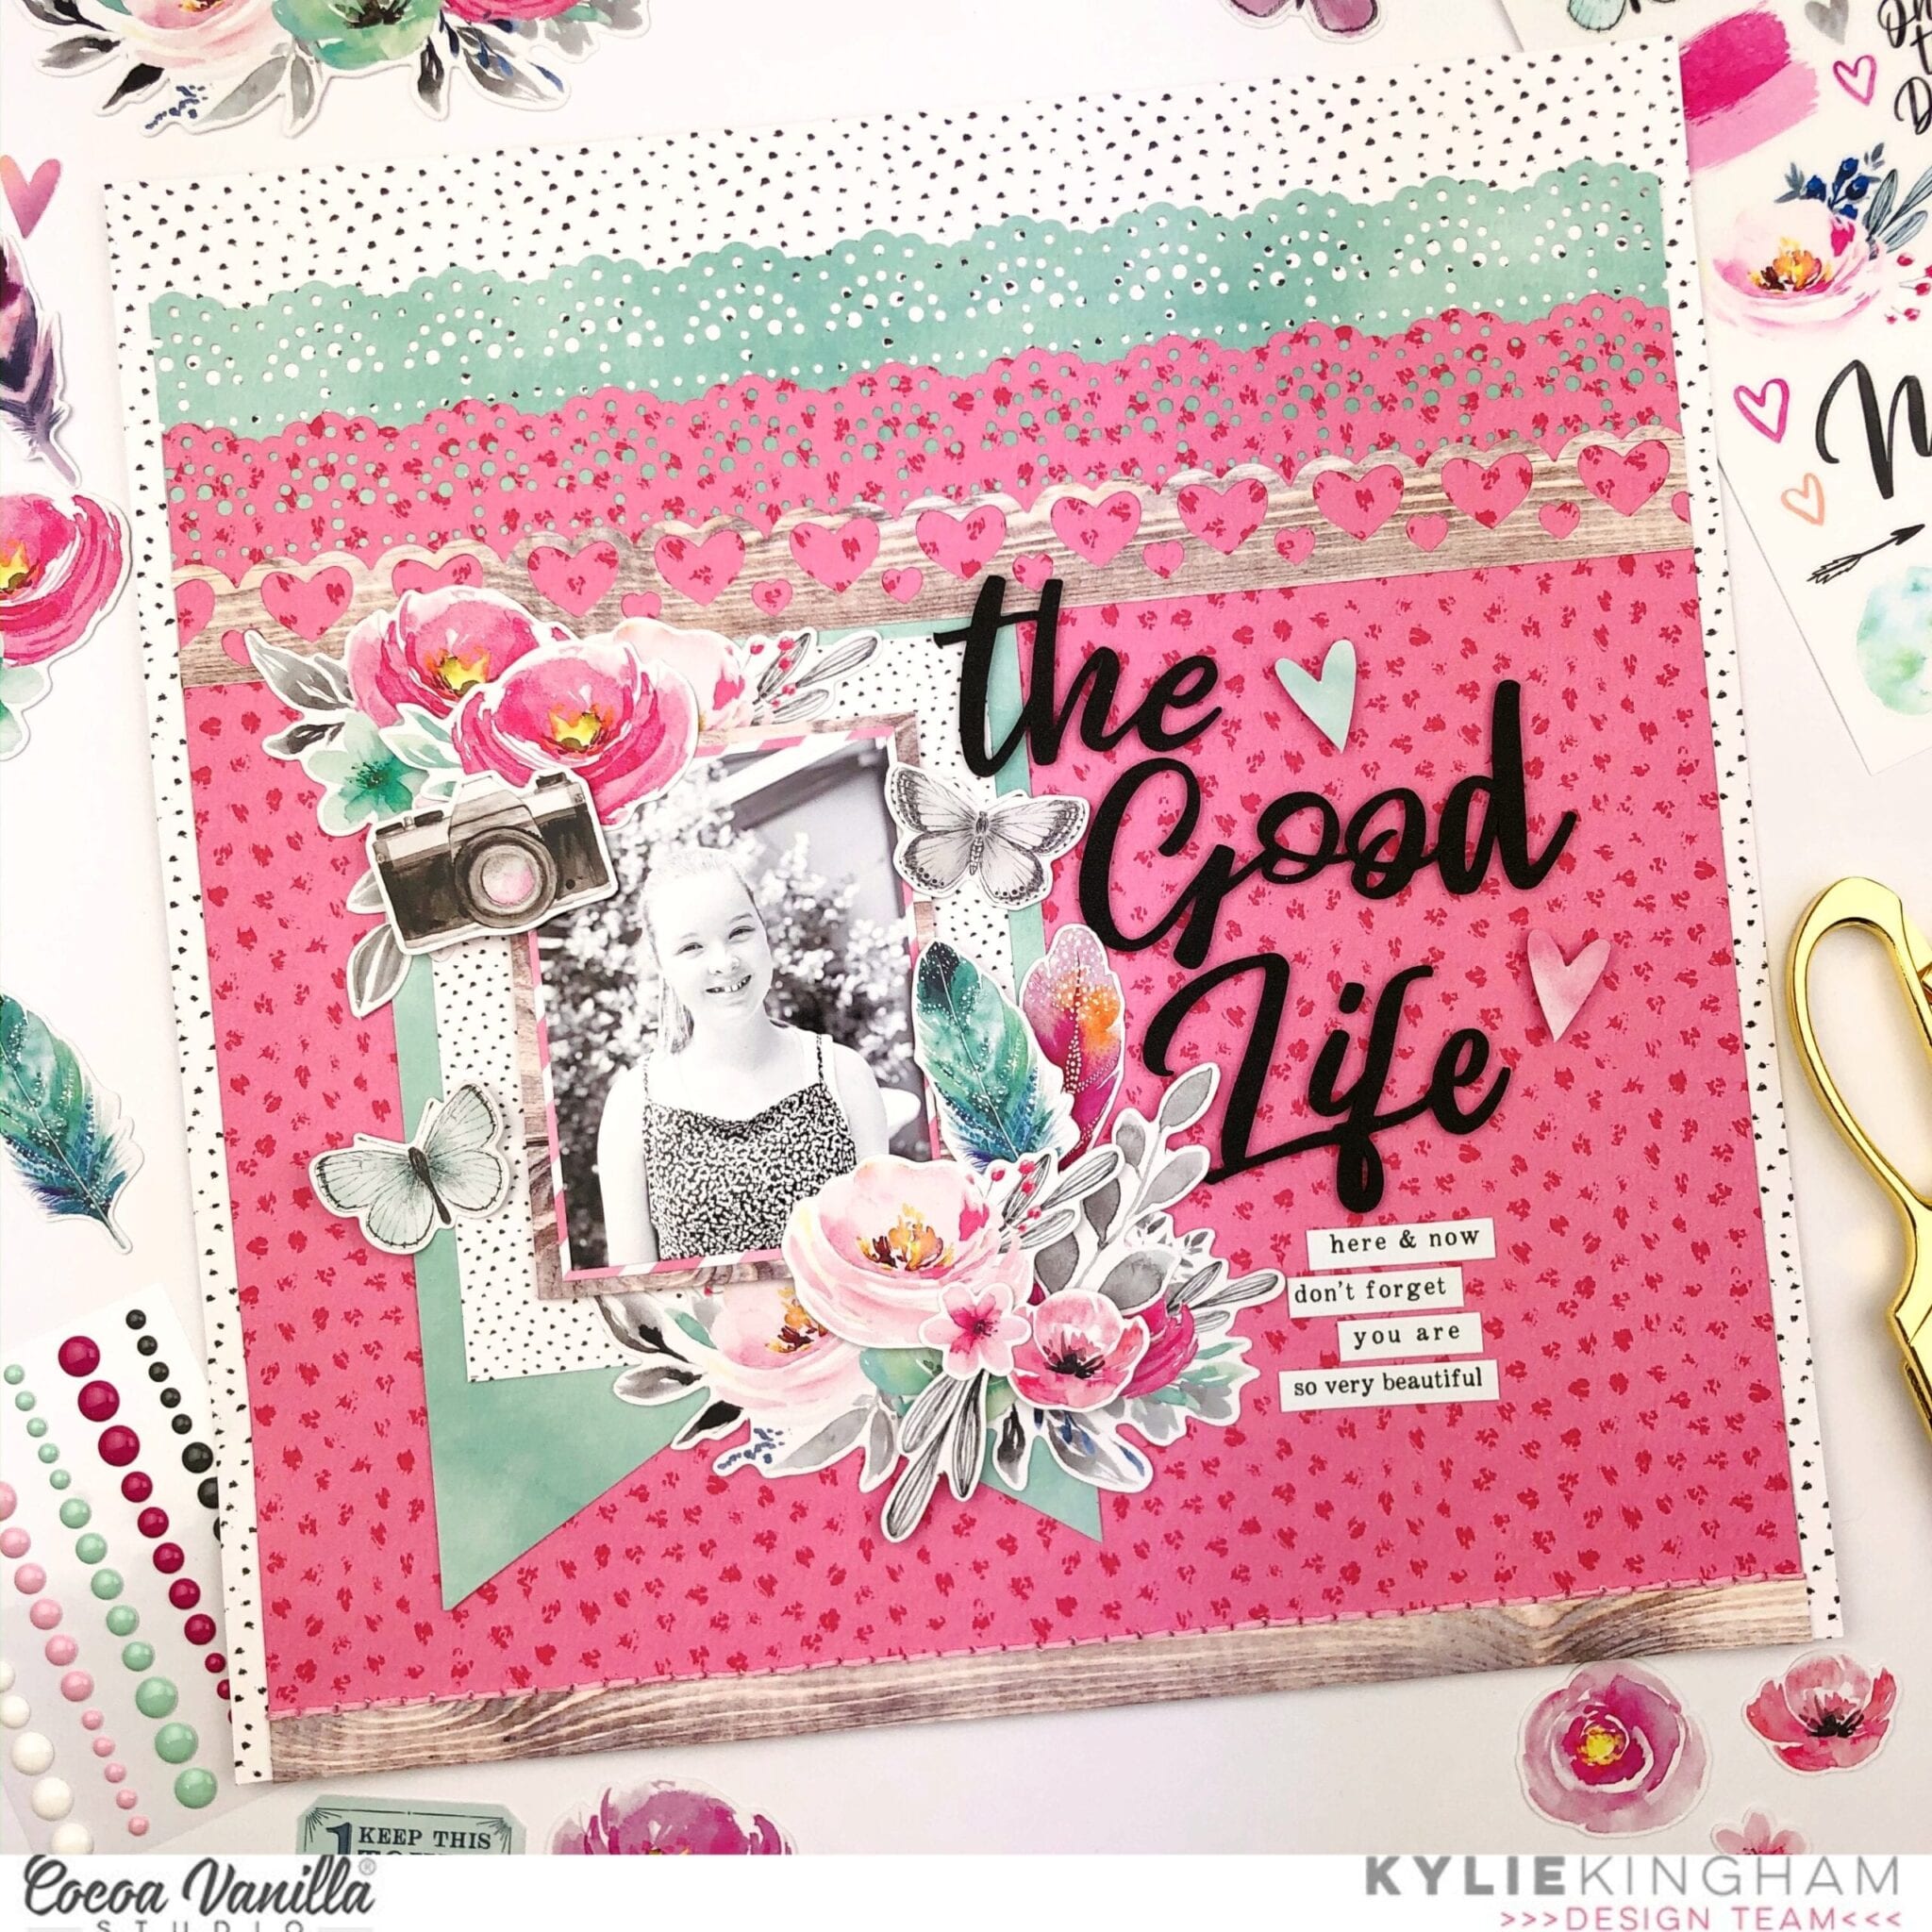
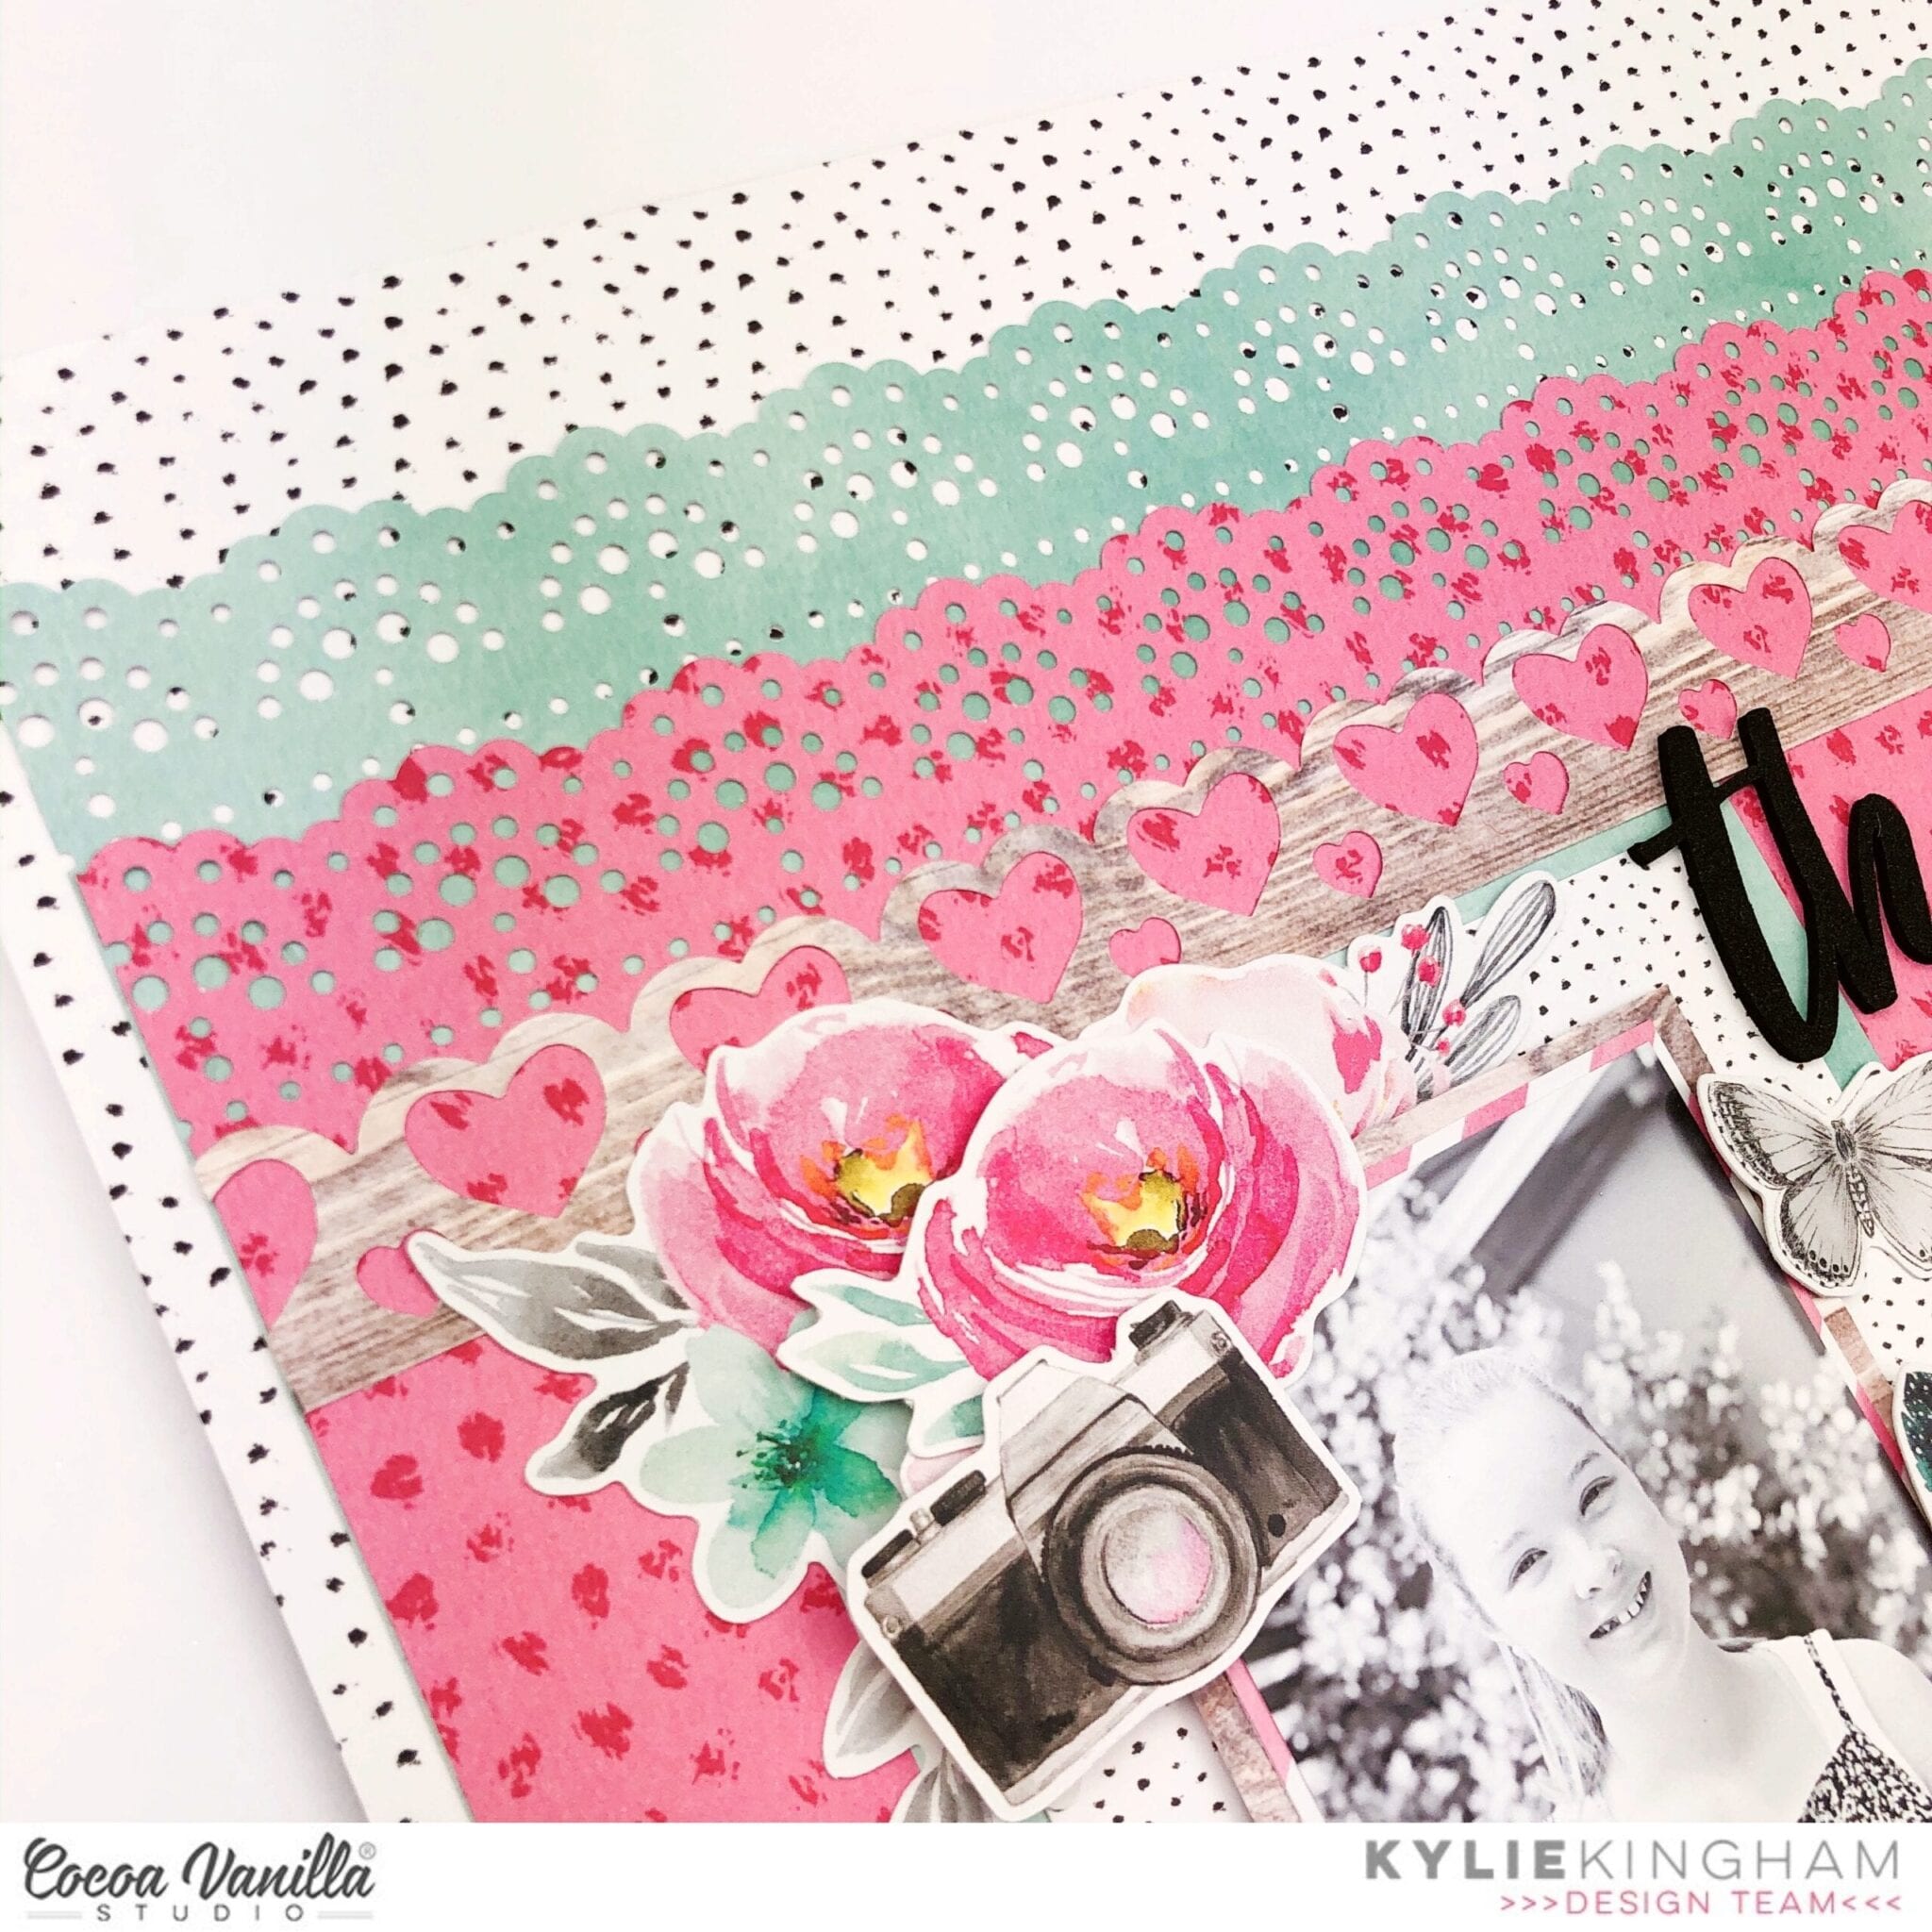
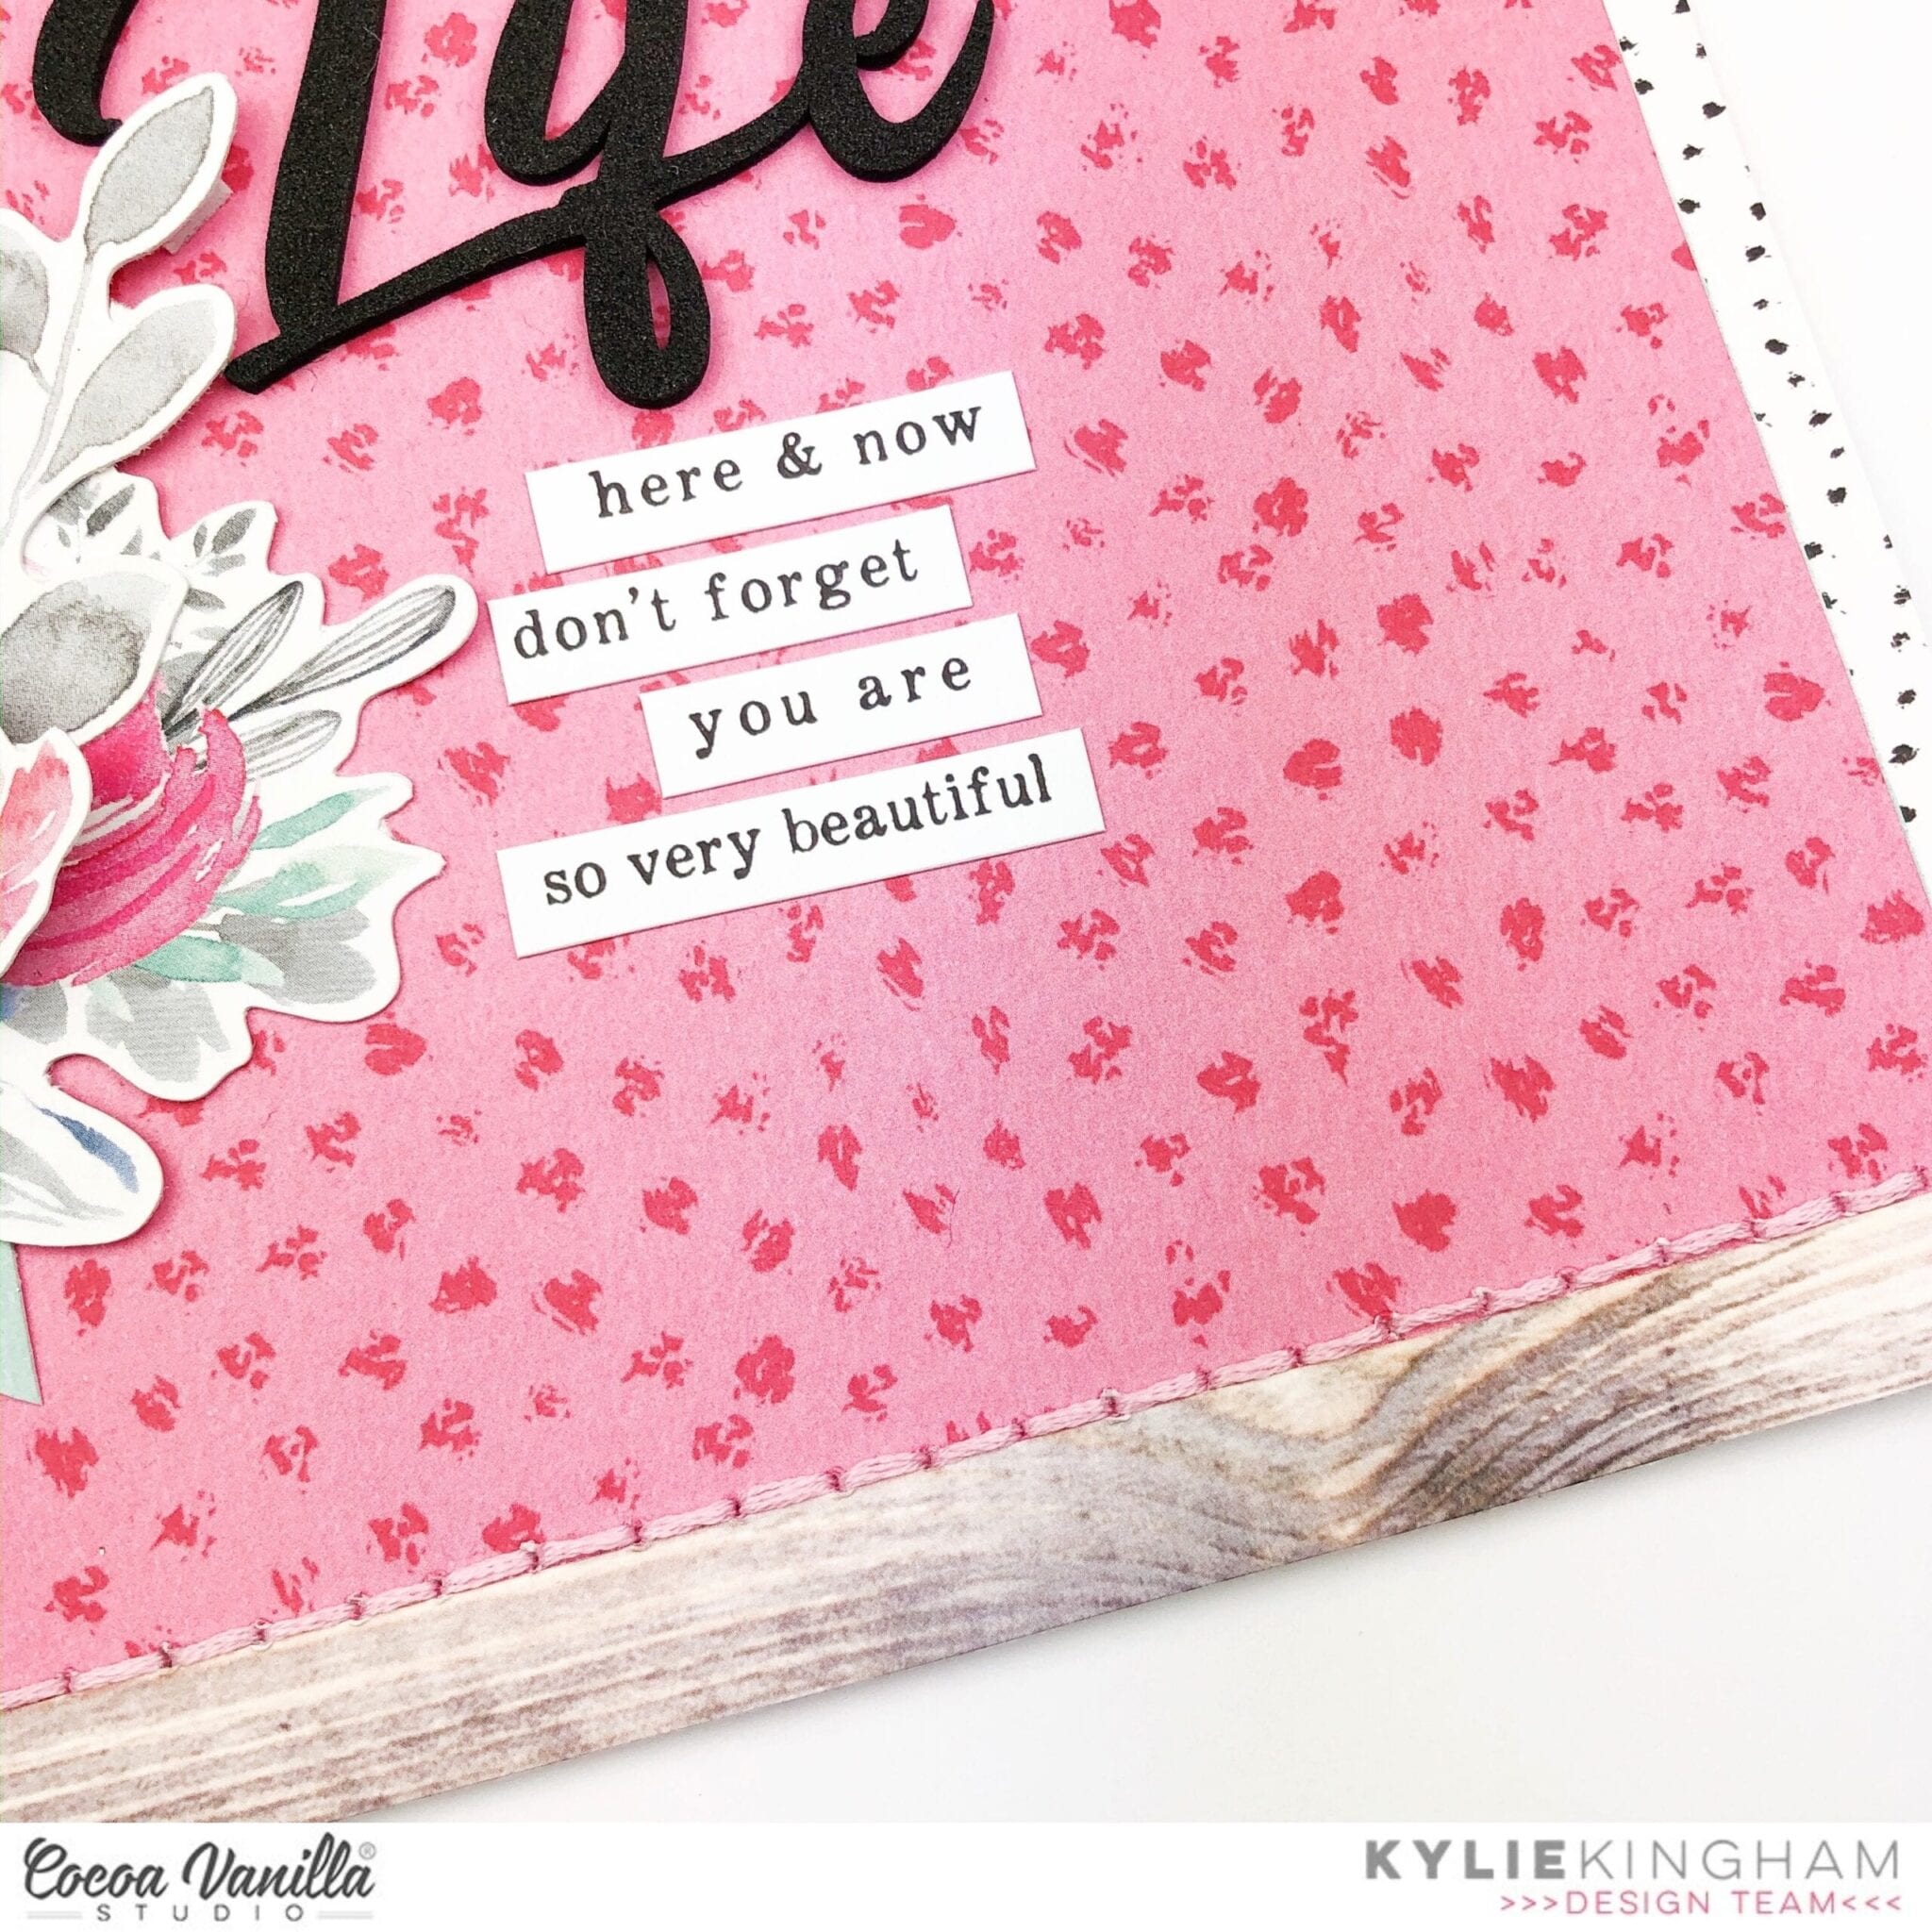
And for my last layout, I’m sharing one that I created using the most recent Cocoa Vanilla collection, Unforgettable. One thing I love about this collection is that there are lots of different colour combinations, and for this layout I decided to focus on the peach and mint colours, along with that beautiful woodgrain patterned paper. I documented a photo of my youngest daughter and I, taken on one of our ‘Mummy and Ella’ days, and again I couldn’t resist fussy cutting some gorgeous florals to embellish my layout. You can check out the full blog post here.
I’d like to take this opportunity to wish you and your families a very happy Christmas and New Year! And I’d also like to say a very big thank you for all of your encouragement and support that you’ve shown me over the year in the way of comments and likes on my projects. I’ll be back here in January to share some more inspiration with you. Until then, take care.
Mandy x


 Santa is quite big so there was no much room left for embellishing. I created my title using ephemera leftover – word “christmas”. I added word “merry” using
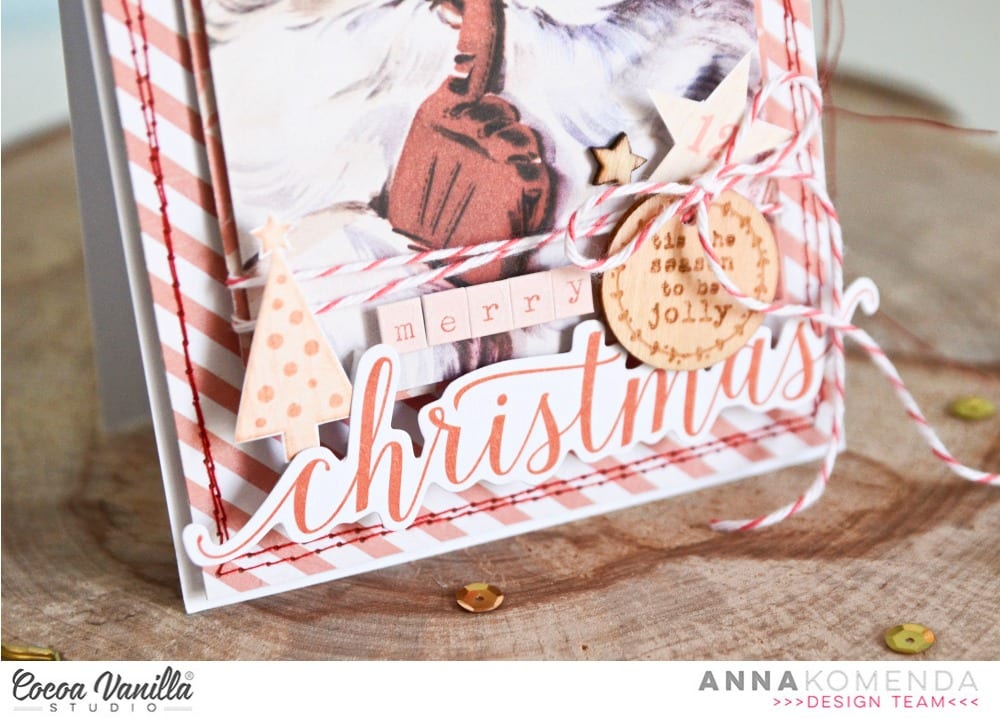


 I don’t have much of the traditional collection left now but I am so happy to be able to get everything I need in digital form! I will never run out again! If your stash is getting low of
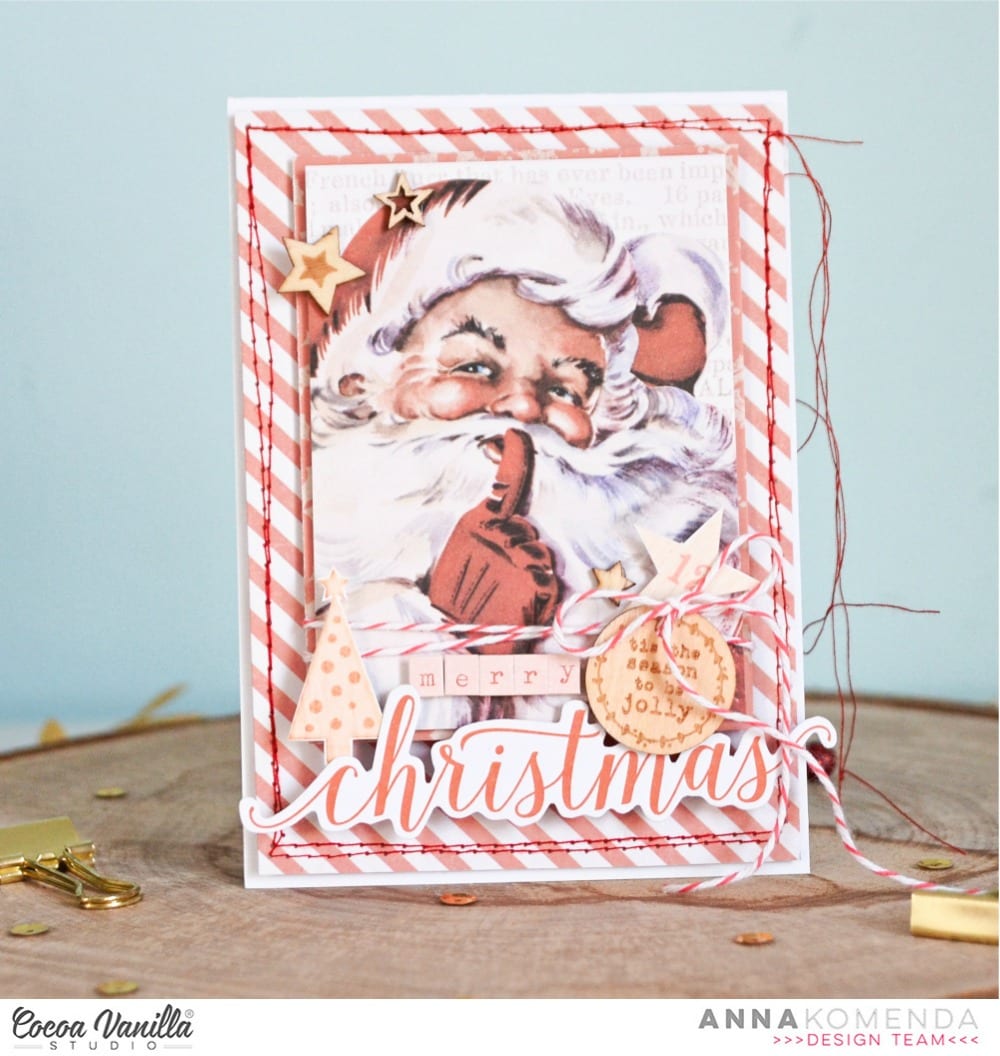
  I chose a photo of my youngest taken on Christmas Day when he was about 3 weeks old, he just turned 9 yesterday so the photo is quite old but its one of my favourites! I changed the colour of the photo to a soft black and white as the colours in the photo would have clashed with the soft colours in the collection. Underneath the photo I layered a small paper doily and a smaller piece of the red and white stripe paper to the right of the photo. I also layered a wood veneer frame on top of the photo, I like how this draws your eye to the photo. I popped up the photo using craft foam and then placed embellishments around the photo. The ticket that says ‘Child’ die-cut definitely had to be added, it was perfect tucked at the bottom of my photo.
 I used accessory stickers, enamel dots, die-cuts, wood veneer, sequins and a bitty bow to embellish. I have tons of the sequins left, I love the gold stars so I scattered a few of those around to add some sparkle. I placed the white bitty bow at the base of the tree to separate the tree from the pot. To finish the page, I added the date stamp of when the photo was taken. I love how my page turned out even with only minimal pieces from the


 I started my page by taking a sheet of white cardstock and adding a piece of vellum over the top to mute the white a little bit, as I had lots of the sequins left from the
  I took two of the 12 x 12 papers and cut some vertical strips from them and placed them down each side of the layout. then chose a gorgeous cut file title design by Cut To You and added some of the patterned papers behind each of the words. I added craft foam to the underneath and placed it in the centre of my page. I also popped up the photo of my sons on Christmas Day with craft foam so that it was at the same level as the title on my page. I love the shadows and dimension this creates on my page.
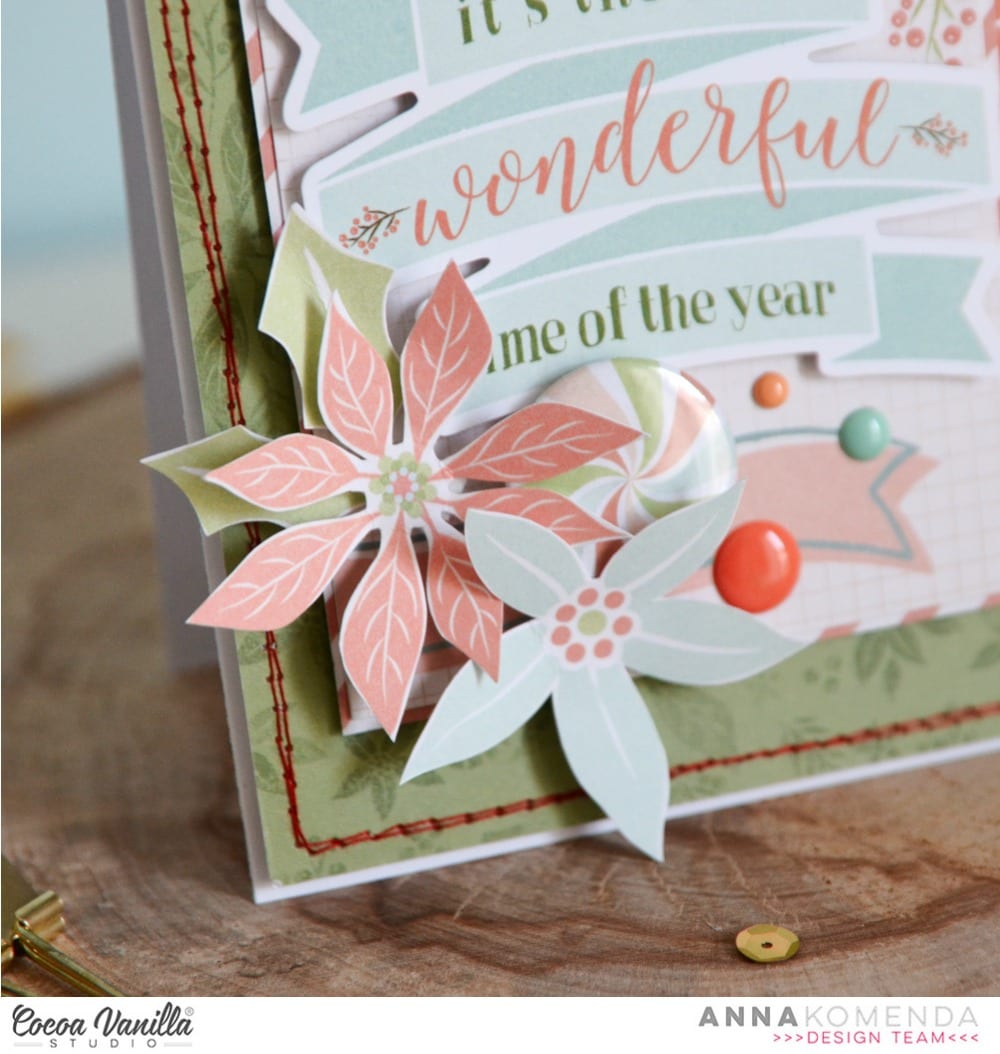
 I then began to embellish my page using some of the accessory stickers (that are still available in the store) some of the die-cuts, wood veneers and of course a bitty bow and the tiny metal key! I only had 1 of the poinsettia flowers in the die-cut pack left so I added just the one to the very bottom of the title and layered the bow over the top. Lastly I added some of the enamel dots from the Tis The Season collection.
  Have you got any of the


 Once the heart design was backed, I added craft foam underneath and adhered it to the black and white spot paper also from the Unforgettable collection. I decided to trim down the black and white spot paper so that I could add the grey chevron paper is a border right around the page. I trimmed this paper down slightly also so that I could add a black cardstock border also.
 I added my photo of my 2 beautiful nieces slightly to the right of the heart and added a couple pf layers underneath including a paper doily and some more of the 6′ x 8′ papers from the paper pad. I also added one of the tags from the die-cut pack to the left of the photo and I popped up the photo and paper layers to give even more dimension. I pulled out the ‘Hello’ foam title and added it to the bottom of my photo and added a flair button and a phrase die-cut on the left of the photo.
 The butterflies in this collection are beautiful, quite a few of those made it onto my page also. To further embellish, I added 2 of the black foam hearts, some die-cut hearts and florals, some enamel dots and some of the stickers from the accessory sheet.