So Happy | Storyteller Collection | Kylie Kingham.
Hello everyone, it’s Kylie back with you all! Over the past few weeks on the blog the design team has been creating layouts following a sketch. A scrapbooking sketch provides a guide for the placement of photos, a title, journaling and embellishments for your layout. But it doesn’t mean that it’s set in stone. Based on your photos and scrapbook supplies, you may alter the sketch to fit your needs. There are lots of websites that can provide some wonderful sketches, however for my layout today I have created my own sketch for you. Whenever I find a sketch I want to create from, I usually like to print it out and place in a binder folder. That way I can create and recreate using the same sketch as many times as I like.
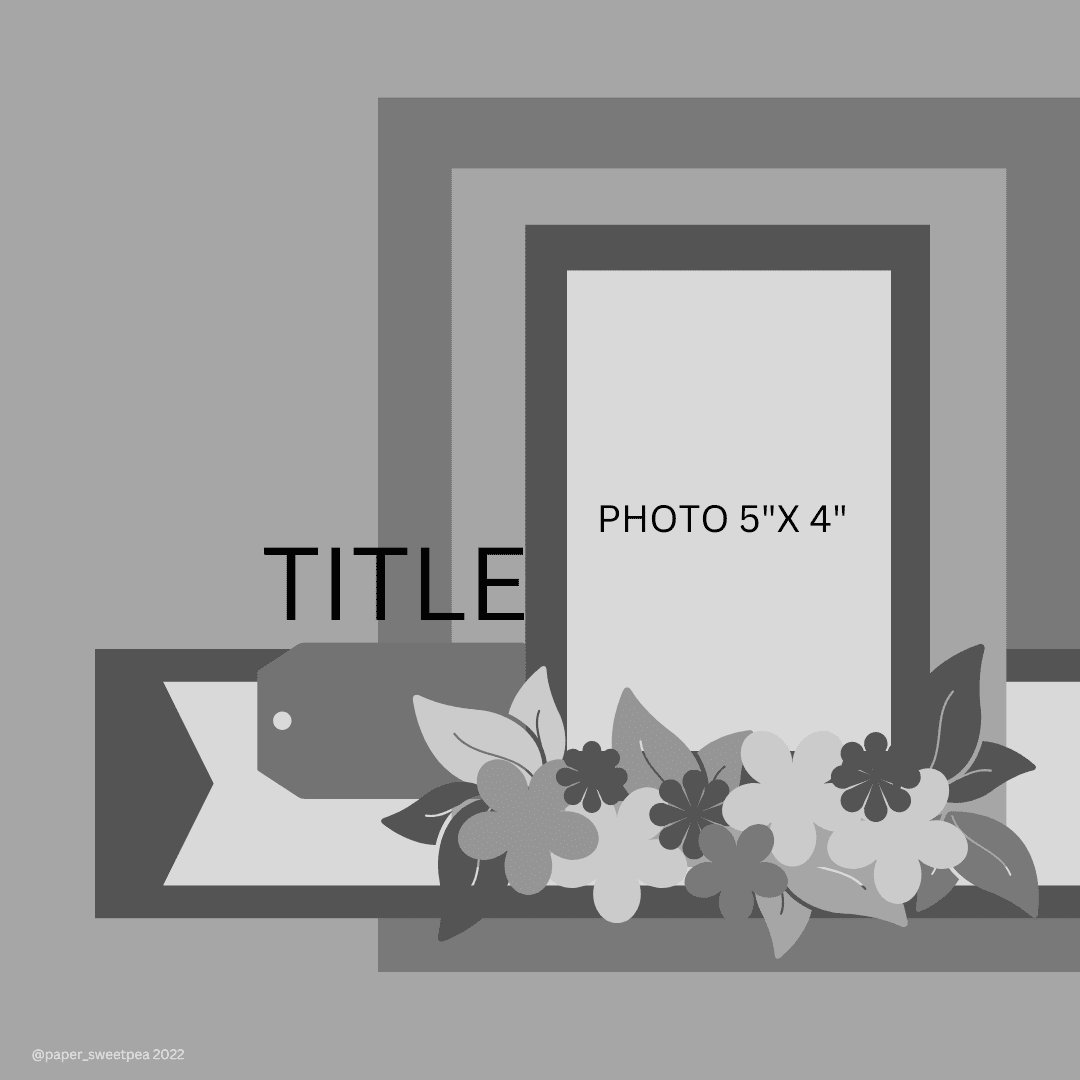

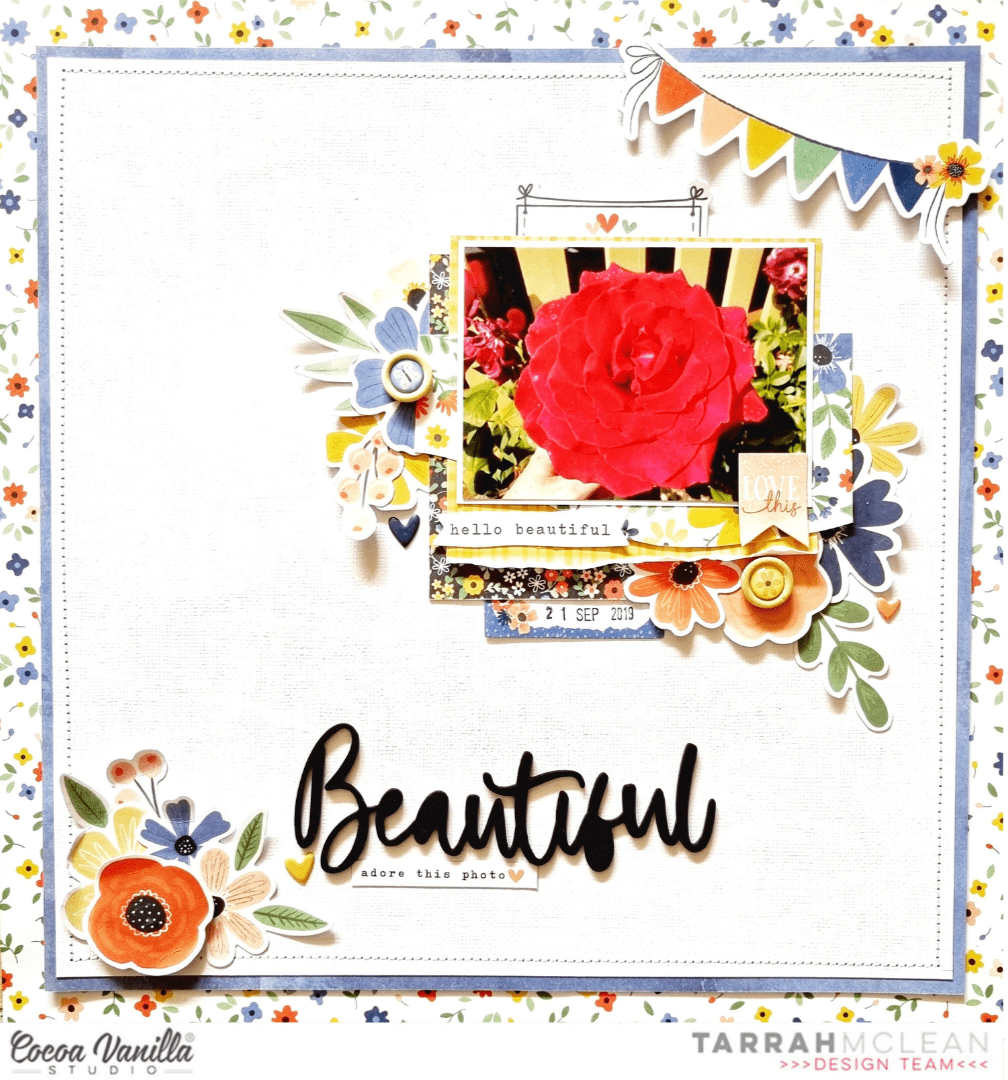
Sketches don’t necessarily provide measurements, however for my design I did provide the size I trimmed my photo. Sometimes that’s all you need to be able to bring all the other elements together into place. As I mentioned previously creating with a sketch plan doesn’t have to be followed ‘exactly’ – but in this case I did with my own layout. I thought the new ‘Storyteller’ collection would be perfect since I have a strong feature on blooms!

When scrapbooking, I like to co-ordinate the colours in my photo memories with the papers etc that I use. In this case I knew I wanted to include some lovely blue and yellow tones. I chose the reverse side of the SPRING FLING paper. It has a lovely watercolour effect to it in the most perfect shade of blue. From there I followed my sketch and layered several contrasting papers to include the fun LITTLE LOVE paper. For once I did not adhere any of the papers or my photo with foam squares. I kept everything flush except for the floral die cuts. These were layered with foam adhesive squares to really ‘pop’ and stand out from the page.For texture and pure cuteness I also added some of the wooden flairs.

What would a layout be without a big title?? This was secured snuggly next to my photo using the foam title stickers. My photo was trimmed down to a 5″ x 4″ size- mostly because I had a lot of open negative spacing I felt I could trim away. Once completed I also think this sketch would allow journal space too if you like.


I hope you will have some fun too creating with my sketch!
Kylie.


 I began with a white piece of cardstock; I use a 120 lbs cardstock but you can use whatever you have on hand. I used a Distress Ink in yellow and a blending tool to add some colour to the top right hand corner and then a larger patch on the bottom left since that’s where my photo is going and I wanted to be able to still see yellow ink peaking through. I then matted the white cardstock onto the lovely background paper you see with all the hearts entitled, “Oh my Heart”.
 Next, I matted my photo with pieces of card from the A5 Paper Stack with some papers that matched nicely. I popped my photo up with some dimensional foam for height. Following that, I added pieces from both the Die Cut Ephemera and the Floral Ephemera packets. I created a larger cluster of beautiful florals on the right side of my photo and created a nesting spot for my title.


