Living the Dream | Throwback Thursday | Rachel Lowe
Hello crafty friends, today is throwback Thursday! I knew I wanted to use this gorgeous paint brush cut file from Confessions of a Paper Addict and my layout flowed from there. I dug deep into my CVS stash and realised that although I do not have much of collections left I had enough using a large cut file.

I used a wood grain paper to cut the handles of the brushes and to add visual interest I used a rose gold glitter paper which contrasted wonderfully against the black. Instead of using the cut file paint brush strokes I used the clear stickers paint strokes from various older collections. I love how they turned out!

I then embellished each paint brush by adding floral clusters tucked behind the wood part of the paint brush. I added butterfly flairs, and clear stickers in a way they look like they are flying into and away on my page.

I next added my photo with foam tape which is a 3.5 x 3.5 inches.I added it off centre to the middle paintbrush. To frame may photo I found two large die cut butterflies at tucked under my photo each side. I found some black phrase sentiments and chose a relevant one to my theme and added directly under my photo.

I found a die cut title and added with foam tape, just above it a added another phrase die cut as my sub title and to finish off I added a clear sticker camera.

Since I had every clear sticker sheet out that I owned I went back and added some more clear stickers, the mixed media strokes. I found another flair with Life is Good which was in a orange tone so blended perfectly with the colours of my layout.

I do love how this turned out and enjoyed the challenge of using my stash and older CVS collections/embellishments. Clear stickers have always been a favourite embellishment for me and they really added beautiful colour and texture to my layout.
Thank you for stopping by today and have a wonderful week!
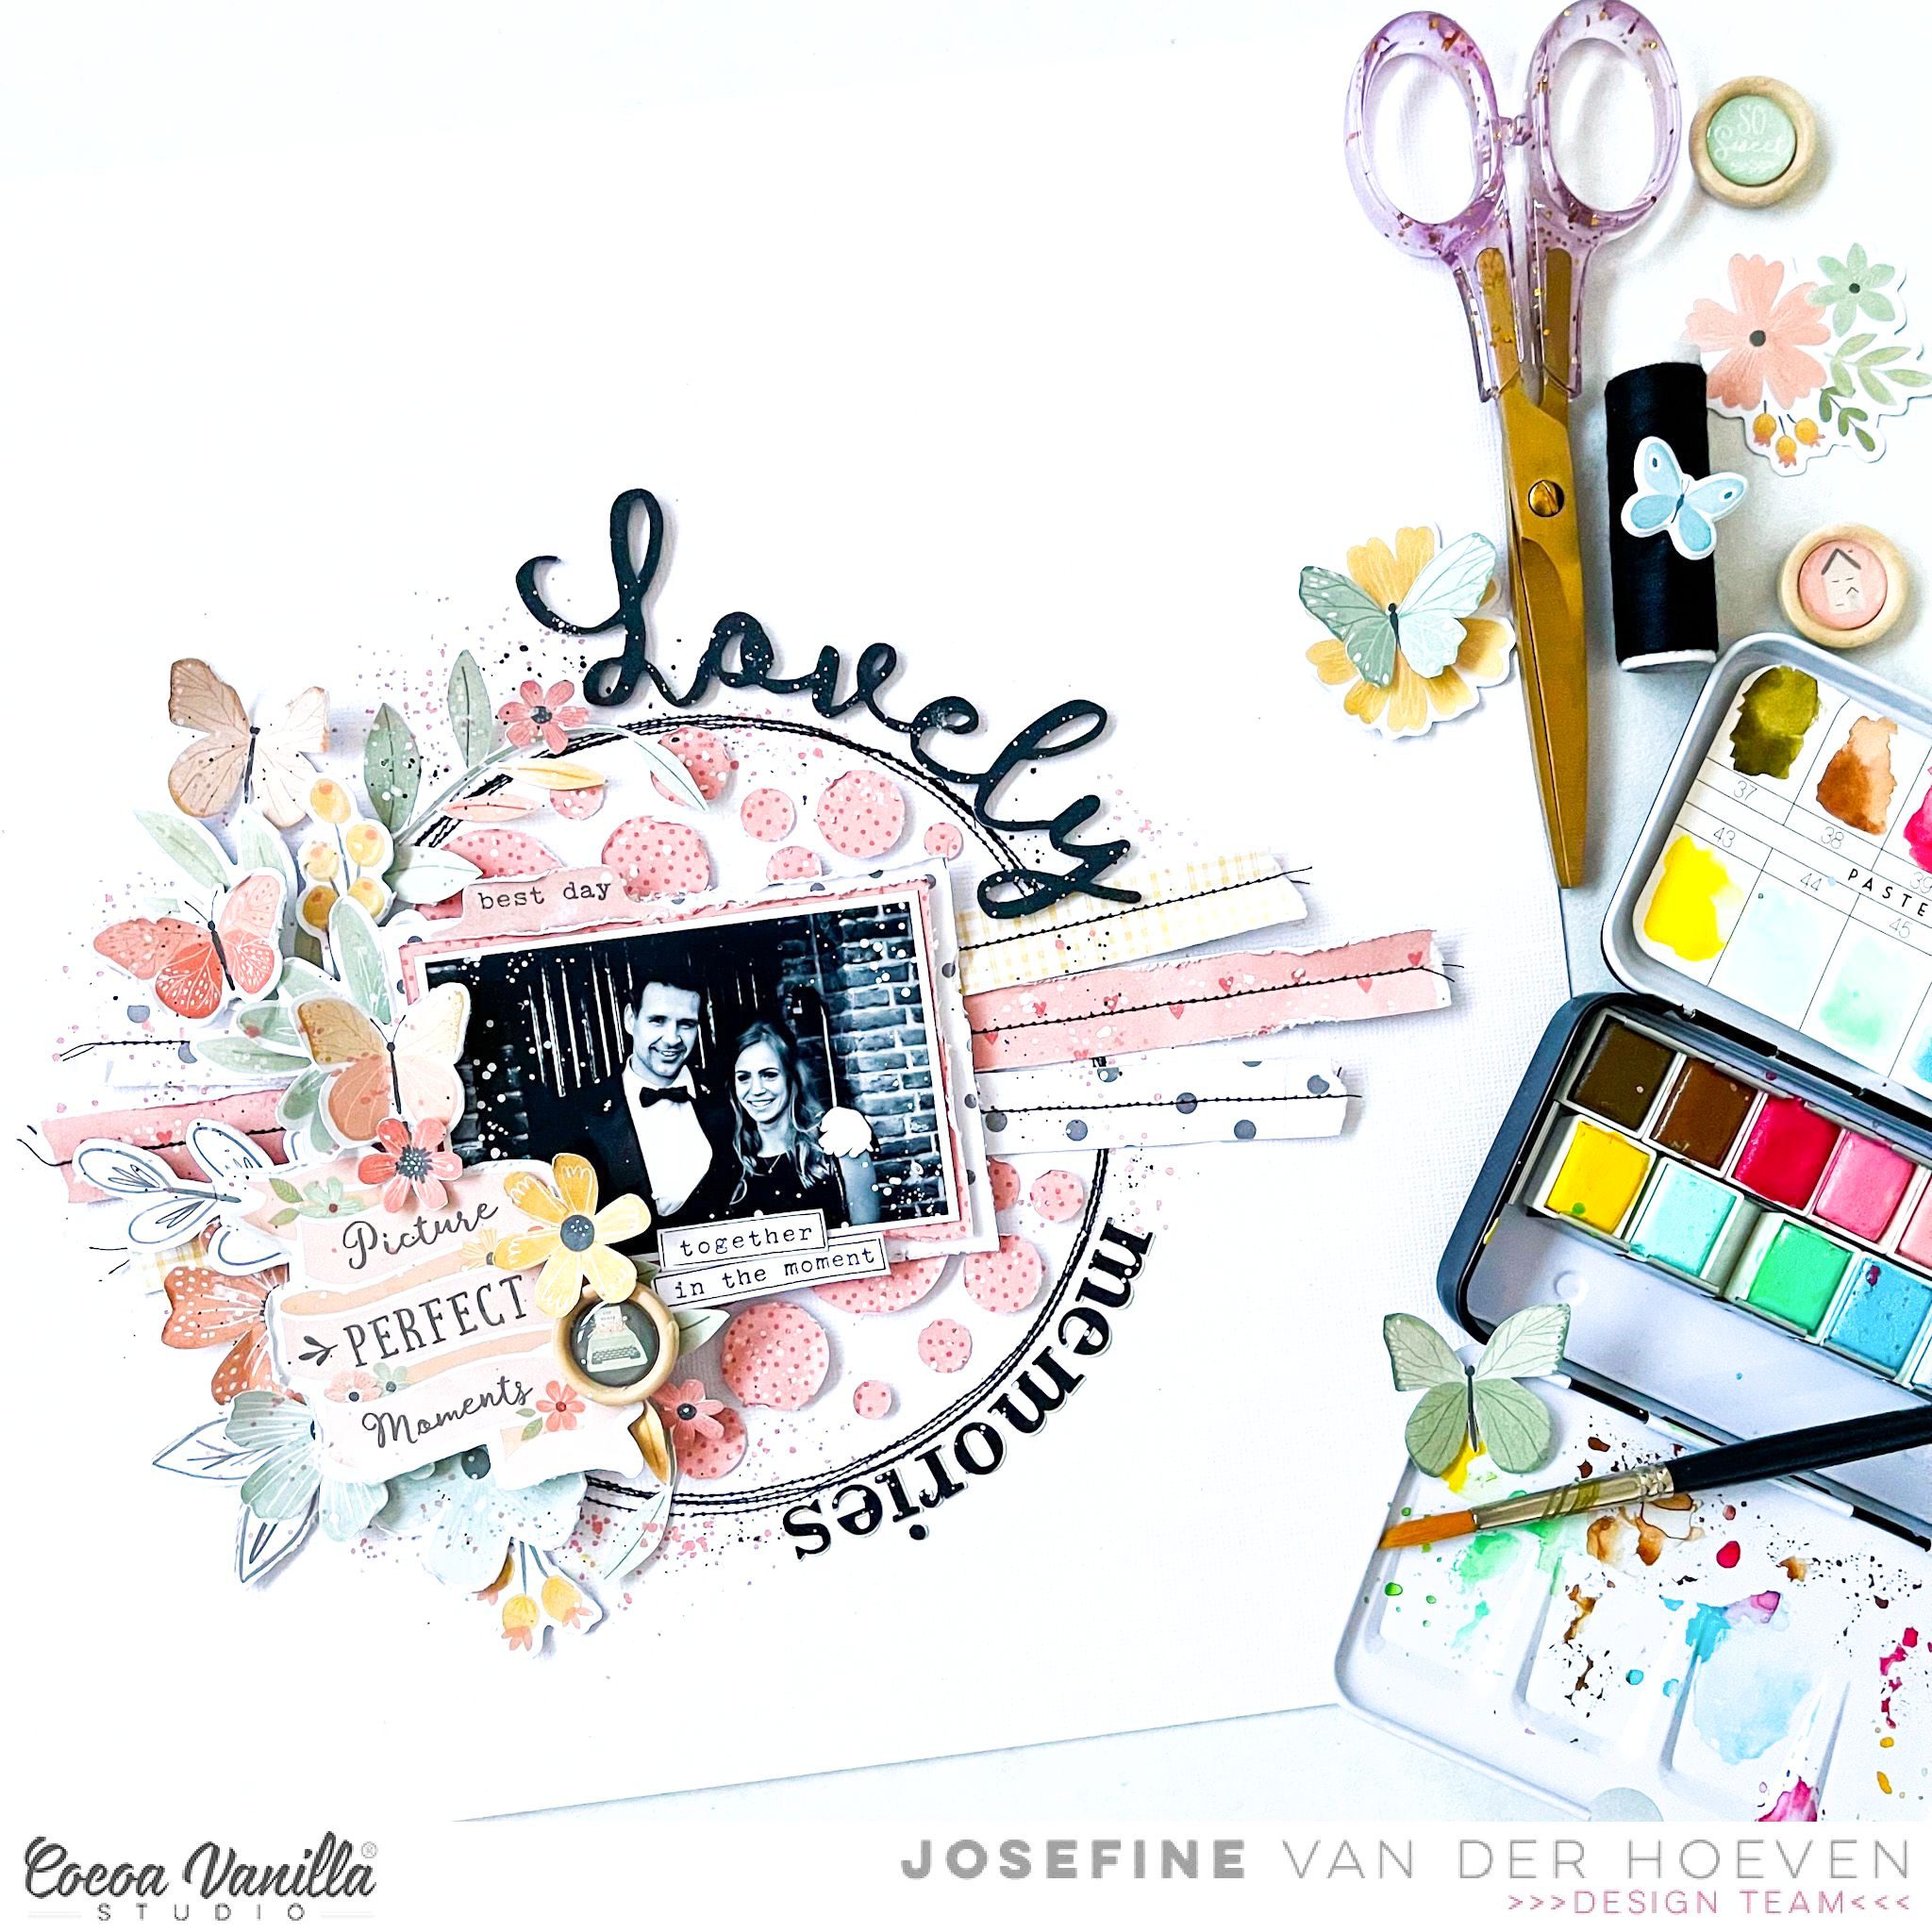
 For this layout, I wanted to capture a photo of me and my husband. We were invited to the king’s ball. The beautiful collection ” These Days” fits perfectly with the beautiful romantic pastel shades. First, I used black thread to sew a circle on the white cardstock background.Then I used a circle confetti punch from “EK Success” to punch out several circles from the pretty pink dots design paper and taped them into the circle. I used 3d tape for this.
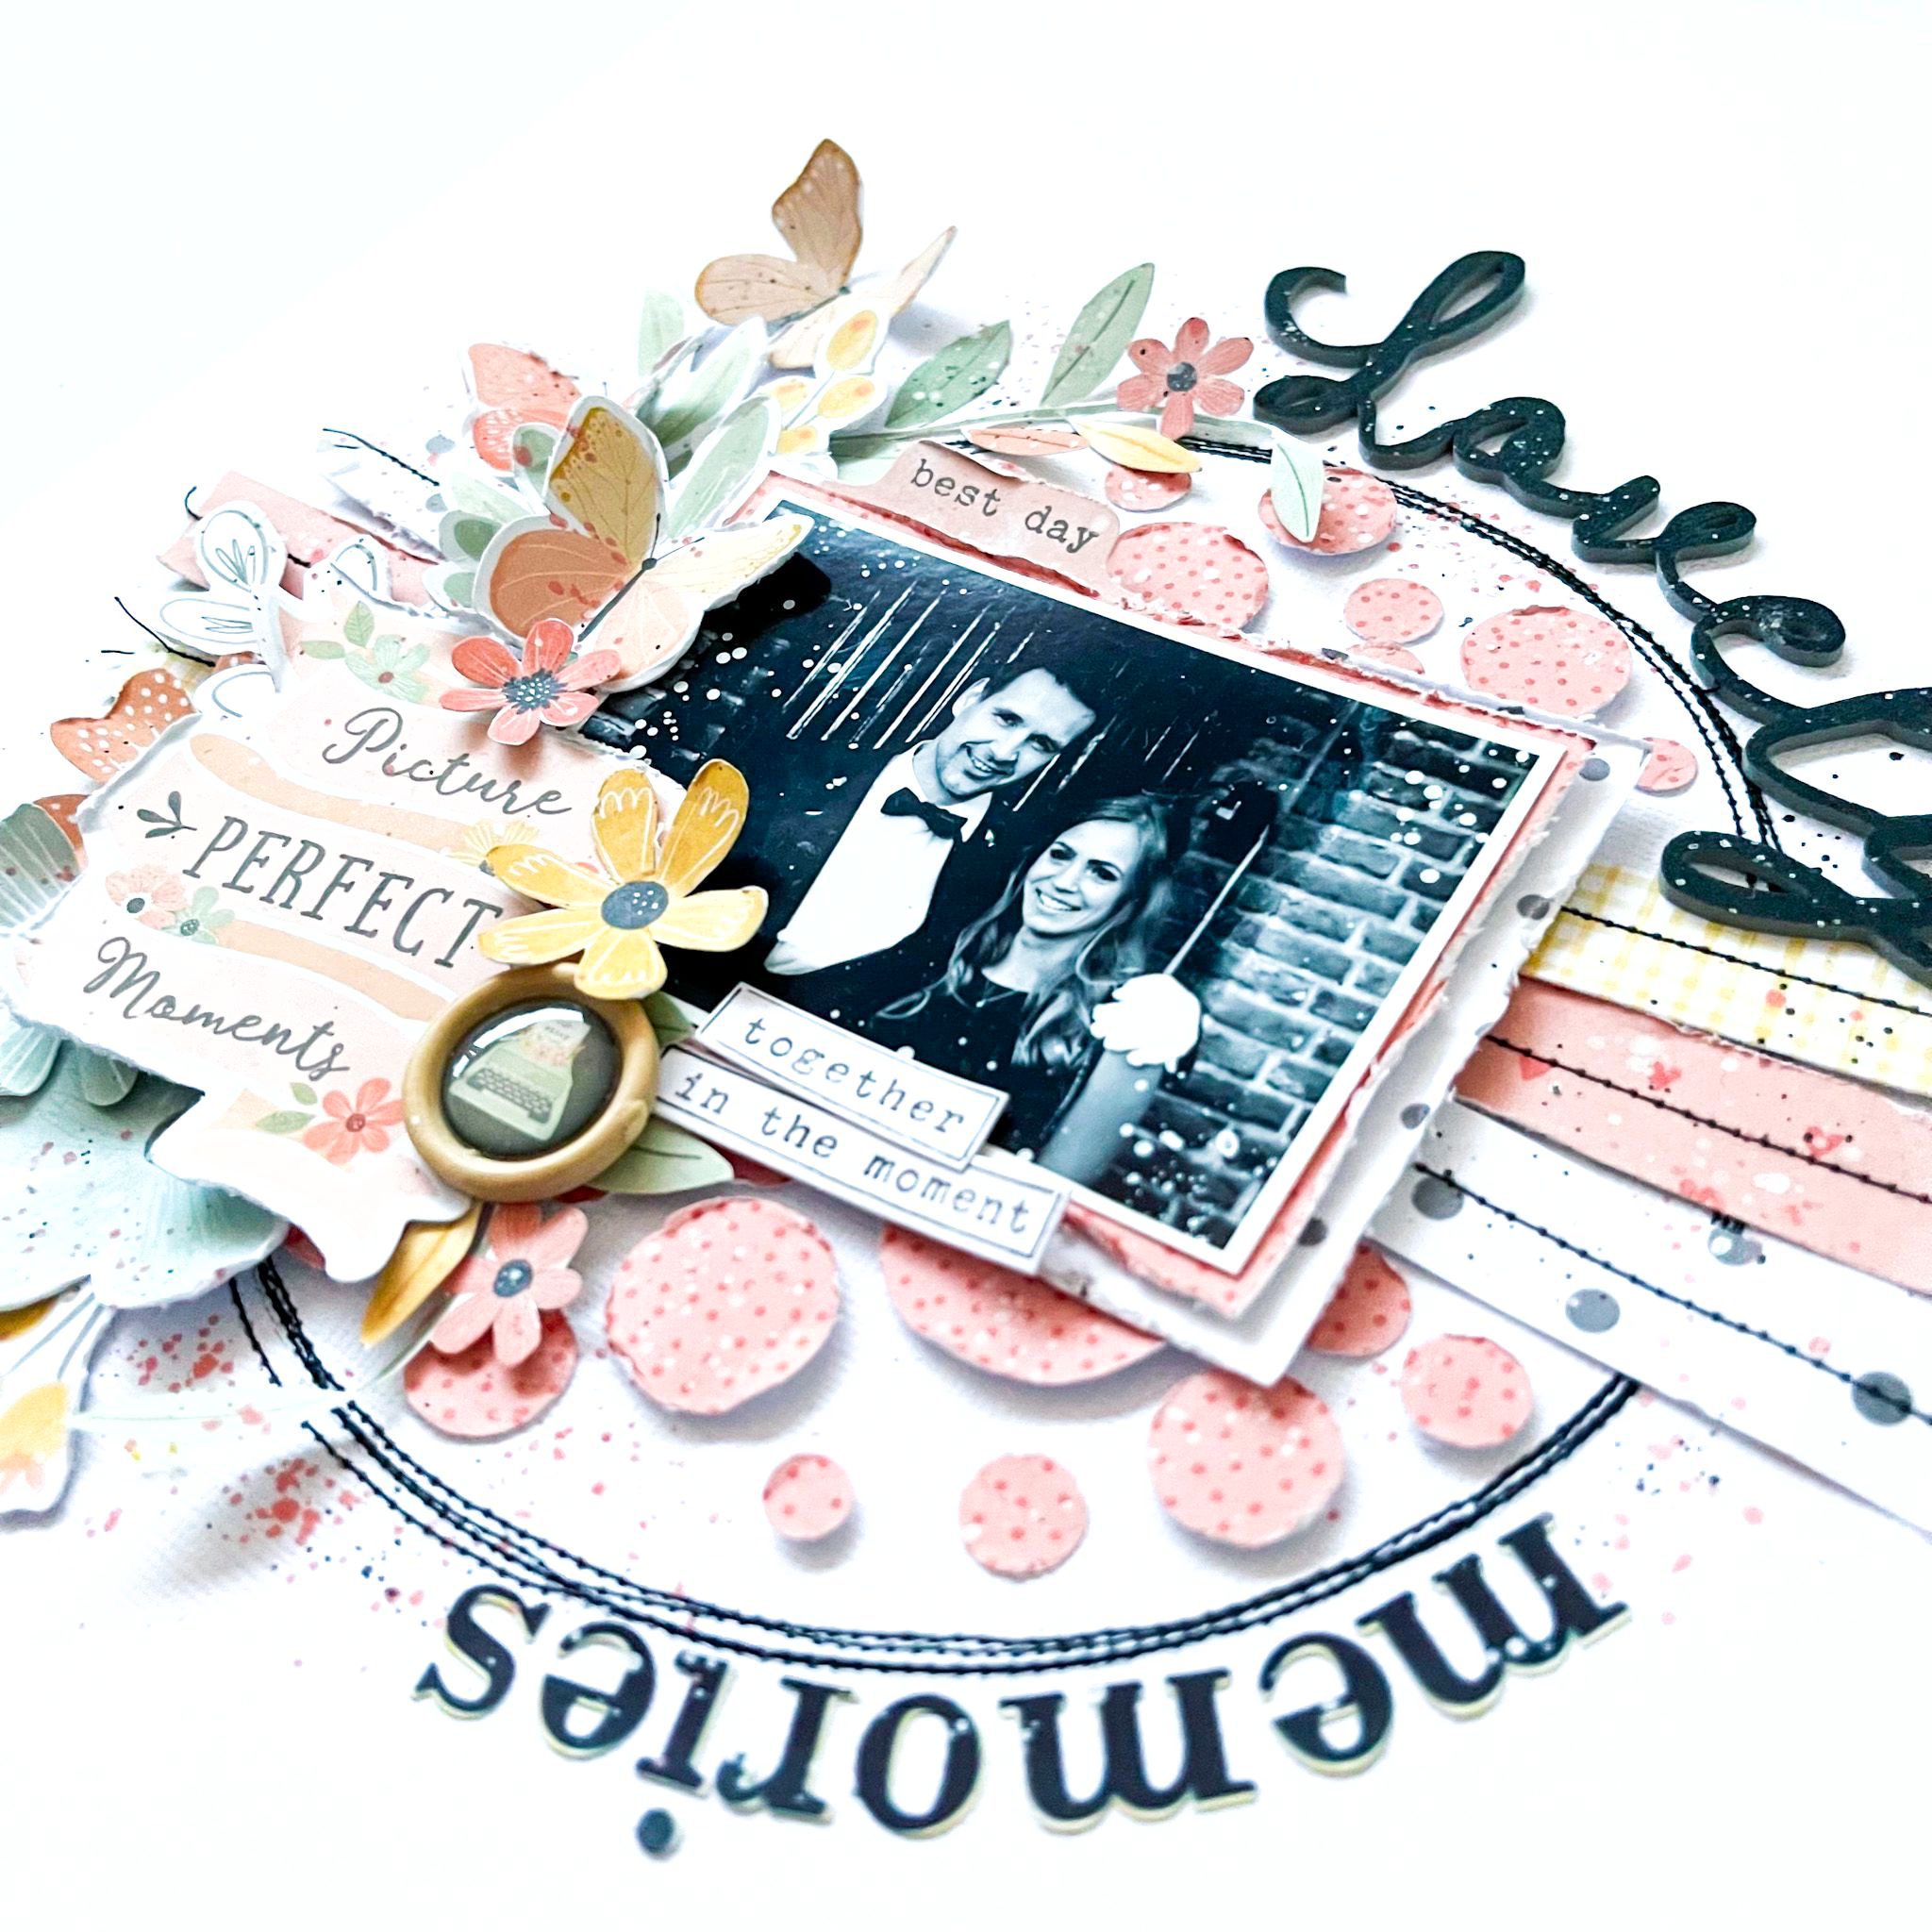
 I used 3d tape to create more dimension in my clusters.I really like the different layers. For the title I used the elegant word ” Lovely” and for the word “memories” I used an alpha set from my own stash.When I’m done decorating I make watercolor splashes on my layout for just a little extra color. The pastel colors of Prima marketing match perfectly with the beautiful collection ” These Days”.
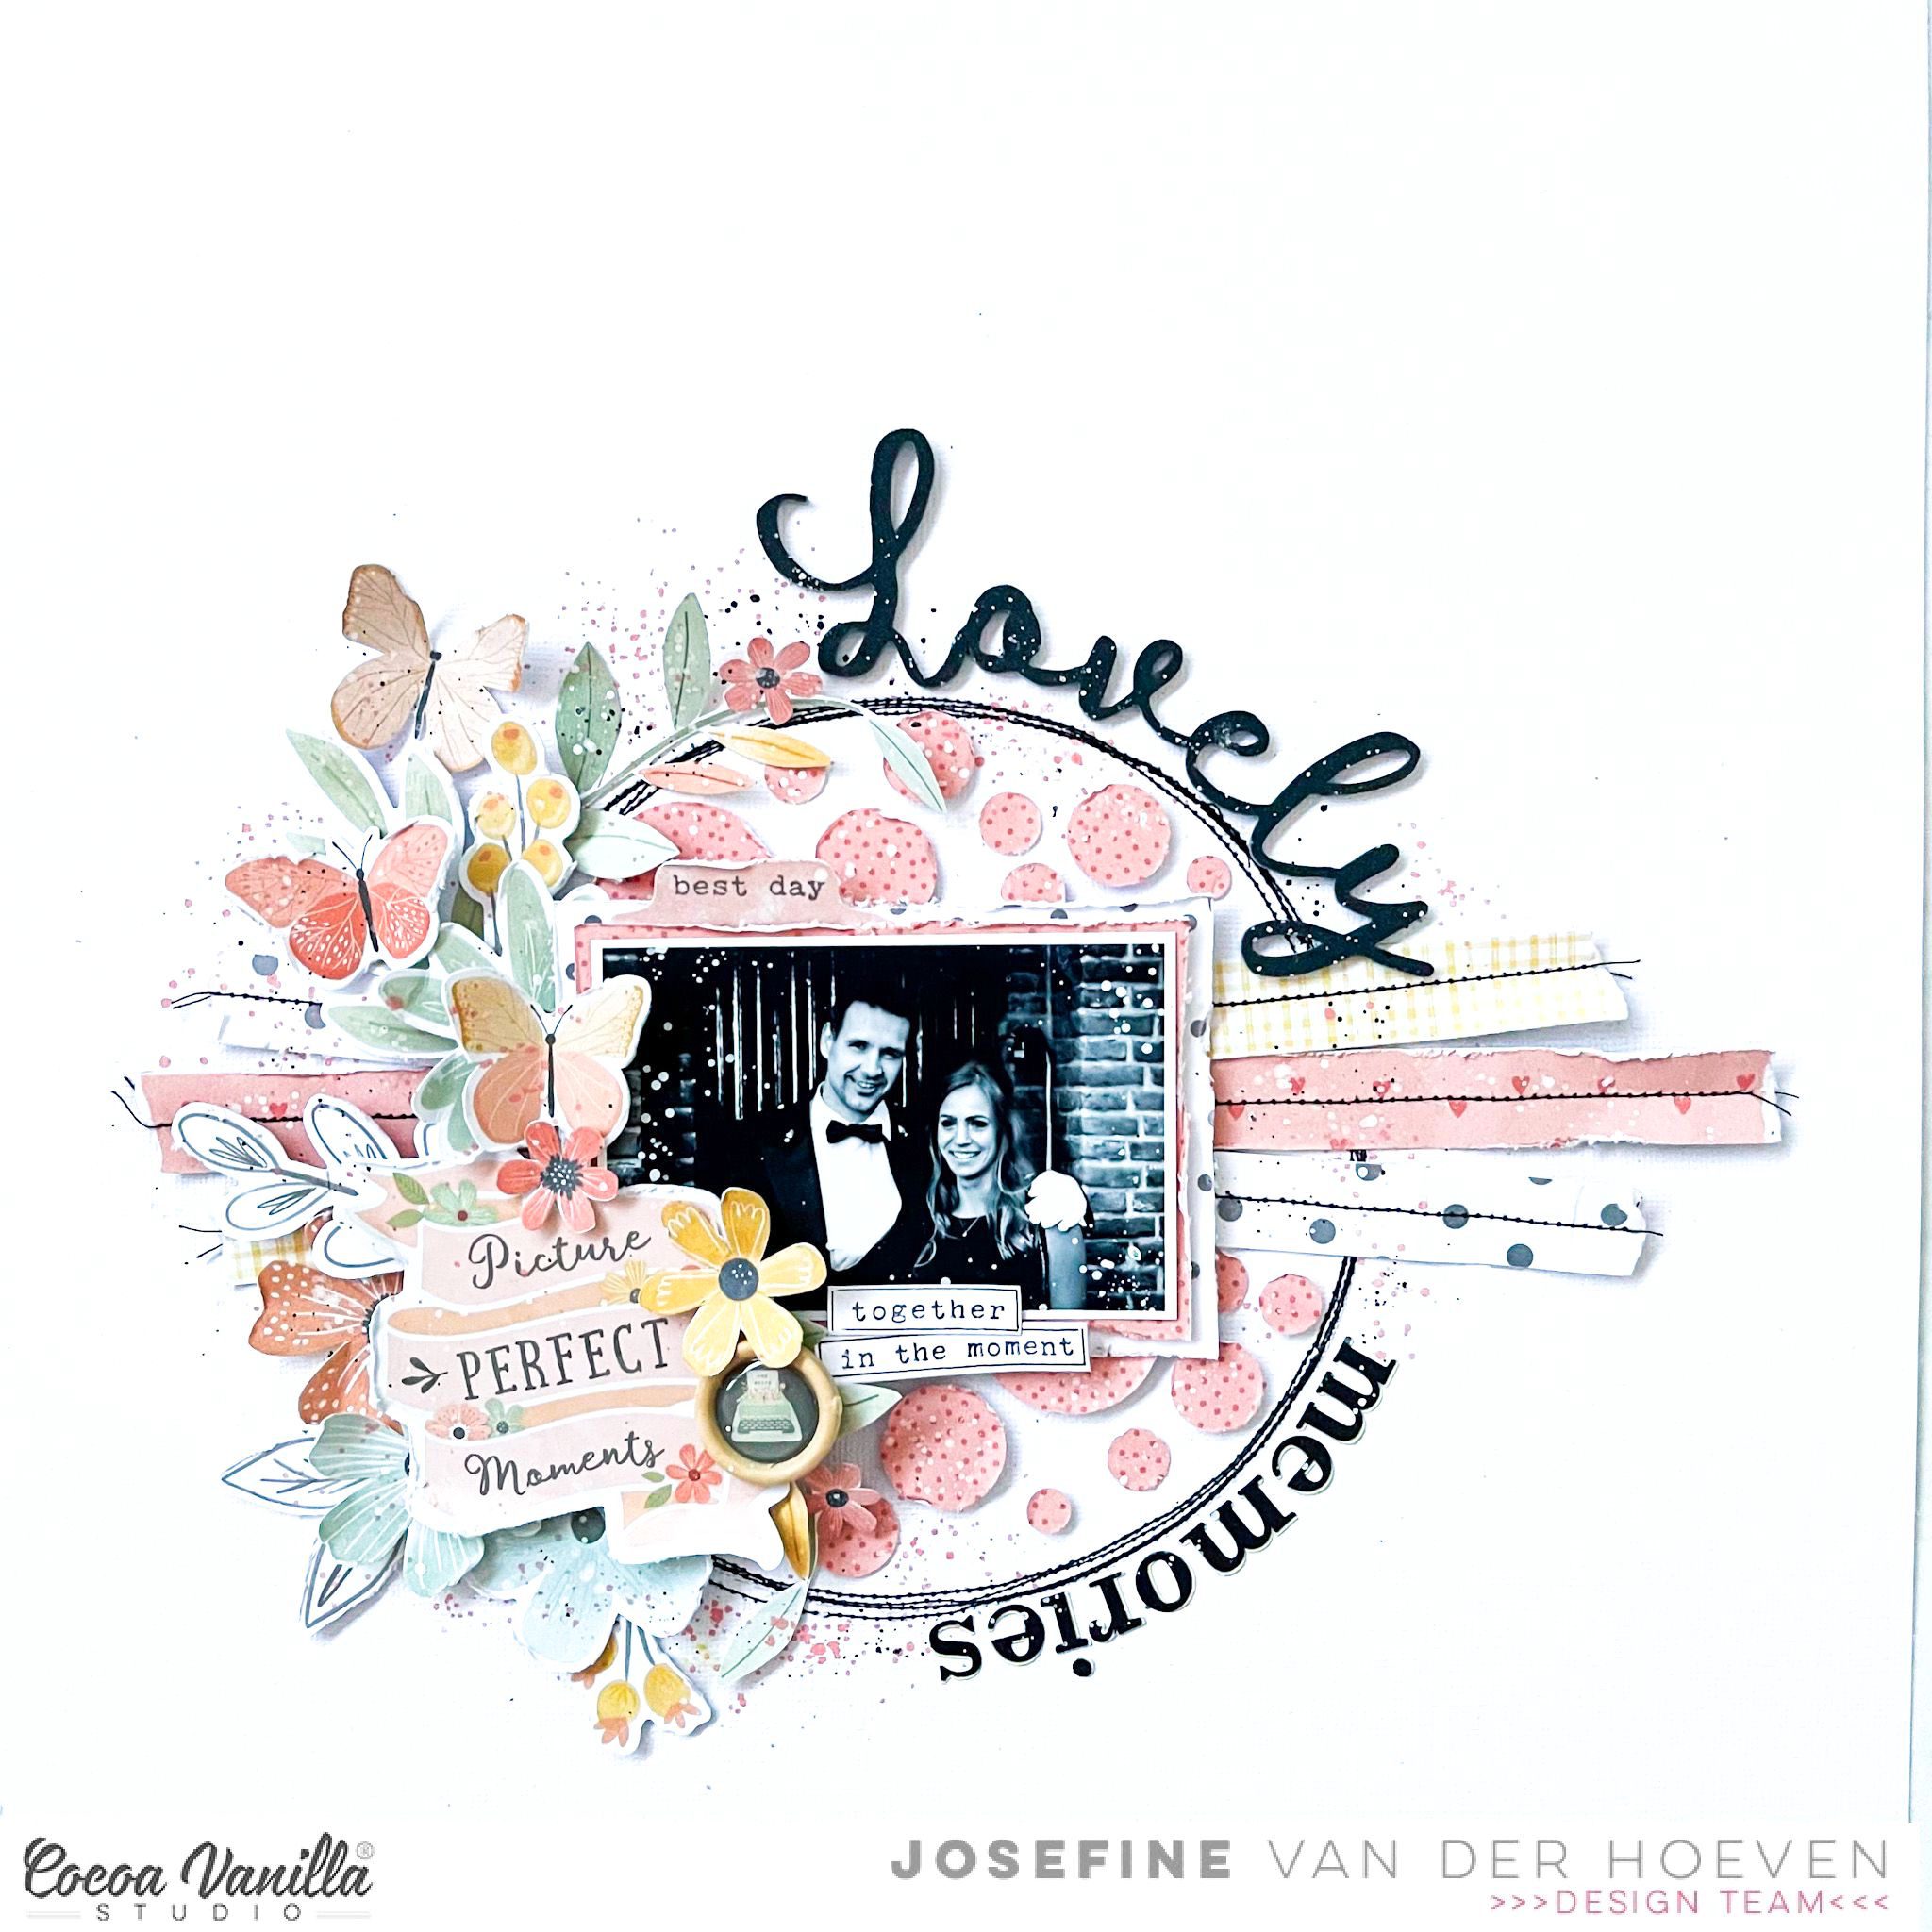
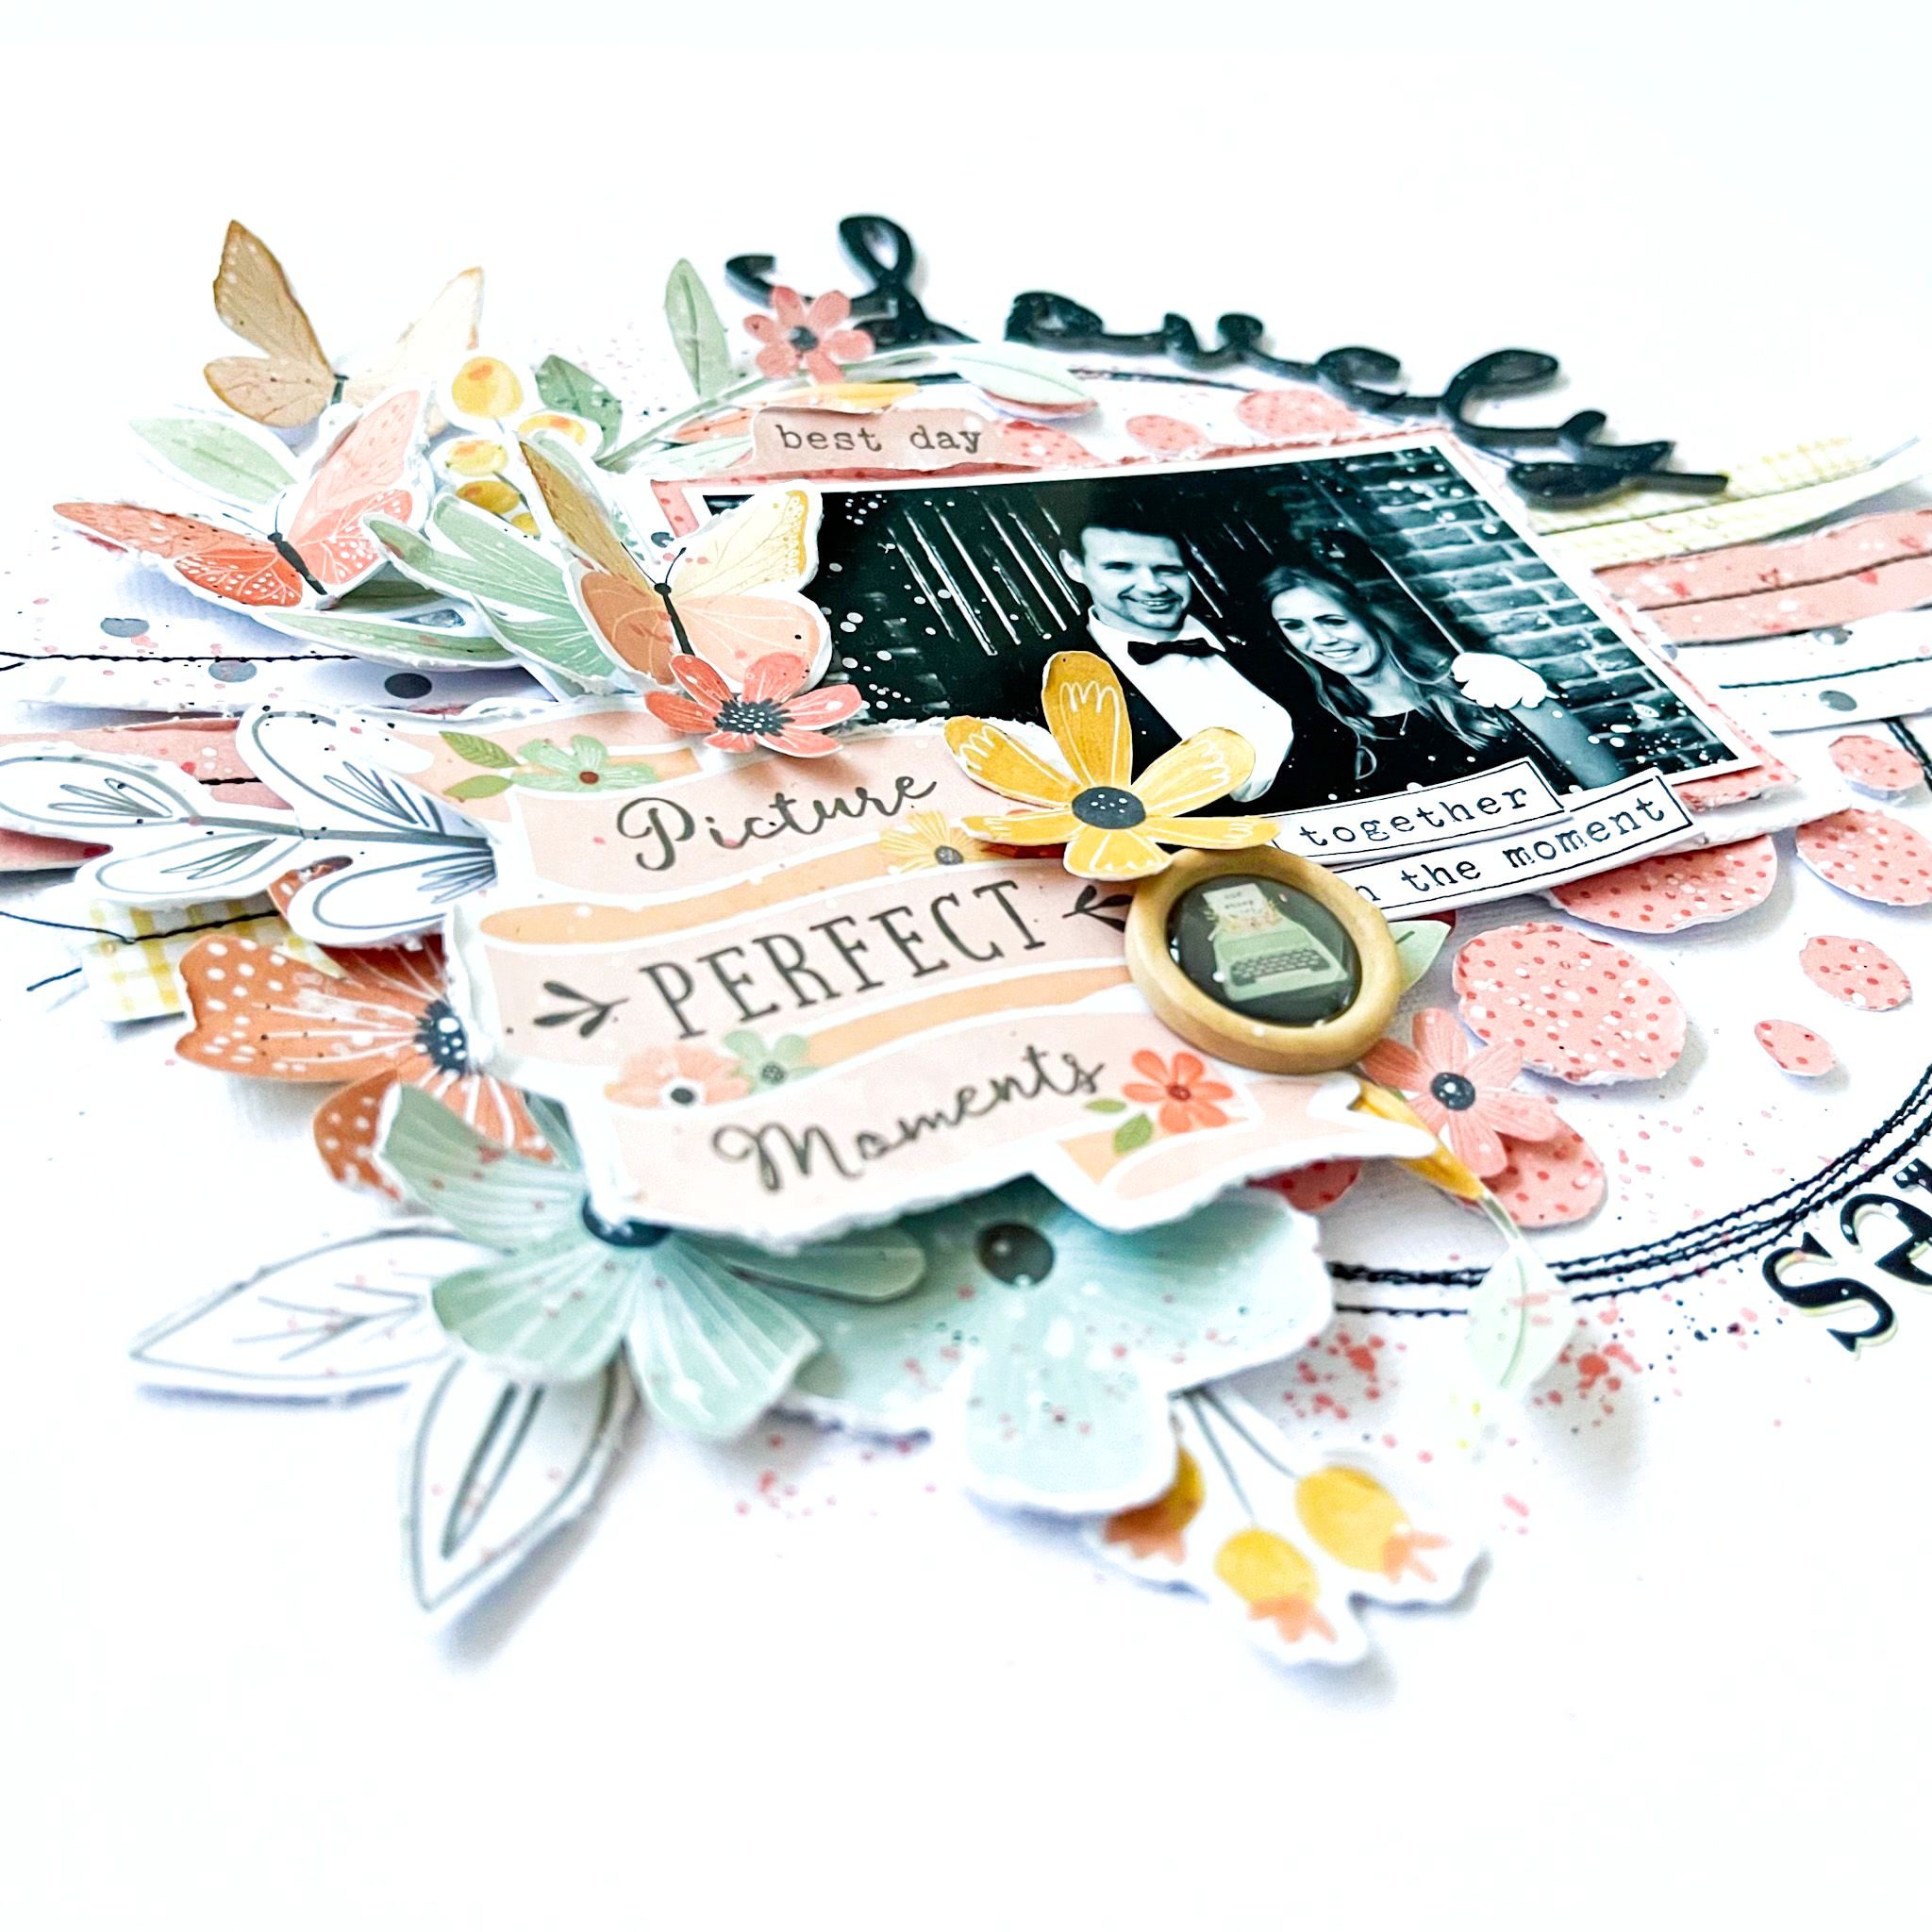
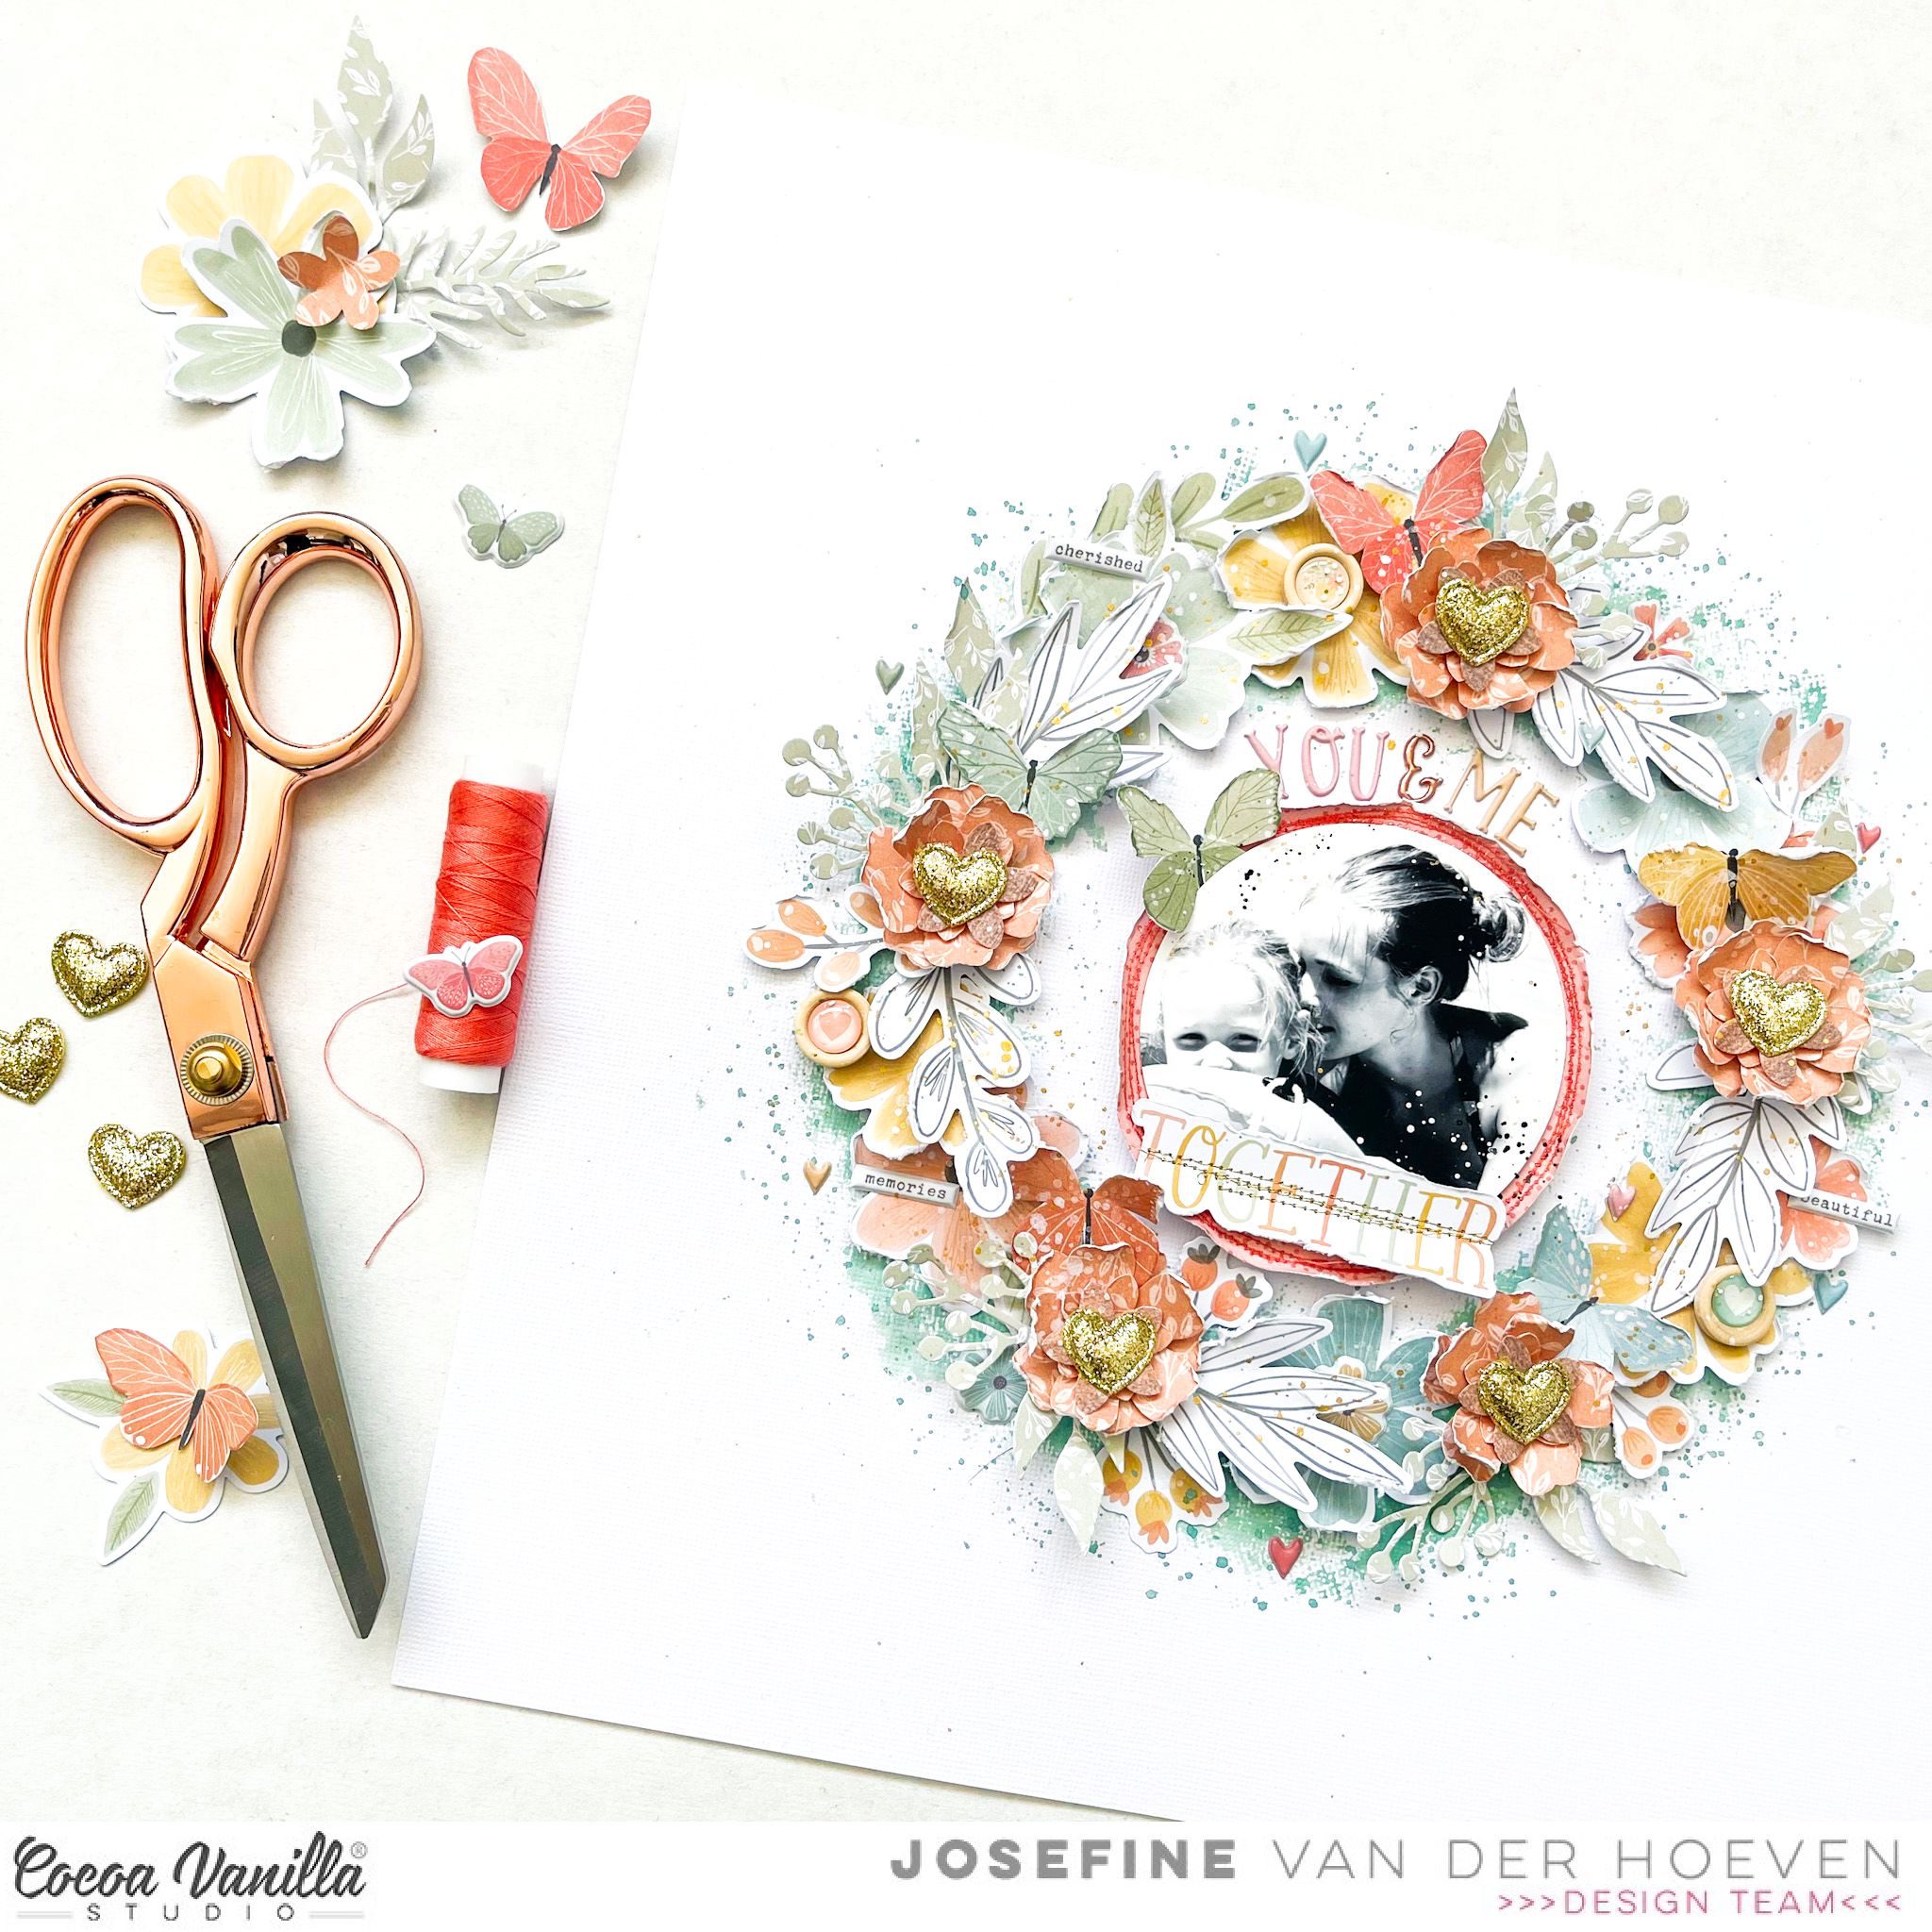 I really wanted to work with these super cute puffy stickers and the shimmering gold hearts. I thought it would be fun to make a wreath and used the golden hearts in the center of these paper flowers.
 I first draw a circle with a pencil on my white cardstock background. Then I stamped several times with the Distress Oxide color “evergreen bough”
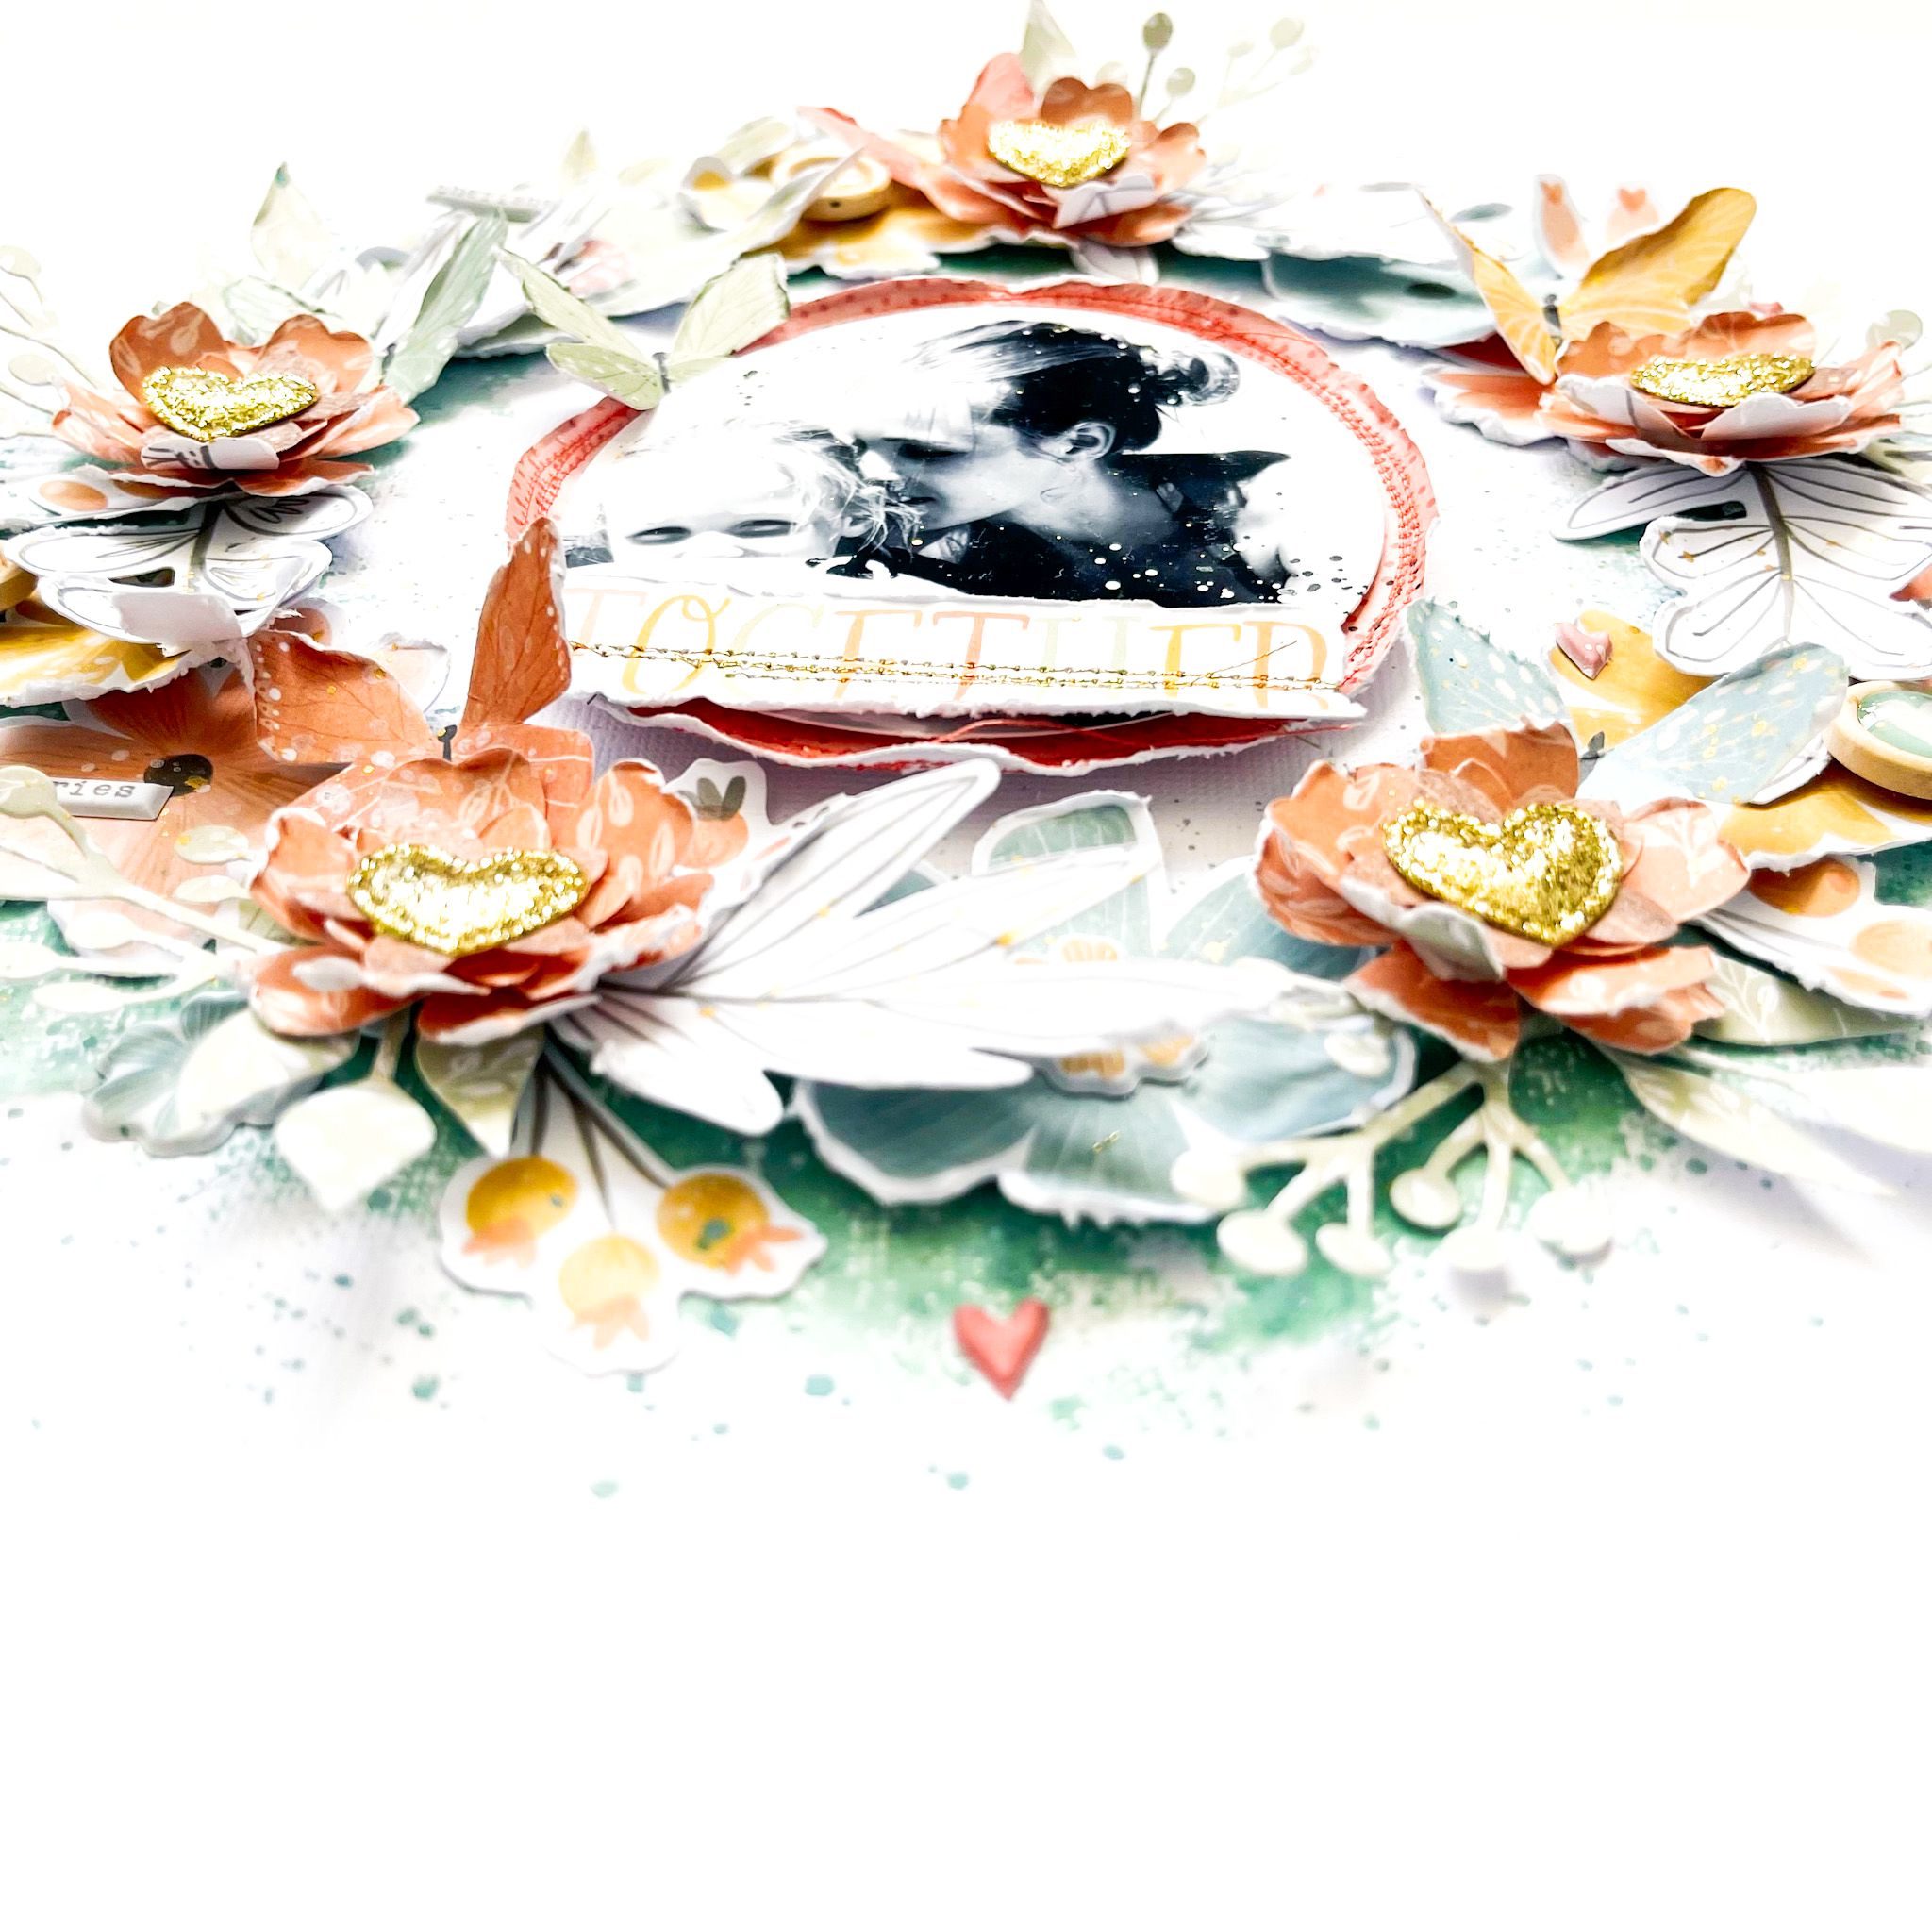 It’s time to make a wreath and I used the flowers and leaves from the “Floral ephemera” set
 I had so much fun with this amazing new collection “These Days” by Cocoa vanilla Studio. I hope I was able to inspire you to use the golden hearts and puffy stickers on your layout. Thank you for visiting my blog post today. Have a great time with the beautiful collections by Cocoa Vanilla Studio and wish you a beautiful and crafty day! XoXo, Jo
 I started by stamping on the white cardstock background by using a background clear stamp that looks like a stain. I make a mixed media background in the center of this page and stamp several times. The color of the Distress Oxide I am using is “tattered rose”

 Finally, I add some butterflies to my layout and splash some more with the Distress Oxide colors, tattered rose, speckled egg, victorian Velvet. I hope I was able to inspire you with this layout and want to thank you for visiting the Cocoa Vanilla Blog today! I wish you a beautiful and crafty day!


 I selected some flowers, die-cuts and stickers and make a cluster on both sides of the circle. I used the gold glitter puffy word ” Memories” and placed it under the circle. I also choose an aqua colored Alpha set for the word “Summer”. My title for this layout will be ” Summer memories”.
 I have decorated different die-cuts with gold sewing thread. On top of the picture I placed some die-cuts and word strips. Of course, I also used a wooden button on this layout. I choose to keep this page clean and simple. Now t’s time to add some white and black acrylic paint splatters and use my brush for this. These splashes make it so festive.
 I am very happy how this scrapbook layout turned out. I hope I was able to inspire you with this summer layout. I looking forward to seeing your beautiful creations with this awesome summer collection! Wish you a beautiful and crafty day! XoXo, Jo

 I placed my photo in the center of the page. I picked out different die-cuts and layered them on the side of the photo. I also used clear stickers on my layout. I placed the clear stickers on acetate and cut them out. I slide them between the design paper and the photo. This gives a great look-through effect. Check this cute clear sticker “days” on this page.


 I started with the stunning wood grain Outdoors Type paper to mat the center photo and create a border for the outside. I have three fantastic shots of my son as we walked around the neighborhood pond and just couldn’t narrow it down to a favorite, so I scrapped all three! To leave plenty of room for journaling, I focused on embellishing in just two areas, on a diagonal, and keeping the embellishments tight to the photos. Using a patterned paper background like this one, called Offbeat, gave me a head-start, so the layout came together very quickly!

