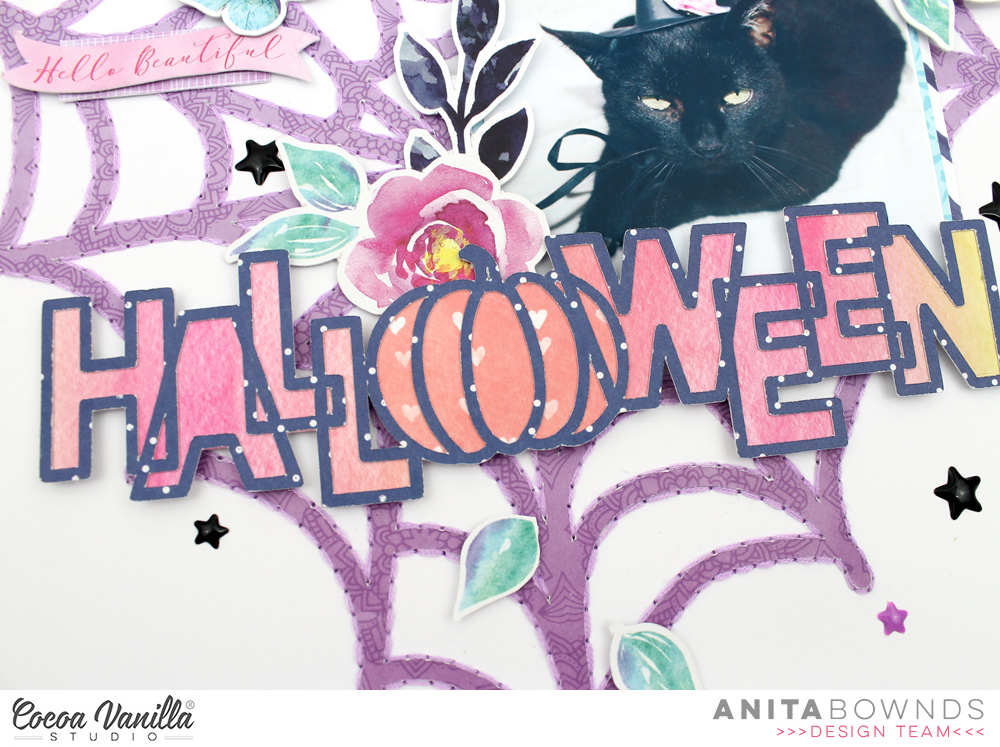
Hi there crafty friends, Anita here with you today sharing a fun Halloween layout using the beautiful bohemian dream collection … I had a fun idea to make a little witches hat and put it on our kitty Luna’s head and take a photo as you can see she was not impressed at all but I think it’s pretty cute…
I started off by choosing abstract pattern paper and a cut file spiderweb heart from Paige Evans and adhered the cut out spiderweb heart in the center of the white cardstock. Then using embroidery thread I had stitched around the web in purple then I matted the rest of the abstract pattern paper behind my trimmed white cardstock and machine stitched around the edges
Using my cameo and another cut file Halloween from Paige Evans
I used pattered paper abundant and then using beautiful mess pattern paper to back the Halloween cut file
I then matted my photo on Gypsy heart and dreamer and adhering it down
I then added double sided foam tape to to the back of the Halloween word to pop it up and adhered it down across the bottom of the photo
Using the accessory stickers I added a few to the top of my photo then some flowers from the ephemera pack around the photo and web and to finish off the layout I add a few enamel stars in 3 different colours.
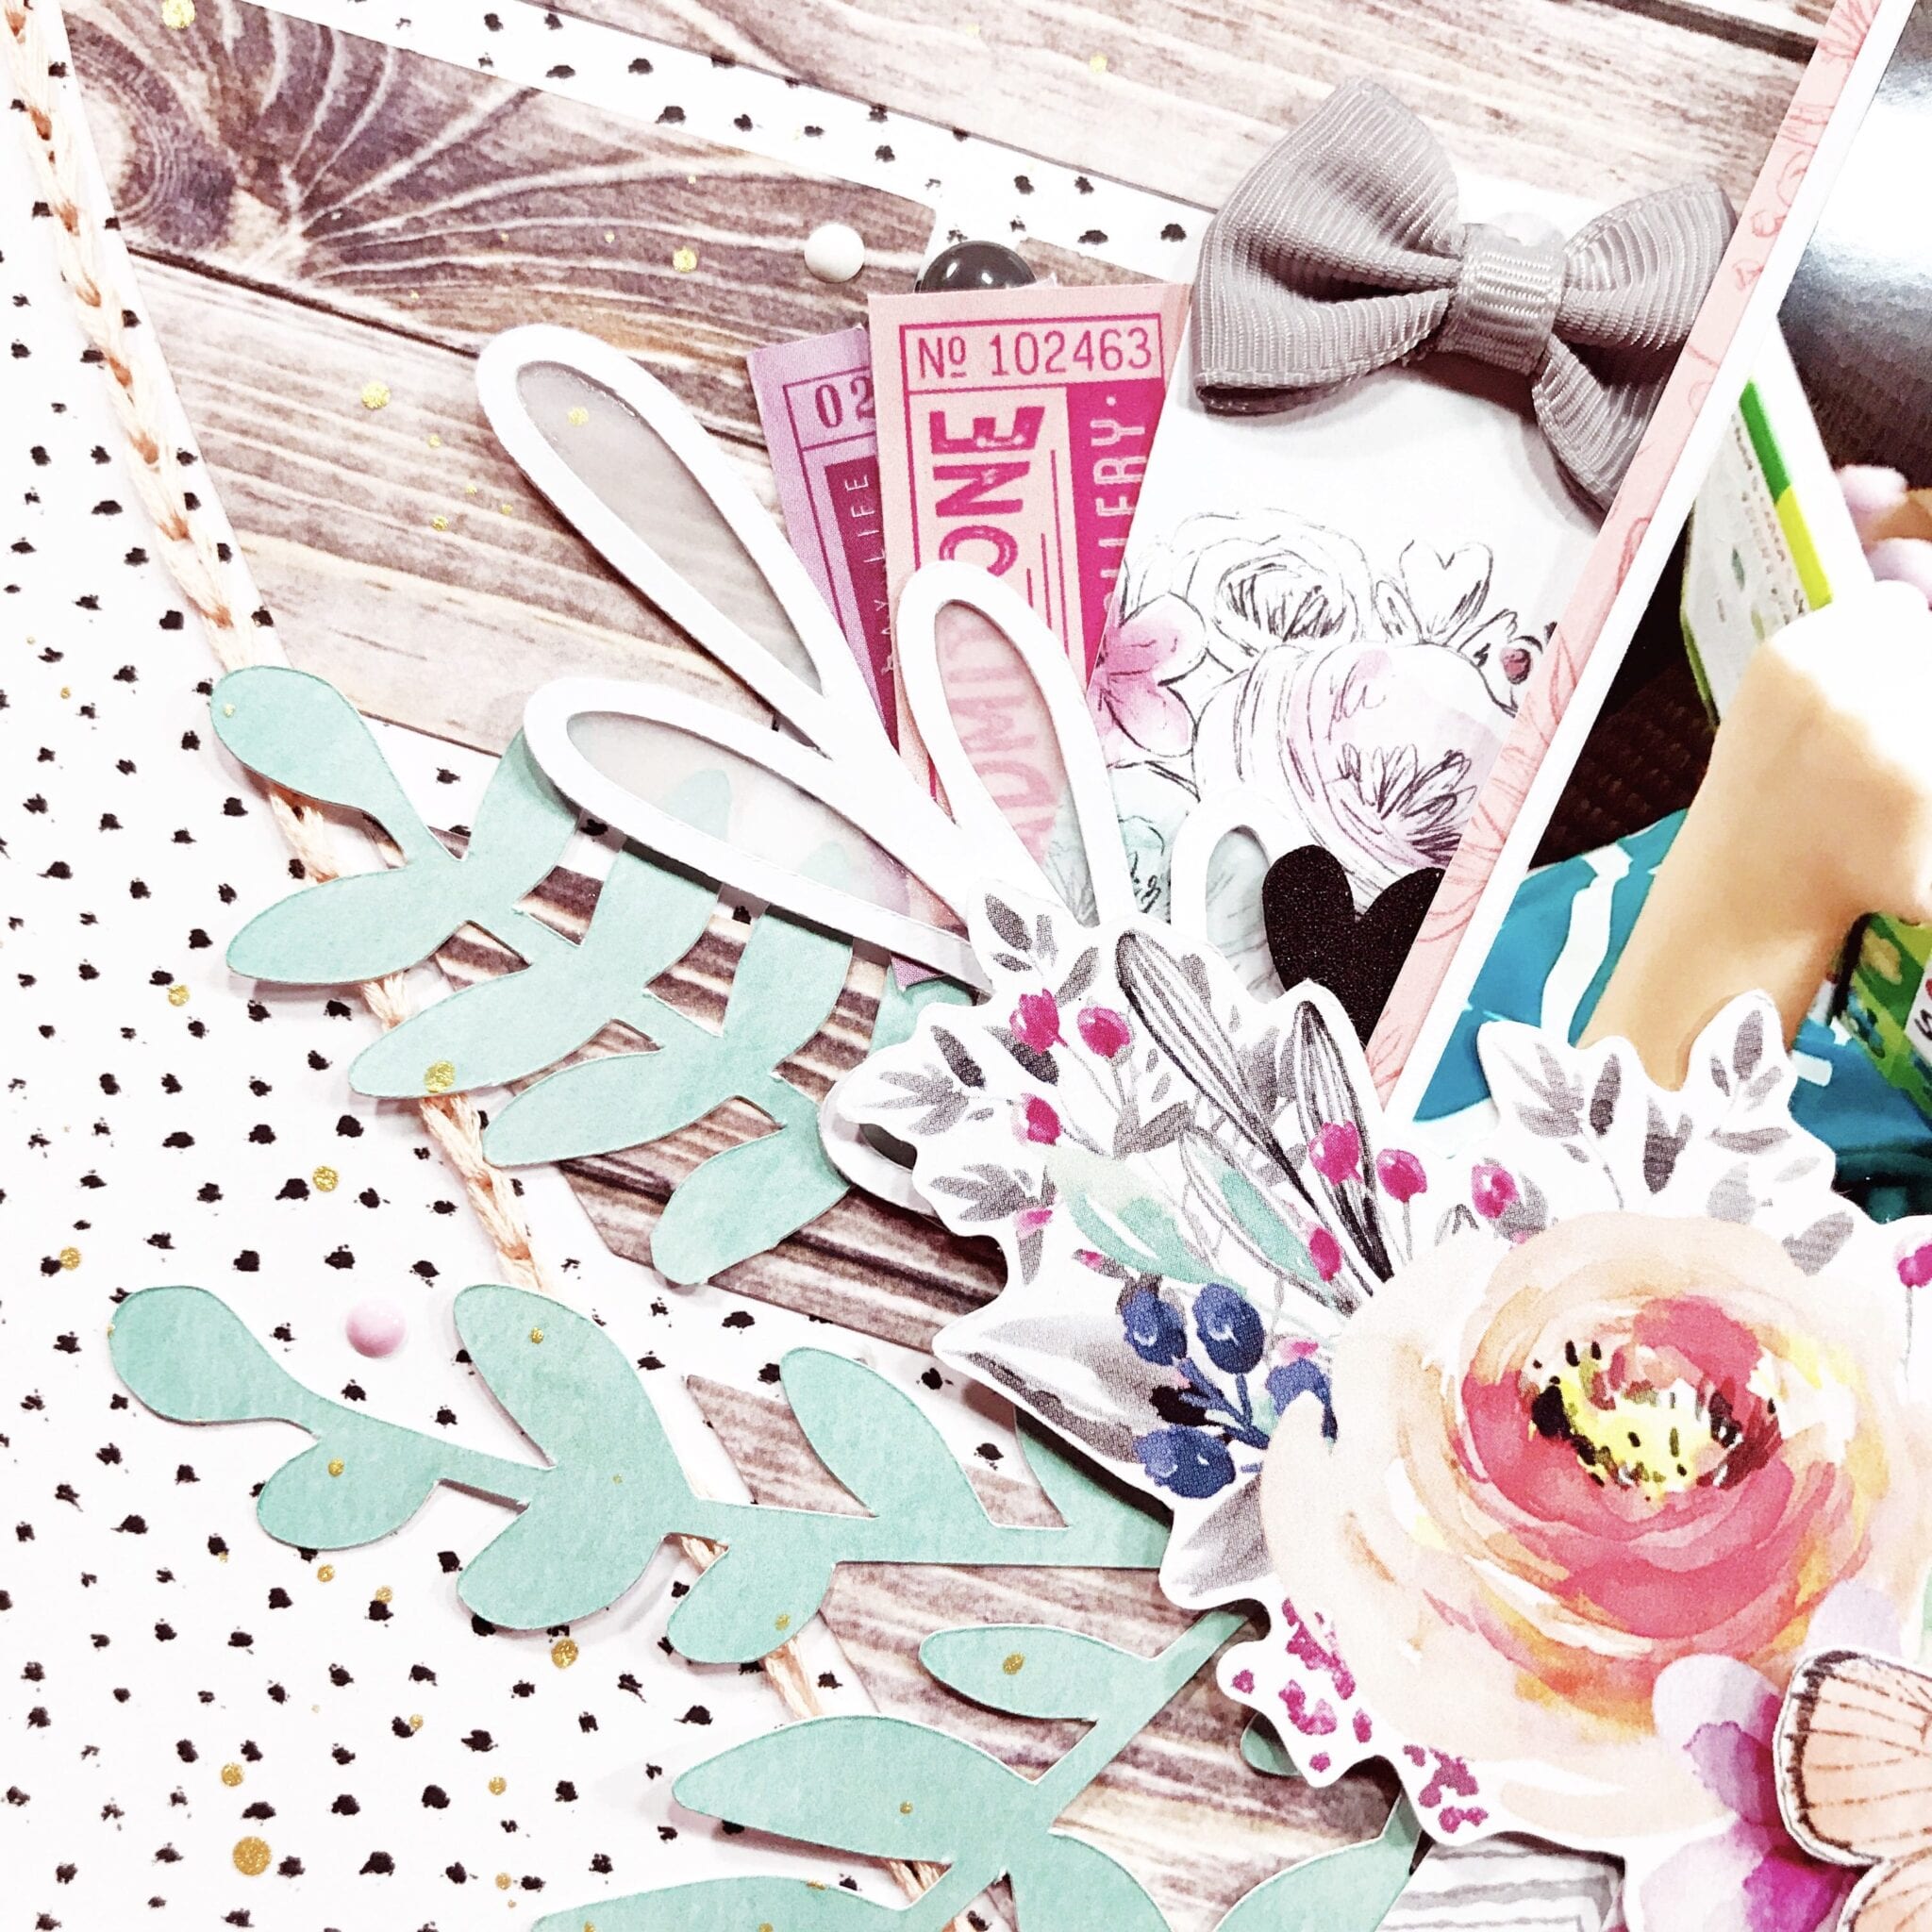
Hello Scrappy Friends! This is Laura Alberts, Guest Designer and huge fan of Cocoa Vanilla Studio! I’m sharing a 12×12 Layout using the Unforgettable collection, a large heart cut file from Cathartic Scrapper, and a photo with two of my daughters snuggled up together for a story.
By using the inside pieces of this cut file, which I normally might have tossed, I’ve created a geometric heart background! I hand-stitched a border all the way around to give it an outline and add texture to the page.
For my three clusters, I started with the Cut to You cut file with leafy fronds cut from the Garland paper and then backed the leaf outlines with vellum. Layering the large floral swag from the ephemera pack on top made for a lovely large cluster! I added a tag from the 6×12 sticker sheet as well as two tickets, tucked behind the left side of the photo, and a few word phrases on the right side. A tab and small cluster on the right of the photo as well as a few clear stickers created a tiny cluster there and a cluster of florals and leftover fronds on the top left of the heart finished it off! I added clear tiny heart stickers and enamel dots for the detail embellishing, then splattered with gold mist.
This layout wouldn’t be complete without using one of the striking titles from the Unforgettable collection and “Stories” was perfect! I’m absolutely in love with the font on these titles as well as the small foam hearts, that I sprinkled into my clusters to help tie in the black from the title.I had so much fun with this layout and I hope it inspires you!
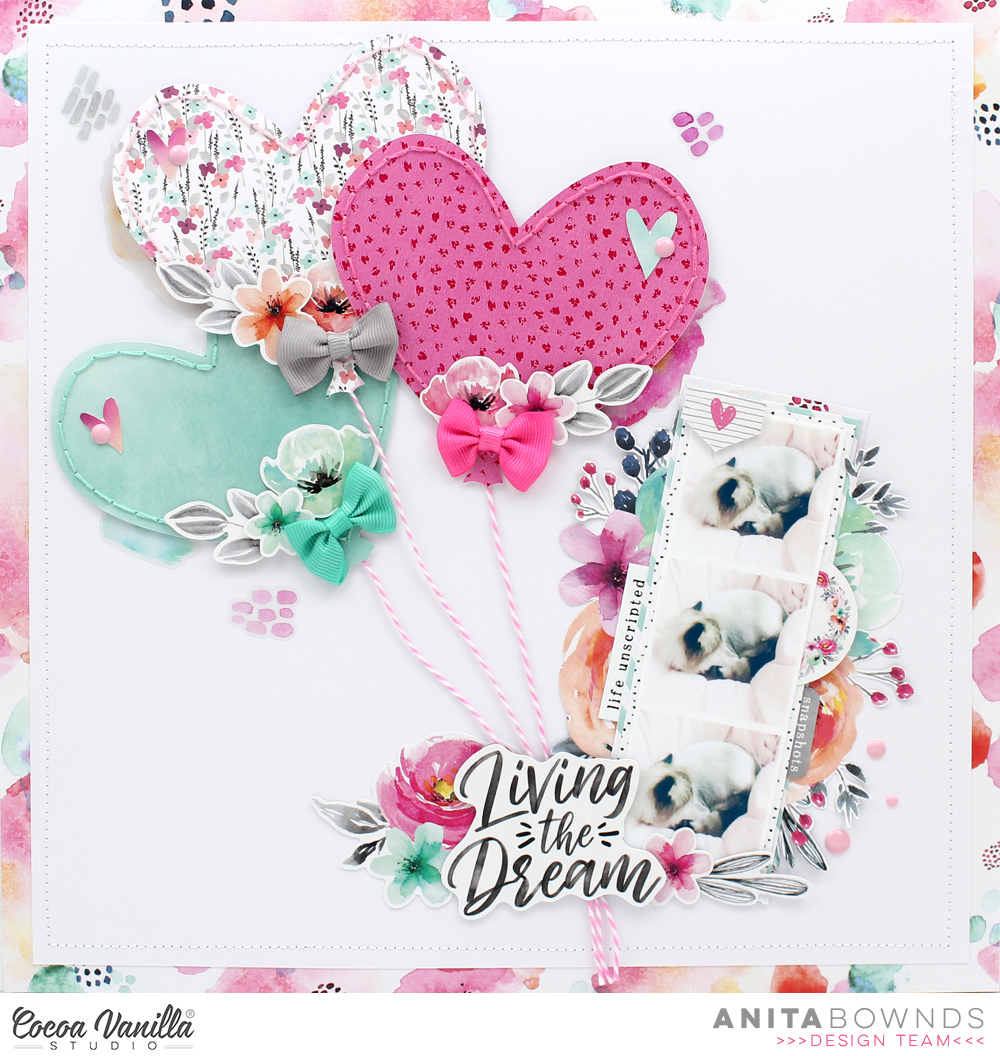
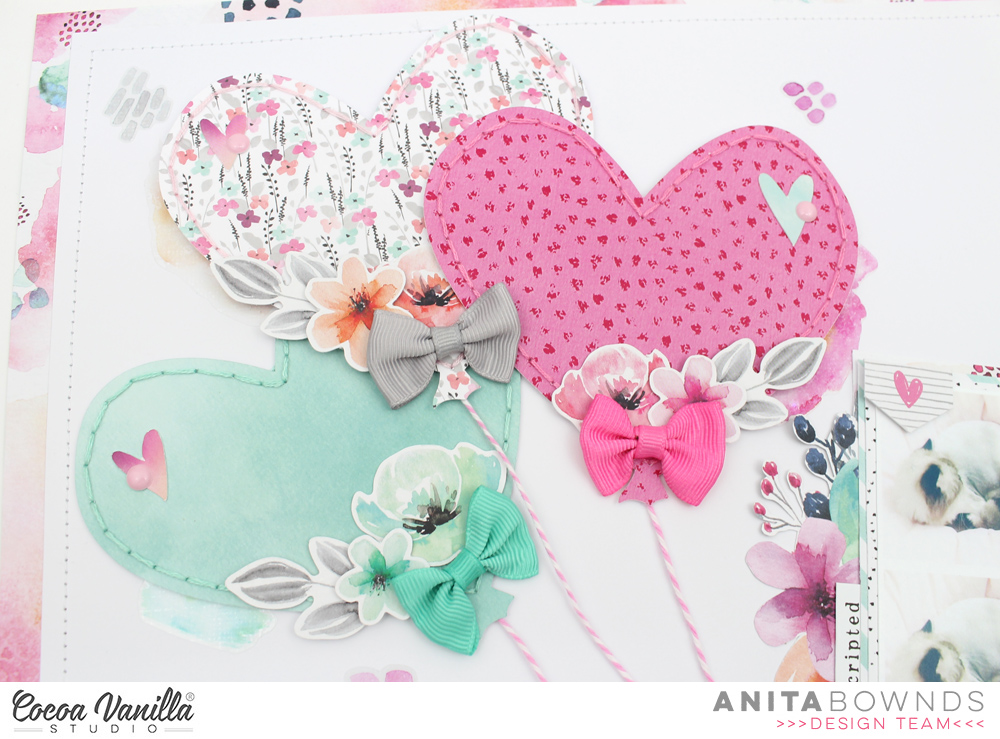
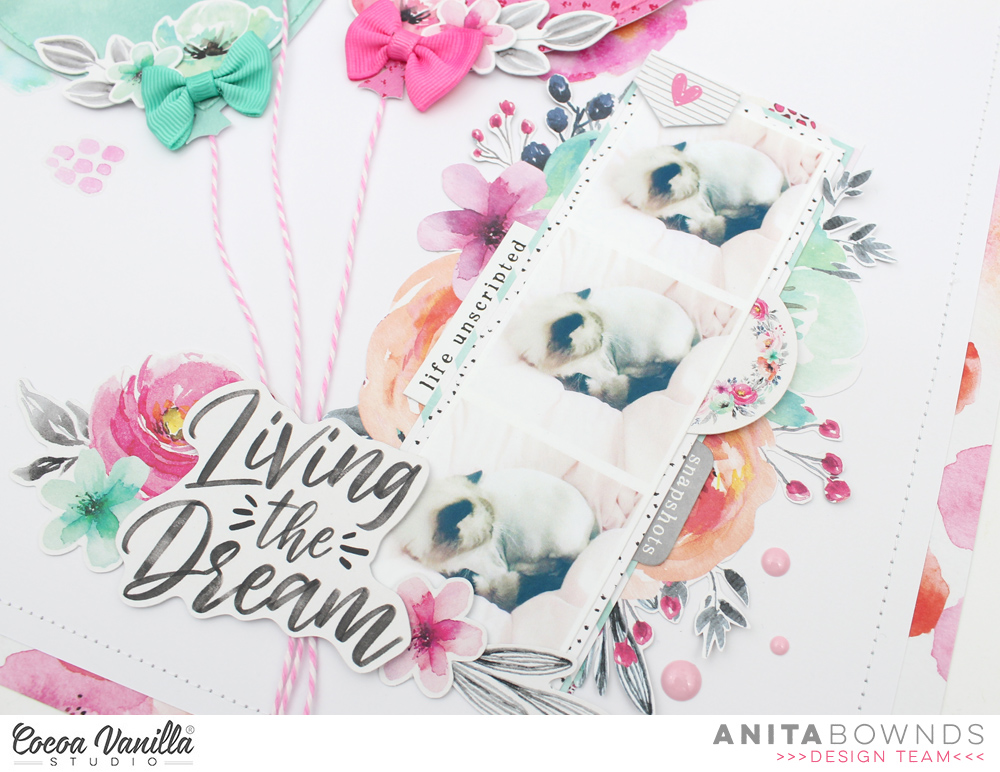
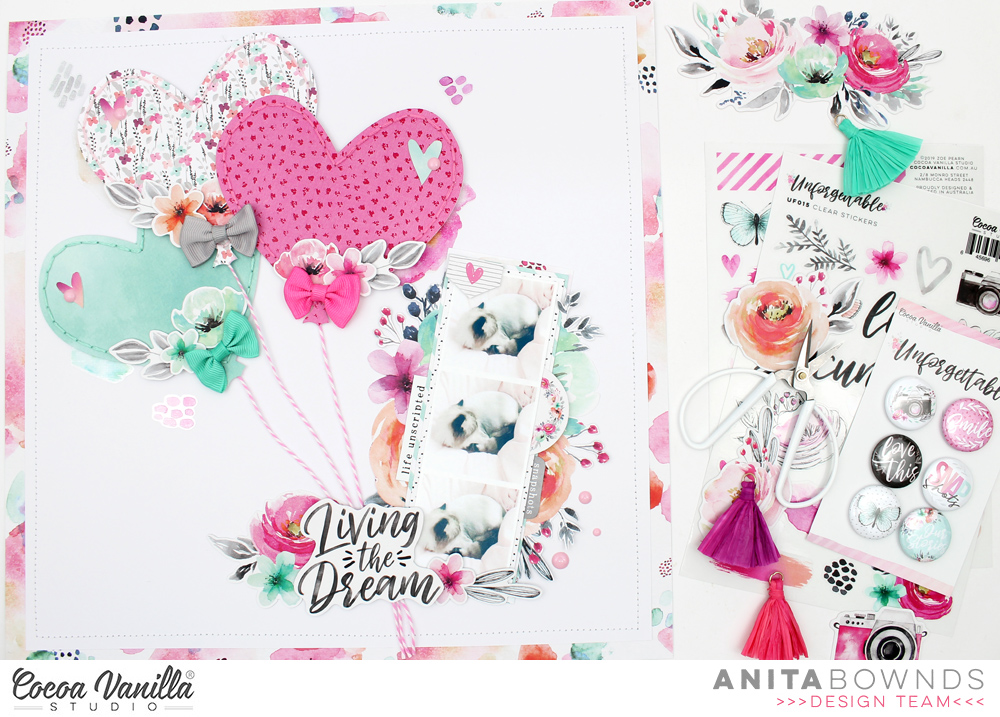
Hi crafty friends, Anita here with you today sharing a sweet layout using the beautiful unforgettable collection
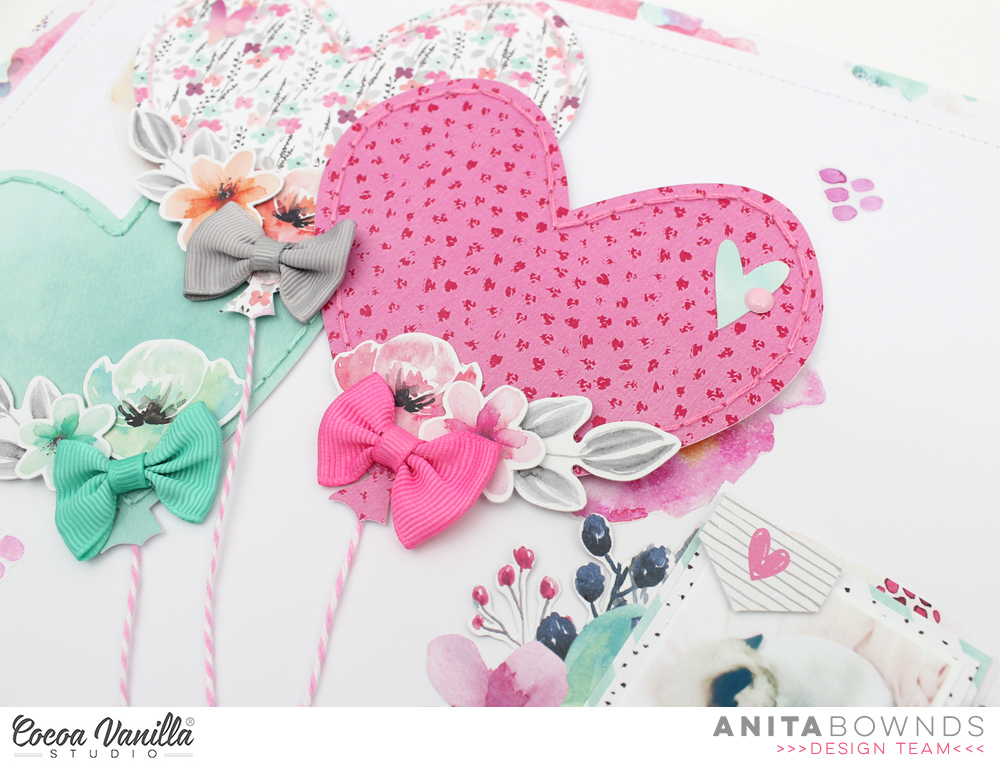
The layout is all about my kitty Kushan who thinks Eve’s beanbag is one of his beds…I’m sure he probably thinks he’s on a big pink cloud. So Today I had to include the bows and tassels on my layout I decided on the bows As I had a idea of floating heart balloons in the air.
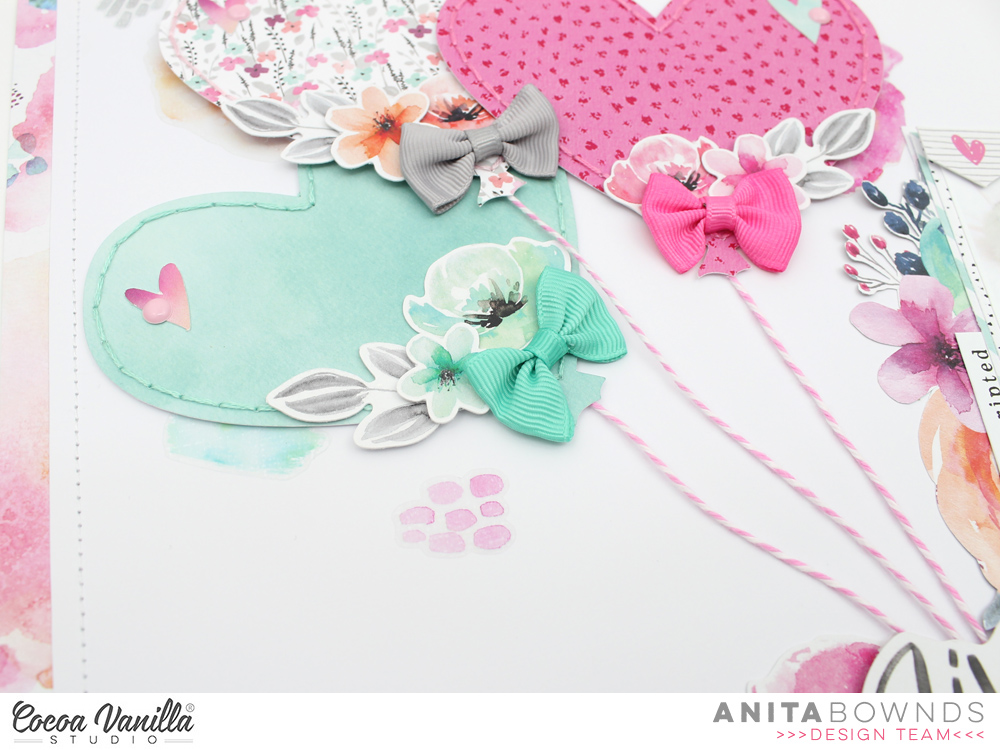
I started by selecting 3 pattern papers from the 6×8 paper pad and using a cut file from the silhouette design store and cut 3 heart balloons out then I hand stitched around each balloon using a matching colour thread then I added some twine to the back and double sided foam tape to pop it of the page then I layered them onto my trimmed white cardstock on a angle.
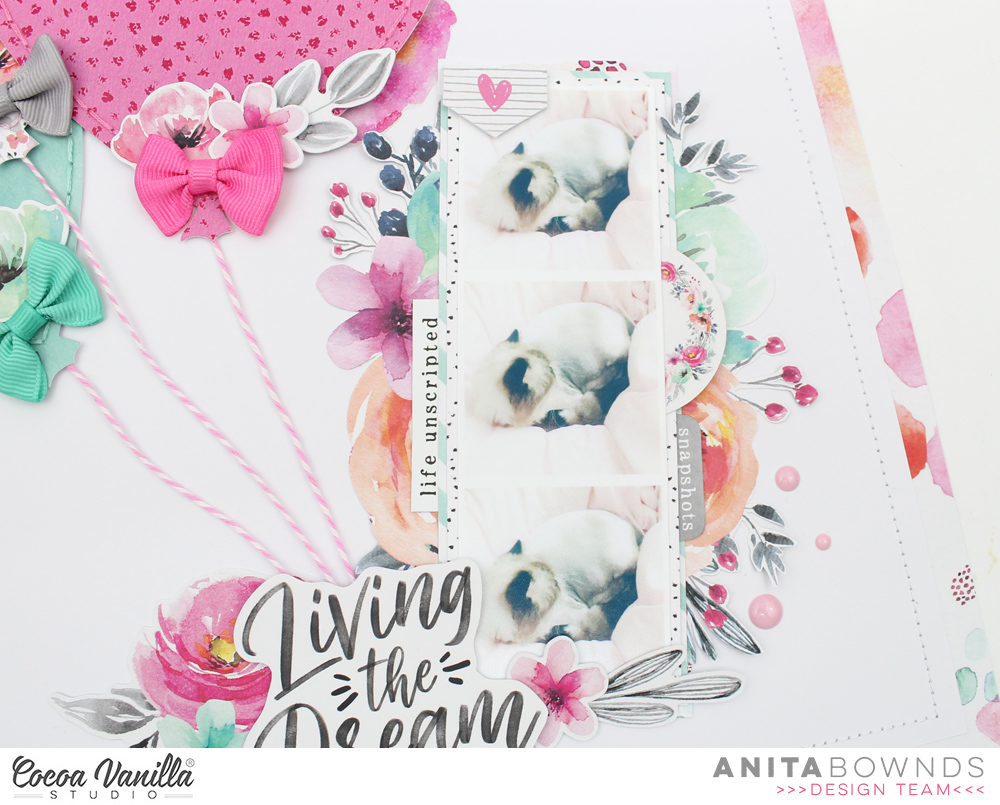
Then I matted my white on pattered paper sprightly and machine stitched around the border of the white cardstock then using more patterned paper from the 6×8 paper pad I matted my photo on 2 different papers .
Then I added fussy cut flowers from paper glorious on each side of my photo
Then I pulled the twine down straight to the bottom of my photo and adhered my title from the ephemera pieces then I added accessory stickers and ephemera around the photo
Then I use 3 of the bows from the bows and tassels to add on each of my balloons then tucking flowers from the ephemera pack around the bows to add a extra pop of colour and to finish of the layout I added clear stickers and enamel dots
Amanda here, and today I am sharing my take on this week’s design team theme post using the divine MIDNIGHT collection. The theme this week is….
creations that “put a ring on it”.
Think rings, wreaths, circles, dots – basically include any round element! Such a fun theme!
Here’s what I came up with….
“Love This”
Oh.my.heart!!! So dreamy & divine!
The MIDNIGHT collection is so elegant & beautiful! It’s the perfect collection for documenting stories of my sweet girl!
Here’s a closer look for you….
So incredibly beautiful!
I start this layout with pattern paper, CV-MN007 INKY DEPTHS – it’s the perfect base! Such a stunning background paper & I just love how it reminds me of the night sky and clouds. To this paper, I trace a circle shape to create a guideline for my wreath (ring) design.
To form the wreath, I fussy cut pattern paper CV-MN001 BLOOM &GROW. I arrange these larger blooms over the traced circle, and adhere with a mix of double sided tape and foam mounting tape. This adds a sense of dimension, soft texture, and brings interest to the design.
I also fussy cut the wreath icon from the CV-MN006 ALL THE THINGS pattern paper, and adhere it to the opening of my ring design (top right corner). Here’s a close up for you…
SO pretty!!!
Next, I pull out my gel pens, and draw a mix of sketchy leaves that are not dissimilar to that of the BLOOM & GROW pattern paper. The white gel pen is super striking on the INKY DEPTHS paper!
The scribbled leaves serve two purposes – they add a new design element (& visual stimulus) to the layout, plus they also ‘build up’ the wreath so that it looks full and attractive. In keeping with the whimsical feeling of the page, I add lots of tiny dots in both white, pink & blue pen.
I just LOVE how effective the gel pen looks!
Design Tip: If you like this look, but are nervous about drawing on your layouts, you could always achieve the same look using stamps and white embossing powder.
Next, I tuck my photo into the left hand side of the wreath and decorate around it with a few ACCESSORY STICKERS. I also embellish with that fabulous FLAIR BUTTON (which also features a pretty wreath on it!). Lots of rings and wreaths and pretties on this sweet page!
With the ACCESSORY STICKERS handy, I also add some butterflies to the wreath and add a subtitle to the bottom right corner, Love you so….
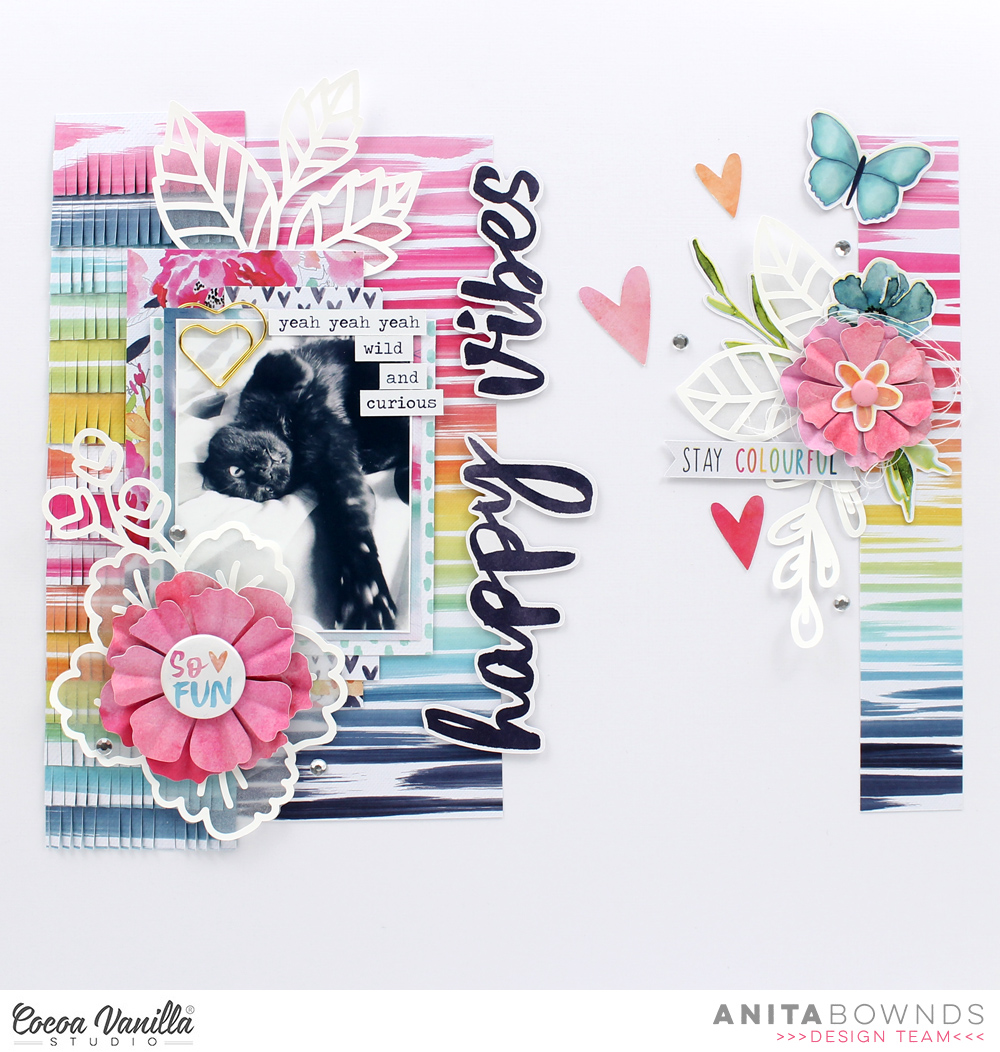
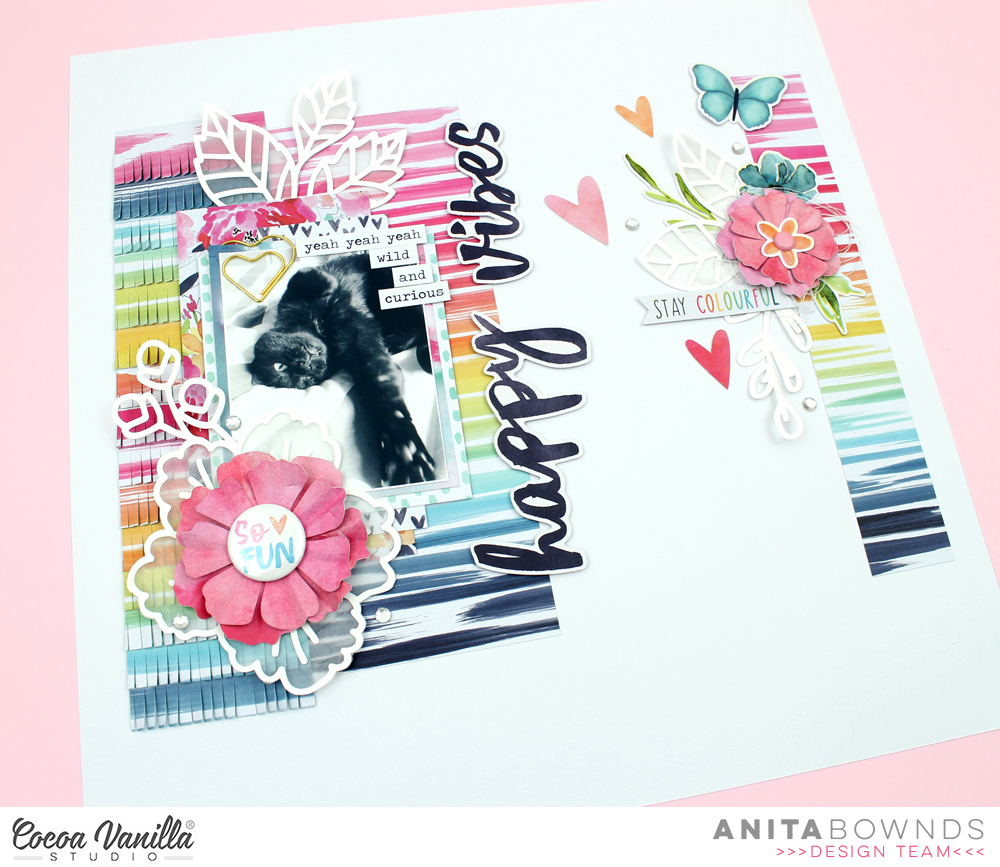
So you might remember last month I shared a layout using the layered fringe behind a cut file and because I had some of that beautiful layered fringe leftover from that project I wanted to use it on another layout .
I started with white cardstock and a (flower 290299) cut file from Paige Evans from white cardstock and back with vellum.
Using the layered fringed pattern paper good vibes and the same pattern paper from the 6×8 paper pad
I added the fringe paper to the left hand side of my cardstock and with the 6×8 piece of pattern paper I trimmed about a inch off one side and tucked the biggest piece underneath the fringed paper and the 1 inch to the right hand side of the layout
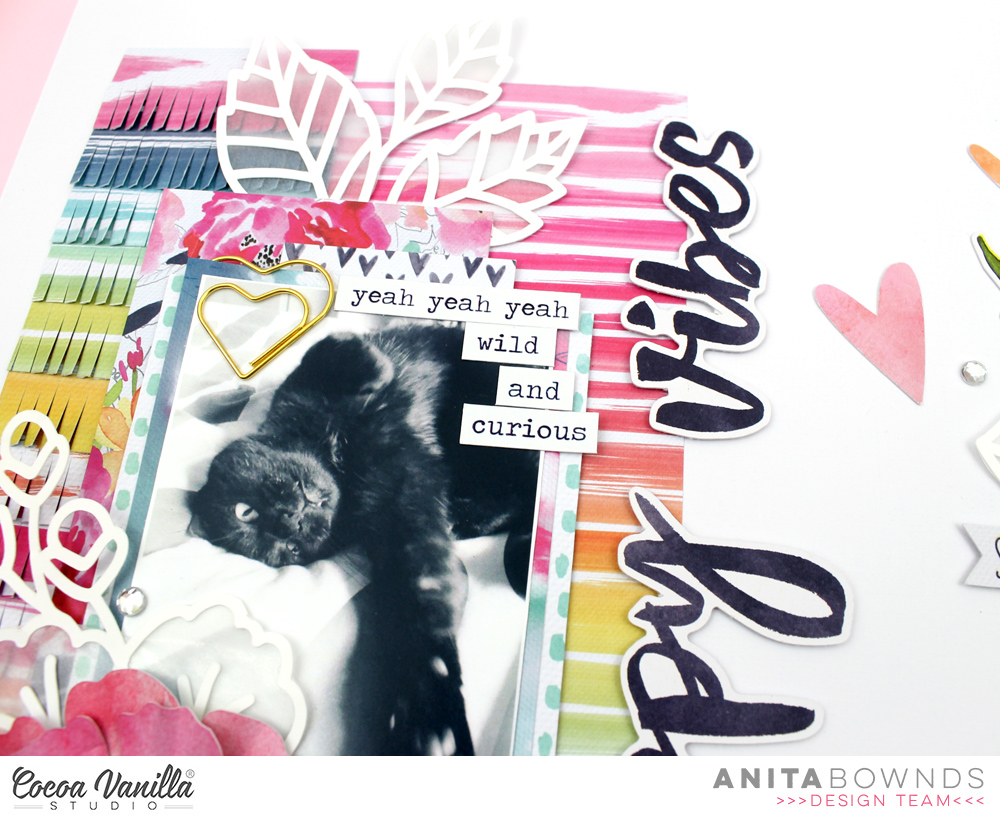
Then using the leaves of the cut file I cut apart I then tucked just underneath the strip of pattern paper.
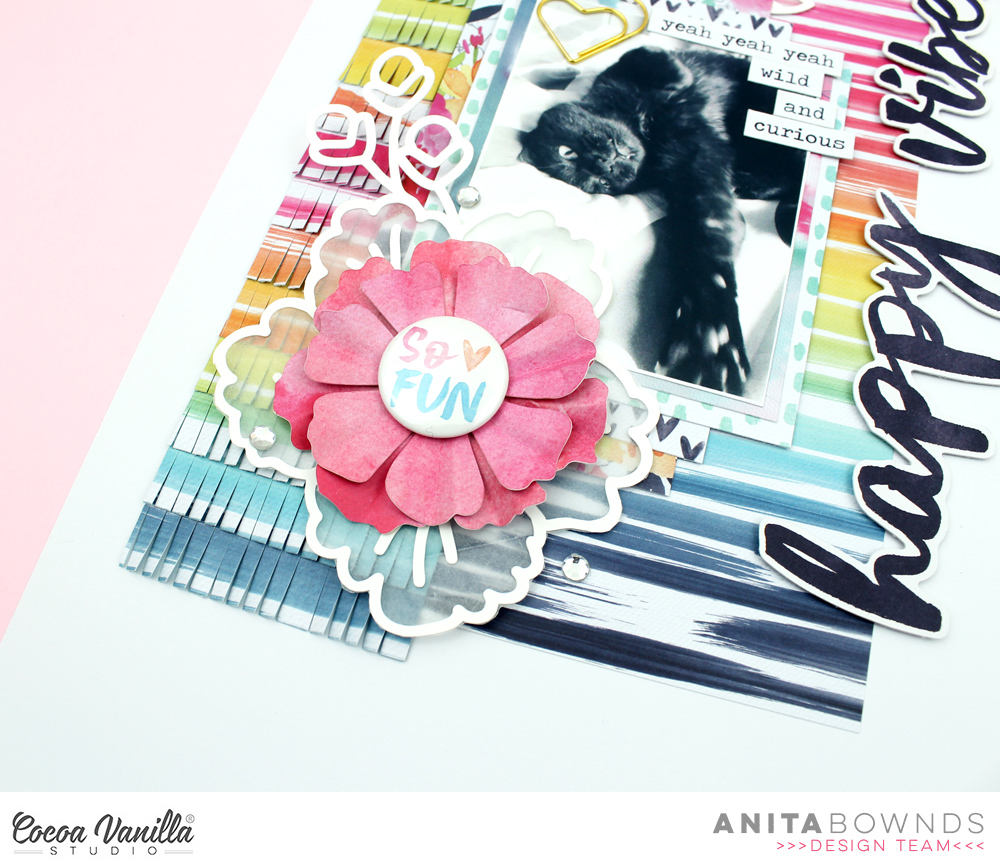
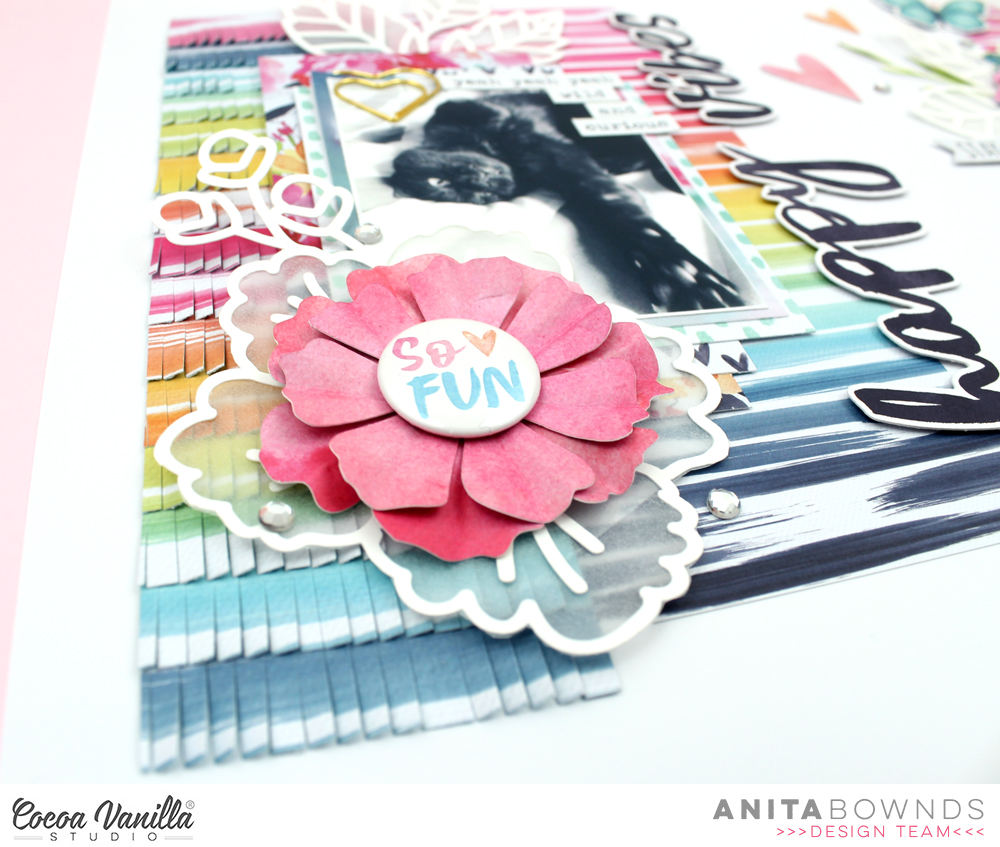
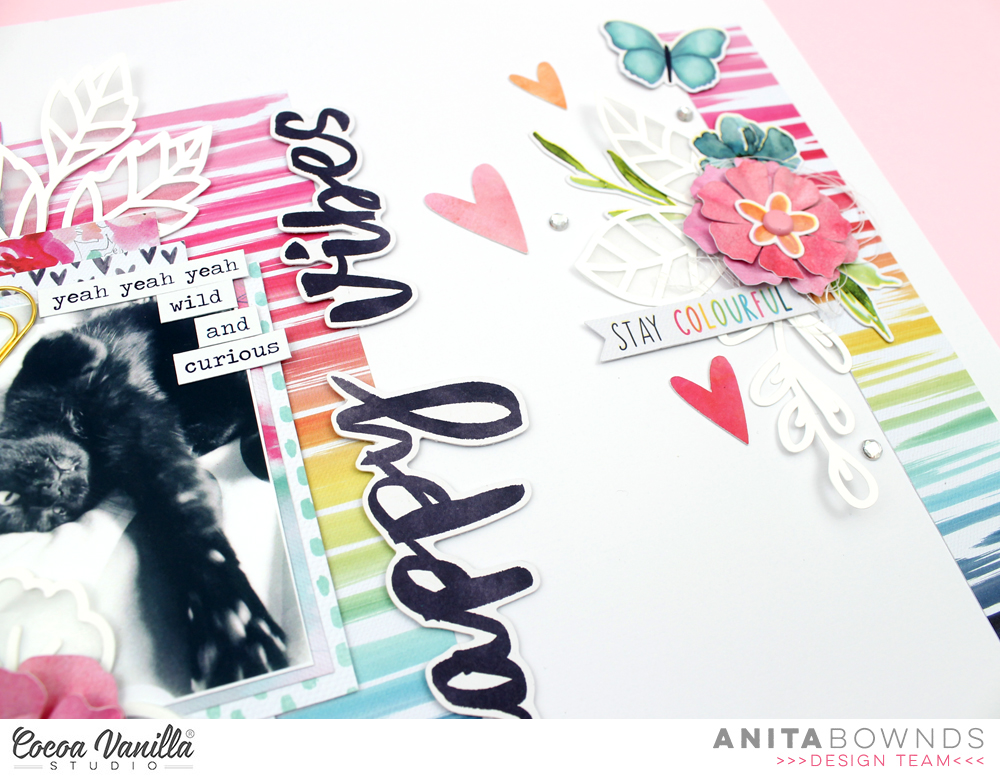
Then to add a flower I used a (layered flower with leaves 288406) cut file from Paige Evans that I cut out of meadow pattern paper and layered the flowers together making 2 a bigger and smaller for the smaller I added a flower from the ephemera in the centre and then a brad to add more texture and dimension. Then I started clustering more of the ephemera
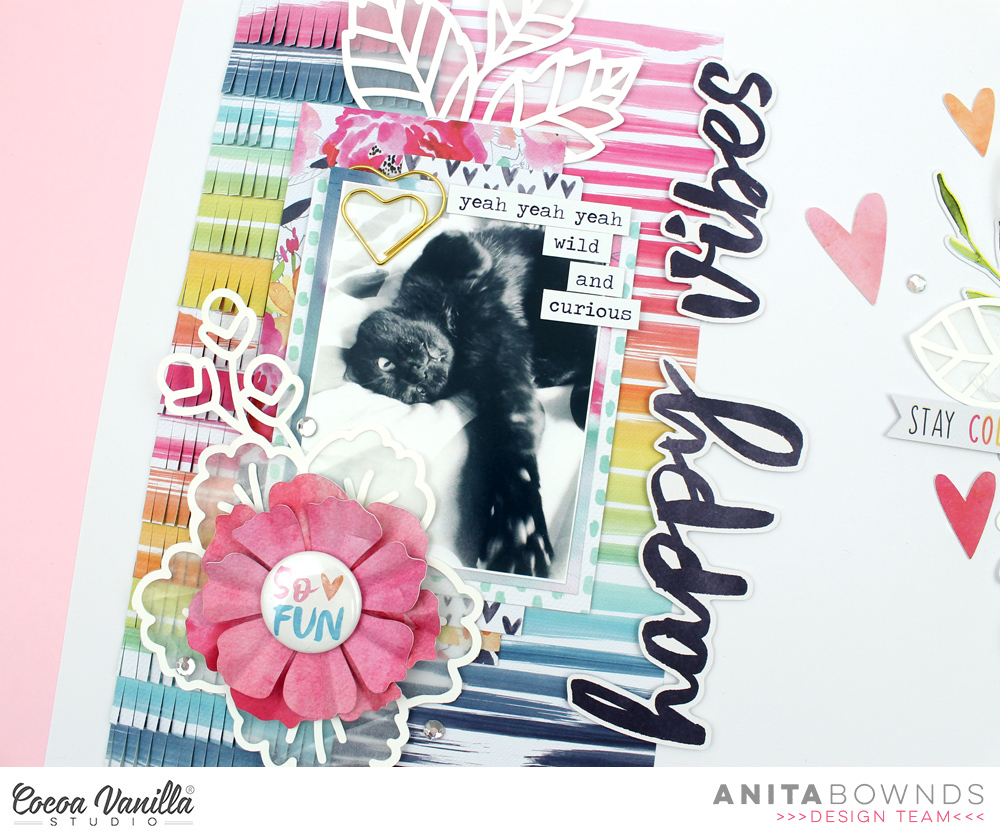
I backed my photo with papers from the 6×8 paper Pad and using a few to layer behind my photo and adhered it down using some double sided foam tape. Then I added the big flower on top of a vellum backed flower And adding a flair button in the centre.
I tucked another set of vellum backed leaves behind my photo layers and added my title using the cardstock titles I then added some rhinestones around the big flower and around the cluster of ephemera
And to finish of the layout with some cardstock stickers at the top of the photo.