Choose Happy | Happiness collection | Tarrah McLean
Hi creative friends!
It’s Tarrah back with you today to share a new scrapbook layout featuring the gorgeous Happiness collection! I was given the Throwback Thursday theme for this week so I decided to revisit the gorgeous Happiness collection and got creating! I don’t know about you but the Happiness collection would have to be one of my all-time favourite collections by Cocoa Vanilla, I am in love with it!

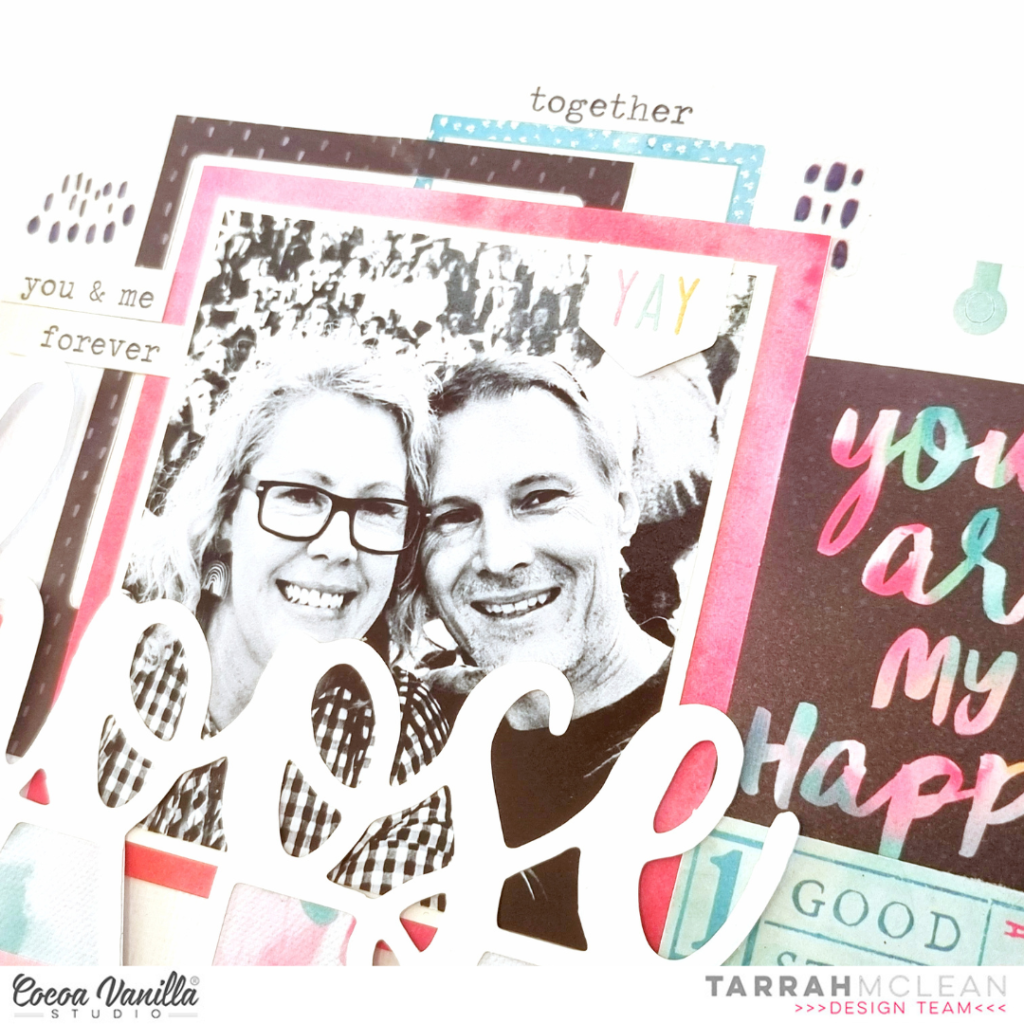
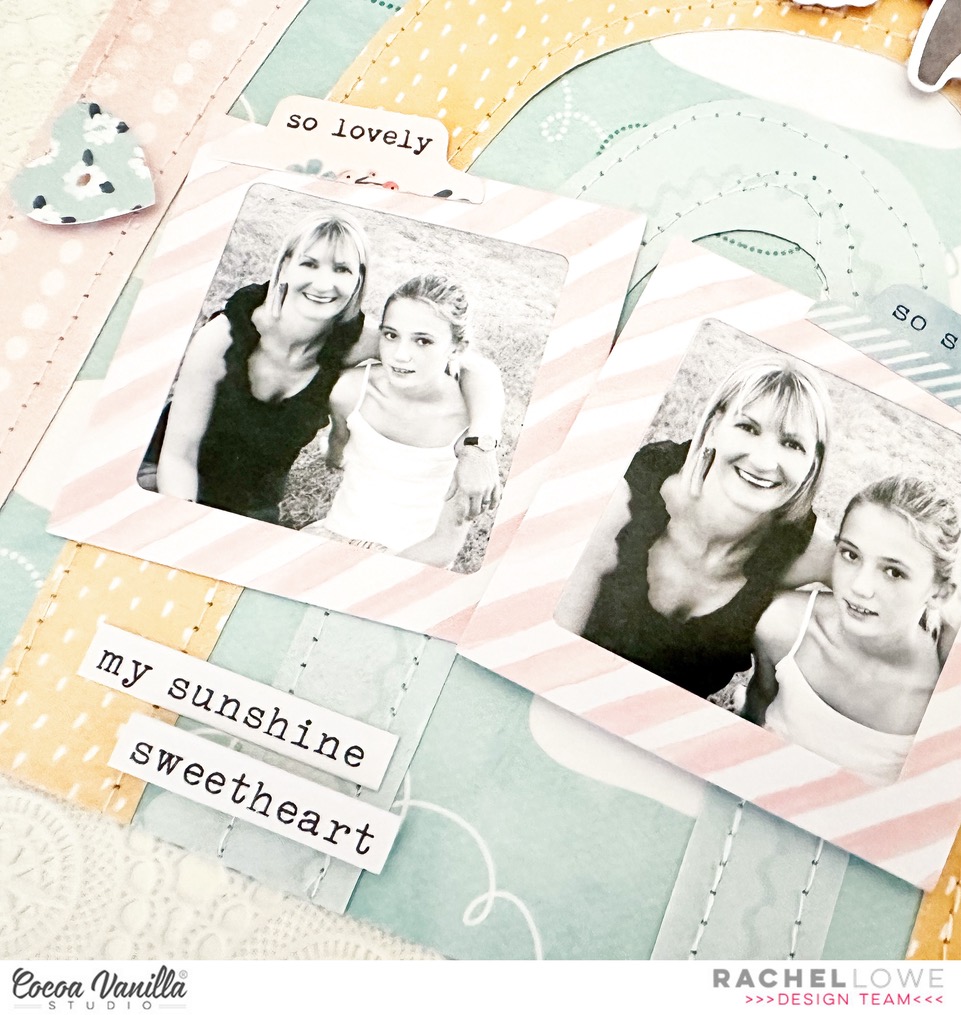
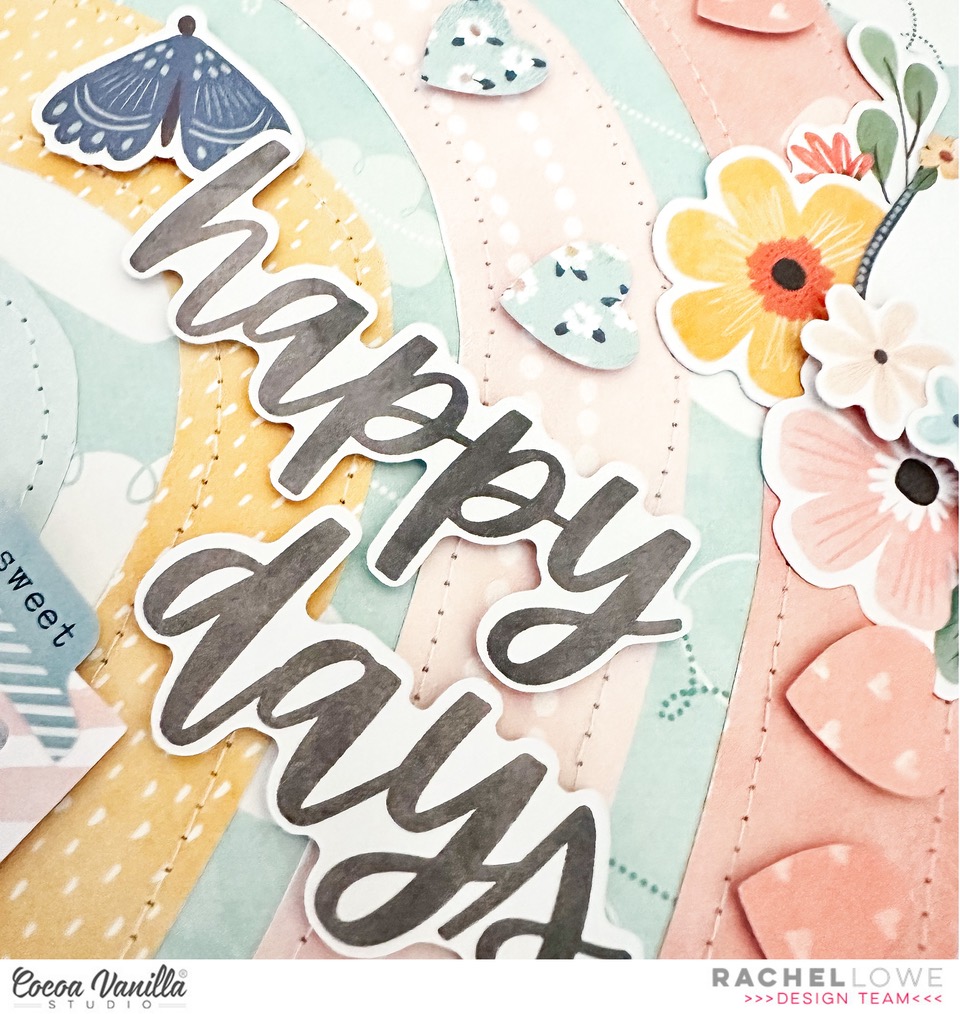
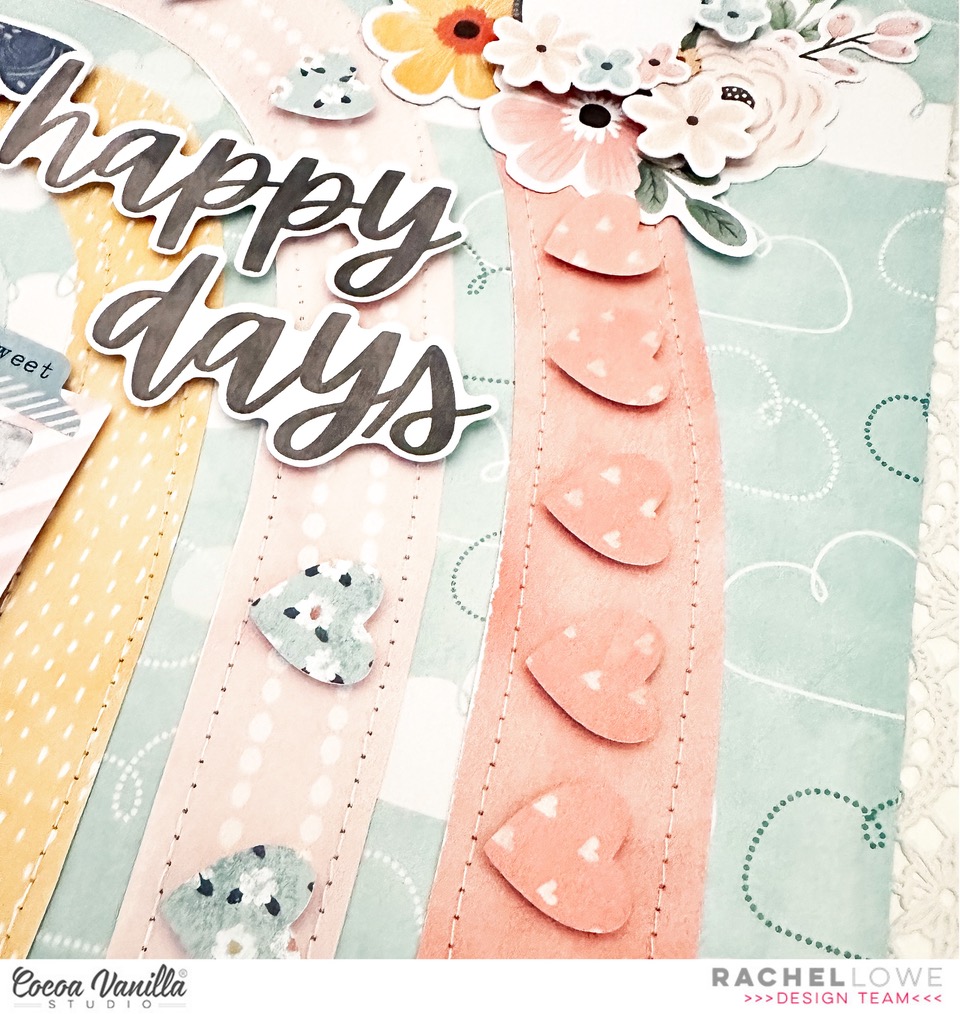
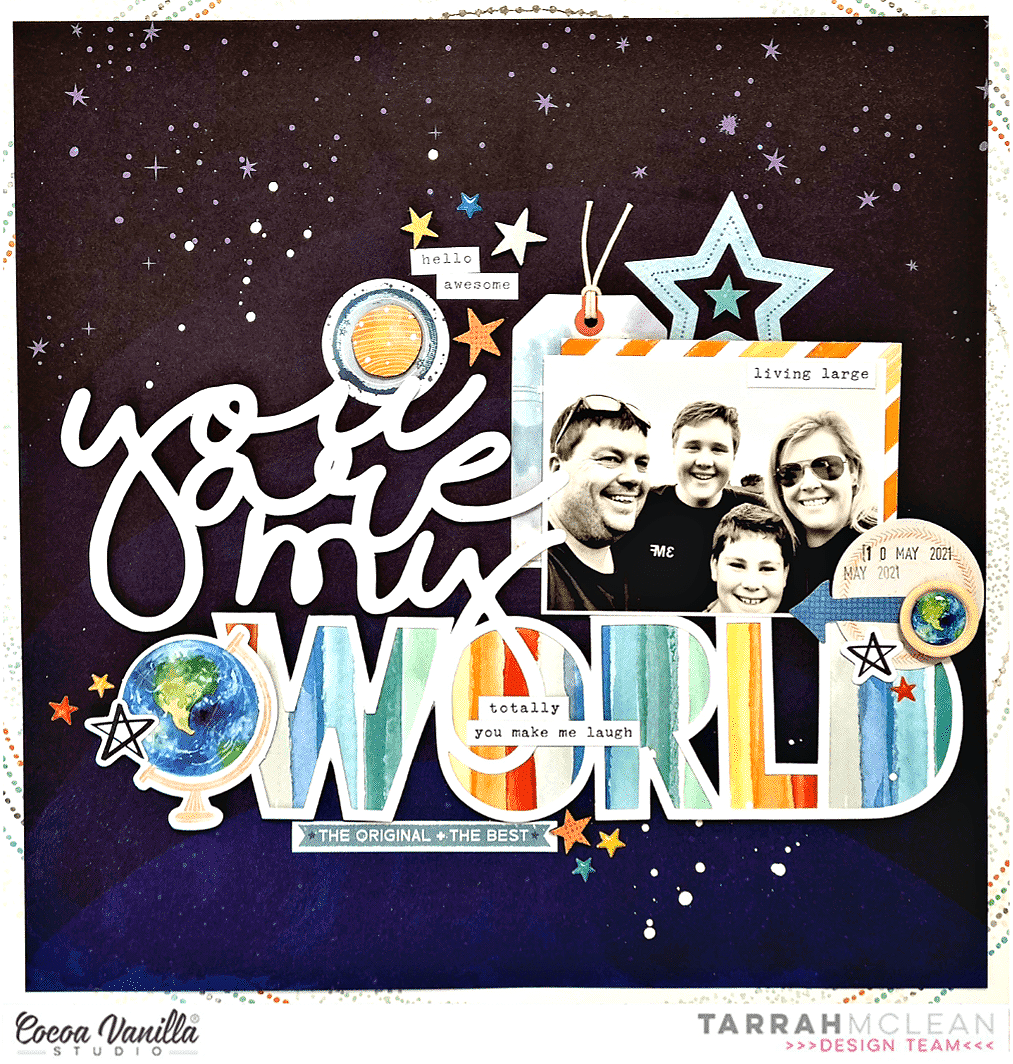
I chose to document a photo of my honey and I on a date a couple of months ago, opting to print the photo in black and white so that it would stand out amongst all the colour in the Happiness collection. I began by choosing a title cut file from CUT to YOU, cutting it out on white cardstock, I then took one of the papers from the A5 paper stack and backed the open letters in the cut file. I added craft foam to the underside of the larger letters and adhered it down in the centre of another sheet of plain white cardstock. I did leave adhesive off the top part of the cut file so that I could tuck in my photo and some embellishments and the cut file would be able to overlap these. I trimmed this white cardstock down to measure roughly 11′ x 11′ and adhered it to the ‘B’ side of the Botanical Bliss paper, I machine-stitched a border around the outside to add some texture and some interest.
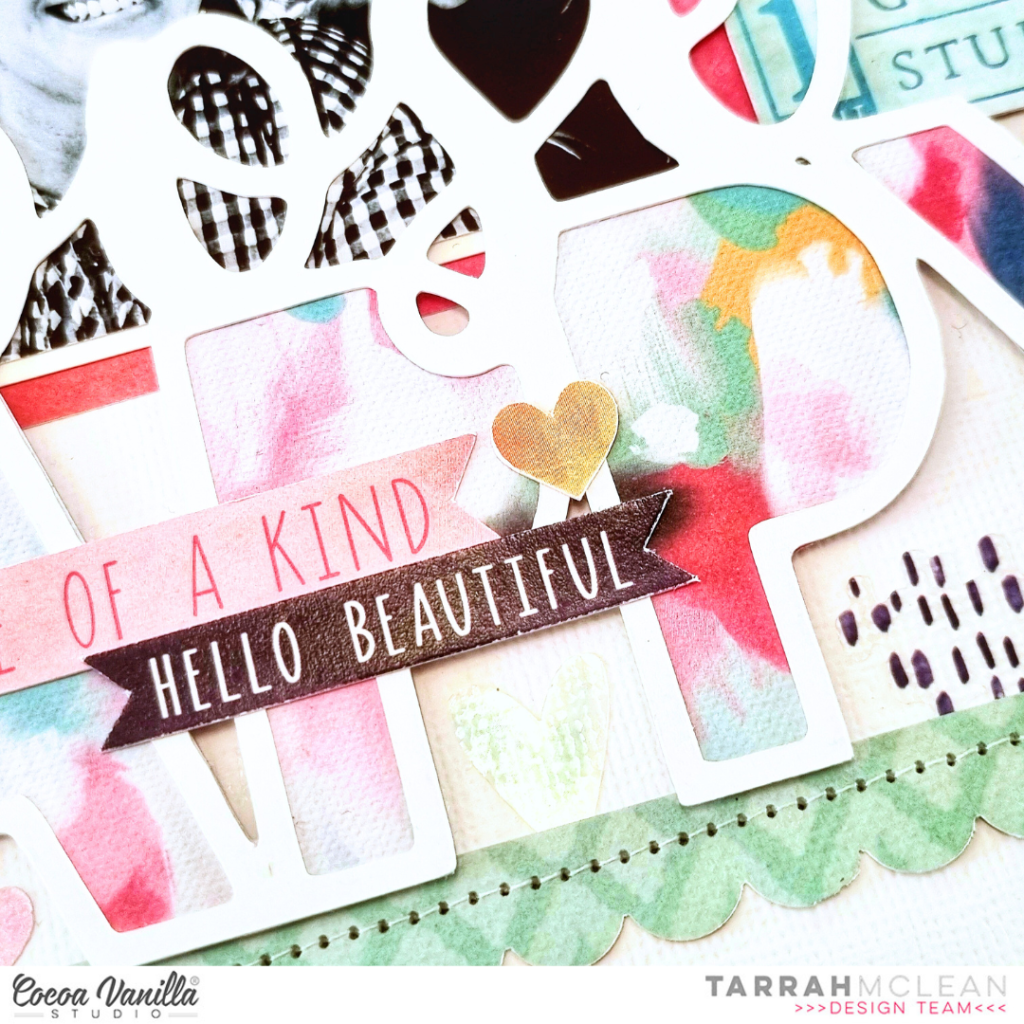
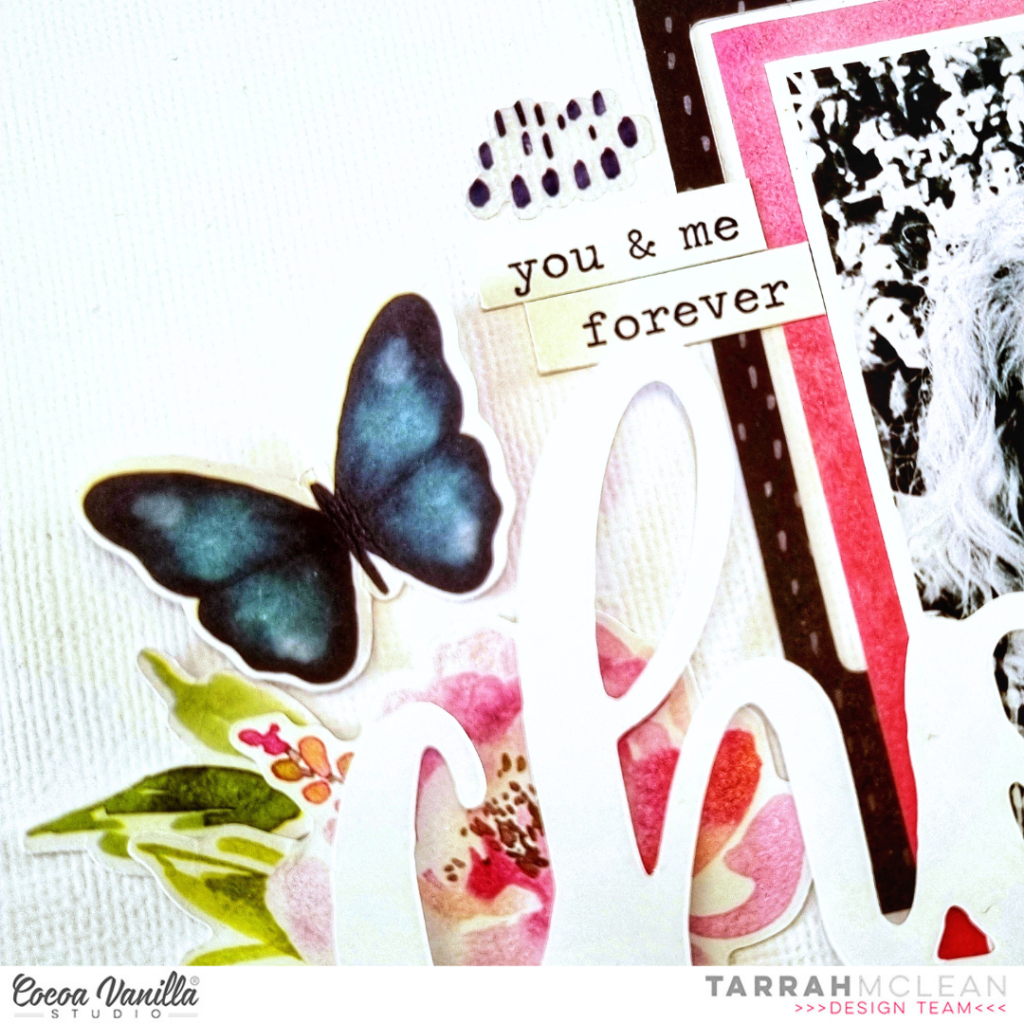
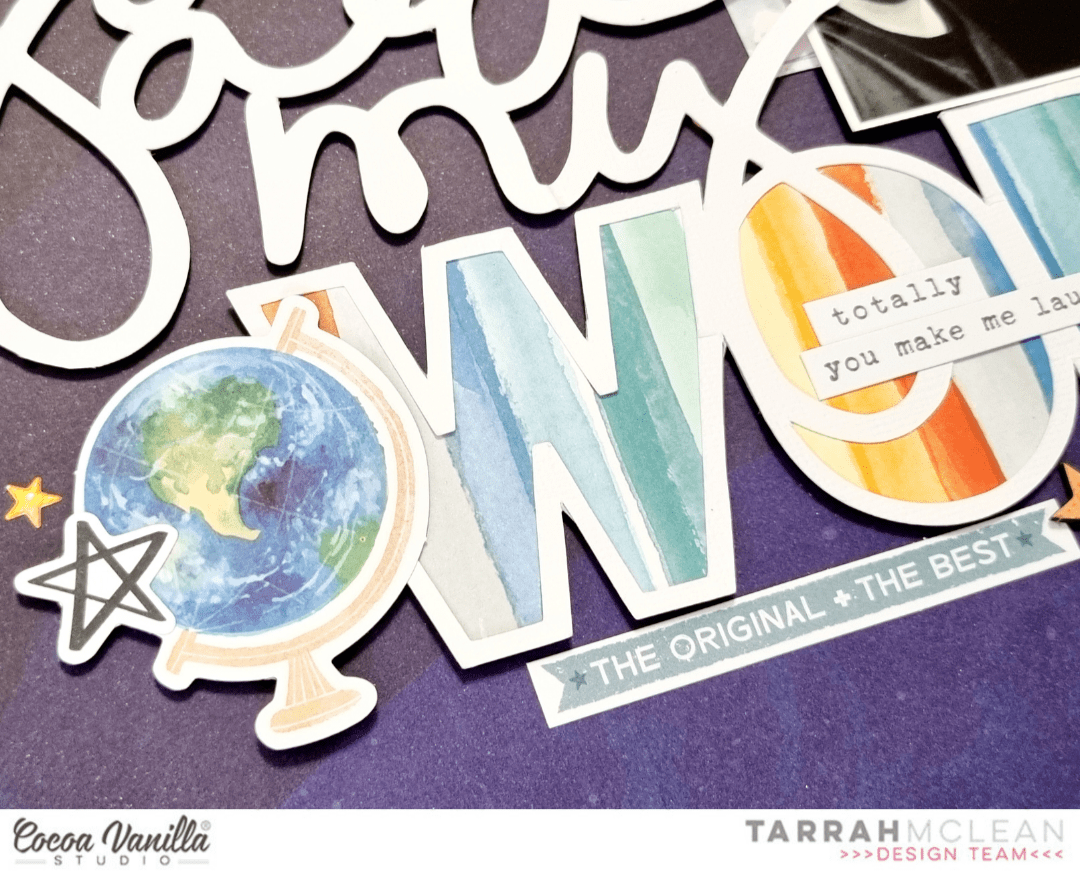
I layered another of the papers from the A5 paper stack underneath the photo and also one of the frames from the ephemera pack. I also tucked one of the journal spots from the Accessory sticker sheet into the top of the frame and photo. Next, I cut out the ‘You Are My Happy’ from the A5 paper pad and adhered it to the right-hand side of the photo. I also tucked in the tag from the Accessory sticker sheet into the top of the You Are My Happy piece. I took some more ephemera pieces like the florals and butterflies and layered them around the cut file, I also layered the phrase banner die-cuts on top of the cut file.
The clear stickers in this collection are gorgeous so I added them around my page and also some of the phrase stickers from the Accessory sticker sheet as well. As I don’t journal on my pages all that much, I love how these phrase stickers help to tell the story behind my photo.
I cut a strip of the ‘B’ side of the ‘Frame of Mind’ paper and punched out a scalloped border using my border punch. I then adhered this piece below the cut file and machine-stitched through the centre to add some extra texture. Lastly I stamped the date stamp to finish my layout. A love how it turned out and hope you are inspired to get creative!

Thanks so much for stopping by the Cocoa Vanilla blog today!
Happy creating!
Tarrah x


 I started my page by taking a sheet of white cardstock and adding a piece of vellum over the top to mute the white a little bit, as I had lots of the sequins left from the
  I took two of the 12 x 12 papers and cut some vertical strips from them and placed them down each side of the layout. then chose a gorgeous cut file title design by Cut To You and added some of the patterned papers behind each of the words. I added craft foam to the underneath and placed it in the centre of my page. I also popped up the photo of my sons on Christmas Day with craft foam so that it was at the same level as the title on my page. I love the shadows and dimension this creates on my page.
 I then began to embellish my page using some of the accessory stickers (that are still available in the store) some of the die-cuts, wood veneers and of course a bitty bow and the tiny metal key! I only had 1 of the poinsettia flowers in the die-cut pack left so I added just the one to the very bottom of the title and layered the bow over the top. Lastly I added some of the enamel dots from the Tis The Season collection.
  Have you got any of the