Out of this world | No limits Layout | Anna Komenda
Hello everyone! Today I have another layout made with brand new “No limits” collection. I once again reached out for the photo of my dog son and sent hit to the outer space. Idea for this page was maturing in my head since the day I got the collection. It’s filled with stars and fun cosmos related patterns so I though this kind of page is a “must do”. I didn’t have any specific picture so I had to improvise. This is the kind of page you make just for fun and to turn the idea into a project. Best part is everyone can recreate it becasue there are no special tools required like digital die cutting machine. I am a big fan of my Silhouette Cameo but I know not everyone has one and can be frustrated that some designes require this expensive equipment. That’s why I decided to make this page with handmade rocket. You can of course use cut file to recreate it but you don’t need to.
![]()
I cut every element of this page by hand with just a scissors and without any precise measuring and drawing skills. I started with printing my photo and cutting it into circle to establish the size of the rocket. Then I mixed several patterns from A5 Paper Stack and “Spark” paper to create a rocket. I was using one of the rockets from Die Cut Pack as a reference. It’s made out if basic geometrical figures cut by hand. They are not even, lines are wonky, but this is exactly what I was aiming at. After the rocket was finished I took my sewing machine and added some stitching of the edges for even more texture. You can replace them by fals stitches made with white gel pen.
![]()
I ended up cutting my dog out of the background and placing him in the round frame backed with piece of acetate creating a rocket window. I decided that the background in the photo was just too distracting. Word “epic” from Chipboard Stickers Pad became the name of the spaceship.
![]()
“Eclipse” paper is a perfect background for the outer space adventure! I places my rocket over it and added few wonky planets cut by hand here and there. Next step was to add title. It’s made with a set of Thickers in matching colors. My doggo is for sure out of this world! You can also add some other “space” related titles like “Take me to the moon”, “You are my moon, my sun and all of the stars” and probably few more. I finished my composition by adding few stars from Die Cut pack along and super cute puffy stars and planets from Puffy Stickers pack. Three wooden buttons add great texture. White splatters create make it all look even more like a space.
![]()
If you want to learn how this page was made, I recorded a process video for you!
I hope you will enjoy watching my Laika in the rocket.
That is all for today. Thank you so much for staying with me and see in again in two weeks!
XO Anna


 Hey crafty Paperlovers,
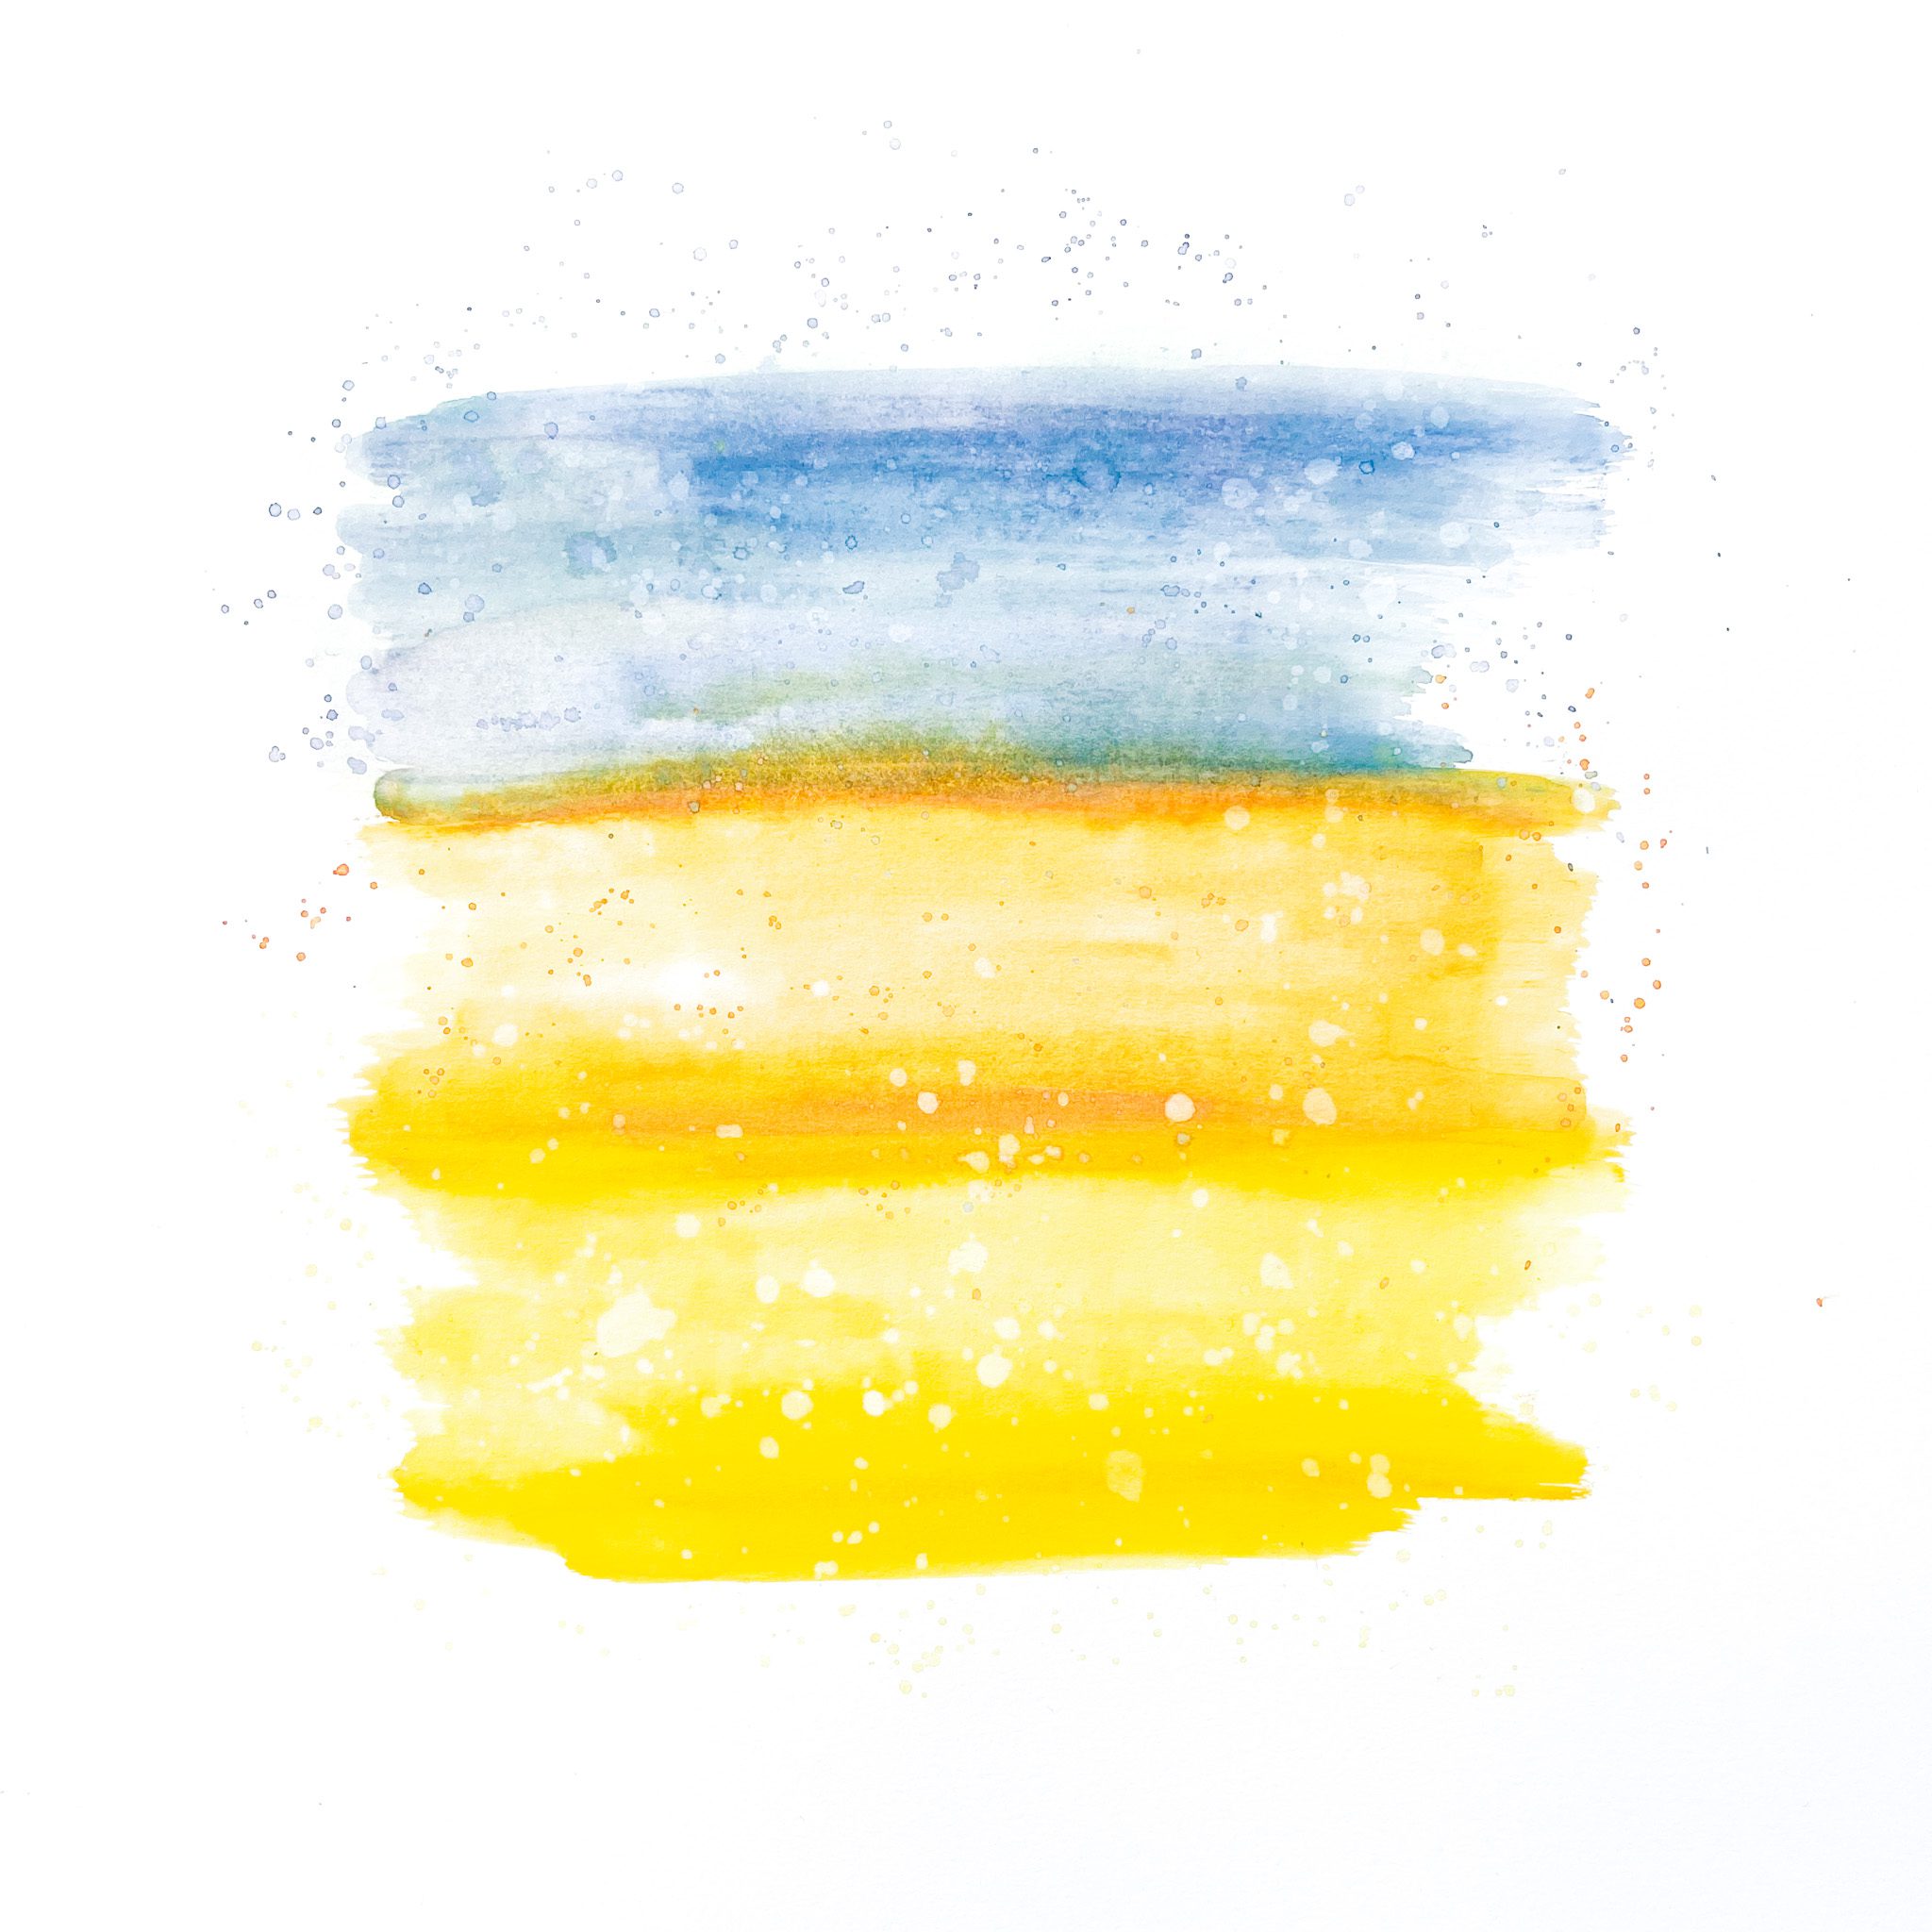
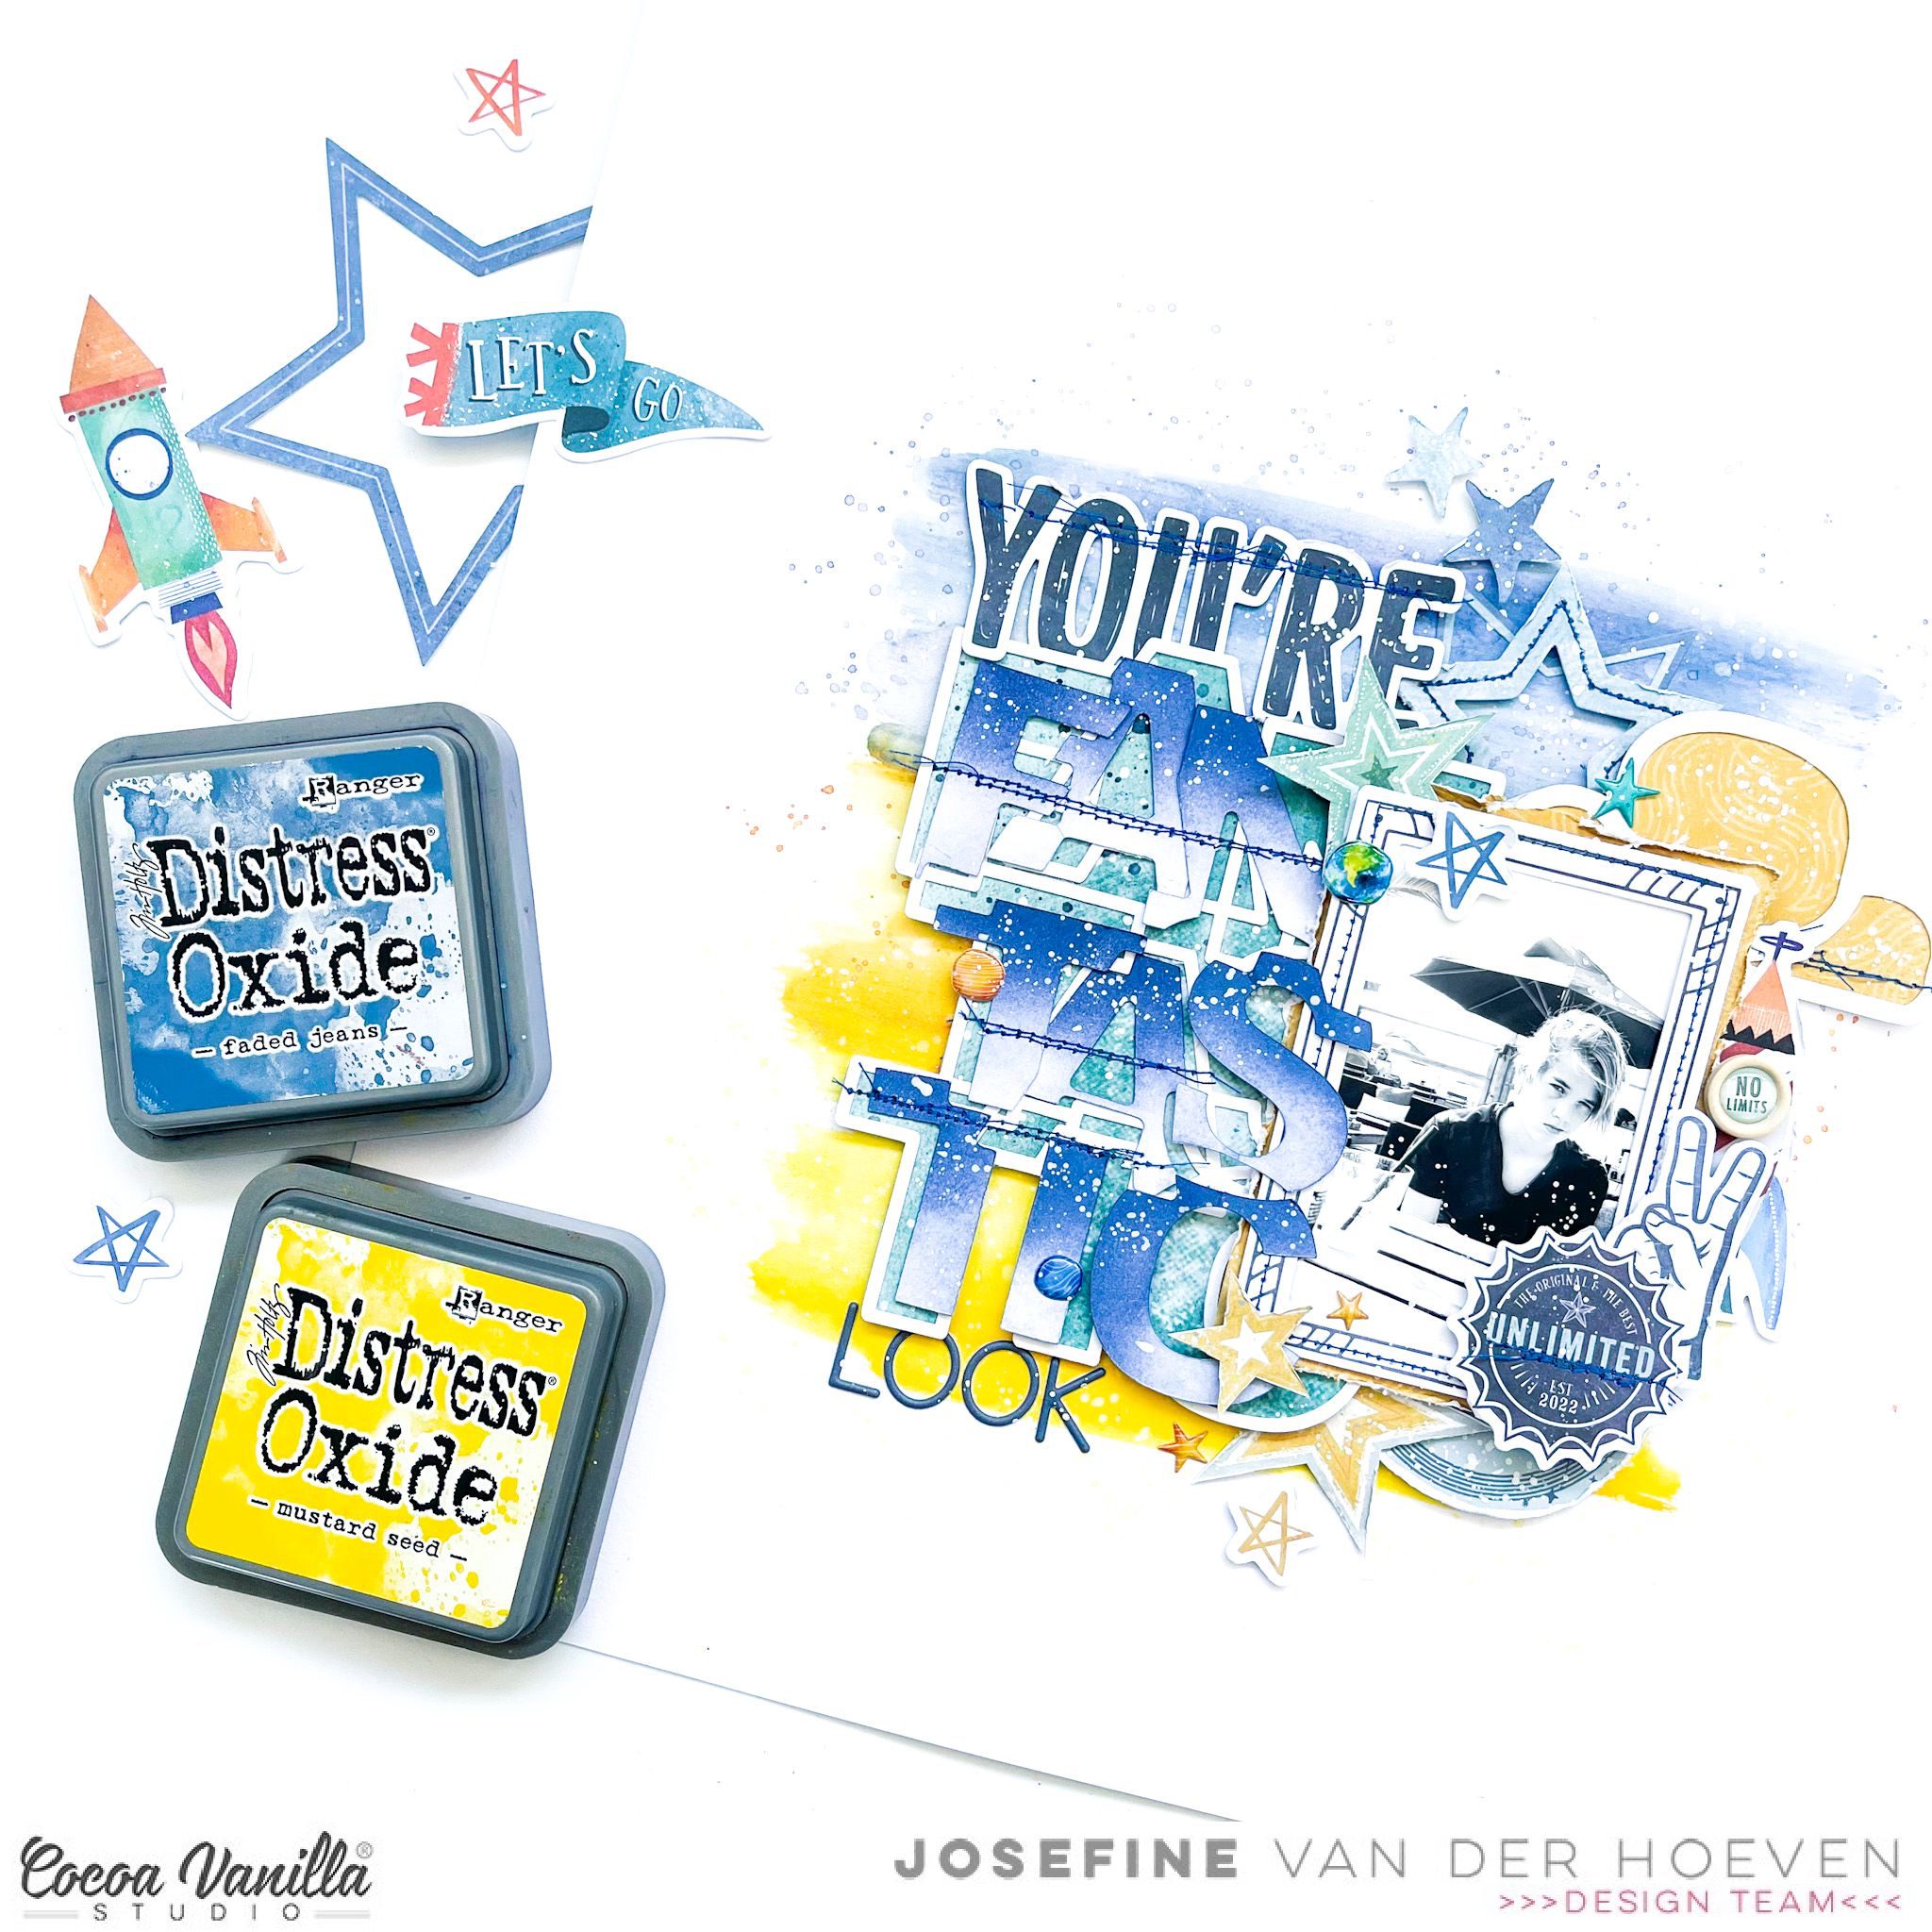
 I use a cutfile by Paige Evans called “Fantastic” as part of my title. I cut out the cutfile with my Cricut Maker and backed it with design paper. I color the alphas with the distress oxide “faded jeans” and then I stitch them with blue sewing thread on my cutfile. The stitch details give my layout more dimensions.
 I cut a few more stars from the fabulous pattern paper and spread them around the layout. I use another second cutfile from Paige Evans “Clouds” and use one cloud I back it with pattern paper, stitch some details with the blue sewing thread and place it behind the picture. I placed a few more puffy stars and planets here and there and finally I give my layout some white splatter with white gesso.


 I cut another circle from the dark blue patterned paper and placed it with 3D tape in the center of the yellow/orange mixed media background. Now it’s time to decorate my layout with die-cuts, stickers, stars and of course a title.


