Epic | Legendary collection | Sue Plumb
Hi everyone!
Sue Plumb here today to share my latest design team project with you, and my very first using the brand new ‘Legendary’ collection. It’s no secret that I love creating boy pages, so to finally have this amazing collection in my hands was very exciting. This range is fabulous for scrapping boys of all ages, so to prove it I thought I would kick off with a layout I created of my hubby (who really is just an overgrown boy! hehe)
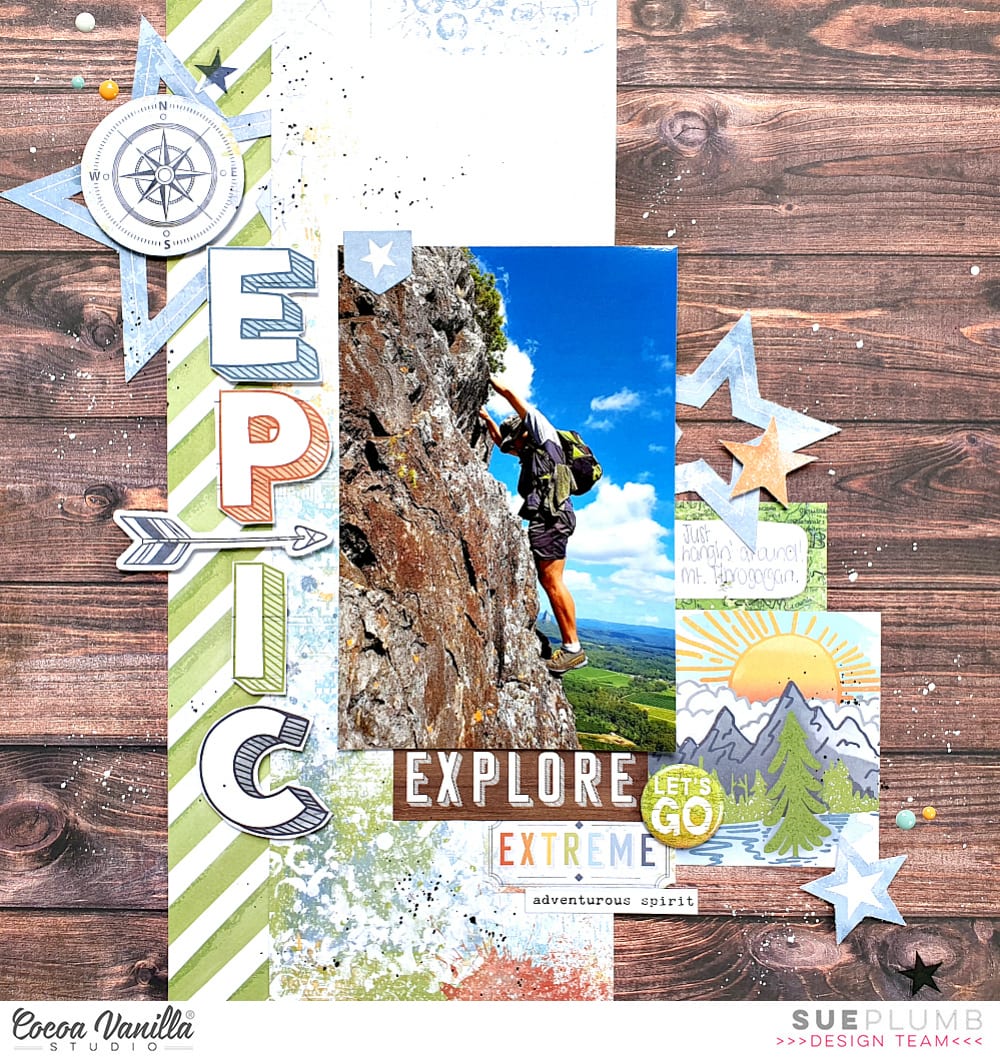
I knew immediately which photo I wanted to use – an awesome shot of my husband hanging off the side of a mountain that was taken by his best mate when they were climbing one day.
So I started my page with the gorgeous wood grain on the reverse side of the Outdoors Type paper, to tie in with the colour of the rock face. I then added a vertical strip of the mixed media style Offbeat paper; and a strip of the Explorer paper alongside it. (This provided me with a strong vertical base on which to mount my portrait oriented photo.)
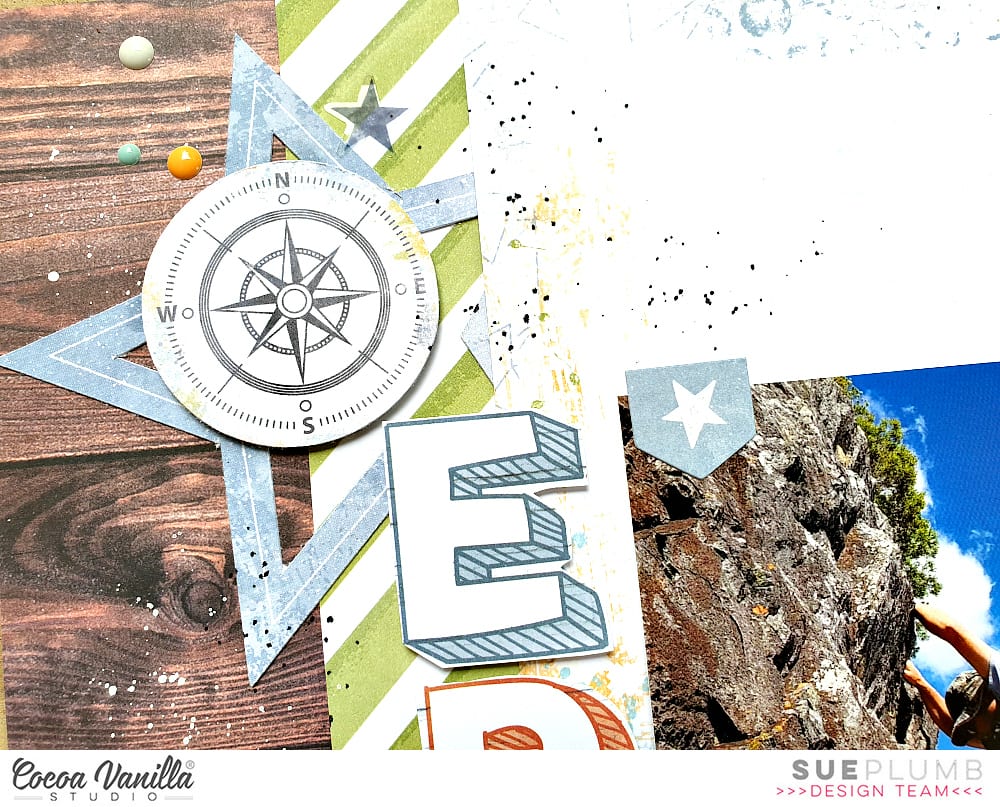
I then began building a diagonal line of embellishments that would provide flow and help draw the viewer’s eye through the photo. Starting in the top left corner, I added a large star from the Die Cut Ephemera pack, which I topped with the die cut compass using foam tape. I also added a small star sticker from the Clear Sticker pack and a sprinkling of Enamel Dots.

I continued the diagonal line of embellishments to the right of my photo using a couple more die cut stars from the ephemera pack and a journal spot from the cut apart Epic Tales paper.
I added a large cluster of items under and around the bottom right corner of my photo, using the mountain scene and the woodgrain explore label (both from the cut apart paper) and the extreme label from the ephemera pack. I topped these pieces with the let’s go Flair Button; added the adventurous spirit phrase sticker from the Accessory Sticker sheet; and another die cut star and more enamel dots.

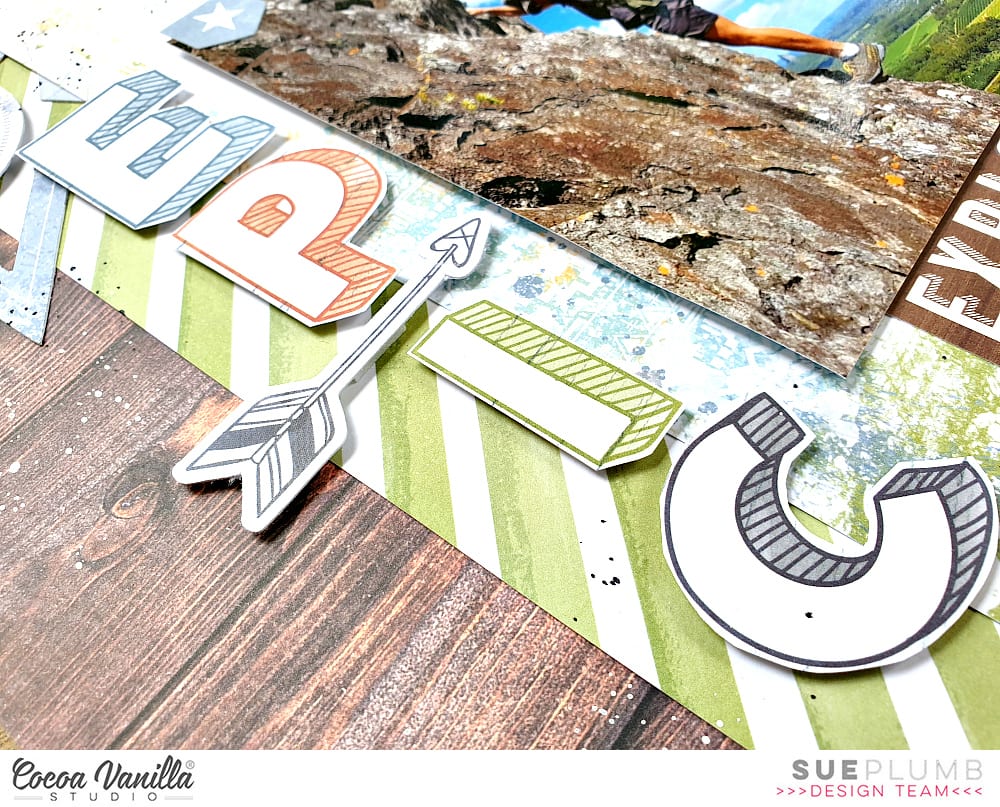
Next, I created a vertical title to run down the left side of my photo, by fussy cutting the word EPIC from the cut apart paper; and adding an arrow from the ephemera pack amongst the middle of the letters. (I popped all of these elements up slightly from the page using foam tape to provide extra dimension.)
To finish off, I added some tiny splatters of black and white ink and I was done! I am super happy with how this layout turned out (and had so much fun I had to create another page with the range immediately, but you will have to wait for that one, sorry!)

Stay tuned to see what else the design team have created with this range, or pop over to our Facebook Community Group to share your layouts with us – we love to see them.
Until next time, happy scrapping!
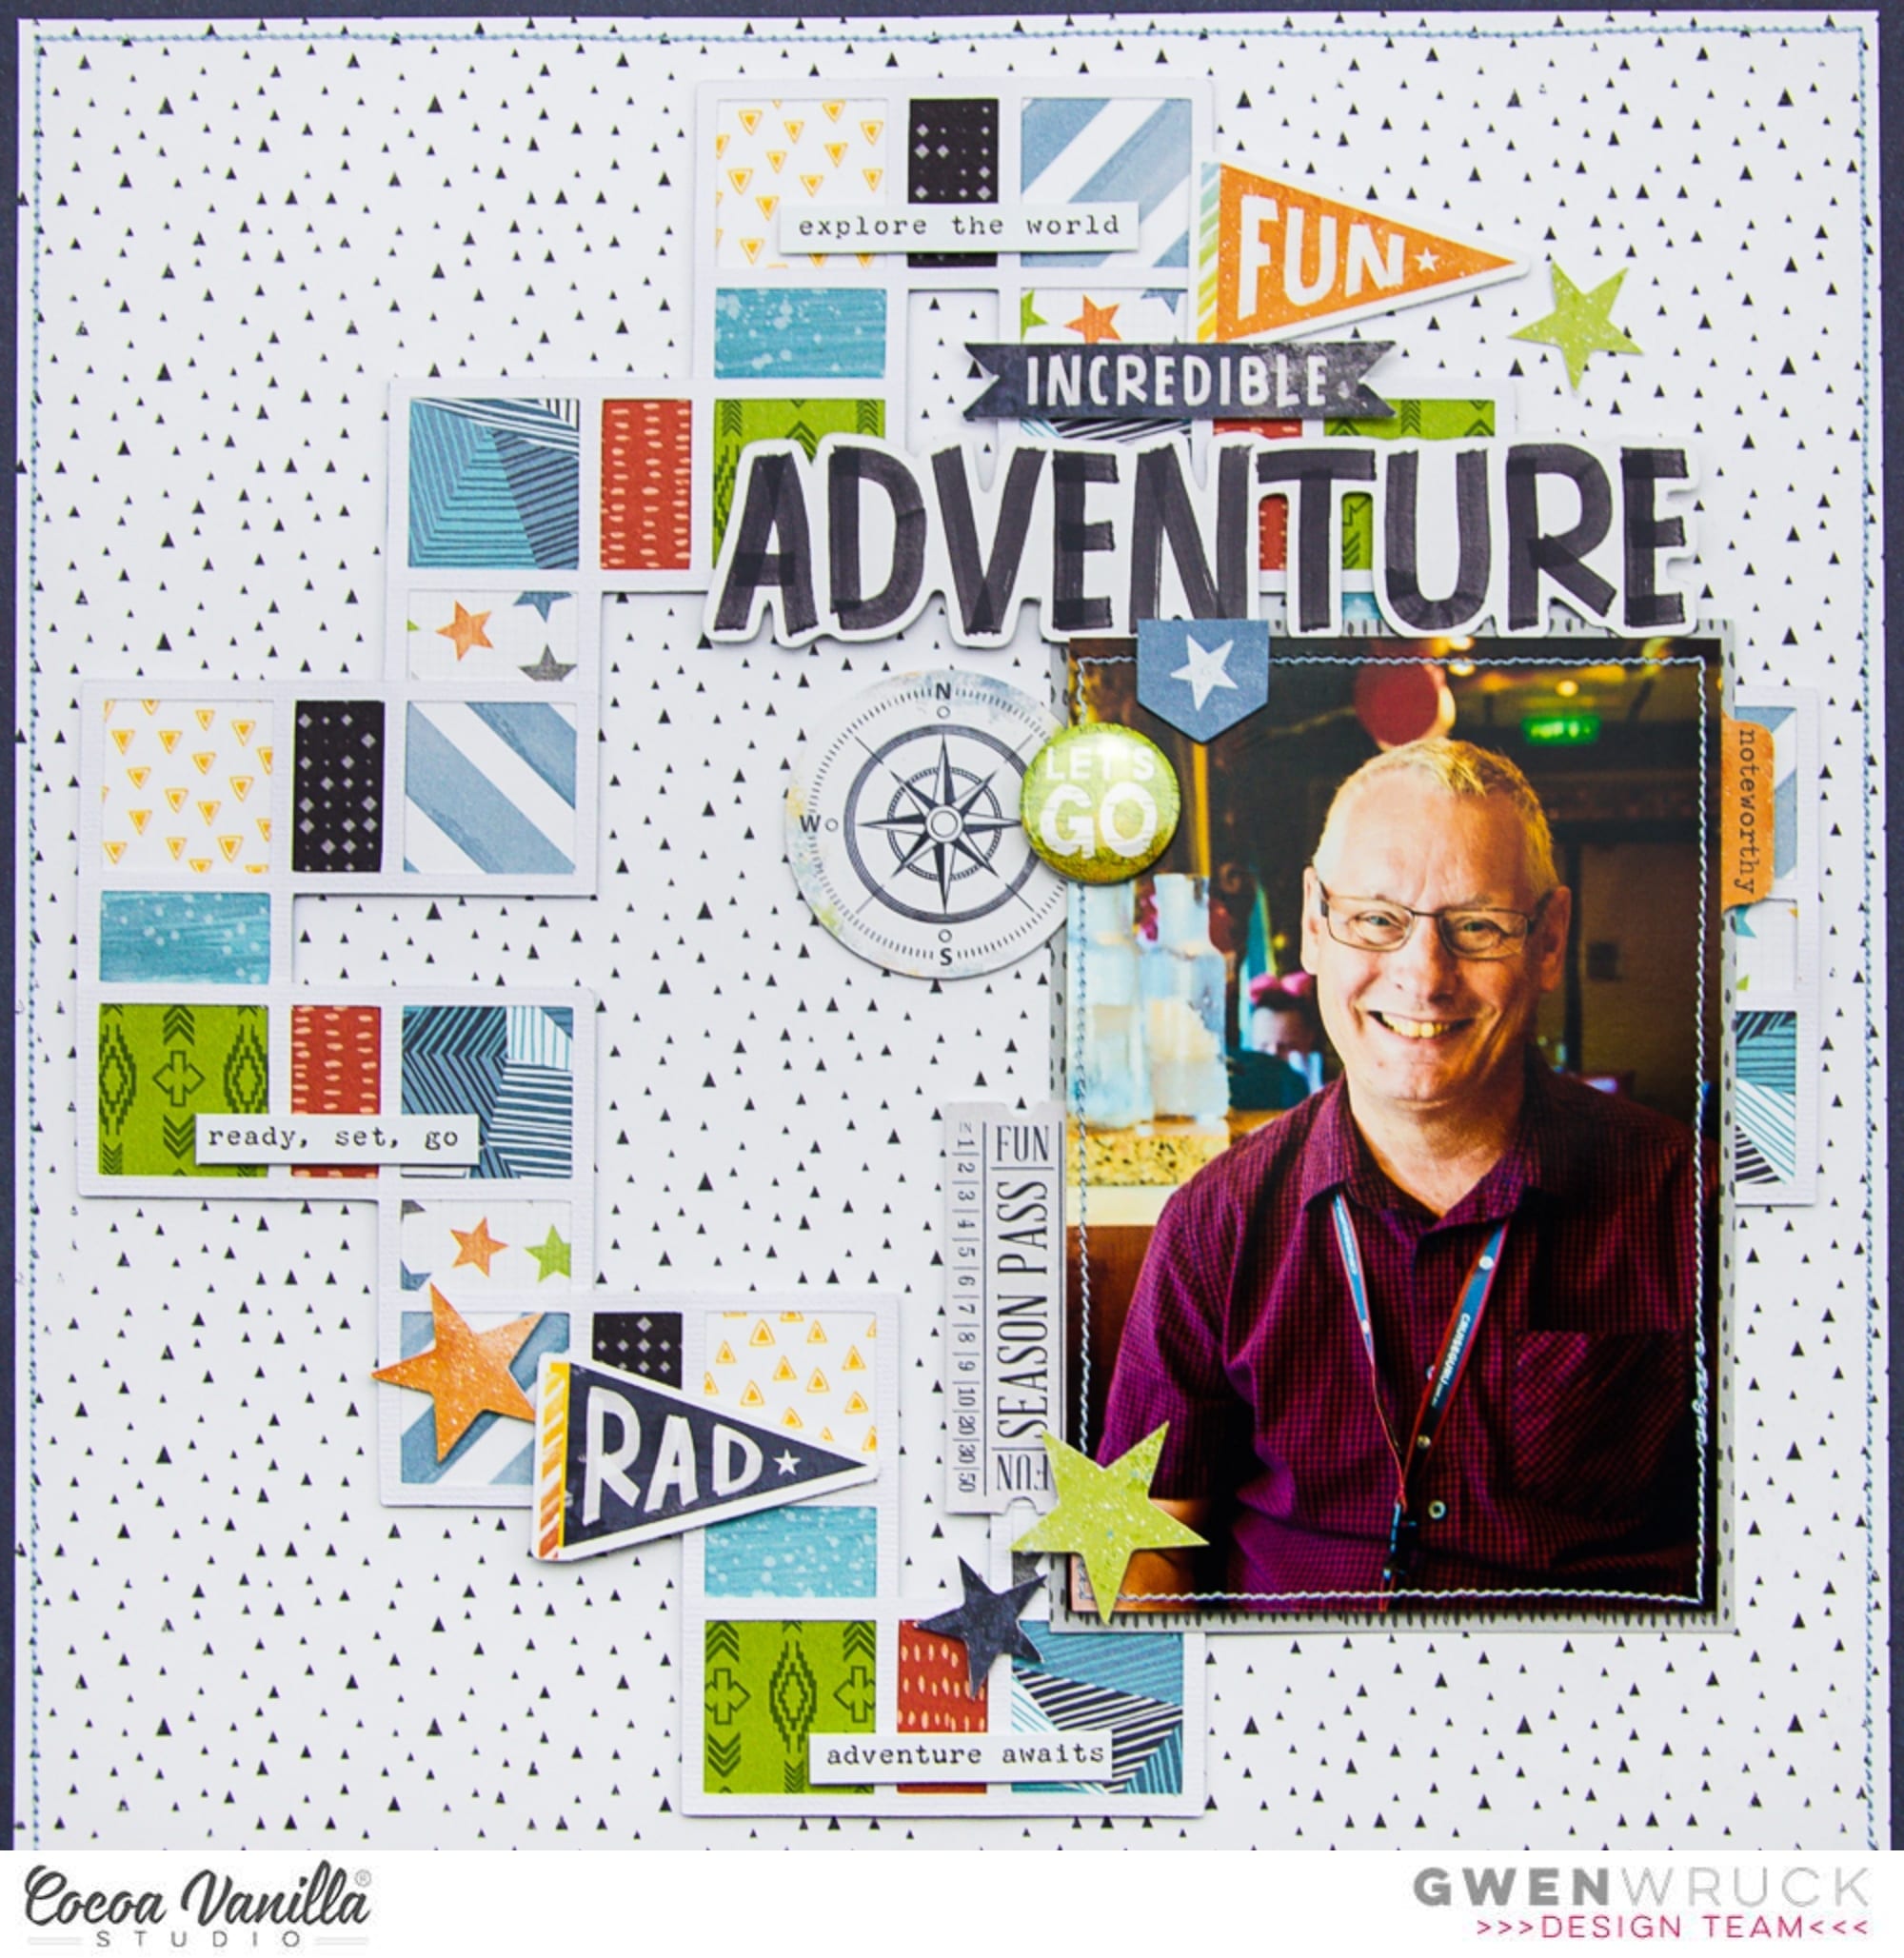


 One of my favourite papers from the collection is the rainbow one called ‘Wild One’, I love how it is in a diagonal design! I trimmed it down slightly and added it to the ‘Explorer’ paper, I like the navy as a mat for the page. I then cut out a diagonal triangle cut file design from The Cut Shoppe from white cardstock and placed it over the top of the paper. I love how the white breaks up some of the rainbow paper. I machine stitched around the outside edge of the layout.
 The large stars in the ephemera pack have a line drawn on them so they were perfect to machine stitch, see the detail on 2 of the larger stars in the photo below. I matted my photo using the wood grain frame die-cut and one of the small cut out papers from the ‘Total Legend’ paper, I also stapled one of banner die-cuts to the top left corner of my photo. I adhered the largest star in the top left corner and the smaller one in the bottom right corner and then adhered my photo over the top.
 The Die-Cut title pack are awesome and I love the font of these! I chose the words ‘Cool Dude’ for my title and popped it up with pop dots underneath and placed to the right of my photo. I took lots of the coloured stars from the die-cut pack and popped them up in rainbow fashion like the paper. I love the height and shadows this creates! I also added one of the awesome flair buttons with the star on it to the right of the ‘Cool’ word in my title. Lastly I added a few of the clear stickers, accessory stickers and enamel dots to finish my layout.