First day of Grade Six | Storyteller | Michelle Stokes
Hey Everyone it’s Michelle back with you today to share a super quick layout featuring the amazing Storyteller Collection. I’m still loving this collection with all its bright primary colours, perfect for documenting some first day of school photos that almost didn’t make it to print!
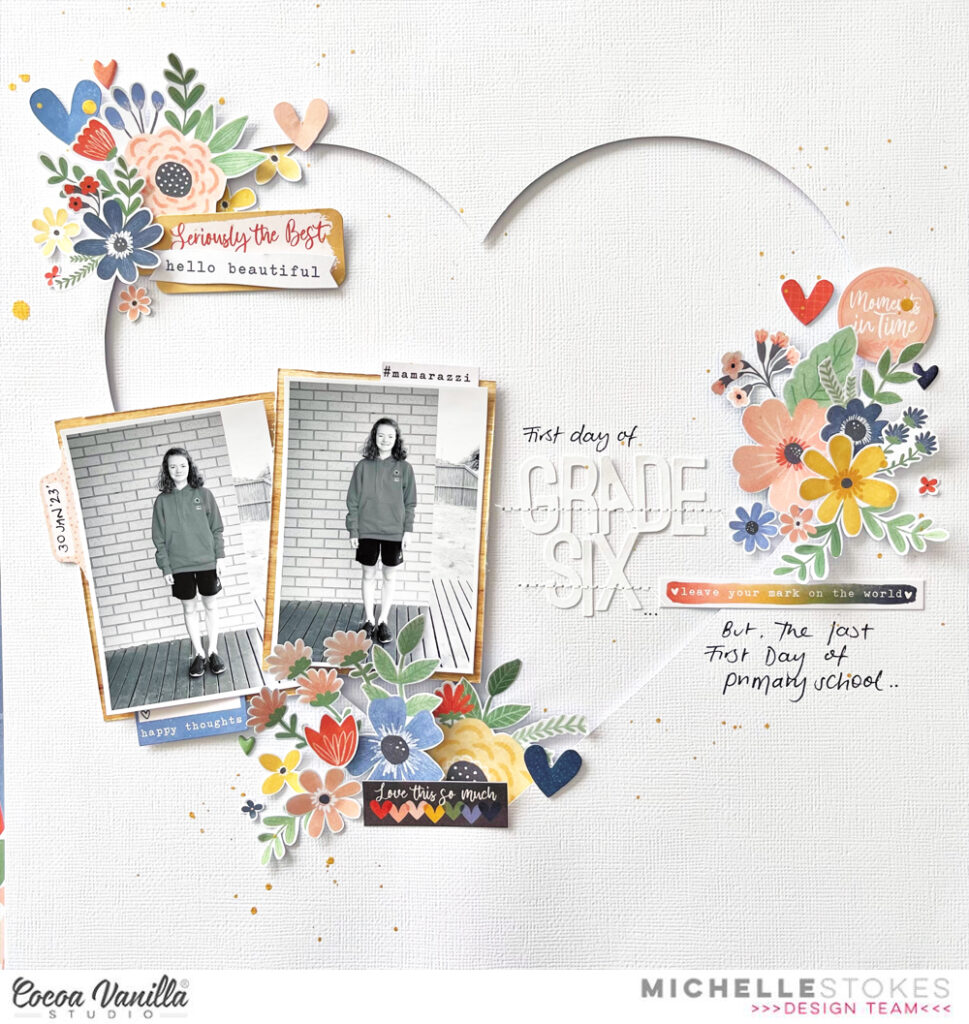
I knew I wanted to create something fast, simple and pretty all at the same time, and as we’re still in the month of ‘love’ I felt it needed to incorporate some kind of large heart design along with groups of pretty florals. The layout ended up being exactly what I was aiming for and will be a well cherished addition to Leila’s childhood albums for years to come.

I started off by finding a generic heart shape through google, and cutting the large shape out in the middle of some white cardstock using my silhouette. I adhered this piece to a second layer of white cardstock using foam sheets to give it some flat dimension.
I knew I’d be adding lots of colours to the layout in the way of floral clusters, so to avoid any pattern/ colour clashing I printed the photos of Leila in Black and White at just a smidge over 3x2inch size. I backed both photos with the woodgrain paper (Cross it Off) from the collection, added a couple of accessory stickers and adhered these pieces to the left of the heart using more foam sheeting to pop them up off the page a little.

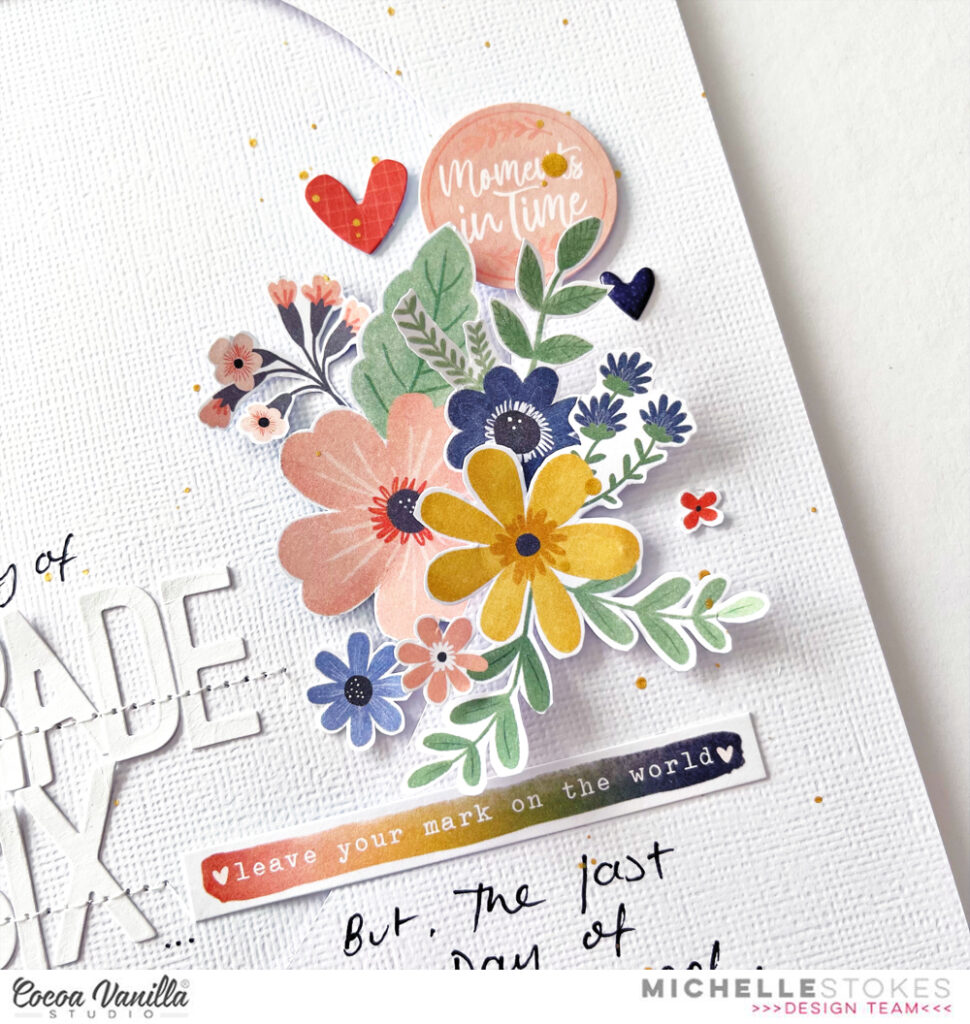
The floral clusters came together so nicely but were probably the parts of the layout that took the longest. Fussy cutting is quite therapeutic, yet time consuming. I added a mix of ephemera pieces and accessory stickers to each of the groups to mix them up. The beautiful florals are from a mix of both the 12×12 and A5 version of the Spring Fling paper.
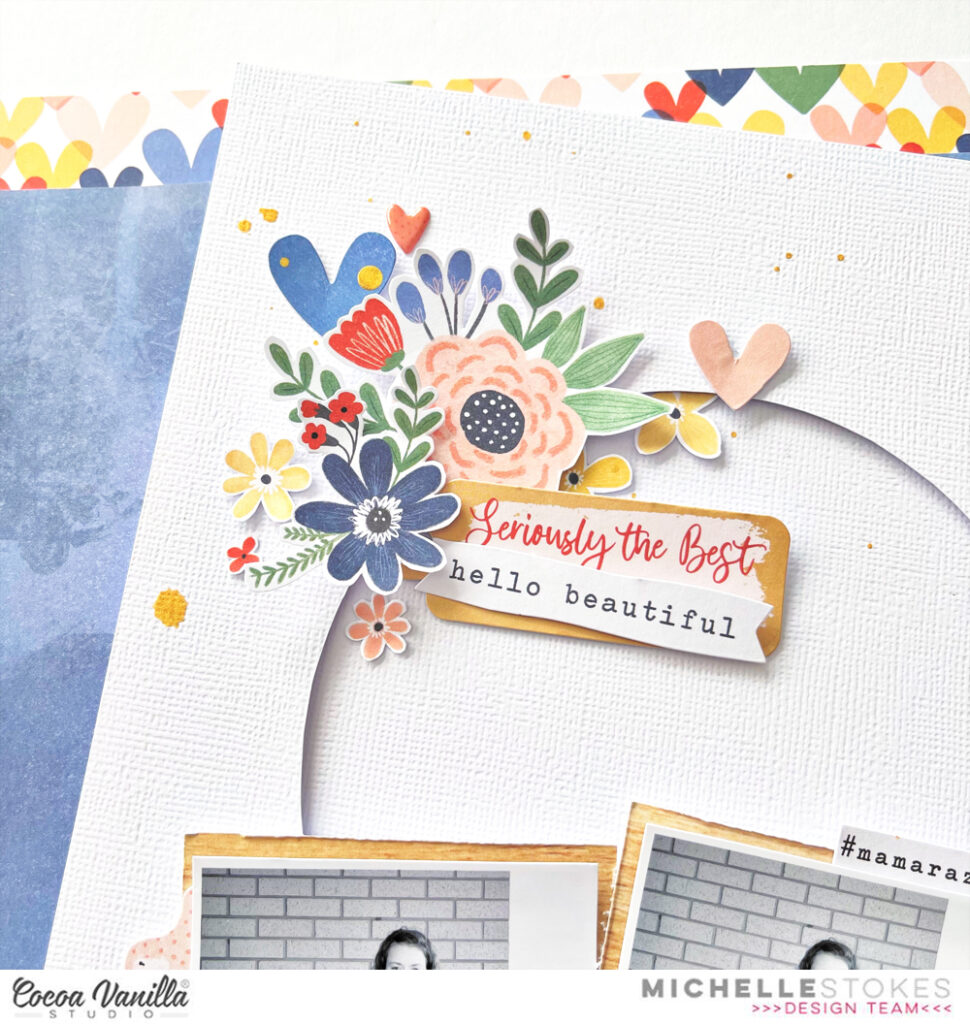
I used a mix of adhesives for the clusters, mostly foam tape and glue dots for slight dimension.

There’s also a sneaky enamel heart within each cluster for a finishing touch within each group.
I created a mixed font title using the usual blend of both handwritten text and my beloved white alpha stickers, with the addition of machine stitching for extra detail and to keep them in place.
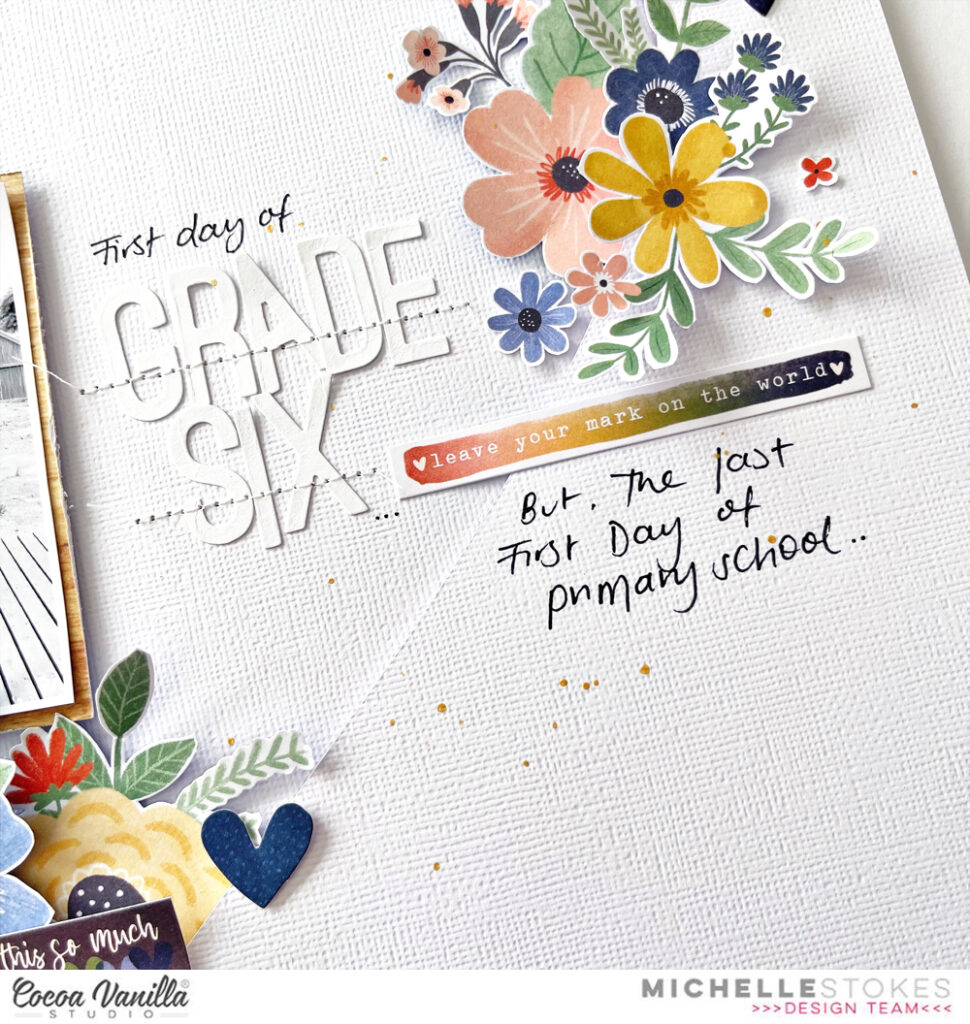
Here’s a closer look at how sweet these alphas are, lets all keep our fingers and toes crossed that they make an appearance back in the CVS store sometime in the future as they really are the best for creating titles with.

I added the usual gold ink splatters around the layout to finish it all off to, something I do to all layouts to make them feel complete.
Here’s one final look at the entire layout and all its white space goodness!
Well thats all from me today, thank you so much for stopping by to see another of my crafty creations using the Storyteller Collection. I hope you’re all still loving this collection as much as we all are, but I bet you’re all itching to see what the amazing Zoe comes up with next. Be sure to keep an eye on all our Social Media Channels for more scrappy inspiration from all the team here at Cocoa Vanilla Studio.
Until next time, Happy Scrapping!
Michelle x
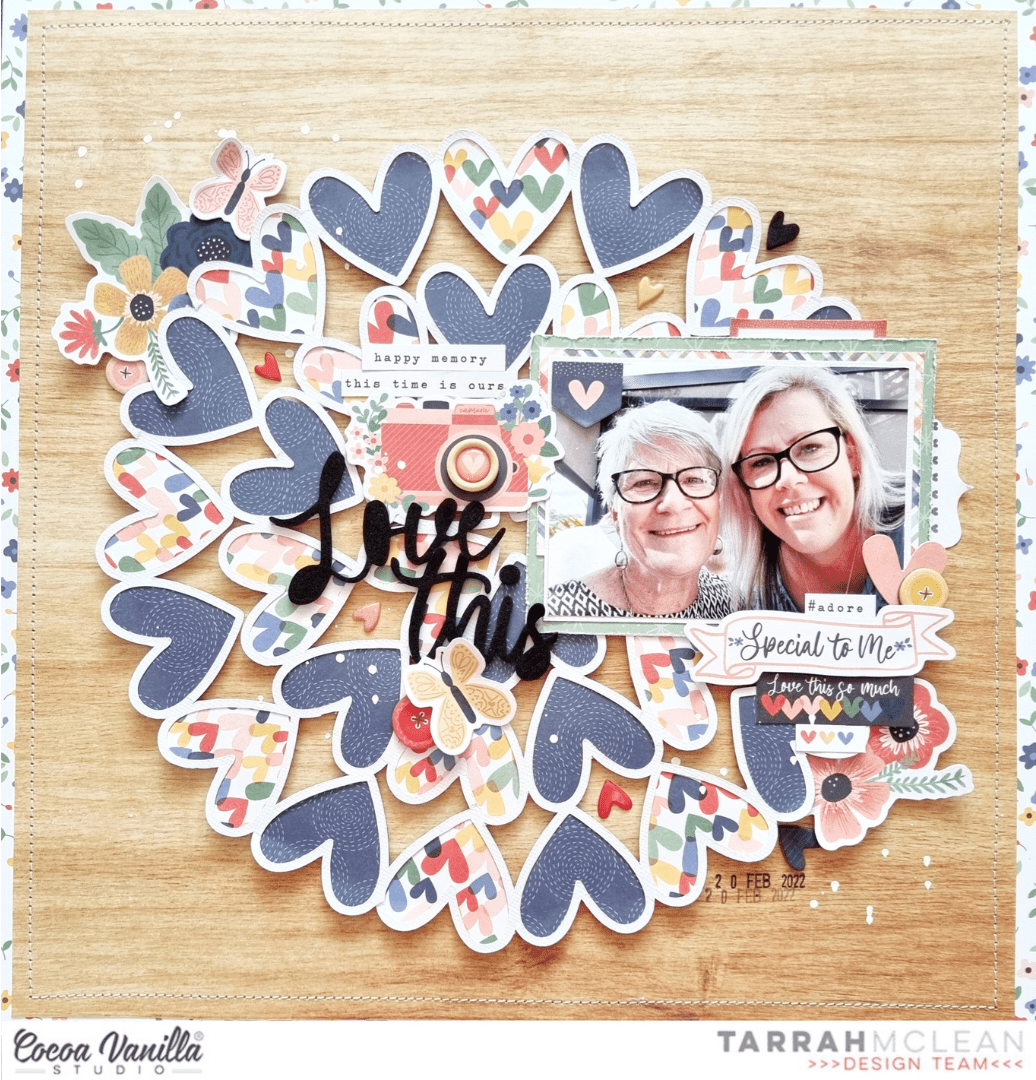


 I chose a pink, grey and white colour scheme for my layout today, I pulled some of the papers and lots of embellishments that were in that colour scheme and started out by cutting the cut file on white cardstock, I cut the file out with the intention of leaving some of the design inside the cardstock. I loved how I could pop out the hearts and create a dimensional look with them. I backed the cut file design with the pink paper and then machine stitched around the circle – you can see more detail in the photo below. I then matted the cut file and pink paper onto one of the grey patterned papers.
  The photo is of my sister and I at our brothers wedding a couple of years ago, not often we get photos together with both my sister and brother living in England now. I added lots of paper layers underneath my photo and used foam tape to pop up my photo from the page. In the photo below, you can see I added a cluster of embellishments including some die-cuts and accessory stickers, I used foam dots again to lift up the camera die-cut and I also added one of the enamel dots to the centre – hooray for enamel dots making a come back in this collection! I love them! Over one the right hand side is another cluster featuring some of the floral and butterfly die-cuts. I also added one of the cute bows to the right of my title.
 My title is one of the gorgeous foam word titles, these are brilliant to add to any project, they make a statement and they really pop off the page too! I added one of the larger butterfly die-cuts to the left of the title to balance out the with the smaller one on the right hand side. A couple more enamel dots and a couple pf the gorgeous clear stickers were also added for some extra interest and texture.


