Good Times | Heart & Home collection | Mandy Melville
Hello everyone!
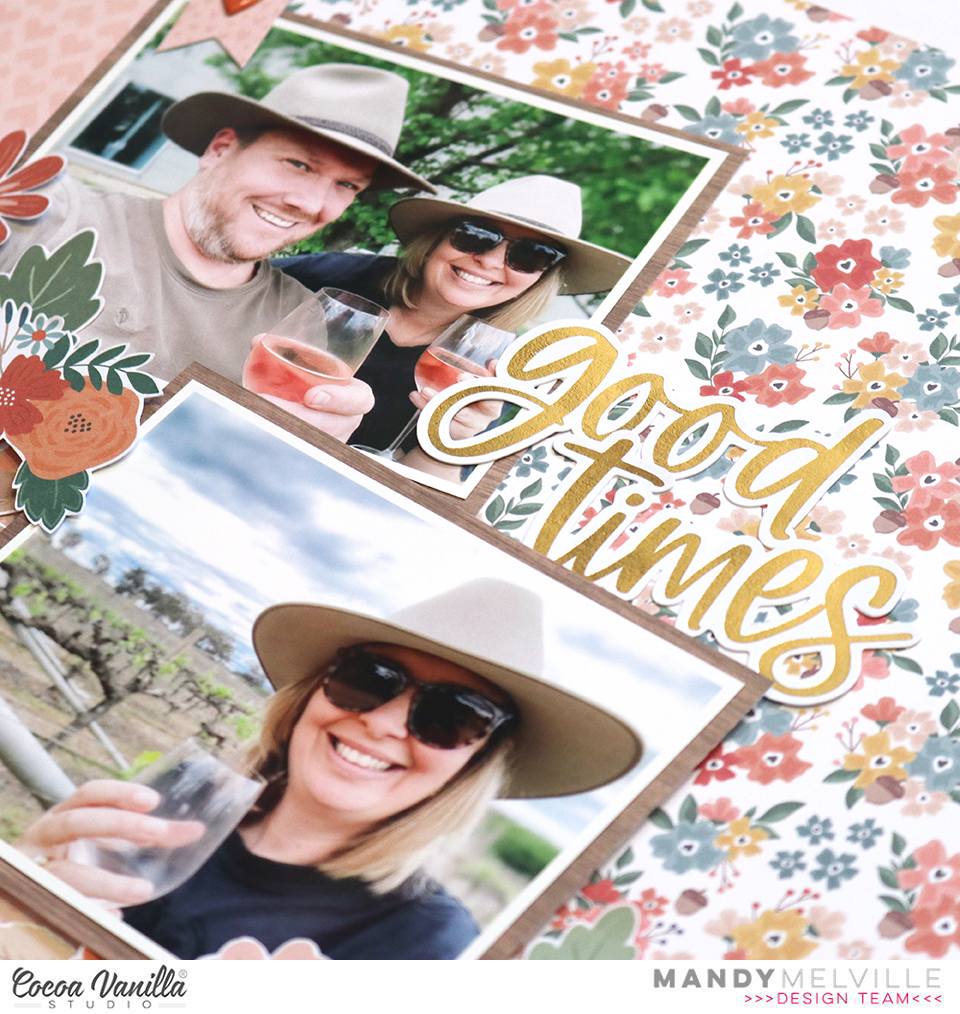
Mandy here today to share a new layout featuring the stunningly beautiful Heart & Home collection. On this layout I documented a couple of photos of my hubby and I that were taken when we visited a winery recently in Mudgee. We had such a lovely time wine tasting and then having a picnic on the grounds of the winery. The colours in the Heart & Home collection complemented my photos beautifully, so it was the perfect choice for scrapbooking these photos.

I started with the Golden Fields and the Fall Beauty patterned papers. I cut them both in half diagonally and then adhered them together to create my background. When creating a background like this, it’s best to make sure that one of the patterned papers has a less busy patterned so that your background doesn’t become too busy and overwhelm your photos. Next I matted my photos with the woodgrain paper from the A5 Paper Stack and adhered them at an angle along the join between the two background papers.
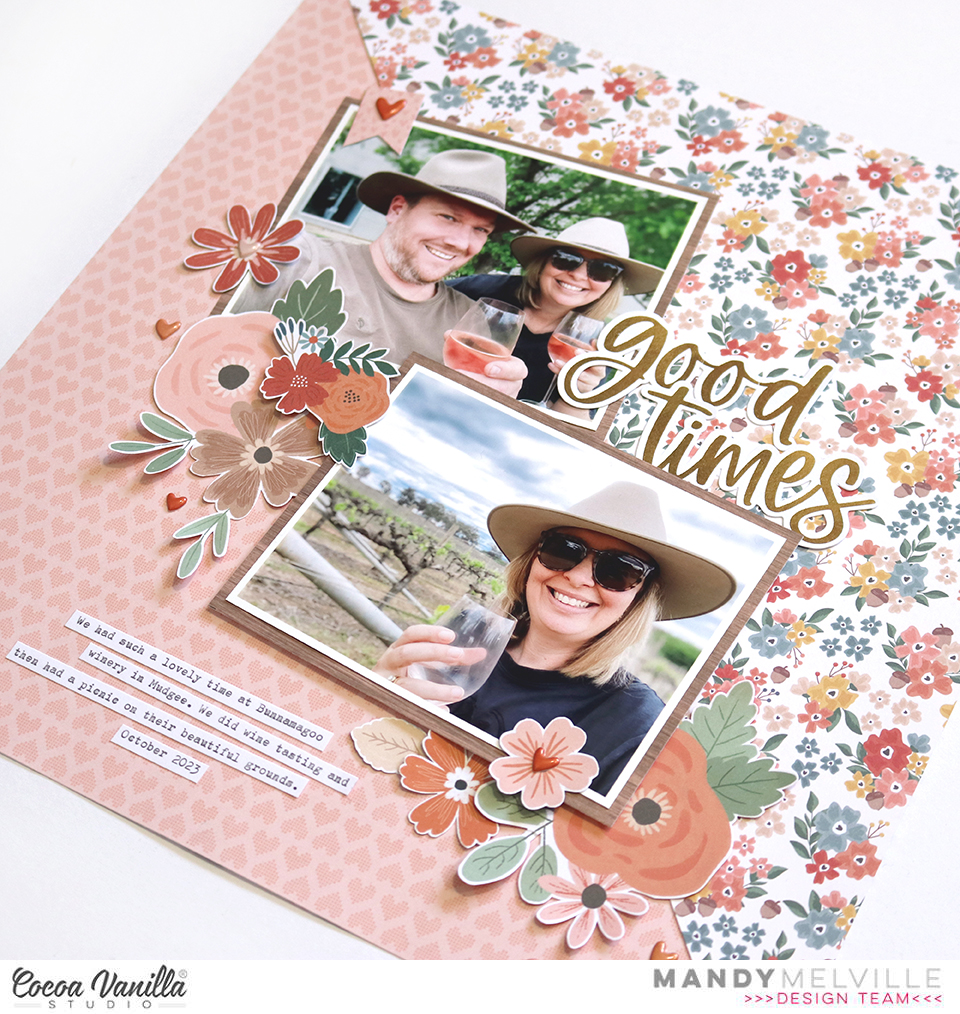
Because the background already added so much interest to the page, I wanted to keep the embellishing fairly simple. I decided on adding two floral clusters which were positioned again along that diagonal to draw the viewer’s eye down the page and through the photos. I used a combination of florals that I fussy cut out of the Bountiful paper, along with Die Cut and Floral Ephemera. I used foam tape to give the clusters some dimension and I avoided adding adhesive to the leaves so that they would lift nicely off the page.
 I kept to a warm colour palette on this page, choosing the reds, pinks and oranges, and making sure to repeat these colours in both clusters to keep them looking balanced. By tucking some flowers under the edge of the photo, and adding others on top, it helps to give the cluster some extra dimension and interest. I also finished off both clusters with some Puffy Stickers.

For my title I couldn’t go past using the gorgeous Gold Foil Titles! I chose the phrase ‘Good Times’ and tucked the words in to the right of the photos. There are so many words in the pack, it makes it so easy to add beautiful titles to your pages! And who doesn’t love a touch of gold?!
 Thanks so much for joining me here on the blog today! I’ll be back next month with some more inspiration.
Mandy x

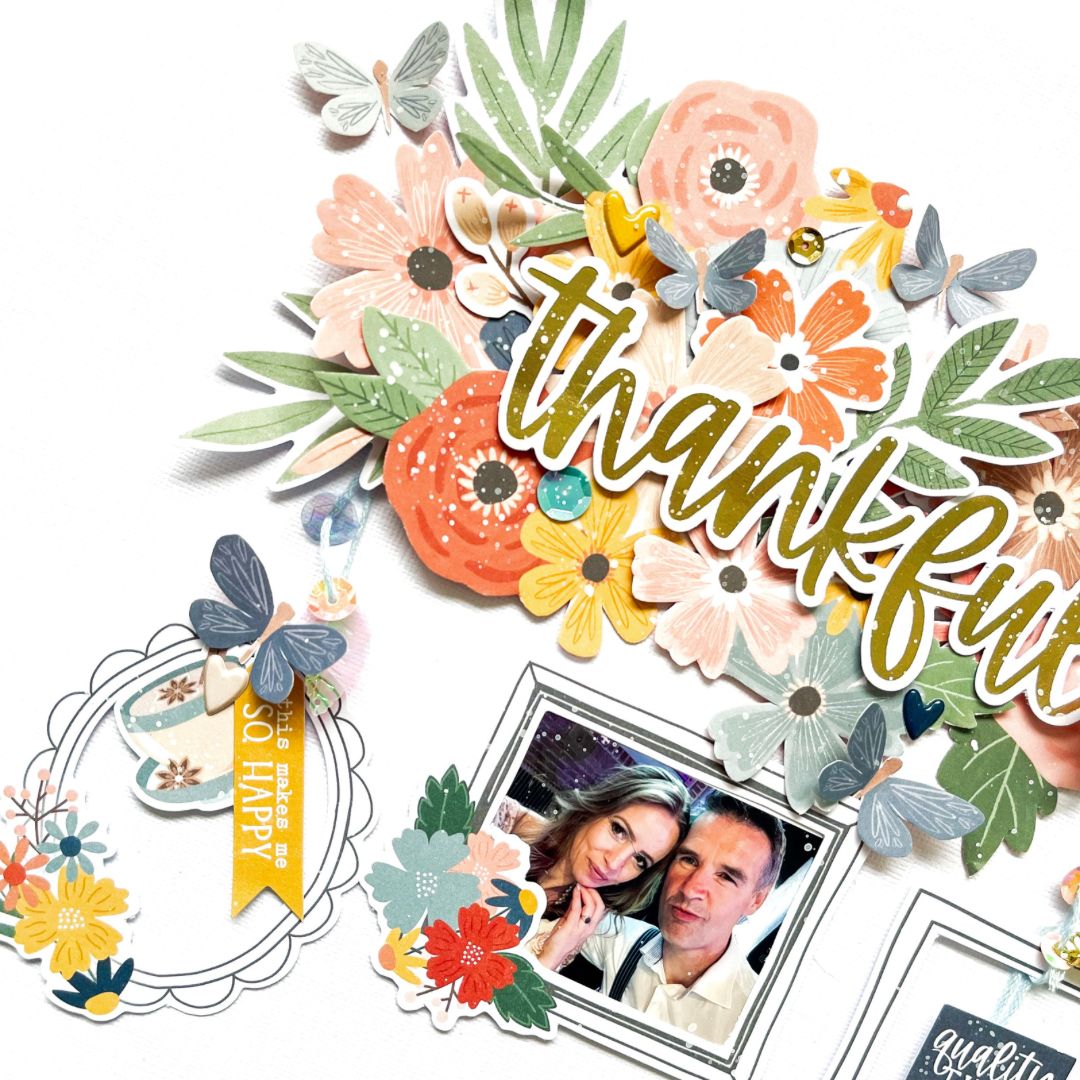
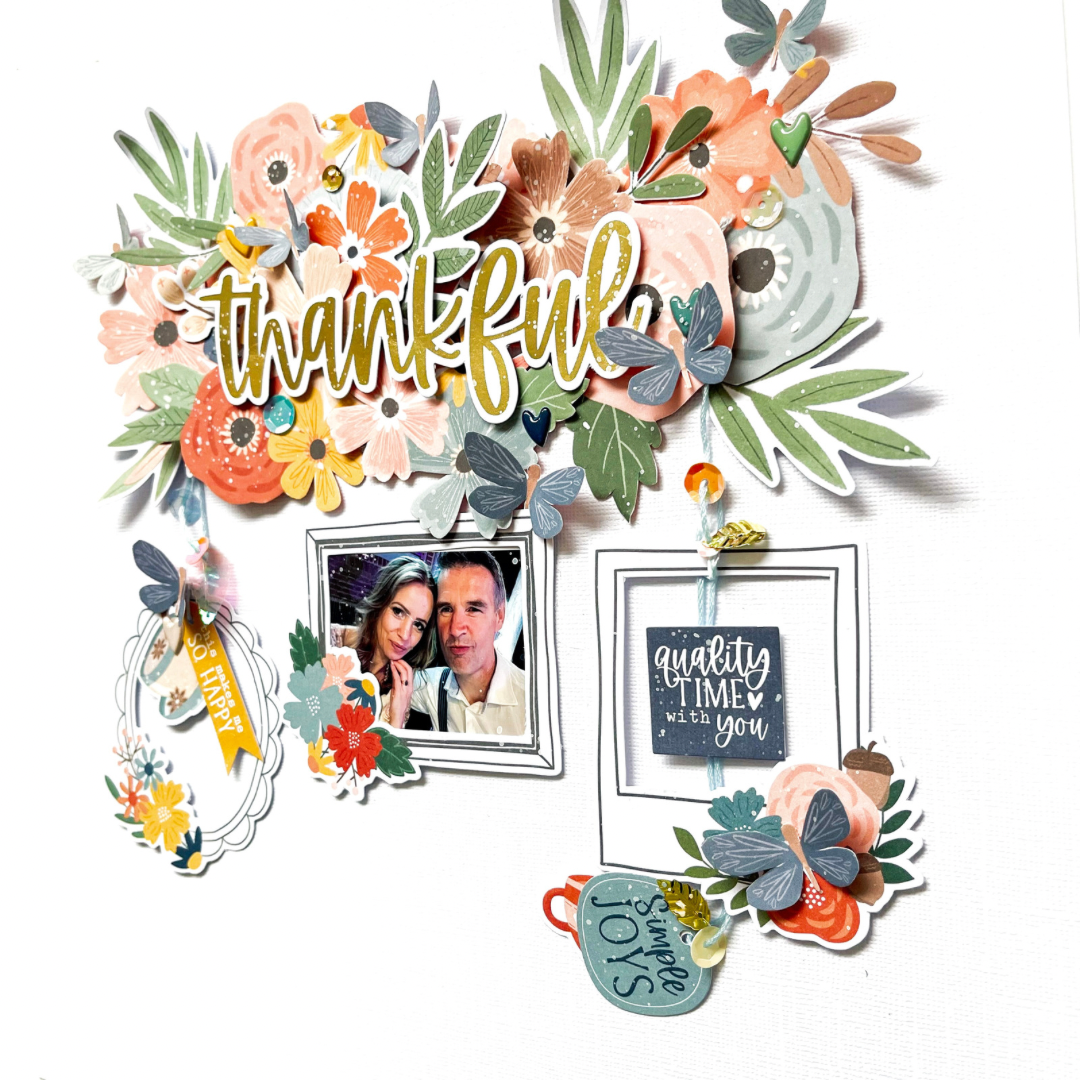


 To balance out the heaviness of the right side of the layout, I created a cluster of embellishments that mostly included some more of the gorgeous florals. I adhered some flat and adhered some with craft foam to create different heights and dimension. I did add a die-cut that said ‘Everyday Beauty’ here also. Some more phrases were added too including the Happiness Is Homemade banner that I added under the title and the Moment Captured banner die-cut that I adhered on top of the photo. I also added the Joyful Days sticker from the Accessory sticker sheet just above the title. Lastly I added some of the puffy hearts around the page, stamped the date stamp and sprinkled some white mist around.
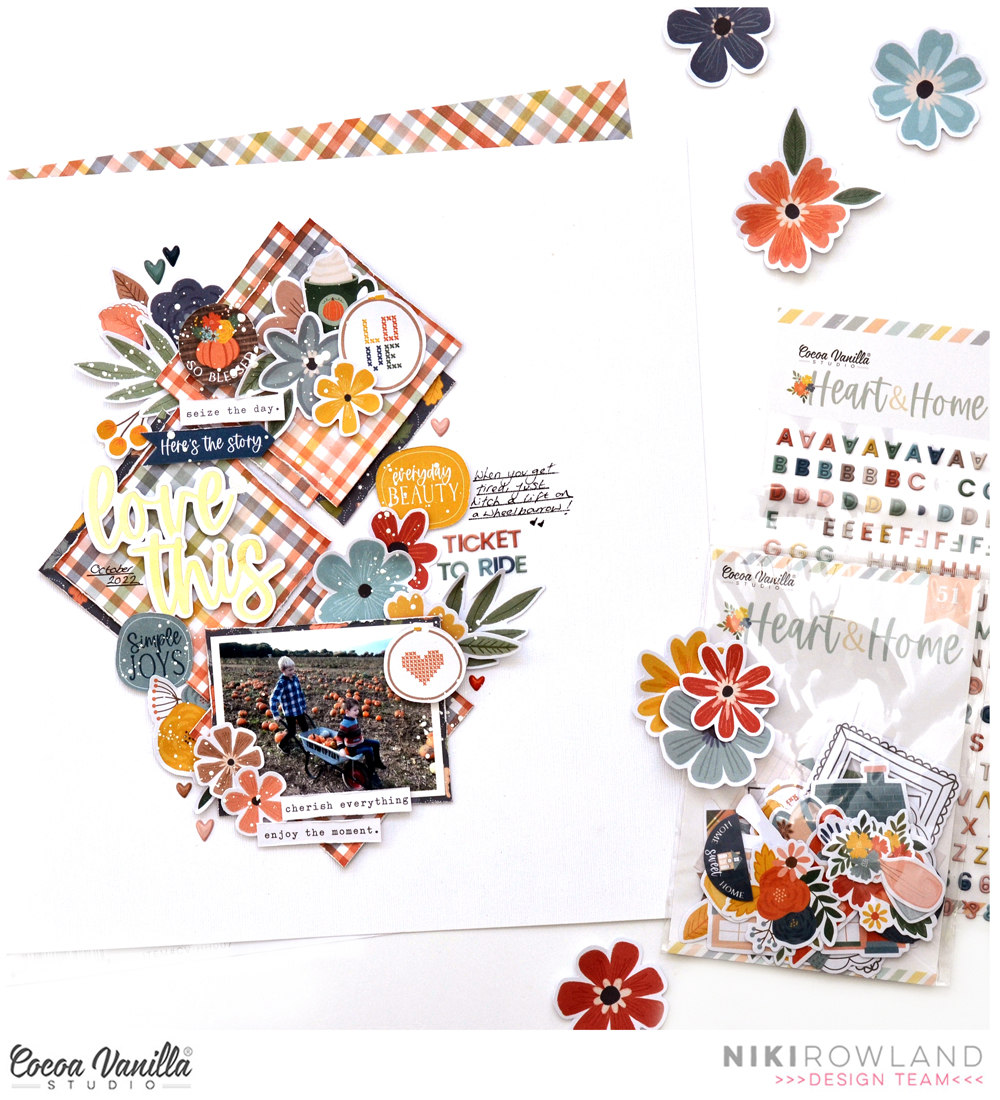
 I started my layout with the striped Harvest paper as my background. On top of that I layered a piece of the woodgrain Framed paper which gave a neutral area for me to add my photos and title. Down the left hand side of the page I created a border by layering the Fall Beauty and the Leaf Litter papers and finishing it off with a punched honeycomb border.
 To give some extra interest to the photos, and to help them stand out from the background, I added some patterned paper layers behind them. I also adhered the photos at a slight angle which gives the layout a more whimsical feel rather than being too structured.
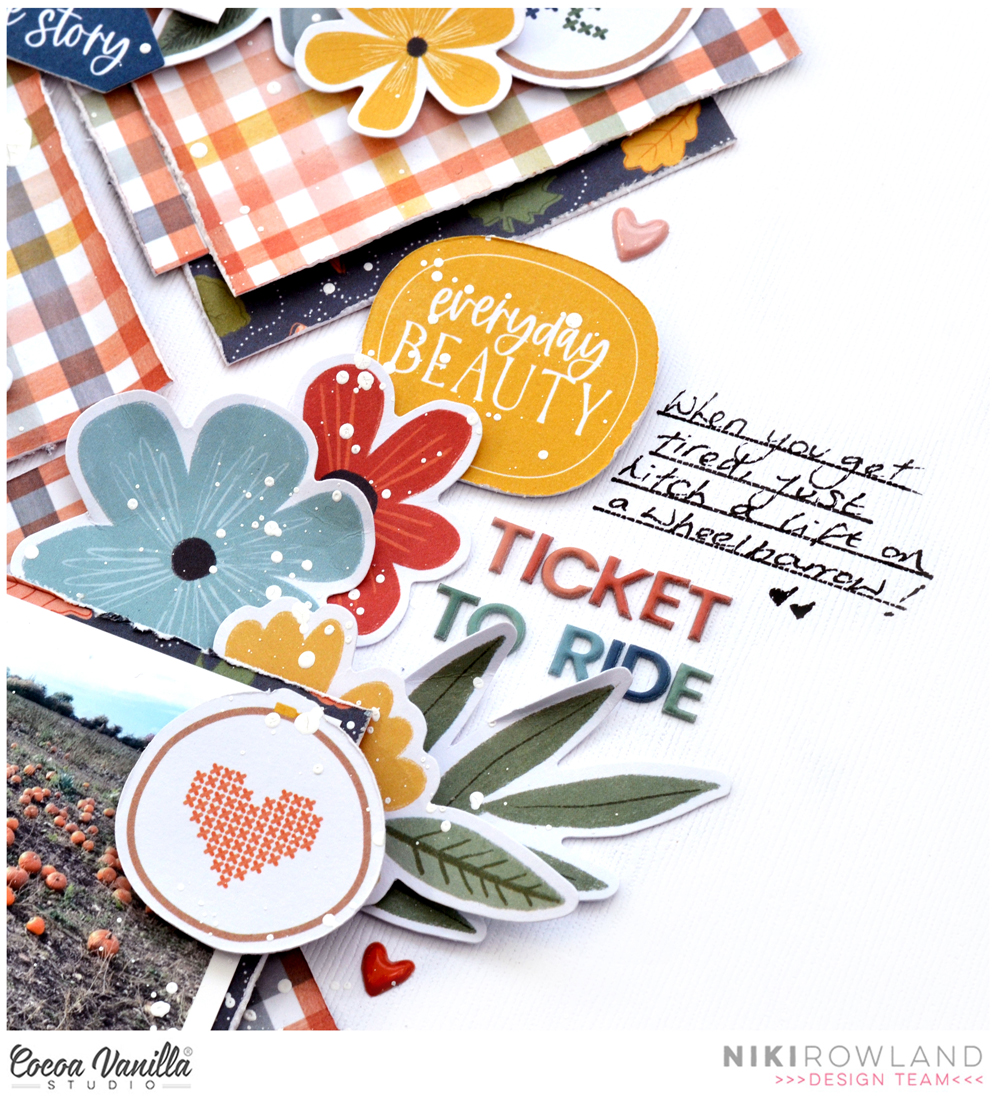
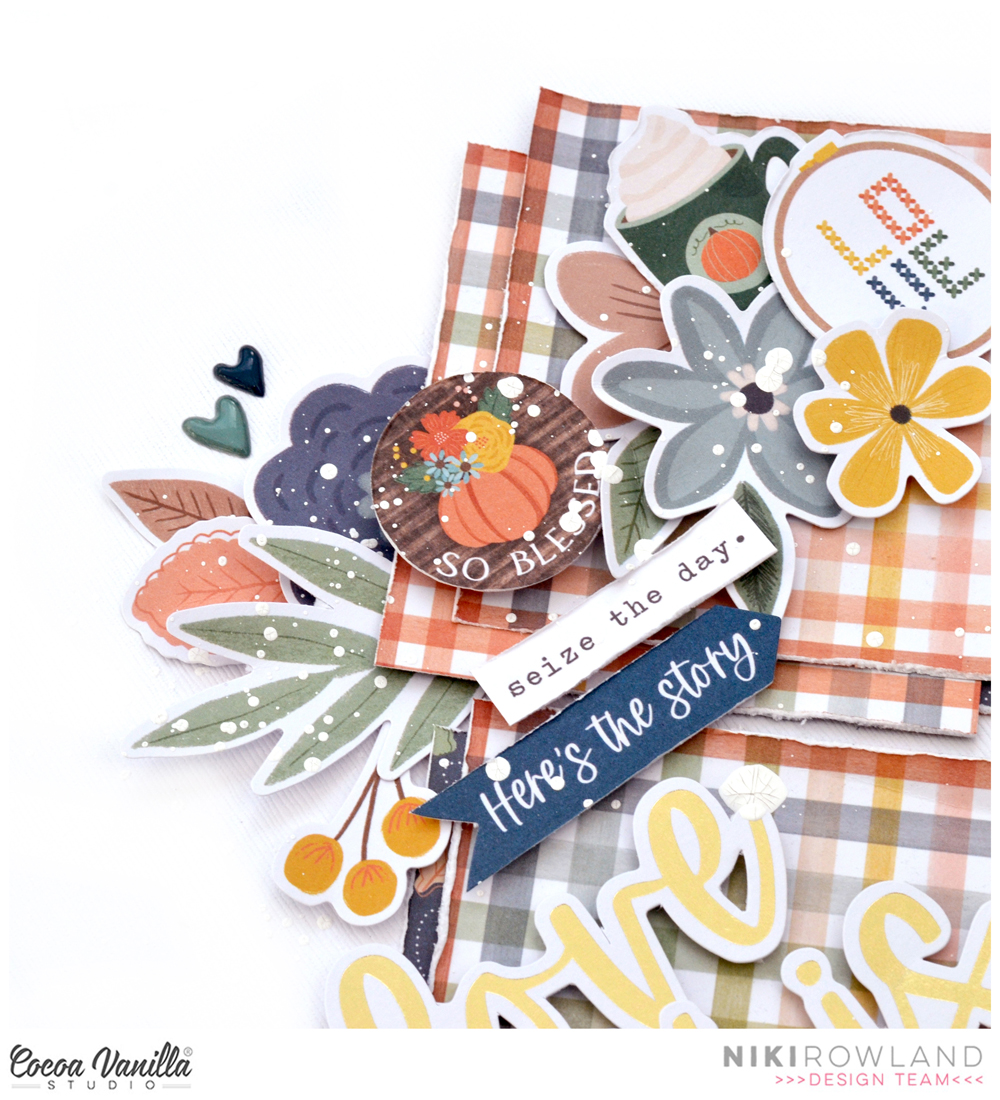
 Next I added another floral cluster in the bottom right hand corner of the page. This balances out the first cluster and gives the layout a diagonal flow, drawing the viewer’s eye down through the photos. In this cluster I again used more fussy cut florals, as well as a journaling piece from the die cut ephemera pack.
 For my title, I took inspiration from the ‘Family’ die cut pieces in the ephemera pack. I love that each letter is a different colour, and decided to create a similar style title using some metal alphabet dies from my stash. I cut each letter out of a patterned papers from the A5 Paper Stack and combined it with Mini Puffy Alpha Stickers. The title ‘Love this Kid’ seemed like the perfect sentiment for these photos!


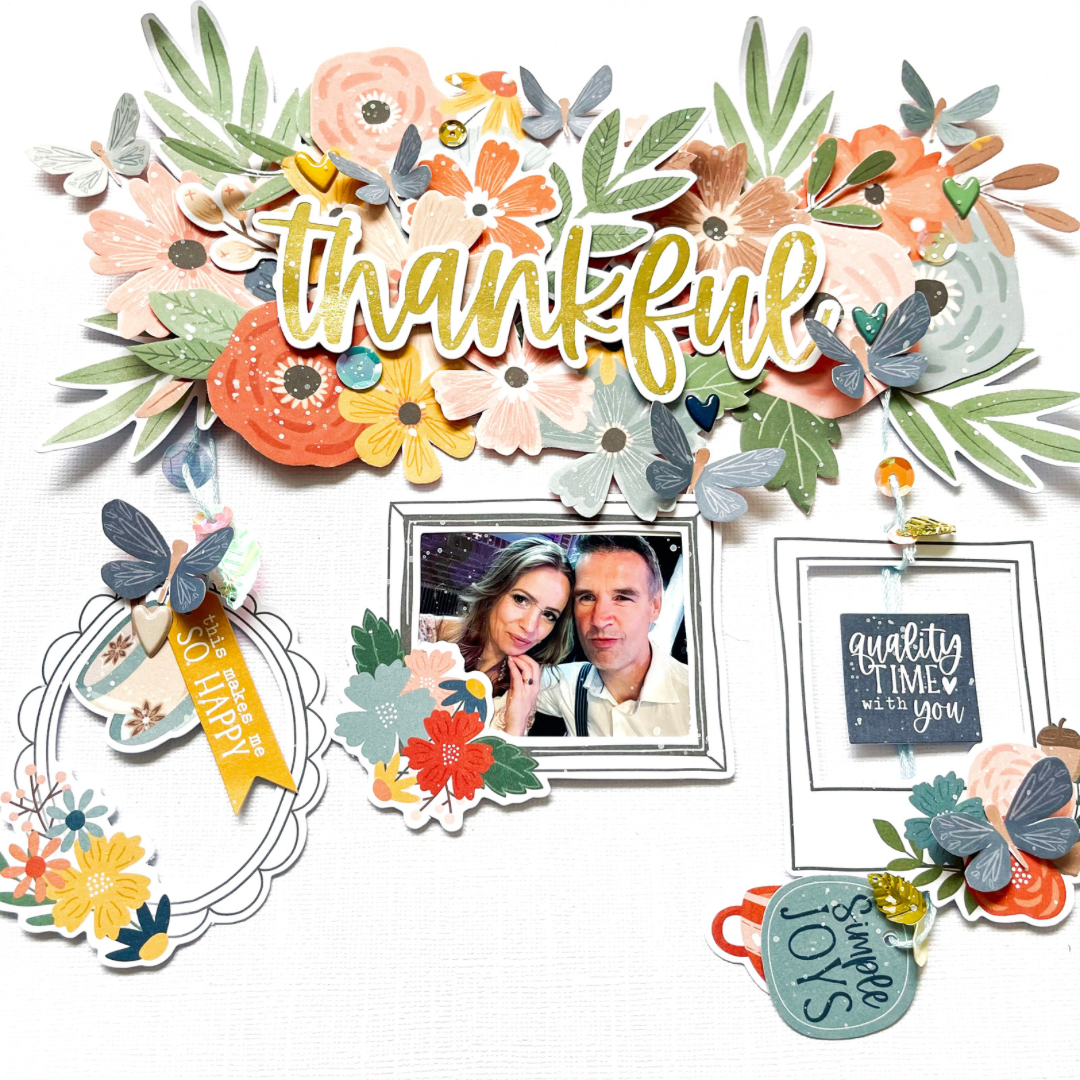
 As this layout is focused on my hubby on Fathers Day, I decided to give it a bit more of a masculine feel by narrowing the colour palette down to the blues, greens and browns in the collection. I chose four of the patterned papers – Harvest, Golden Fields, Leaf Litter and Fall Beauty – and cut each into a large triangle before piecing them together to create my background. I matted my photo with the woodgrain patterned paper from the A5 Paper Stack and adhered it in the middle of the page using craft foam to help it ‘pop’ off the page.
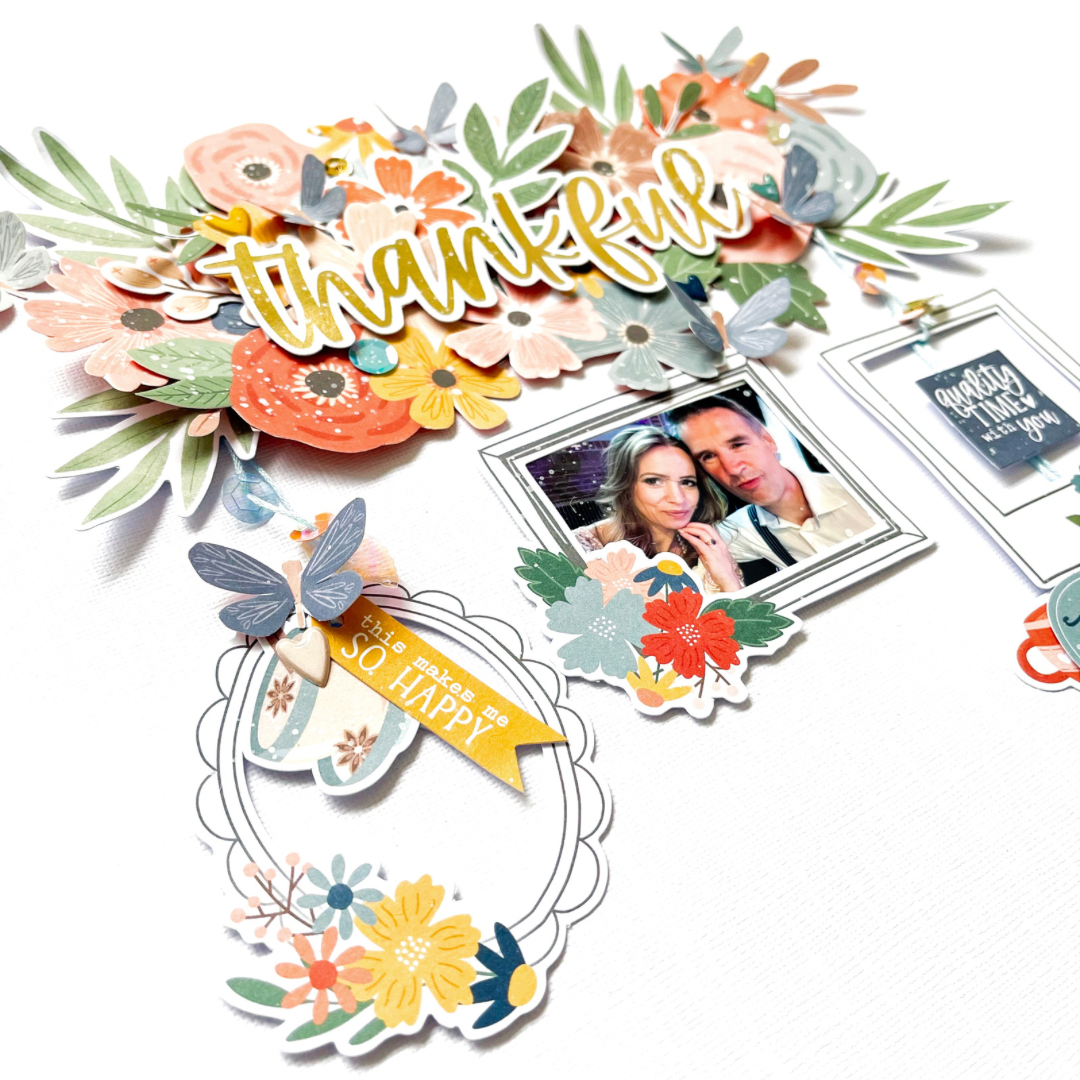
 Next I created a cluster to the left of the photo. Again I used Floral and Die Cut Ephemera, and the same colours that I used in the first cluster. To create some dimension in the cluster, I tucked some elements underneath the photo and adhered some overlapping the edge of the photo.
 I created a third and final cluster at the top of the page using similar pieces that I’d used in the first two clusters. By repeating colours and elements throughout each of the embellishment clusters it helps to make the layout feel cohesive and balanced. I also finished off each cluster with a Puffy heart Sticker. Above the photo I added my title using one of the stunning words from the Gold Titles pack and underneath the title I added a final finishing touch with a tiny word sticker that says ‘family is everything’.
 Thanks so much for joining me here on the blog today. I hope that you enjoyed taking a look at my layout featuring the beautiful new Heart and Home collection!