2023 Favourite layout | Tarrah McLean
Hi creative friends!
It’s Tarrah back with you for the last time this year sharing my favourite layout created in 2023!
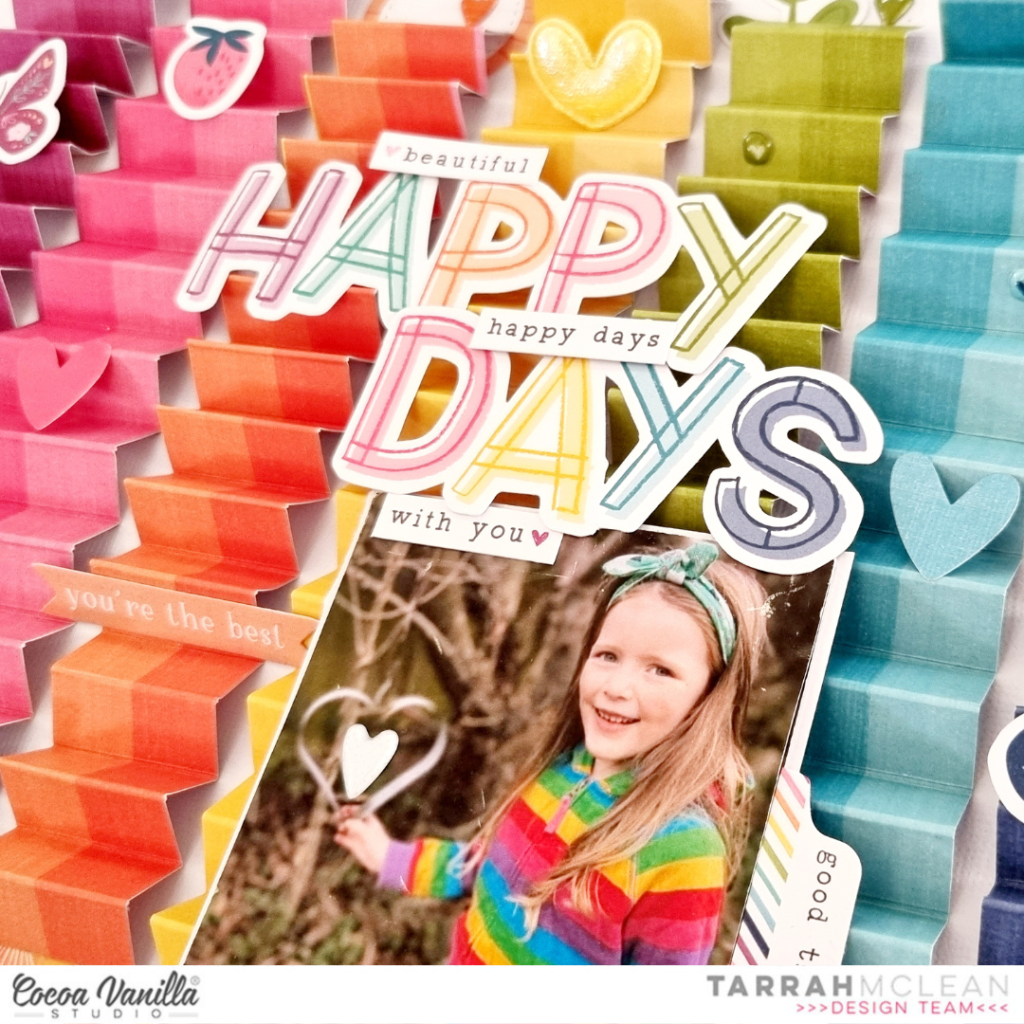
Like some of the other design team members, my favourite layout of this year was created using the gorgeous Happy Days collection! Don’t you think there is something about the rainbow colours in the Happy Days collection that really catches the eye!? I sure do!

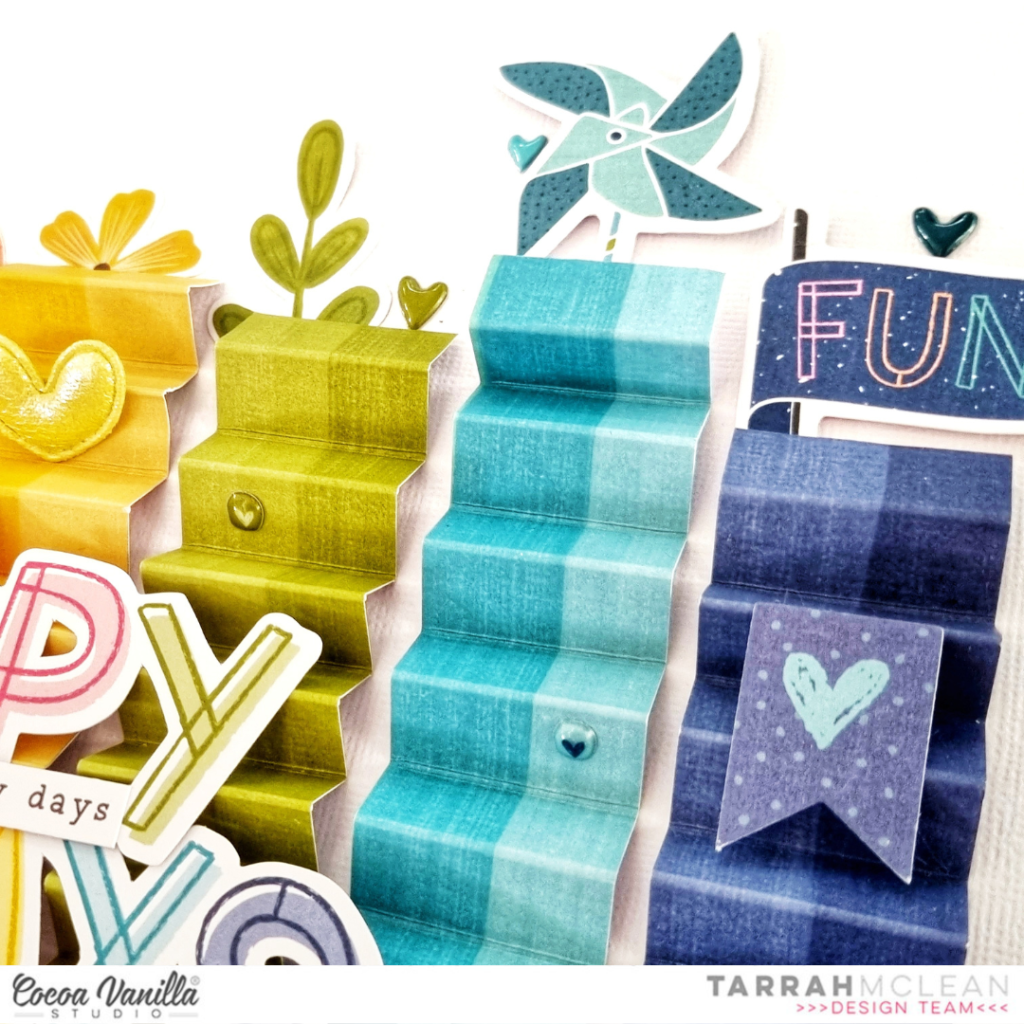
So besides the gorgeous colours in the Happy Days collection and placing vertical strips in rainbow order, I wanted to make the strips a little different so I decided to score lines in the strips and then fold them in a concertina fashion to create a zig-zag effect. I love how effective this looks against the white cardstock!
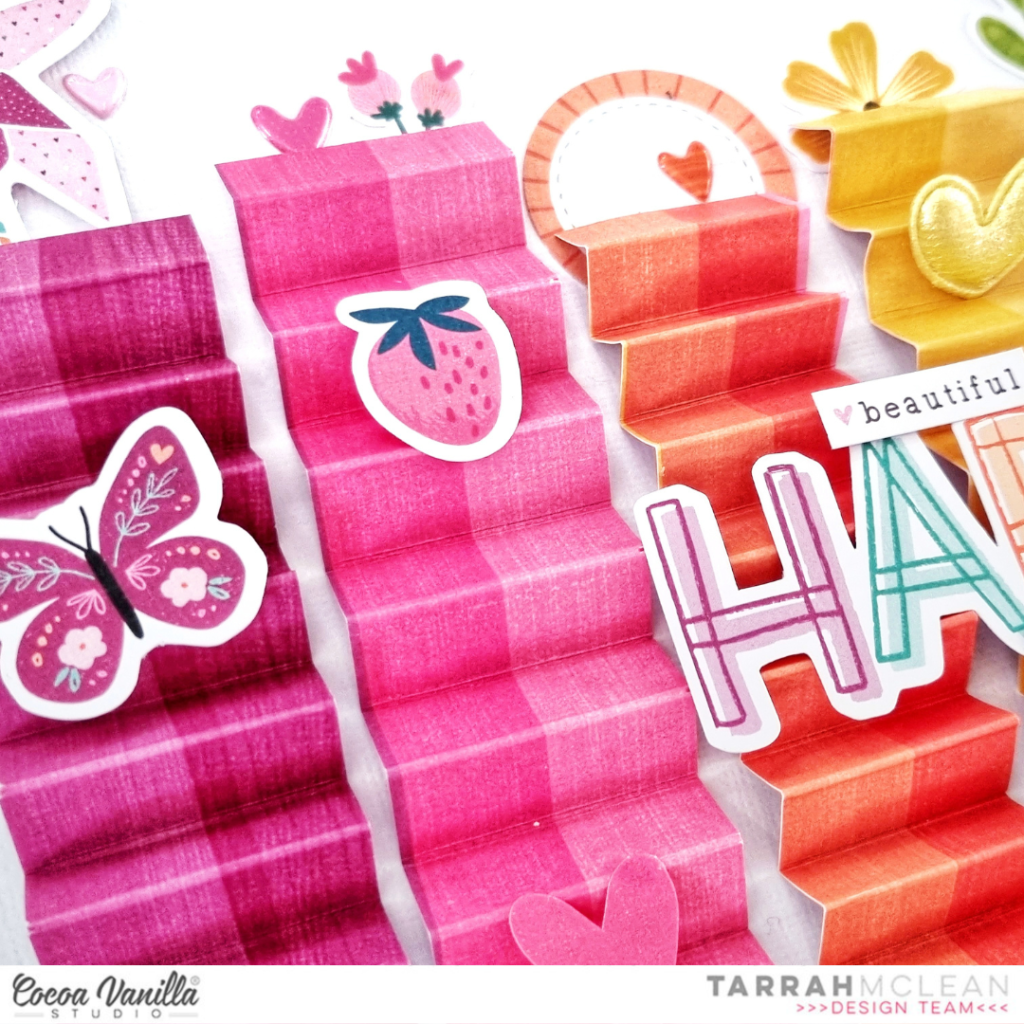
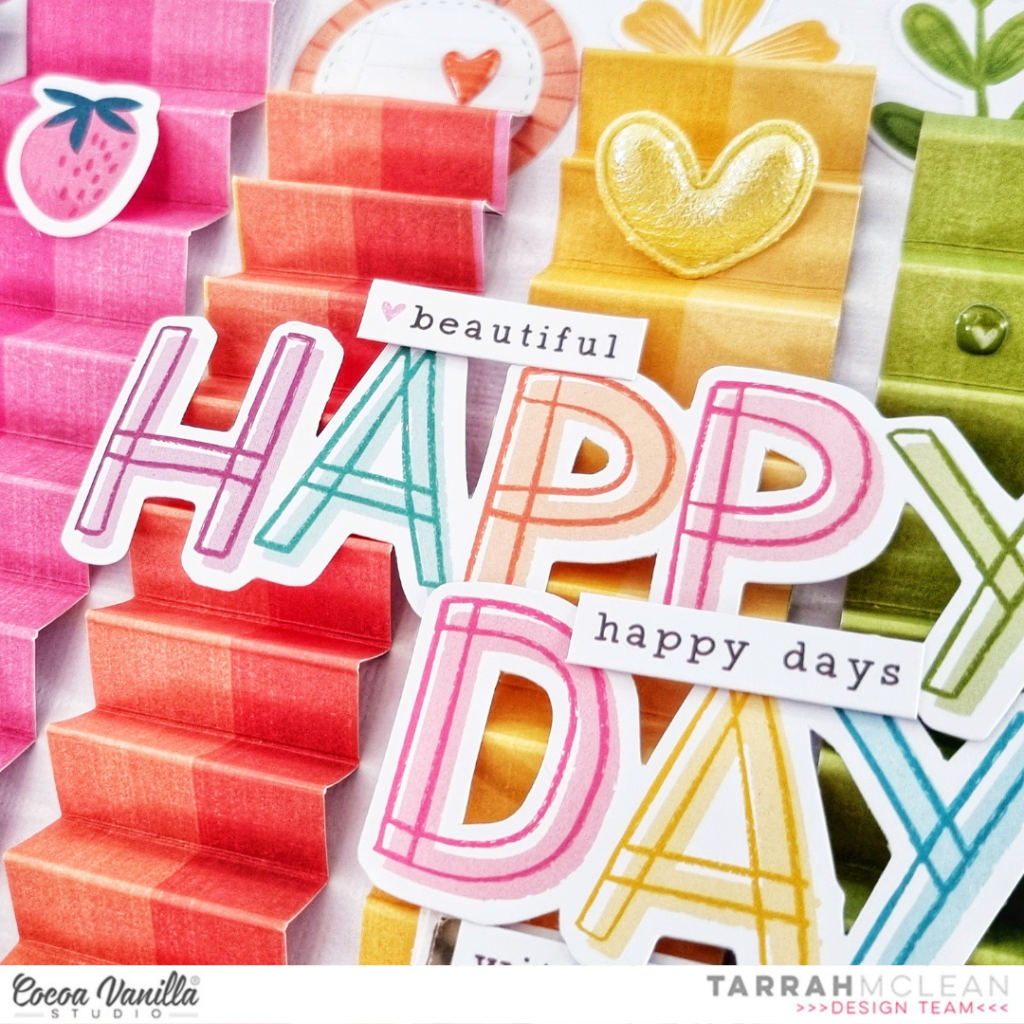
Another of my favourite things to do is to embellish my layouts in a tone on tone fashion. I chose co-ordinating embellishments for each colour and added them on top of the strips of paper and also tucked into the top and bottom of the strips as well. I used lots of various embellishments like puffy shapes, ephemera, puffy fabric hearts and accessory stickers.
I placed my title in the middle along with the gorgeous photo of my niece! Another thing that I love is that photo of my niece! Her outfit was perfect for this collection! I love how the rainbow colours in the collection bring out the colours in her jacket.
Have you got the gorgeous Happy Days collection? If you have, I hope you are inspired to use it up and create some cute projects with it?!
Thanks so much for stopping by the Cocoa Vanilla blog! I hope you have enjoyed the inspiration from myself and my fellow design team members throughout the year? Looking forward to sharing more Cocoa Vanilla projects with you again in the new year!
Merry Christmas and a safe and happy new year to you all!
Happy creating!
Tarrah x