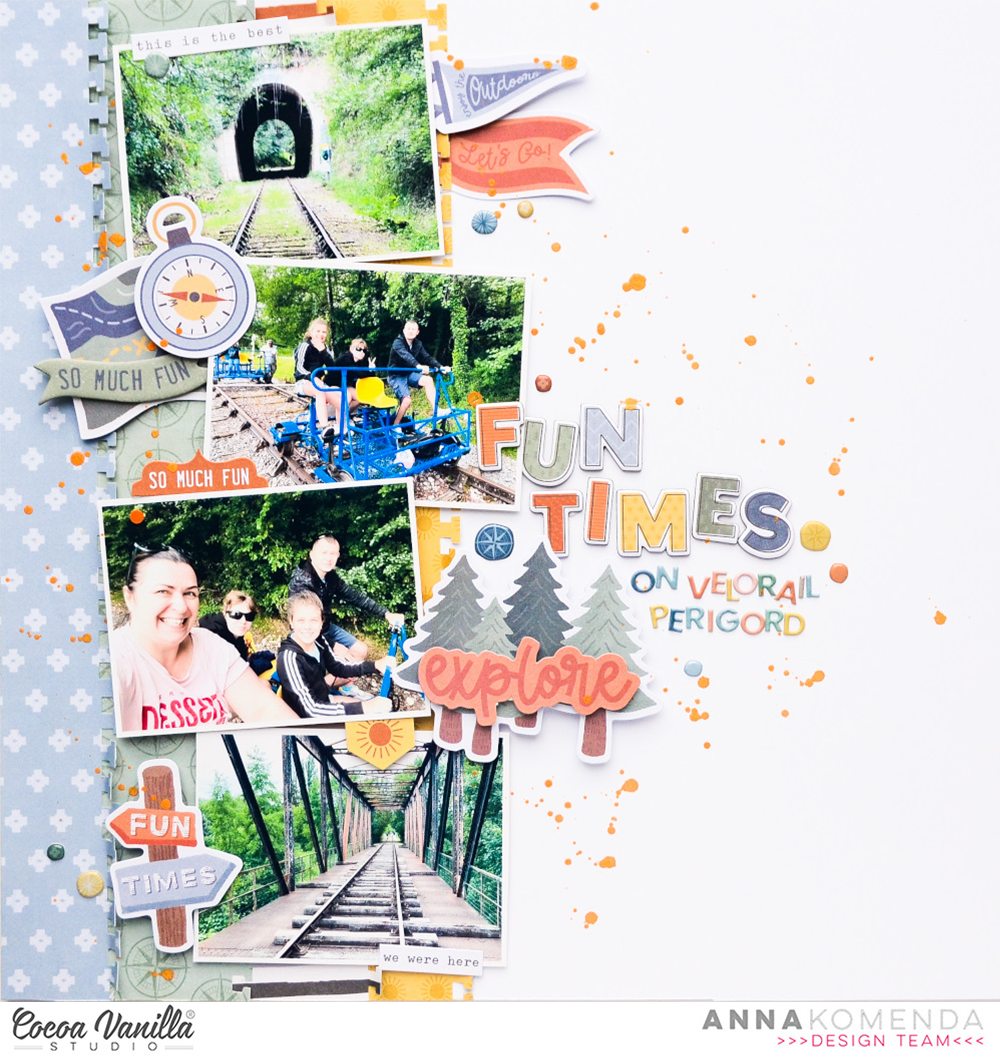
Hello Friends! It’s Anna Komenda here with my first ever project made with brand new “Great escape” collection! I was going to start bold with travel album but I run out of time so layout it is :) But do not worry – I will make this album too and will share it later with you. I decided to scrapbook our adventure on rail bike from last summer. They are becoming more popular in Europe, where restoration of old tracks turns them into fun biking adventure for the whole family. This particular one we took in France and it took us two hours of pedaling, going through little tunnels, old bridges and country landscape. It was really a fun, family time.
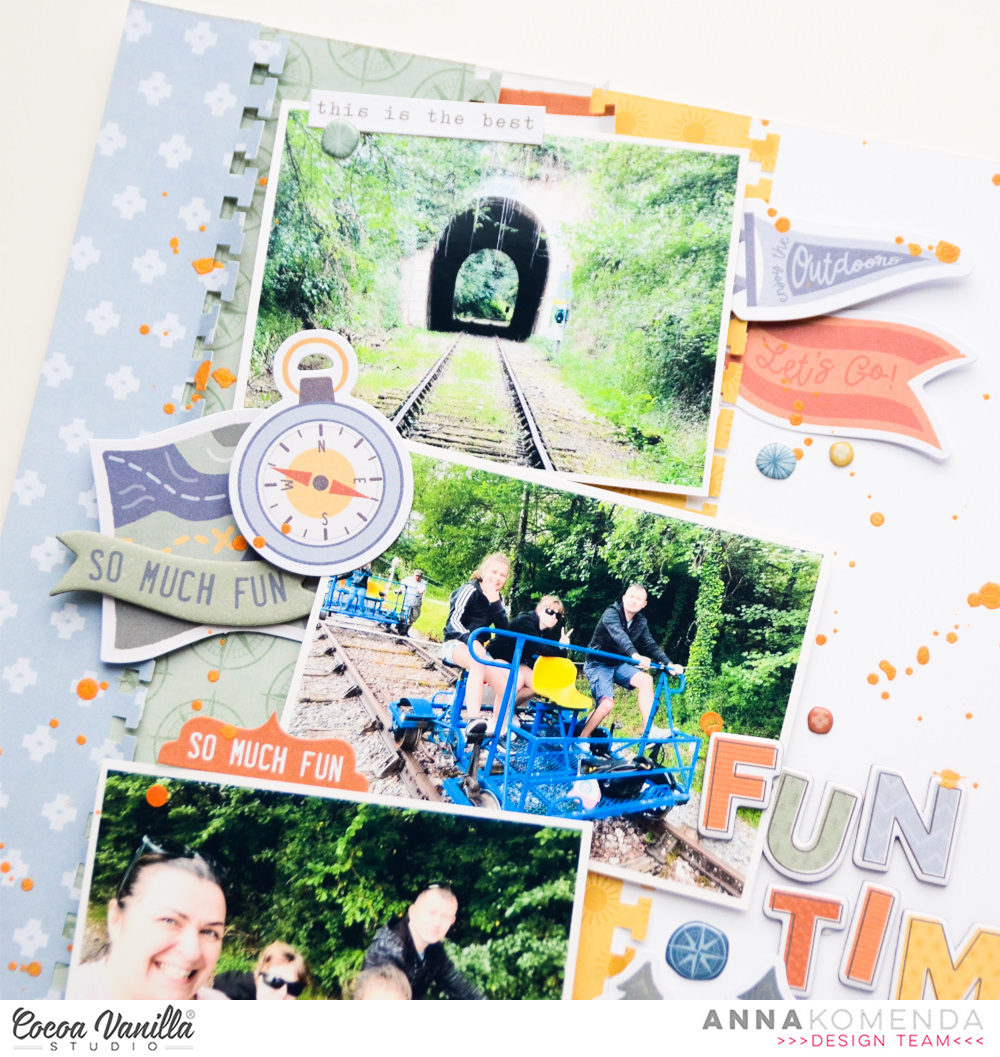
I started with white cardstock as a base and four strips of pattern papers: “Journey”, “Adventurer”, “Direction” and “Horizon”. I arranged them on the left side, adding some decorative edge with edge puncher.
Next step was to add pictures in a vertical row and decorate area around them. I started with a bag of Ephemera Die Cuts and picked the ones that match my theme, like compas, map, trees and fun banners.
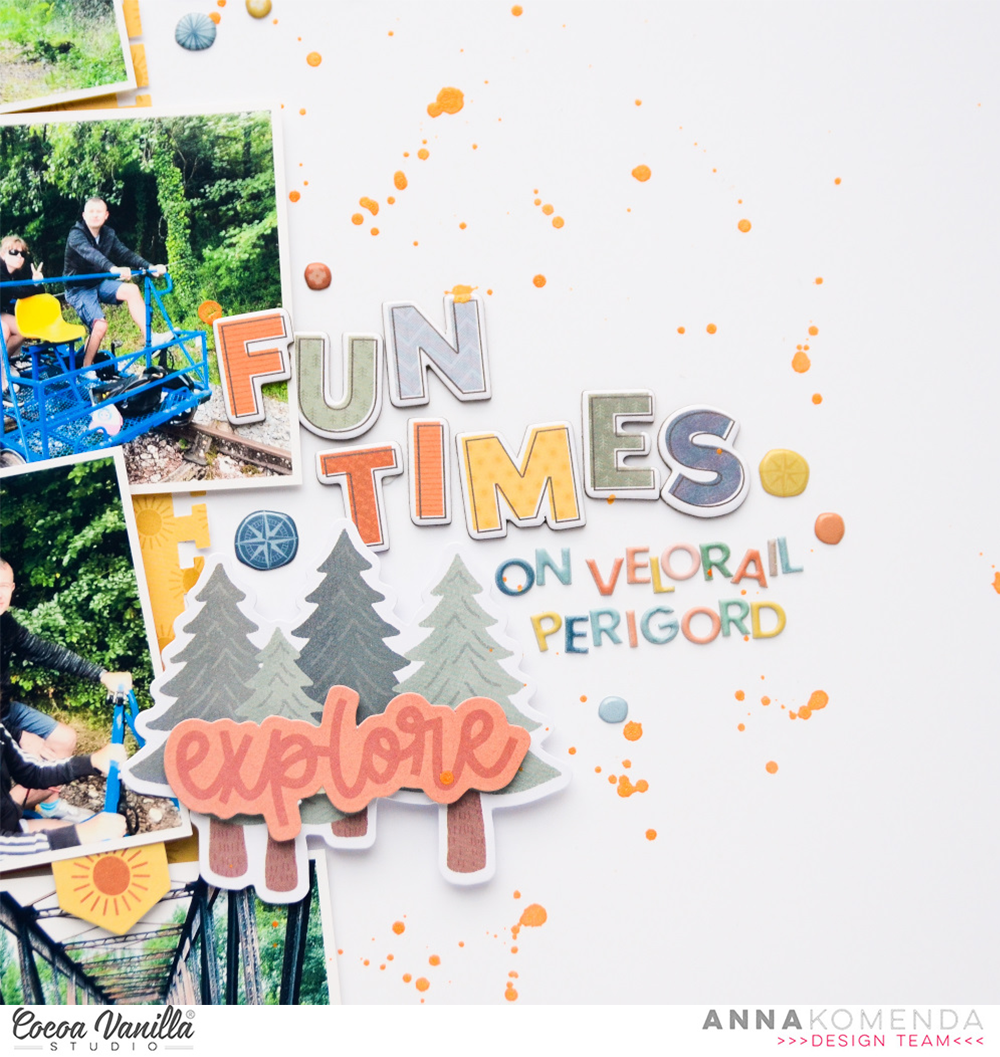
With all of them in place, I could add the title. I decided to combine words “good times” taken from Chipboard Stickers sheet with smaller words created with Mini Puffy Alphabet from older “Heart & Home” collection. Their colors matches this new line perfectly!
With all of those in place, I added some finishing touches with super cute tiny Puffy Stickers and some orange splatters. Making this page took me less that half an hour which is sort of time record for me. It usually takes me much, much longer but this time elements just clicked into the right spots. Magic of well designed collection!
That is all for today. Thank you so much for spending your time with me and I will be back with more projects made with this line!
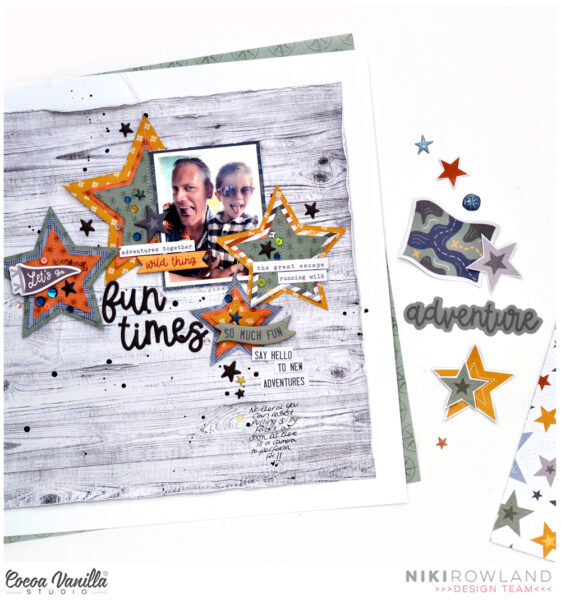
Hey everyone! This is Niki (@nikiclairecreates) with a new layout and process video using the fabulous Great Escape Collection! This layout actually started off as a scraplift as the monthly challenge over on the Cocoa Vanilla Studio Community Group is to scraplift a layout of one of the Design Team. There is an example by Josefine that has layered hearts in a grid design, so I decided to do the same thing with stars.
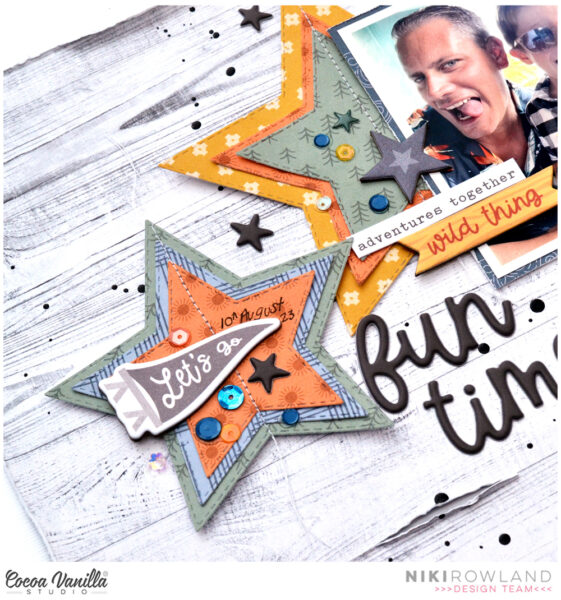
I set about using my Big Shot and metal nesting star dies to cut lots of different sized stars from lots of patterns from the A5 paper stack. I layered them together and stitched down the middle of each one. I made some smaller than others and each star has at least three layers.
But it turns out that arranging stars in a grid design doesn’t really work because they are very pointy! They would have to be really small to fit several across the page! So I continued to use my layered stars but the grid design was out the window!
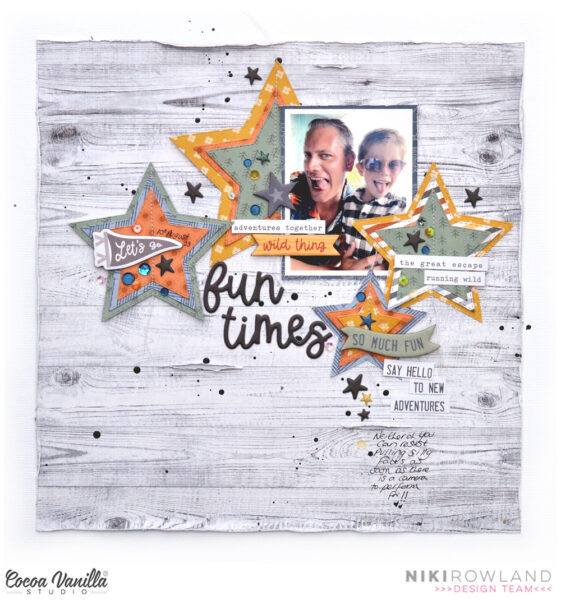
I prepared my background using the beautiful white wash woodgrain paper which I trimmed down, distressed the edges and stuck onto a sheet of white card. I then splattered this with black paint.
I arranged my photo onto the background with four of the layered stars. They are all clustered together across the top part of the layout and this worked really well. I couldn’t cut my photo into a star shape so I’ve kept it as a rectangle and slotted it in-between two stars with some overlap.
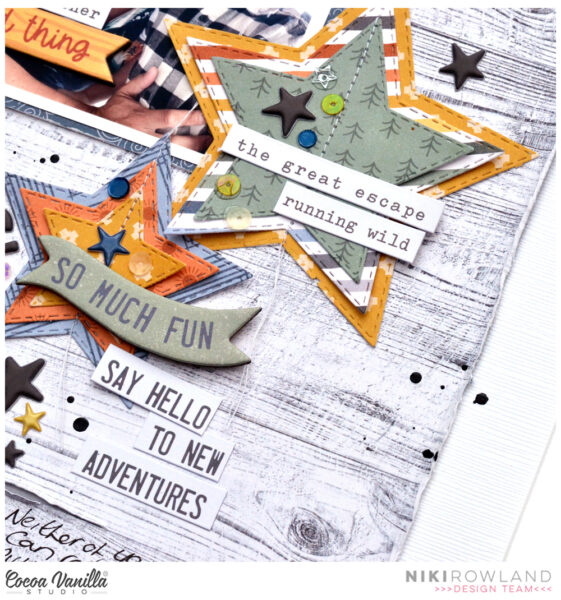
I added ‘Fun Times’ as my title from the puffy title stickers pack and then added just a few simple embellishments to the layout: a couple of Chipboard Stickers, some little phrase stickers from the Accessory Stickers and some little star stickers: some from the Puffy Stickers set, and some from the Puffy Title Stickers pack. I finished off with some sequins and some splatters of black paint!
Thanks so much for joining me today and happy scrapping!
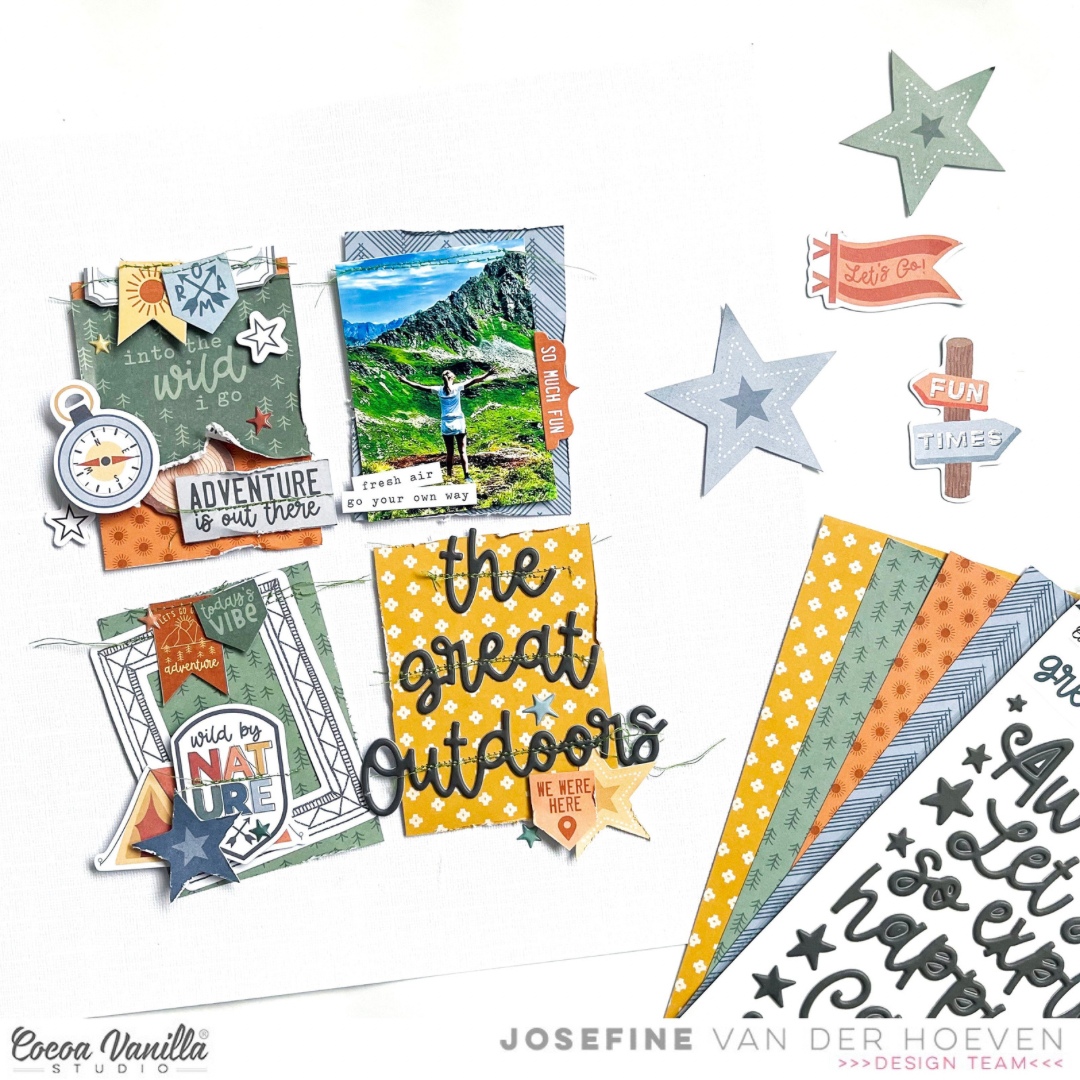
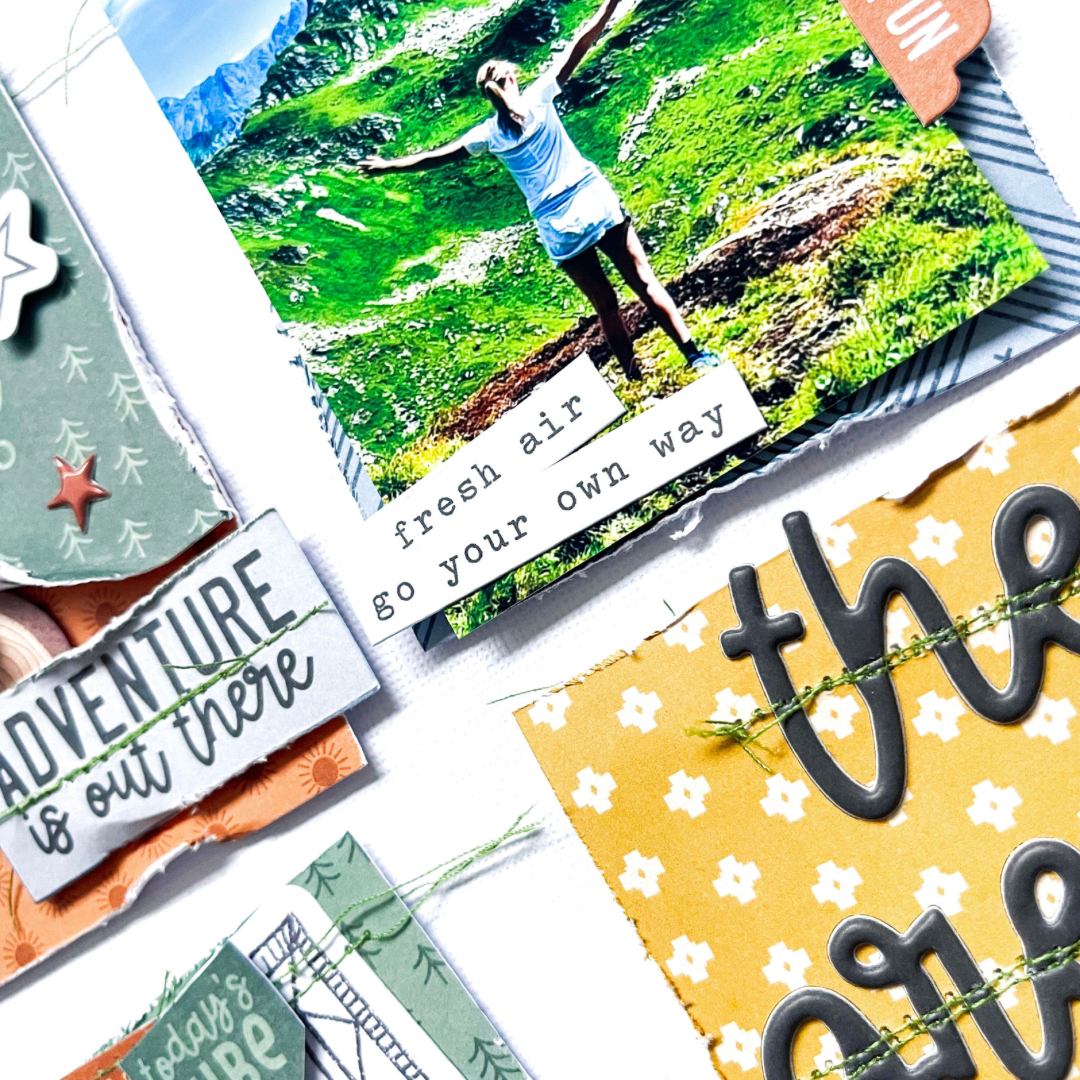
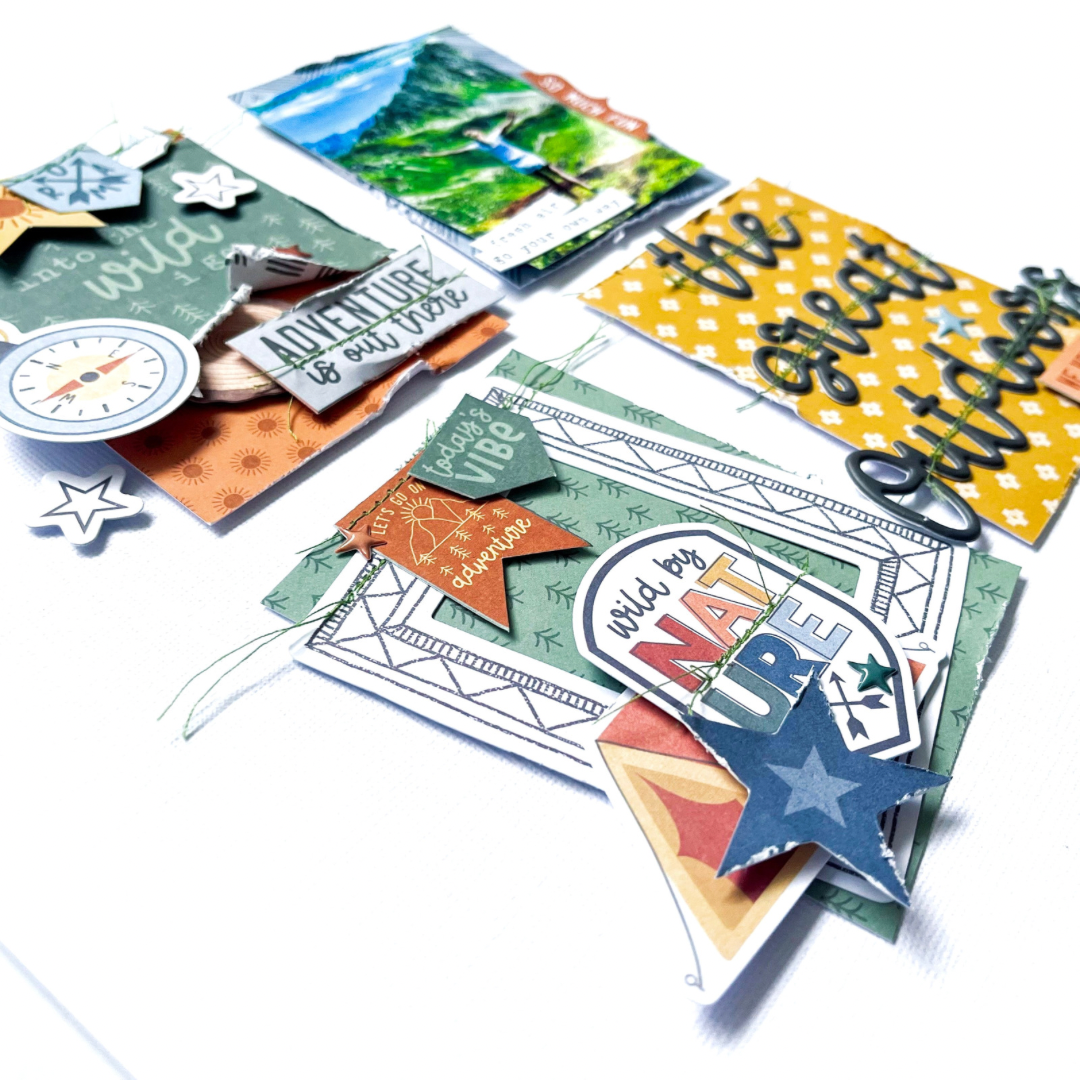
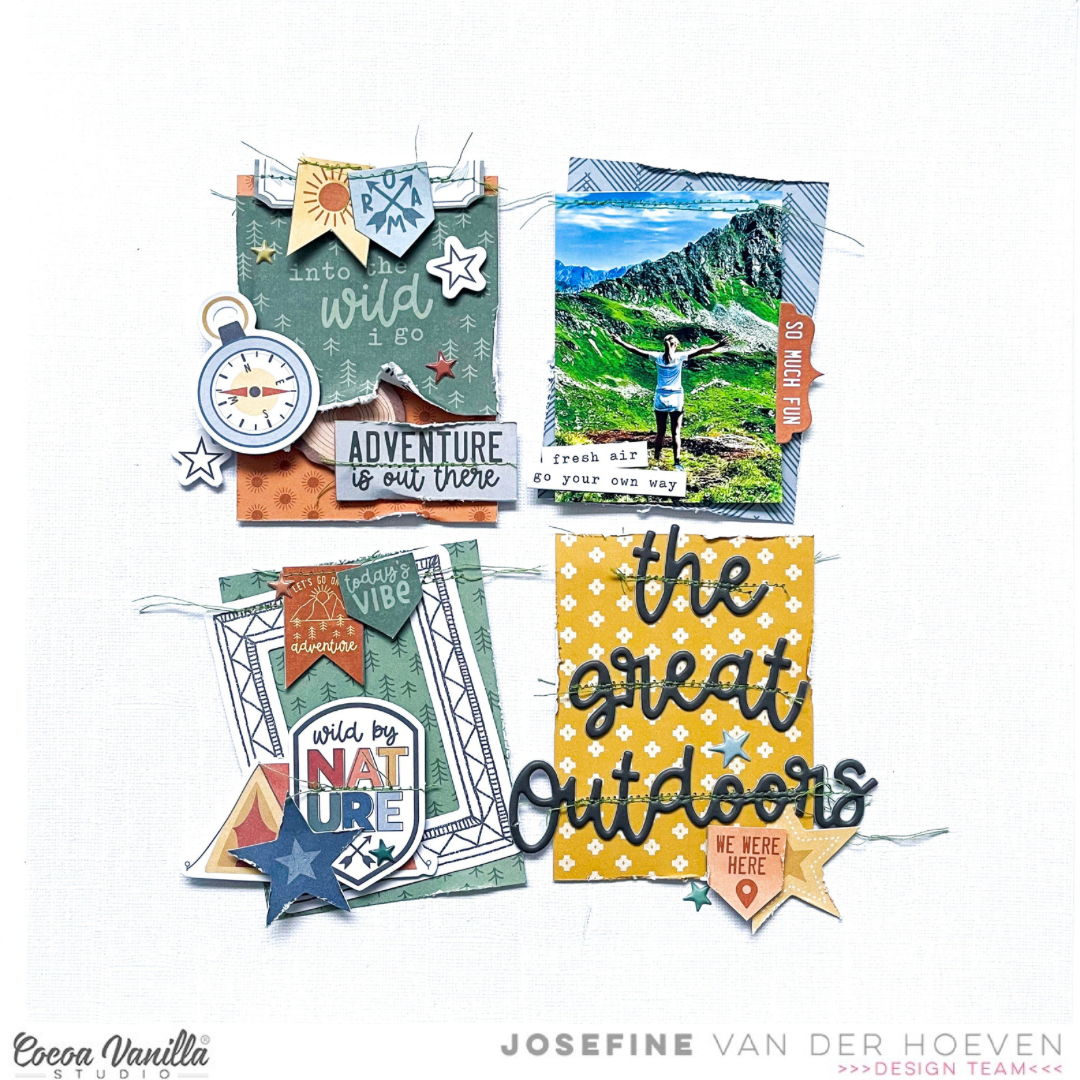
welcome to today’s scrapbook blog by Cocoa Vanilla Studio! It’s great to see you here seeking for new scrapbook inspiration. Today, I’m excited to share with you a fresh scrapbook layout featuring the fantastic new collection “Great Escape.” For this project, I’ve choose for a grid design as my inspiration. I cut various strips of paper to size and arranged them in a grid pattern on my white cardstock background.
To start, I selected some shape die-cuts and added them to the strips of paper, stitching them with green thread. I love the texture and effect that stitching adds to my scrapbook projects. On the right side, I created clusters with some beautiful and fun shape die-cuts. I also stitched green thread onto word strips and banners, giving them a nice placement on my layout.
The photo of my daughter high in the mountains of Austria complements the theme perfectly. The lovely swirl puffy titles from the collection fit wonderfully, so I placed them at the bottom left to create the title “The Great Outdoors,” stitching it with green thread as well. Placing the photo above the title, I added a few word strips as extra accents.
I’m really pleased with how the layout turned out, and I hope I’ve inspired you with this grid design. Wishing you all a wonderful day, and until next time on the blog. XoXo, Jo
It’s Tarrah back with you and today I am sharing a new travel layout featuring the new Great Escape collection. I decided to document our recent trip to Tasmania, printing a total of 6 favourite photos all in a small format to create a vertical filmstrip look.
I chose 3 patterned papers to use for the background of my layout. I turned the Direction patterned paper over to show the green side, the Happy Camper patterned paper was left with the flags showing and I also turned the Horizon patterned paper to reveal the yellow suns. Once the papers were arranged and adhered, I placed the photo strip over to the right side of the layout.
For my title, I decided to spell the word Tasmania using the ‘Fun Times Ahead’ chipboard title. As I was spelling the word Tasmania in my head, I thought all of the letters were there in the 1 packet of chipboard except Tasmania has 3 A’s so I did have to open a new packet of the chipboard elements and steal one of the A’s from that pack! I placed the title along the top line of the Horizons paper and I also added one of the puffy titles under the chipboard title too.
Just above the Tasmania title, I placed one of the round die-cuts and also placed one of the banner stickers from the Accessory stickers through the centre of the photo strip. On the right of the photos at the top, I added the Let’s Go flag die-cut and bent up the edges slightly to add some texture. To the direct right of the photos at the bottom, I added the tree chipboard and layered one of the phrase stickers from the Accessory sticker sheetover the top. I also added more of the phrase stickers above the Tasmania title.
Once the larger elements were added to my page, I added some of the smaller elements including one of the banner chipboard pieces below the Let’s Go title and I created a cluster of embellishments at the very top of the page using stickers from the Accessory sticker sheet and a puffy sticker too. I added a couple more puffy stickers and finished by freehand drawing a border around the outside using my journal pen, stamping the date stamp and sprinkling some black mist to finish.
Thank you so much for stopping by the Cocoa Vanilla blogtoday! I hope you are inspired by my layout and got some ideas for your next project!
Make sure to keep checking back here on the blog for all the other gorgeous creative projects from our design team!
It’s Sophie with you today and I am excited to share my very first layout with the new Great Escape collection!
As soon as I saw it, I knew exactly which photo to document with it!!
I started with a white background and the Starry Night paper to place my photo and embellishments.
I mounted the photo on tissue paper, adhesive foam and a few layers of patterned papers from the A5 Paper Stack.
I placed the photo on the right side of the page, and added white gesso on the left side where I was about to build a little scenery.
I selected a few embellishments from the Die Cut Ephemera pack like the trees, signage and tent to support the theme of the layout, and scattered numerous stars around the photo and title (Foam Title Stickers).
I completed the page with a few stickers from the Accessory Stickers sheet, and handwrote my journaling directly on the white background.
Here are more close-ups:
Oh how I LOVE this collection!! It’s just perfect for outdoors memories!!!
Hey everyone, this is Niki (@nikiclairecreates) with my first layout and process video using the new Great Escape Collection! I had a little story to tell about my little boy, and the paper with the mountain skyline was just perfect so I went straight for that!
I trimmed the paper down and placed it on a white background. I framed it with two dark blue strips that I cut from the A5 Paper Stack, this was to give that middle piece some definition against the white background.
I added my photo together with some mountain ephemera from the Die Cut Ephemera pack and a cute little journaling card from the A5 Paper Stack. I added some Chipboard Stickers and some more ephemera: a star and a compass.
On the other side, I made another large cluster using a small piece of paper, several Accessory Stickers, some Chipboard Stickers and more pieces from the Die Cut Ephemera. I stapled some ribbon onto the tag sticker and this was initially where I thought I could write my journaling. I actually ended up adding small embellishments and the date and writing my journaling below the title instead.
I added ‘let’s explore’ title from the Puffy Titles pack – how awesome are these! And I handwrote my journaling below this. I wanted to add my own title to this layout which went with my story, so I reached for the Mini Puffy Alphabet stickers from the Heart & Home collection. The colours match really well and I was able add my ‘Mr Lava Lava’ title!
My mountain skyline was looking a little flat, so after I’d stuck everything down, I decided to attempt to give them some dimension! I managed to lift up the paper, slide my cutting mat underneath and carefully cut along the mountains. I then added foam pads – I love how this turned out!
Finally I added some splatters of black paint and some sequins!
I loved using the Great Escape collection and have made loads more layouts with it since so keep checking back for those!
Happy scrapping
Niki xx
Hooley Dooley its February already! Michelle here with you today, sharing something a little different for me using the new Great Escape Collection.
The minute I laid eyes on this awesome collection I immediately thought of all the travel inspired layouts and creations I could make, then I remembered that travel for us has well and truly been on the back burner for quite some time. So why not create a mini book ready for when we are ready to.
I created this mini album in 6×8 size using so many of the fun pattern papers from this collection, with plenty of space to add photos, write down memories and keep all the things we can collect along the way. Think maps, tickets and tags of all kinds. Theres pockets, fold outs and extra clear pages for all the extra photos I’m sure we will add. I’ll add a list of all materials used at the end of the post for those who may want to recreate for your own travel photos.
Once all the pages and pieces were complete, I bound it all together using my Cinch tool ready for our next family adventure.
Be warned, this is a very photo heavy post as it was just too hard to choose a few photos to share.
First up is a pocket with hidden tag for photos, bits n pieces or even a little journalling. Then when you flip the page you come across space for larger photos or even postcards collected along the journey
I added in pieces of notepaper scattered throughout the book to give space for journalling all about the adventures being had
I created a large pocket perfect to hold larger items like folded maps and brochures. This was super easy to create by joining 2 pieces of pattern paper together and sewing along the top and bottom. No need to sew along the edge that needed to be closed as the binding coils help to enclose that end.
I added another clear pocket over the page for another larger photo, which can be moved like all the pages in this album, by opening up the coil and rearranging.
Another funky pocket created by cutting into the paper in line with the design and sewed onto the backing paper using my sewing machine
One of my favourite ways to mix things up in these mini books is by creating different types of pages, this one is a double sided tag with ribbon, reminiscent of a luggage tag
Another fun piece is this flip out page that opens up to showcase multiple photos and journalling together, which would be perfect for extra special moments within the journey
Further into the book theres yet another pocket with some pull out pieces for hidden photos/journalling/ephemera, with the pocket sewn straight onto the pattern paper this time with an opening to the side.
Flipping through theres more places for photos, including a space for some film strip type photos and more journalling.
1 last pocket for the book with a top opening and plenty of space for extra photos/tickets or even receipts from along the journey
Lastly a space on the final page for last thoughts, future trip ideas, extra photos you name it
And a cute little something on the back of the book ready to fill out once its filled up with memories.
Well thats all from me today, thanks so much for stopping by and persevering through the enormous amount of photos I had to share of this fun mini book. If you happen to make your own version, please be sure to share it with us in the Cocoa Vanilla Studio Facebook Community Group as I’d love to see it. Hopefully yours might contain the memories its made for and not sitting patiently waiting for that trip to be booked lol
Until next time, Happy crafting! Michelle x
PS. Heres whats left of the products I used, with a few extra paper scraps not shown.
Materials & Tools Great Escape Collection – 12×12 papers – 1 of each pattern – A5 paper stack – 4 patterns, 1 of each – Die Cut Ephemera Pack – Accessory Sticker sheet – Foam Title Stickers – Puffy Stickers
Cinch Machine with Blue binding coil Sewing Machine with white thread 6×8 clear pocket pages cut in half White ribbon Tiny Attacher Glue Dots Double sided foam adhesive
It’s Tarrah here with you today to share my first layout using the awesome Great Escape collection!
I decided to create a layout featuring a large A4 photo taken from the bridge over the amazing Cataract Gorge in Tasmania from our recent trip visiting Tassie. The Great Escape collection was the perfect collection to focus mainly on the photo for this layout and layering lots of the elements straight on top of my photo.
I started out with a plain sheet of white cardstock and placed my large photo in the very centre of the cardstock. I left the edges free of adhesive so that I could place the papers down the sides. I then cut some paper strips from the ‘B’ side of the ‘Happy Camper’ patterned paperand the ‘B’ side of the ‘Direction’ patterned paper, placing these vertically, the ‘Direction’ paper was placed at the outer edge and the ‘Happy Camper’ paper closer to the photo. I then fussy cut the scallops from the ‘Wild Life’ patterned paper and tucked this piece in on the left-hand side and bent the edges up to add some dimension.
My title is the ‘Adventure’ title from the chipboard pack, I placed it down the bottom of the page, in the centre of photo and also placed one of the circle die-cuts from the ephemera pack just above the chipboard title. I took 2 of the stickers from the Accessory Sticker sheet and placed these below the chipboard title. I journaled the location and the date on the smaller sticker.
On the right-hand side I placed 2 more of the chipboard pieces to help balance the scallops from the left-hand hand side. I placed one of the phrase stickers from the Accessory Sticker sheet layered over the top of these pieces. I also placed one of the enamel dots from the enamel shapes pack here.
At the top of the photo, I placed the ‘Wild by Nature’ die-cut using foam tape to add dimension to the page. I also placed another of the enamel dots over the top of the arrows on this die-cut. This collection is perfect for your travel and outdoor adventures such as camping, road trips, hiking, fishing, walking, running or even documenting the boys in your life! I hope you get a chance to purchase this awesome collection to create some projects of your own!
Thanks so much for stopping by the Cocoa Vanilla blog today! I hope you are inspired by my layout and enjoyed reading about how I created it. Make sure you visit the blog to see all the other gorgeous inspiration from the Cocoa Vanilla design team!