It’s Sophie on the blog today with a mood board inspired layout!
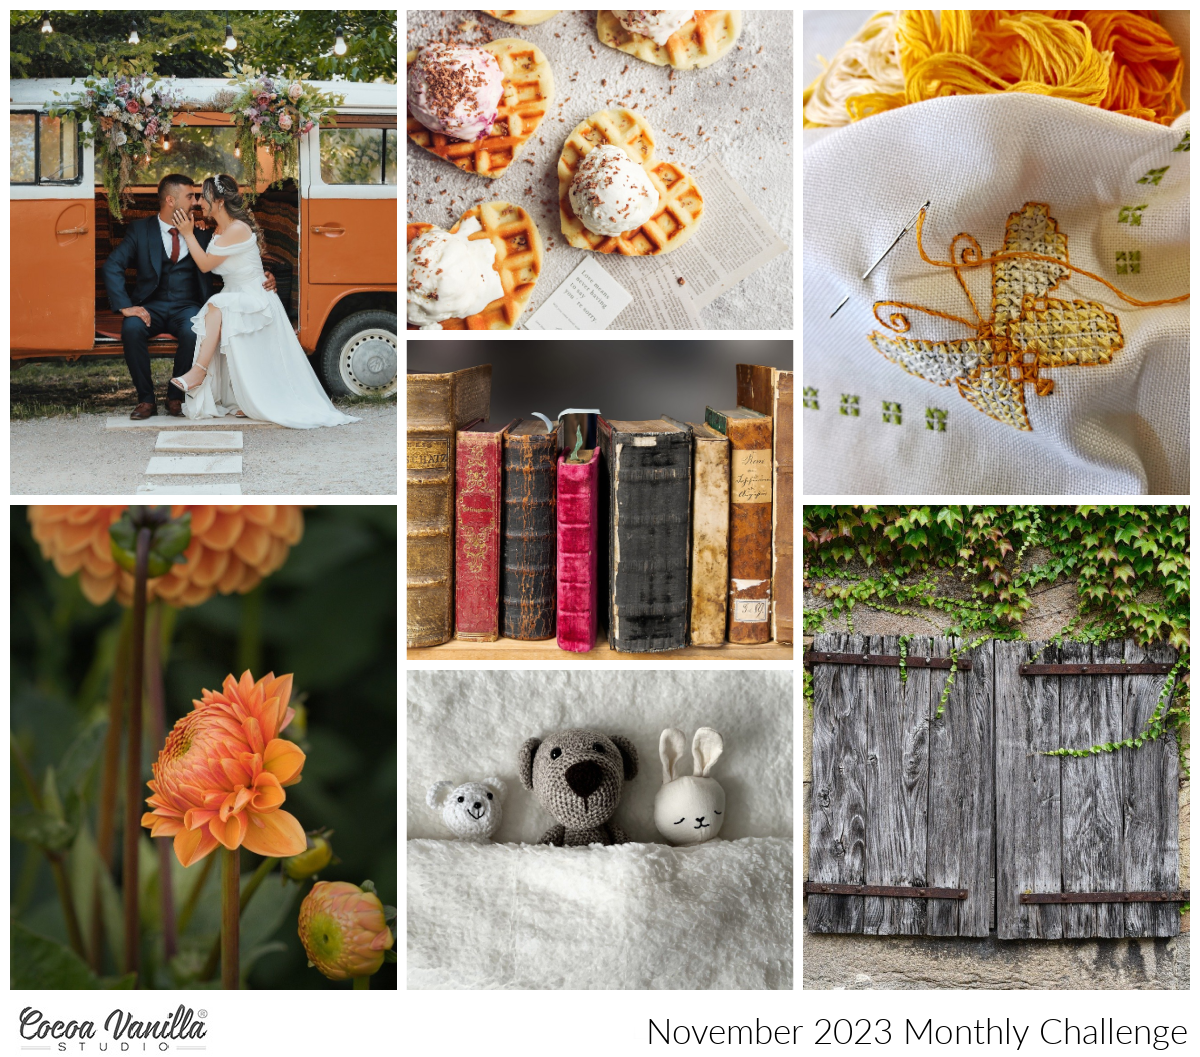
Have you seen the November challenge? Niki Rowland designed a gorgeous mood board named “Grateful” this month. Here it is:
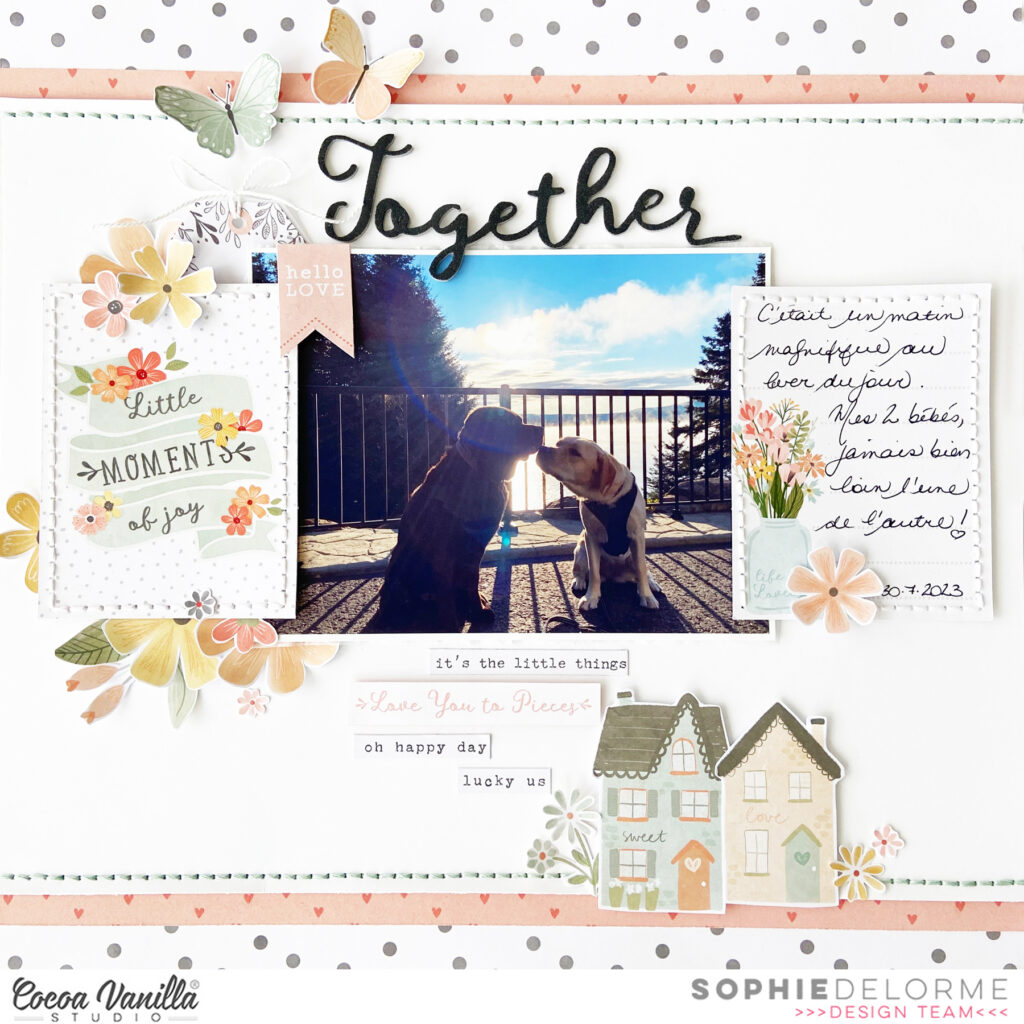
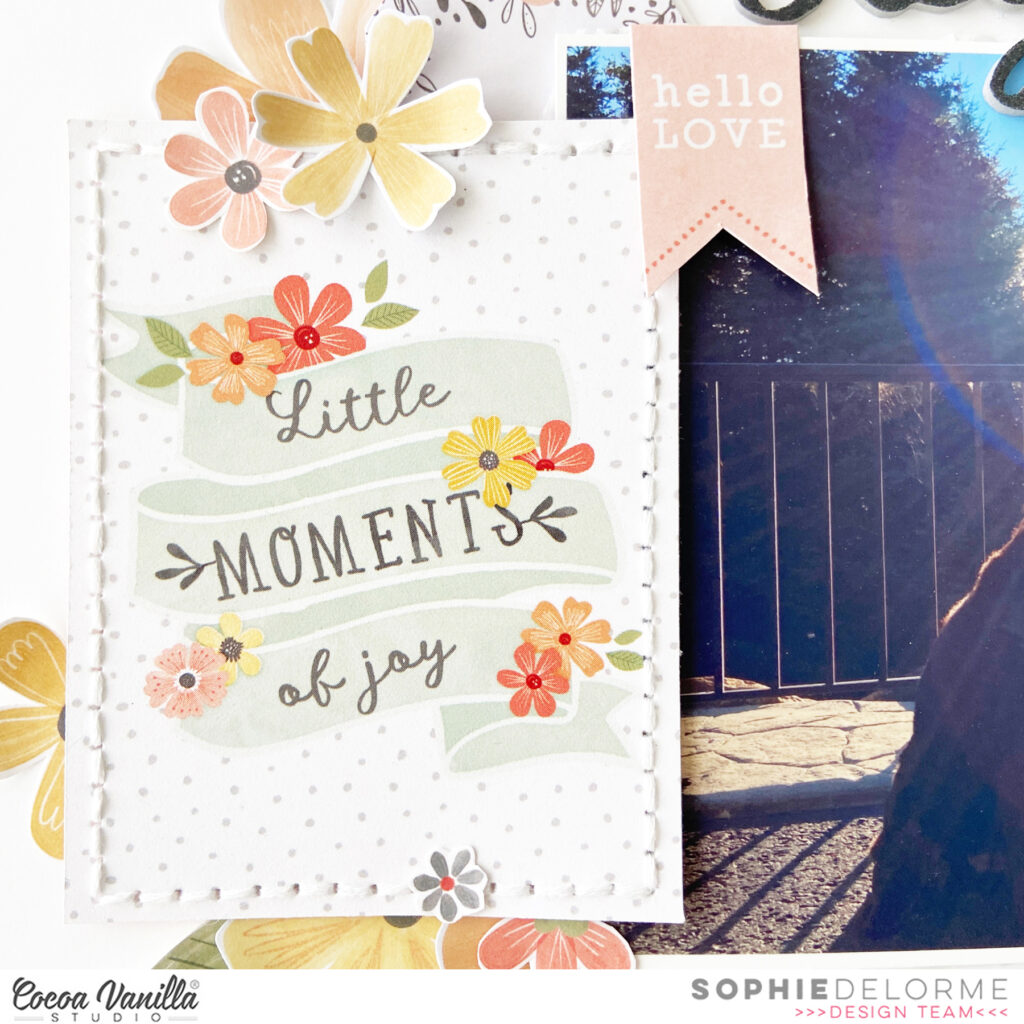
I used the These Days collection for my page, and was inspired by the warm orange and yellow tones of the board, the beautiful flowers on the left lower image, the sewing on the top right image and the heartfelt love on the top left image.
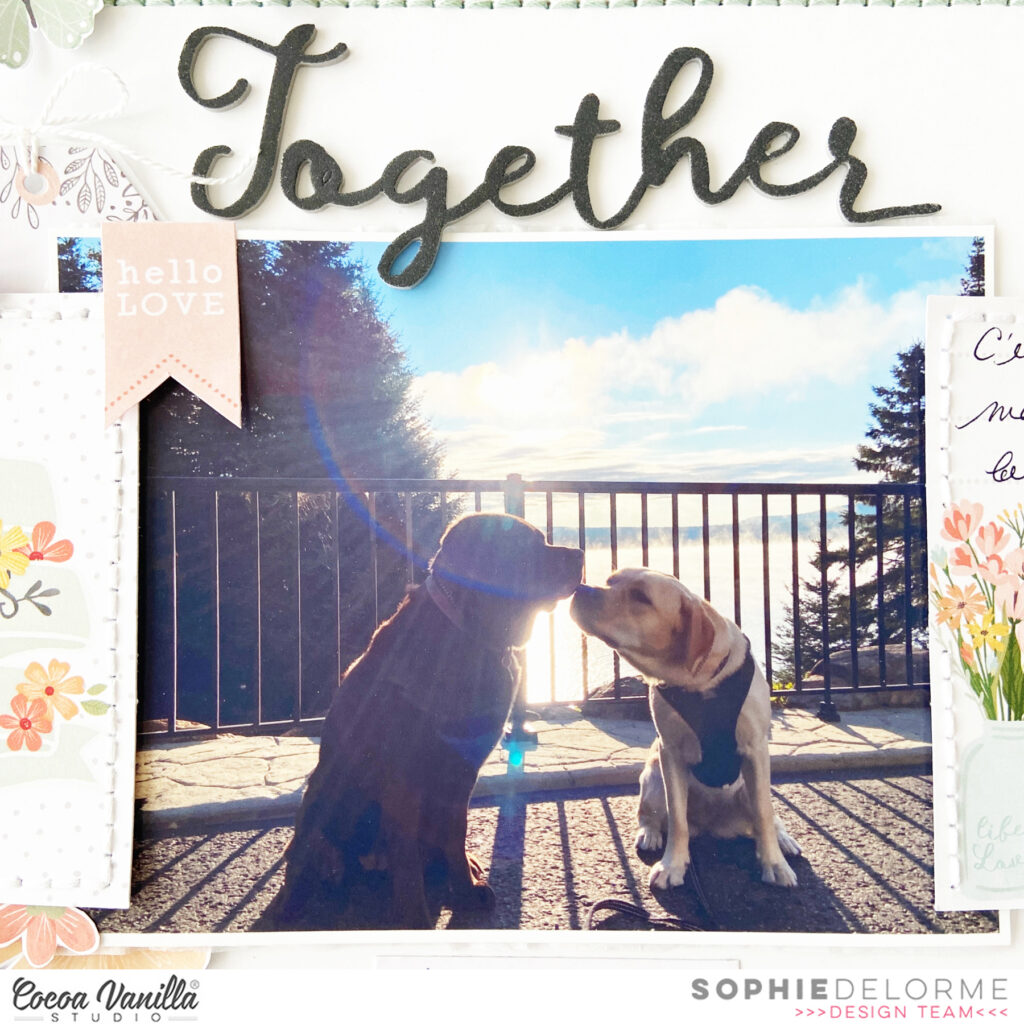
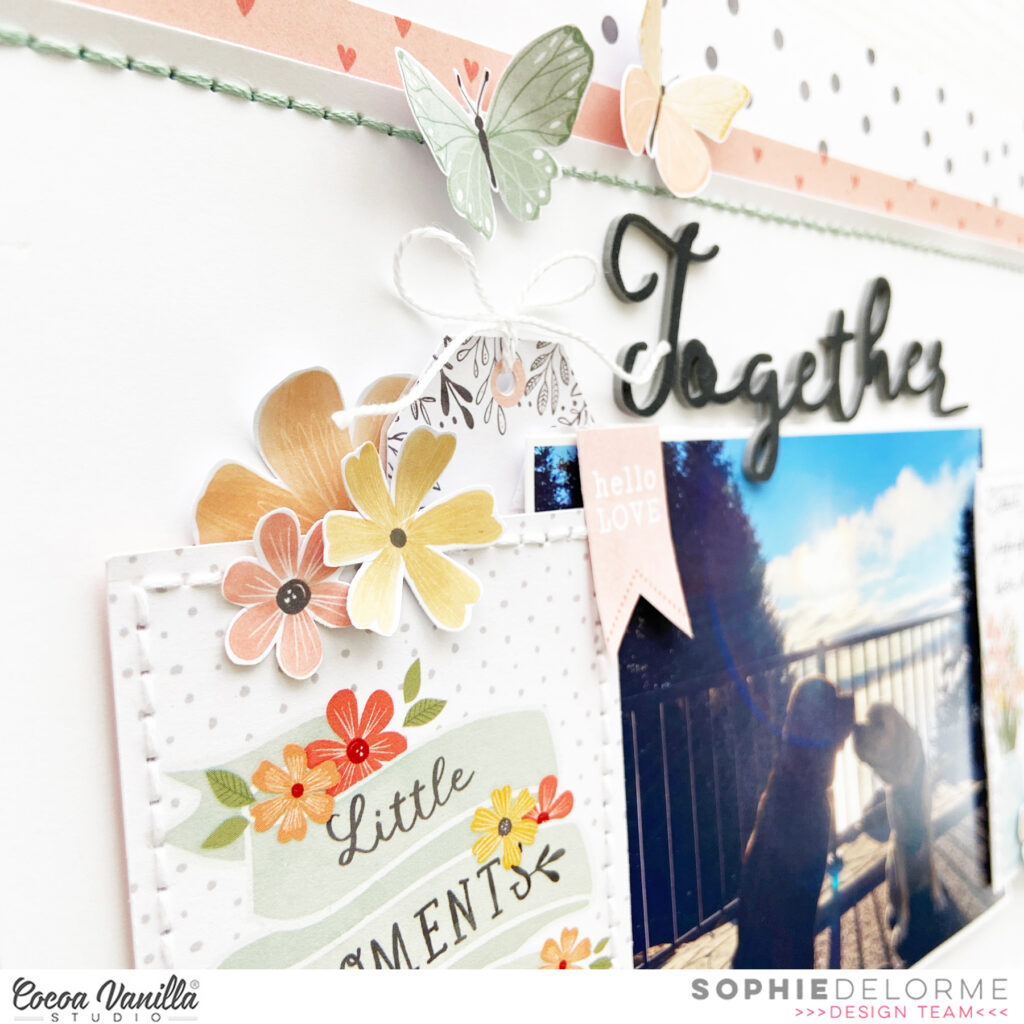
The photo of my two fur babies on a crisp sunny morning is so precious and was the perfect photo to illustrate the theme of the board.
I centered it on a 12×12 white cardstock, added two strips of patterned paper on the top and bottom parts of the layout and handstitched two horizontal lines with green thread.
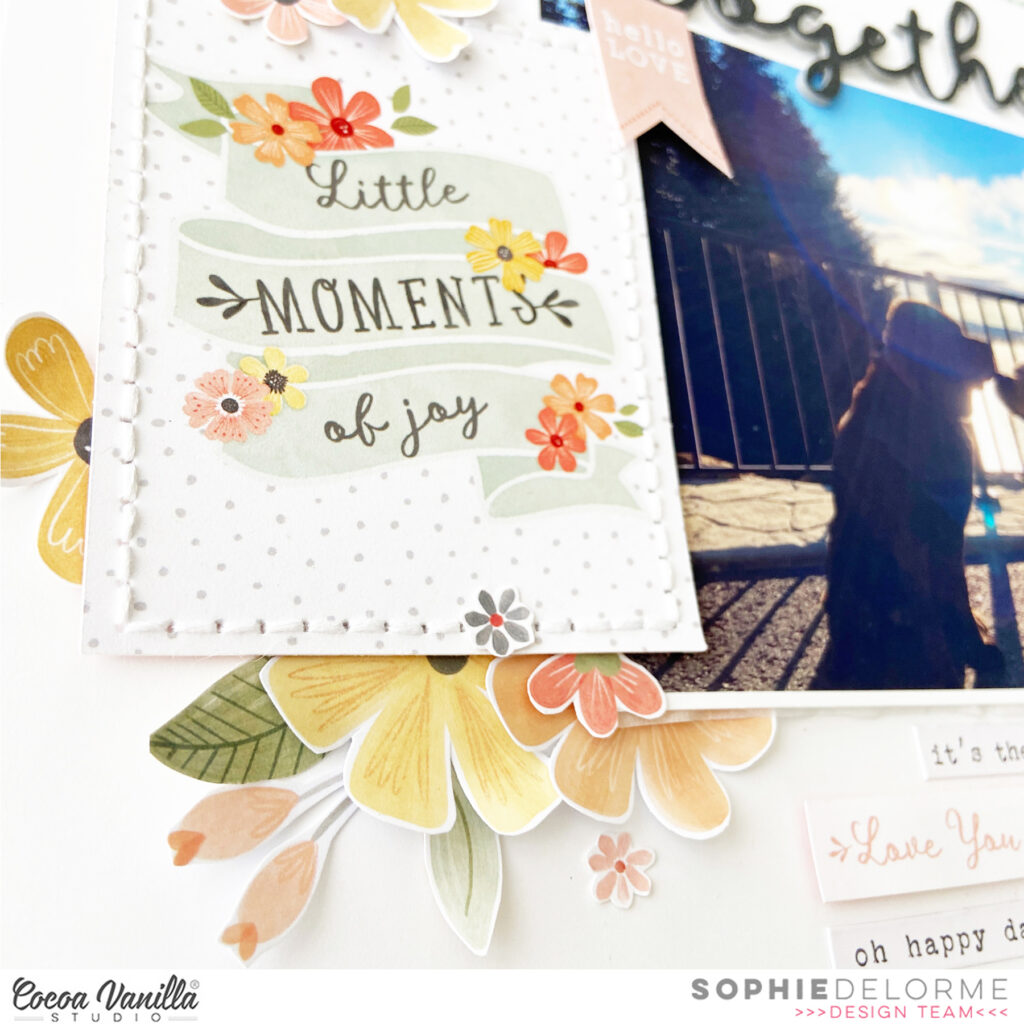
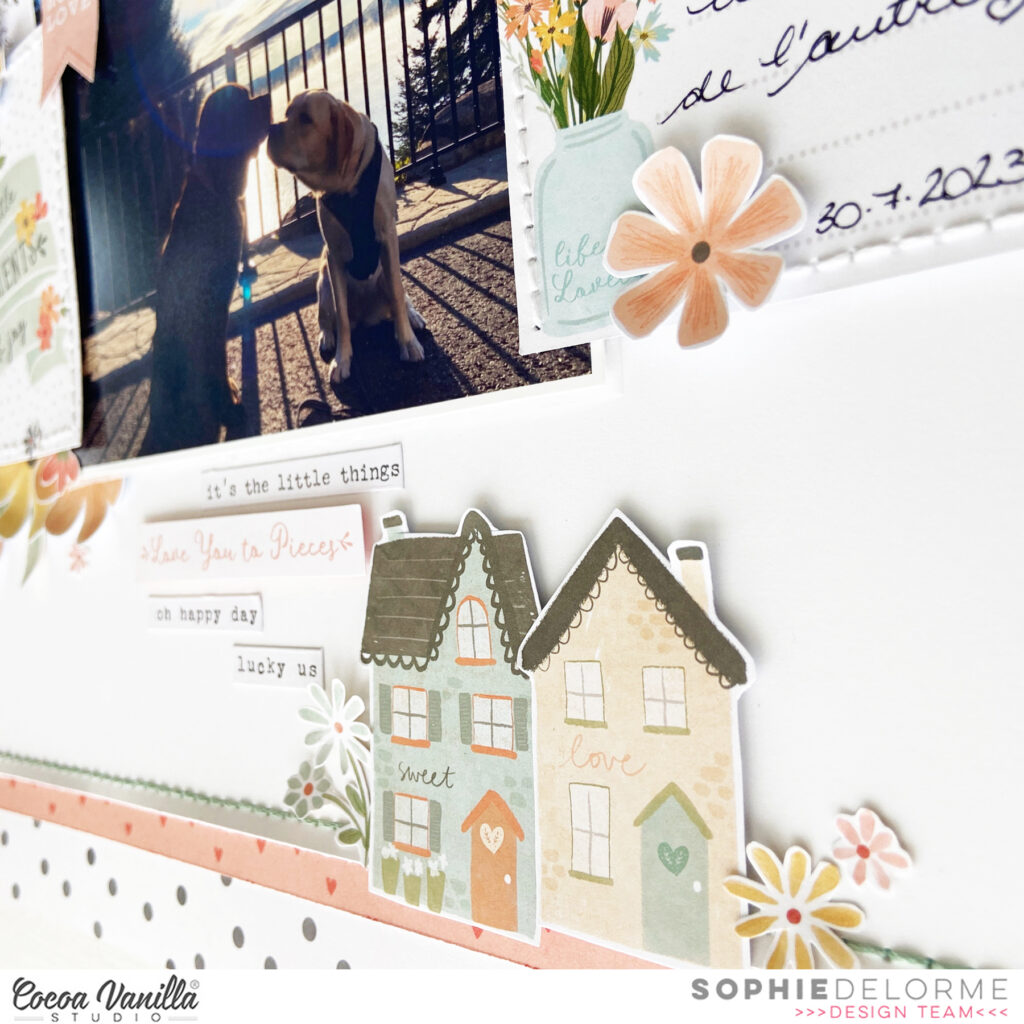
I selected two pocket cards, added stitches to them and placed them on each side of the photo for my subtitle and journaling.
My title comes from the Foam Title Stickers from the collection.
I added embellishments from the Ephemera pack, the floral die cuts pack, a few phrase stickers and two fussy cut butterflies.
Here are more close-ups:
A mood board is such a great source of inspiration! Check out the blog on November 1st to see all the details of the challenge and how to enter for you to get a chance to win a $25 store voucher to the Cocoa Vanilla Studio online store.
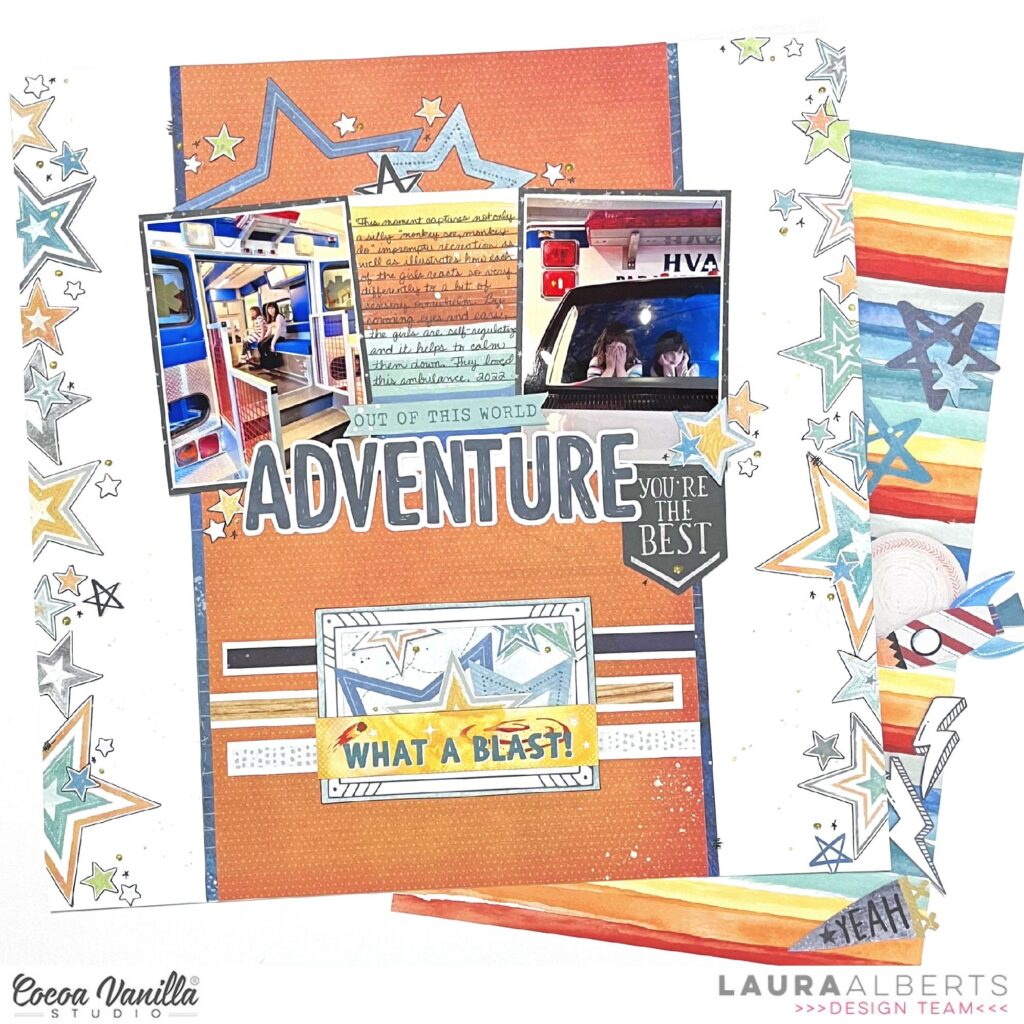
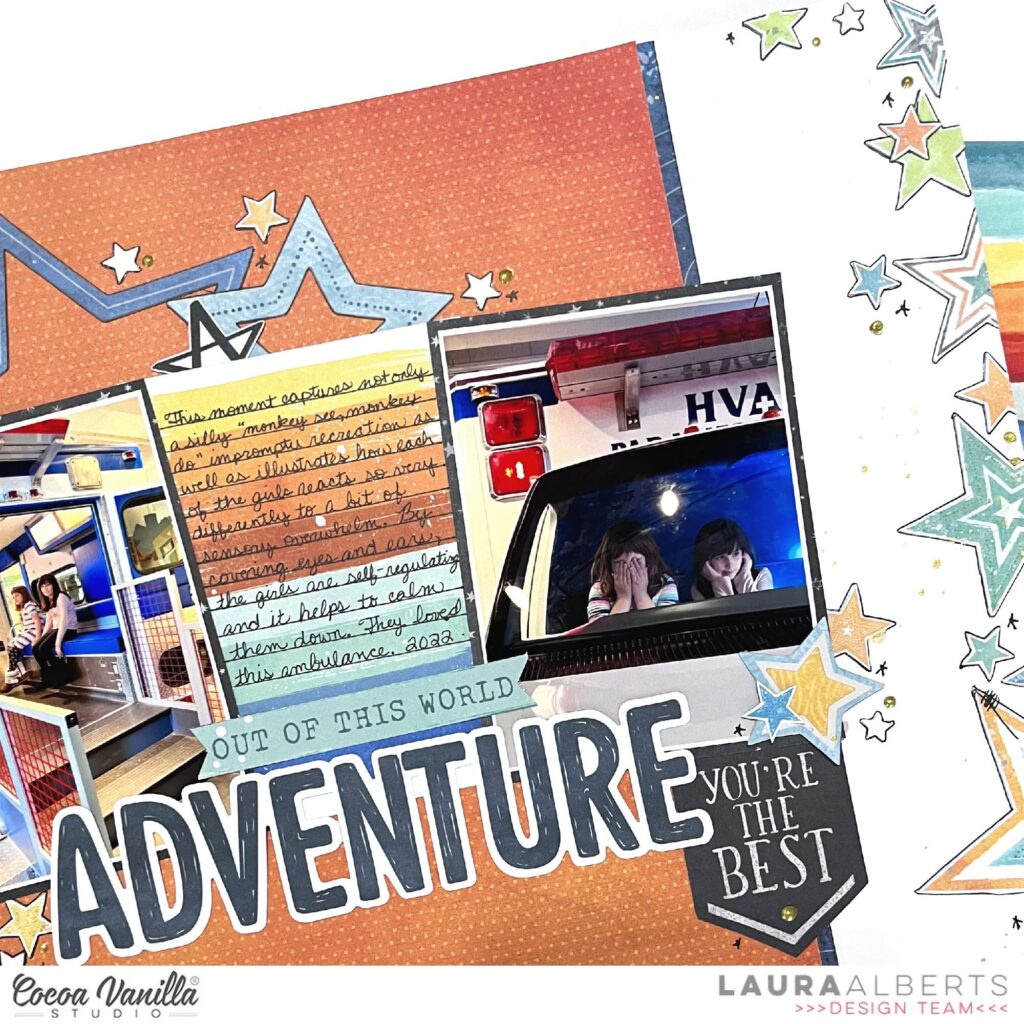
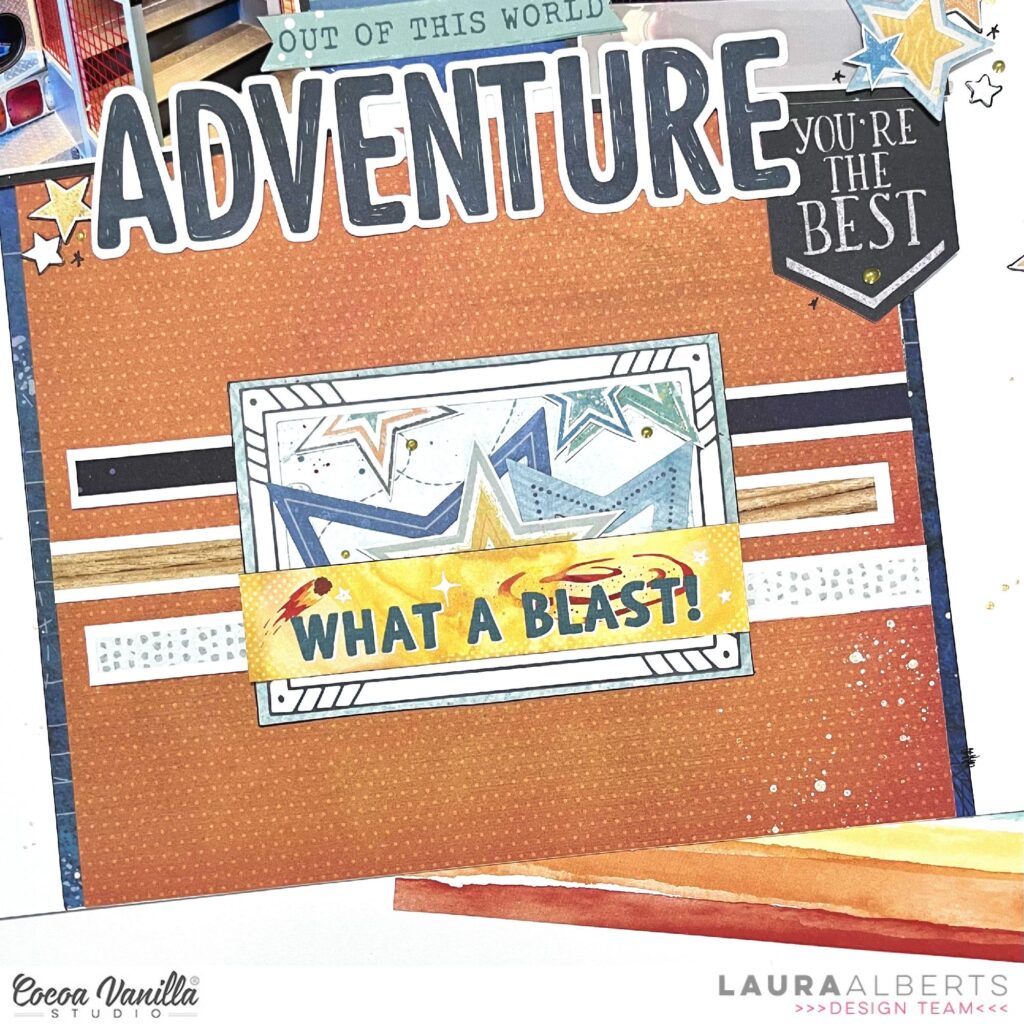
Hey y’all! Laura Alberts back again with a bold and beautiful layout that’s a bit of a stash dive into the stunning No Limits collection. I absolutely love this one and had to dig it out for this fun page featuring our visit to a hands-on museum on our last trip to Michigan. I started with a large block of this playful orange patterned paper with a little border strip on each side, then layered my photos over ephemera stars and a cut-apart journaling spot.
These large star frames are some of my favorite pieces from this collection! On the empty right and left edges of the layout, I added a scattered star border using fussy cut shapes from the Nebula patterned paper. Each of the stars is outlined with black gel pen to make them stand-out and I added a few tiny, sketchy stars for a bit of fun.
The bottom of the layout has a simple cluster with border strips underneath of a frame from the ephemera pack. I backed the frame with a cut-apart piece and filled it with the leftover bits of stars from the border layered under a cut-apart subtitle. This element was so much fun to put together!
I hope this layout inspires you to give this scattered border style a try. If you’d like to see how “Adventure” came together, check out the process video below:
I’m delighted to share with you a layout that holds a special place in my heart, crafted with the beautiful Heart and Home collection by Cocoa Vanilla Studio. Inspired by the gorgeous mood board of November, I embarked on a creative journey, infusing elements of black and white, delicate stitching, heart patterns, and blooming florals into my design.
To start this project, I drew inspiration from the elegant simplicity of black and white showcased in the November mood board. The chosen photos telling a unique family story. These snapshots, filled with precious moments that I want to show case on this layout.
Using my electric cutting machine, I carefully crafted a large heart from a patterned paper within the Heart and Home collection. This heart, symbolizing love and gratitude, found its place at the center of a white cardstock canvas. To add a touch of whimsy and craftiness, I adorned the edges of the heart with delicate light blue stitching using sewing thread, creating a charming and tactile border.
The heart, now a focal point. From a different patterned paper, I cut out a lot of flowers, using them to artfully fill one side of the heart. This floral infusion not only added a burst of color but also conveyed the growth, beauty, and joy inherent in the memories being celebrated. On top of this bed of flowers, I placed two photo frames and my black and white photos and these frames served as windows.
For the title, I choose for the stunning gold-foil phrases and little puffy stickers from the beautiful Heart and Home collection. The words “Thankful for this life” were carefully arranged to convey the sentiment of gratitude, prompting a pause to reflect on the beauty and joy of the life shared with my beloved family. To balance the layout, I made a small cluster of flowers, leaves, and a word strip adorned the upper right corner of the heart. This added a touch of symmetry and completeness to the overall design. As a whimsical finishing touch, a few butterflies were scattered among the flowers, symbolizing the fleeting nature of life’s beautiful moments.
I am pleased with how this layout turned out, and I hope it inspires you in your own creative process. Thank you for joining me on this scrapbooking journey. Your visit to the blog today is truly appreciated, and I look forward to sharing more inspiration with you in the future. Until next time, happy crafting, and may your days be filled with gratitude and joy!
Hello Hello! It’s Michelle back today with another fun layout share using out beautiful Heart& Home Collection. I went with a rainbow assortment of pattern paper strips and some sweet family snaps. Kinda running low on photos to share these days, but I’m hoping the next few months of family celebrations will bring some fresh new snaps.
Now I’ll warn you, this post is very heavy in the photos, just not so much in the words. But sit back, relax with a drink and check out my newest creation..
I used almost all of the full colour pattern papers from the collection with a mix of multi colour papers and the typewriter text. I cut 2 strips from each piece that are roughly 1 inch wide, and left them all at different lengths to overlap at random heights in a blended colour order across the white background. I had intentions of sewing through the strips, but when creating late at night I tend to go off track from where I start.
Next up I gathered a few recent family snaps and printed them out in 2×2 and 2×2.5 inch size to back the cute frames from the ephemera pack and the cut apart frame from the GATHER paper. I used pieces of foam between the frame and the photo to make them look a little more realistic then adhered across the layout using more foam for dimension.
I layered in different forms of embellishments around the frames to add extra pops of interest, using a good mix of ephemera, fussy cut pieces, enamel shapes and accessorystickers
I added the Happy List from the GATHER paper which is perfect for adding our family list of loves at this present time. We certainly love our share of naughty foods, long car rides around our greater region of beaches and lots and lots of laughter
I added a loose string across the tops of the frames to make them look like they are strung across the layout. Mixing fibres like these is a good way to add a little texture to the layout.
Super cute photo of Leila and the doggo’s. No way they would sit this still ever again lol this must have been a fluke
I added the title to the bottom of the layout using the word FAMILY from the Ephemera pack along with the banner strip underneath. I used foam under these to pop them off the page giving more dimension to the bottom of the layout. Then I added the word sentiments from the accessory sticker sheet that work perfectly together in the area above the title.
Lastly I added a splattering of gold ink, some gold glittery splotches that dry like enamel dots, some tiny little fussy cut florals and then called it complete.
So many layers with all these strips gives so much texture to the layout which is a tick in my book.
Here’s a final look at the entire layout
Well thats all from me today, thanks so much for stopping by. Short and sweet with the words along with a total photo overload. I hope you’ve enjoyed seeing this creation today, just as much as I enjoyed creating it.
It’s Sophie on the blog today with this new layout!
I used the beautiful Heart & Home collection again!
I wanted to focus on the beautiful frames from the “Framed” patterned paper. I fussy cut a few of them and centered them under a beautiful and sweet photo of my two doggies cuddling and sleeping together!
I machine stitched around the frames and used them to add subtitles and a little bit of handwritten journaling.
I placed a strip of the “Fall Beauty” patterned paper at the bottom of the layout and tucked a few framed under it. I also added many fussy cut leaves and flowers to embellish around the frames, with two bigger floral clusters around my photo.
The GORGEOUS heart & Home Gold Foil words made the perfect title for my page.
Here are more close-ups:
I love the result and hope you like it too! It’s another way to use frames on a page without framing a photo!
Thank you for stopping by, I will see you again soon!
Hey y’all! Laura Alberts here with a fun autumn layout using the new Heart & Home collection from Cocoa Vanilla Studio. These lovely photos worked beautifully with the color scheme of Heart & Home, especially the vellum florals! I started this one using multiple chipboard circle templates that I created in various sizes using bowls from my house. Cutting out circles in these beautiful patterned papers made for a quick and easy background!
Each of the circles are outlined in black gel pen with a few faux stitching marks. In the top left circle, I positioned two photos with the first part of my title and tucked a journaling spot from the cut apart sheet underneath. I added a mix of ephemera, fussy cut, and vellum florals on the right side for a simple cluster.
In the top right corner, I built a large cluster using a frame from the ephemera pack and backed it with a cut apart. The floral cluster added depth by layering ephemera florals above the frame and vellum florals below. This gives the cluster a dynamic look despite how flat it actually is!
In the bottom right corner, I let one of my photos go off the page and trimmed it. This functions as the second-half of the title, but also gives a third point of interest on the page. These photos didn’t need a lot of embellishing, so I kept this cluster simple.
And just to add a little extra something fun to the last circle, I added a medium sized cluster with both vellum, ephemera, and fussy cut florals. Love how this one turned out! I hope this layout inspires you to find a new way to incorporate household items into your scrapbooking!
I used the beautiful Heart & Home collection again!
I focused on the Leaf Litter patterned paper and fussy cut numerous tiny leaves.
I centered my black and white photo on a thick white cardstock, added a few layers of patterned papers from the A5 paper Stack, tissue paper and foam adhesive.
I created a big floral cluster on the lower right corner of the photo (Floral Ephemera pack), and scattered the beautiful fussy cut leaves on the upper left corner of the photo to create a diagonal design.
I placed a die cut on the photo as my title, with the name of my dog (Mini Puffy Alphabet) and a few handwritten words about how cute she looks!
Here are more close-ups:
I love the result and hope you like it too!
The layout is very easy to scraplift so don’t hesitate to give it a try!!
Hey y’all! I’m back again with the stunning Heart & Home collection to scrap these two photos of my brick. This is my mark on the university I attended and I am so grateful that I had this opportunity to return to school and finish my degree. To celebrate, I’m scrapping this moment with these rich colors from Heart & Home!
For this layout, I created a fairly simple vertical background and layered my two 3×4″ landscape photos on top of each other with clusters of florals from the icon ephemera packs tucked into the corners. With a lovely gold die cut title and these tiny fussy cut florals, I gave the page a beautifully detailed finish!
Adding in Nuvo drops was how I gave this simple vertical time to shine. Using white Nuvo on top of the woodgrain paper that edges the background gives it a purpose. The outlining of those strips makes them pop even more!
I hope this layout inspires you to find new ways to add details that give your layout a polished finish. To see how the ‘Thankful’ layout came together, check out the process video below:
Welcome to a world of creativity and memories as we explore the wonderful “Heart and Home” collection designed by Cocoa Vanilla Studio. In this scrapbook blog, we’ll take a look of my layout that’s all about gratitude. We’ll talk about how we added a touch of playfulness to our frames using floss and sequins, created a beautiful flower and branch cluster as the center of attention and I used a golden ephemera word for our title, and scattered some charming butterflies around the flower cluster.
Cocoa Vanilla’s “Heart and Home” is a gorgeous collection. It comes in beautiful colors and designs that make you feel warm and cozy, just like home. Whether you’re scrapbooking family moments or everyday joys, this collection is perfect for capturing those precious memories.
My layout has a unique twist when it comes to frames. Instead of regular frames, we decided to get playful by adding floss and sequins to them. It’s a bit unconventional, but it makes our photos stand out and gives them a bit of extra sparkle. These playful touches make my memories even more special.
I absolutely love the big cluster of flowers and branches. It’s like a little garden right on this page! This eye-catching arrangement is the center of attention, and it represents the beauty and growth that comes from being thankful. We used different sizes, colors, and textures of flowers to make it look really interesting and three-dimensional.
To add a bit of fun and whimsy, I cut out some butterflies from the patterned paper and scattered them around our flower cluster. Butterflies are a symbol of transformation and freedom, and they remind us of the joy that comes from gratitude. They’re like little sparks of happiness on our page!
Scrapbooking is all about capturing moments and telling stories, and my layout does just that with the help of Cocoa Vanilla’s “Heart and Home” collection. I’ve shown you how I added playful frames, a beautiful flower cluster, a shiny golden title, and some whimsical butterflies to make my memories even more special.
I hope this layout inspires you to get creative and have fun with your scrapbooking projects. Remember, each page is a piece of your heart and a story worth telling.
It’s Sophie on the blog with a new layout to share!
I used the beautiful Heart & Home collection again!
I started with a white background and placed two patterned papers; a wood grain and a soft pink polka dot (both come from the A5 Paper stack) in the center of the page, stitching them down on the cardstock. I centered a photo on the polka dot paper, added tissue paper and adhesive foam to make it stand out a little bit more.
I fussy cut numerous florals from the 12×12 “Bountiful” paper and placed them around the photo.
I wrote down my journaling on a beautiful frame, used the Heart & Home Gold Foil Words for my title and scattered plenty of cute fussy cut butterflies flying around the page.
Finally, I tied everything together with a huge bow created from ribbon in my stash.
Here are more close-ups:
I love the result! Just can’t get enough of this wonderful collection!