HELLO SUNSHINE | ENDLESS SUMMER | GWEN WRUCK
Hi Creative friends,
Gwen back on the blog today with a stash busting share for you featuring the ‘Endless Summer‘ collection. Whilst this collection is from a while ago now (2016), I still really love the soft tones in it and the sweet icons, they are perfect for documenting beach photos; these taken of my daughter many years ago. I have quite a few embellishments for this line in my stash so I thought it would be a great opportunity to get some of those used up as well!
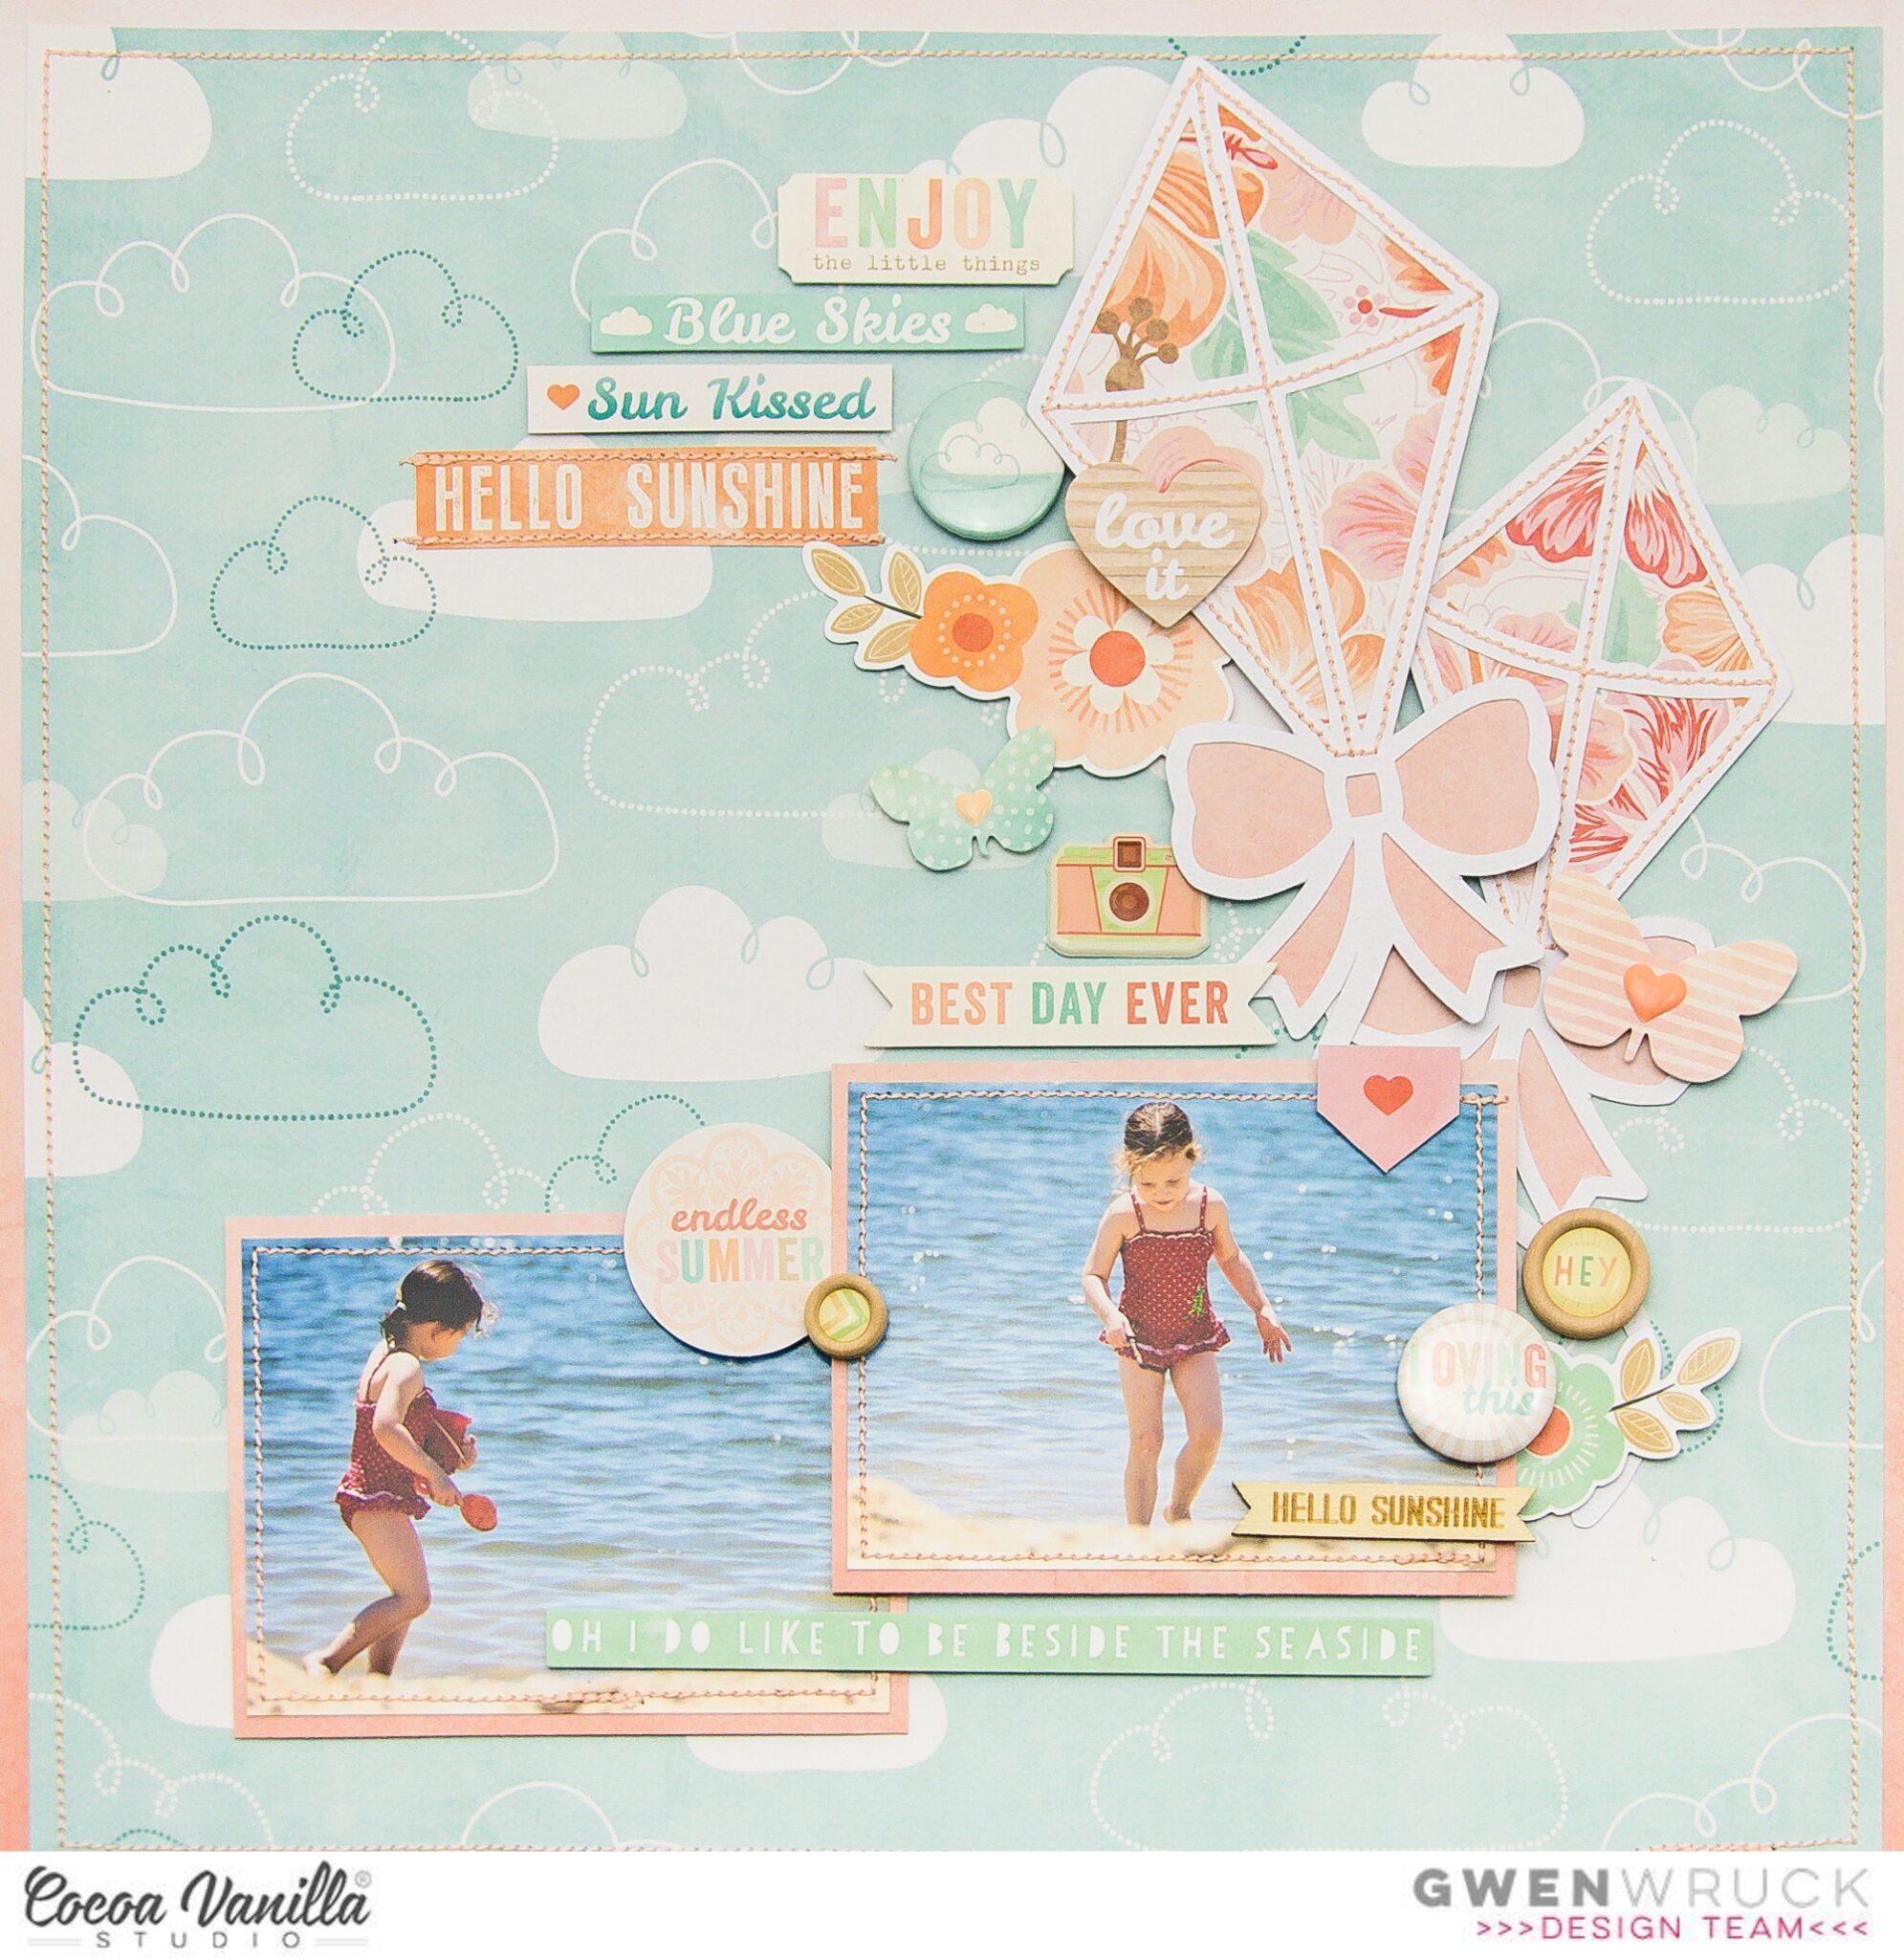
The idea for the page was to create a landscape of sorts, with my photos sitting towards the bottom of the page and the top portion of the page being a pretty summer sky. I’ve used the ‘Blue Skies’ pattern paper for my background and then created a frame with the ‘Sun Bleached’ ombre pattern paper. I’ve used this paper to create photo mats for my photos as well.

For a fun element to add to my sky background, I’ve cut two paper kites using a cut file from CUT to YOU. I’ve backed these in the ‘Sun Bleached’ pattern paper as well as the ‘Aloha’ pattern paper, a fun tropical floral print. I’ve added some stitching detail to really make them a feature of the design.

My photos also have a stitched border added for extra detail and they run along the bottom of the edge of the layout. I wanted them to feel grounded against my background.

With the photo and large cut file elements in place, now I get to audition the embellishments in the collection. I noticed at this point that I had a lot of little sentiments to work with from the ‘Die Cut Ephemera’ pack as well as the ‘Accessory Stickers’. I even had some that had been fussy cut from the ‘This and That’ pattern paper. I also had some of the ‘Flair Buttons’ in my stash and am happy to have included two on this layout.

Thinking about the way the eye will flow from the top of the page down to my photos and across to the left, I have nestled in elements along the left hand edge of my paper kites. I’ve also added a longer sentiment at the bottom of the page to balance things out and help that bottom section feel more grounded. Here you can see how the cloud icons in the background pattern paper are matched to the flair button. I love this layered look.

I’ve then added in a floral sticker from the ‘Accessory Sticker Sheet’ (which I cut in half) as well as some other round elements to soften the look of the page and add more interest. The different sized round elements really add to the dimension of the page as well. Lastly, I’ve added in two of the die cut butterflies from the ‘Accessory Sticker Sheet’ as well as a couple of ‘Enamel Shapes’ as a last finishing detail.

I have made a YouTube process video for this one which you can watch here:
I hope this layout inspires you to dive into your stash and get creating!
Until next time,
Gwen
xo
 I start by cutting the photo frames and with gold sewing thread I stitched the edges. I cut the photo into a circle and also cut two circles from the design paper as well. I placed these circles behind the photo and with gold sewing thread I stitched the edges.
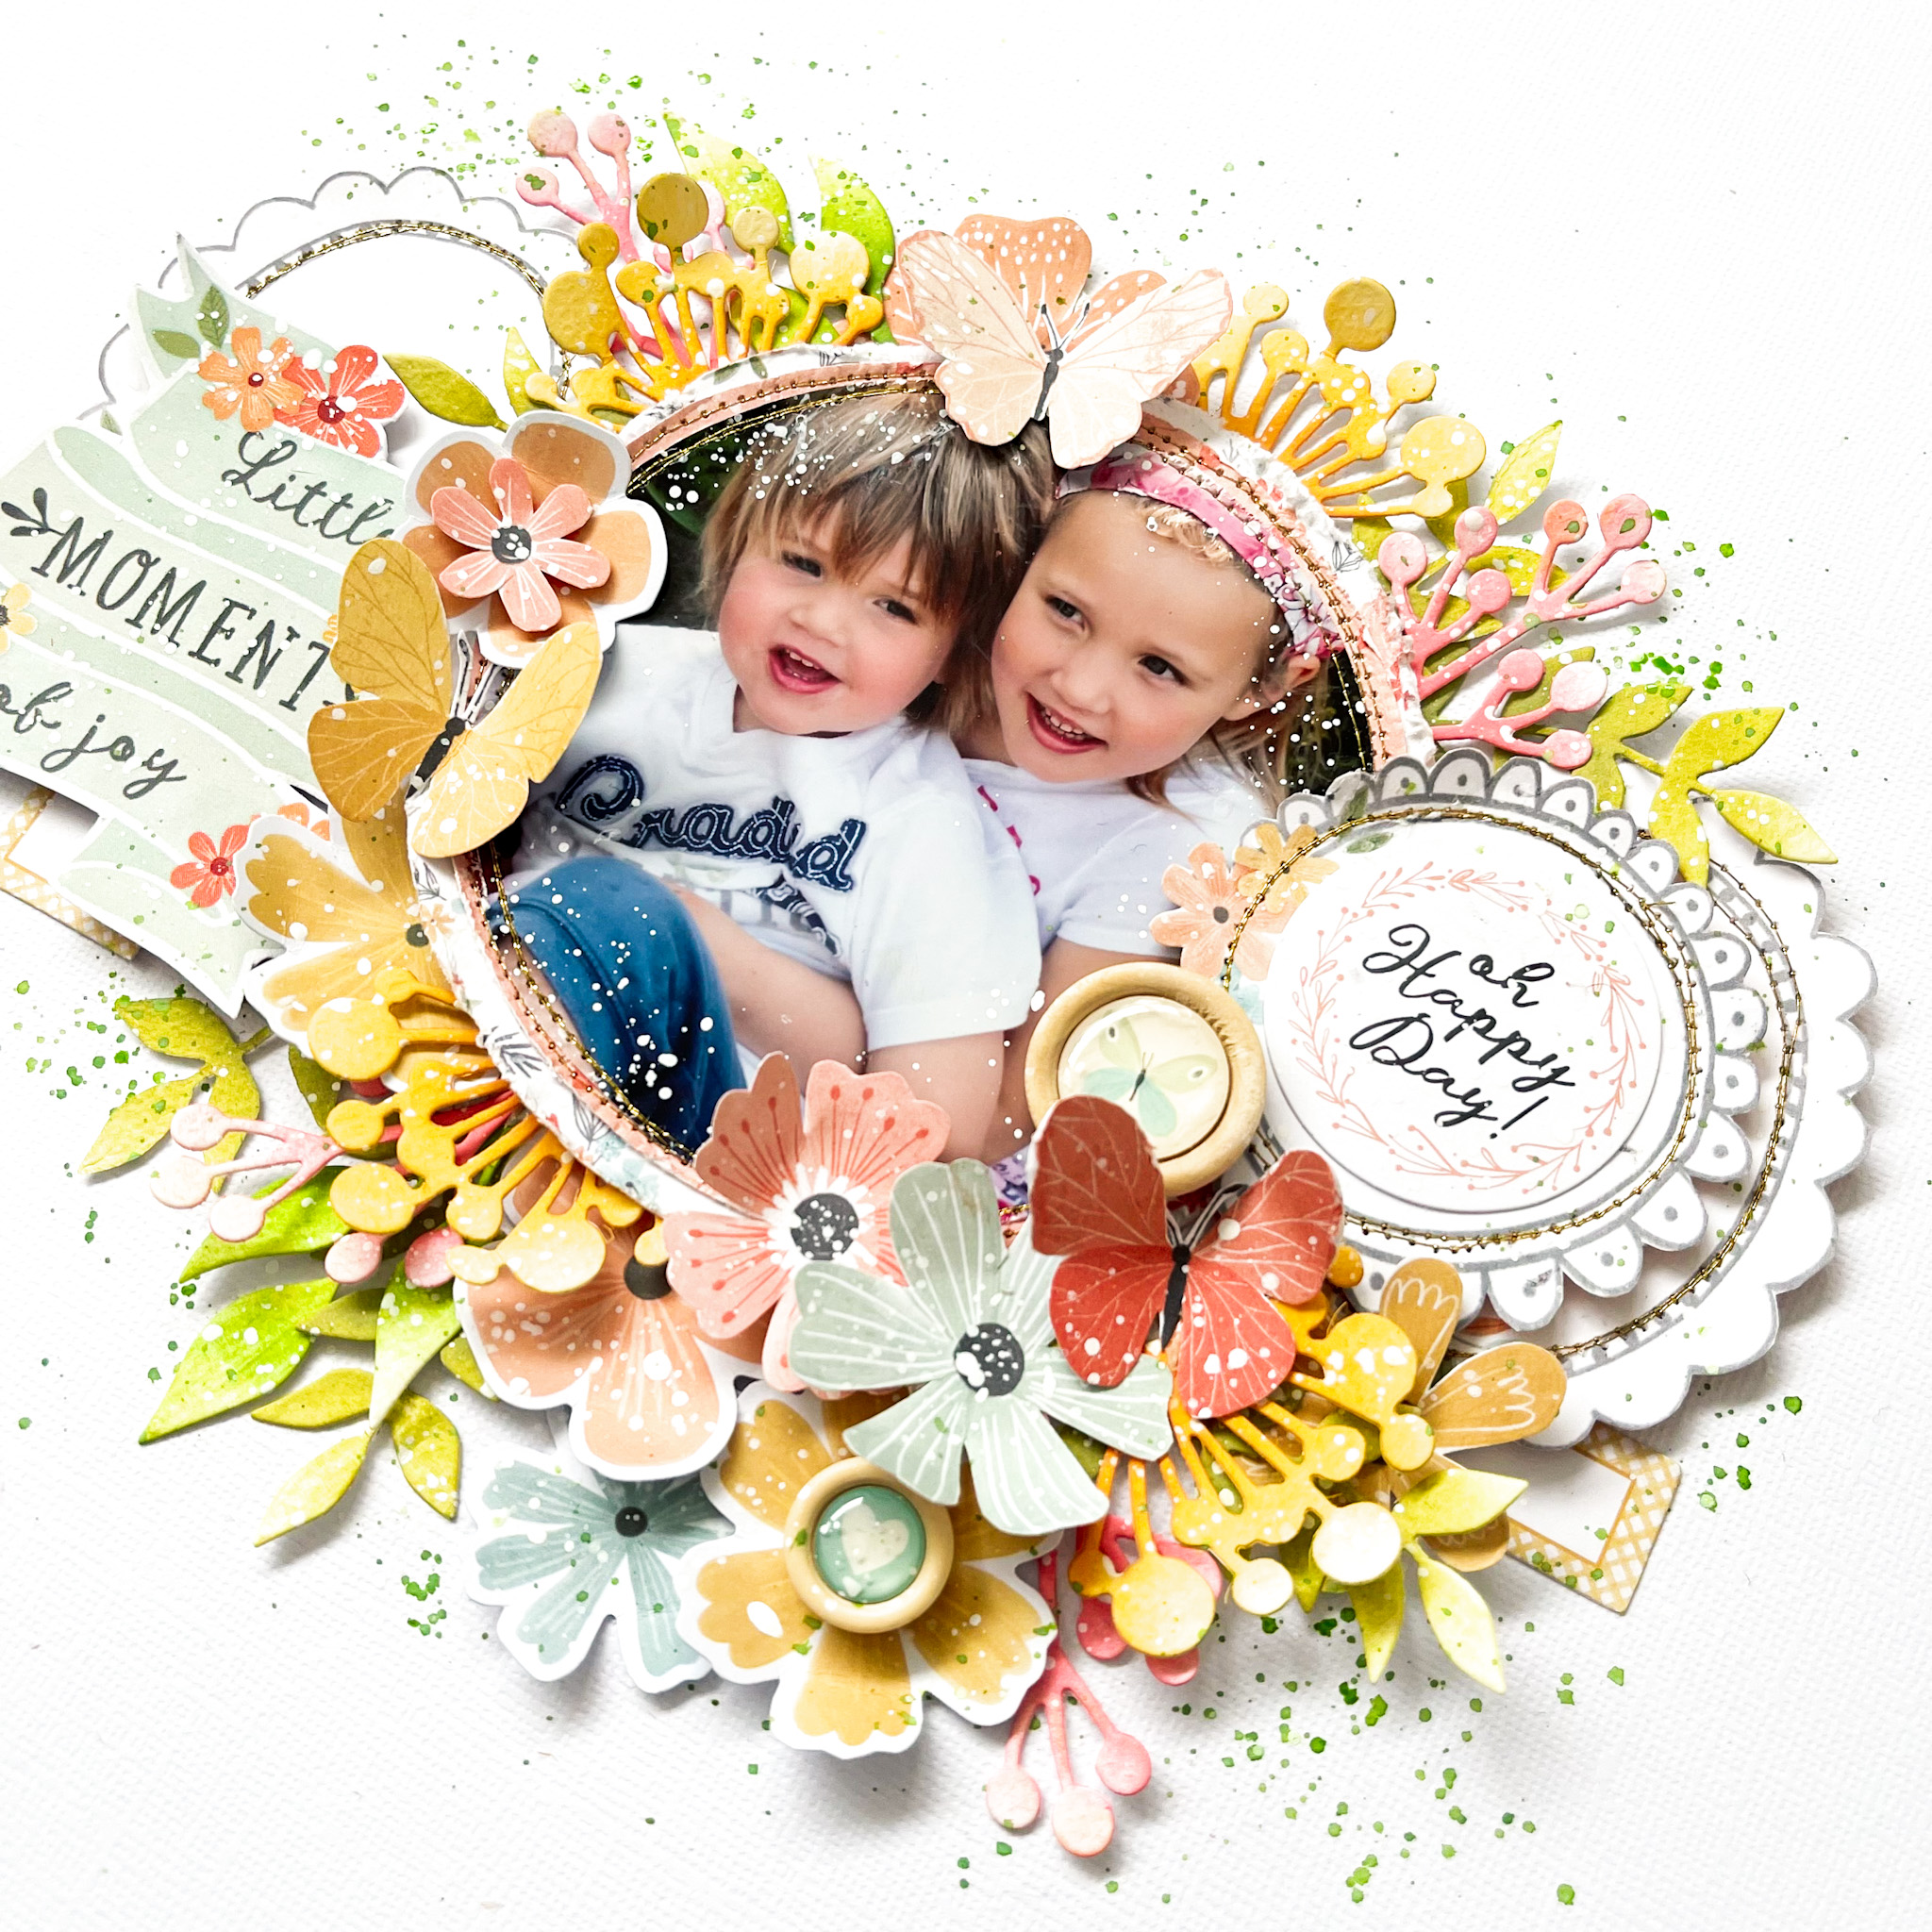
 I cut some butterflies and flowers from the gorgeous design papers and used the beautiful flower die-cuts, stickers and the wooden buttons from this awesome collection. I placed them I around the photo. I love creating layers with these amazing embellishments. For the title, I use a pocket page card titled ” Little Moments of Joy” I cut out the text and use it as a die-cut on my layout.
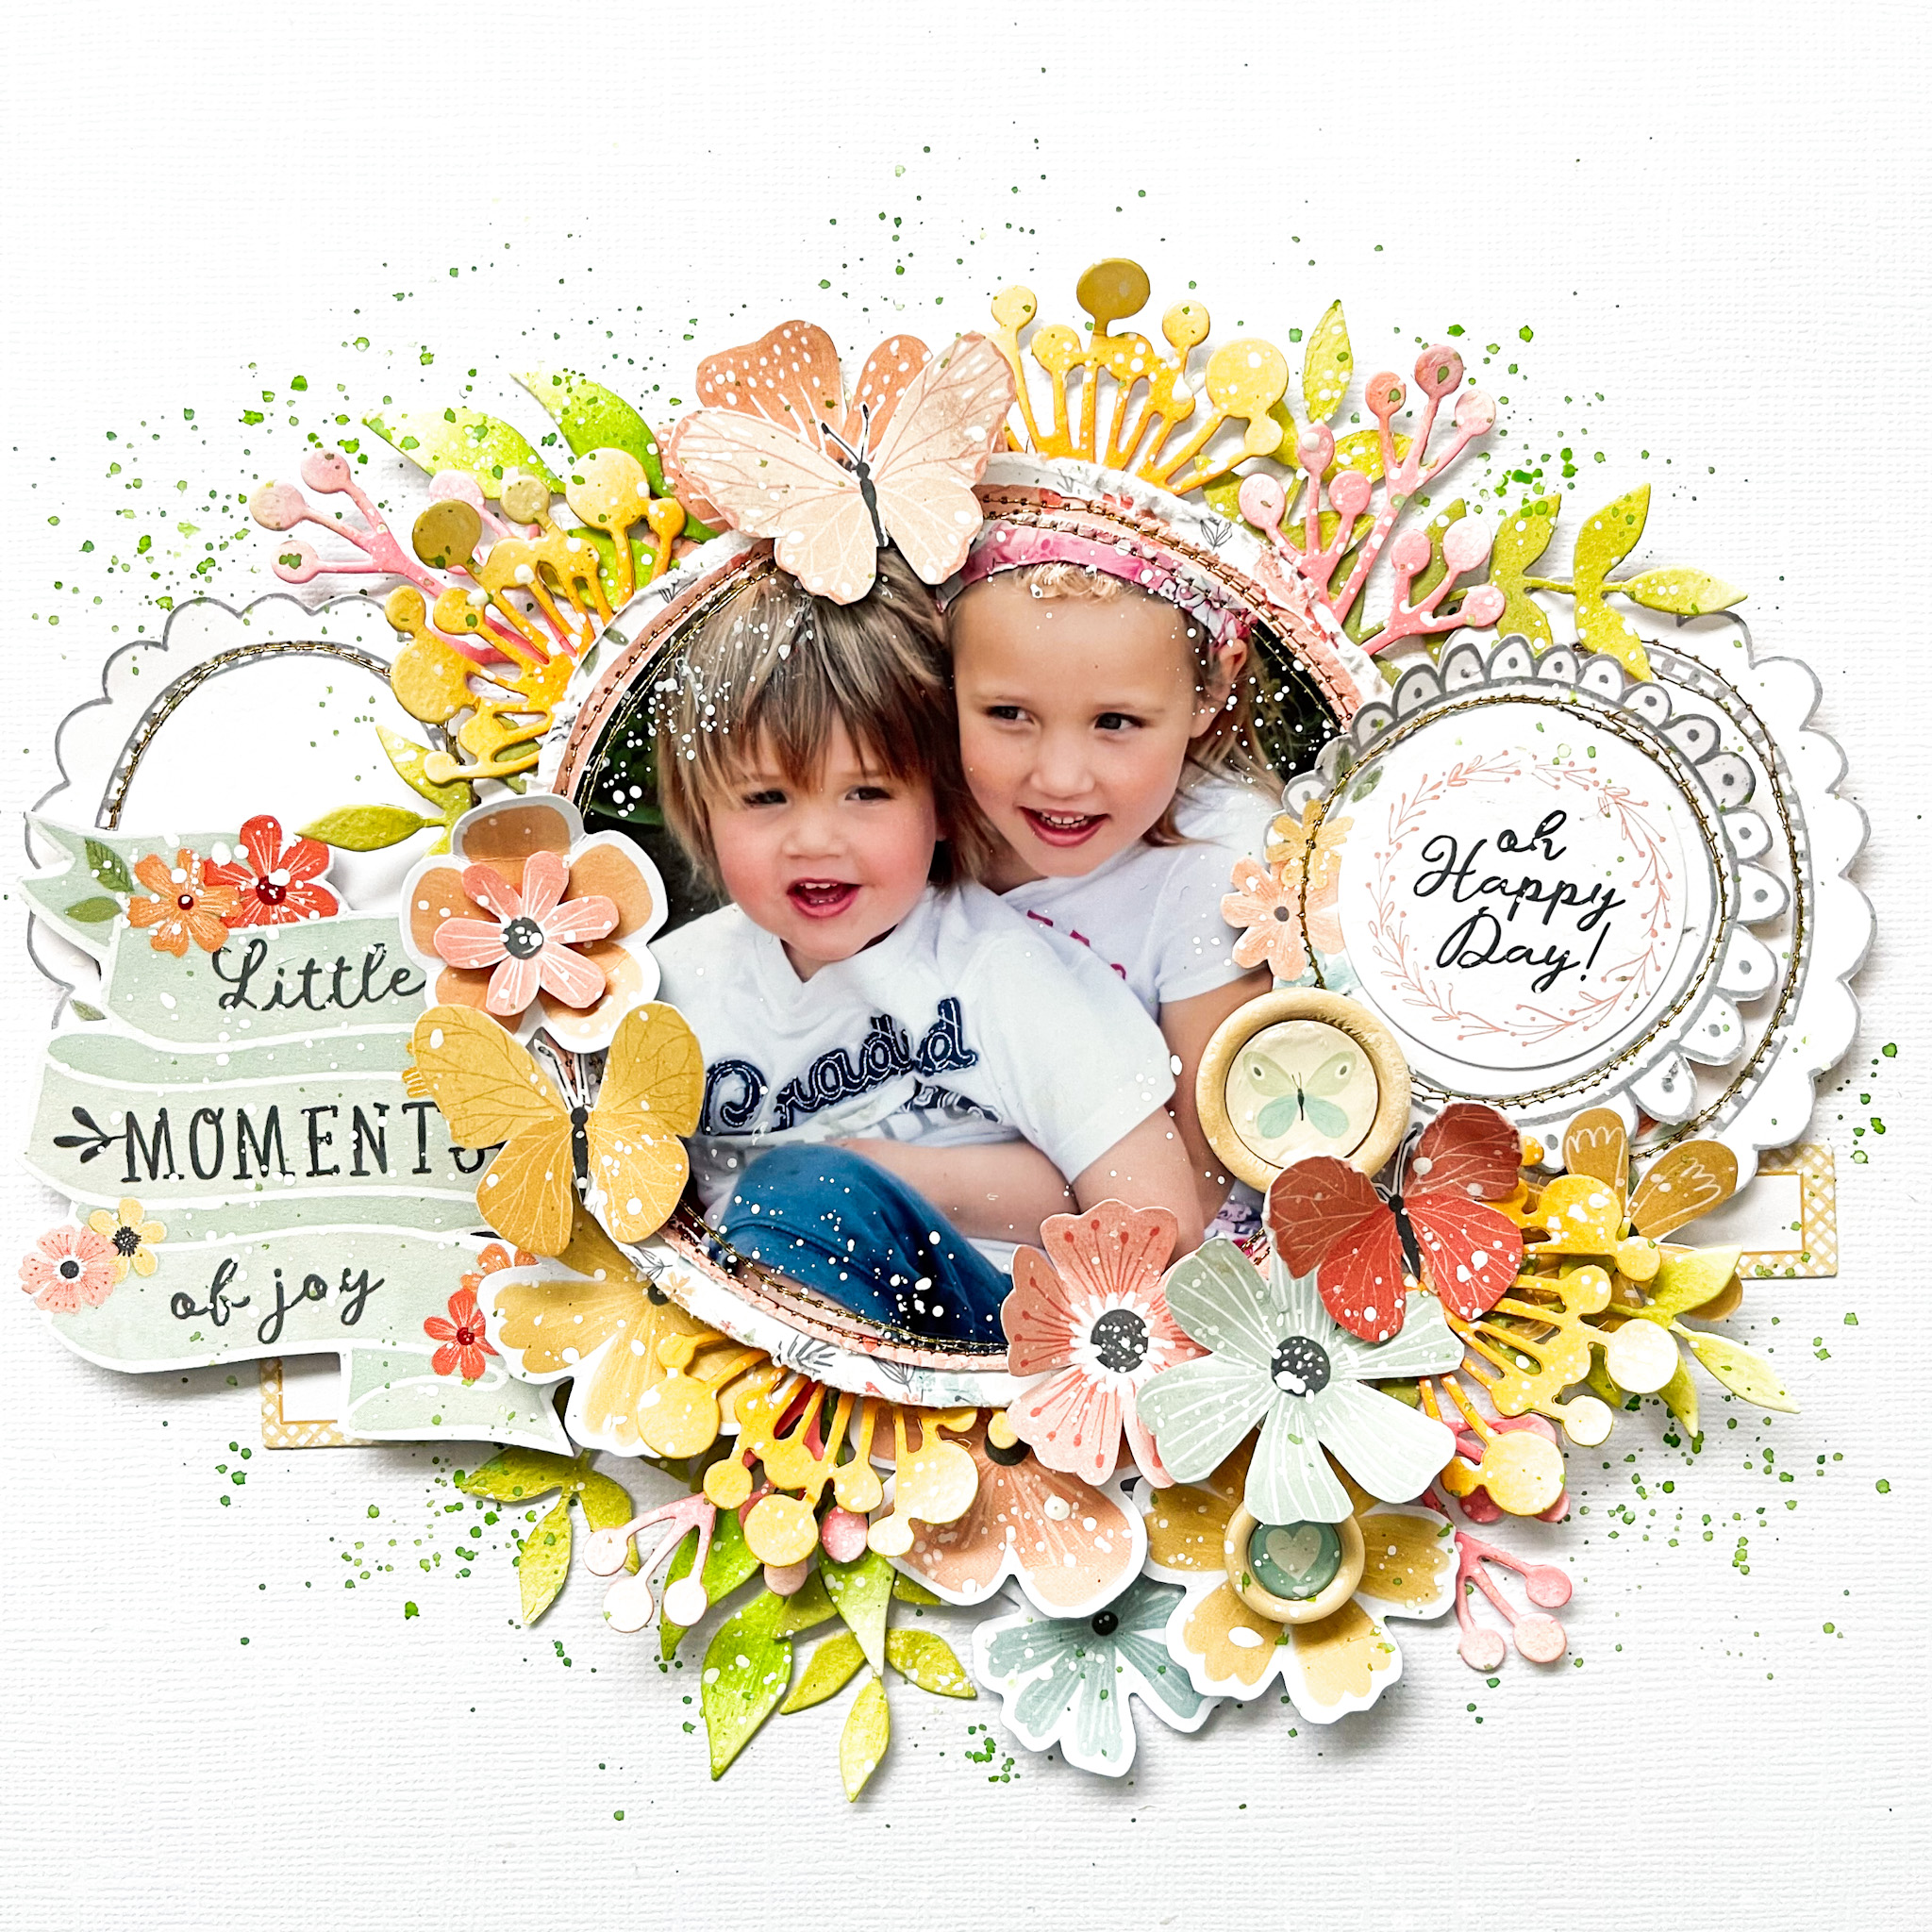


 One of my favorite songs is “Our House” by Madness. I also think the song fits very well with the great style of this collection and it makes me think of my own family. I draw two circles in the center of the page and with the mini alpha set I make my title on the first circle. On the second circle I write part of the lyrics.I used my sewing machine and stitch with gold sewing thread through my title.
 From the design paper “Neighborhood” I fussy cut all the houses and placed them in the center. I cut a 19 cm x 7 cm strip of design paper and fold it in half. I placed the photo on top of it and so I create a place to write my creative journaling in it.


