Hello Cool Kid | No Limits collection | Josefine van der Hoeven
Hello Paperlovers,
How lovely of you to visit the Cocoa Vanilla blog today I love to see you here. For this boy themed layout I really wanted to work with the fantastic collection “No Limits”
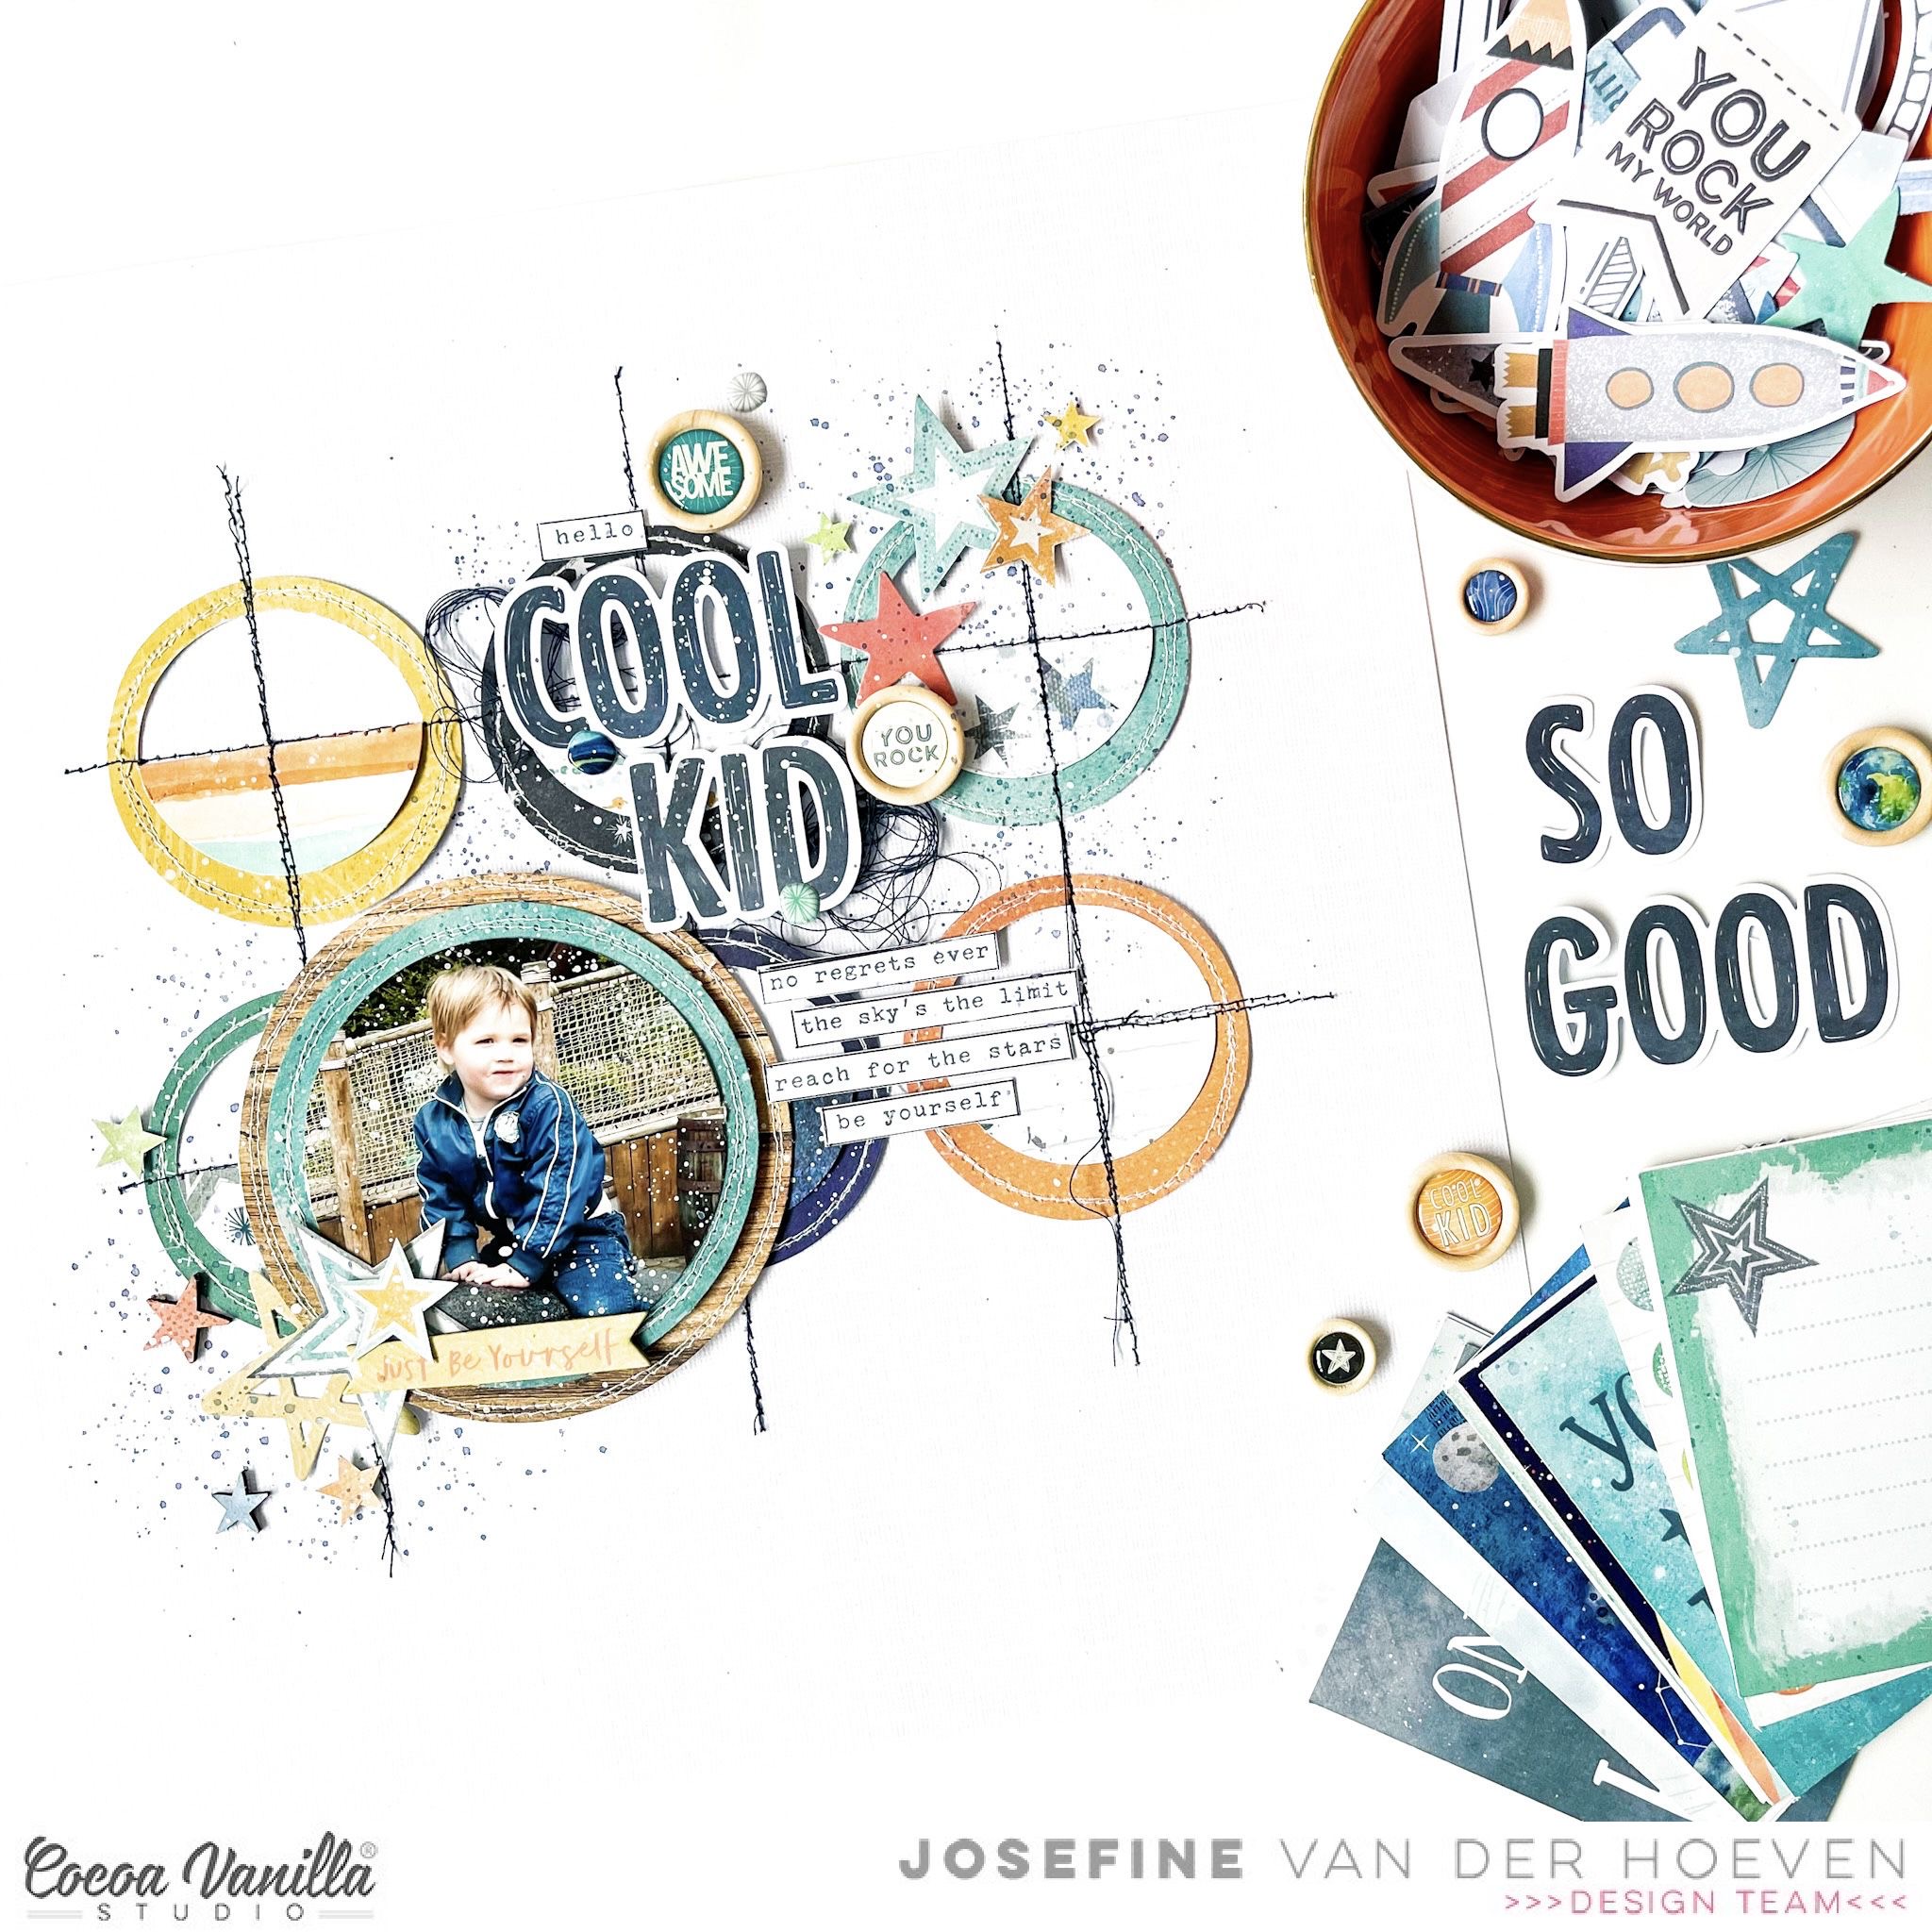
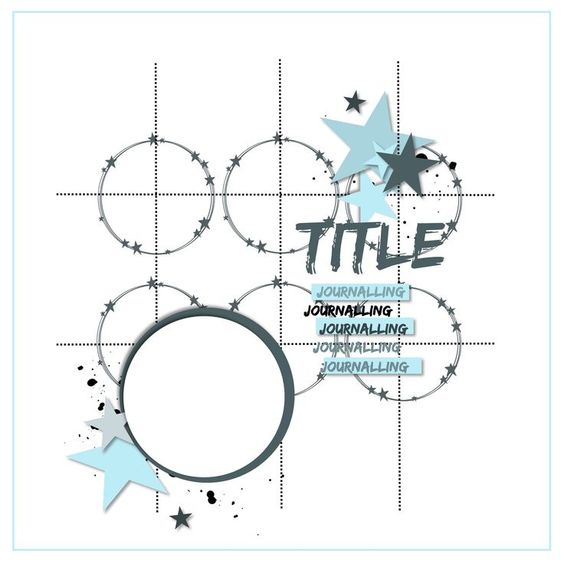
This photo of my son is from quite a few years ago but the colors and his cute little face fit this collection wonderfully well. For this layout I was inspired by a sketch by Lottie Loves Paper that I found on Pinterest. I love using a sketch. It can give you just that creative push you need at that moment.
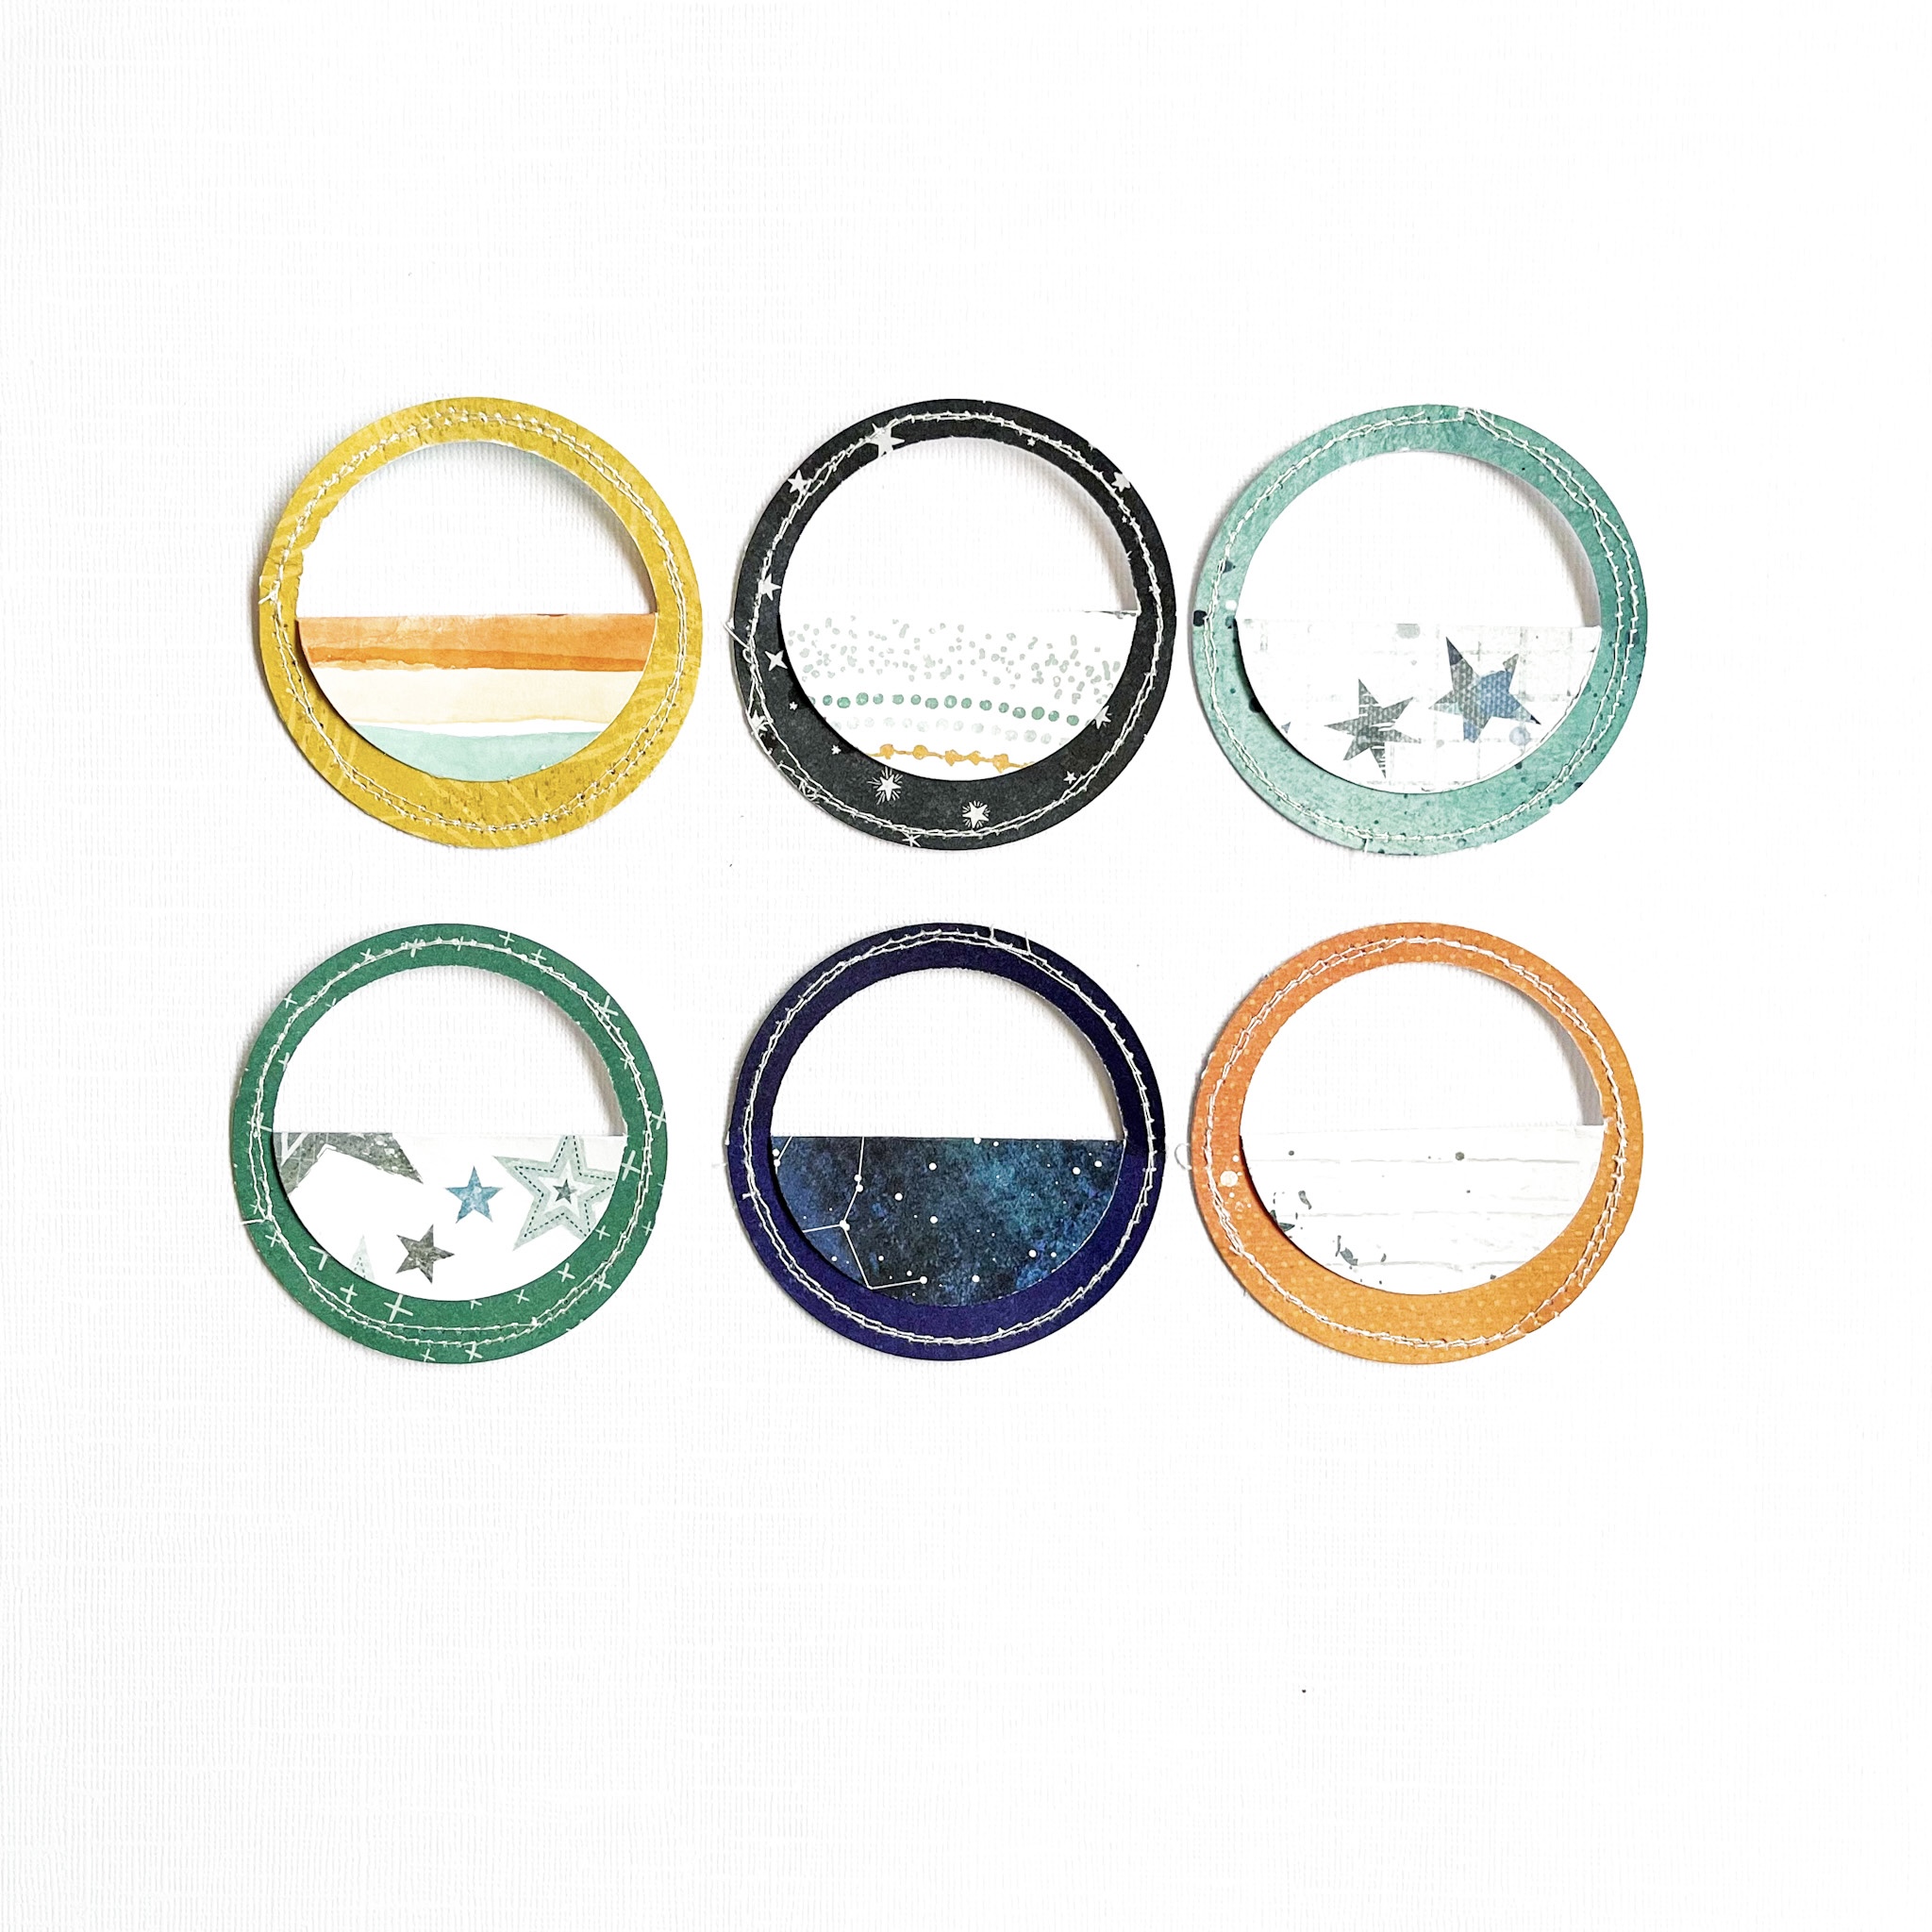
I took a 12×12 white cardstock paper and choose six of my fave design papers form the “No Limits” collection. I cut out six 3-inch circles and provide the edges of the circles with a stitch edge. I choose white sewing thread and use my sewing machine. Then I cut a half circle in the circles and fold them over. See picture…..
As also shown on the sketch, I am stitching a grid pattern on my layout. I choose dark blue sewing thread for the grid design. The dark blue is also reflected in the title as in the photo.
I cut two larger circles from the patterned paper and stitch the edges with white sewing thread. I also cut my son’s picture into a circle and place the circles on top of each other.
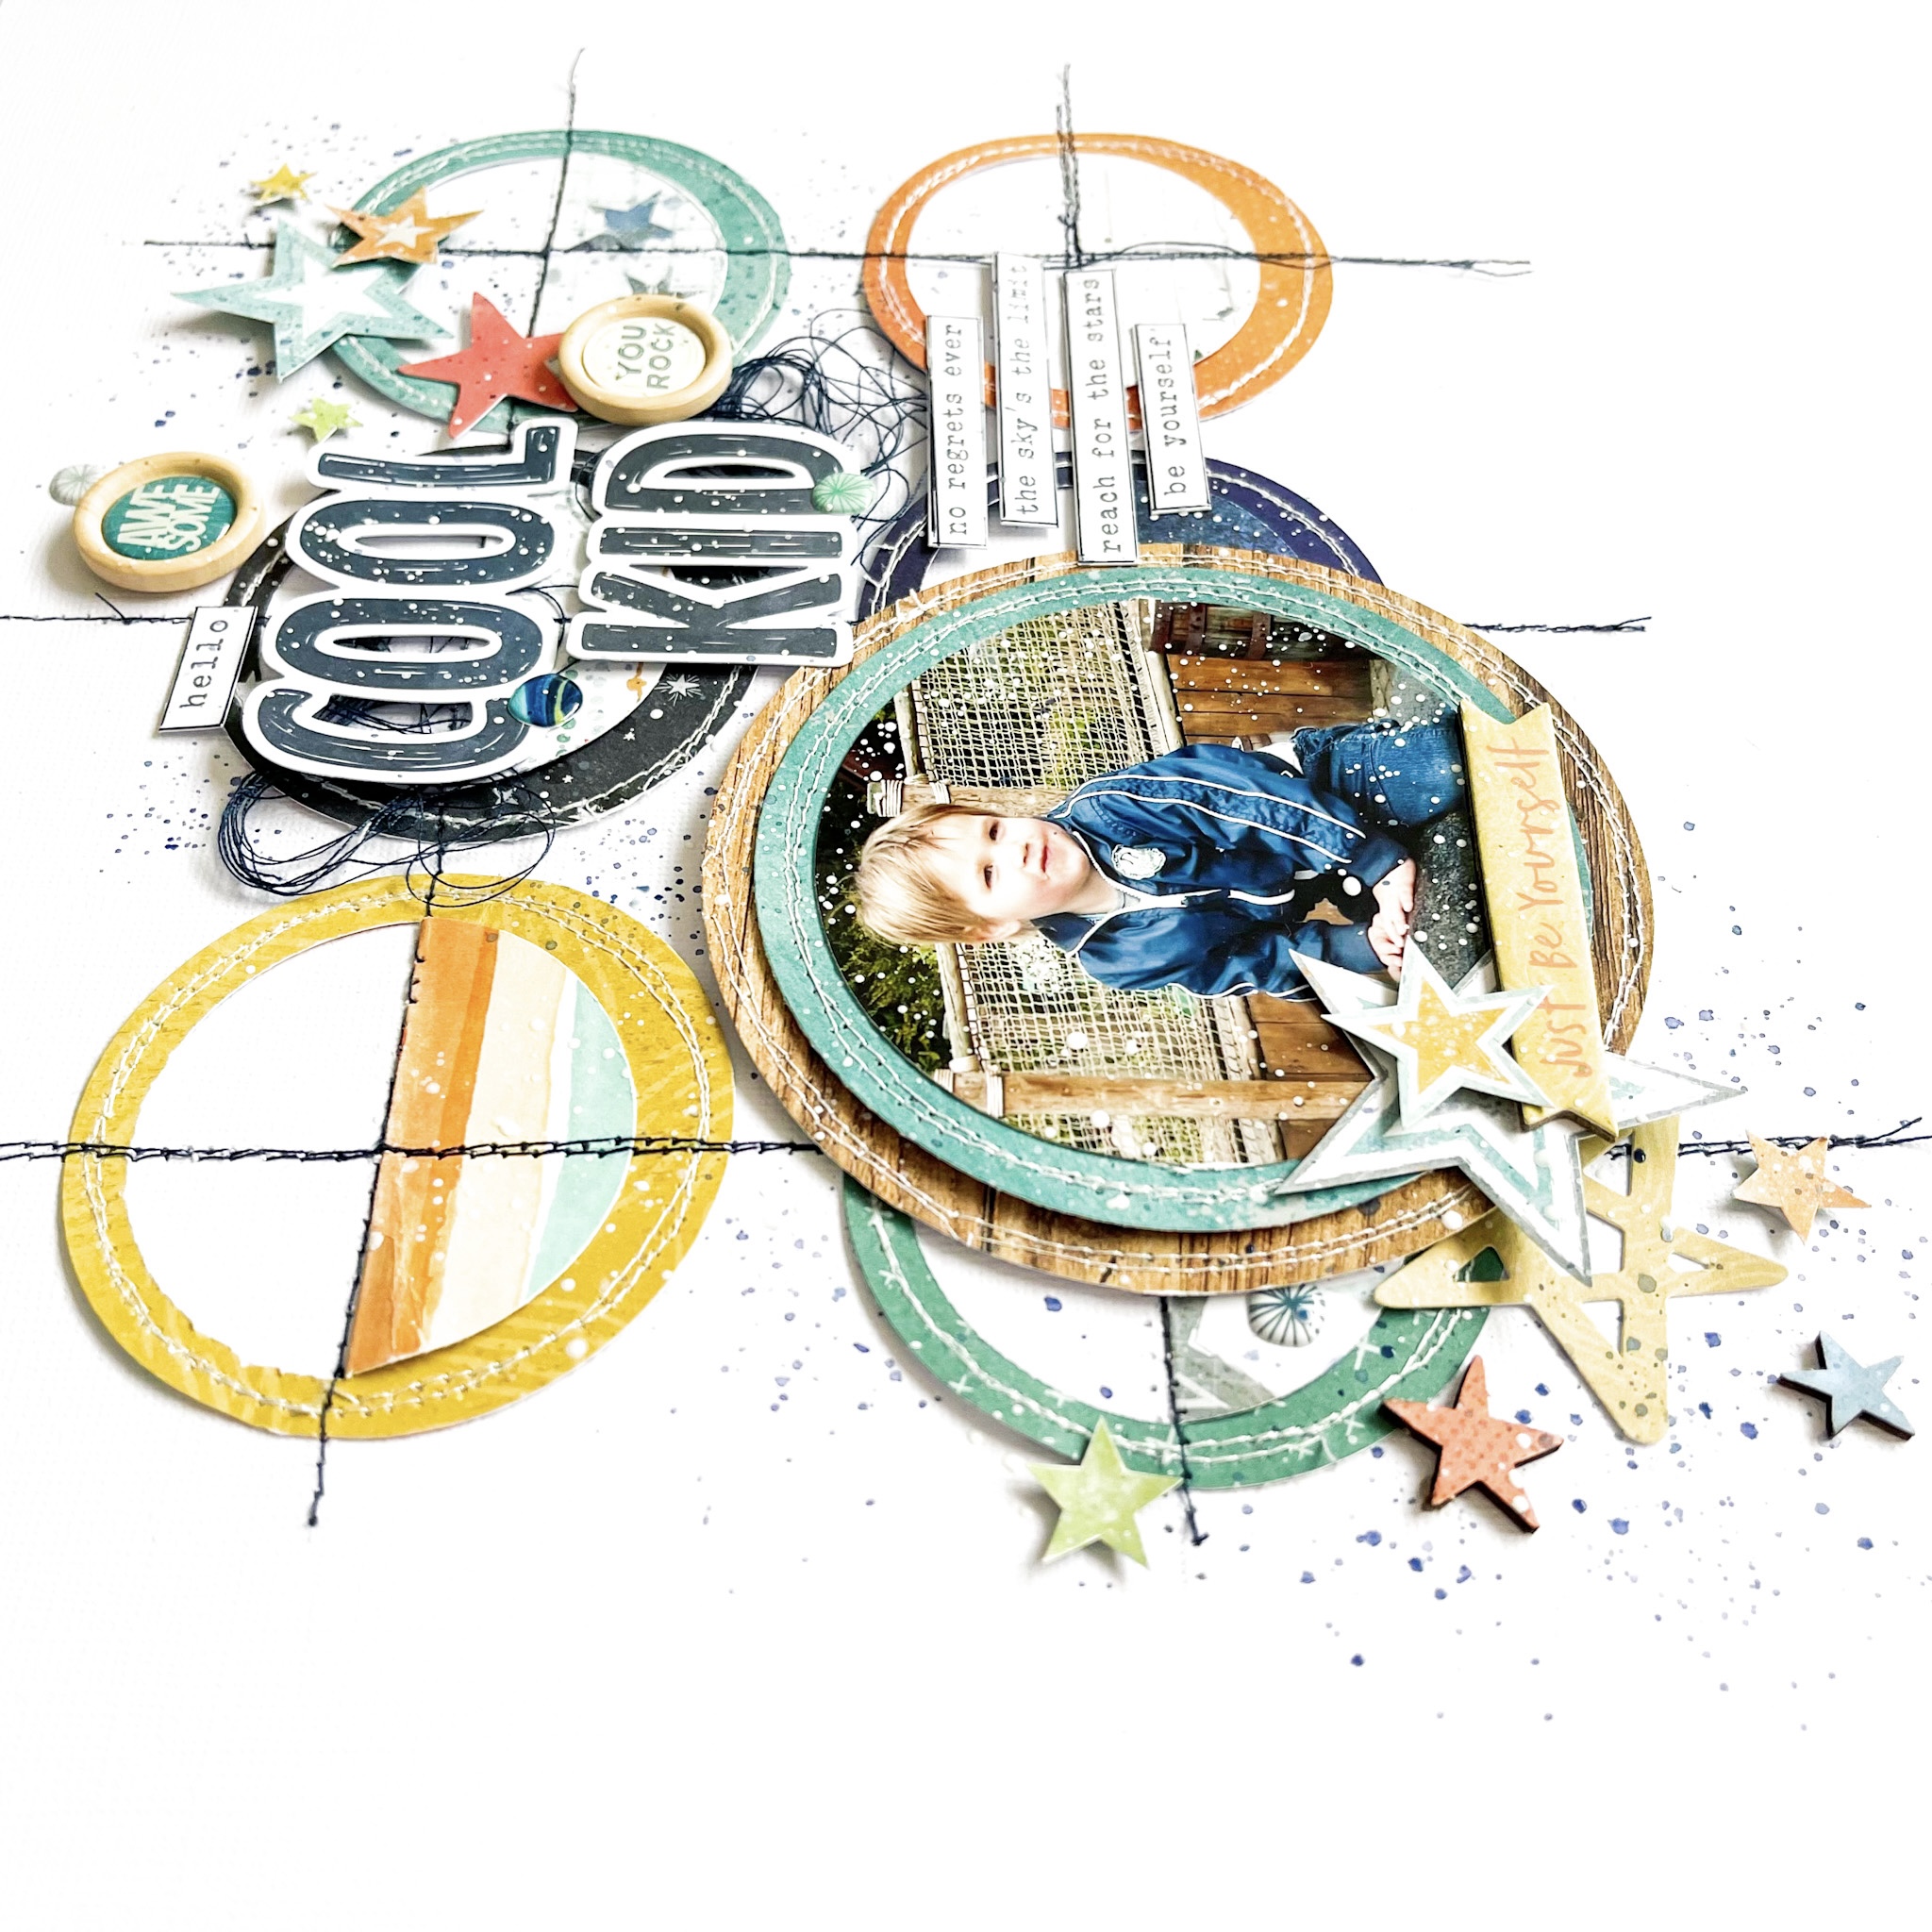
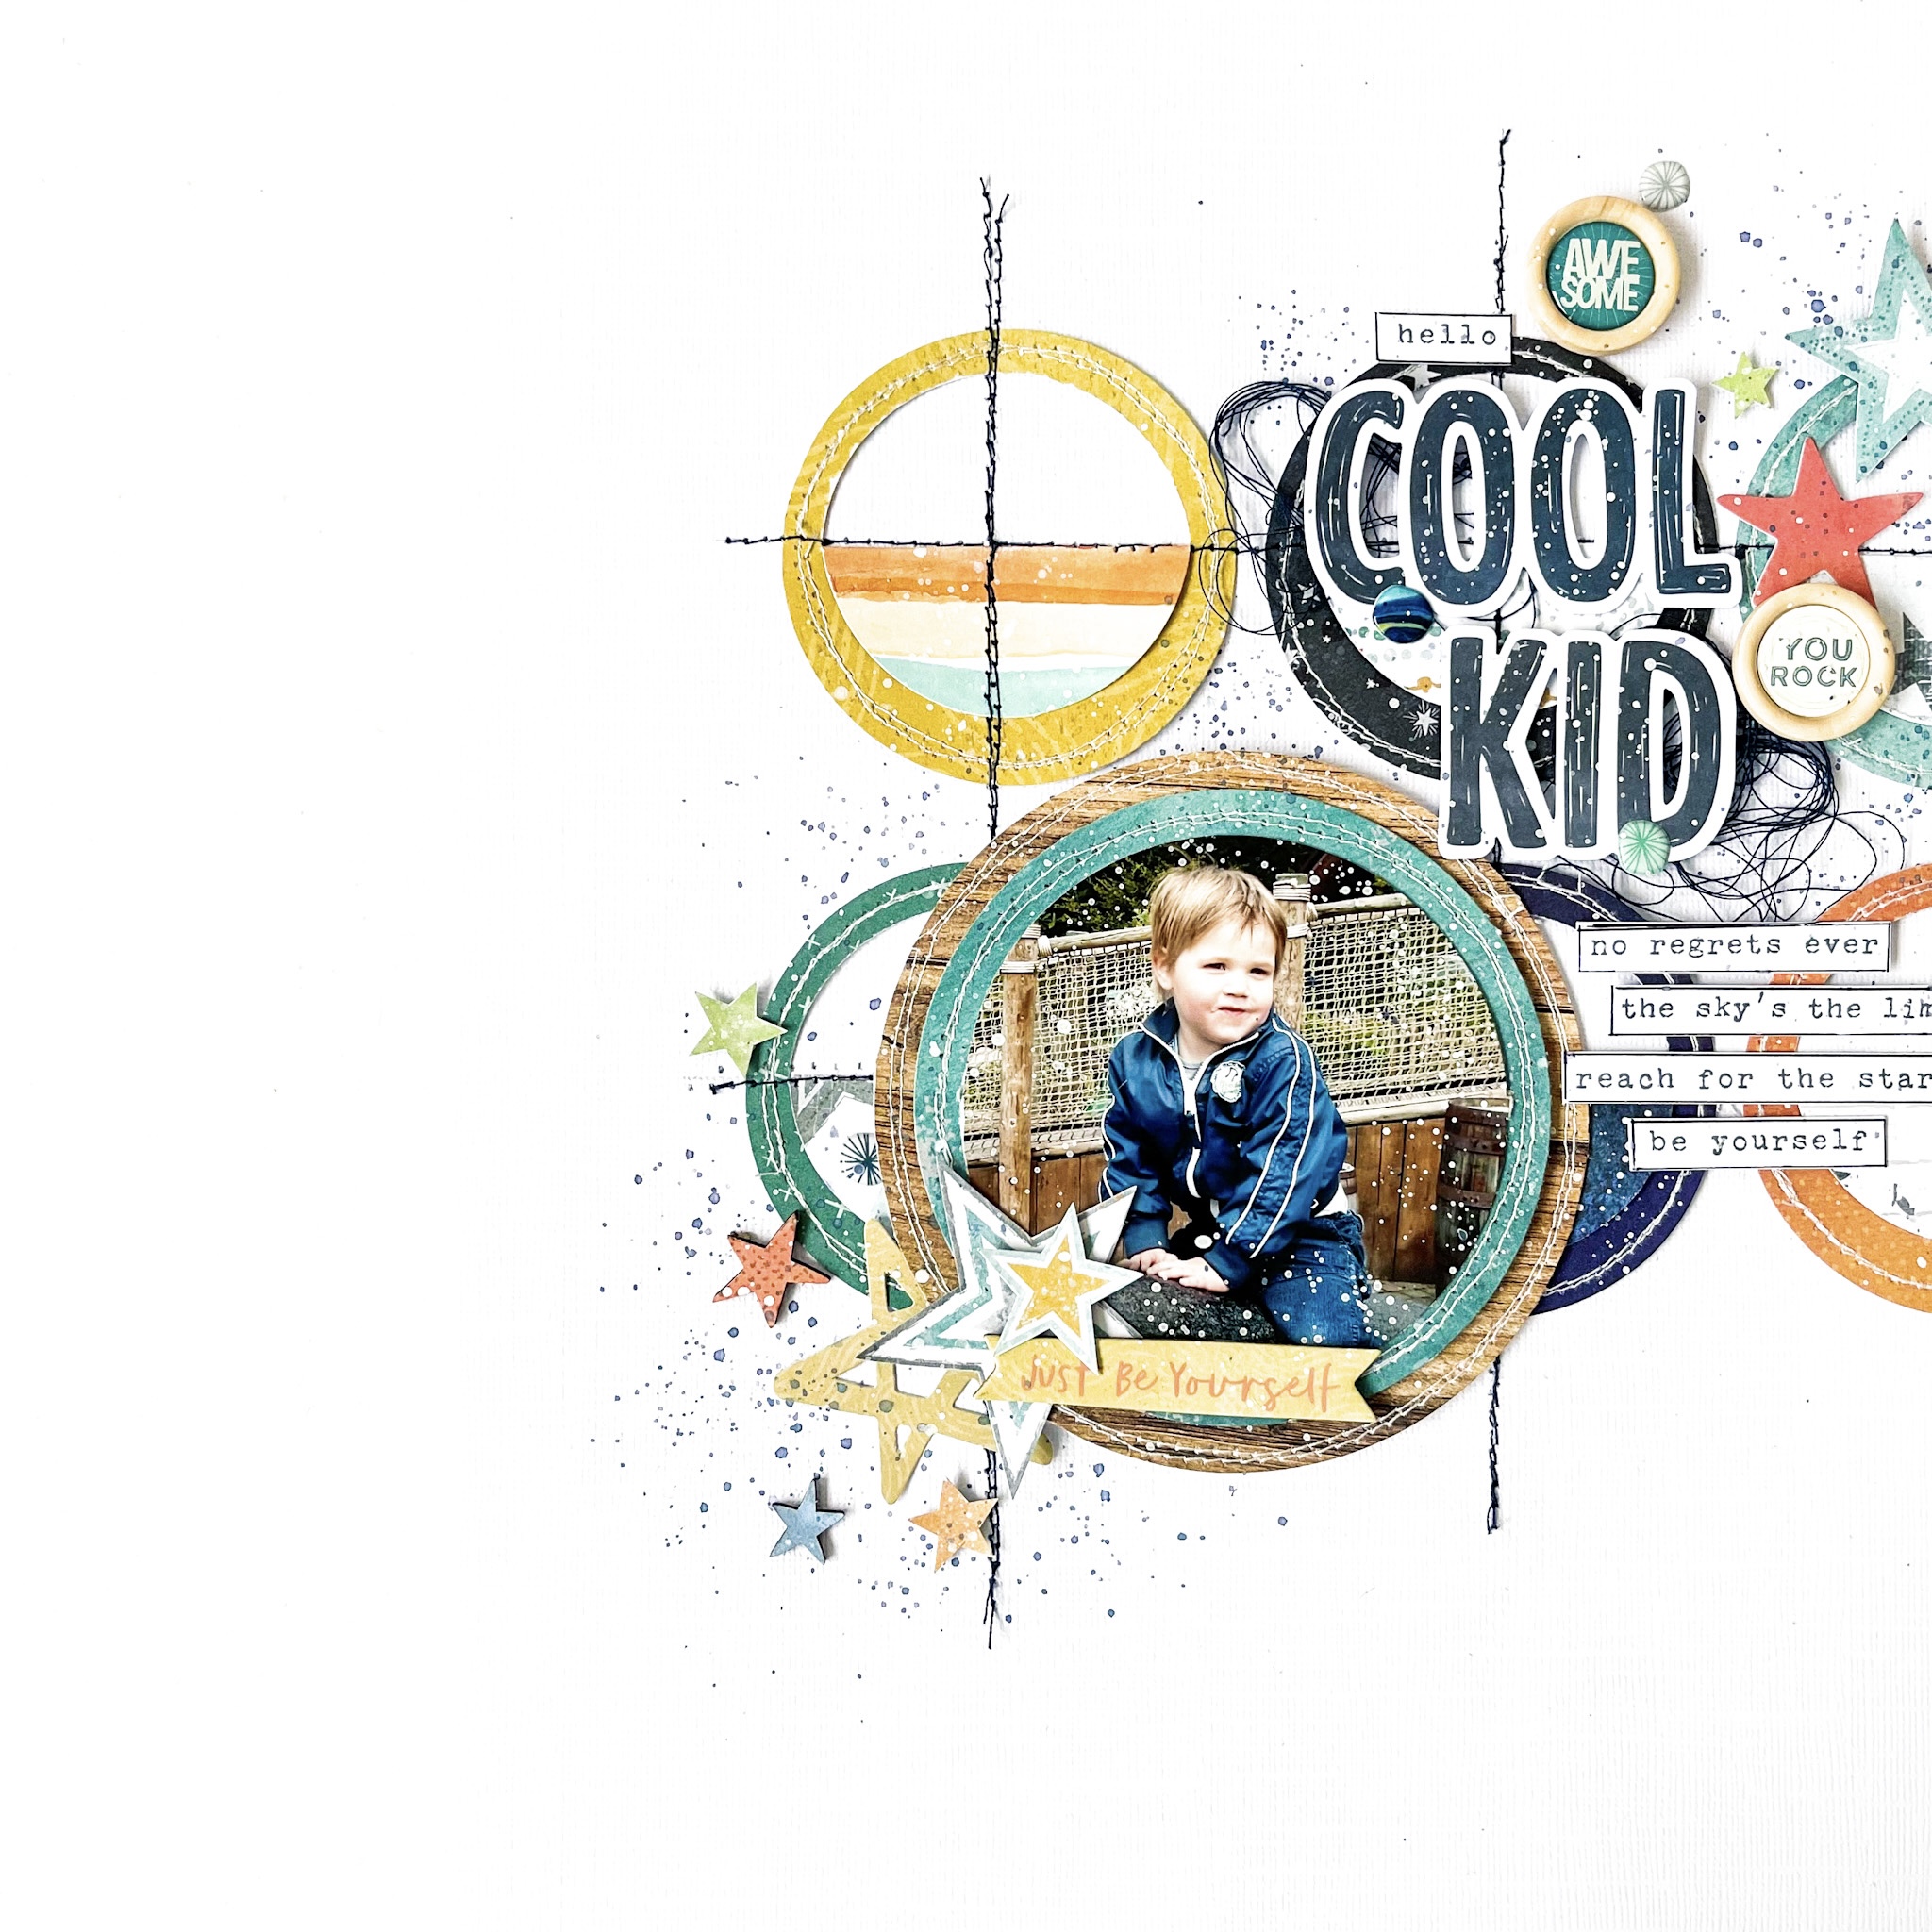
I fussy cut several stars from the pattern paper and created a cluster of stars on the top right and bottom left of the layout. In this way, I create a diagonal design.
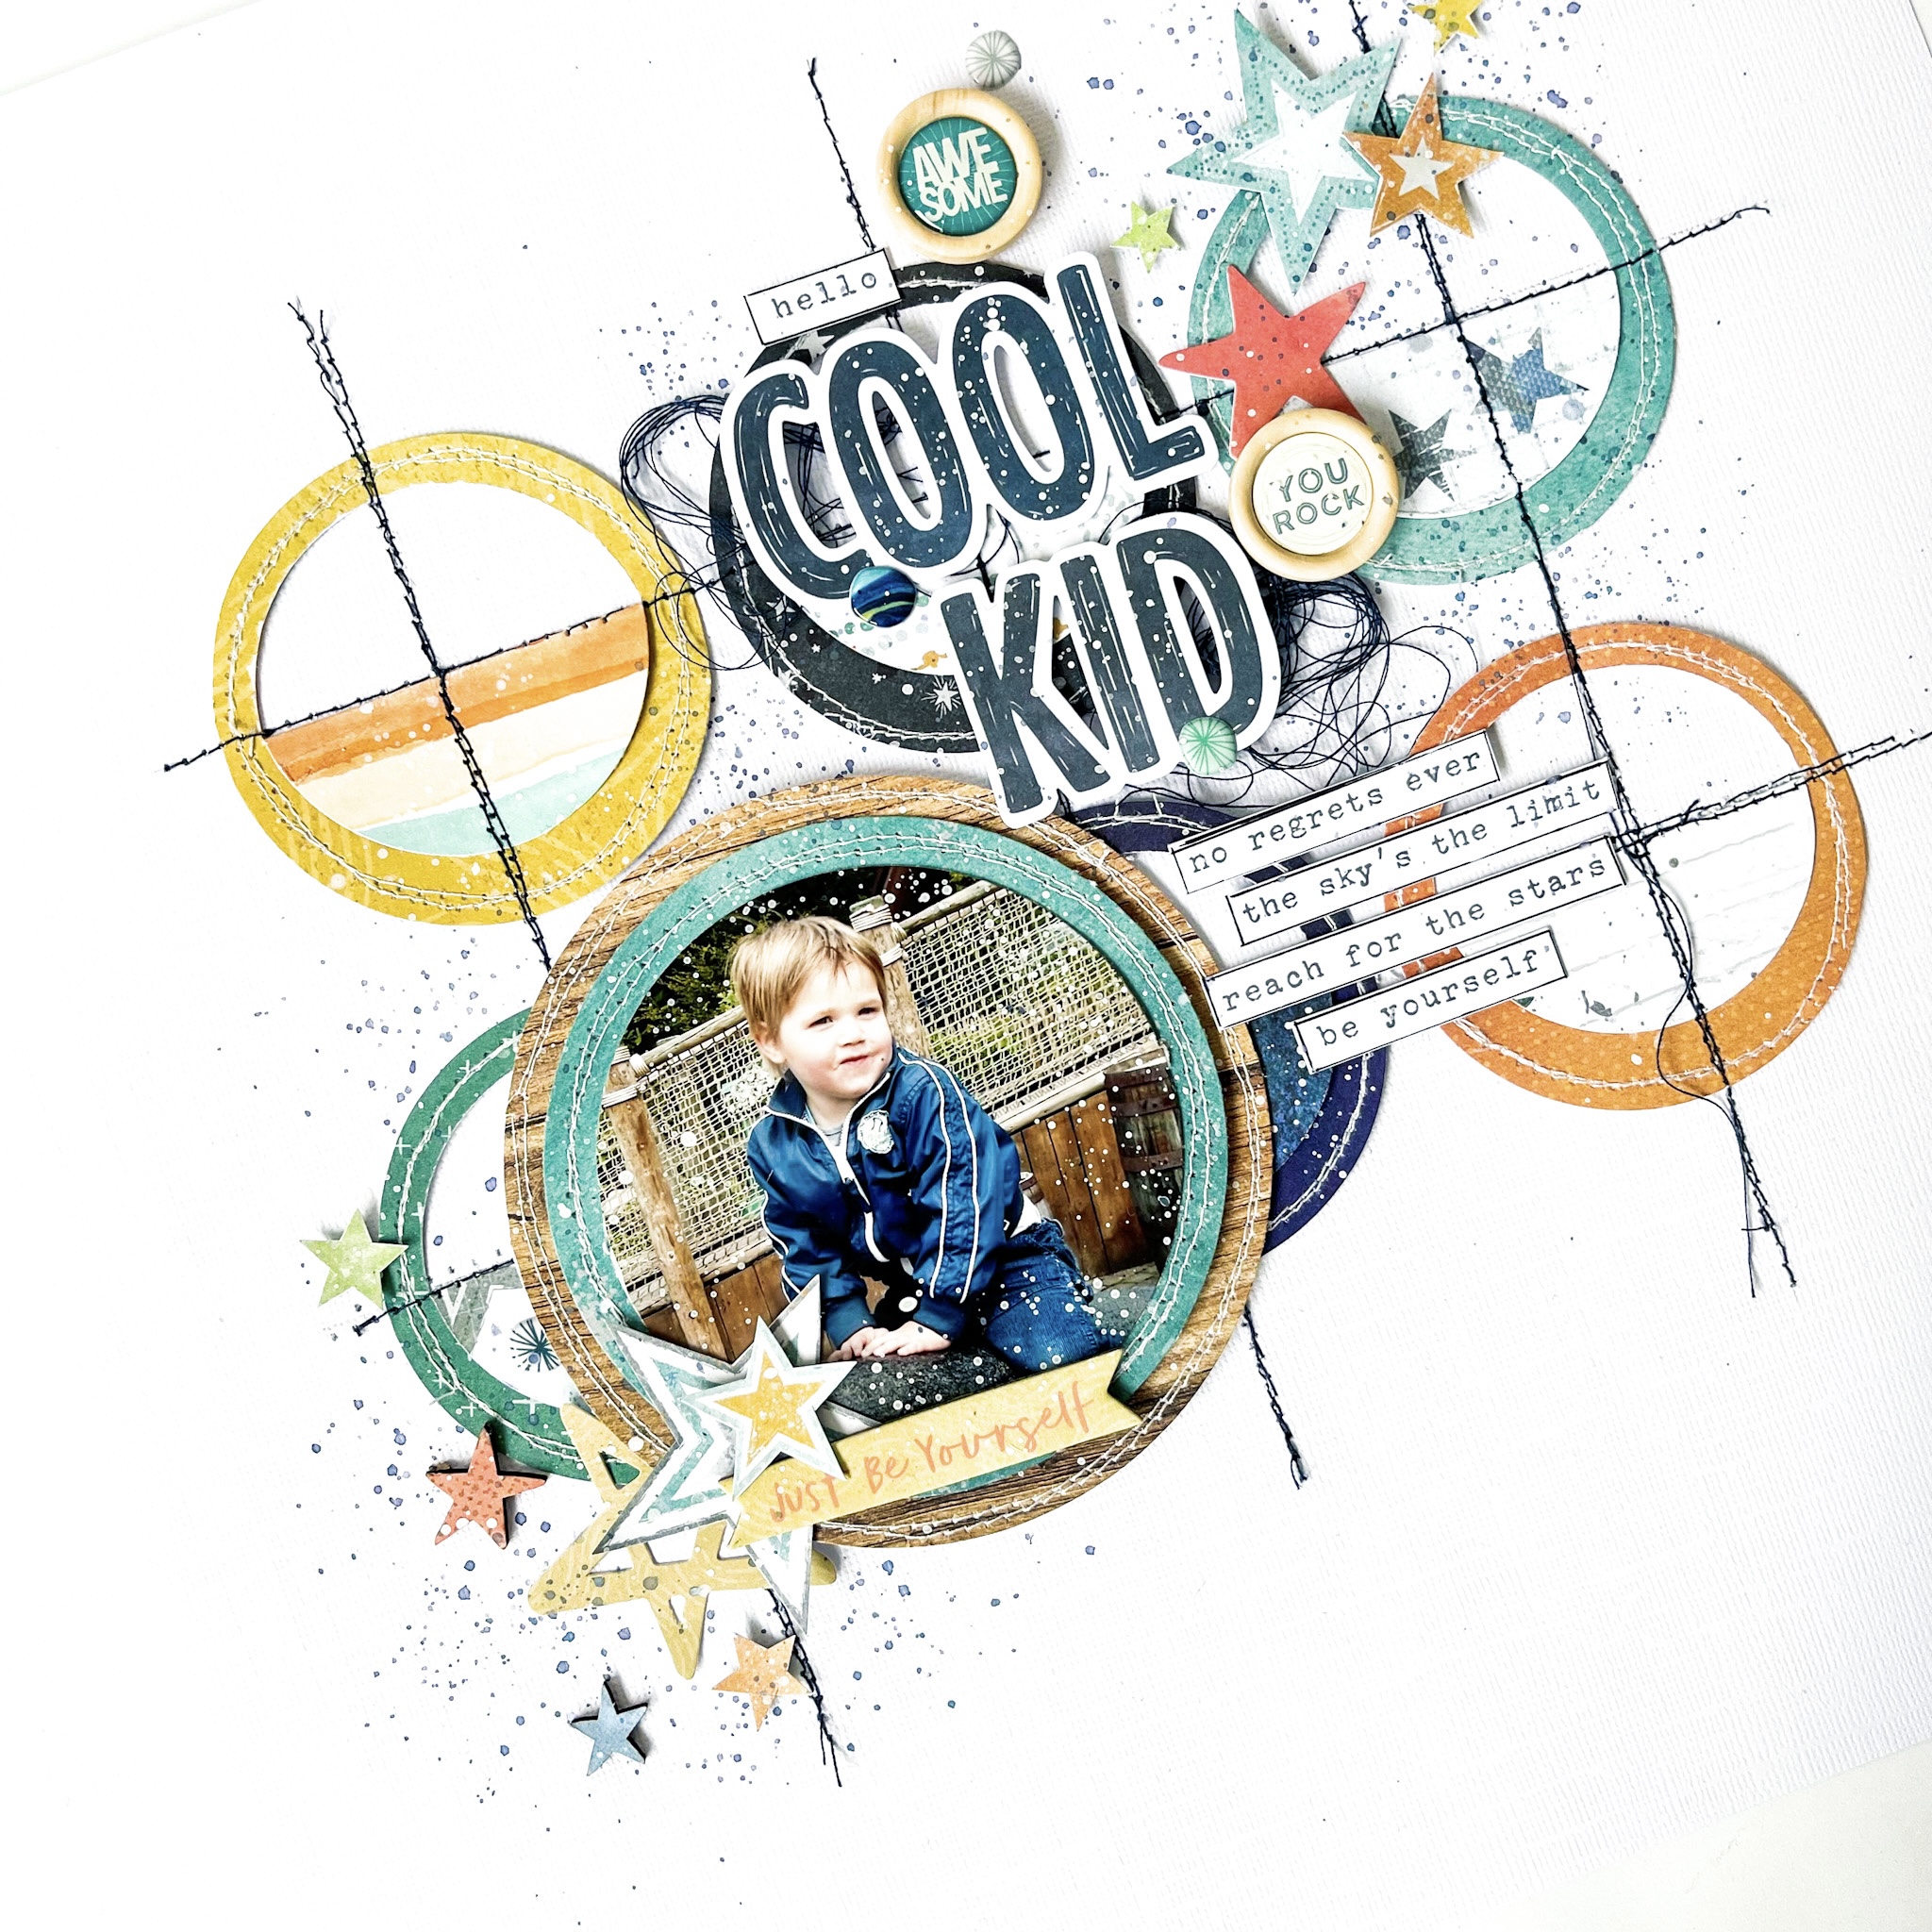
The awesome bold and cool words from the die-cut titles are perfect to use for a title. The title for this layout will be ” Hello Cool Kid” under the die-cut title I fold some extra dark blue sewing thread.
I complete the title with some extra word strips that I added with a black line by using my fine liner.
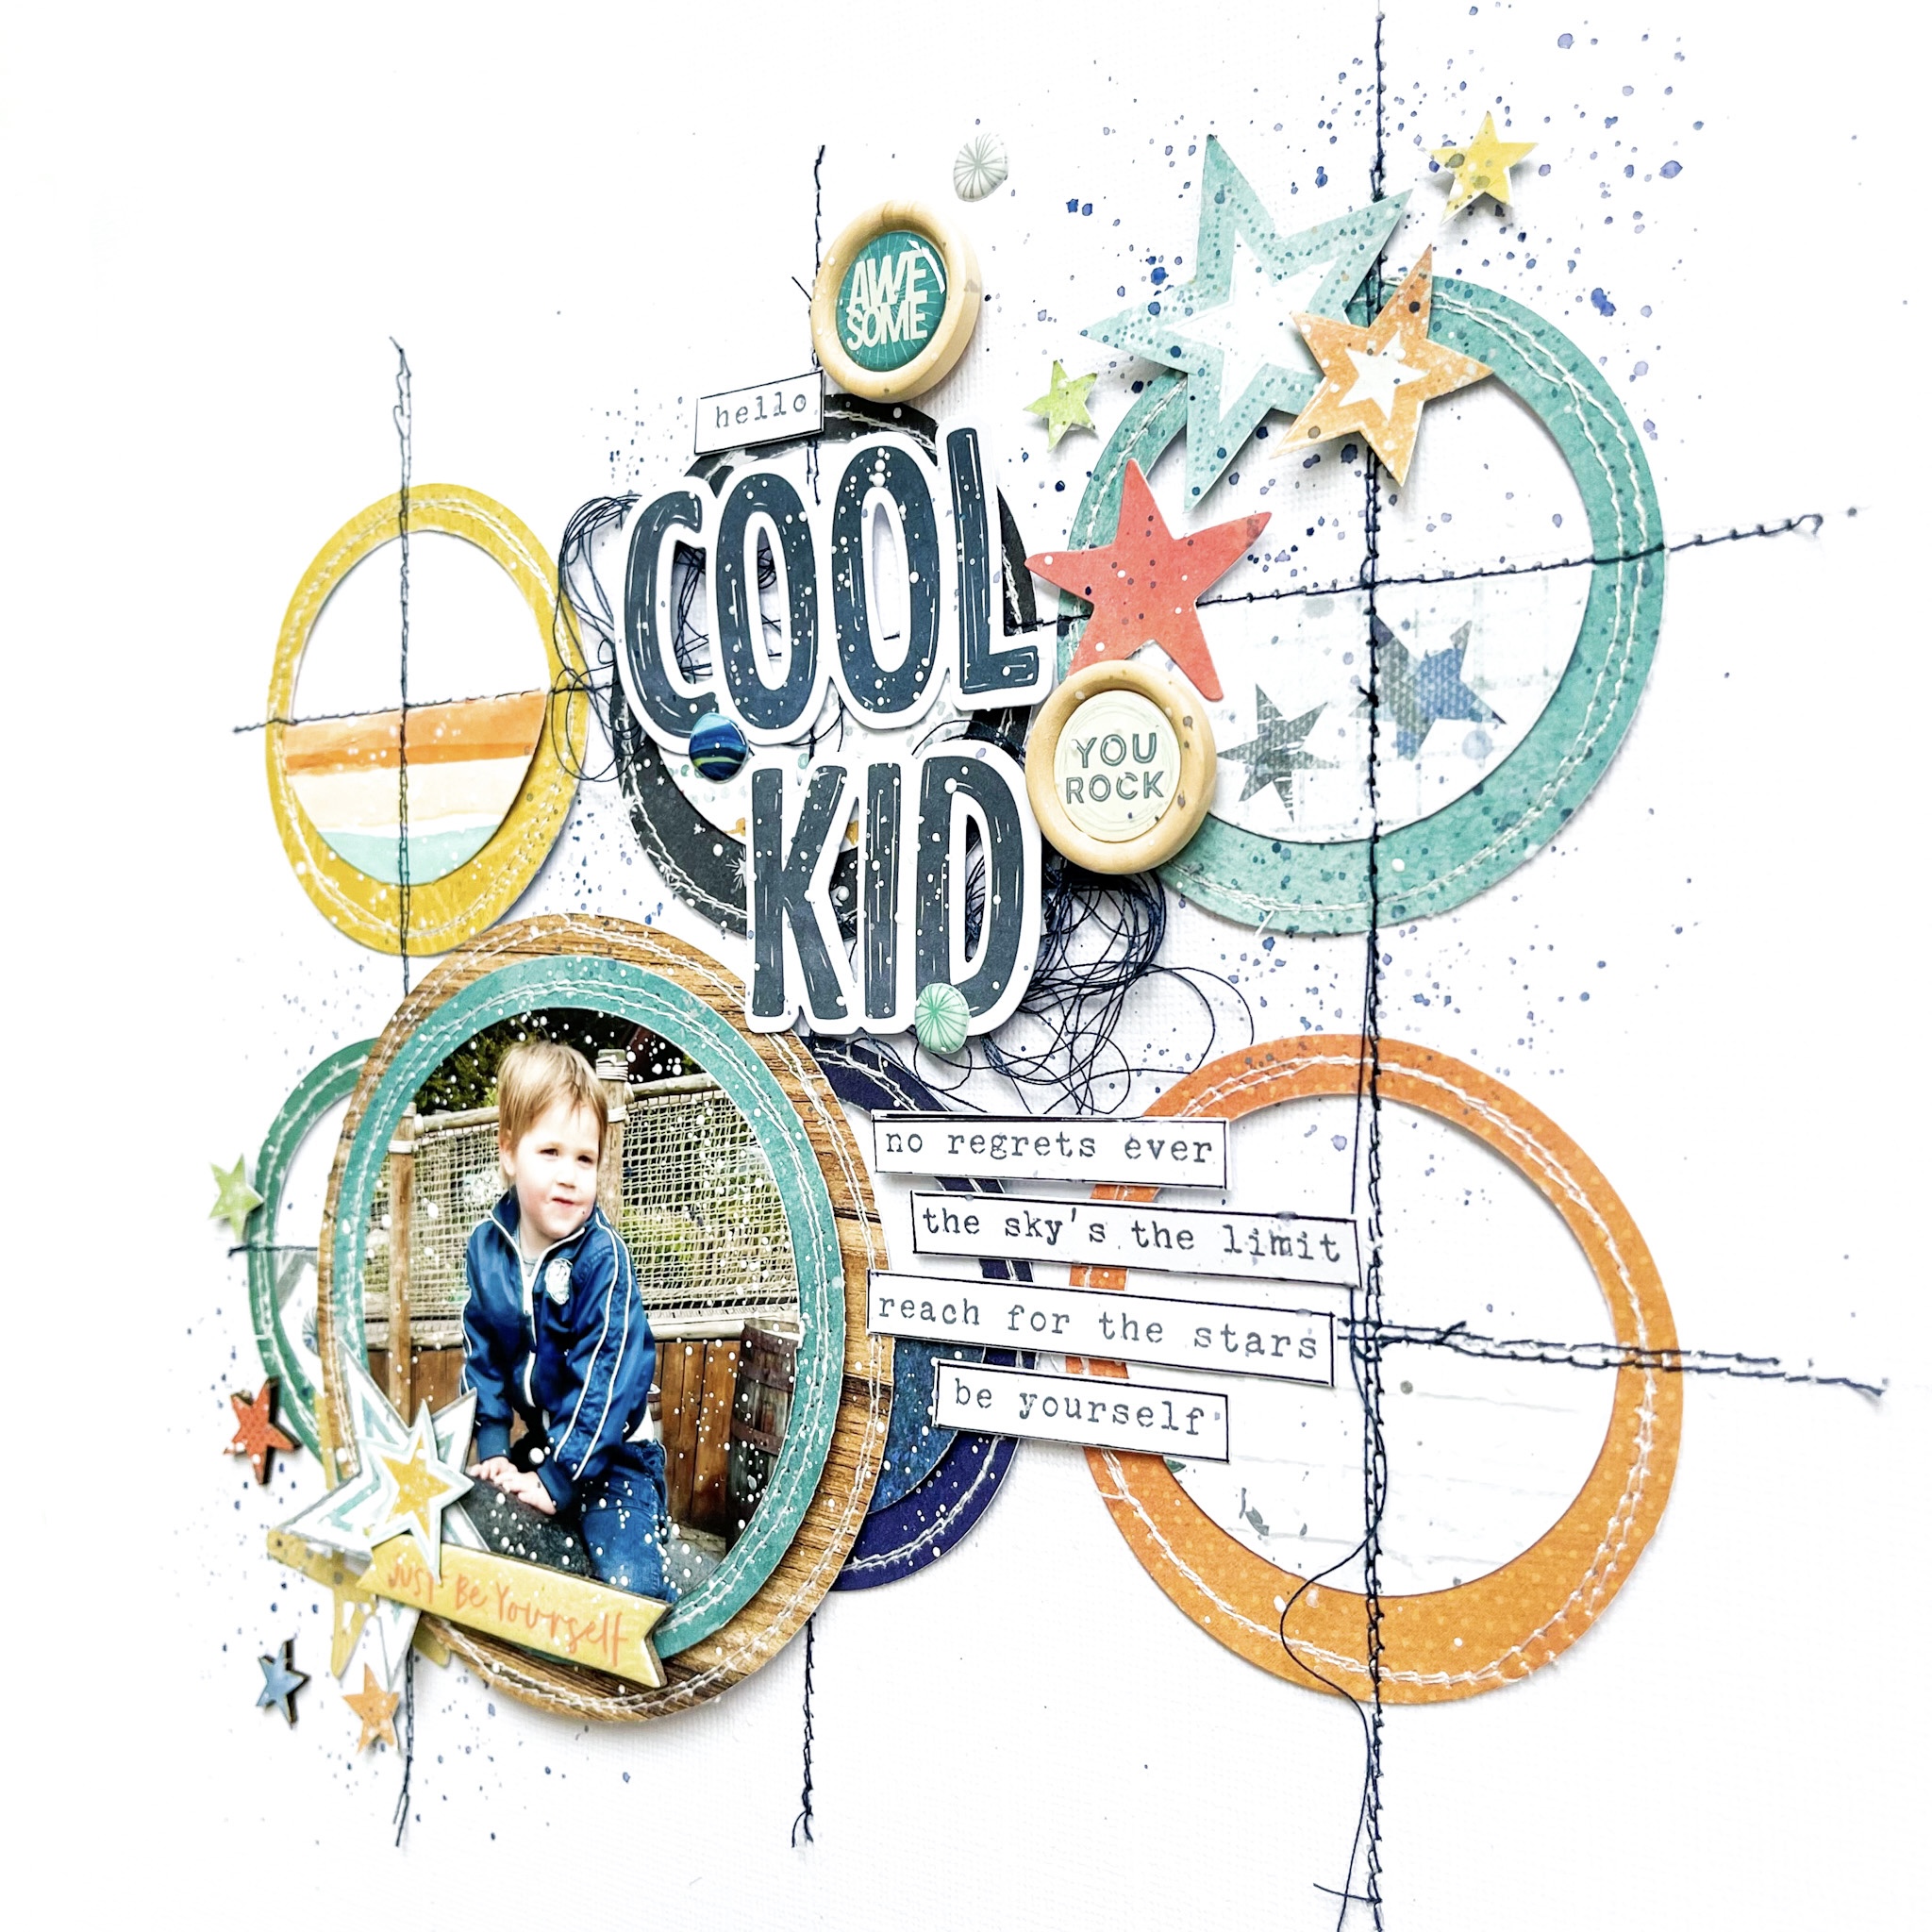
I placed a few extra embellishments like wooden buttons, puffy stickers and cardstock embellishments to decorate my boys layout. Finally I give my layout some white gesso splatters. And for a little more color I add some dark blue splashes. I choose the color Distress Oxide “faded jeans” I love ink and gesso splatters on my projects. It looks festive and creative and I love that so much!
I hope I’ve given you some fun and cool ideas and that it can also be helpful for you as well to use a sketch sometimes. Love to see you next time on the blog and social with a new scrapbook project! Can’t wait to see your beautiful scrapbook inspiration on the Cocoa Vanilla FB groep! Happy creating and I wish you a fun and crafty day friends!
XoXo, Jo


 I took a 12×12 watercolor paper and choose three pink colors of distress oxide to work with. The colors I used are, picked raspberry, kitch flamingo and spun sugar. I placed an ink pad on my white background and make a horizontal line. I do this with all the three different ink pads. Then I take a medium watercolor brush and blend the colors with each other by using a little bit of water. I splash some more with the colors by using my watercolor brush and then let the background dry by air. By splashing with water on your distress oxide and dabbing it dry with a piece of kitchen paper you create a super cool watercolor effect.


