Throwback Thursday | Paint your Dreams | Rachel Lowe
Hi CVS friends, today is all about stash busting, yes its throwback Thursday. I recently invested some time in sorting out my older CVS collections, using three pizza boxes, one for 12×12 papers, one for paper scraps and the last one for embellishments. I have done this because I do not have enough left of a collection to create but adding them all together means I can be creative and mix and match collections.
 Here is my throwback Thursday layout featuring a photo of my daughter. I went for an uplifting/inspirational layout for her. As you can see I have used a mix of collections here but they still coordinate so well together. I used two cut files from the Silhouette design store, paint palette and title ‘paint your dreams’.
 I used the script writing inspirational paper as my base. I cut a 10×10 inch white cardstock strip and centred this on my base page. I next cut the paint palette and brush as this was the feature of my page. I found a wood grain paper in my CVS 12×12 paper box, once cut I added machine stitching to the edge. I backed it with a marble paper and to add a little something extra I added glitter to the paint blotches. I then added with foam tape off centre onto the white cardstock.
 I then added my paint brush and added some small butterfly die cuts under the palette. I found a gorgeous die cut doily and used this to mat my photo. I used some phrase sentiments under my photo and finished off with a camera die cut.
 I added my title, I used some silver glitter paper for one word to stop it from looking too flat visually. I also added a light splash of black paint to add some contrast.
 To finish off my page I added some beautiful die cut flowers and enamel dots. I added some more light splatters of black paint.
 Most of these papers and embellishments are no longer in the store but you can recreate this layout with what you have in your CVS stash and don’t forget CVS have digital bundles of older collections too, just print and use.

Thanks for stopping by today and I hope you have a fab week!
Rachel X
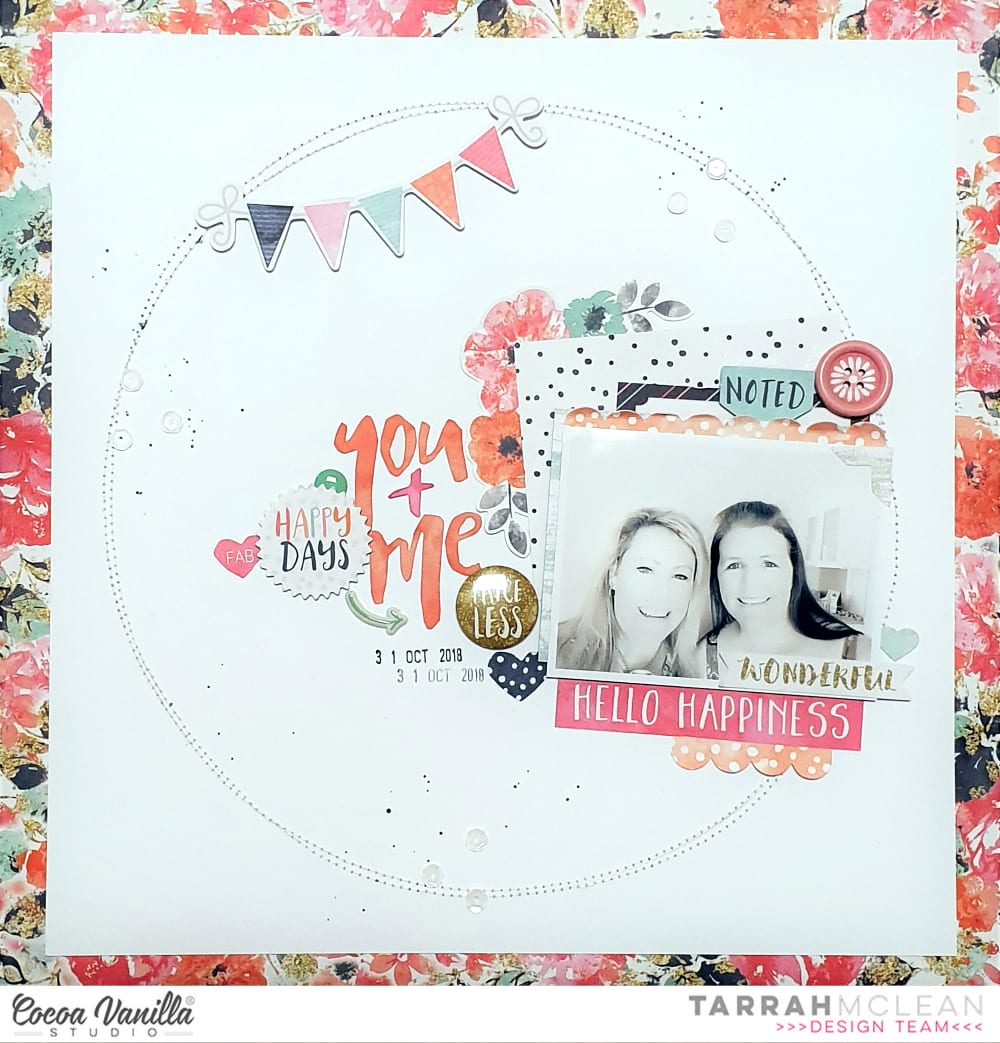
 I matted my photo with one of the papers from the Free Spirit collection and also layered another one above to replace the 2nd photo as I mentioned earlier. I also added some of the journal spots as a layering piece. I added one of the scalloped border stickers above the photo of my sister and I also added a few embellishments to this area also. I fussy cut the ‘You and Me’ title from one of the journal cards included on one of the papers from the Free Spirit collection and positioned it where the sketch suggested.
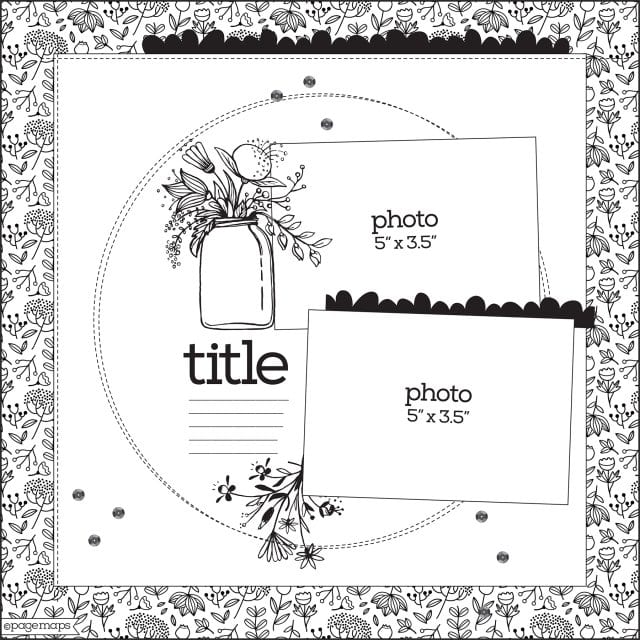
 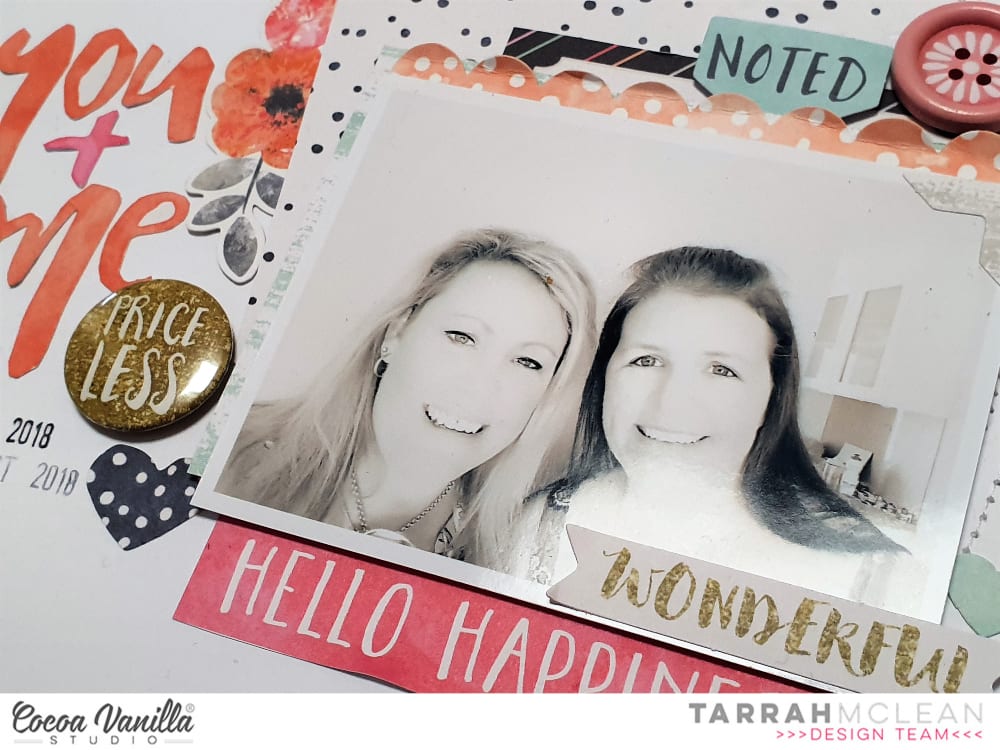 I cut out the pink phrase ‘Hello Happiness’ and added that tucked in under my photo and also layered the ‘Wonderful’ die-cut phrases over the photo also. One of the cute flair buttons and a die-cut heart were added to the left of the photo. On the sketch, the suggestion is to place a large embellishment like a jar of flowers, I added one of the floral stickers from the accessory sticker sheet here instead and I really like how it looks.
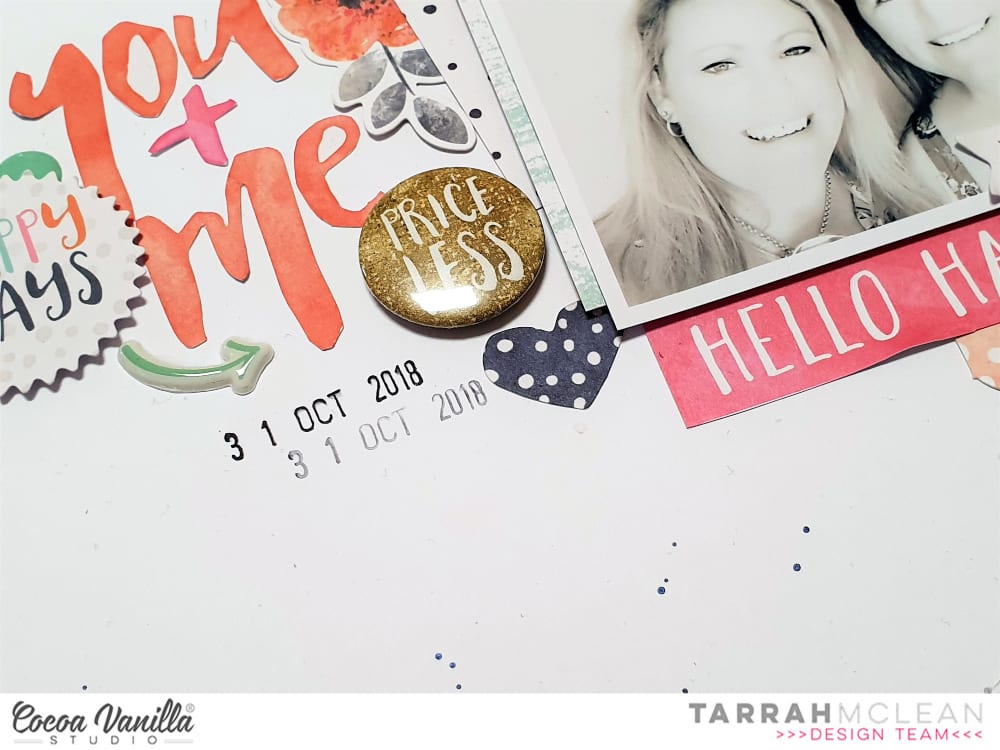
 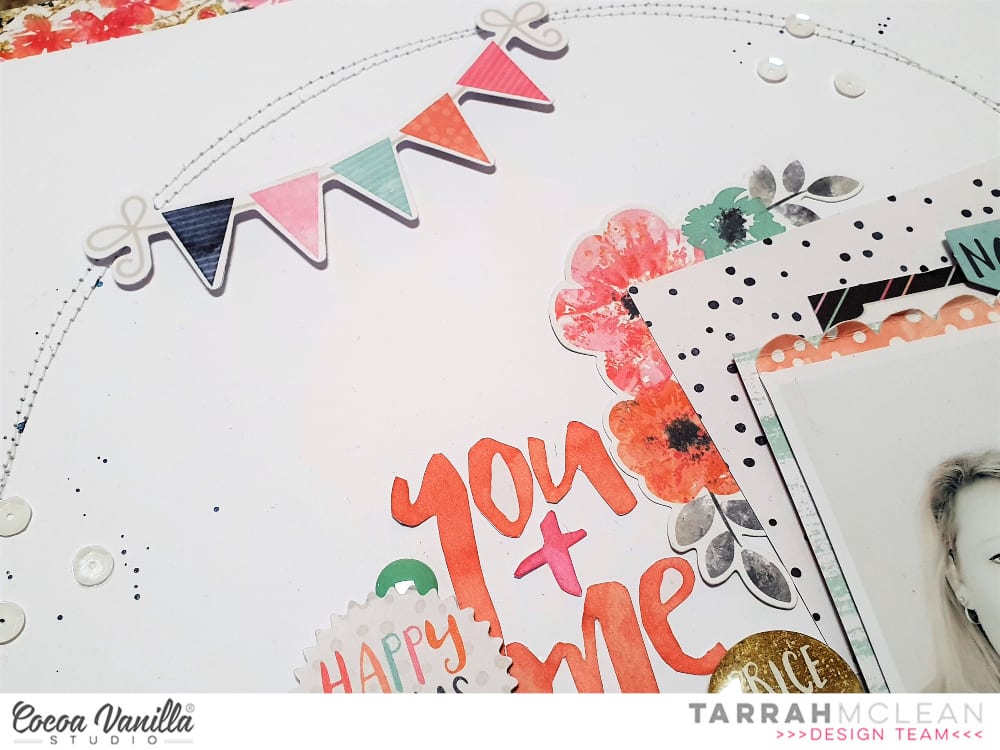 Lastly I added the die cut banner popped up using pop dots to the top left corner touching the machine stitching, I also sprinkled some white sequins around and some navy Heidi shine mist. The date stamp was the very last thing added and that completes my layout.

