Sweet Heart | Storyteller collection | Mandy Melville
Hello everyone!
Mandy here today, and I’m so excited to be sharing my first layout featuring the gorgeous new Storyteller collection! I absolutely adore the beautiful colour palette, the sweet images, and of course the pretty florals in this collection! It is definitely going to be a fave of mine! For my first layout I decided to document a photo of my eldest daughter from about ten years ago. The reason I haven’t yet scrapped this photo is that I’ve never been able to find a girly collection that matches the reds and blues in the photo… until now! The Storyteller collection was perfect, and I’m so glad to have this sweet photo of my daughter documented!

I always find it hard when I get a new collection to just start cutting straight into the 12×12 papers. So for my first time playing with these beautiful products, I decided to make use of the A5 Paper Stack. I chose four different designs from the A5 papers and cut them to various widths and layered them together down the left and right hand sides of the page. I also matted my photo with one of the A5 papers and adhered it over the layers on the right hand side. I used craft foam to adhere it to make sure that it would stand out from the various patterned papers behind it.

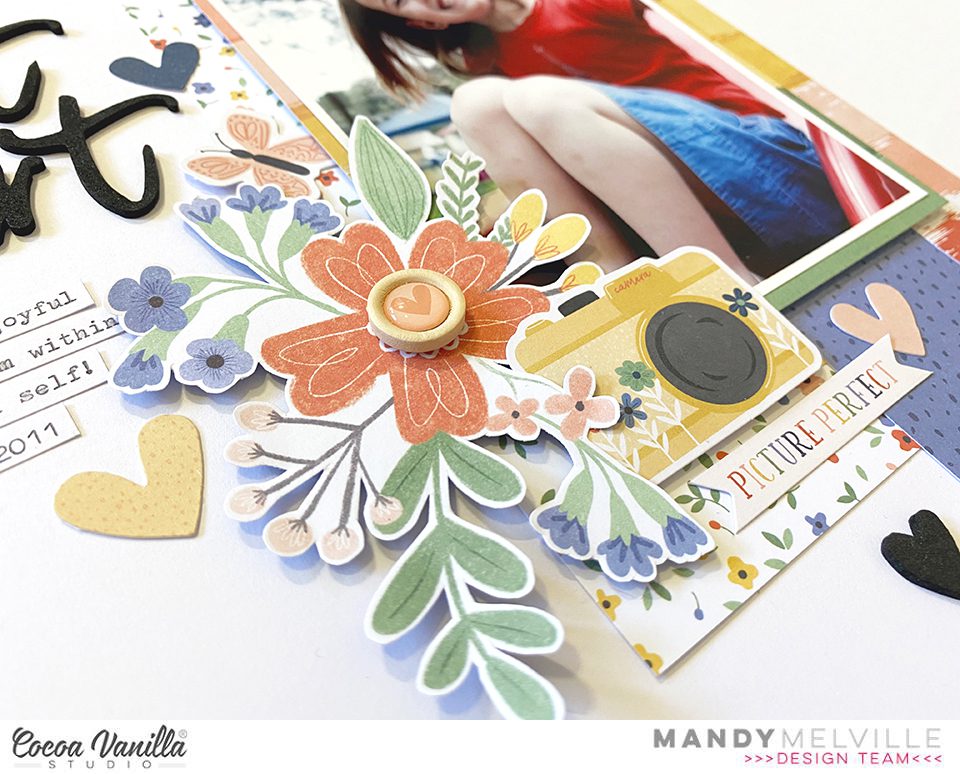
Of course I couldn’t resist fussy cutting some of the florals clusters from the Spring Fling patterned paper to embellish my page. If you don’t enjoy fussy cutting, the good news is that this collection includes a Floral Ephemera pack which is full of lots of beautiful flowers and leaves. I started my embellishing by creating a cluster on the bottom left hand corner of the photo. I included one of the fussy cut florals, as well as a camera from the Die Cut Ephemera pack and a little banner from the Accessory Stickers. For some extra interest and texture, I added a Wood Epoxy Button to the centre of the flower.
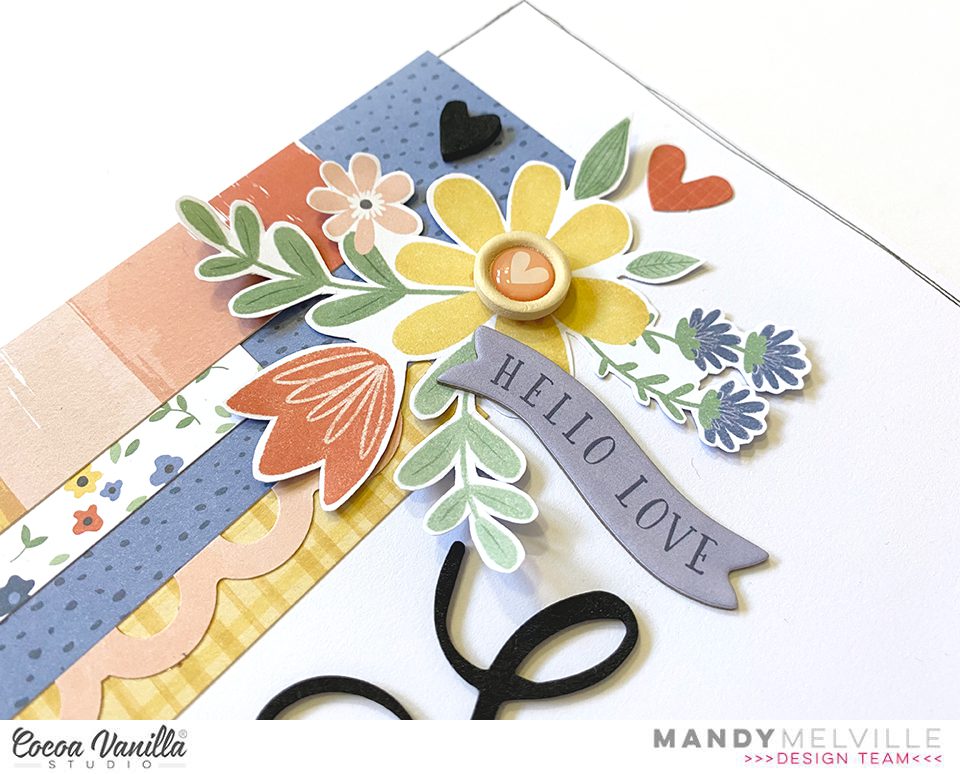
I created a second cluster in the top left hand corner of the page, using another fussy cut floral, as well as a Chipboard banner. I again added a Wood Epoxy Button to the centre of the flower. Repeating elements like this in your embellishment clusters helps the layout to feel balanced and cohesive.
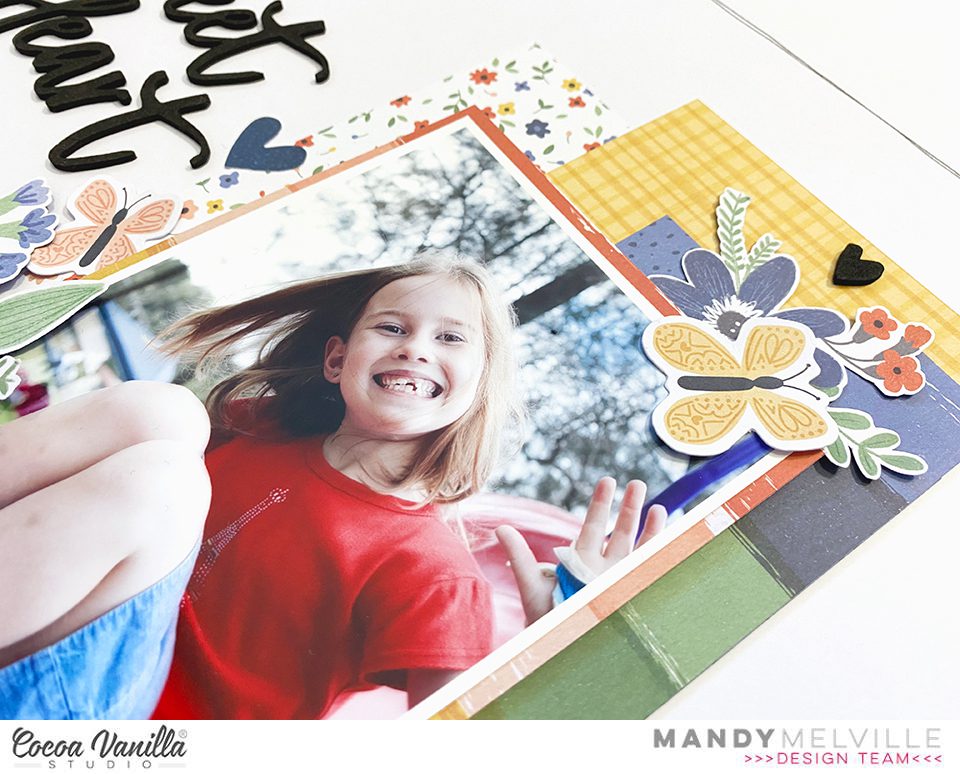
To complete the visual triangle, I created one final cluster on the top right hand corner of the photo. I made this one a little smaller and again included a fussy cut floral cluster as well as a Die Cut butterfly. To add interest to this cluster I tucked the flower underneath the edge of the photo and layered the butterfly on top.
For my title I couldn’t go past using the beautiful ‘Sweet Heart’ words from the Foam Title Stickers. I love the way the black title contrasts against the bright colours on the page, and the scripty font is just so pretty! I positioned my title in the white space in the middle of the page. This helps to draw the viewers eye from the cluster in the top left down to the one on the bottom of the photo. Underneath the title I added some typed journaling strips.
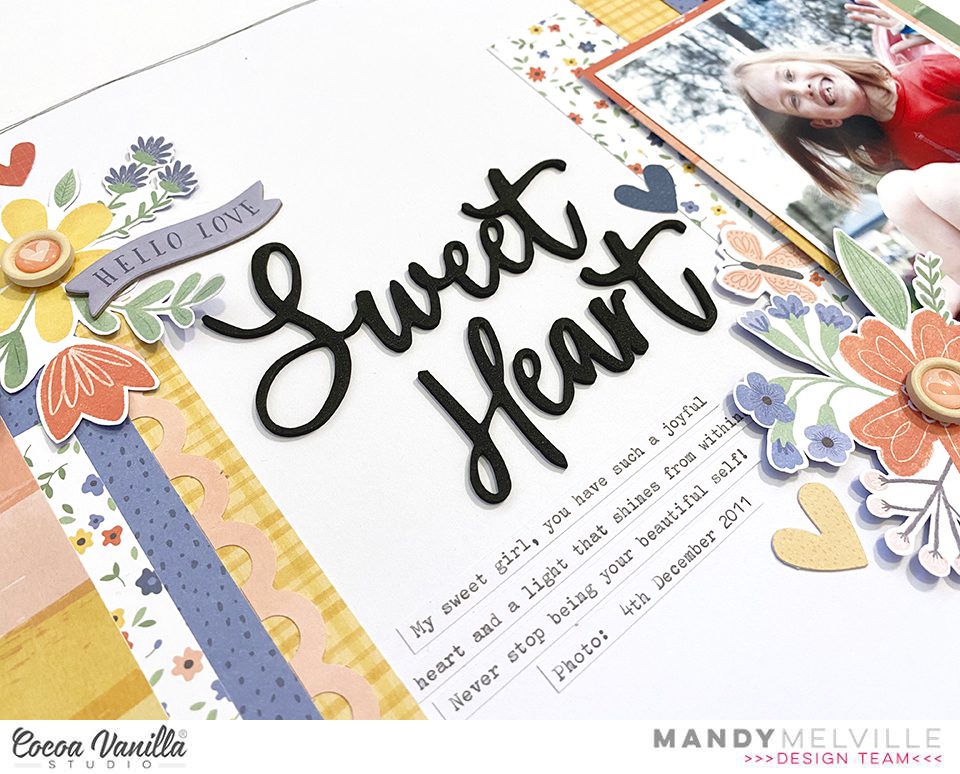
To finish the layout off, I added some Die Cut hearts around the clusters on the page. I also added one black foam heart from the Foam Title Stickers to each of the clusters, which again helps to emphasise the visual triangle and draw the viewer’s eye around the page.
Thanks so much for joining me here today. I hope that you found some inspiration. I can’t wait to share some more projects using the Storyteller collection soon!
Mandy x
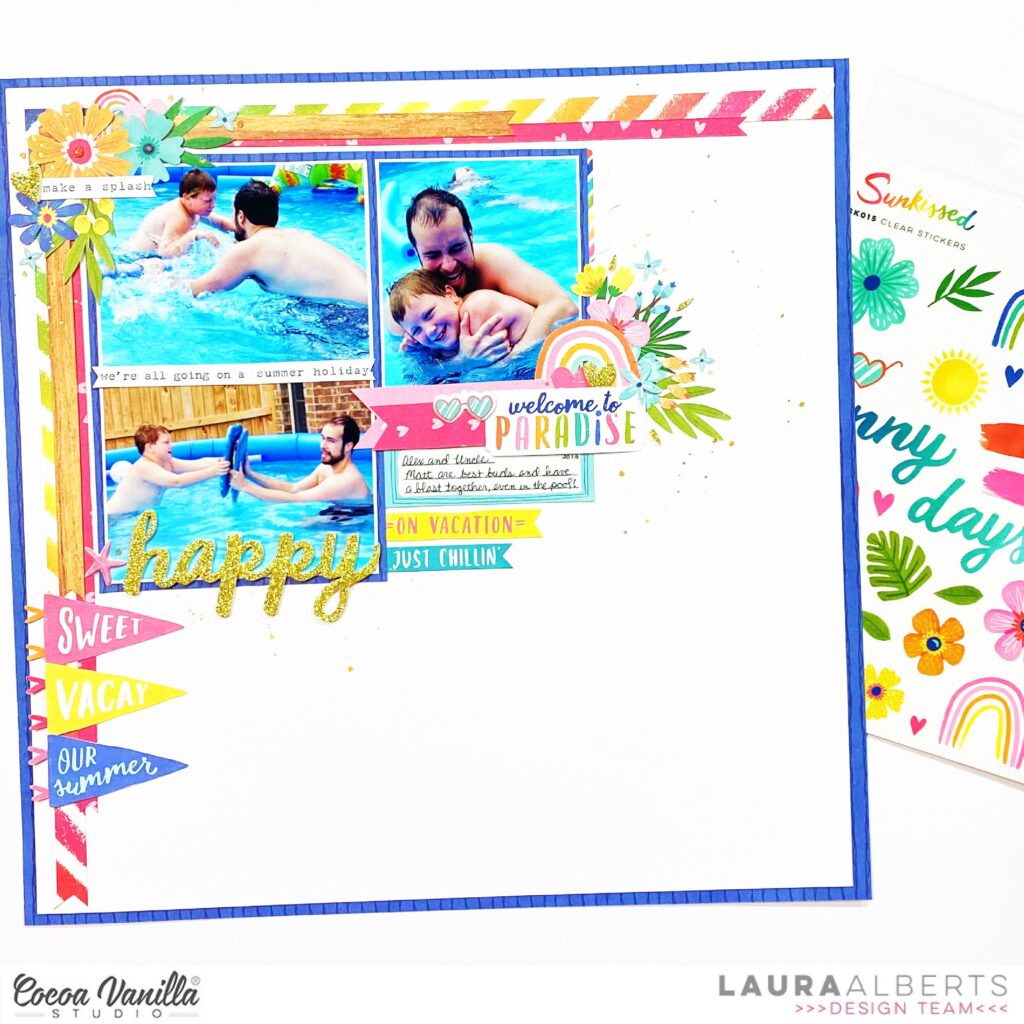


 For my title, I used the Foam Title Stickers and chose the words happy and together… voila`! My title easily came together, easy peasy! I also added some Wood Buttons and adorned the frame with teeny tiny hearts from the Puffy Stickers.
 I grab a 12×12 white cardstock paper and choose the colors of Distress Oxide I want to use. The colors I chose are, antique linen, fossilized amber, worn lipstick and spiced marmalade. I start by blending the Distress Oxides and use my blending tools. I start with the color antique linen. Then fossilized amber, spiced marmalade and lastly worn lipstick. I gently blend the colors together and the soft tones in my background come more and more to life. I splash some more with the different colors of distress oxides. Now it’s time to decorate my layout with the awesome collection “These Days” and the cute picture of my son.
 I used different metal dies sets for the leaves and twigs. Some leaves I stitch with gold and white sewing thread. I like lots of little different details in my layouts. I select several die-cuts and along with the leaves and twigs I make clusters on both sides of the hexagons. I use the cute wooden buttons as additional decoration.


