It’s Sophie on the blog today with a mood board inspired layout!
Have you seen the November challenge? Niki Rowland designed a gorgeous mood board named “Grateful” this month. Here it is:
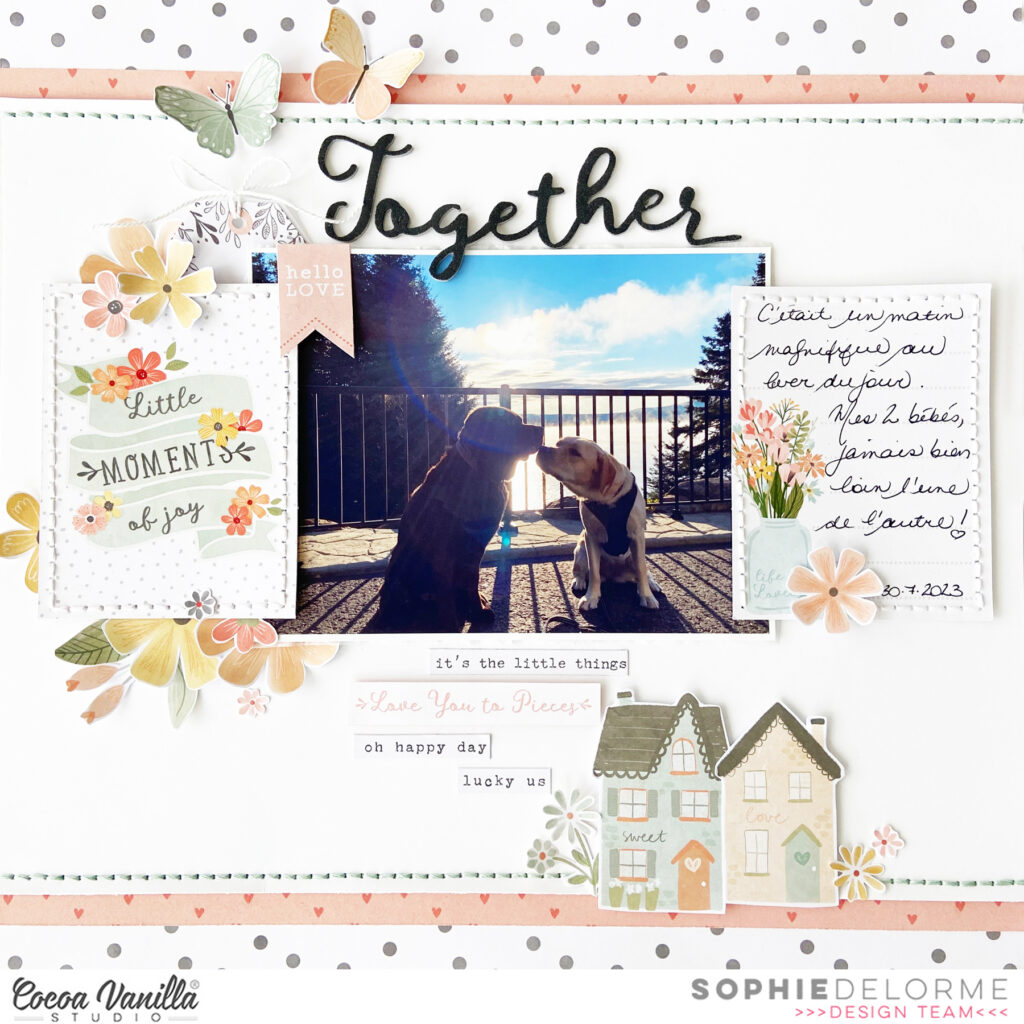
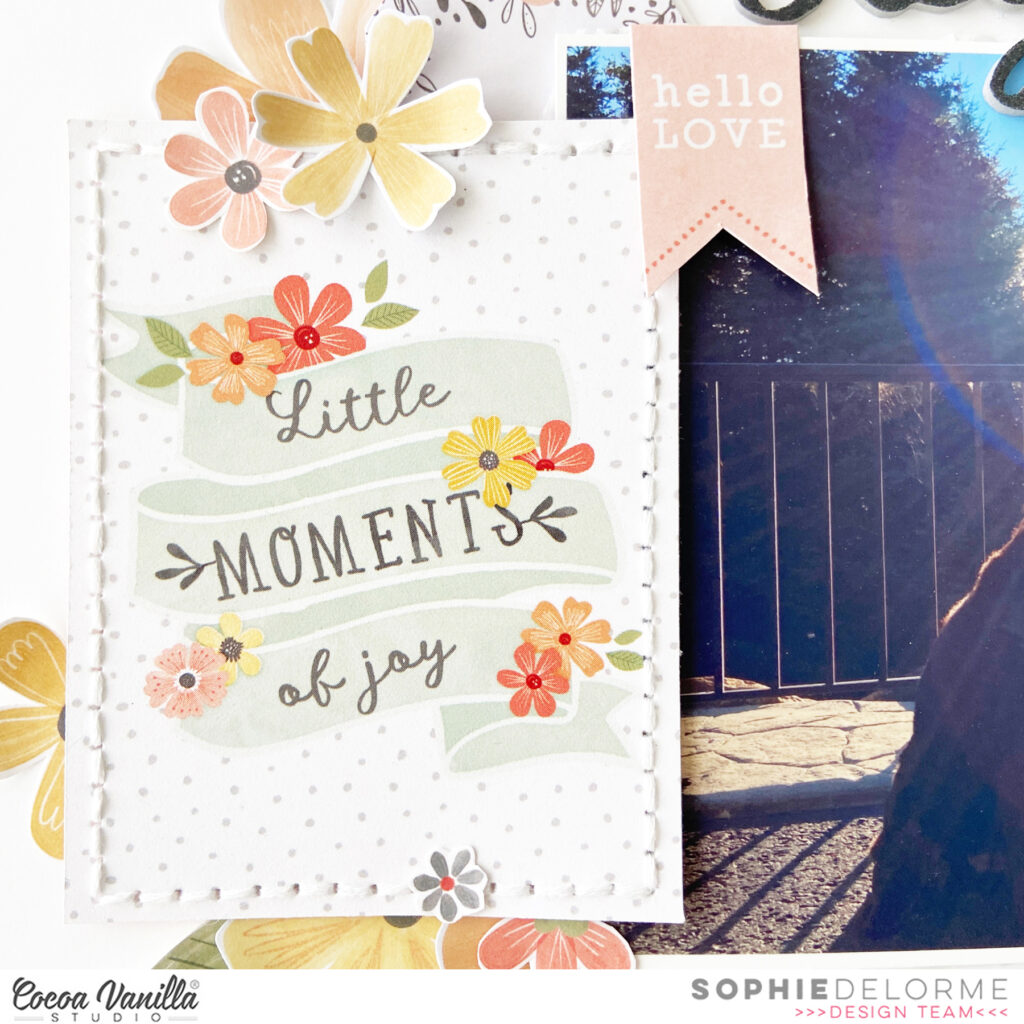
I used the These Days collection for my page, and was inspired by the warm orange and yellow tones of the board, the beautiful flowers on the left lower image, the sewing on the top right image and the heartfelt love on the top left image.
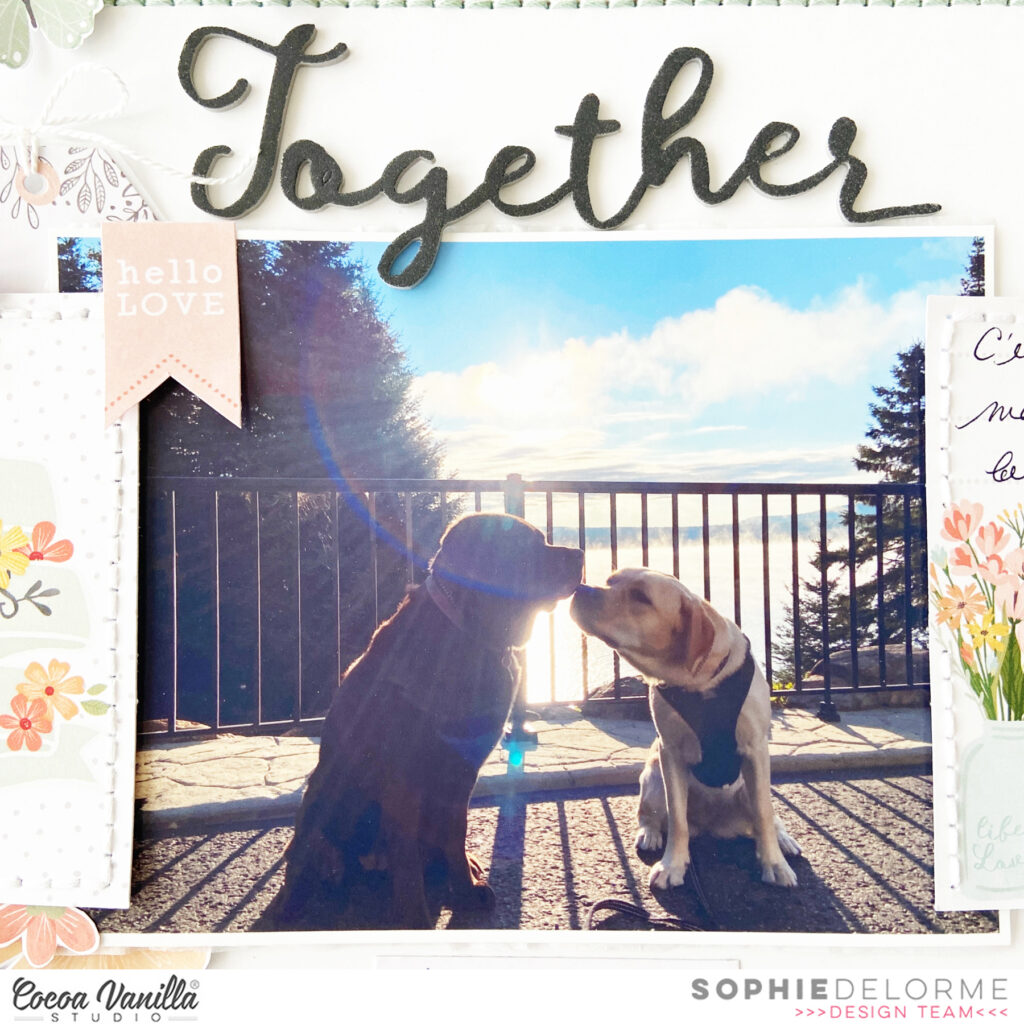
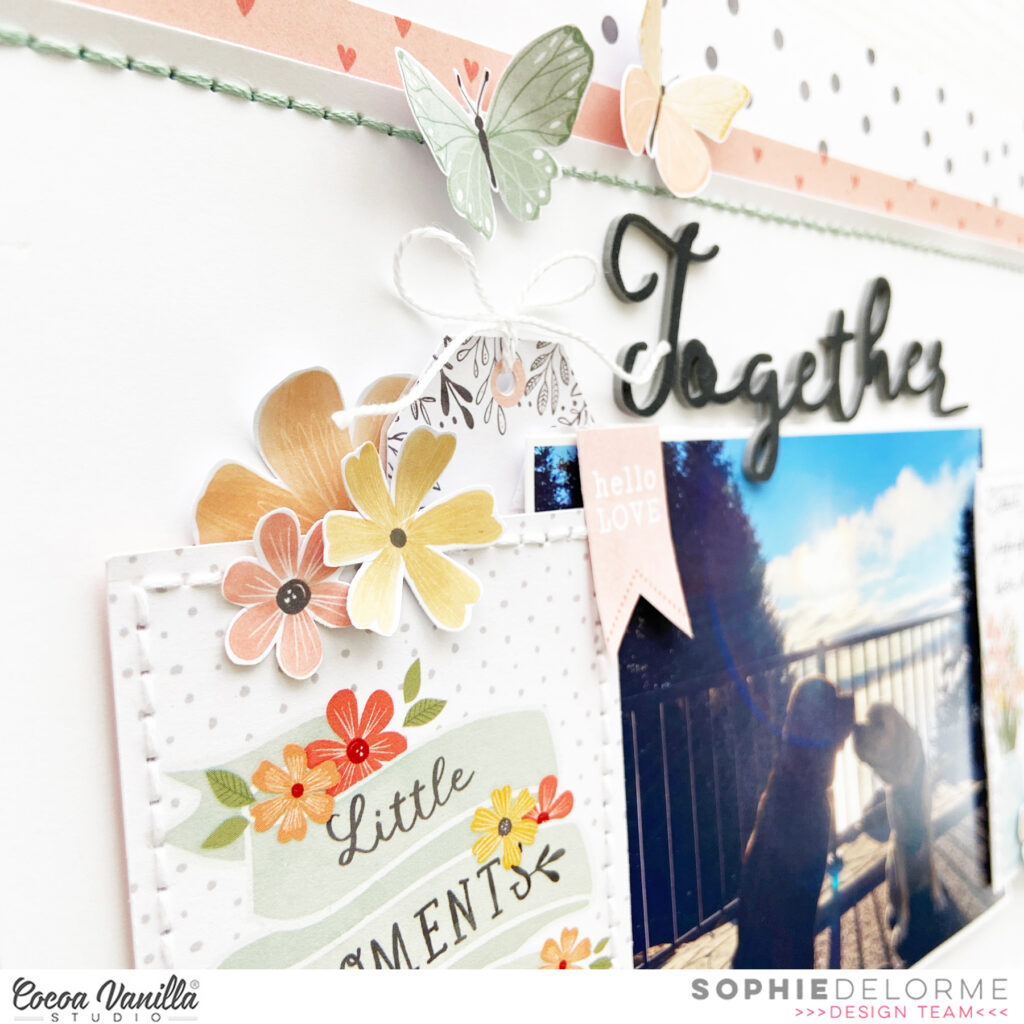
The photo of my two fur babies on a crisp sunny morning is so precious and was the perfect photo to illustrate the theme of the board.
I centered it on a 12×12 white cardstock, added two strips of patterned paper on the top and bottom parts of the layout and handstitched two horizontal lines with green thread.
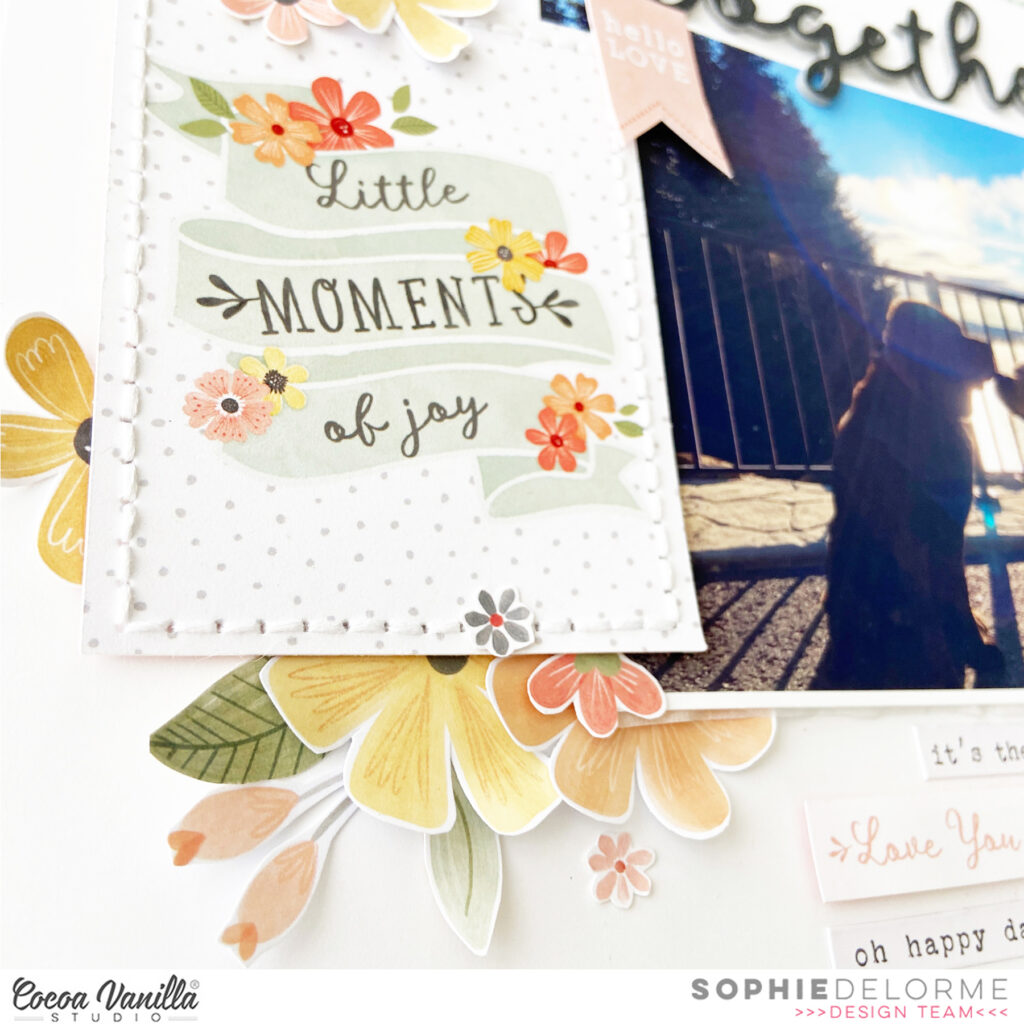
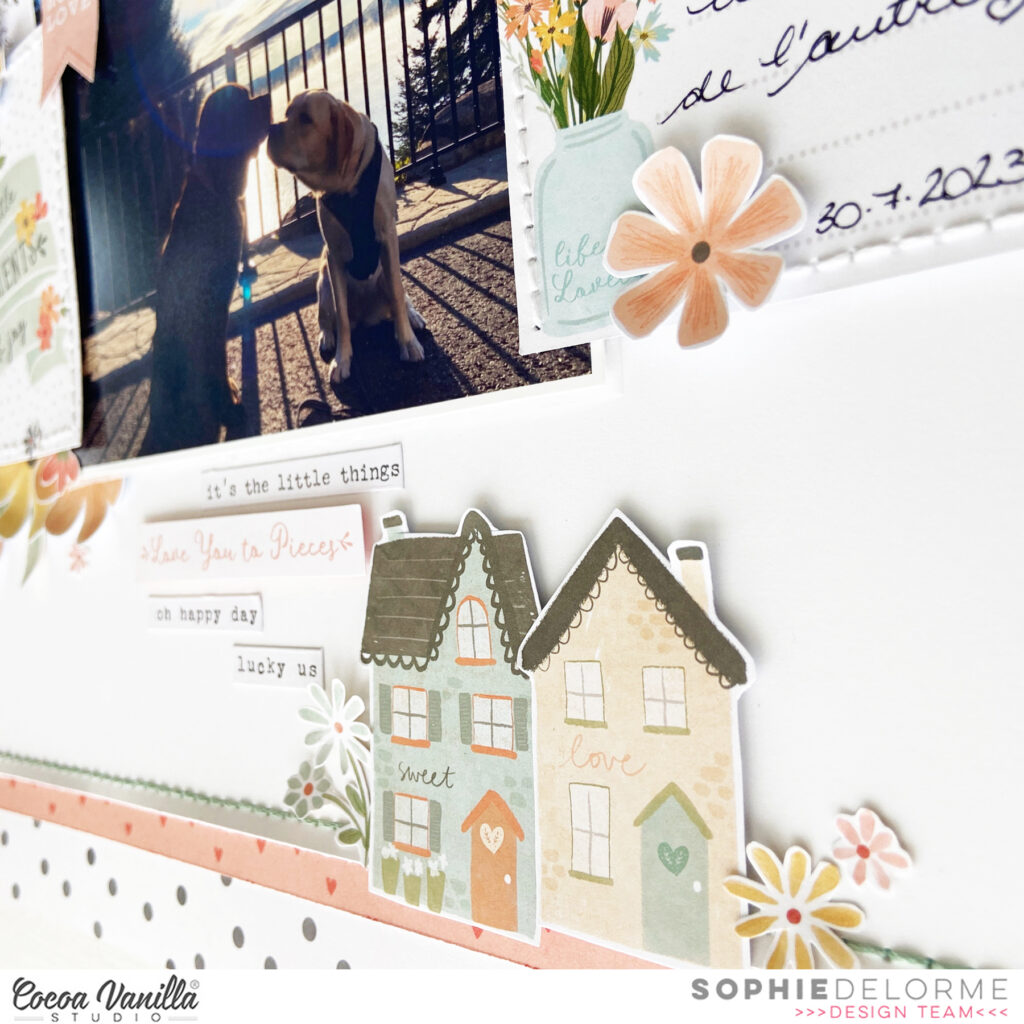
I selected two pocket cards, added stitches to them and placed them on each side of the photo for my subtitle and journaling.
My title comes from the Foam Title Stickers from the collection.
I added embellishments from the Ephemera pack, the floral die cuts pack, a few phrase stickers and two fussy cut butterflies.
Here are more close-ups:
A mood board is such a great source of inspiration! Check out the blog on November 1st to see all the details of the challenge and how to enter for you to get a chance to win a $25 store voucher to the Cocoa Vanilla Studio online store.
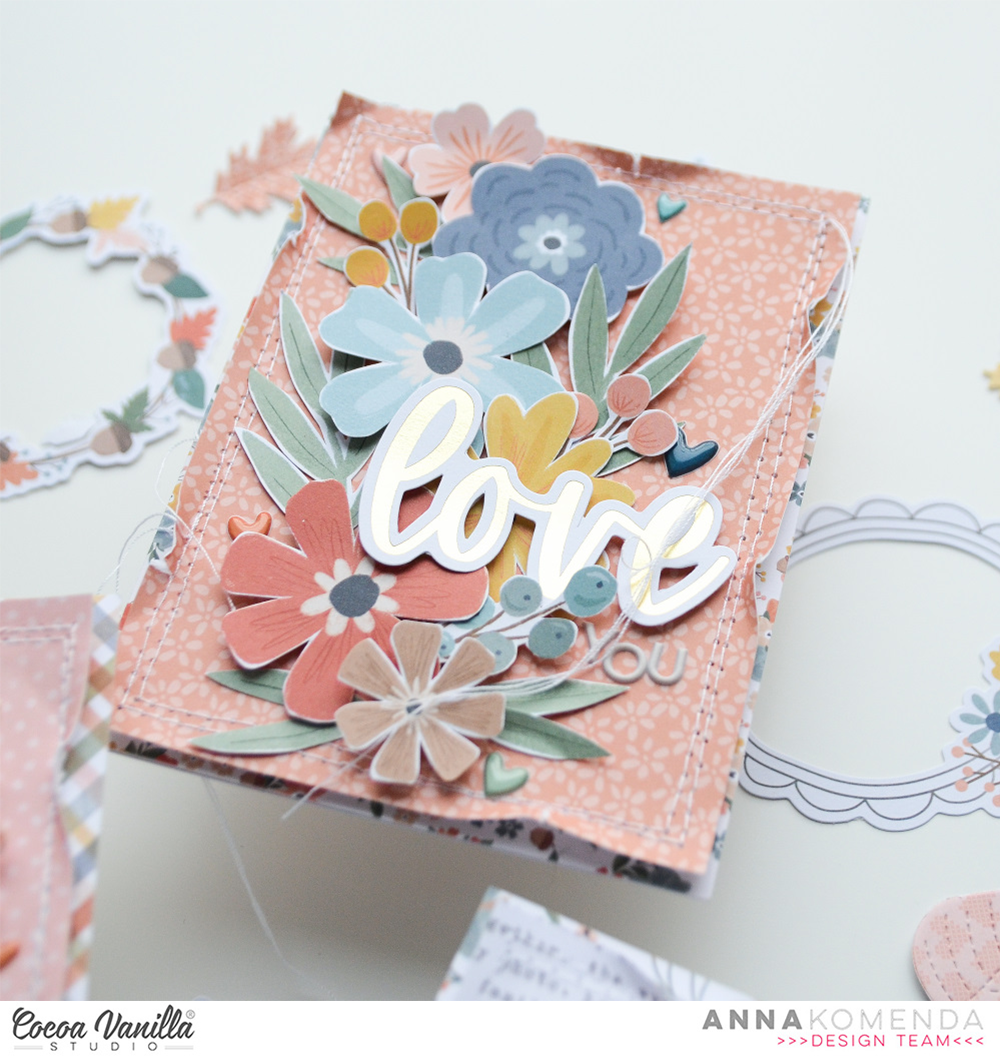
Hello everyone! We all love pretty layouts and albums as they are a perfect way to preserve important moments and memories. But once in a while we also need a nice card to send or add to the gift and let’s be honest – there is nothing better than a handmade card! It can be curated specifically for the recipient to show them how much we care. That’s why, with every CVS collection, I like to make a bunch of cards too and have them ready whenever I need one. This is exactly what I did with new “Heart & Home” line.
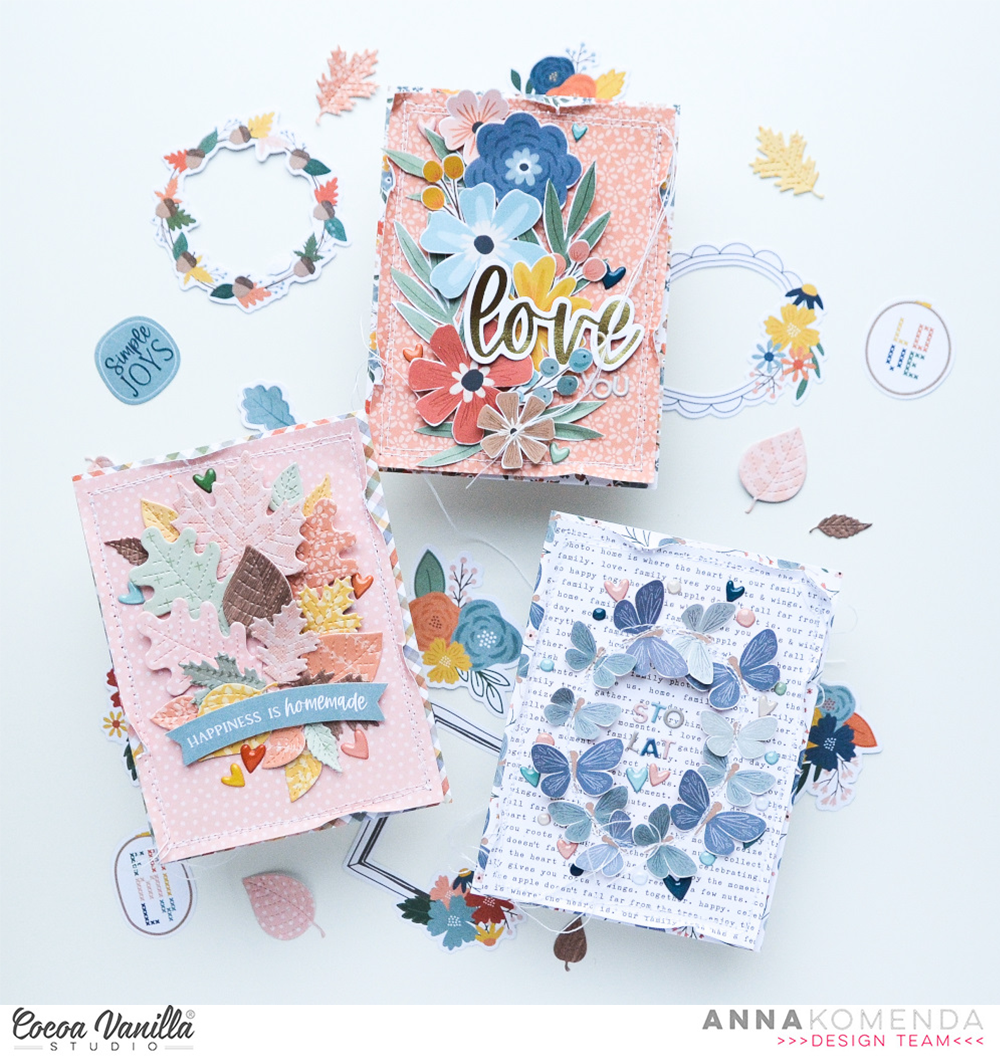
I made three cards, each for s different occassion. My trick for a quick process was to use papers from A5 Paper Stack as a card bases. I simply folded each page in half and card base was ready! It has pattern on the front and back but inside is white, as papers in Papers Stack are single sided! Perfect solution! You can add extra pannel like me, or you can embellish your card directly on the base saving even more time.
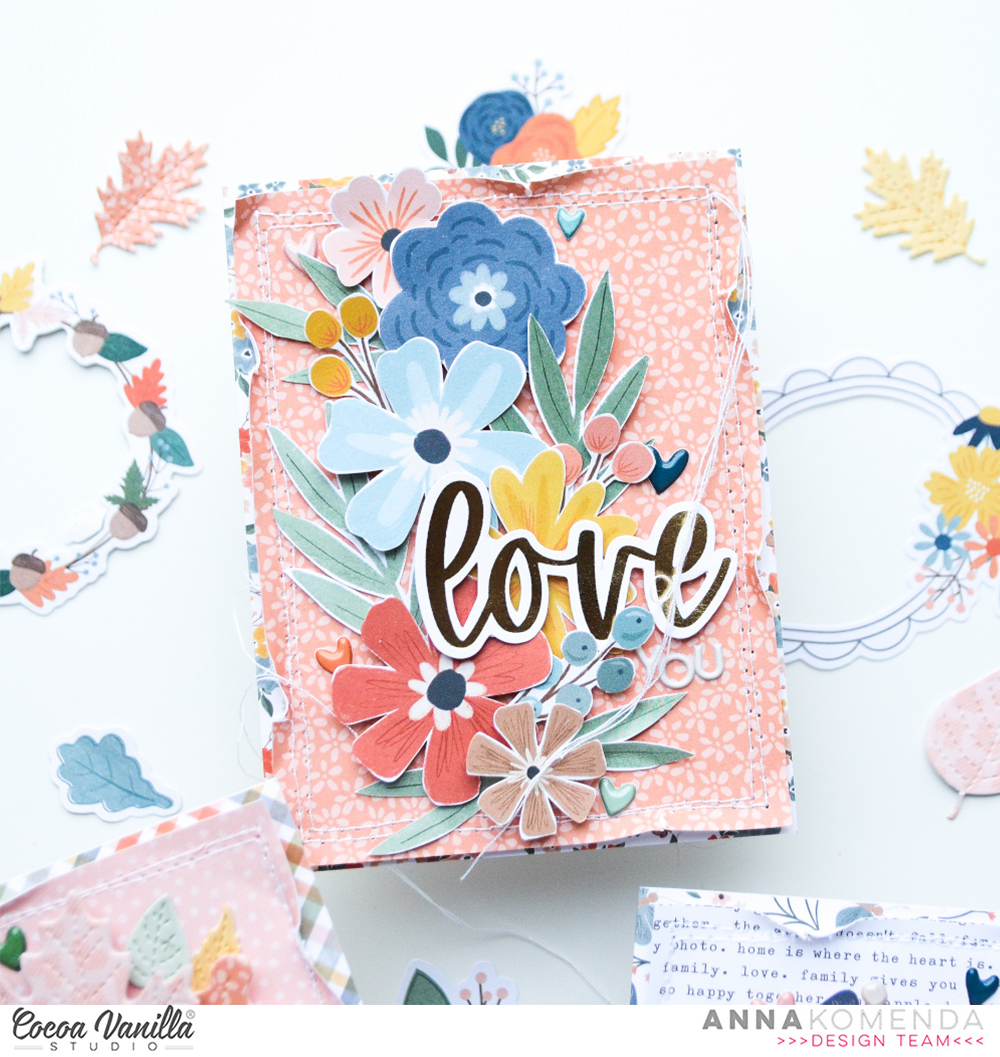
Fot the first card I used Floral Ephemera Pack flowers and leaves. I used my scissors to trim the white outlines around flowers but you don’t have to do that! Simply arrange flowers and leaves on the card, add glue under each of the elements and your card is almost ready. My sentiment is made with Gold Foil Titles word “love” and Mini Puffy Alphabet word “you”. Few tiny Puffy Stickers hearts here and there and card was done!
Second card has a Polish inscription “Sto lat” which translates to “Happy birthday”. I made it inside the little wreath of flying moths. I cut them all out from “Fall beauty” 12*12 paper. I also added some machine stitching but it’s totally optional. Once again I finished my design with Puffy Stickers hearts and dots.
My last card is the quickest one as I utilised leaves leftoves I had from one of the previous projects. I die cut bunch of them from variety of papers from “Heart & Home” collection. Part was used for the layout, and the rest I added to my Ephemera Pack. I arranged few leaves in the center of the card, adding some foam squares under them for more dimension and finished everything with sentiment from said Ephemera Pack. It took me 10 minutes to complete. You can of course die cut your own leaves. It will take you a little bit longer to finish the card, but it’s only dozen you need.
And that is all for today! Do you like my quick and easy card ideas? You can use them for any other CVS collection too!
Thank you so much for spending your time with me and see you in two weeks!
Hello Hello! It’s Michelle back today with another fun layout share using out beautiful Heart& Home Collection. I went with a rainbow assortment of pattern paper strips and some sweet family snaps. Kinda running low on photos to share these days, but I’m hoping the next few months of family celebrations will bring some fresh new snaps.
Now I’ll warn you, this post is very heavy in the photos, just not so much in the words. But sit back, relax with a drink and check out my newest creation..
I used almost all of the full colour pattern papers from the collection with a mix of multi colour papers and the typewriter text. I cut 2 strips from each piece that are roughly 1 inch wide, and left them all at different lengths to overlap at random heights in a blended colour order across the white background. I had intentions of sewing through the strips, but when creating late at night I tend to go off track from where I start.
Next up I gathered a few recent family snaps and printed them out in 2×2 and 2×2.5 inch size to back the cute frames from the ephemera pack and the cut apart frame from the GATHER paper. I used pieces of foam between the frame and the photo to make them look a little more realistic then adhered across the layout using more foam for dimension.
I layered in different forms of embellishments around the frames to add extra pops of interest, using a good mix of ephemera, fussy cut pieces, enamel shapes and accessorystickers
I added the Happy List from the GATHER paper which is perfect for adding our family list of loves at this present time. We certainly love our share of naughty foods, long car rides around our greater region of beaches and lots and lots of laughter
I added a loose string across the tops of the frames to make them look like they are strung across the layout. Mixing fibres like these is a good way to add a little texture to the layout.
Super cute photo of Leila and the doggo’s. No way they would sit this still ever again lol this must have been a fluke
I added the title to the bottom of the layout using the word FAMILY from the Ephemera pack along with the banner strip underneath. I used foam under these to pop them off the page giving more dimension to the bottom of the layout. Then I added the word sentiments from the accessory sticker sheet that work perfectly together in the area above the title.
Lastly I added a splattering of gold ink, some gold glittery splotches that dry like enamel dots, some tiny little fussy cut florals and then called it complete.
So many layers with all these strips gives so much texture to the layout which is a tick in my book.
Here’s a final look at the entire layout
Well thats all from me today, thanks so much for stopping by. Short and sweet with the words along with a total photo overload. I hope you’ve enjoyed seeing this creation today, just as much as I enjoyed creating it.
It’s Tarrah back with you today to share a new layout featuring the gorgeous Heart & Home collection.
The Heart & Home collection is perfect for documenting photos of family. I took this photo of my parents recently at the airport before my Mum was leaving for England. I just love this photo of the 2 of them.
I started with a plain white cardstock background and chose a free quilt design cut file by Paige Evans as one of the features for my layout. I cut the cut file out from the ‘B’ side of the Framed paper and love how the wood grain looks against the white. With the bigger frame piece, I adhered the white cardstock on top of this piece and then machine stitched a border around the outside to add some texture. I then took the A5 paper stack and backed some of the open spaces. I adhered my photo on the right hand side of the page using craft foam and added one of the cardstock frames from the ephemera pack over the photo. I also tucked in one of the florals underneath, I love how you can see the different dimension I created here.
My title is made up of the gorgeous gold foil cardstock titles and I placed the title on the left of the photo using craft foam for dimension too. I layered one of the small phrase pieces from the Gather paper over the top of the title. On the right of the photo, I added more die-cut pieces from the ephemera pack and also added a puffy heart here as well. At the top of the frame I added one of the phrase stickers from Accessory sticker sheetand also placed one of the banner stickers also from the Accessory sticker sheet at the bottom of the photo and layered a puffy heart over top of the heart on the sticker.
Next up it was time to add some more embellishments. I decided to add some of the stickers from the Accessory sticker sheet, adding 2 of the square ones to the square shapes in the cut file. I also added some more of the smaller die-cut pieces from the ephemera pack to some of the open spaces in the cut file as well. Some of them I added craft foam to underneath and some I placed flat on the page. I love the different levels of dimension not to mention the shadows this creates on a project. Lastly I added some more of the super cute puffy hearts and stamped the date stamp of when the photo was taken to finish off the layout.
I love how Cocoa Vanilla collections co-ordinate! It is so easy to create pretty projects with their gorgeous collections, I highly recommend you get the Heart & Home collection for your family memory keeping, it has perfect elements to help capture those all important memories and to tell your stories.
Thanks so much for stopping by the Cocoa Vanilla blog today! I hope I have inspired you to pull out your Heart & Home goodies and create something pretty! You could even create a similar project using another gorgeous collection from Cocoa Vanilla Studio!
It’s Sophie on the blog today with this new layout!
I used the beautiful Heart & Home collection again!
I wanted to focus on the beautiful frames from the “Framed” patterned paper. I fussy cut a few of them and centered them under a beautiful and sweet photo of my two doggies cuddling and sleeping together!
I machine stitched around the frames and used them to add subtitles and a little bit of handwritten journaling.
I placed a strip of the “Fall Beauty” patterned paper at the bottom of the layout and tucked a few framed under it. I also added many fussy cut leaves and flowers to embellish around the frames, with two bigger floral clusters around my photo.
The GORGEOUS heart & Home Gold Foil words made the perfect title for my page.
Here are more close-ups:
I love the result and hope you like it too! It’s another way to use frames on a page without framing a photo!
Thank you for stopping by, I will see you again soon!
Hey y’all! Laura Alberts here with a fun autumn layout using the new Heart & Home collection from Cocoa Vanilla Studio. These lovely photos worked beautifully with the color scheme of Heart & Home, especially the vellum florals! I started this one using multiple chipboard circle templates that I created in various sizes using bowls from my house. Cutting out circles in these beautiful patterned papers made for a quick and easy background!
Each of the circles are outlined in black gel pen with a few faux stitching marks. In the top left circle, I positioned two photos with the first part of my title and tucked a journaling spot from the cut apart sheet underneath. I added a mix of ephemera, fussy cut, and vellum florals on the right side for a simple cluster.
In the top right corner, I built a large cluster using a frame from the ephemera pack and backed it with a cut apart. The floral cluster added depth by layering ephemera florals above the frame and vellum florals below. This gives the cluster a dynamic look despite how flat it actually is!
In the bottom right corner, I let one of my photos go off the page and trimmed it. This functions as the second-half of the title, but also gives a third point of interest on the page. These photos didn’t need a lot of embellishing, so I kept this cluster simple.
And just to add a little extra something fun to the last circle, I added a medium sized cluster with both vellum, ephemera, and fussy cut florals. Love how this one turned out! I hope this layout inspires you to find a new way to incorporate household items into your scrapbooking!
Hello, hello! It’s Anna here with another project made with brand new “Heart & Home” collection. I was recently decorating my home for fall and after putting all the pumpkins and other stuff, I felt I needed something in the upper part of the composition, that felt quite empty. That’s how I came up with an idea for a fall garland. I didn’t want to make it from triangles so I used my digital die cutting machine to cut leaves in variety of shapes.
They are a little bit less than 15 cm big and cut out from a variety of pattern papers both from 12*12 sheets and A5 Paper Stack. I used “Bountiful”, “Leaf litter”, “Fall beauty” and “Gather” patterns. I cut out 12 leaves with papers and another 12 with kraft cardstock. I combined leaves in the same shapes together and stapled them instead of adding glue.
Next step was to make little holes in each leaf to add string, that combines all the leaves together into the garland. I made two holes so the leaves doesn’t spin around on the string.
Each leaf is decorated with a little something – either a flowers from Floral Ephemera pack or elements from Die Cut Ephemera. Two of them are embellished with words from Titles With Gold Foiling – “celebrate” and “together”. I din’t want to overdo it as the leaves are colorful already.
My garland is already hanging in the livingroom, over my decorated cabinets. This is how it looks:
That is all for today! Thank you so much for spending this time with me. See you in November!
I used the beautiful Heart & Home collection again!
I focused on the Leaf Litter patterned paper and fussy cut numerous tiny leaves.
I centered my black and white photo on a thick white cardstock, added a few layers of patterned papers from the A5 paper Stack, tissue paper and foam adhesive.
I created a big floral cluster on the lower right corner of the photo (Floral Ephemera pack), and scattered the beautiful fussy cut leaves on the upper left corner of the photo to create a diagonal design.
I placed a die cut on the photo as my title, with the name of my dog (Mini Puffy Alphabet) and a few handwritten words about how cute she looks!
Here are more close-ups:
I love the result and hope you like it too!
The layout is very easy to scraplift so don’t hesitate to give it a try!!
Hi Friends, welcome back to the Cocoa Vanilla blog, it’s Kel here today to share a layout using the new ‘Heart and Home’ collection. My page is documenting a family photo from Xmas 2022. Here is a look…
My photo is a landscape design so I started with adding some patterned paper strips behind my photo. I offset the papers and cut them at different sizes to add some interest and also distressed them to add some texture.
After placing my photo on the page, I decided I wanted to use the ‘Family’ letters found in the die cut ephemera pack as my title. I used foam dimension to make them pop and also outlined them with a black pen…this really helps them stand out! Under my title I used some of the word phrases from the die cut ephemera pack..
Next I placed some of the floral die cuts to the bottom left and top right of my photo. I added some hand stitching to them to add texture…
Above my photo I added a word sentiment from the die cut ephemera pack and cut some of the cute little houses from the ‘Gather’ paper..
I decided I wanted to add a bit more colour to my white cardstock so I added some hearts using distress oxides and a stencil, again outlining them with a black marker..
To finish my page I added some heart puffy stickers around my page and added some fine gold splatters.
I hope you enjoyed my page and you found some inspiration today…til next time!
Hey y’all! I’m back again with the stunning Heart & Home collection to scrap these two photos of my brick. This is my mark on the university I attended and I am so grateful that I had this opportunity to return to school and finish my degree. To celebrate, I’m scrapping this moment with these rich colors from Heart & Home!
For this layout, I created a fairly simple vertical background and layered my two 3×4″ landscape photos on top of each other with clusters of florals from the icon ephemera packs tucked into the corners. With a lovely gold die cut title and these tiny fussy cut florals, I gave the page a beautifully detailed finish!
Adding in Nuvo drops was how I gave this simple vertical time to shine. Using white Nuvo on top of the woodgrain paper that edges the background gives it a purpose. The outlining of those strips makes them pop even more!
I hope this layout inspires you to find new ways to add details that give your layout a polished finish. To see how the ‘Thankful’ layout came together, check out the process video below: