Love You | Happiness | Anita Bownds
Hi there crafty friends, Anita back with you today sharing a pretty floral layout using the happiness collection so today I wanted to do a product focus on my layout using stickers instead of ephemera you would be surprised I only used a few but it looks like I’ve used heaps..
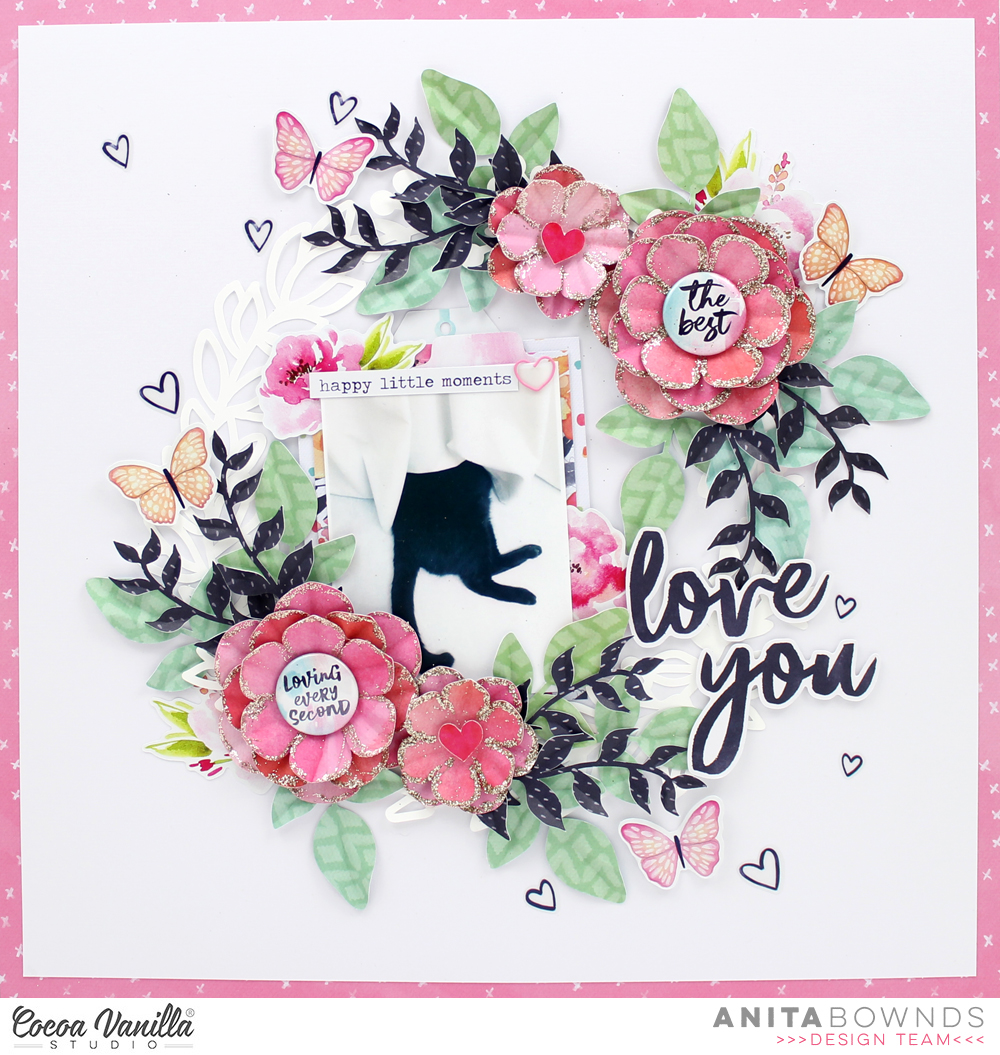
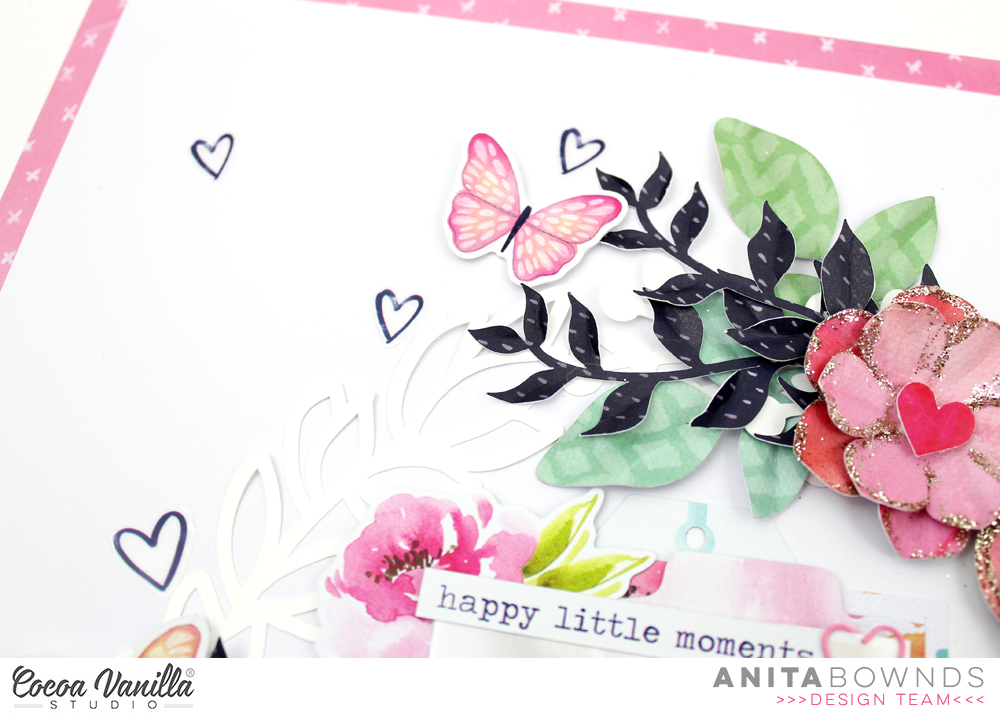
I started off by backing my white cardstock on expressive then using my cameo I set out to cut some cut file out I started with a leaf wreath 243418 from Paige Evans that I cut out in white cardstock and adhered to the middle of my layout then meadow I cut out flowers using layered flower with leaves 311424 the I cut leaves using the same cut file out of frame of mind and to add that pop of dark navy blue I used botanical bliss and another layered flower and leaves cut file 311423 by Paige Evans
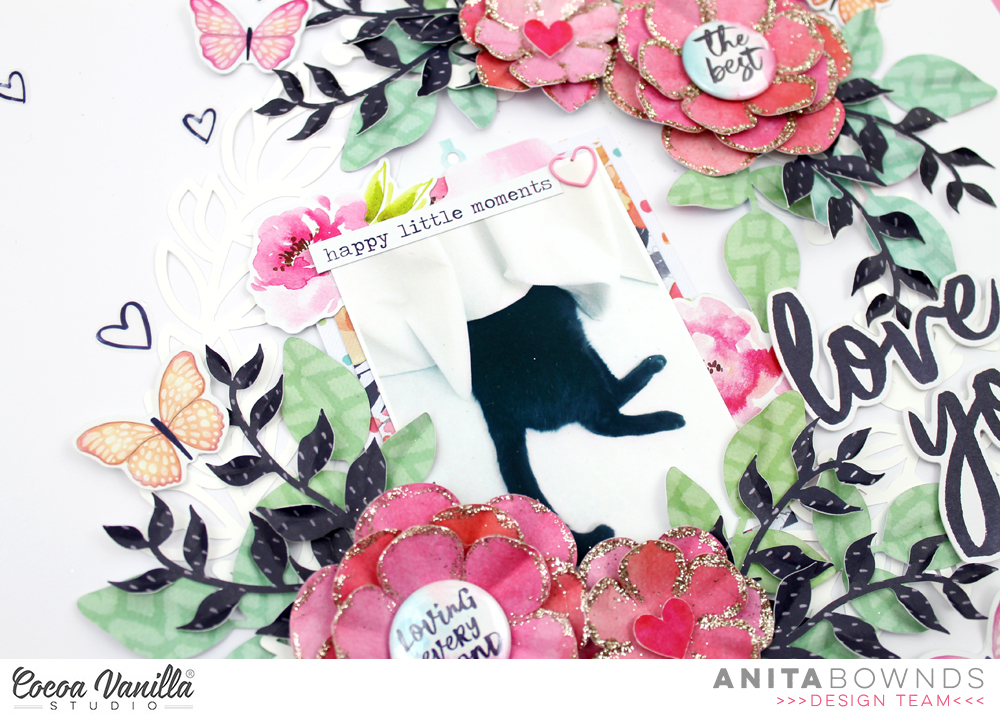
Then I matted my photo of bits of paper papers from the 6×8 and added a few stickers in the layers at the top of my photo and adhered it down inside the wreath to one side
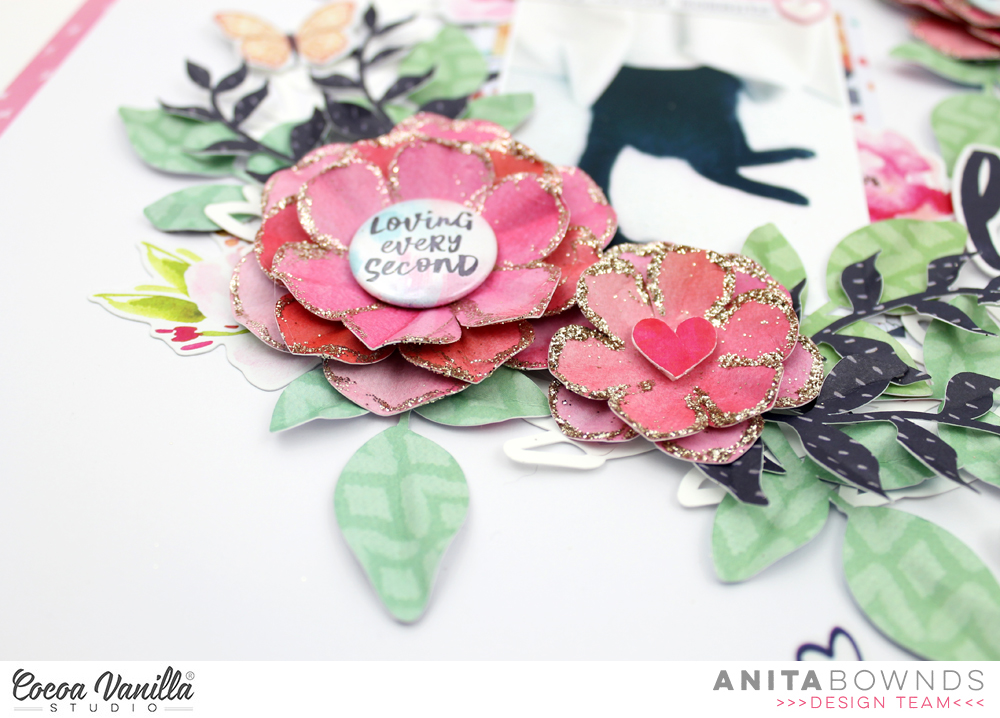
Then I created the flowers by bending them up a little to add dimension and some glitter around the edges to add a bit of sparkle in the center of the big flowers I add the flair and the smaller I popped heart stickers from the accessory stickers and add them around the wreath and photo
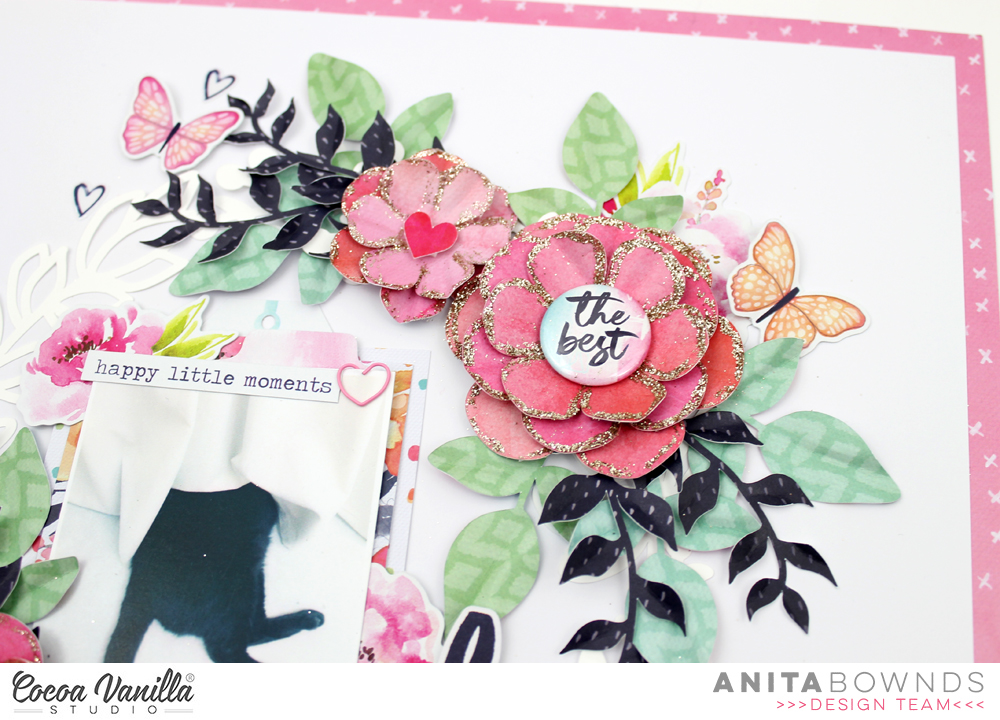
Then I started tucking in the leaves around the flowers adding the at the top and bottom of my layout
Then using more accessory stickers I added a couple to the top of my photo and some tucked in layers in my photo and in the flower clusters

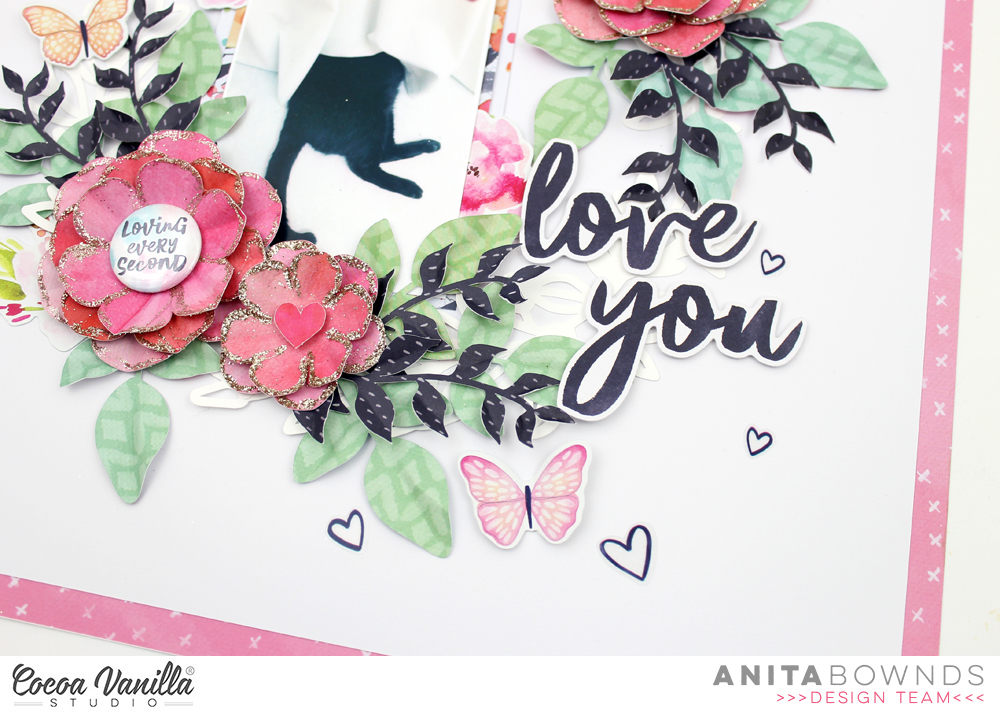
Then I added my title using the cardstock titles
And to add a few more details I added some butterfly’s using the accessory stickers and some scattered hearts using the clear stickers to finish of the layout.
i hope I’ve giving you some fabulous inspiration
Happy crafting ..
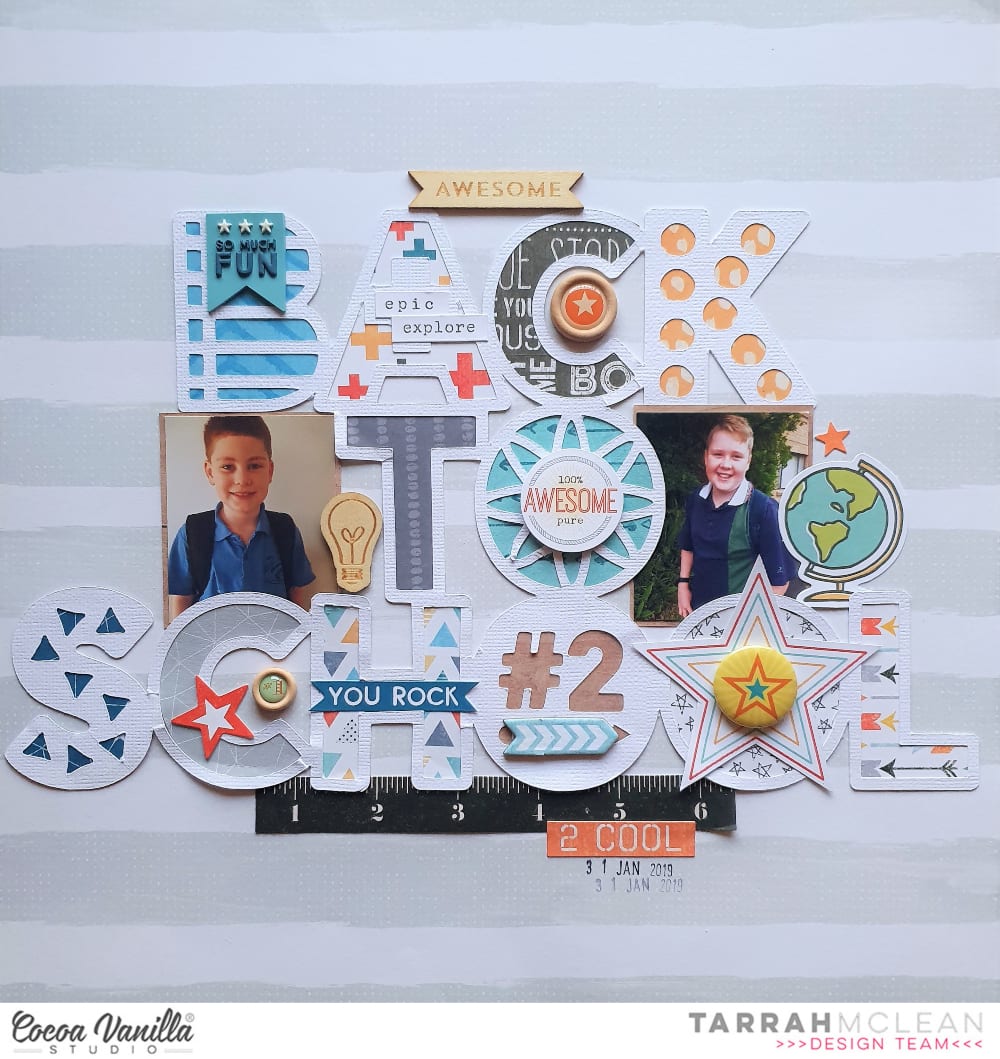
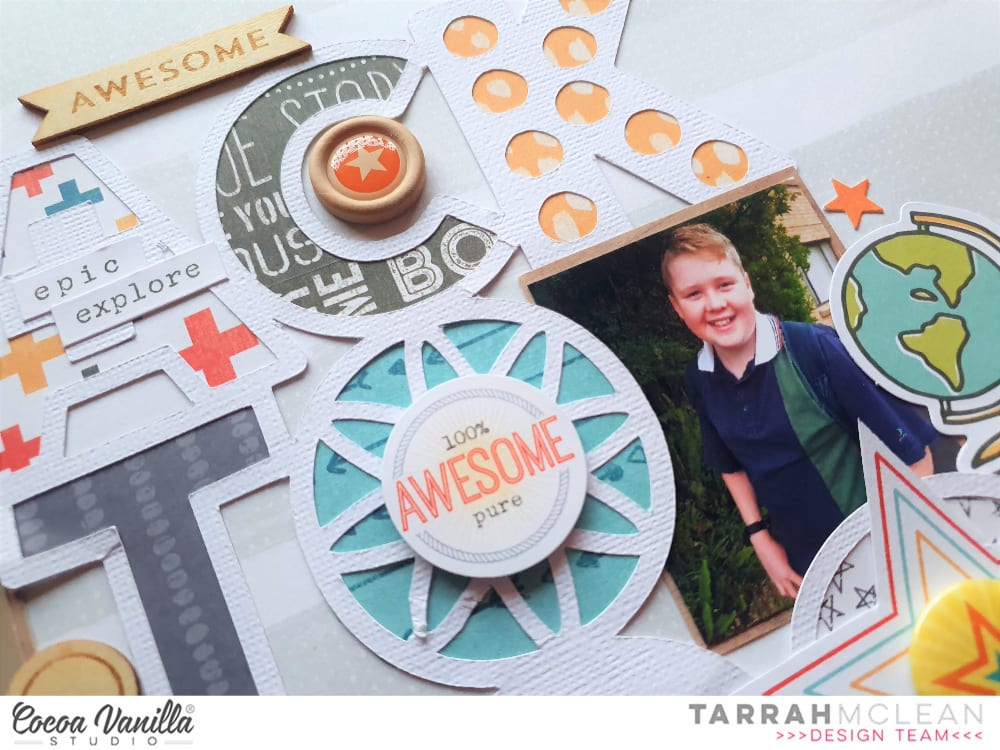
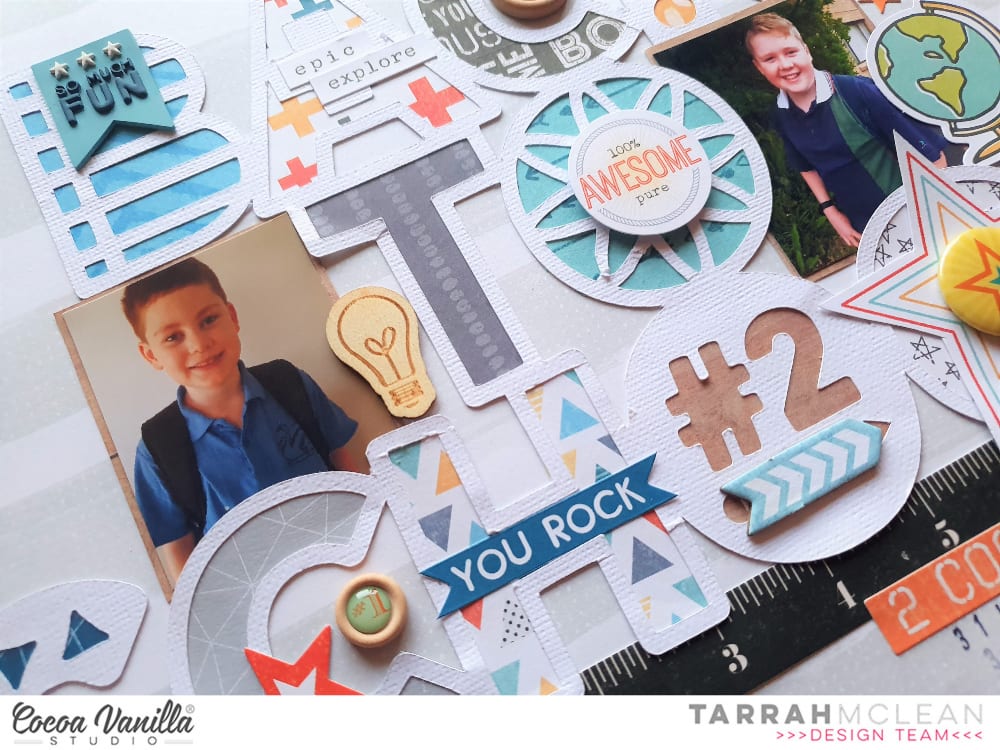 I added a variety of embellishments including accessory stickers, a rubber charm, wood veneers, wood buttons, a flair button, a die-cut and chipboard stickers from the various boy collections mentioned above. The wood buttons I added to the centres of the letter ‘C’ in the words ‘Back’ and ‘School’. The 100% Awesome sticker in the centre of the ‘O’ in ‘To’ I popped up with craft foam for some dimension. I just love the world globe die-cut from the Totally Rad collection, it was perfect for my school themed layout!


 Santa is quite big so there was no much room left for embellishing. I created my title using ephemera leftover – word “christmas”. I added word “merry” using


