Bright Eyes | Mixed Collections | Danni Visser
Hi there! Danni here with a scraplift of Michelle Robertson’s gorgeous black and white layout for the International Scrapbooking Day monochromatic challenge. As soon as I saw this stunning layout, I knew I had to have a go at creating my own version!
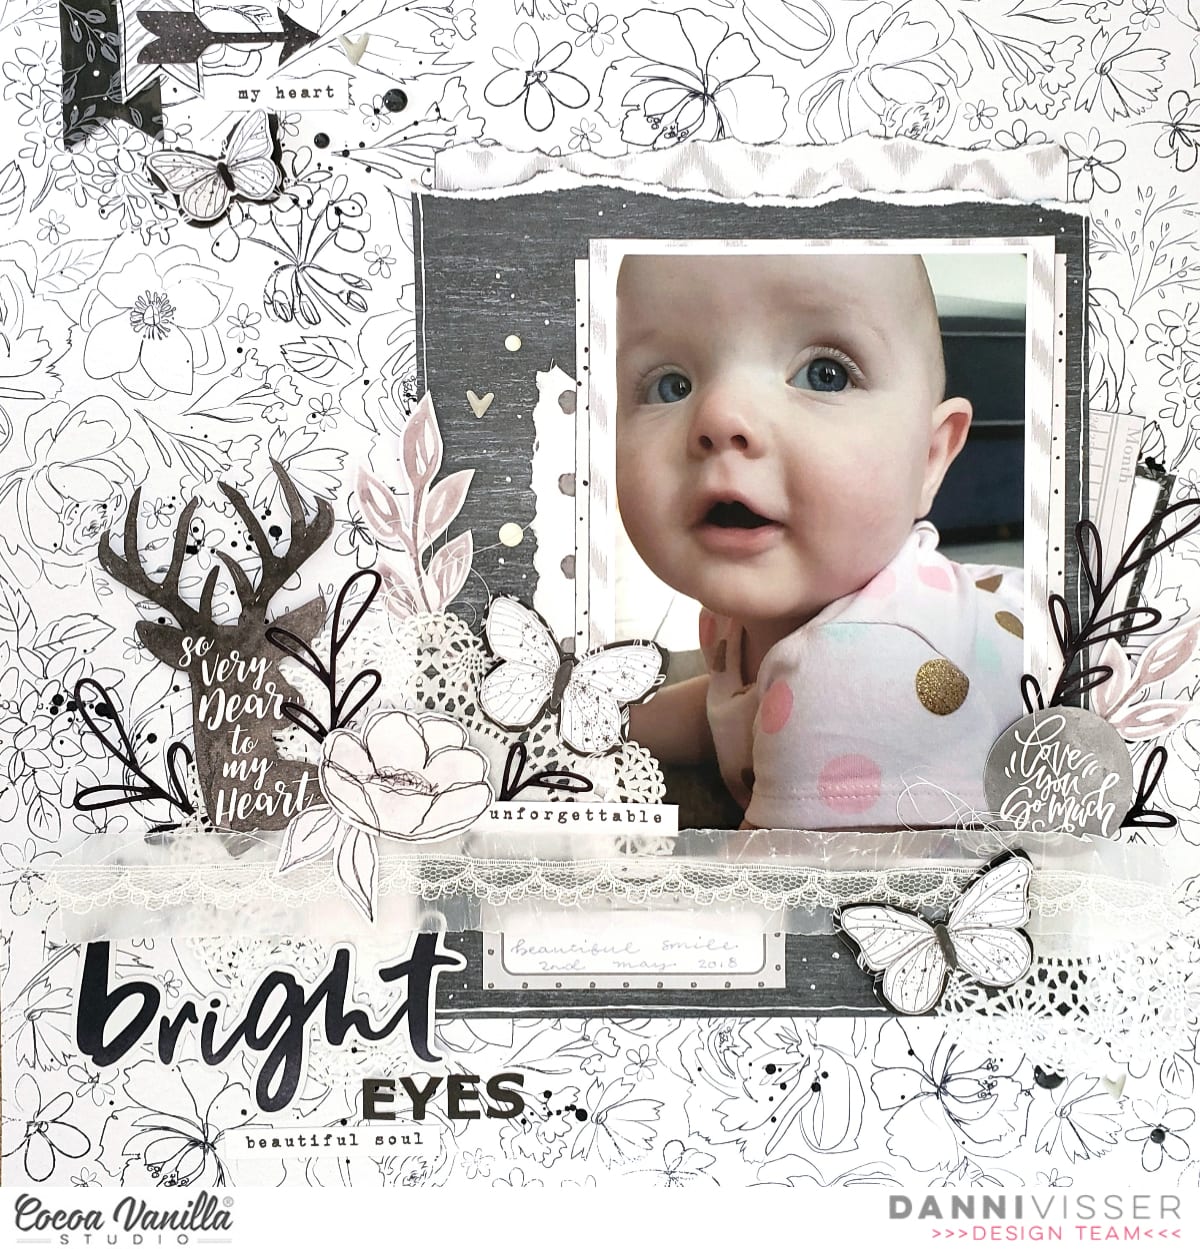
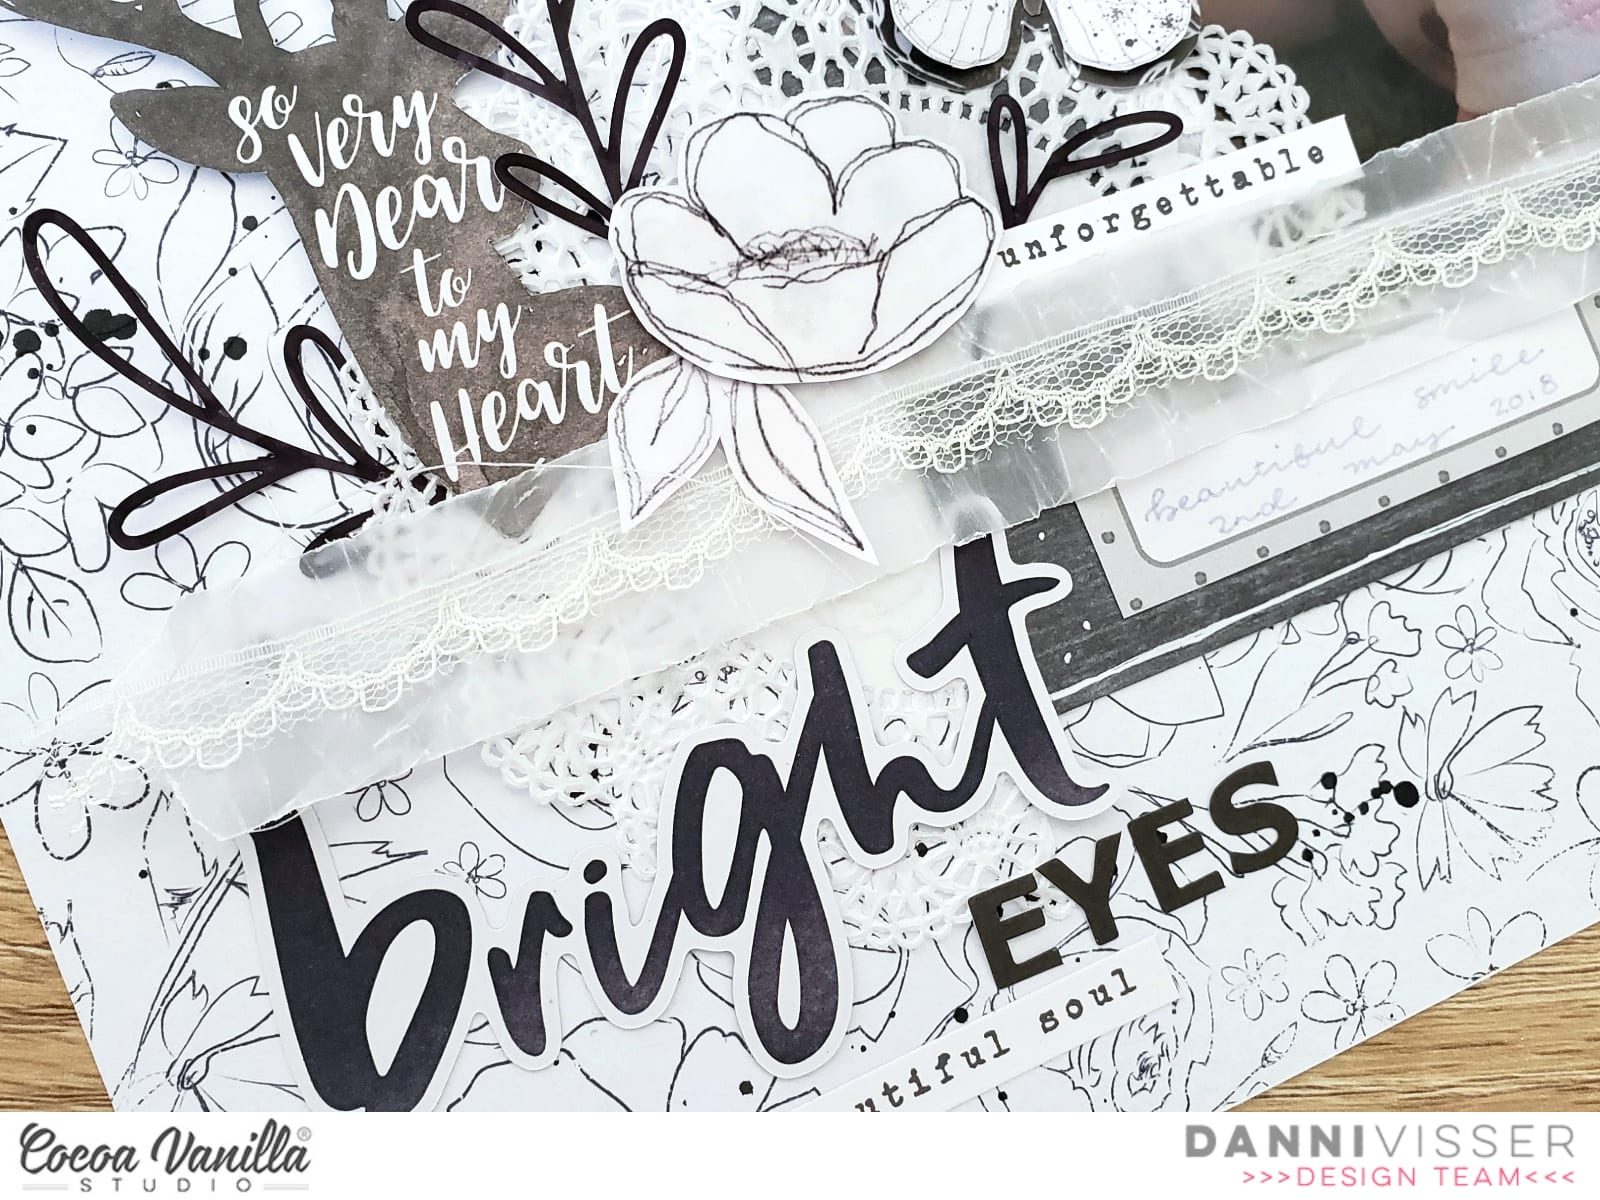
I first went through all my Cocoa Vanilla collections and pulled out all the black and white elements I thought could work for this. I decided to flip Michelle’s layout horizontally to work better with my photo, and I reversed the order of the light/dark elements on the page by choosing a lighter background (Sophisticated floral 12×12 paper from Midnight collection) and a darker main photo mat (Happy Go Lucky paper from Boys Rule collection). I added some soft layers with various monochrome papers from More Than Words collection as well.
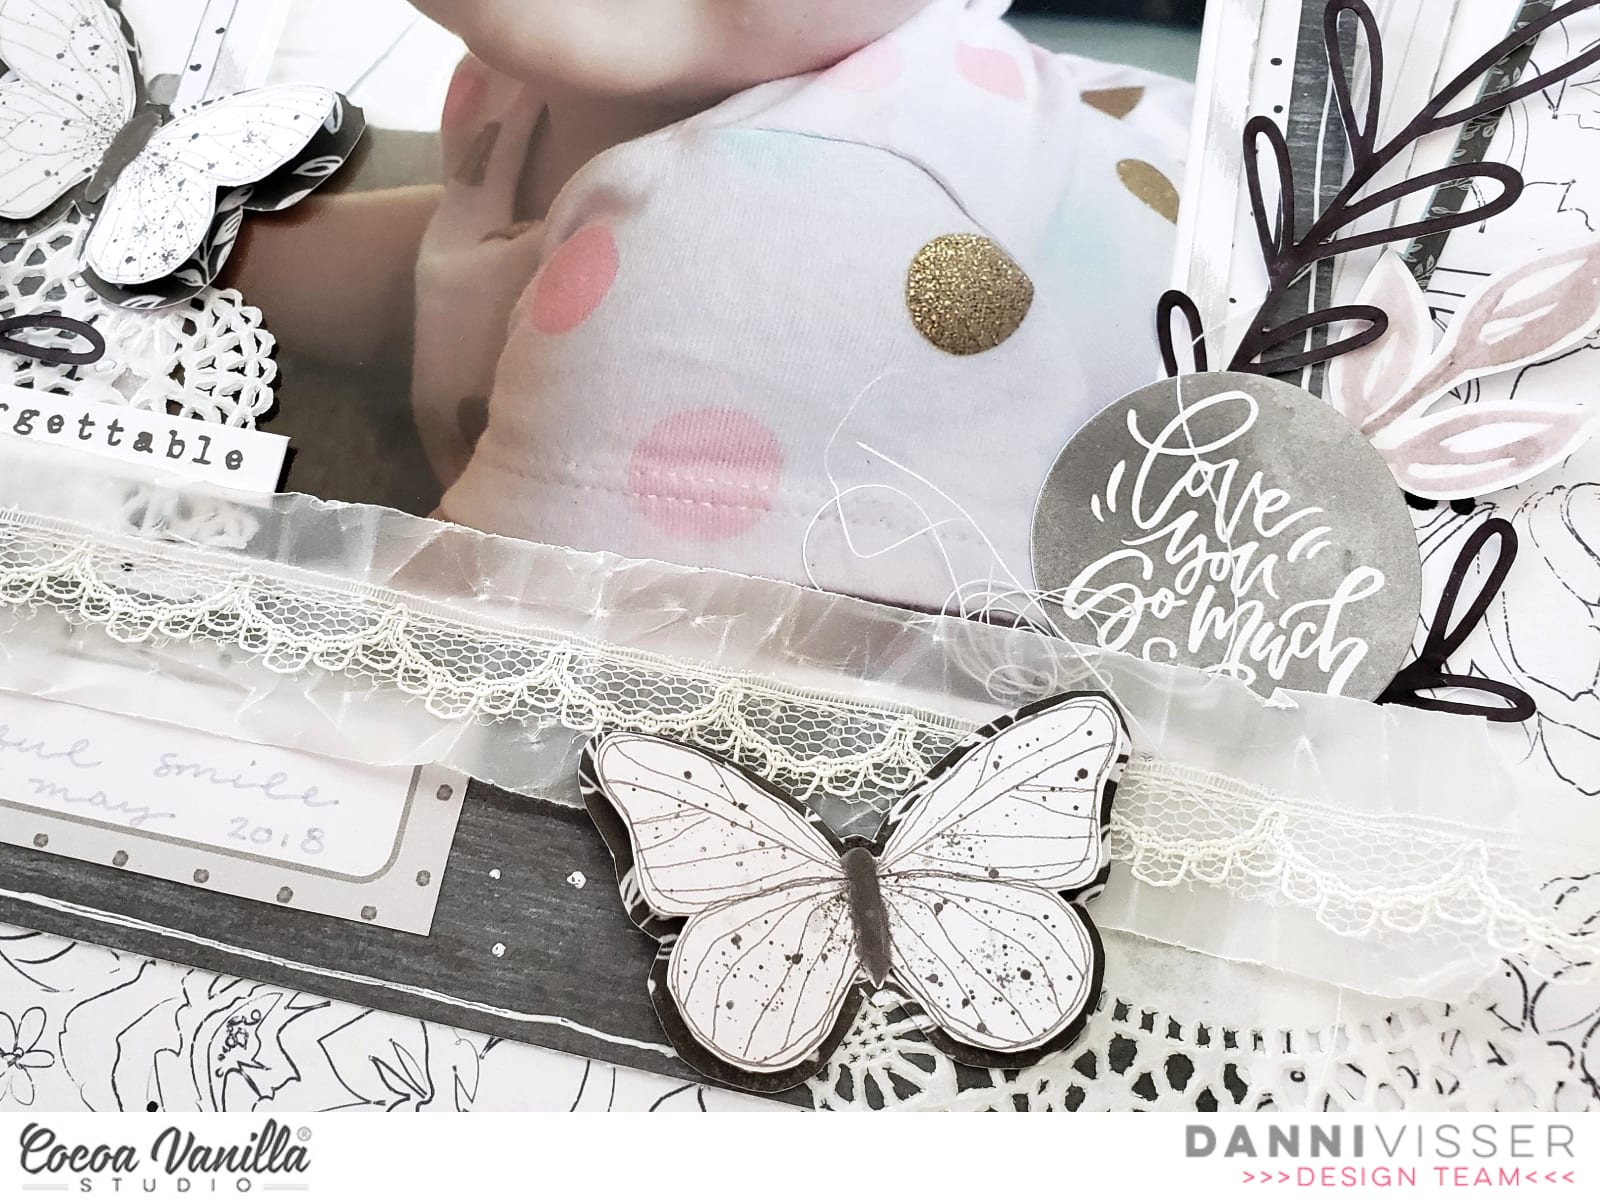
I watered down some black acrylic paint and made lots of black paint splatters on my background paper before adding down my main photo mat. To echo the tissue paper strip on Michelle’s layout, I cut a strip of vellum, ruffled it up, added a strip of lace trim and ran it through my sewing machine with white thread. I kept the thread tails long for added texture.

Next I took some fussy cut butterflies from More Than Words and added a layer of darker paper beneath with some foam squares to create layered butterfly embellishments. I also included some leaf die cuts, fussy cut elements, vellum ephemera and stickers from More Than Words and Unforgettable to create a cluster either side of my photo and at the top left of the page. I included a doily and some messy thread for more soft textural elements.
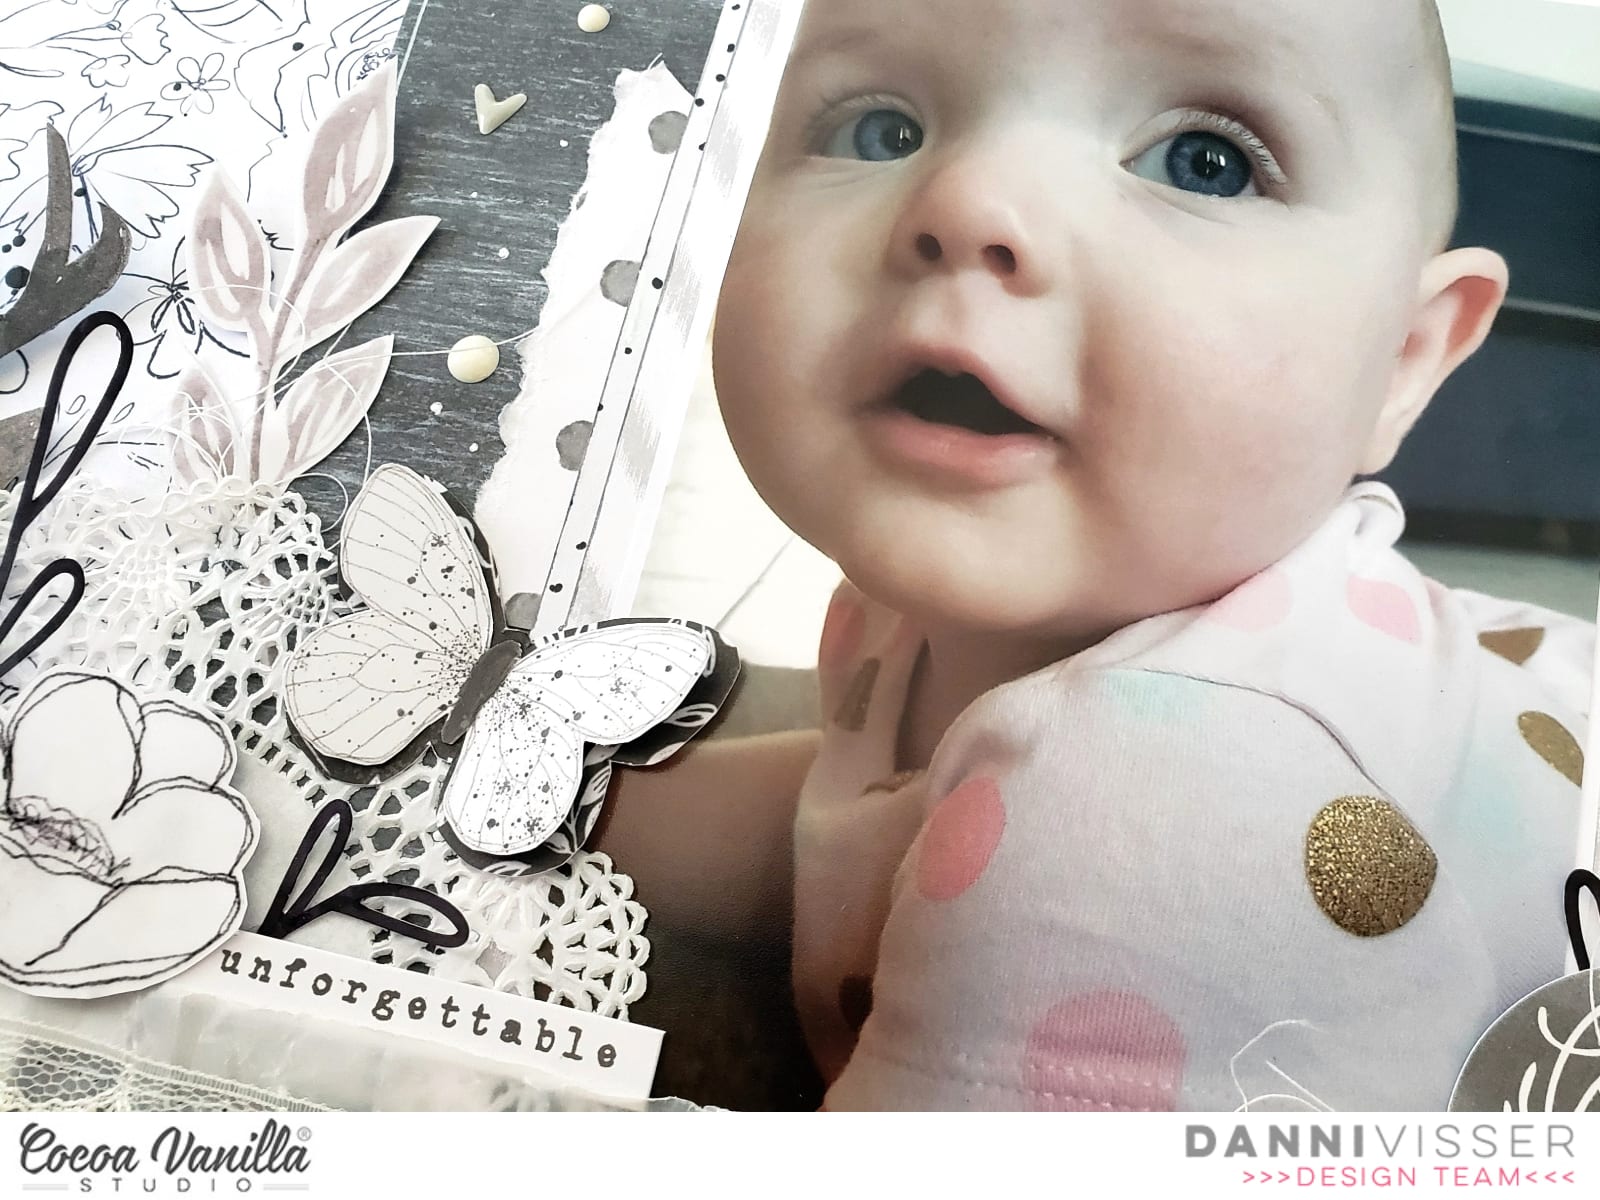
To help some of the elements stand out I used a white gel pen and a grey felt tip pen to outline and ink the edges of the paper layers. For a title I used the die cut titles from Midnight and some dark grey alpha stickers from my stash. To finish off I added a sprinkling of enamel dots from More Than Words and Unforgettable, choosing the grey and white tones.
Although this is a scraplift, I think they ended up looking quite different! I’m really pleased with the result and so happy I gave this a try. Have you had a go at scraplifting someone recently? It’s a great way to get outside your comfort zone. There is a process video for this layout linked below if you would like to see how I added all the little details.
Happy scrapping!
Danni x
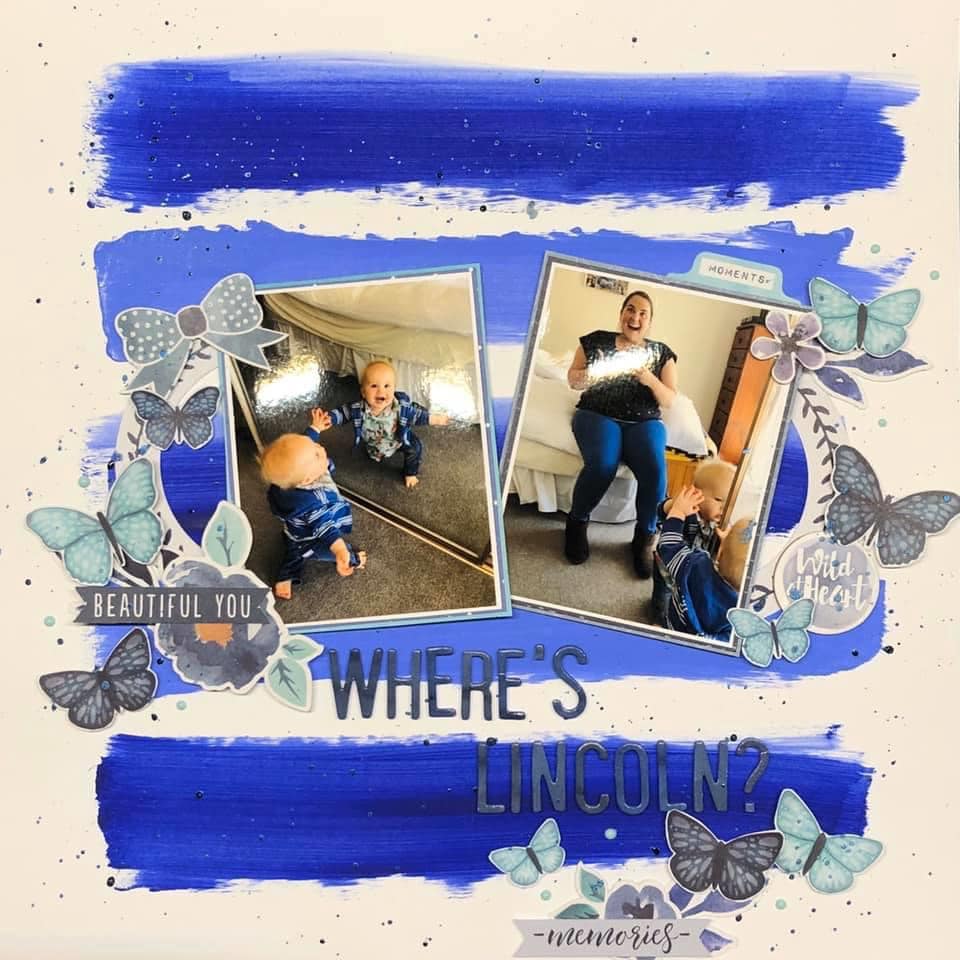


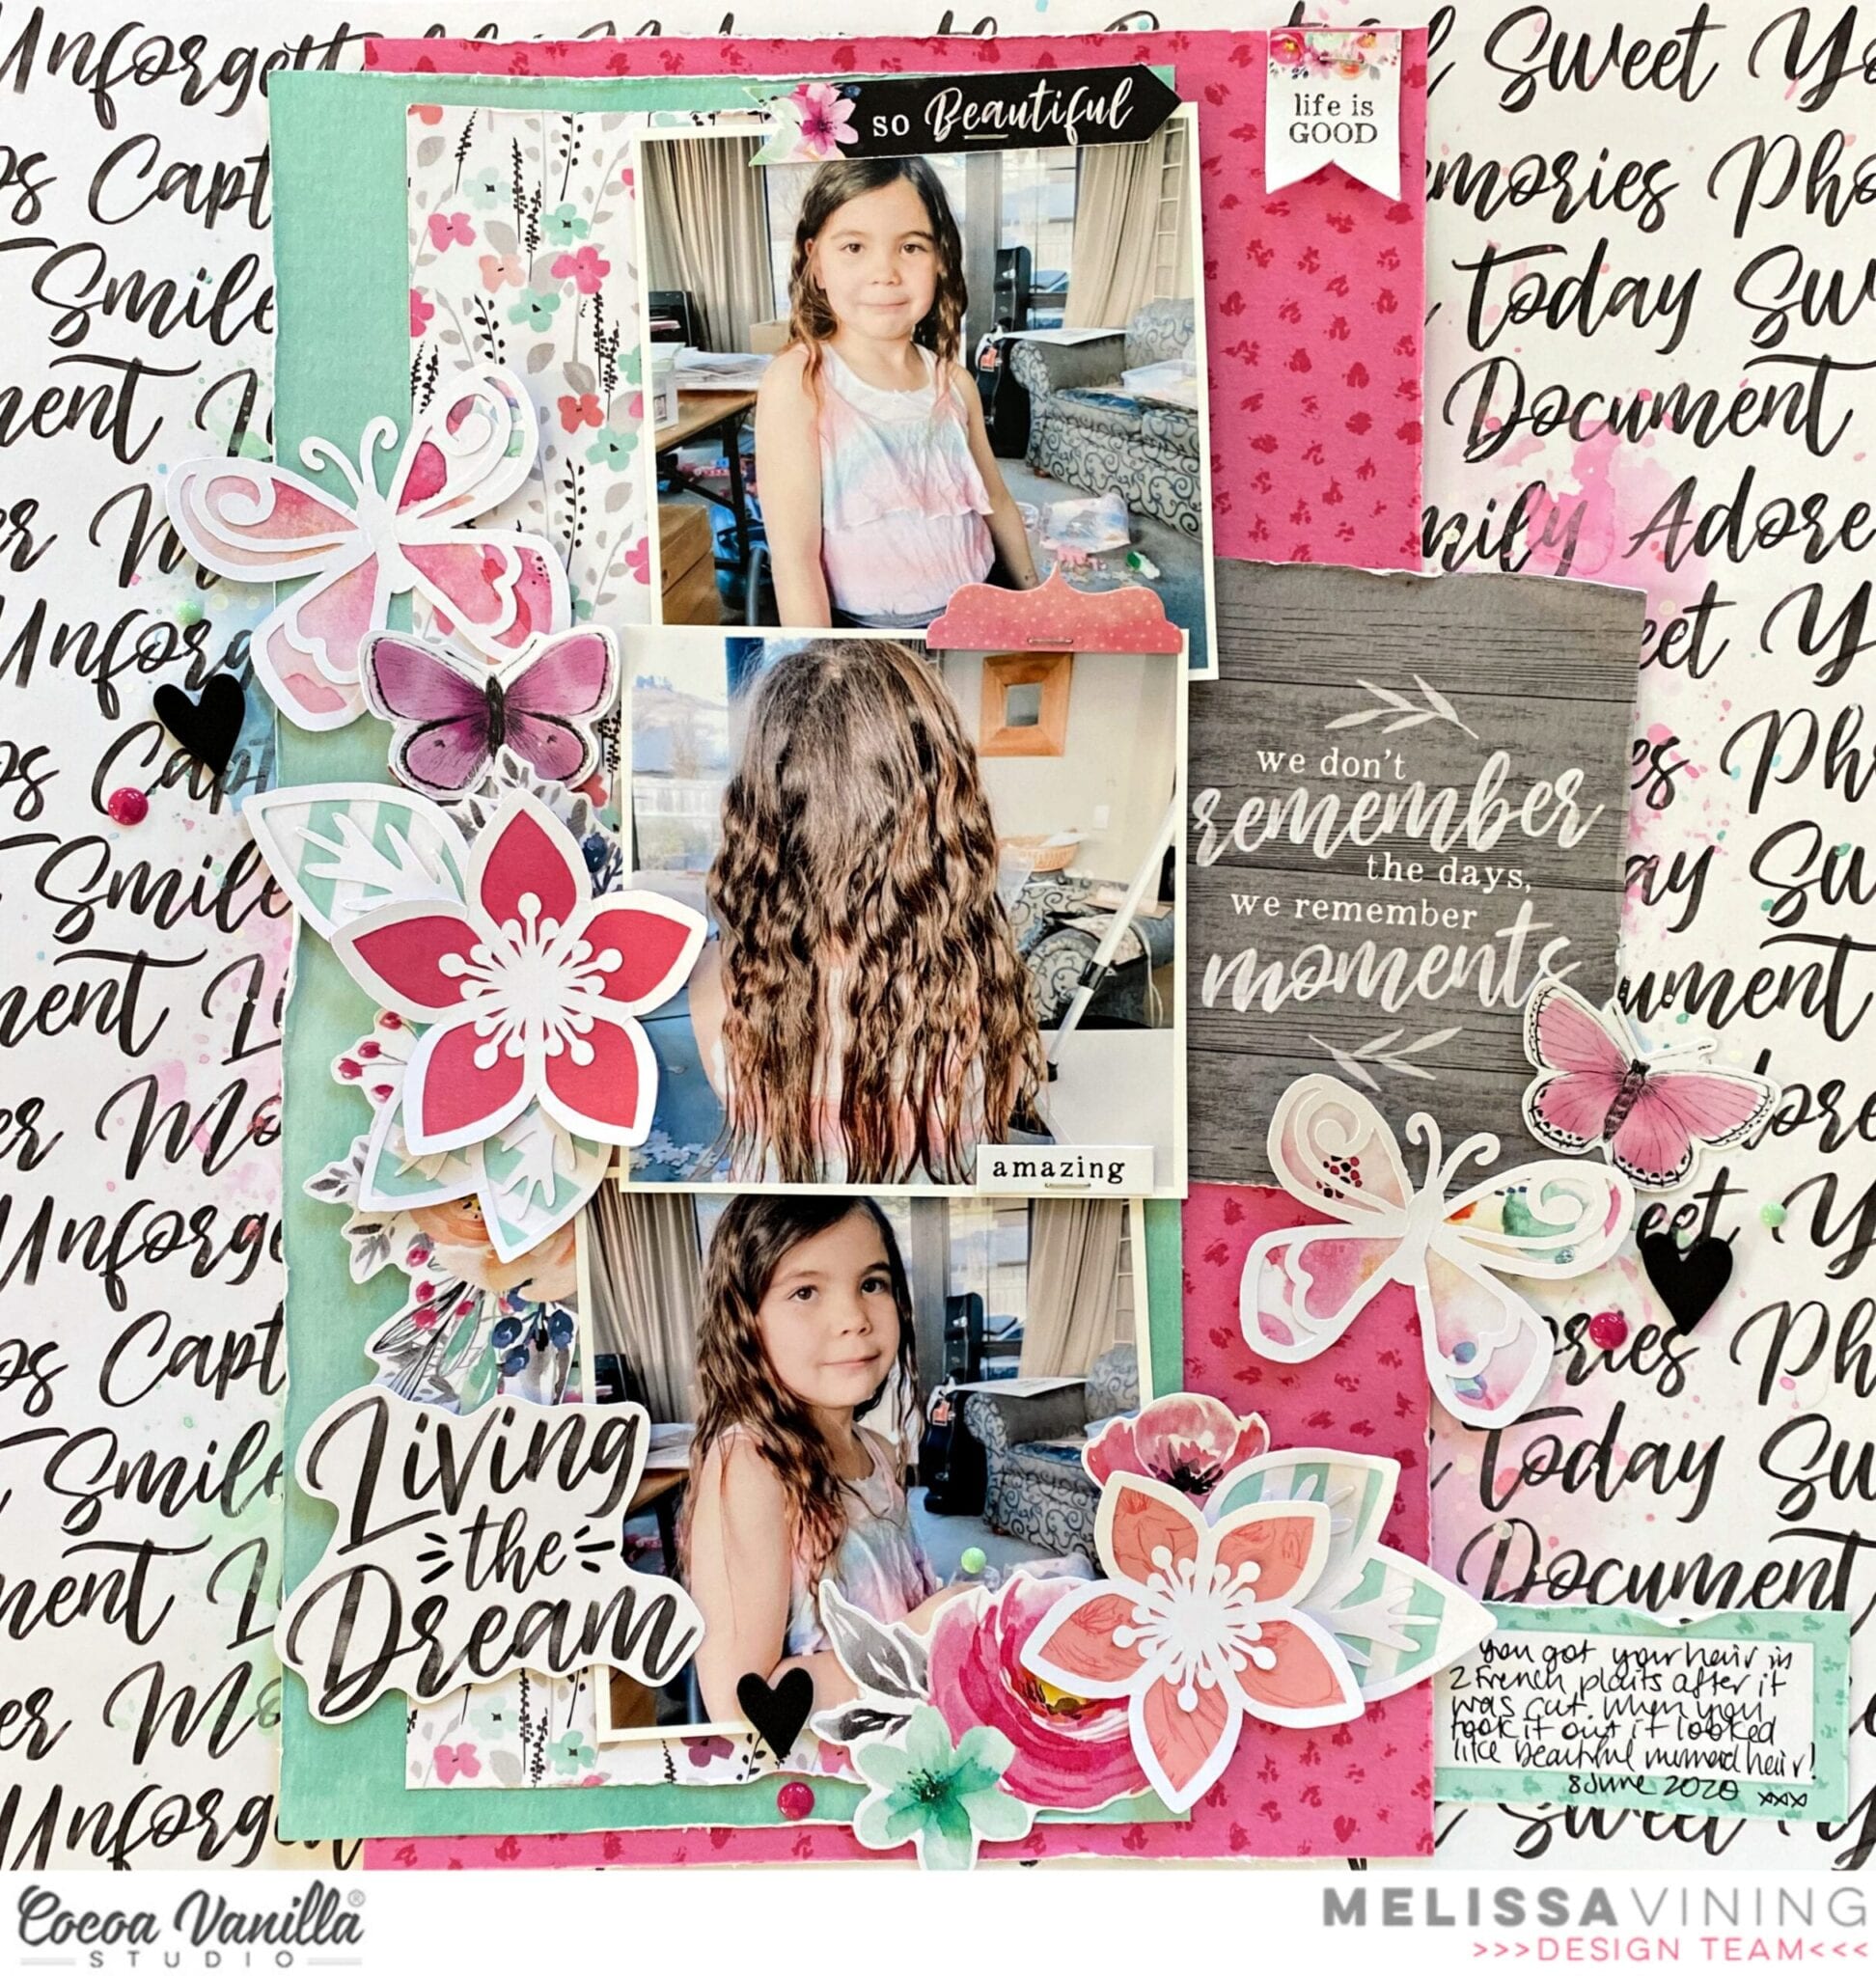


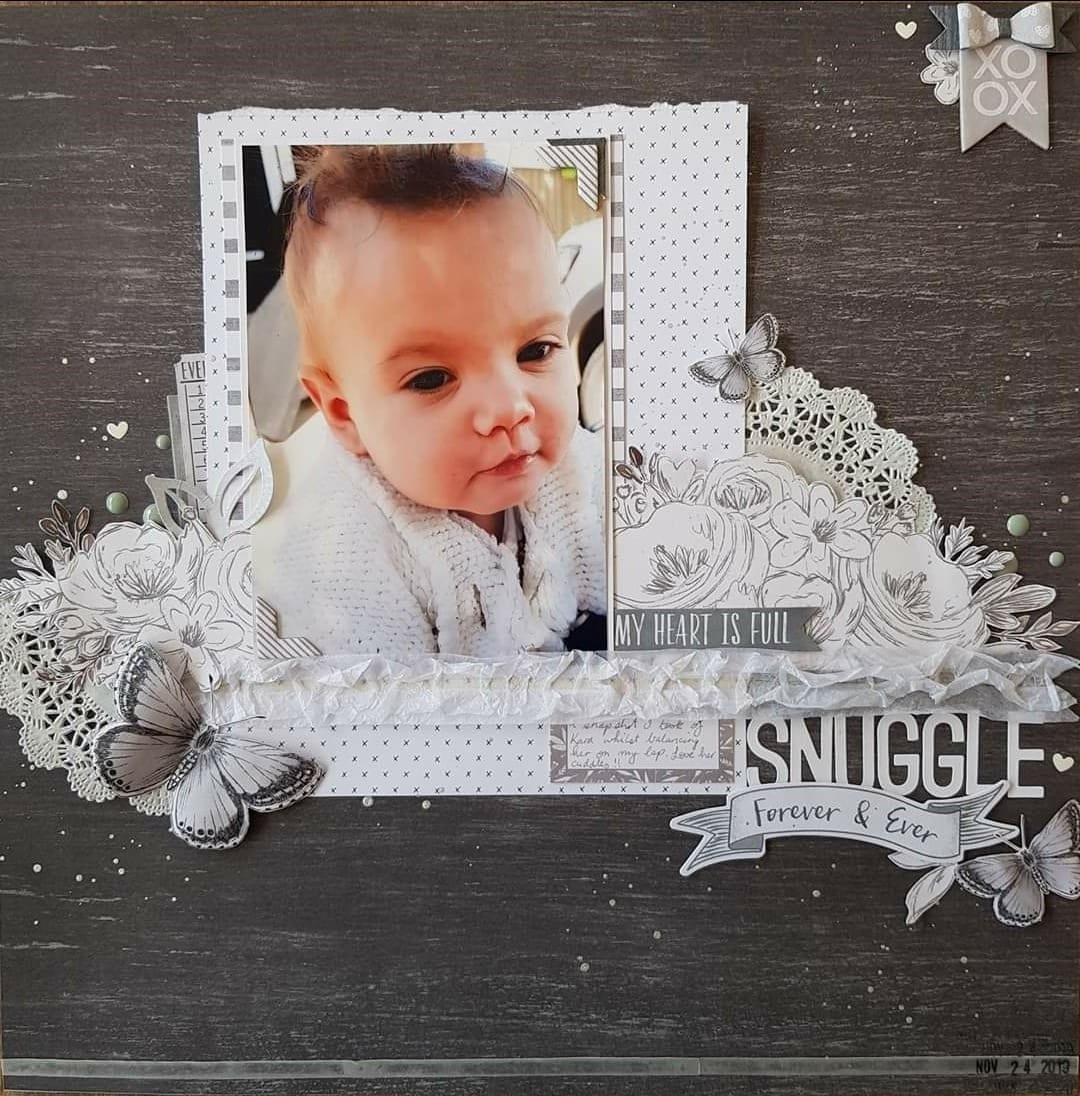
 Instead of my go to white cardstock I used the beautiful and subtle grey white washed wood grain paper Artisan. I wanted a real pop of colour so used the bright pink paper
  I added my photo off centre with foam tape and finished off with a bow from
  I have used two different cut files from the Silhouette Design store to create my layered flowers but for those who do not have a cutting machine use a hand punch, punching at least 3 and then layer with foam tape. If you want to recreate these centres, they are super easy! Cut a 12 inch strip at 1/2 an inch. fringe cut with a pair of scissors and then roll as you would any rolled flowers. Once the glue has dried then push outwards all the way around, then glue to the centre of your flowers. I have used
  You will see that I then tucked in-between the flowers fussy cut butterflies, some die cut leaves and a sentiment from the accessory stickers.
 I then created my title using
  I love using word and phrase sentiments from the Accessory Stickers sheets and you can see I added some more under my photo and under my large title.
 And there you have it, I love how this turned out! A great colour palette even though I have used several different collections. Don’t be put off because of the flowers on this layout, you can make. beautiful one’s too, time to blow the dust off those punches!


