HERE AND NOW | UNFORGETTABLE | GWEN WRUCK
Hi Creative Friends,
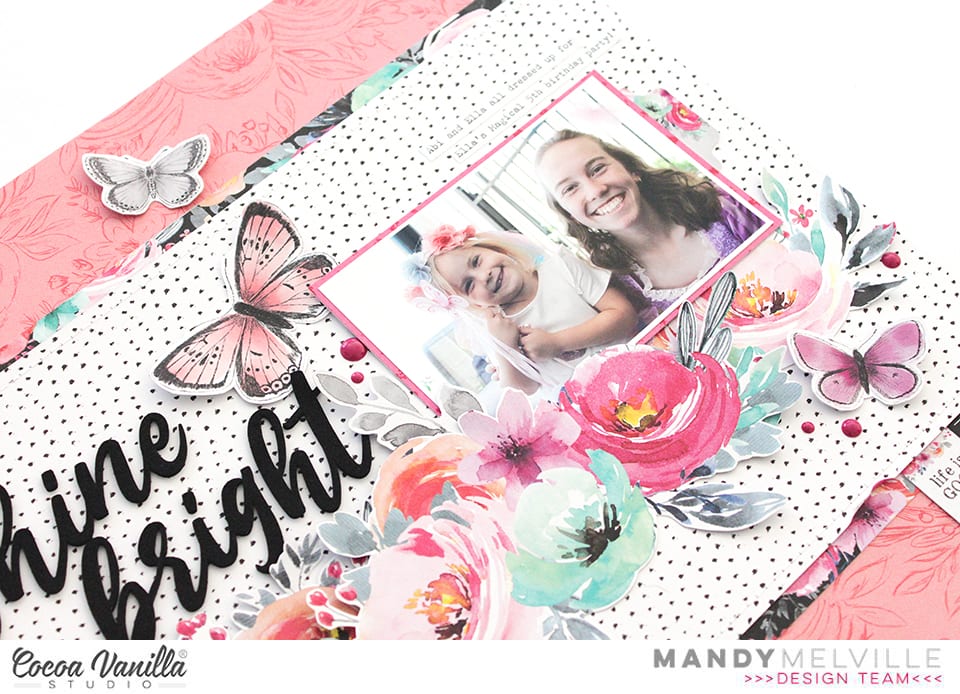
Gwen with you on the blog today with a new share using the beautiful ‘Unforgettable’ collection. For this page, I’ve jumped out of my comfort zone again to scrap another picture of me, this one was taken on my birthday recently. I’m also sharing some extra tips and tricks for working with cut files!

Many of you will already know that I just love working with cut files on my pages. I love that they are super inexpensive and the designs really are limitless. It will be no surprise that once I had chosen a photo to work with for this page, I went to my extensive library. This file is from my cut file store CUT to YOU and I love that it helps me document this snapshot in time, my 43rd birthday. I’ve done a stack of journaling on the back talking about where I’m at right now in my life.

To begin the page, I started by backing the letters in the file. Tip #1 – If you have a limited supply of coordinating pattern papers, this is a fab way to use them up or make them stretch. You’d be surprised just how little you need to make a bold title like this one, AND you can mix and match all of your scraps amongst the letters for a really pretty look. Tip #2 – Pattern paper pads such as the one from this collection are perfect for backing cut files. The smaller print designs work so well with the small spaces within the files.

While we are talking about backing the letters… Tip #3 – I find it much easier when working with a small area in a cut file to glue the pattern paper to my cut file and then use fussy cutting scissors to cut it out. I find this way of backing the files the fastest for me, much faster than tracing each section and then cutting it out and then trying to position it back into the open space of the file.
Once my file was all backed and I was happy with it I went about backing my photo and thinking about the composition of my page. Tip #4 – It’s a good idea to use the software from your electronic die cutting machine to help you with the size and placement of the design on your page. I consider the layout of my page design when resizing the file so that once cut and you get to create it’s not too big or too small for your design idea.

I was now looking at the file and photo on my layout and it wasn’t quite popping off the page in a way I’d like so Tip #5 – I’ve added some foam tape to lift it off the page AND some soft watercolour behind the file to really help the white edges pop off the white background. I use both of these techniques a lot to help give the cut file definition on a white background.

It was now time to embellish the page, this bit is super easy and fun with the larger elements in place. For this, I’ve fussy cut out the large green butterfly element from the ‘Pretty Bits’ pattern paper and teamed it with two more smaller butterflies fussy cut from the ‘Lacewing’ pattern paper. I’ve also added in a pink butterfly from the ‘Ephemera Pack’.

To create a small cluster in the top right-hand corner of my page, I’ve combined elements from the ‘Accessory Sticker sheet’, enamel dots and a flair button. The larger floral die cut at the bottom of my photo is from the ‘Die Cut Ephemera’ pack. To finish the page off, I’ve added some typed sentiments from the ‘Accessory Sticker Sheet’ using more foam tape for dimension.

Thanks for popping by today to see my latest project, I hope you enjoyed the tips and tricks I’ve shared for working with cut files and that they inspire you to give working with them a go, they really are the best fun! If you haven’t checked out the latest collection ‘Unforgettable’ yet, you really must, it is DIVINE!
Until next time,
Gwen
xo
 Once the heart design was backed, I added craft foam underneath and adhered it to the black and white spot paper also from the Unforgettable collection. I decided to trim down the black and white spot paper so that I could add the grey chevron paper is a border right around the page. I trimmed this paper down slightly also so that I could add a black cardstock border also.
 I added my photo of my 2 beautiful nieces slightly to the right of the heart and added a couple pf layers underneath including a paper doily and some more of the 6′ x 8′ papers from the paper pad. I also added one of the tags from the die-cut pack to the left of the photo and I popped up the photo and paper layers to give even more dimension. I pulled out the ‘Hello’ foam title and added it to the bottom of my photo and added a flair button and a phrase die-cut on the left of the photo.
 The butterflies in this collection are beautiful, quite a few of those made it onto my page also. To further embellish, I added 2 of the black foam hearts, some die-cut hearts and florals, some enamel dots and some of the stickers from the accessory sheet.


 Absolutely stunning!


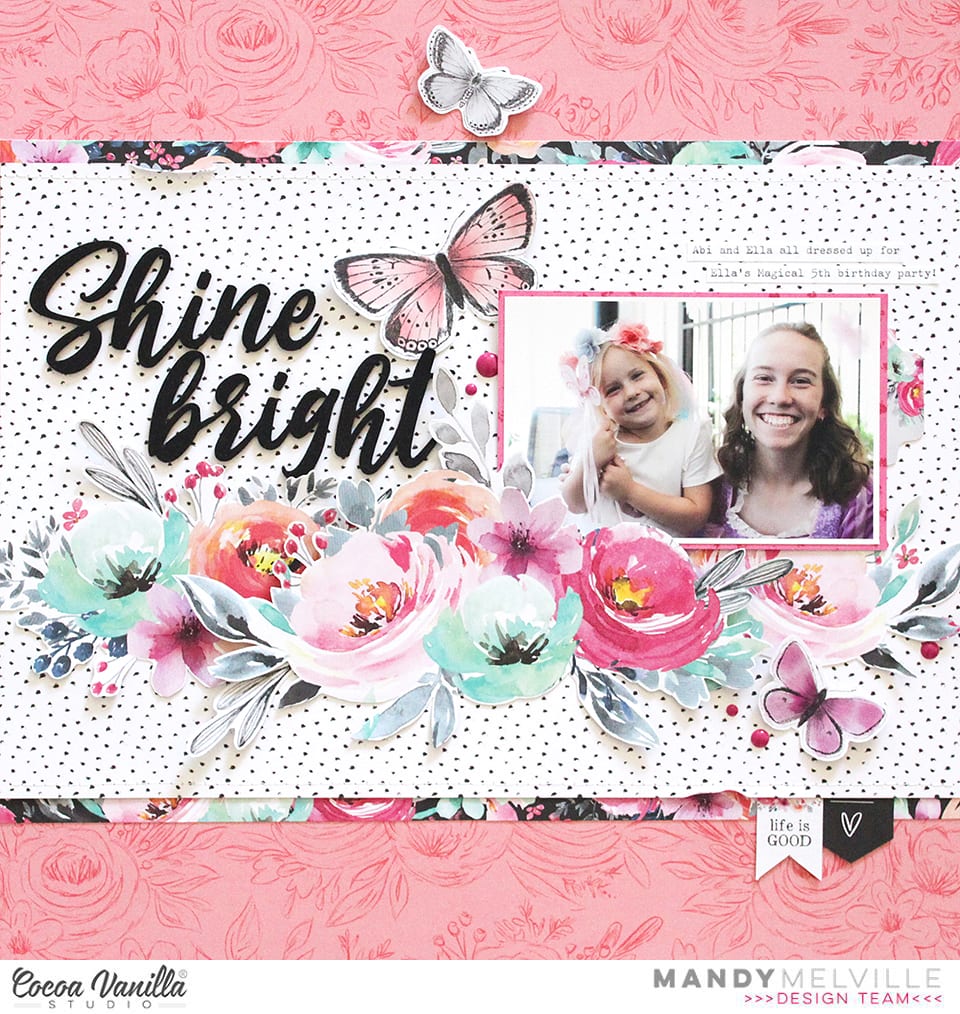
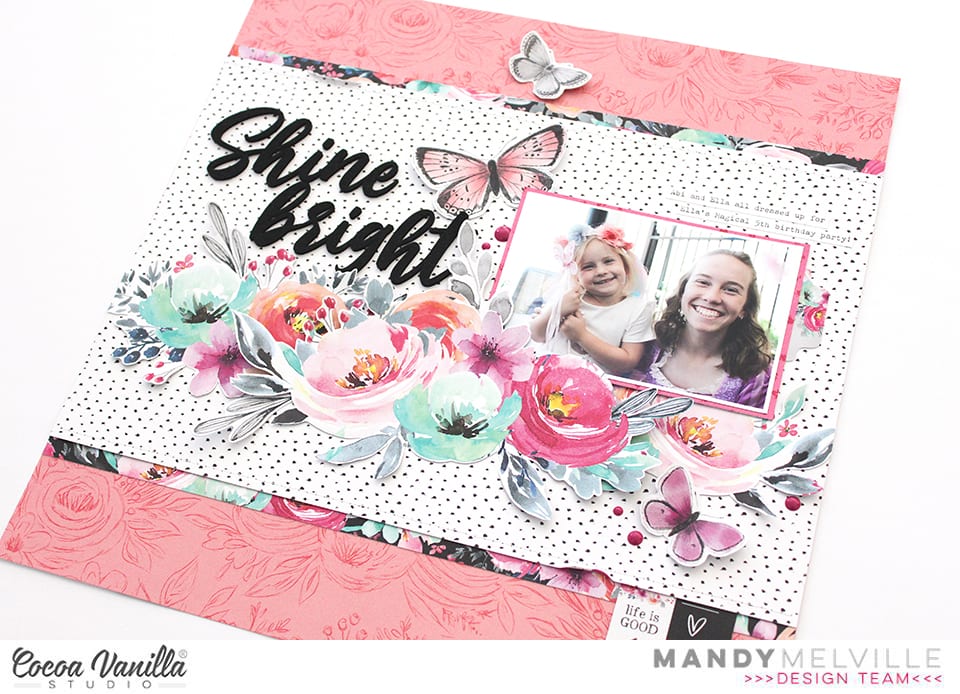
 And here. is version two! I decided to go bold and bright, ensuring my lettering really stood out which I felt it got a little lost in the first version of the layout. The only drawback was I had to convert my photo to black and white, which I think lessens the beauty of the shot.
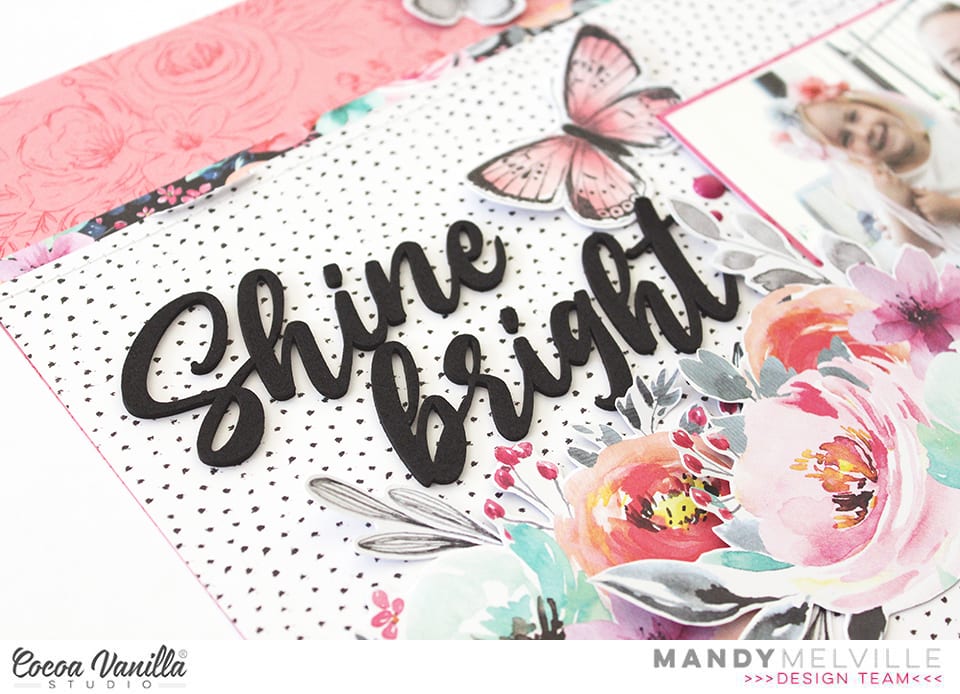
 On both layouts I have used Story Teller paper as my base so there was a slight contrast with the black dots instead of a flat white. My second version I have used a turquoise cardstock, cutting the Story Teller paper down to 11×11 inches. I also used the same cardstock to cut Girl Squad cut file. on my Silhouette Cameo, in my first layout I used white to cut the Girl Squad cut file.
 I used the beautiful Forget Me Not paper to paper piece the Girl Squad cut file, wanting a smaller print so I could use some of the larger floral die cuts without them getting ‘lost’.
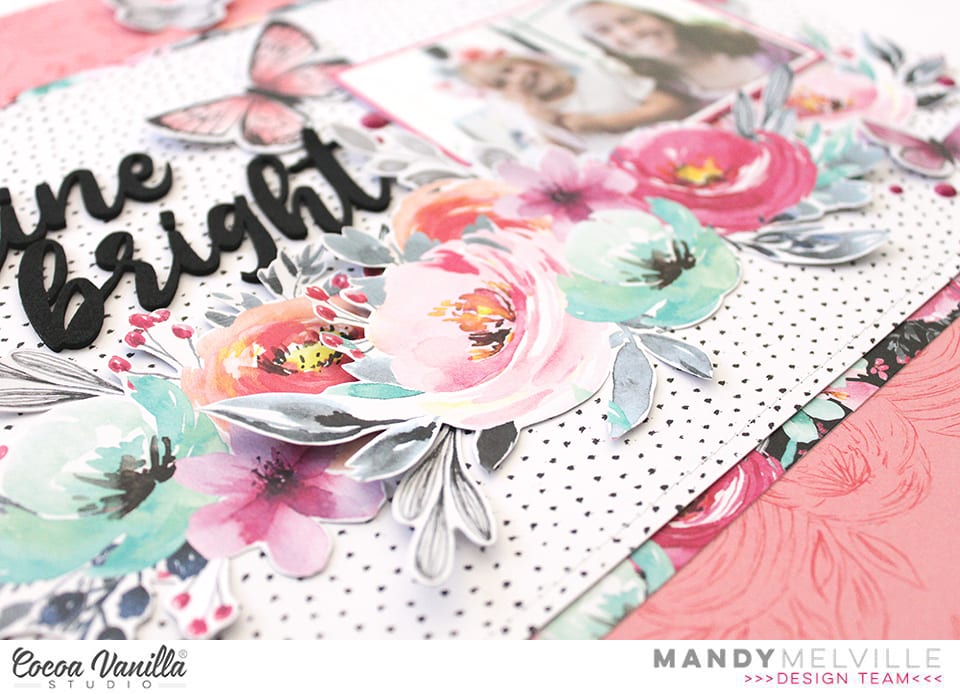
 From the 6×8 inch paper pad I used the Lacewing paper and fussy cut numerous butterflies. I wanted smaller butterflies hence why I used the sheet in the 6×8 inch pad and not the 12×12 paper. I added these with foam tape to create a 3d effect.
 I chose the largest floral bunch from the die cut ephemera pack and added in a way you could still see the lettering. Again I did this with foam tape to add dimension. I added some of the pink and turquoise enamel dots to flowers and under some of the butterfly wings.
 Before adding my photo I used some of the paint blotches from the Clear Sticker Sheet (I adore the clear stickers so much!) to ‘frame’ my photo and draw your eye to it. I used foam tape to attach my photo. I finished off adding some phrase stickers from the Accessory Sticker Sheet.


