Epic Fun | No Limits Collection | Danni Visser
Hi Cocoa Vanilla Studio fans! Danni here with another layout featuring the fabulous new No Limits collection.
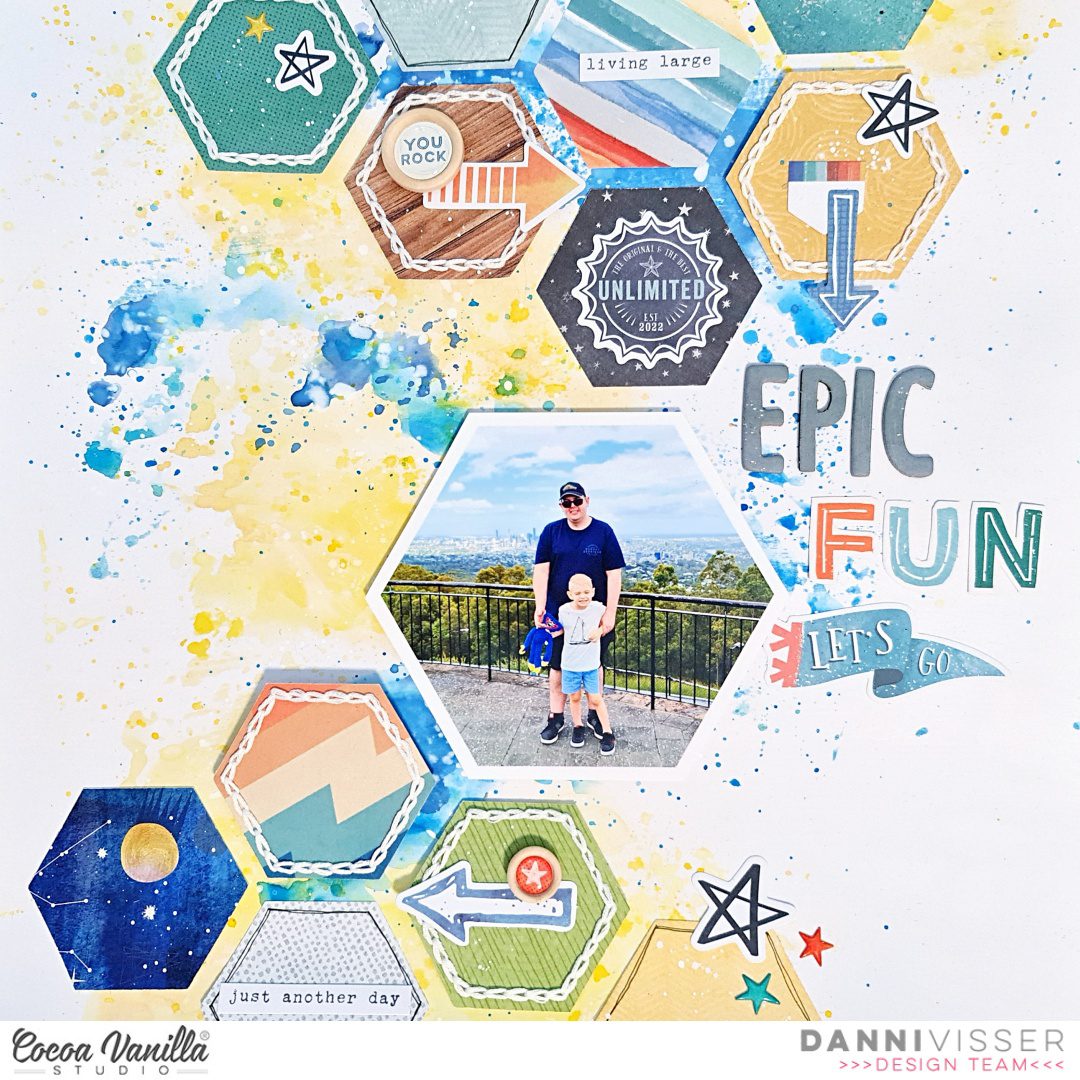
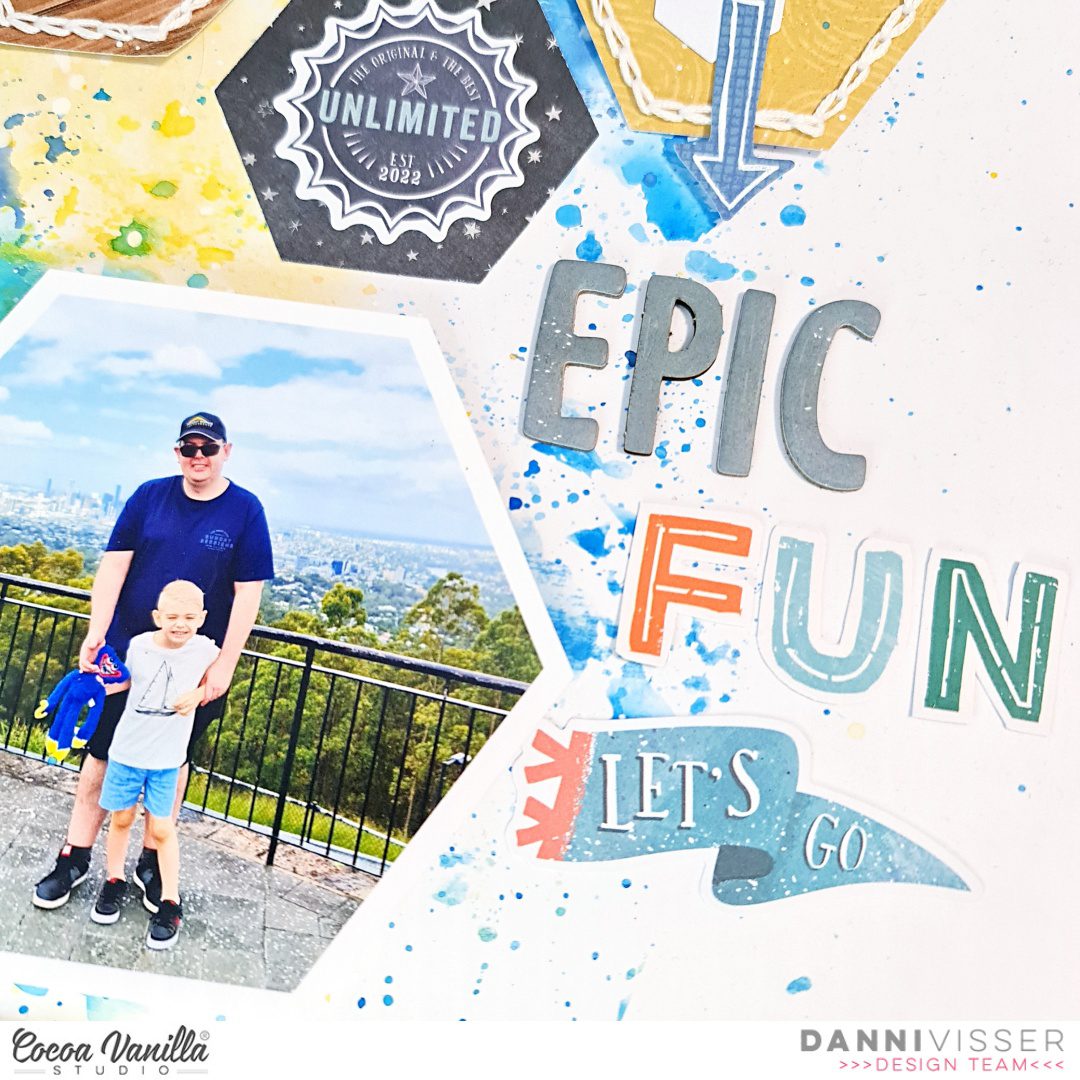
This time I chose to use the A5 paper stack and my hexagon punch to play with some geometric patterns. I punched out a handful of hexagons from my favourite papers.
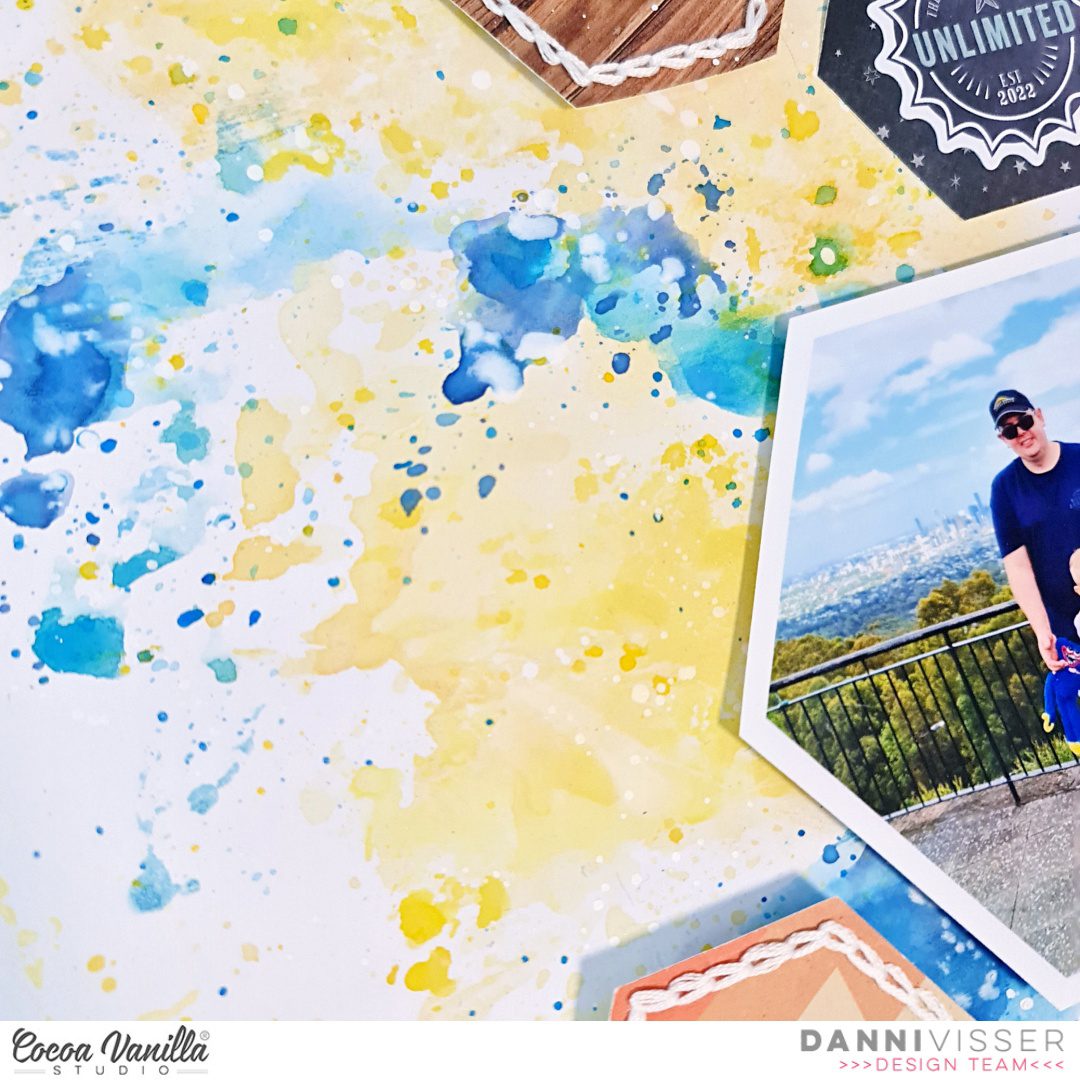
I started with white card stock as a base and added some clear gesso to prep the paper for some wet mixed media painting. Once that dried, I added some colour with some hybrid inks, watercolours and white acrylic ink.
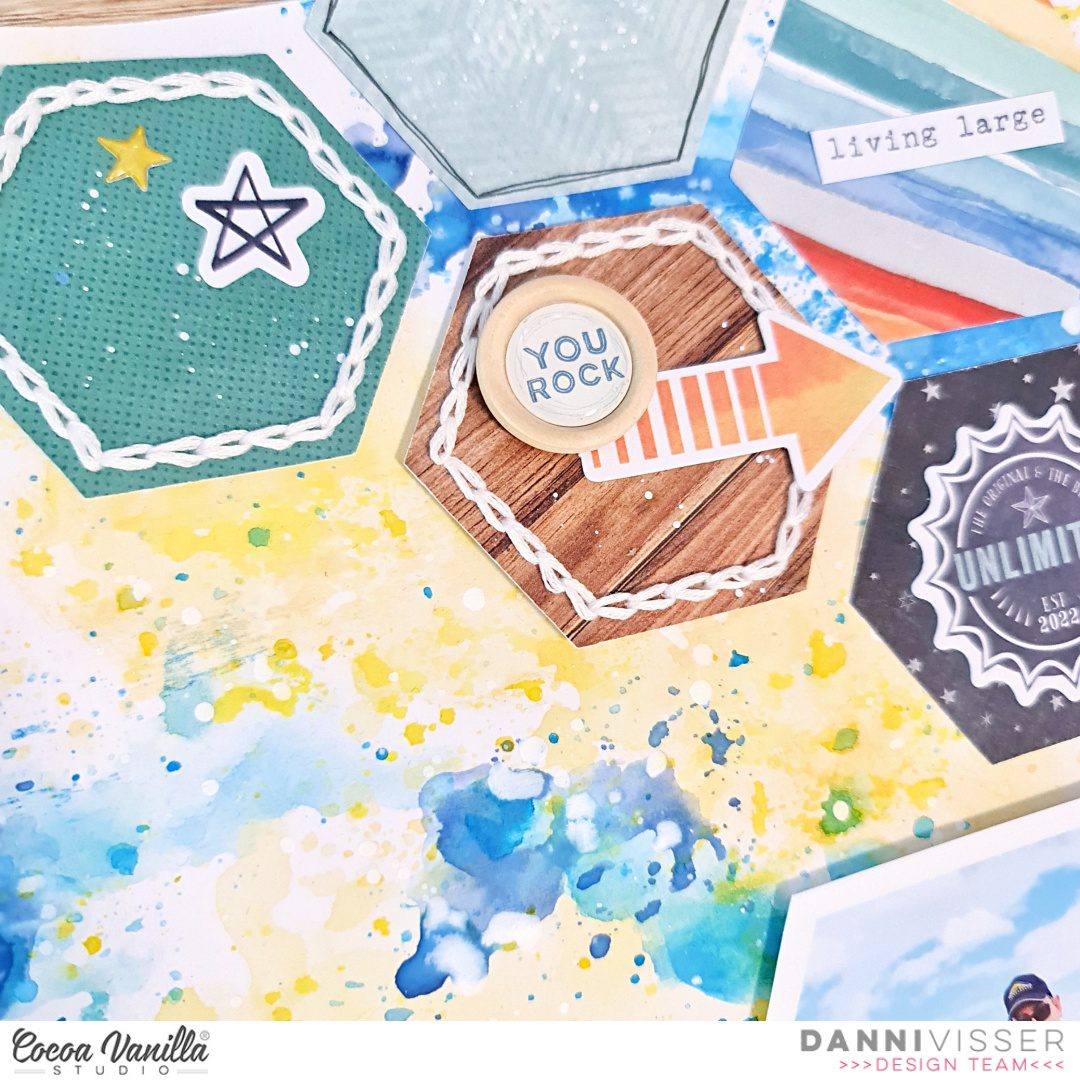
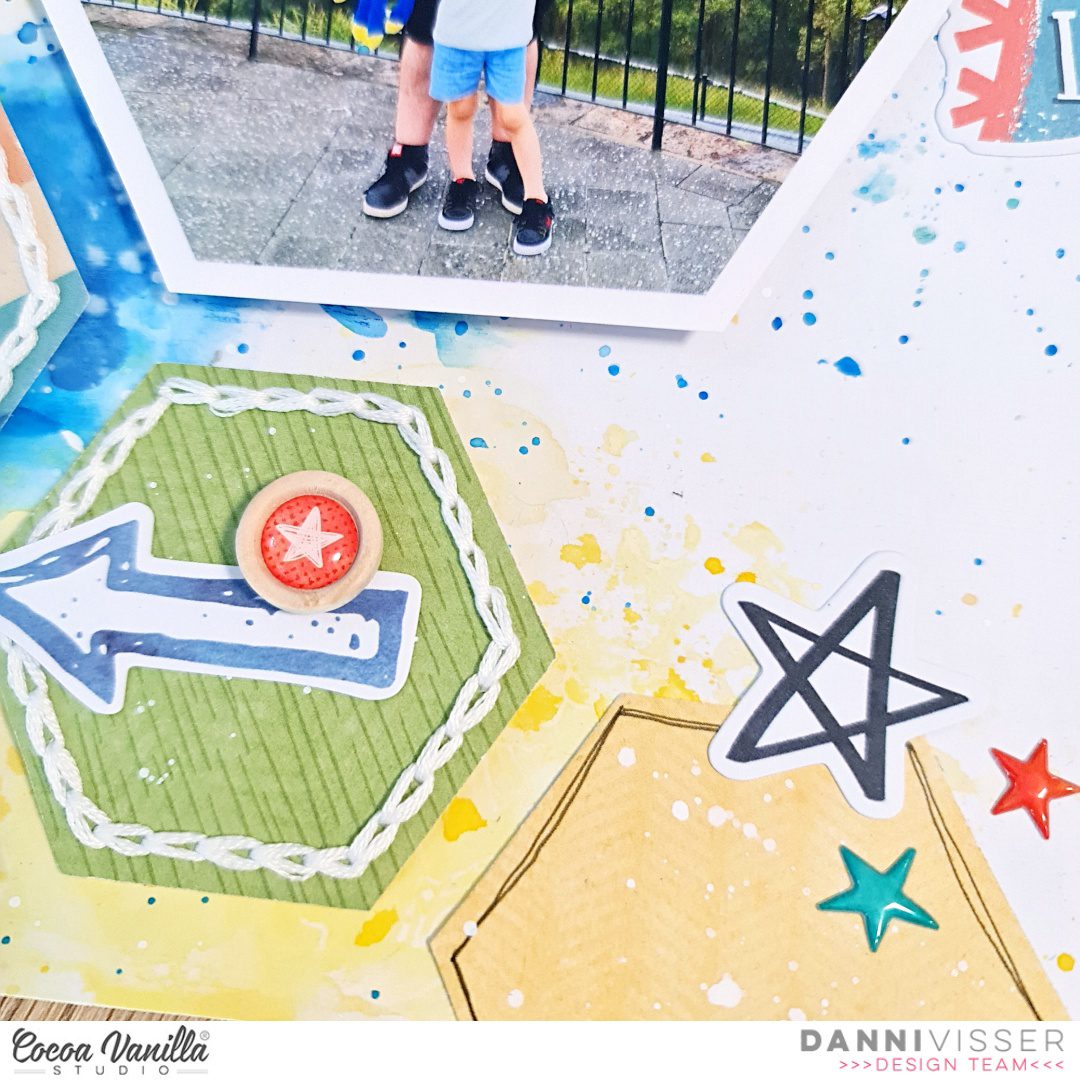
Next, I took my punched hexagons and added some extra detail with fineliner pens and some hand-stitched chain stitch around the edges. I arranged them at the top and bottom of the page. I printed my photo in a hexagon as well using photoshop. The photo went right in the centre of the page, popped up on dimensional foam.
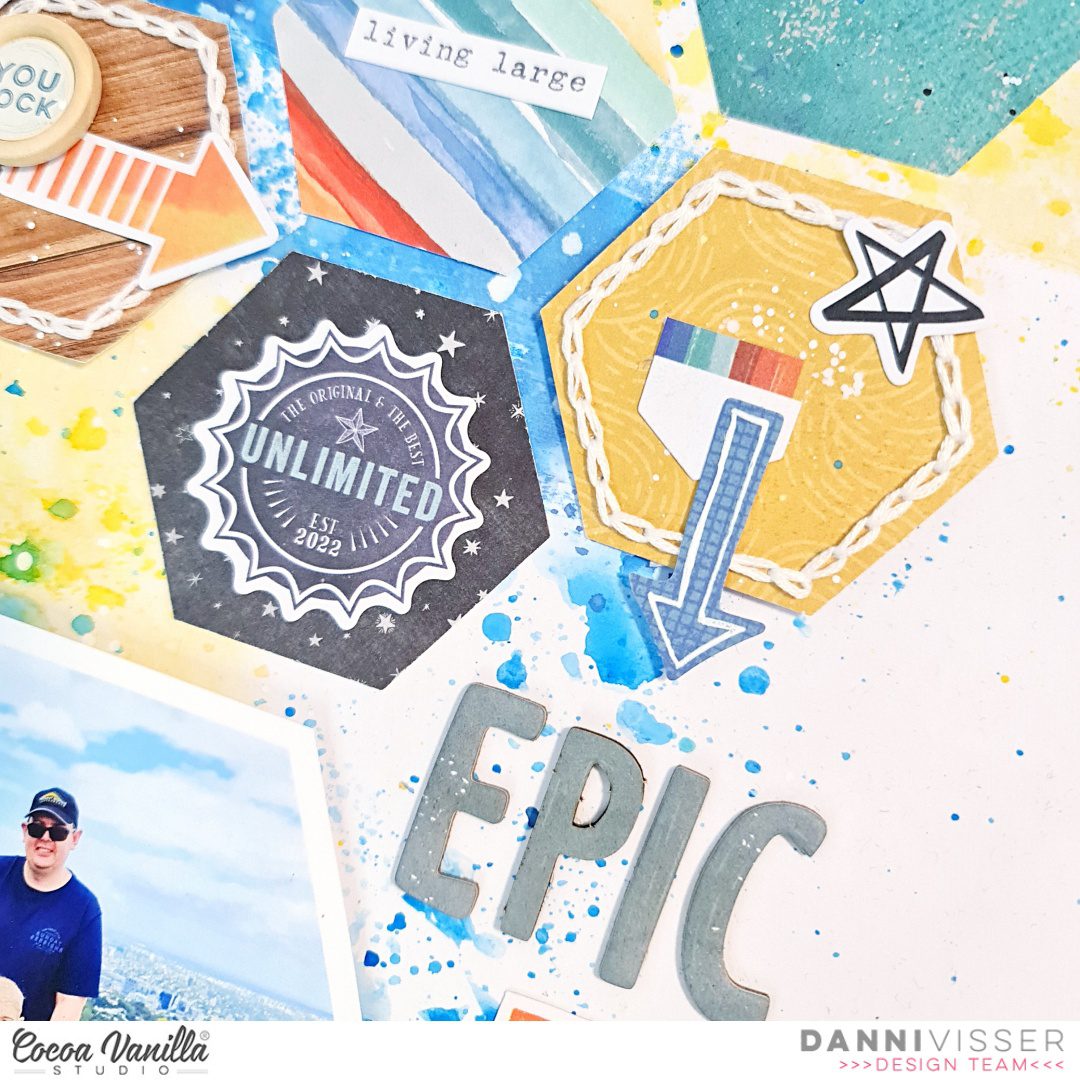
For my title I took the ‘Epic’ piece from the chipboard stickers, then finished it off by fussy cutting the word ‘Fun’ from one of the pocket cards. I love adapting these little cards for fun titles!
To embellish I took a handful of the die cut ephemera and sprinkled them around on top of the hexagons. I followed this with details from the wood buttons and the tiny puffy stickers, plus some tiny words from the accessory stickers.
I love how fun and colourful this one turned out to be! There is a process video linked below on the Cocoa Vanilla Studio YouTube channel if you would like to watch the layout come together. Happy scrapping!
Danni x
 Hey crafty Paperlovers,
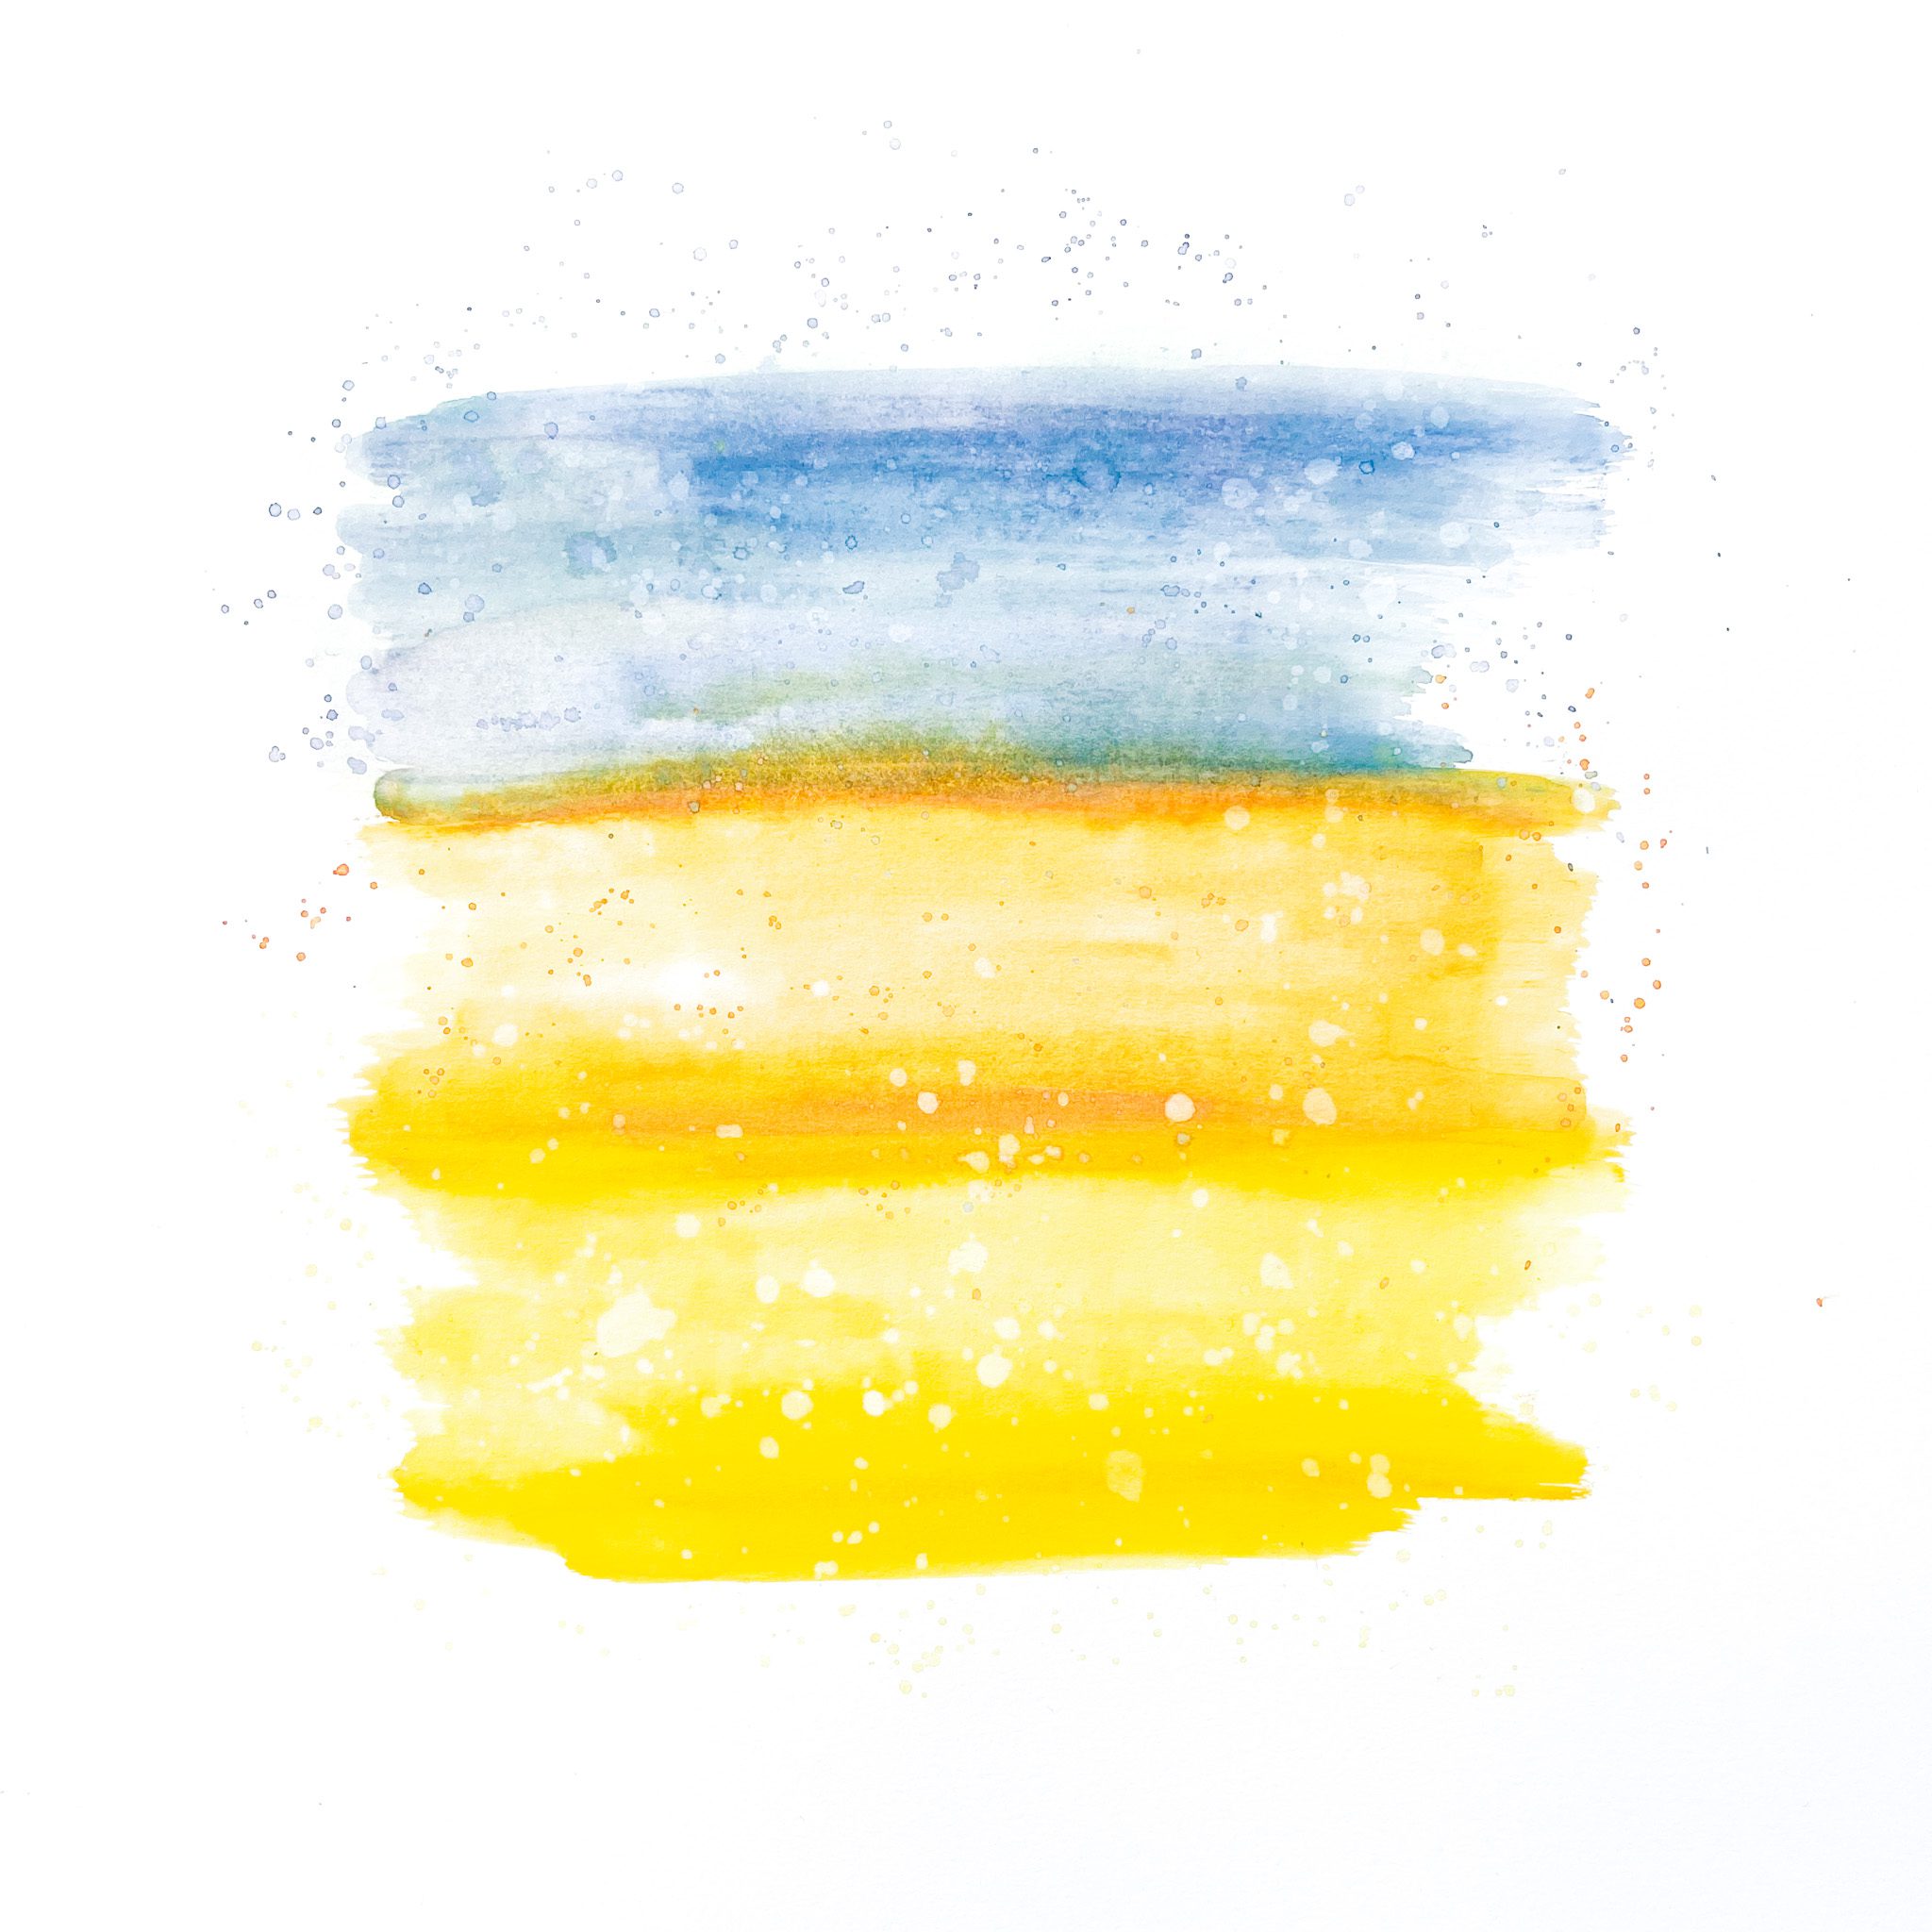
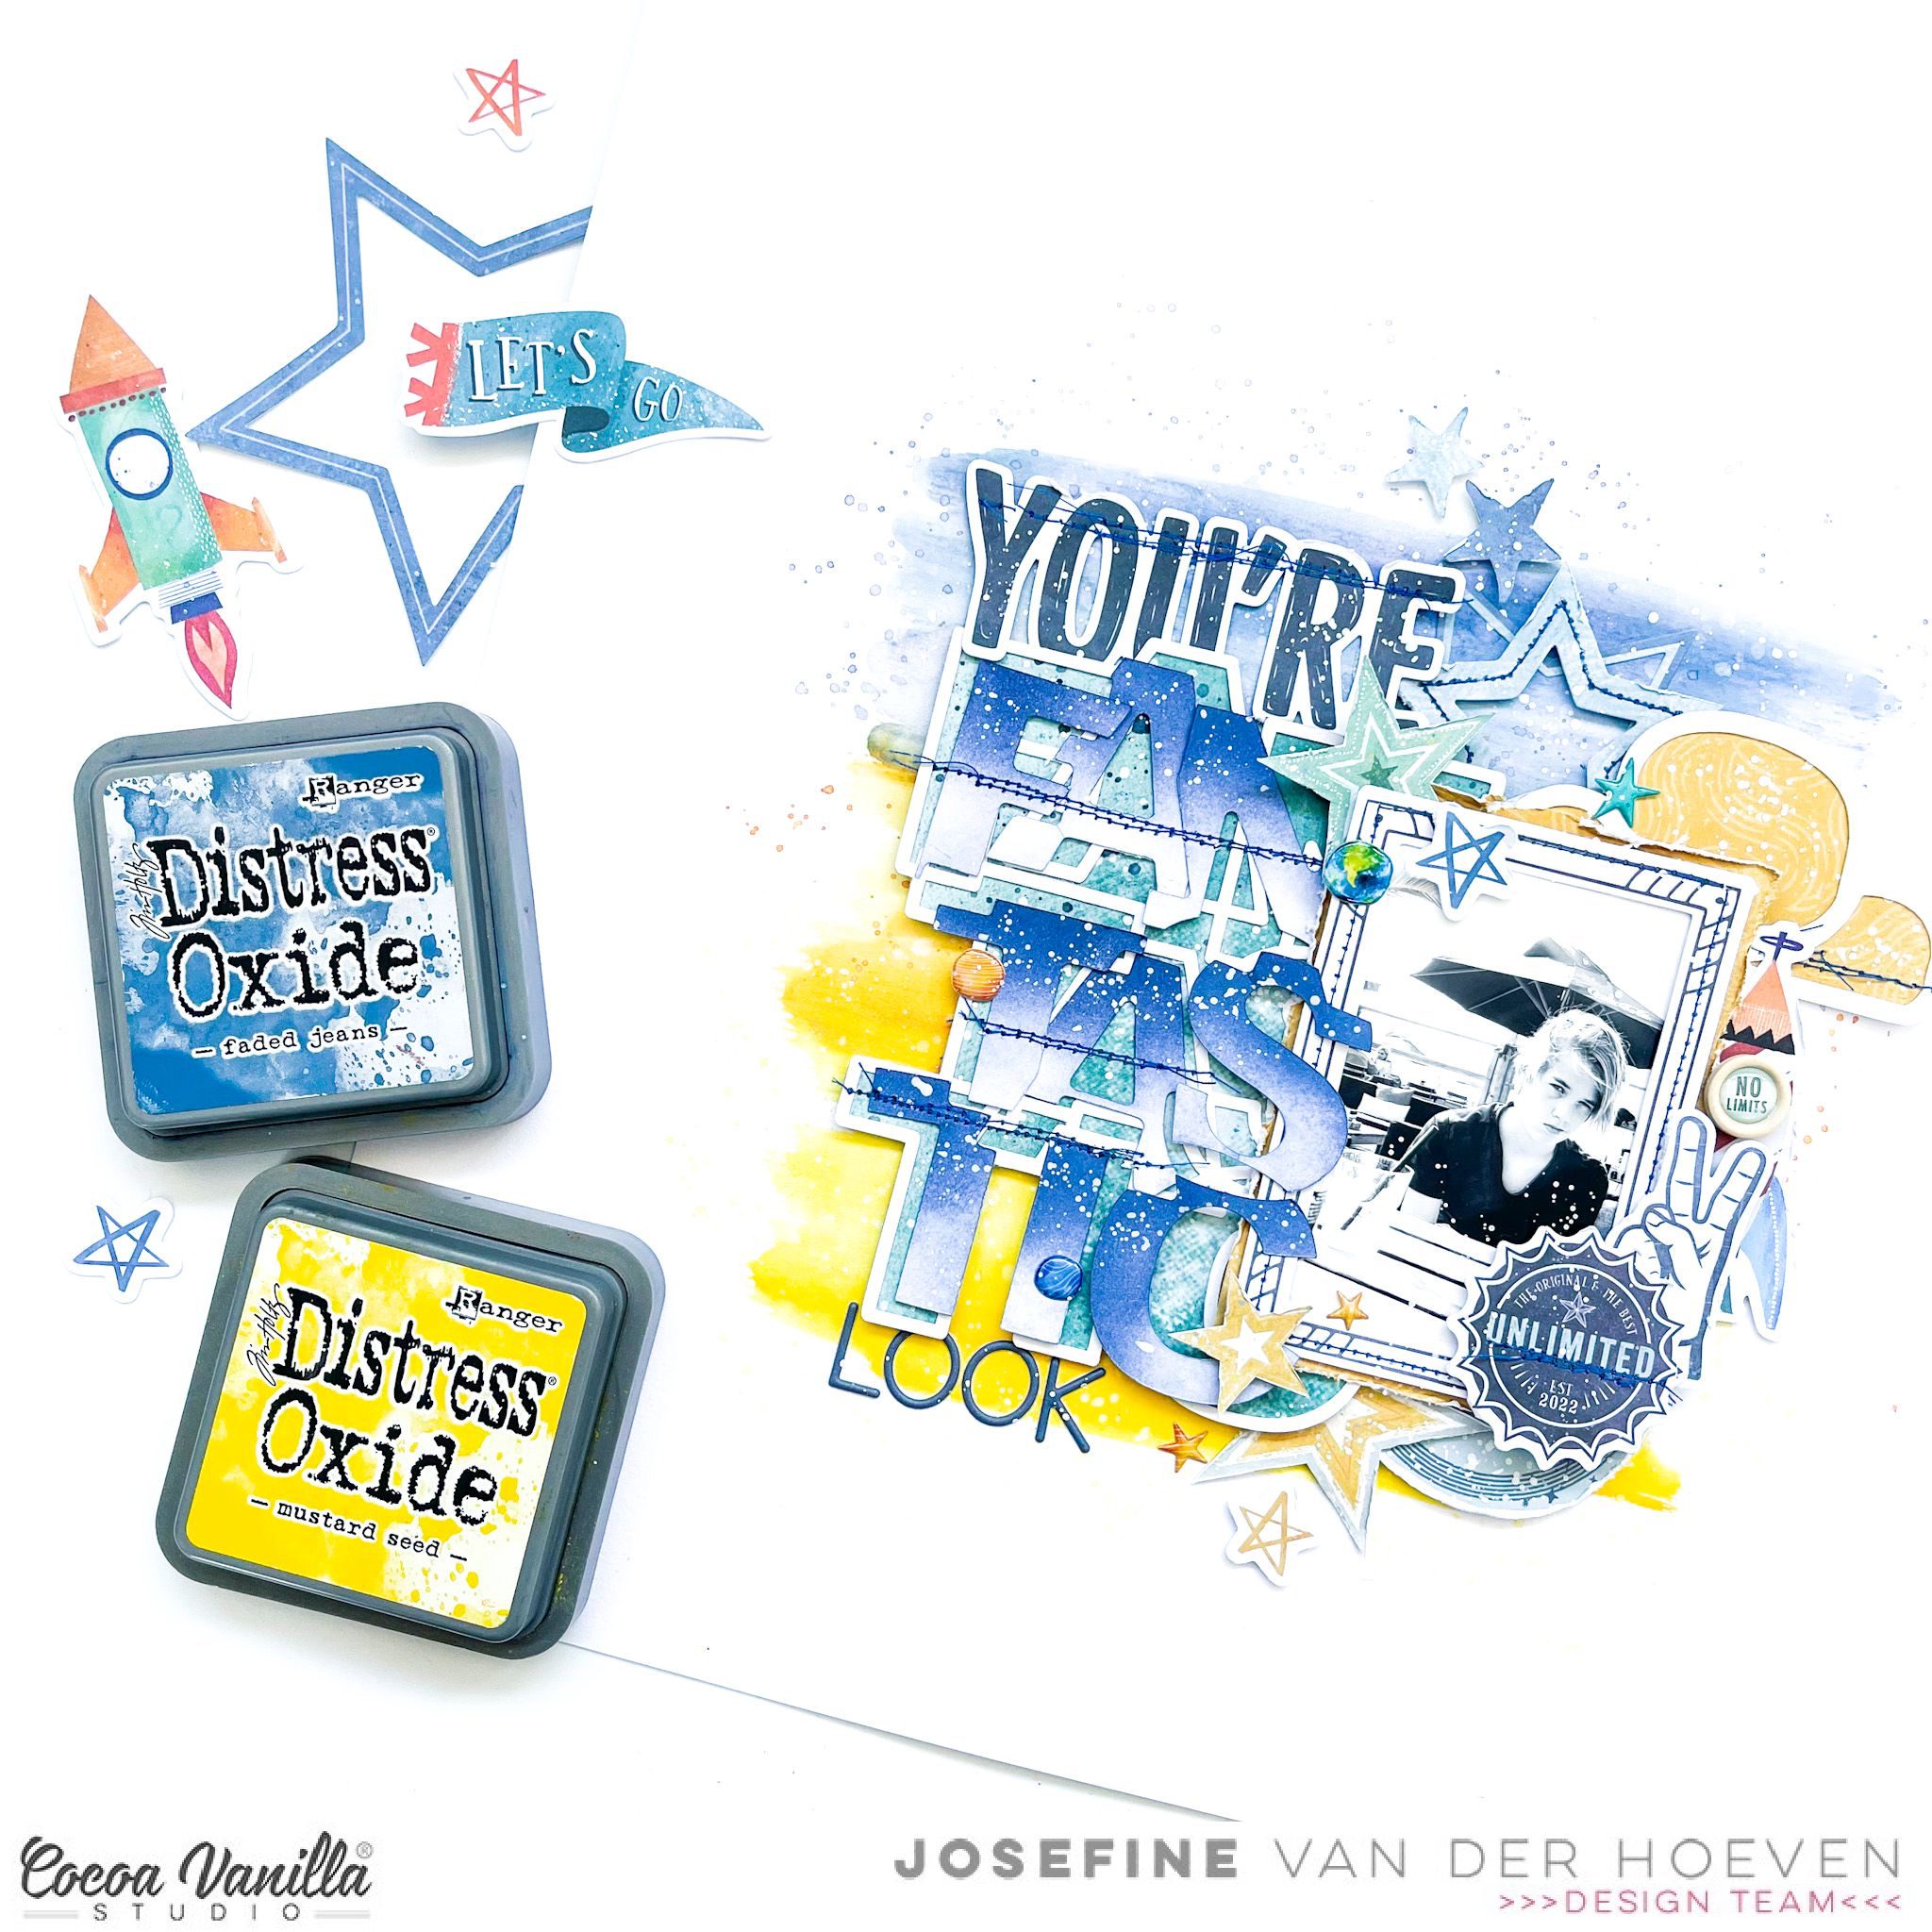
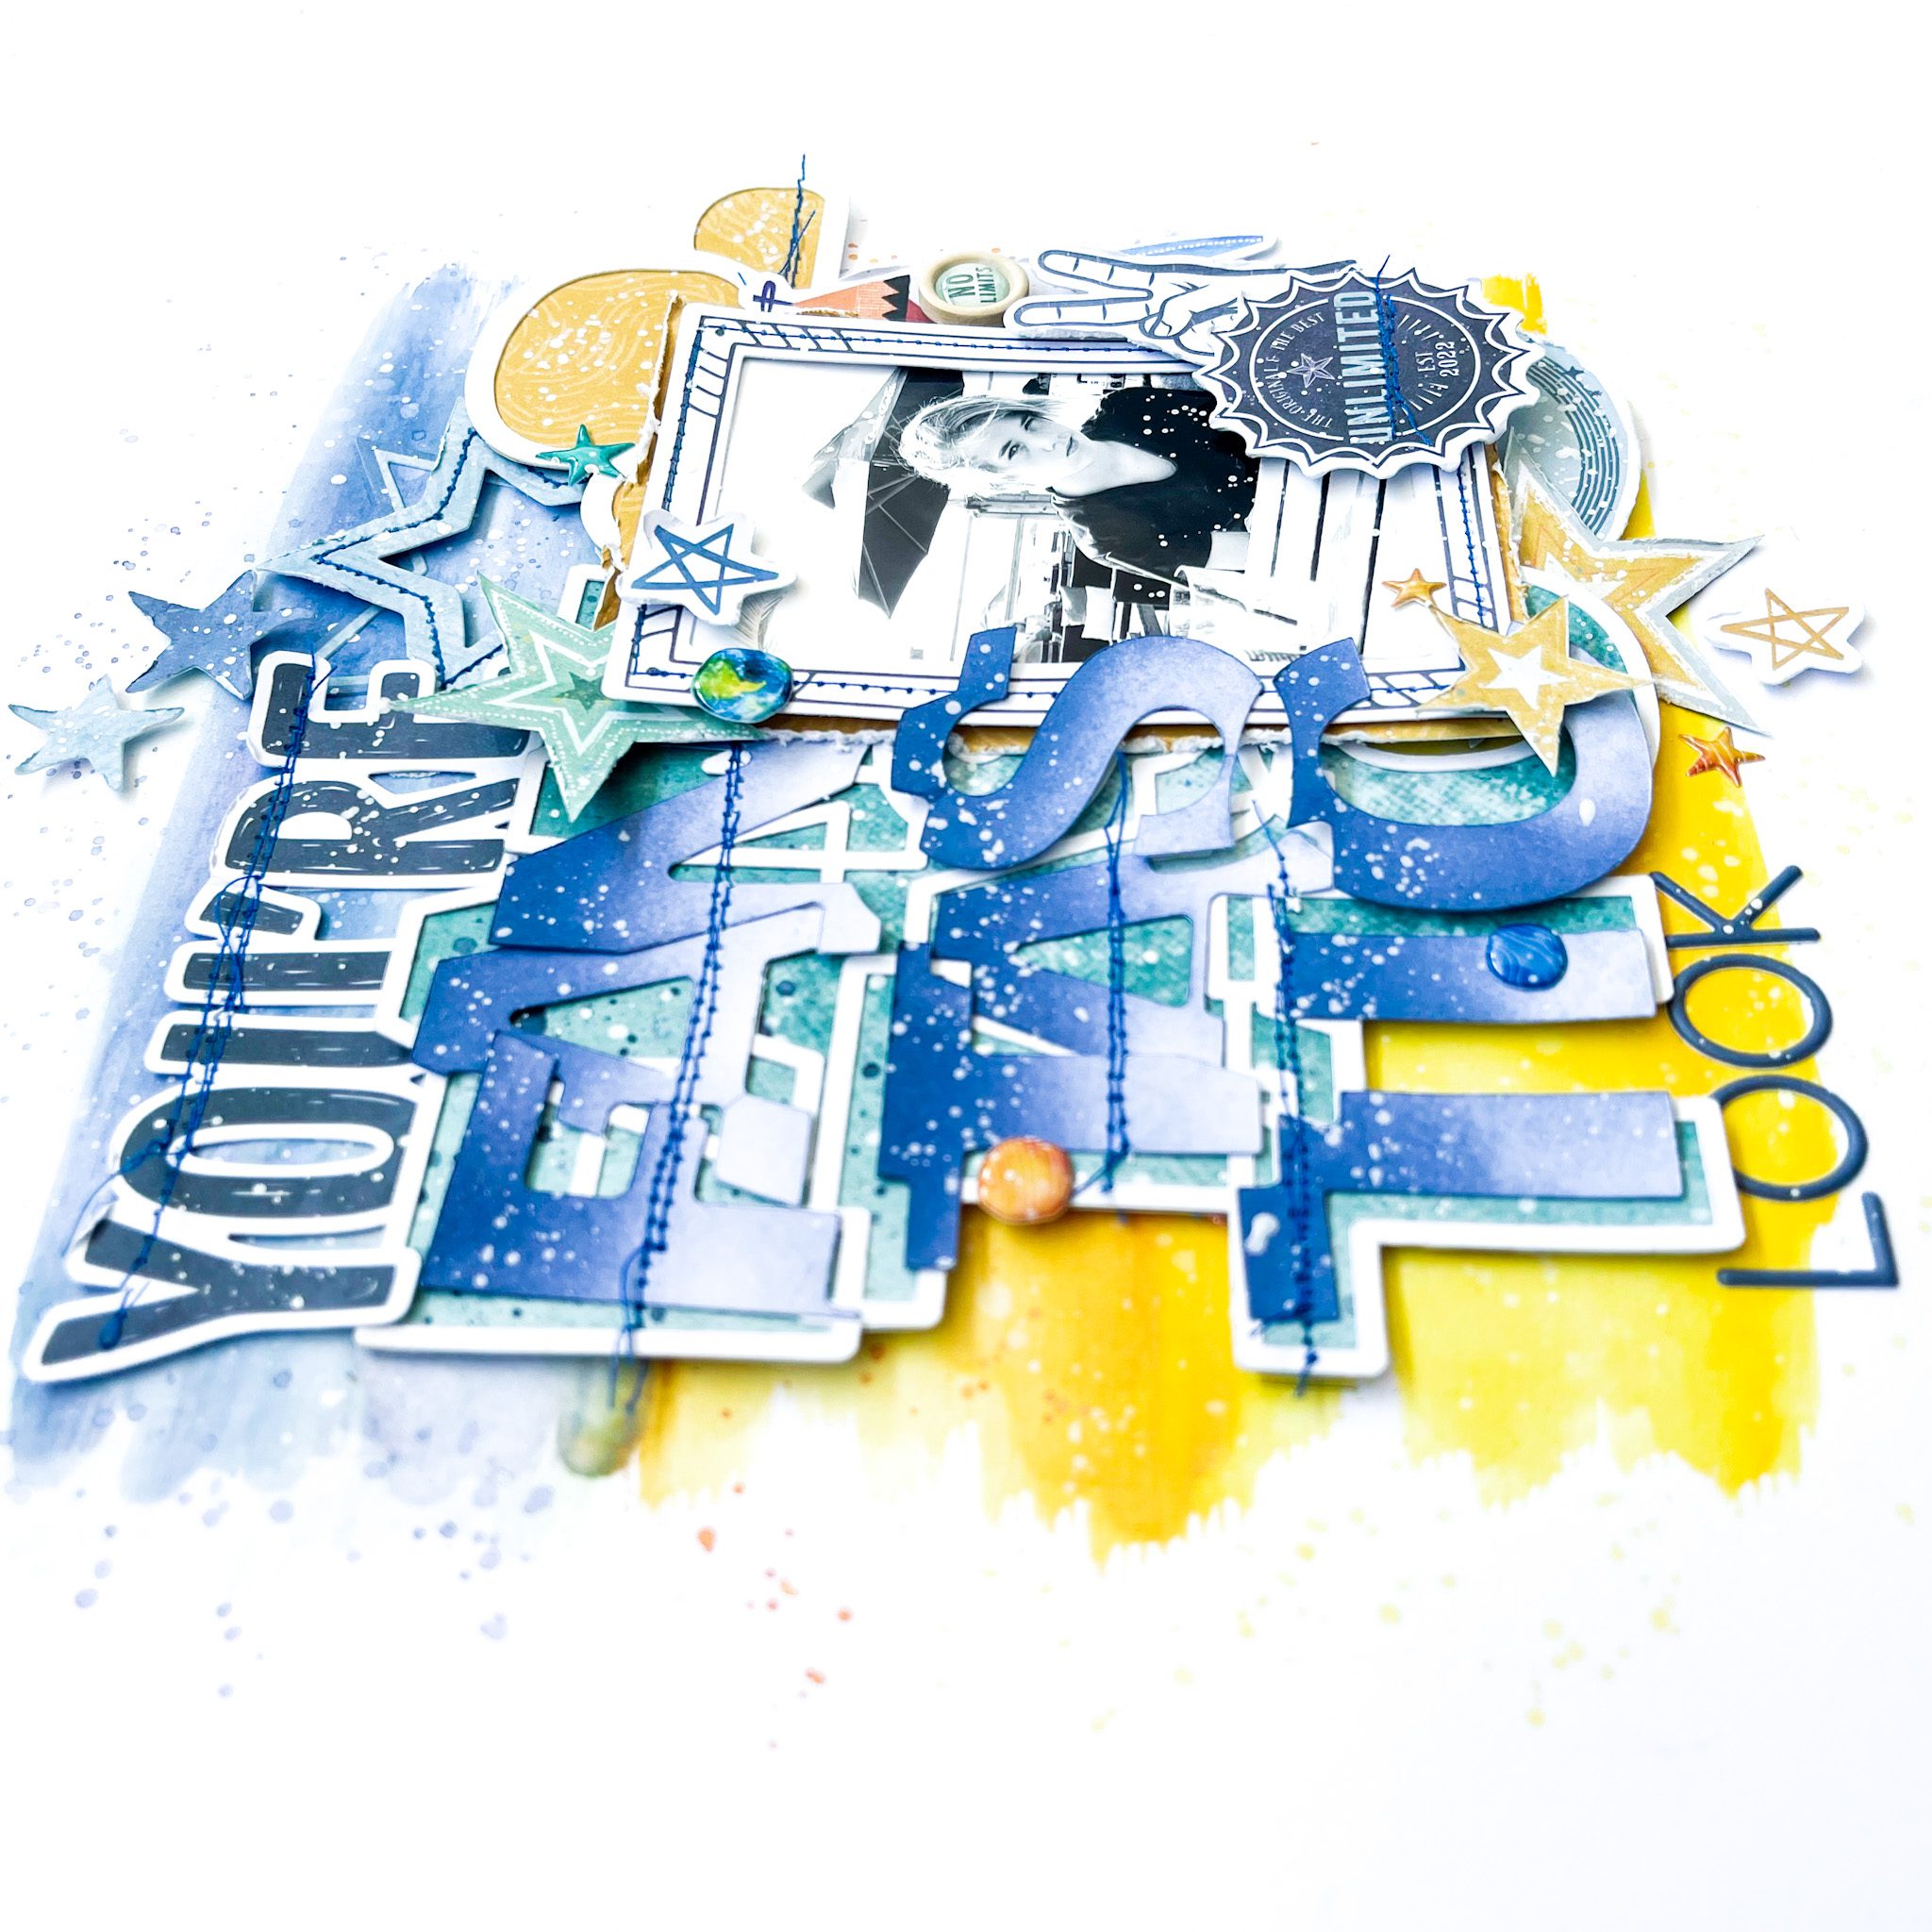 I use a cutfile by Paige Evans called “Fantastic” as part of my title. I cut out the cutfile with my Cricut Maker and backed it with design paper. I color the alphas with the distress oxide “faded jeans” and then I stitch them with blue sewing thread on my cutfile. The stitch details give my layout more dimensions.
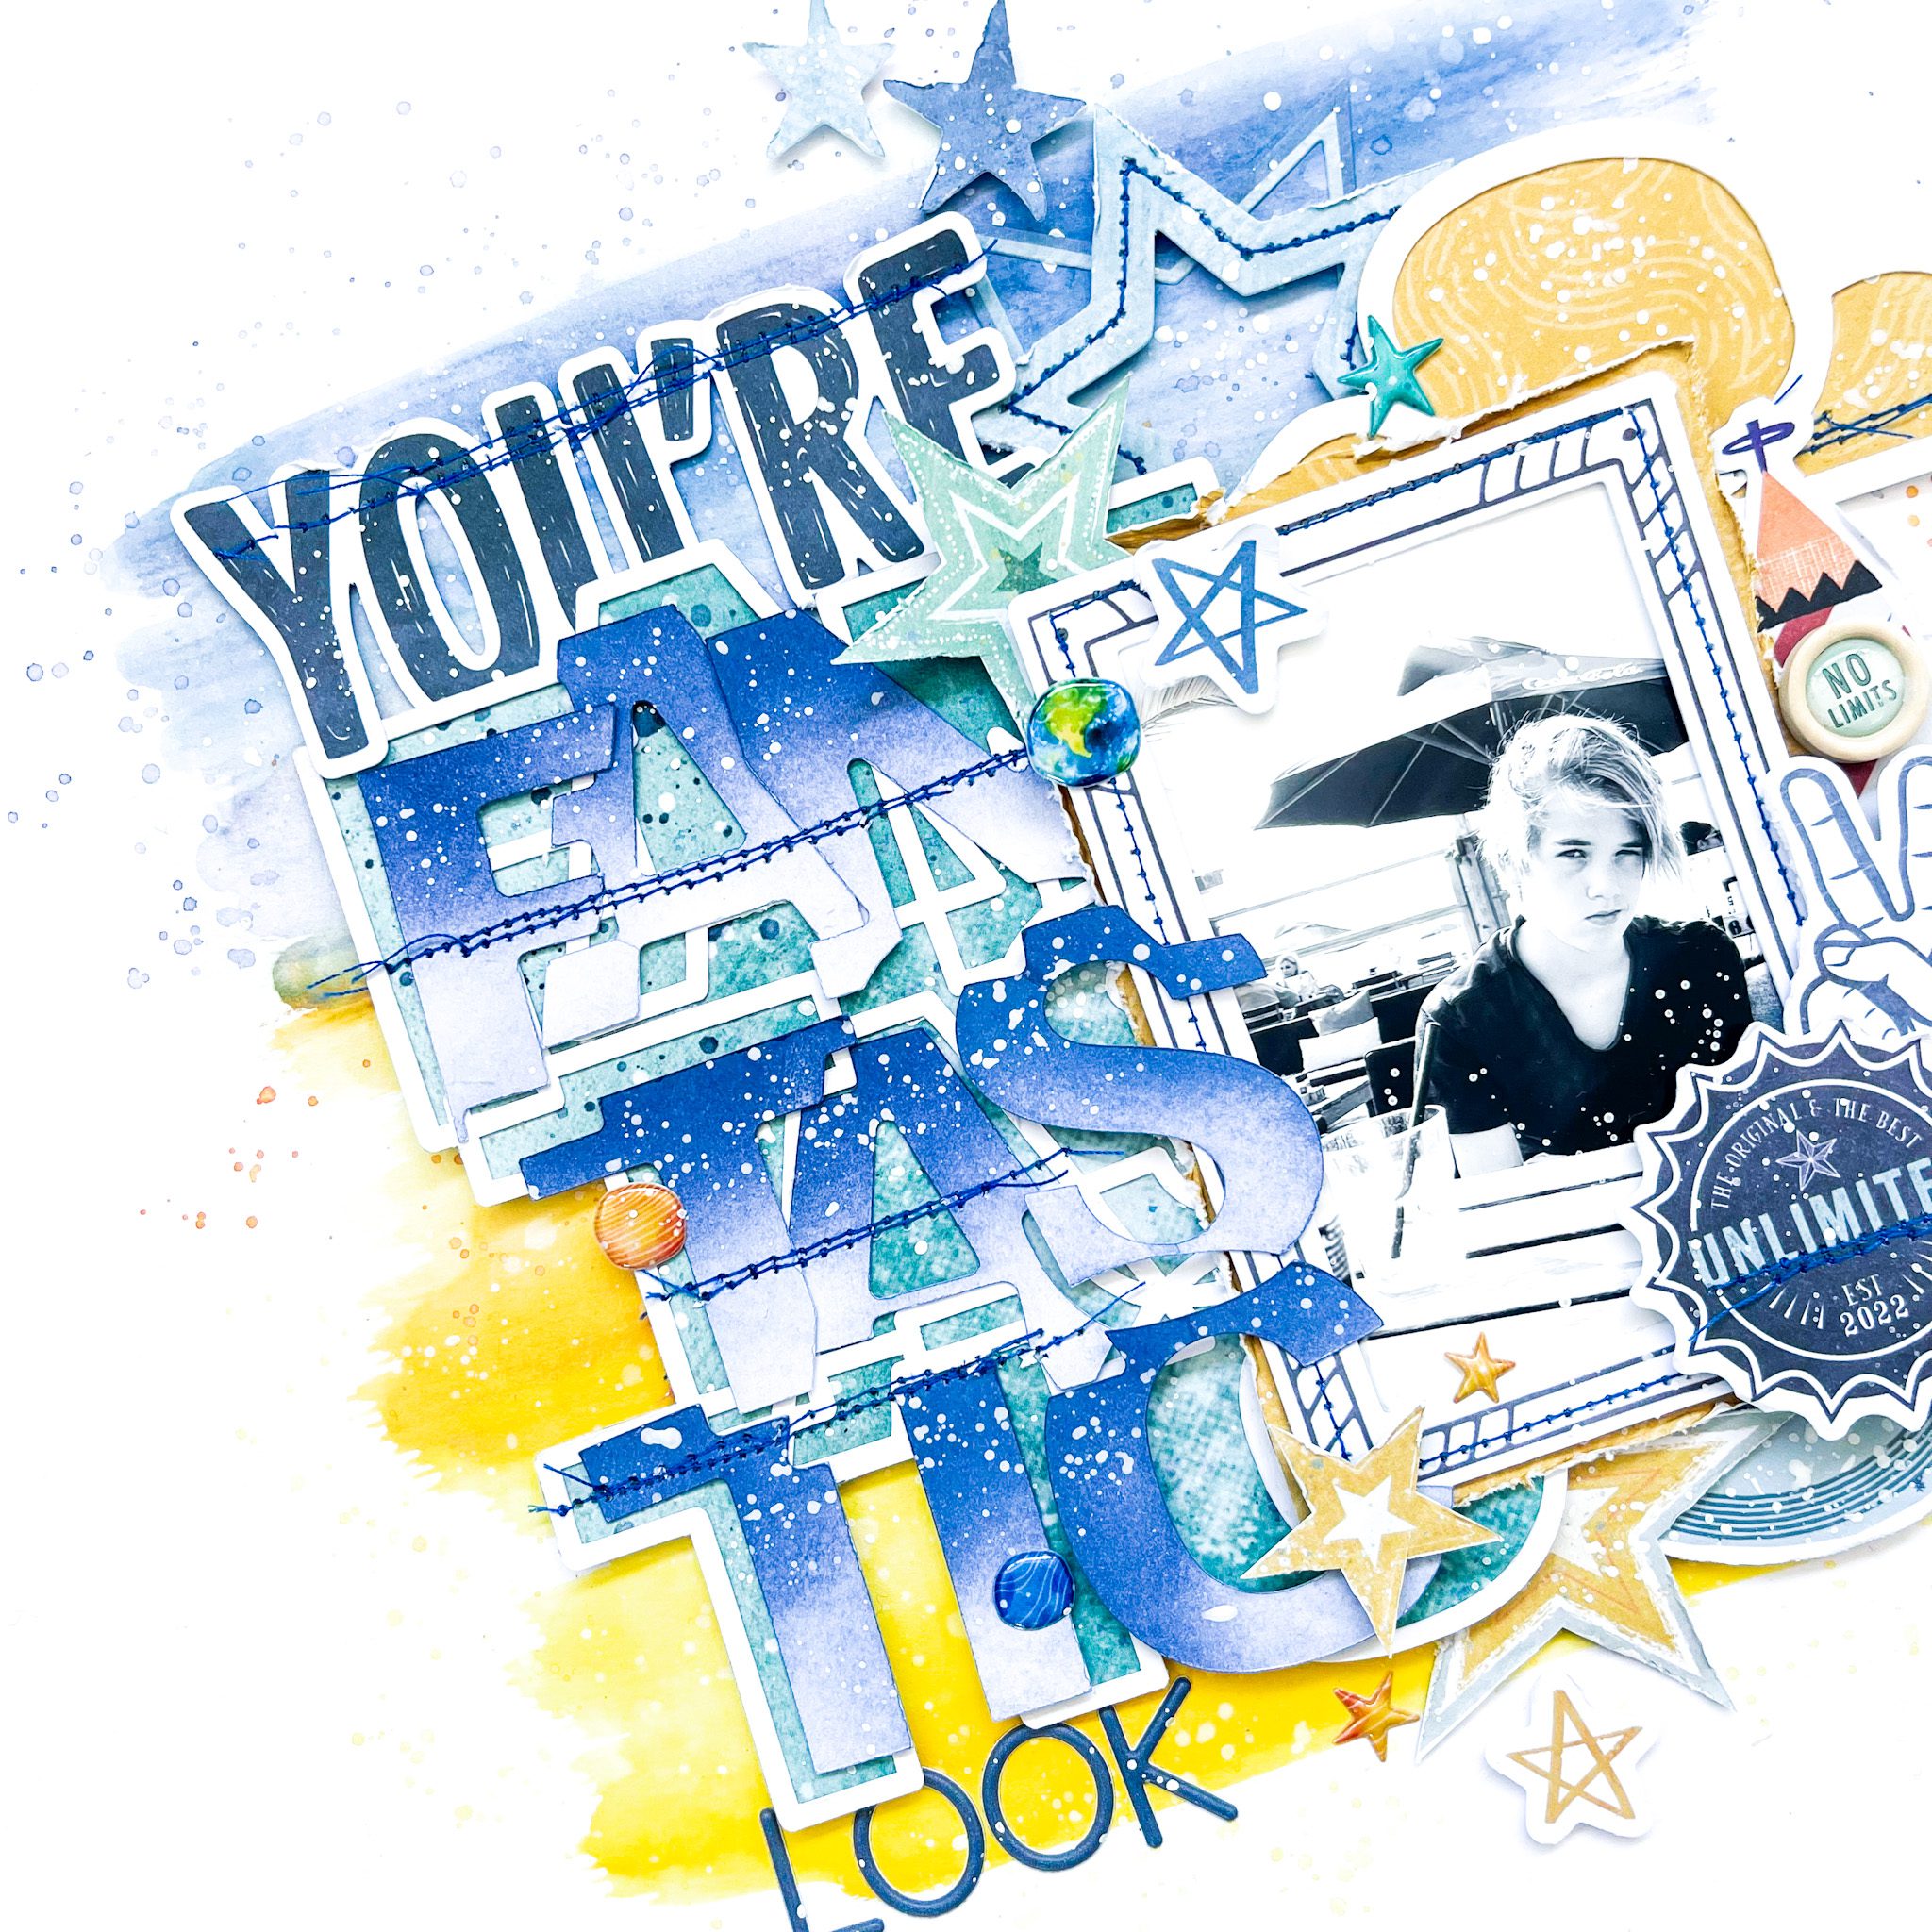
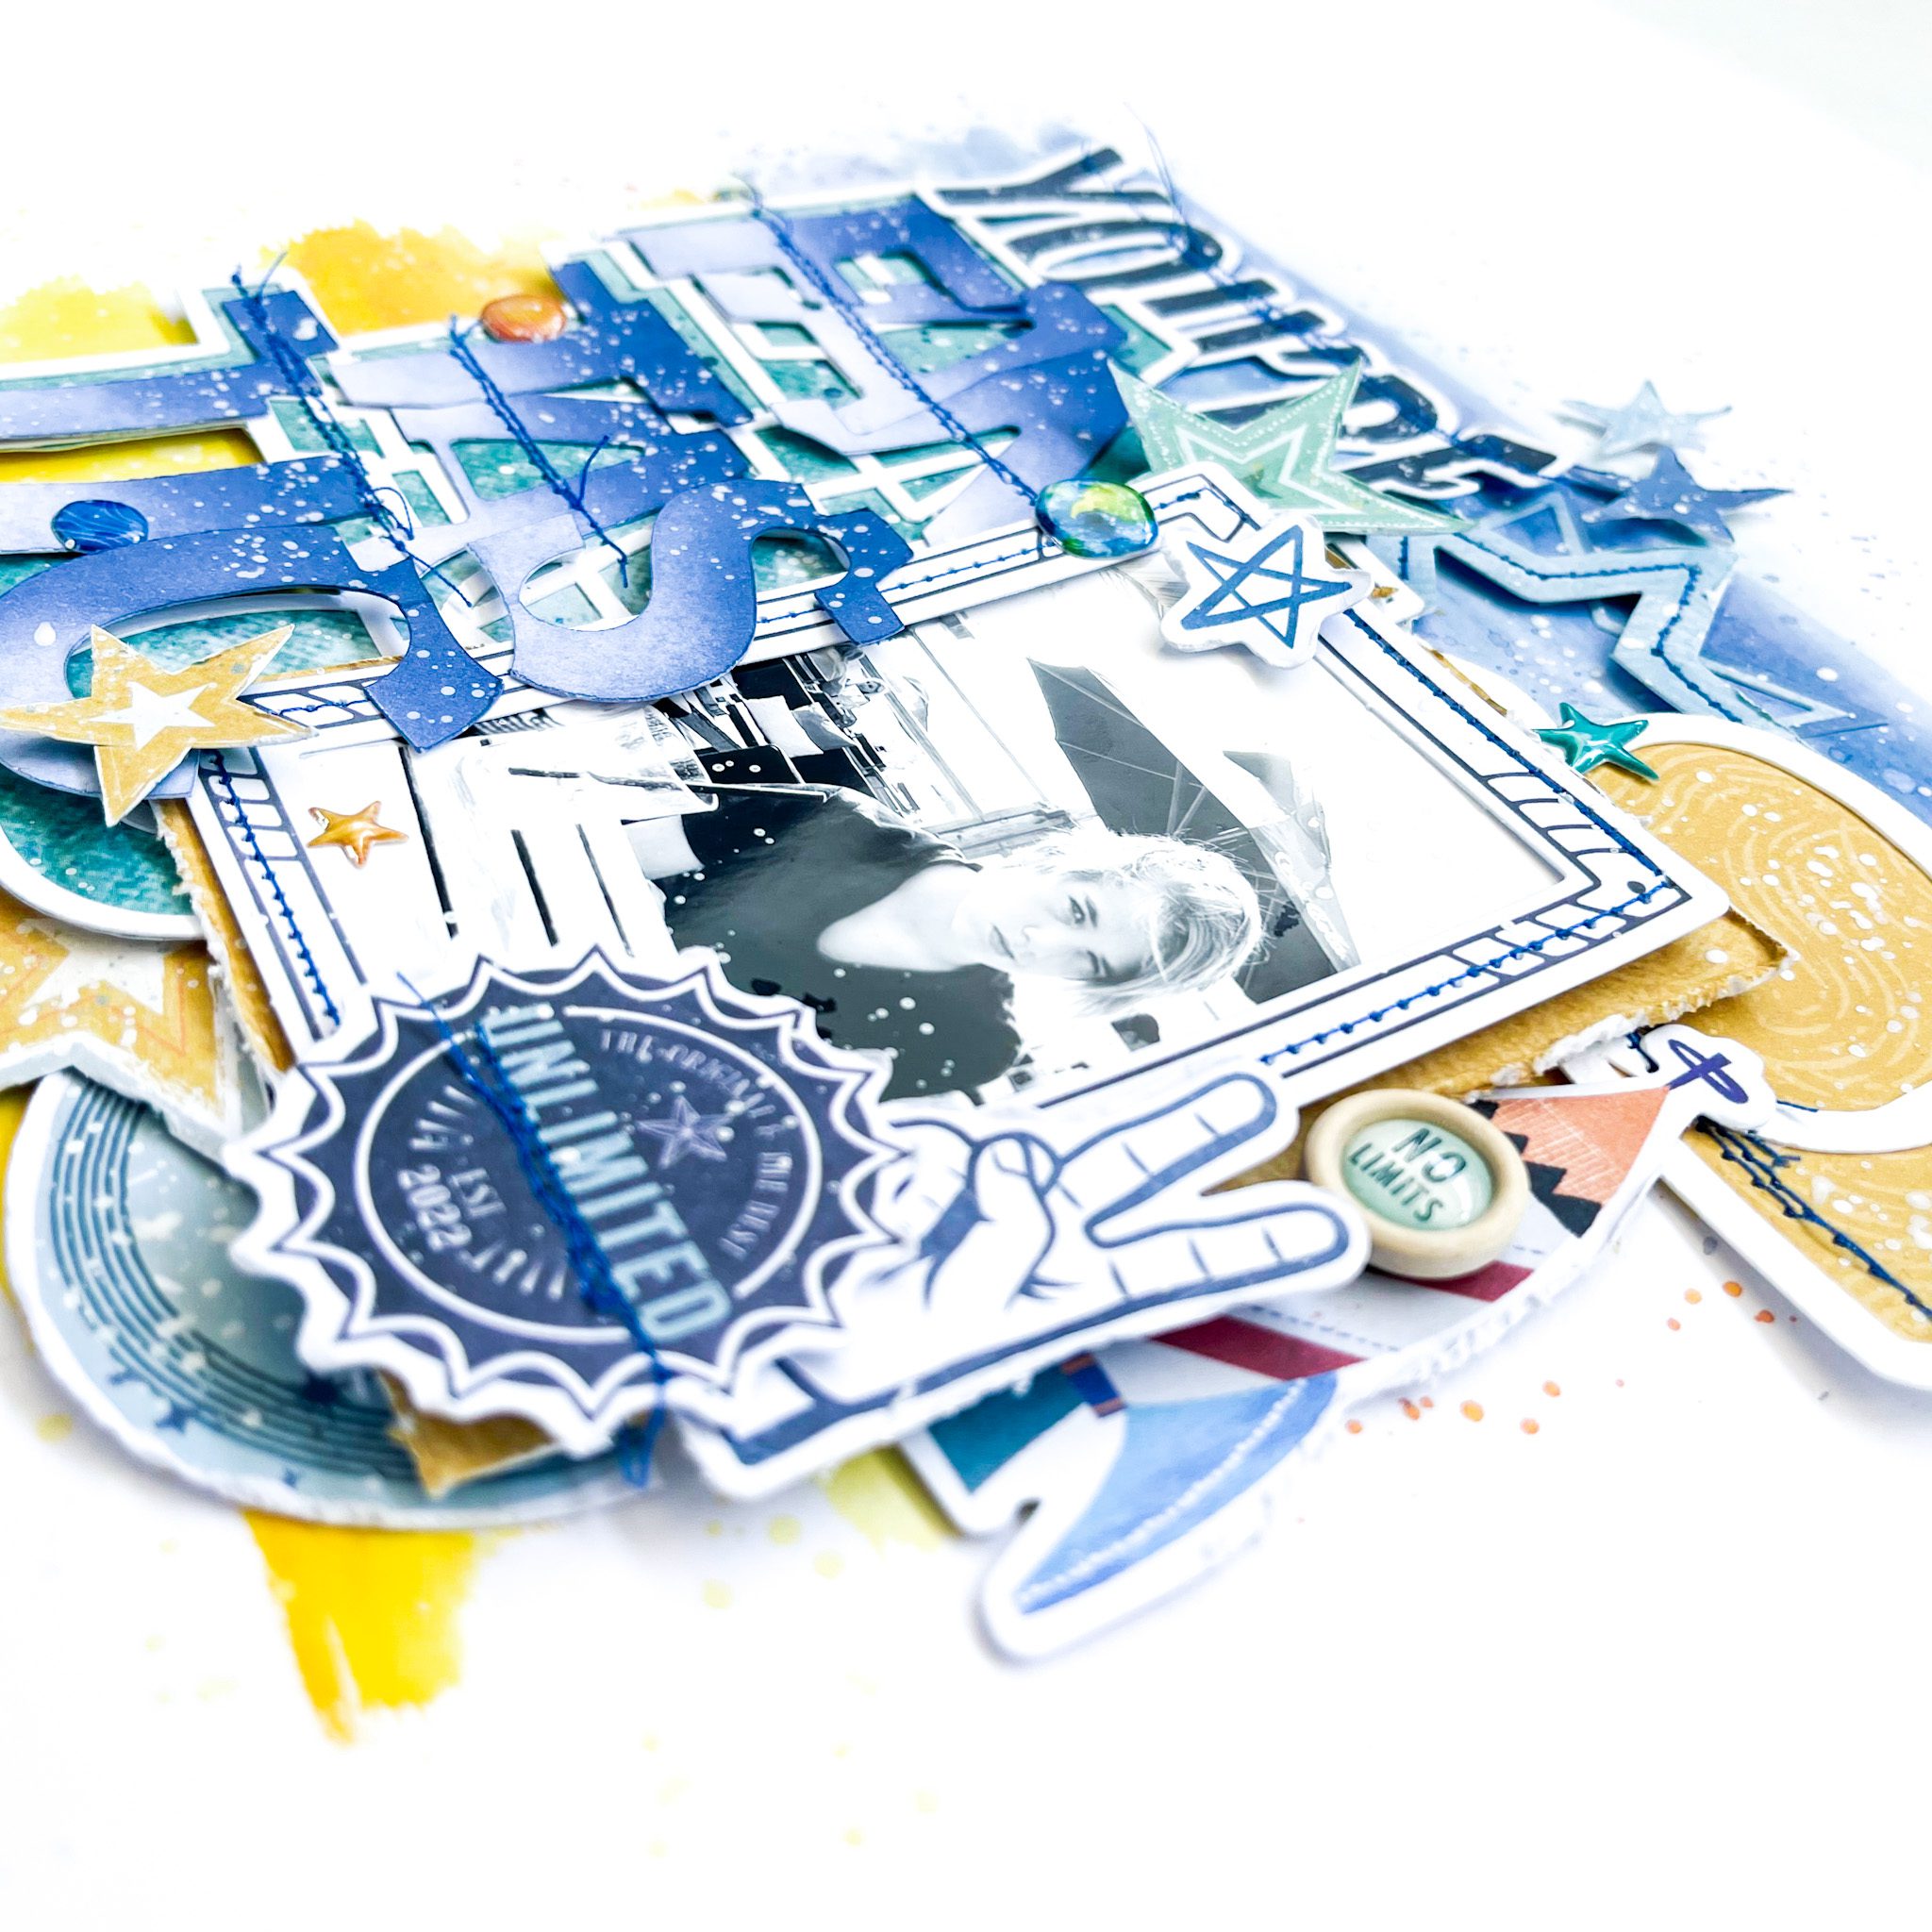 I cut a few more stars from the fabulous pattern paper and spread them around the layout. I use another second cutfile from Paige Evans “Clouds” and use one cloud I back it with pattern paper, stitch some details with the blue sewing thread and place it behind the picture. I placed a few more puffy stars and planets here and there and finally I give my layout some white splatter with white gesso.
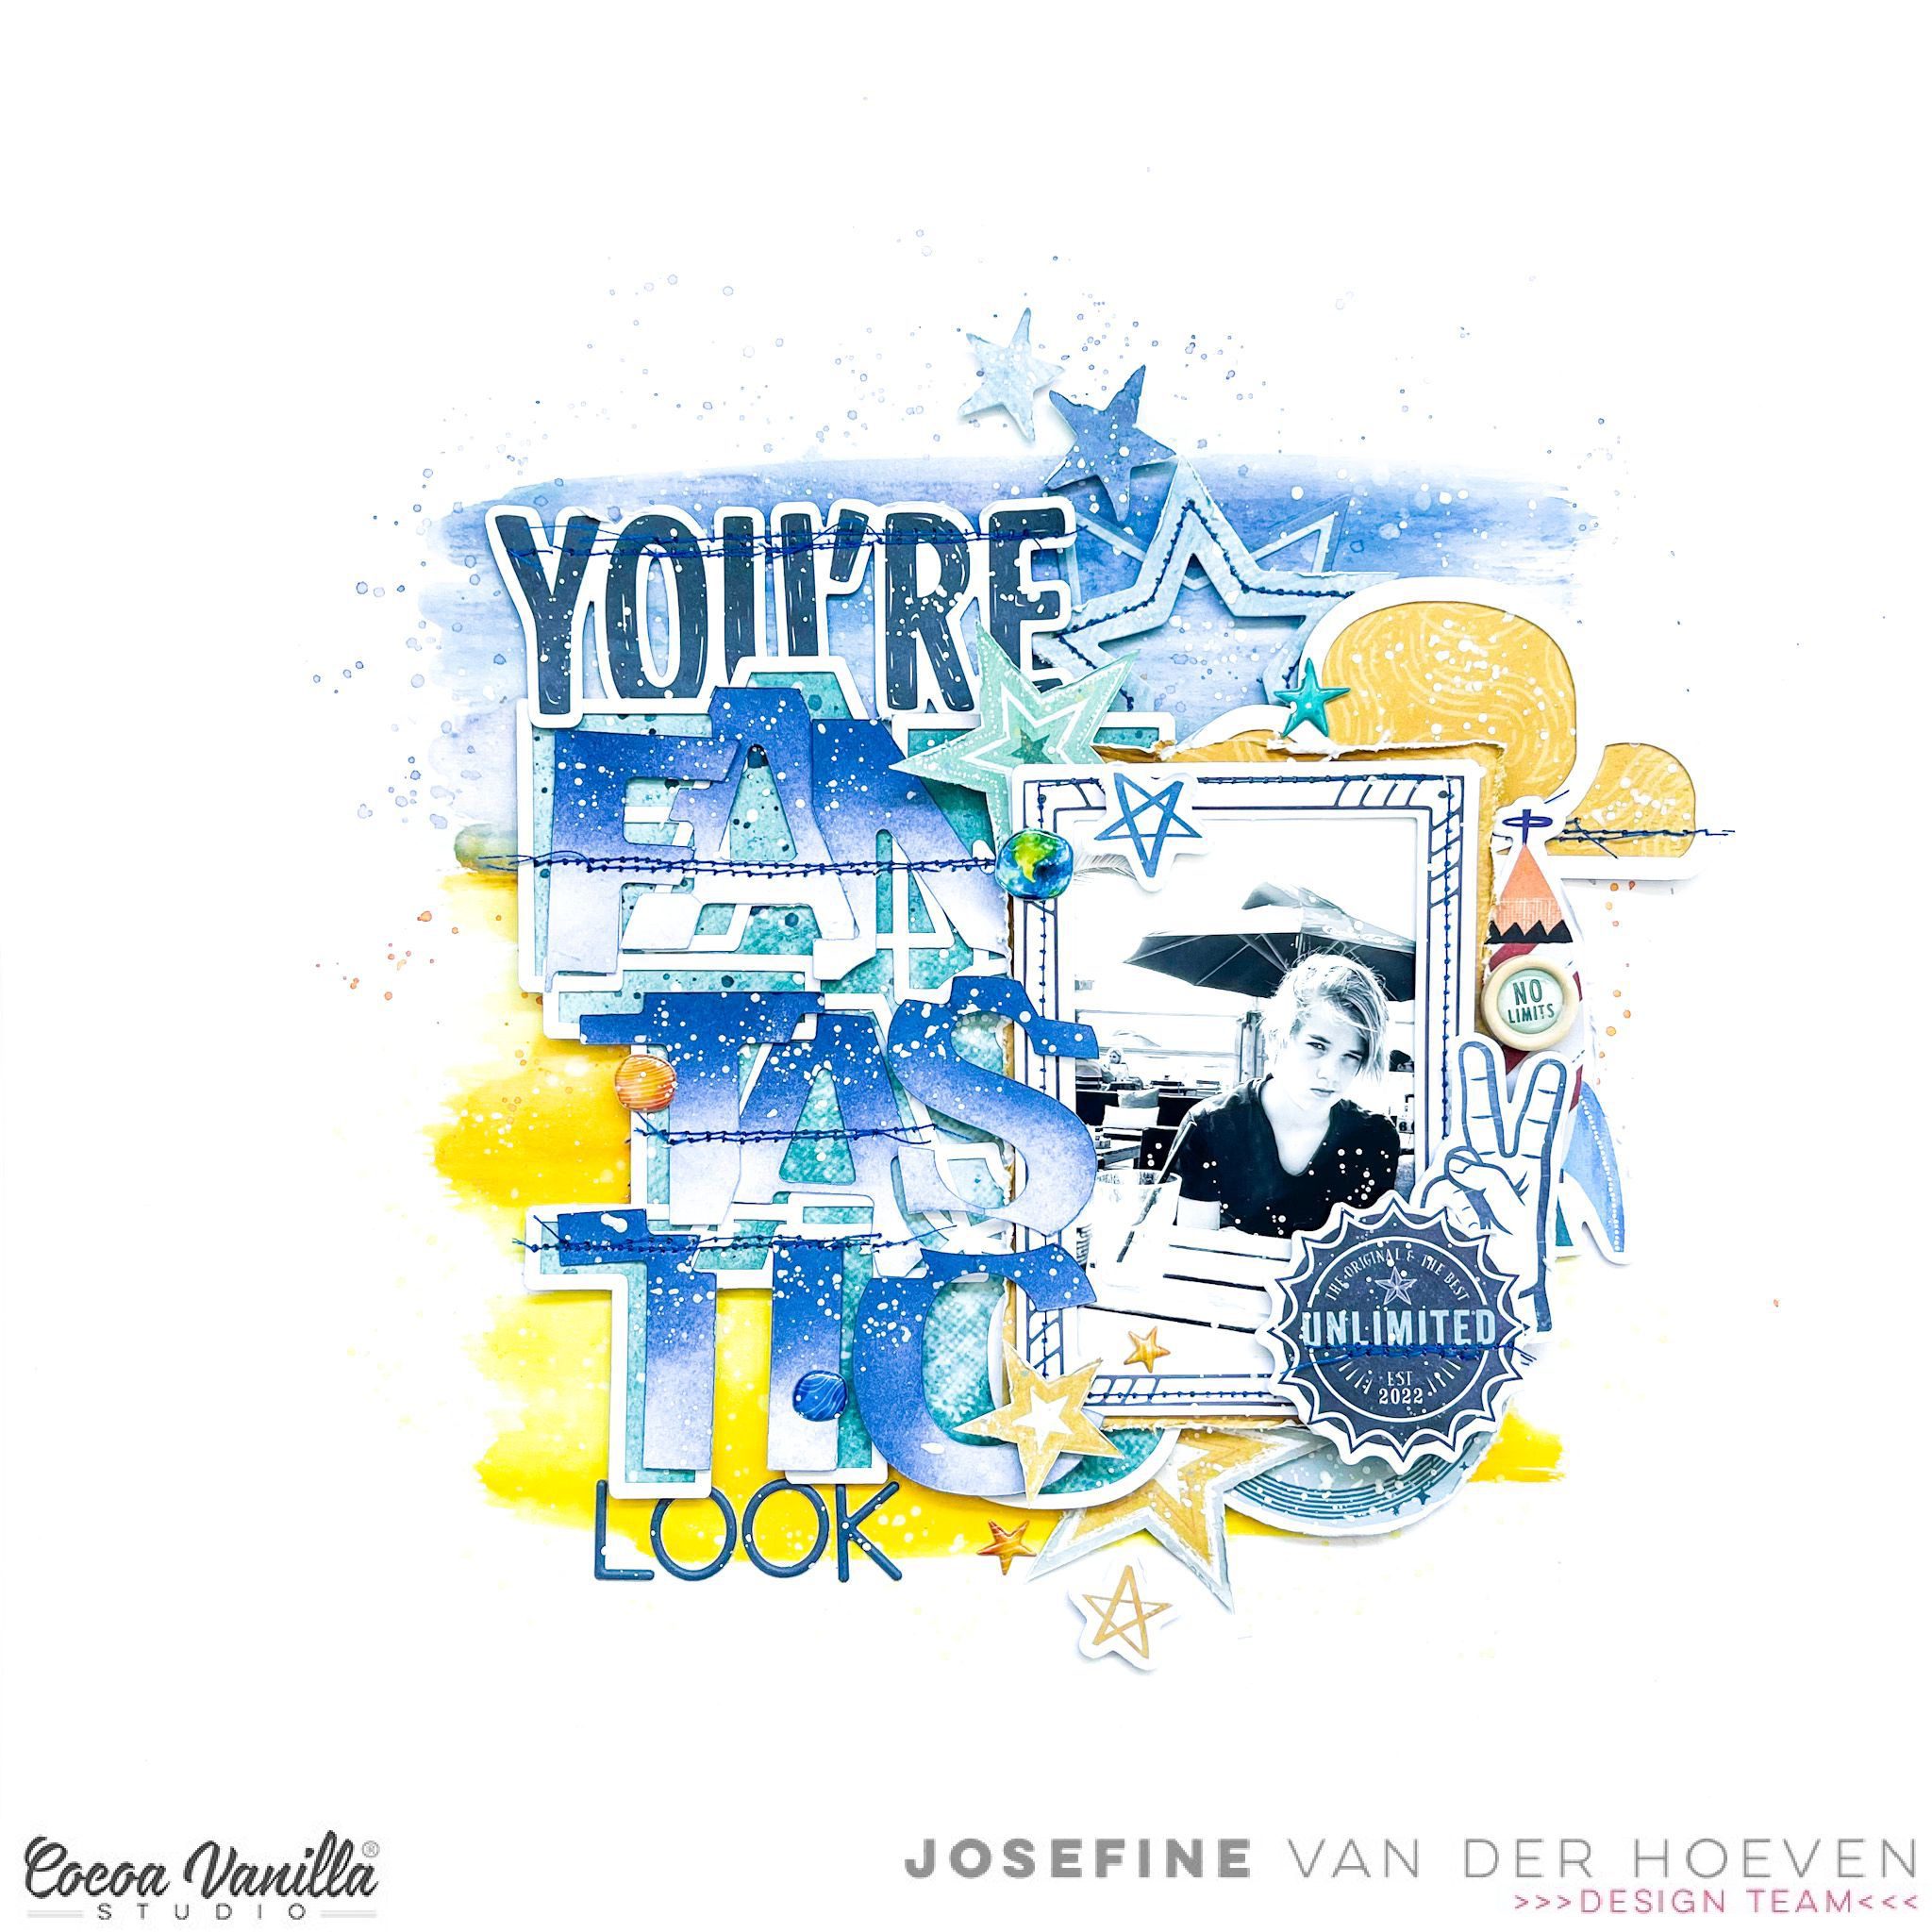


 I cut another circle from the dark blue patterned paper and placed it with 3D tape in the center of the yellow/orange mixed media background. Now it’s time to decorate my layout with die-cuts, stickers, stars and of course a title.


