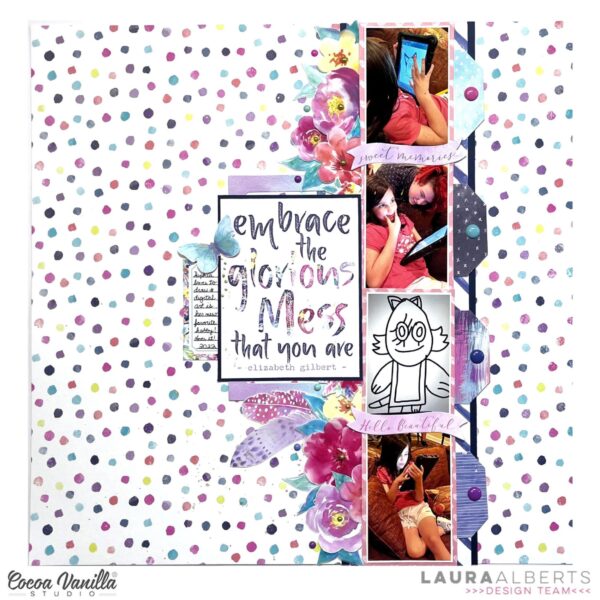
Hey y’all! Laura Alberts back again with my favorite Cocoa Vanilla collection of all time, Bohemian Dream! Everything about this collection makes me so happy. The mix of my favorite colors and those watercolor florals are just divine! For this layout, I had four 2×3 photos of my daughter exploring digital drawing and I wanted to create a vertical design.
For my title, I used a cut apart piece backed with navy cardstock to help it stand out. This perfectly encapsulates the creativity in our family and especially for my daughter. She is a brilliantly talented little girl and I love encouraging her to embrace it!
Alongside the right of the photos are tags made from cut aparts in the 6×6 paper pad and along the left are a number of vellum florals backed with white cardstock to really help them pop! Love the feathers peeking out from underneath my title to soften the edge of that cut apart piece.
I hope this layout inspires you to dig into your stash and find a collection that you love too! To see how “Embrace” came together, check out the process video below:
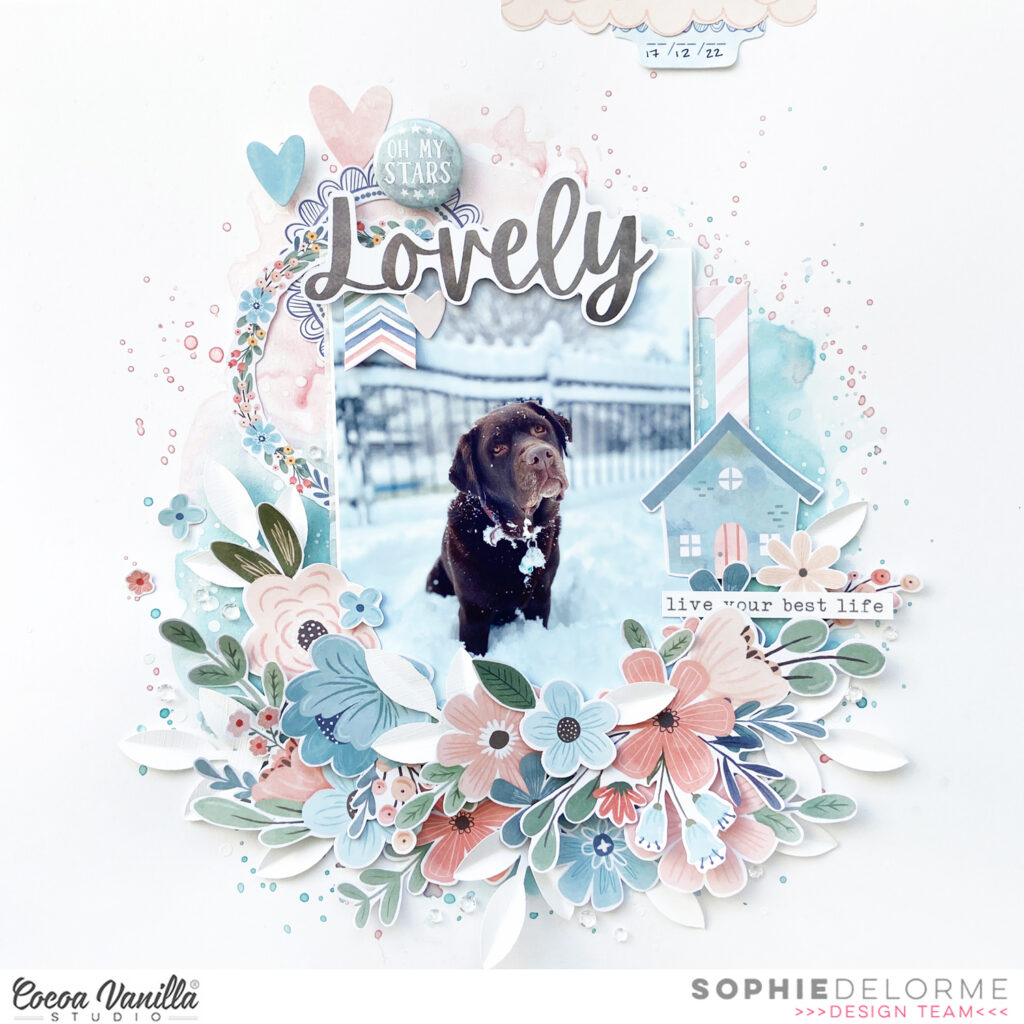
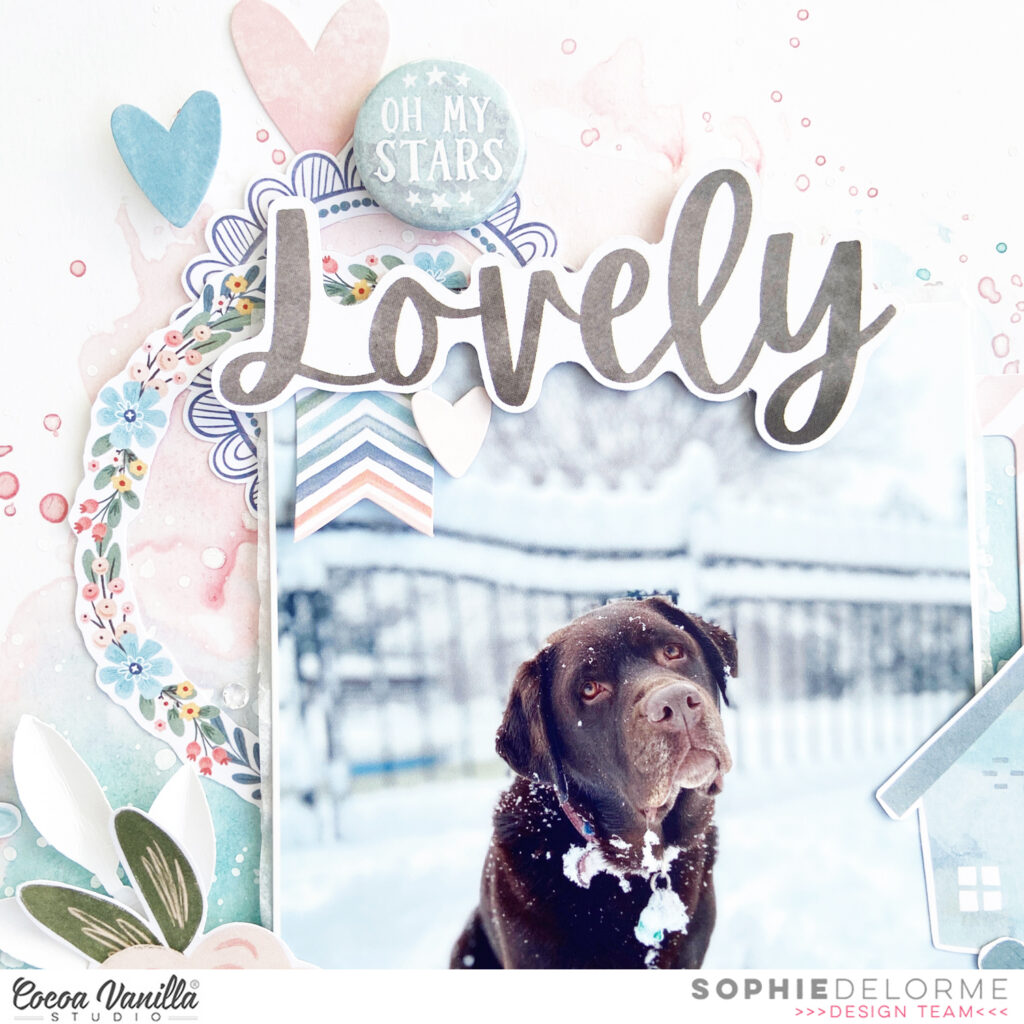
It’s Sophie with you on the blog today with this beautiful wintery page to share !
I used the Daydream collection for this layout.
I started with a thick white cardstock for my background and added blue and pink inks from my stash to create a mixed media background that matched my colour scheme.
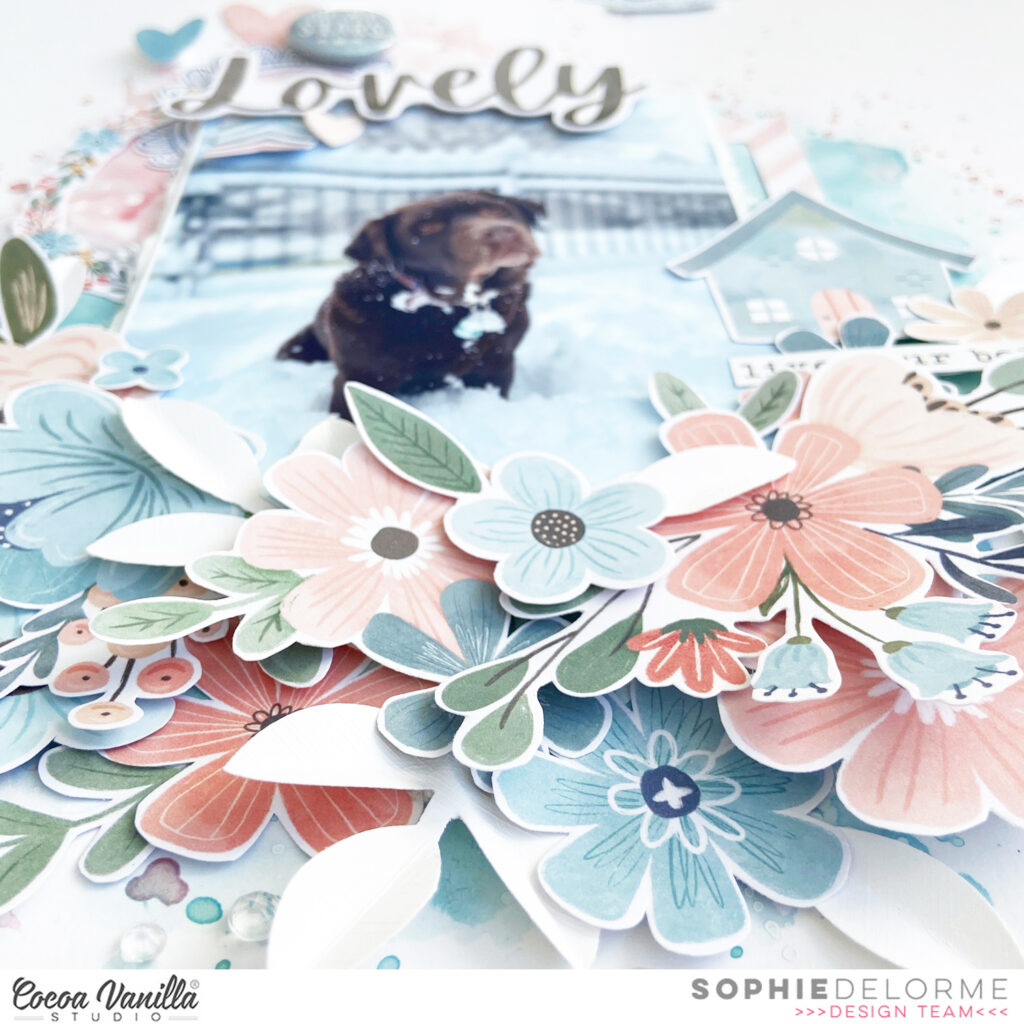
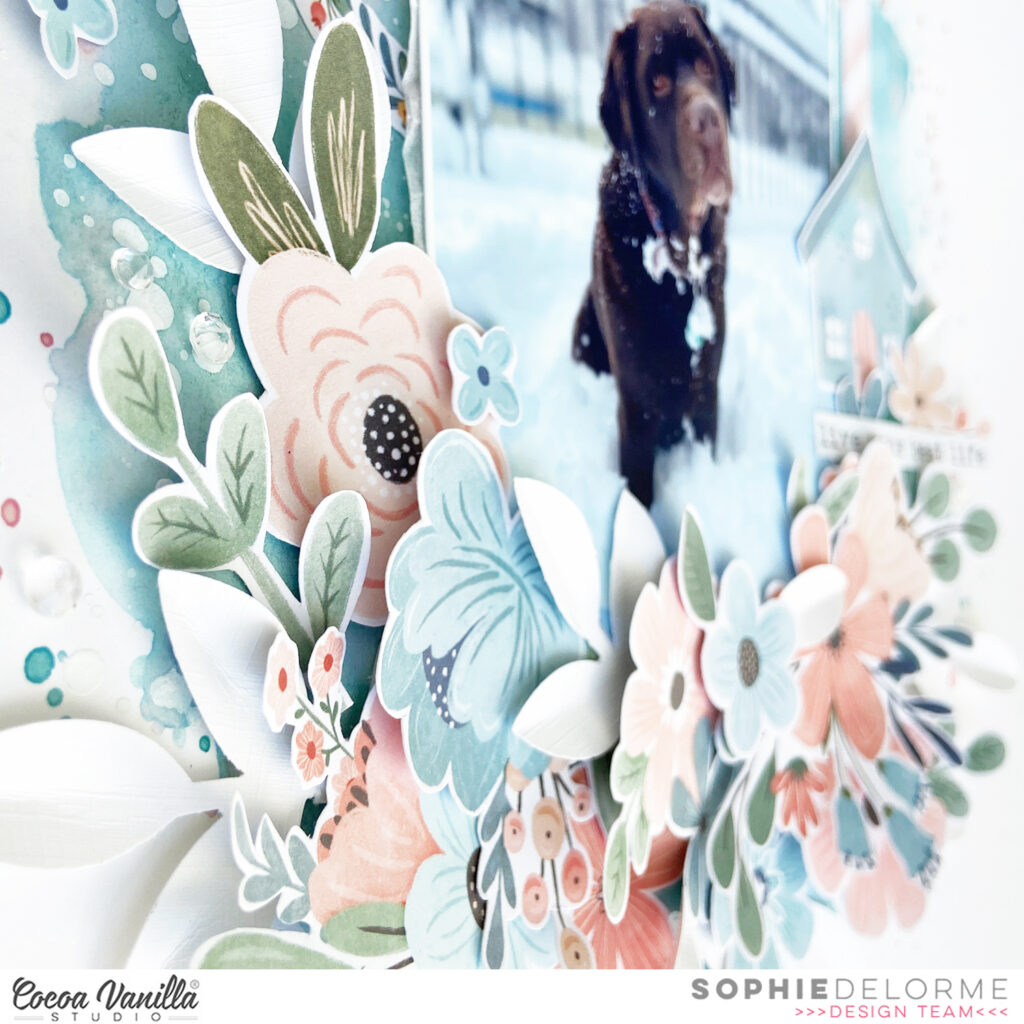
I centered a lovely photo of Fiona playing in the snow, added tissue paper behind it and foam adhesive. Then, I went crazy with beautiful floral embellishments, both from the floral ephemera pack and some cut out of patterned paper, and created a huge floral cluster at the bottom of the photo. I layered many of them with foam dots to add dimension. I also cut a few leaves out of white textured cardstock with a punch from my stash that I tucked in between the numerous flowers.
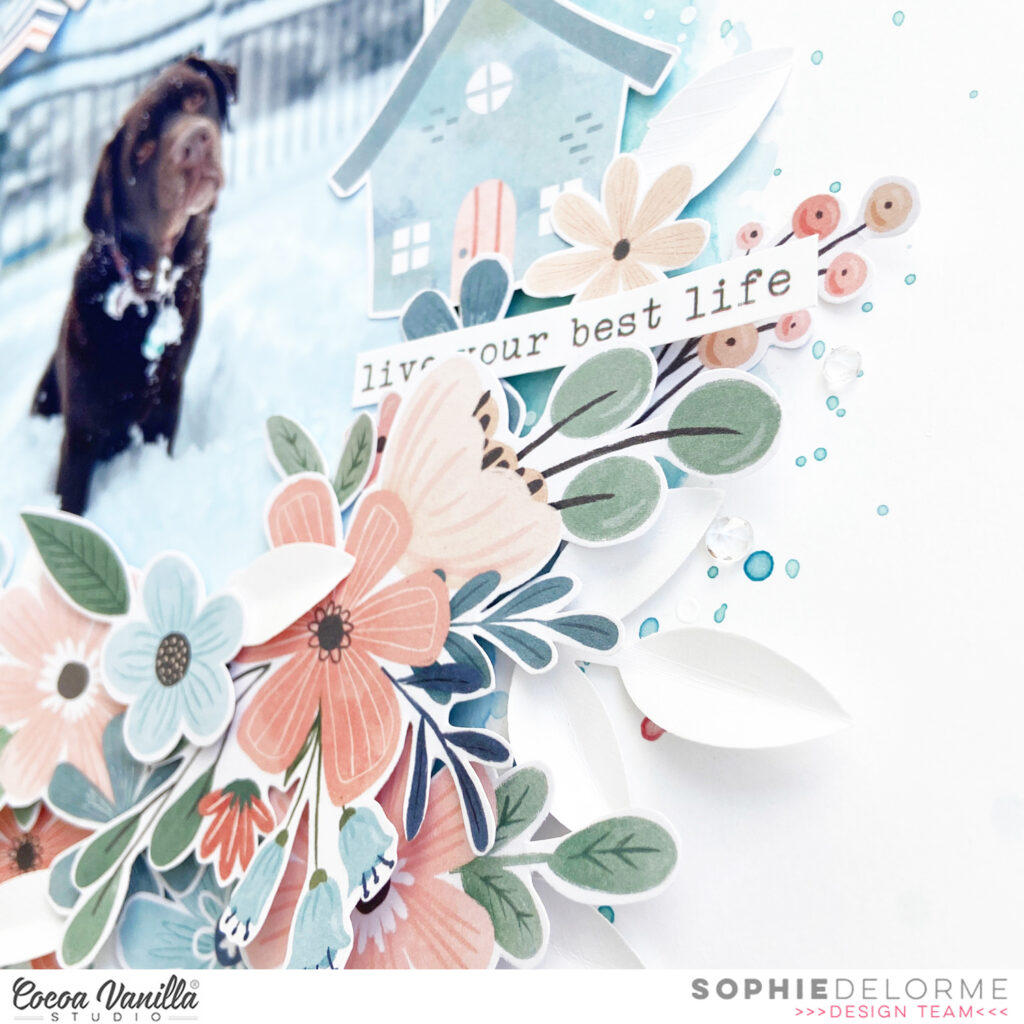
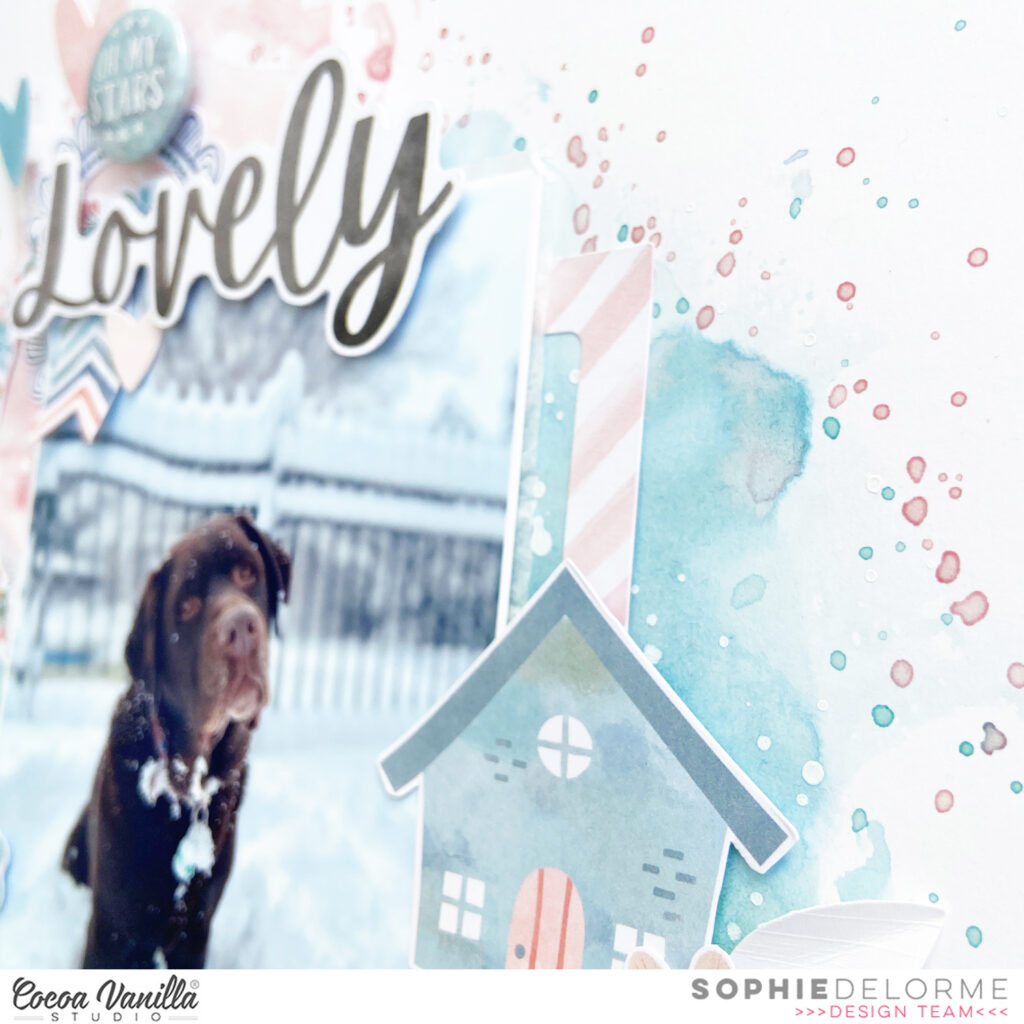
I placed a house die cut on the right of the photo with a cute phrase sticker right next to it.
My title comes from the Daydream Die Cut Titles pack. I placed a Flair Button next to it and a few die cut hearts.
Finally, I cut a piece of patterned paper that I put on the top of the page with a label to write down the date.
Here are some close-ups.
I love the result. This Daydream collection is so versatile ! You can use it for every season !!
I hope this was inspiring, thank you for stopping by !
Hi Cocoa Vanilla fans and welcome back to the blog.
It’s Kel here today to share a recent creation …for this page today, I decided to dig out an older collection I have in my stash…Legendary.
I had these photos of my youngest son at his first year of playing soccer and I thought Legendarywould be perfect for this page.
Here is a look at my page…
I had this cut file in my stash of supplies for some time (can’t remember where from sorry!) and I thought it would be perfect for this page. I used a bunch of the papers from the 6×8 paper stackto back the letters in my title.
I also used these papers to back my three photos. I went with a loose grid design… using my title and journaling to fill in the bottom space.
You will see I have designed a visual triangle of embellishments around my photos….top right, over to the bottom right then back over to the bottom left of my photos… this encourages your eyes to move around the page and highlight your photos.
For my embellishing, I have used a mix of products.
Ephemera diecuts… pieces from the cut apart sheet.. and the accessory sticker sheet.
And I just love the painted look these clear stickersgive…. mixed media without the mess. I also used some of the clear stars…I love stars on my boy pages.
I hope you enjoyed seeing my page today and I have inspired you in some way…pull out those older collections if you have them in your stash…dont ‘save’ them… get them into your albums!
Mandy here today to share a new layout featuring the Storyteller collection. With Valentines Day being celebrated this week, I decided to create a ‘love’ themed scrapbook layout, documenting some photos of my hubby and I taken recently. While we don’t usually make a big deal of Valentines Day, this year marks 25 years since we started dating, and I think that’s something to celebrate!
I started my layout off by trimming a sheet of the Oh My Heart paper down to 10 1/2 inches square and adhering it to a white cardstock base. I then used a decorative trimmer to cut the wavy edges on the blue Ditsy Daisy paper, and repeated this on a sheet of white cardstock which I matted the blue paper onto. This created a fun and eye-catching base for my photos. I matted my photos on the woodgrain paper from the A5 Paper Stackand adhered them on an angle, which adds again adds to the fun and whimsical feel to the page.
I chose to narrow my colour palette down to the blues, reds and pinks in the collection and created three floral clusters using these colours. The first cluster was underneath the two photos, using some beautiful flowers and leaves from the Floral Ephemera pack. I used foam tape to adhere the floral elements, as I love creating lots of dimension on my layouts.
Next I created another cluster in the top right hand corner of the page. Again I used flowers and leaves from the Floral Ephemera pack, and I also added my title to this cluster using the word ‘love’ from the Chipboard Stickers.
I added a third floral cluster to the left of the photos. The three clusters create a visual triangle on the page, helping to draw the viewer’s eye around the layout. This cluster repeats the same colours and elements used in the first two clusters, which helps the layout to feel balanced. In addition to the floral elements I also added a a little Chipboard bannerStickerto the cluster.
A ‘love’ themed layout wouldn’t be complete without some hearts, so I finished the layout off with a sprinkling of Chipboard, Die Cut, and Puffy hearts. I also added a couple of little phrase Stickersunderneath the photo on the left.
Thanks so much for joining me here on the blog today!
Hello crafty Friends! Almost each year I have a pleasure to inspire you on Valentine’s Day and this year is no different! I thought that instead of another layout, I will share with you three simple cards I made for my Valentines at home – hubby and two daughters. Each year I keep making cards for them adding few love words inside to show them my appreciation for each of them. I also add something sweet as a little bonus :) This year I decided to dive into older stash and found some papers and embellishments from “Midnight” collection. This line was an amazing combination of soft pink and coral with very dark and deep navy and purple. And those florals… They were so pretty and unique.
Each card has a similar composition with a little shaker in the middle, filled with sequins and some wood veneers from very ancient CVS collections (I still have a box full af them and I keep adding them here and there to many projects).
One of the cards is for my hubby and I made it darker than two others. It also doesn’t have any florals. I added little jars filled with hearts instead. One of them is from Ephemera Pack and one is taken from the 6*12 Stickers Sheet (yes, I still have those too :) – I am a hoarder). “Midnight” collection came with a set of Words Die Cuts but I already used up most of the love related words so I reached out to similar set from “Happiness” collection. It has similar font and similar color so it was a perfect match!
Second card is for my younger daughter and it also has shaker in the middle. If you look closely, you will notice that for my card bases I used a pattern paper. I am using my A5 Paper Pads for this purpose. Each card is sized 10*14 cm and it helps me use up some of the older papers! The good thing about those Paper Pads from CVS is that they are white on the back! Perfect for adding personal message inside the card. This time I added some flowers from Ephemera Pack trimming the whote outline first. This made them a little bit smaller and a better fit for the card. My card title is the only one made with “Midnight” Words Die Cuts. It was the only full phrase in love theme that I was able to create with it.
Last card is for my older daughter. I tried to keep it a little bit less “sweet” as she is teenager now, who prefers black over pink :). I couldn’t help myself and added few flowers, but they are a bit smaller than in the previous card. I made my shakers using a frame die with a cute scallop border. After die cutting the frame, I backed it with a piece of acetate and used foam strips to build volume. All I needed to do is to add some sequins inside and job was done!
Do you make your own Valentine’s Day cards? Or you do not like giving them? I know we need to show our love and appreciation each day, but it never hurts to highlight it even more on the Love Day!
Thank you so much for stopping by and see you in two weeks! Sending you all tons of love!
Hi everyone, I know its February already, but this is my first post for this year and I just wanted to say Happy New Year! I hope that 2023 is off to a great start for you! Today I’m sharing a layout that I created with the beautiful Storyteller collection. Every year I create a layout about myself for my word for the year. This year my word is Pursue. I used an alpha cut file from Just Nick Studio, and welded the letters together on Cricut Design Space.
I used used Cross It Off for my background paper and decided to hand stitch around the crosses in white embroidery thread. Love how this adds some subtle texture.
I created backed my title cut file with papers from the A5 Paper Stack. I always love to feature beautiful papers. I used several of the beautiful Chipboard Stickers to embellish around my photo. My background is created with distress oxide ink and the trusty packaging technique.
I love the Die Cut Ephemera in this collection. The little banner with flowers was perfect on the title. I used one the phrases from the Accessory Stickers too.
It’s Tarrah back with you and today I am sharing a sweet layout featuring the gorgeous Love Always collection!
My assignment for today was to create a project for the Throwback Thursday feature that we sometimes run, I just had to use the Love Always collection for love month!
Documenting a sweet photo of myself and my eldest niece together when she was last visiting. She is always up for a selfie with her Aunty! Love her gorgeous face!
The Love Always collection has such pretty floral ephemera and I knew that I wanted to include a lot of them on this layout. I decided to build some layers of florals below the photo which I made the focus of the page by placing it in the centre of the page. I included both vellum florals and ephemera florals for some different textures on my layout.
Under the photo, I layered a piece of the grey paper with the small white hearts and I tucked in the scalloped border die-cut on the right hand side as well. On top of the photo, I placed one of the cute puffy stickers and a sticker from the accessory sticker sheet.
Also on the right of the photo, I tucked in the die-cut tag and added some twine through the hole in the top of the tag. I stamped the date stamp using black ink on the tag also. On the left I continued the floral layers including some wood veneers this time. Here I also added one of the gorgeous butterfly die-cuts.
For my title, I could not go past the gorgeous wood veneer word, deciding on the word ‘Sweet’ from the wood veneer pack. I did however add the cute puffy banner sticker that says ‘Smile’ too. I added another of the butterfly die-cuts here at the top and also a cute small one down the bottom below the wood veneerleaves.
I trimmed down the patterned paper background that I chose for my layout and matted it to a sheet of plain white cardstock. I then machine stitched around the edge of the entire page to create a border. Some of the last things to finish off my page were to add some more of the phrase and word stickers from the accessory sticker sheet, a few more die-cuts and I also sprinkled some white mist on my page.
Thank you so much for stopping by the Cocoa Vanilla blog today! I hope you enjoyed reading about how I created my layout as much as I enjoyed creating it!
Hi everyone, it’s Sue Plumb here today to share my latest design team project with you.
I have to admit, things have been super busy in my world lately, and I have really found myself pushed for both time and inspiration to create. In times like these, I often find it helpful to reach for a sketch so I have somewhere to start and can get going quickly. It was for this reason I decided to use a Page Maps sketch for this page, along with the beautiful ‘Storyteller’ collection.
And here is the sketch I was working with…
As you can see, I stuck fairly closely with the overall sketch design. One of the greatest things about using sketches though, is that they are designed to inspire you, so you have the ability to interpret different elements of the sketch however you want.
This is exactly what I did when it came to my background. I began with a sheet of patterned paper (Fly Away), just as the sketch suggested, however instead of layering this with another piece of paper or cardstock, I chose to add acrylic paint to define the focal area of my page. I then added a piece of the rainbow striped Brighter Days paper that I had leftover from a previous project.
The sketch had a couple of vertical elements, so I used one scrap strip of paper I had on hand, plus the heart strip from the Story Time cut apart paper. For my title, I used the best ever card from the Pocket Cards pack and in keeping with the sketch I punched along the top edge of it using a notebook style punch. Before sticking down the photos of my daughter and I; I added a small paper doily and some frayed gauze to create texture behind them.
With all the main components in place, it was then simply a matter of adding my embellishments. Again I stuck fairly closely with the design of the sketch, but instead of using stars, I substituted flowers instead. I created three clusters using a variety of pieces from the Floral Ephemera pack, and I topped one of the flowers with an Epoxy Wood Button. Other embellishments used included a small banner and heart from the Die Cut Ephemera pack; some Accessory Stickers; and Puffy Stickers.
You can watch how this layout came together in my process video below:
Thanks for stopping by so I could share this today. If you have found yourself short on time or mojo lately, try using a sketch like I did for this layout. You can stick close to the original design or use it as a jumping off point – just get those memories documented!
I decided to use a big black and white photo of my sweet Sabrina at the beach as the focus on the page. I layered it with tissue paper and foam adhesive, and placed it to the right of the page.
I used a cut file from JustNick Studio named “Travel often” for both my title and suitcases. I backed them with different patterned papers from the Sunkissed A5 paperpack.
I fussy cut beautiful florals from the “Growing Wild” paper and mixed them with floral die cuts arranged in clusters around the suitcases and title. I also added a lovely umbrella, a banner and a few fussy cut clouds to decorate the page.
I grounded everything on a teared piece of the “Just Chillin‘” paper.
Hi Cocoa Vanilla fans and welcome back to the blog.
For today’s share, I have a page that features photos of my little boy kicking a ball with some other children that we visited at a school in Bali…such a special memory. Today I am using the ‘Storyteller’ collection.
On the centre of my page I have used four of the Pocket Cards to layer around my photo and I just love the sentiment on the card to the right of my photo….it is so fitting for this memory.
The base of my page consists of two of the papers from the 12 x 12 paper stack .. Ditsy Daisy and Little Love.
To embellish my page I have used florals from both the floral ephemera pack and fussy cut florals from the Spring Fling paper. Placing these to the top left and bottom right of my photo helps to create flow and draw the attention to my photo. I also had some left over hearts that I made for a layout last year that also popped on my page.
The bottom of my page needed some attention so I used a camera from the ephemera pack with an epoxy button (minus the button) and also placed my title here. The die cut title I used is actually from the ‘No Limits’ collection..they were perfect and stood out so well on the patterned paper. I also used some of the Puffy Hearts around my page.
I hope you enjoyed my share today and you are still enjoying the Storyteller collection as much as I am.