Good Times | Happy Days collection | Tarrah McLean
Hi creative friends,
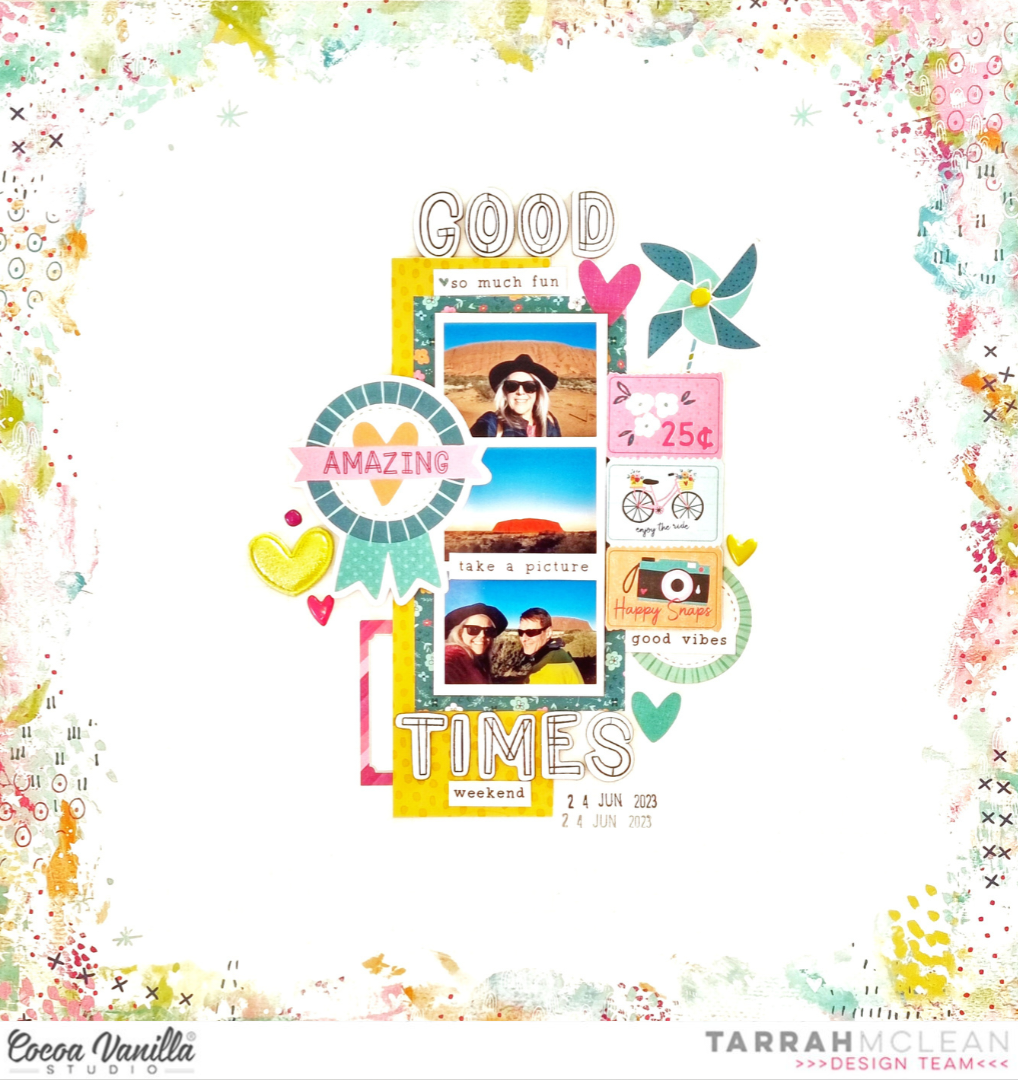
It’s Tarrah back with you and today I am sharing a new scrapbook layout featuring the gorgeous Happy Days collection!
For this assignment I was tasked with creating a project inspired by the July 2023 mood board.
July 2023 Mood Board
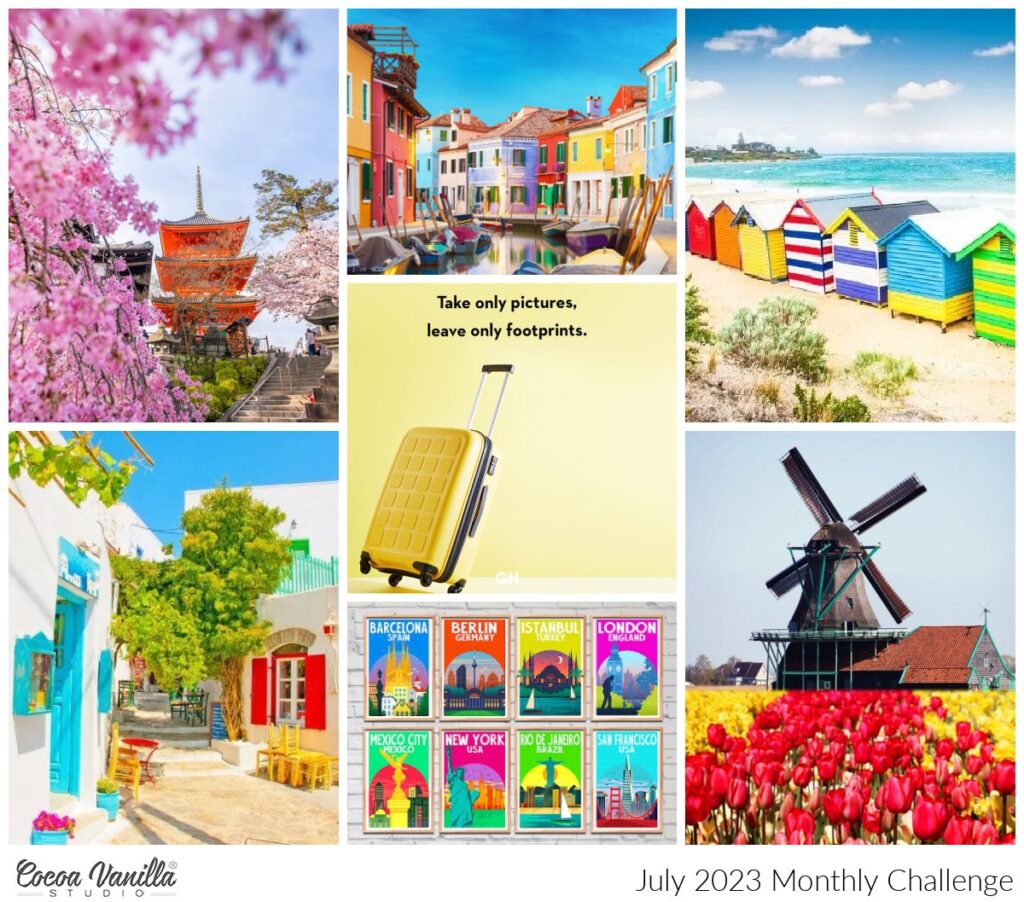
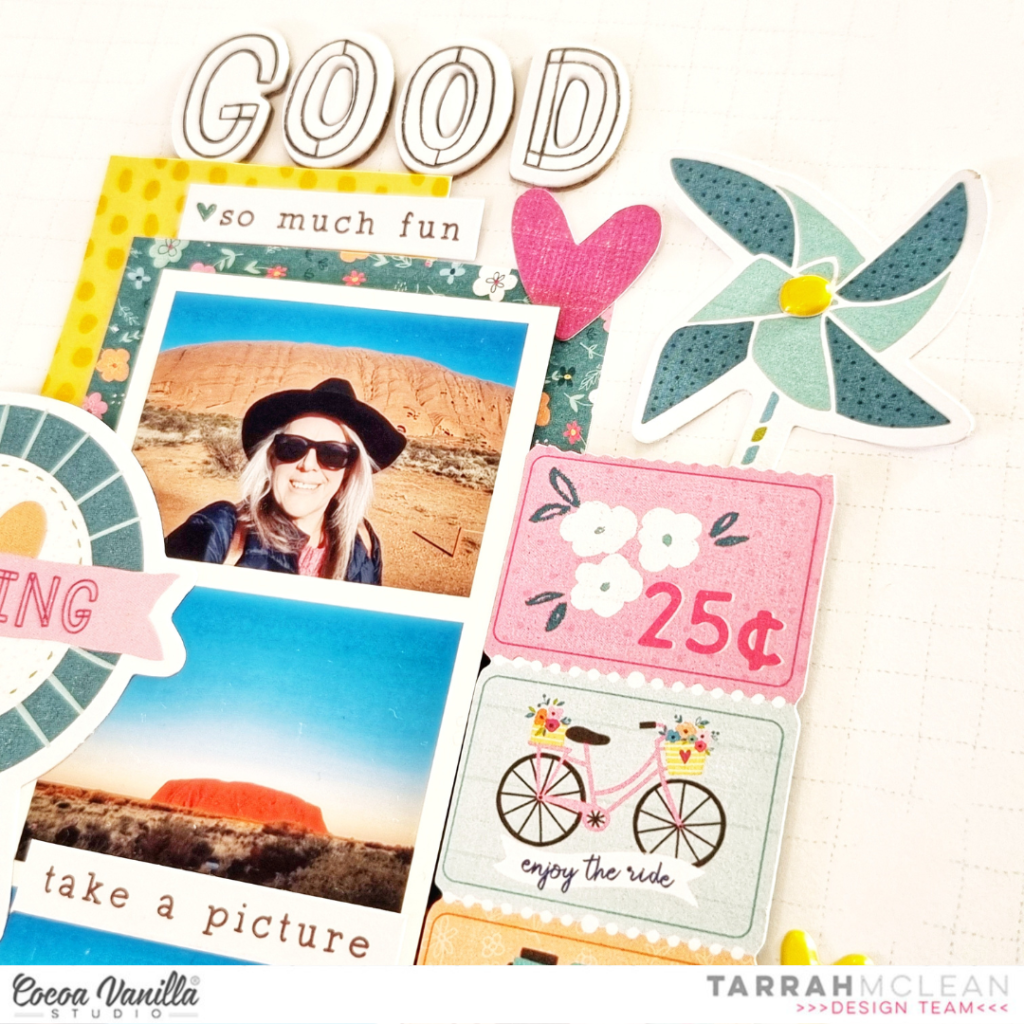
I was inspired by the colours in the mood board, the postage stamps and the windmill. I chose to add the pinwheel from the Happy Days collection to replicate the windmill from the mood board and also the postage stamps that look similar to the small pictures in the bottom centre photo in the mood board. I chose the ‘B’ side of the Juicy Fruit paper as the background paper to work on.
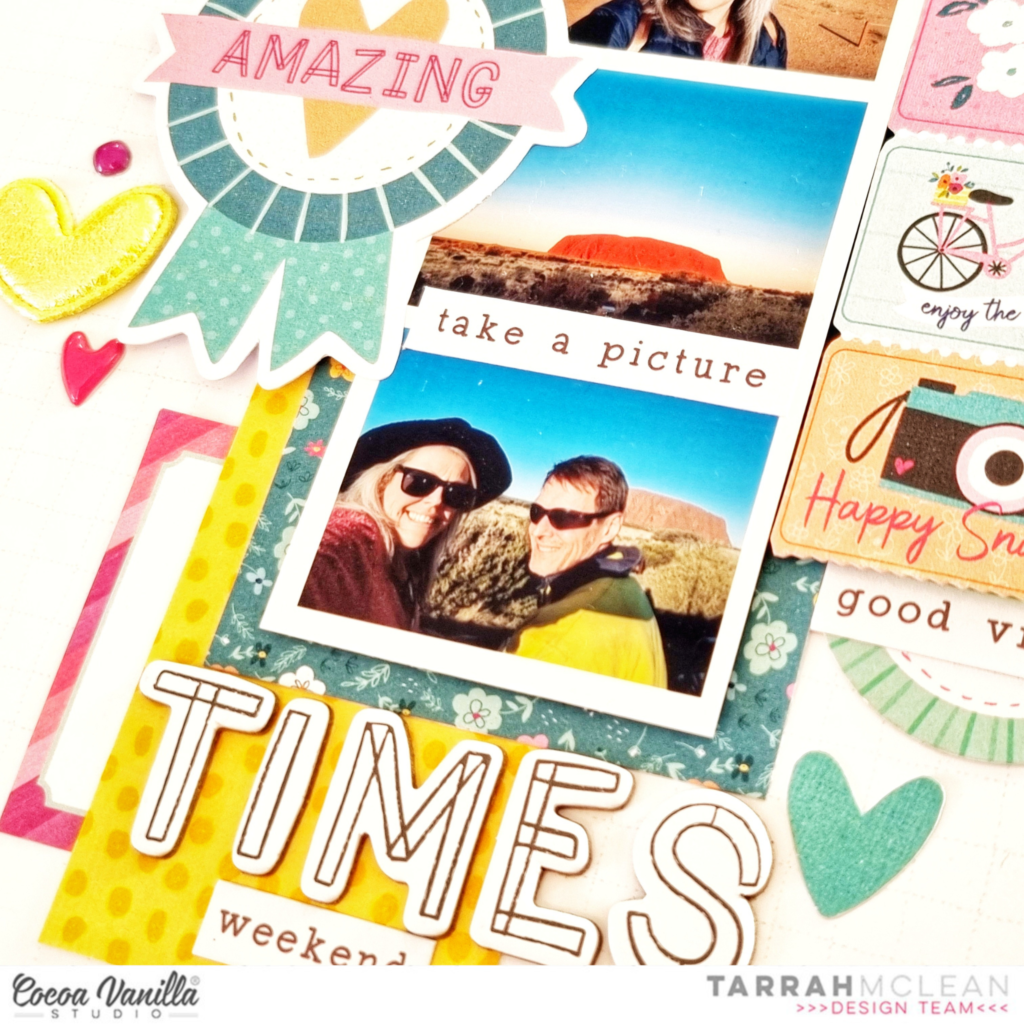
I picked 3 photos from a recent trip to Ayers Rock and printed them in a filmstrip style, I was inspired to this from the Japanese temple photo in the top left corner of the mood board. I adhered the photos using craft foam to create some dimension, I layered some of the papers from the A5 paper stack under the photo to add some interest and colour.
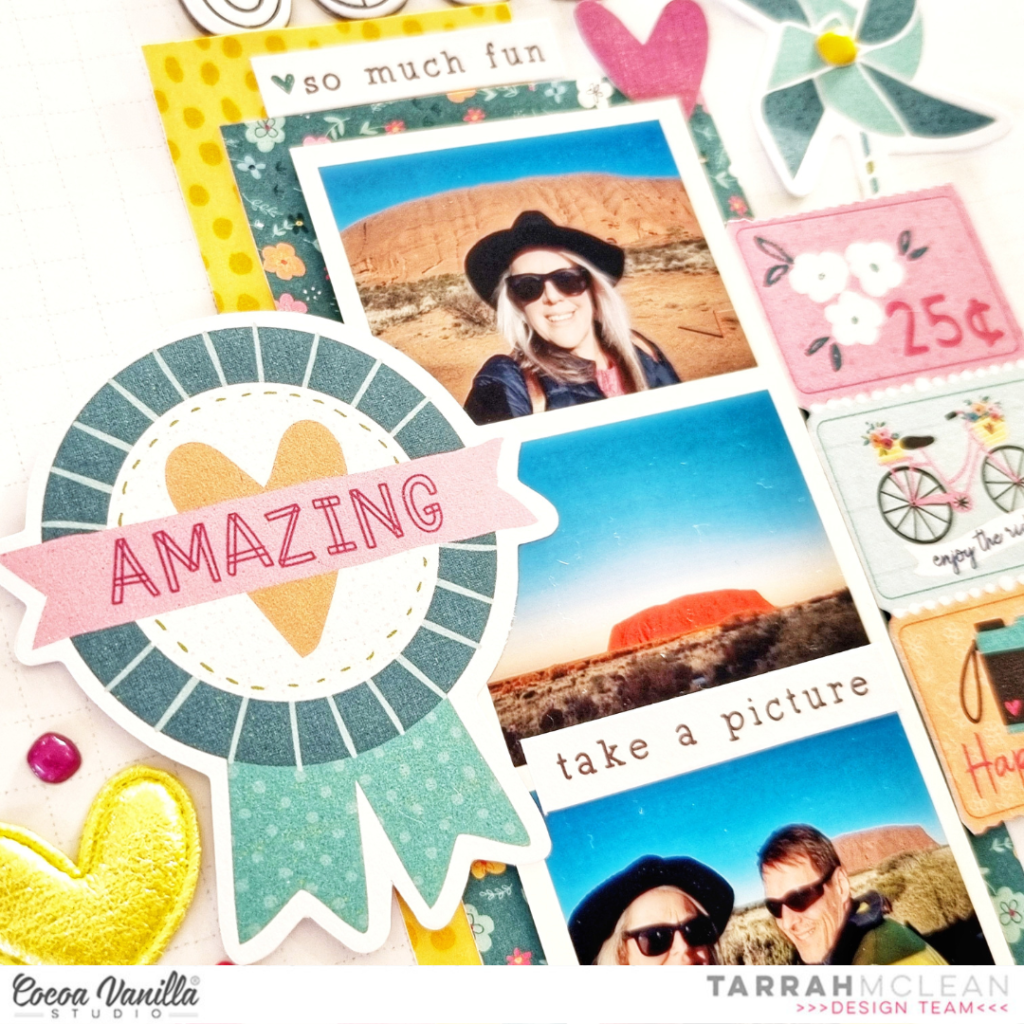
On the left of the photo strip, I placed the Amazing prize winner die-cut and on the right hand side I adhered the postage stamp die-cuts. Above the postage stamps I adhered the pinwheel die-cut and placed a puffy enamel dot in the centre of the pinwheel. I added a few phrase stickers from the Accessory sticker sheet around the photo to help tell the story of the photos. On the left of the photos I placed a yellow puffy heart and some more enamel shapes.
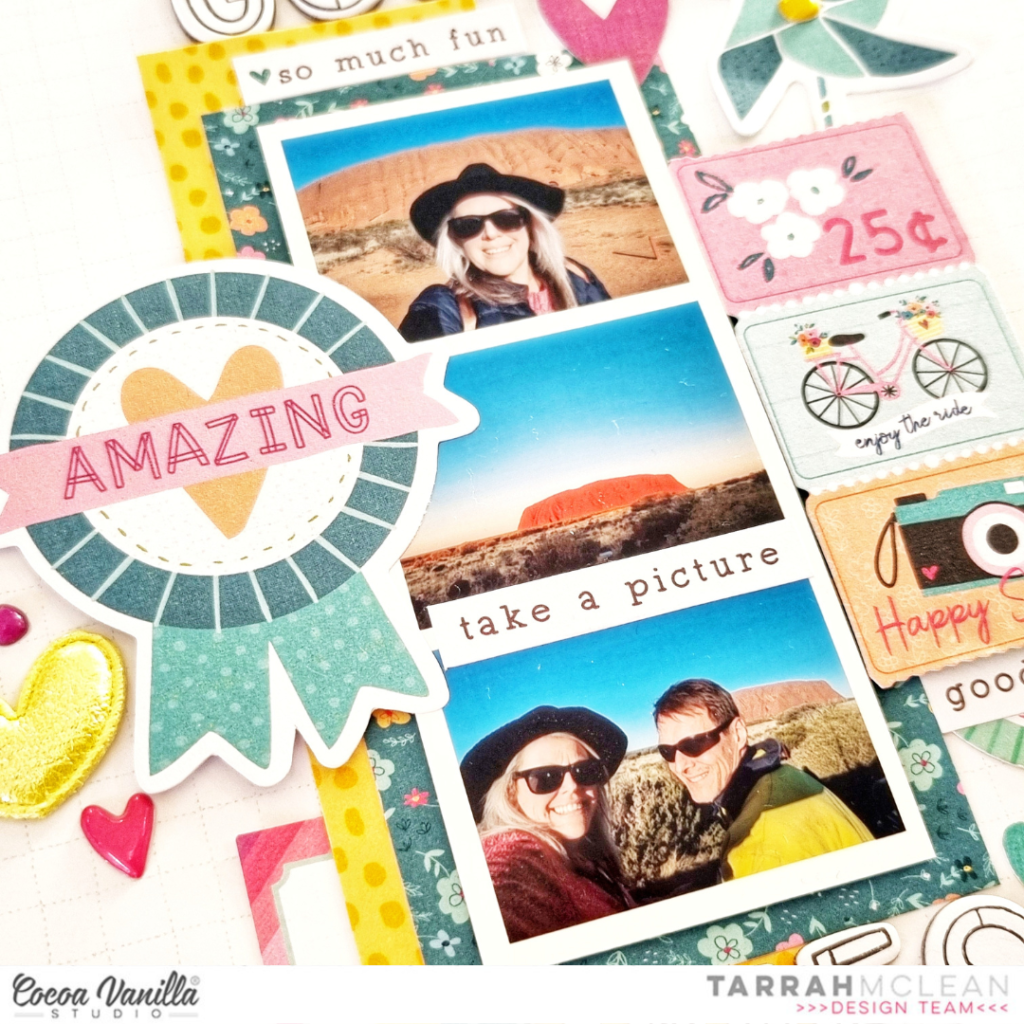
My title was made up of the chipboard alphabet words, I placed one word above the photos and the other one below the photos. I added a few more small embellishments like die-cut hearts, enamel shapes and accessory stickers to finish the layout and lastly I stamped the date stamp using black ink.
Thank you so much for stopping by the Cocoa Vanilla blog today!
I hope you enjoyed reading about how I created my layout as much as I enjoyed creating it!
Happy creating!
Tarrah x


 I hope this layout inspires you to have a play with your frames from the Happy Days collection as well as to try some creative journaling techniques! To see how “Happy Moments Together” was created, check out the process video below:


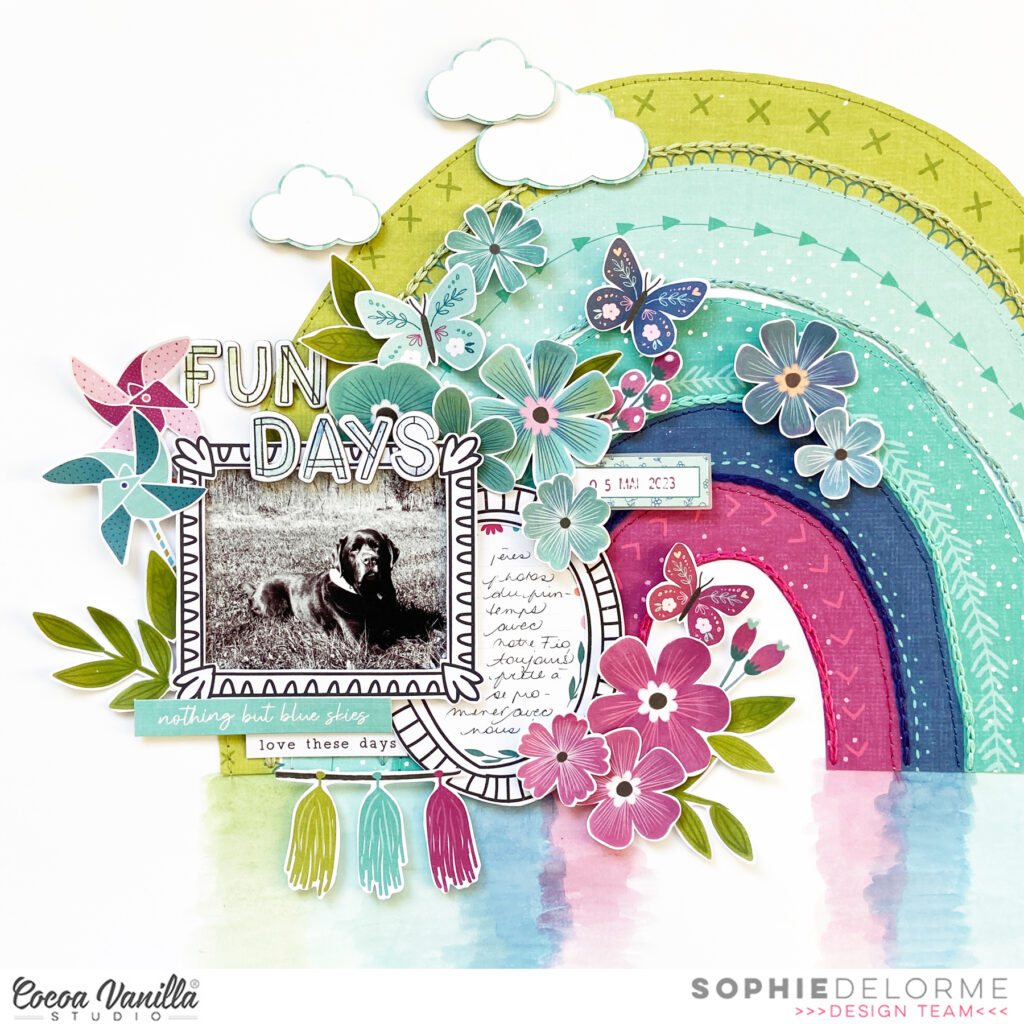
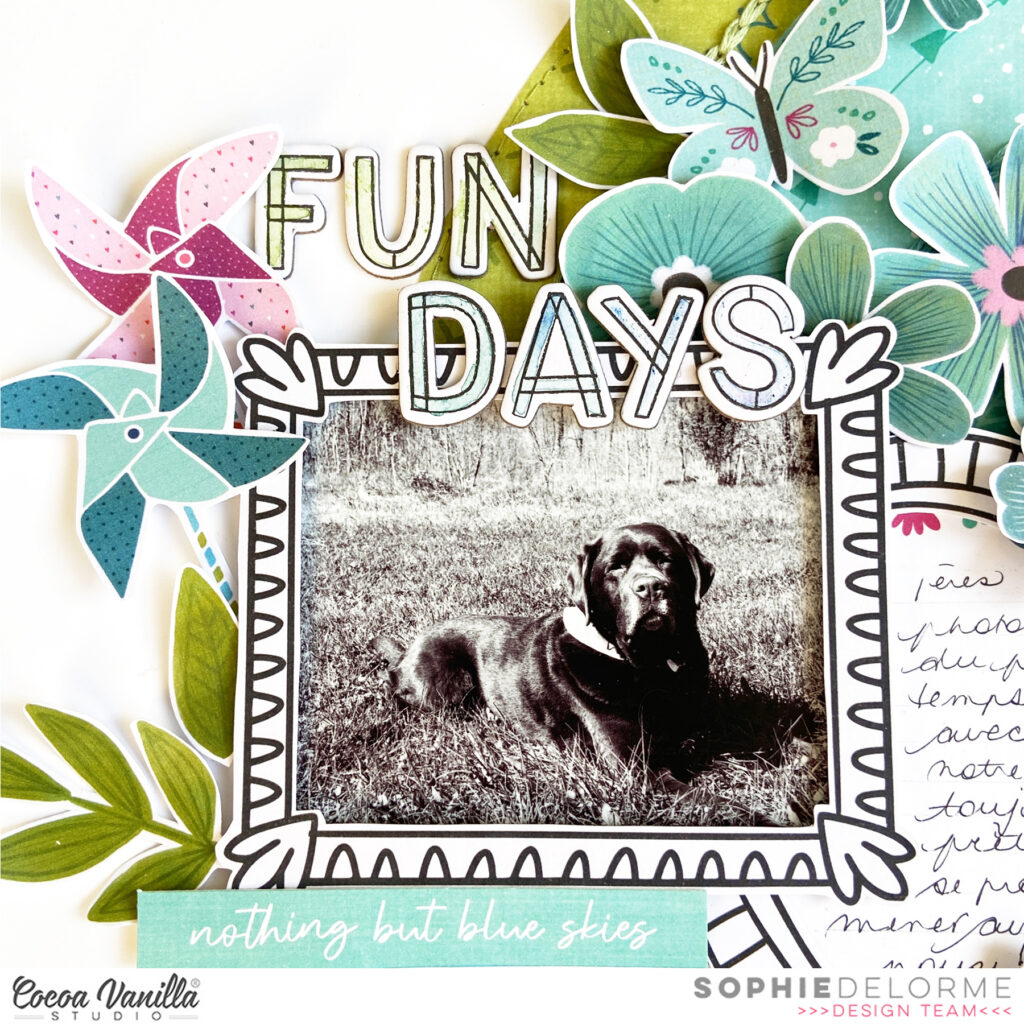
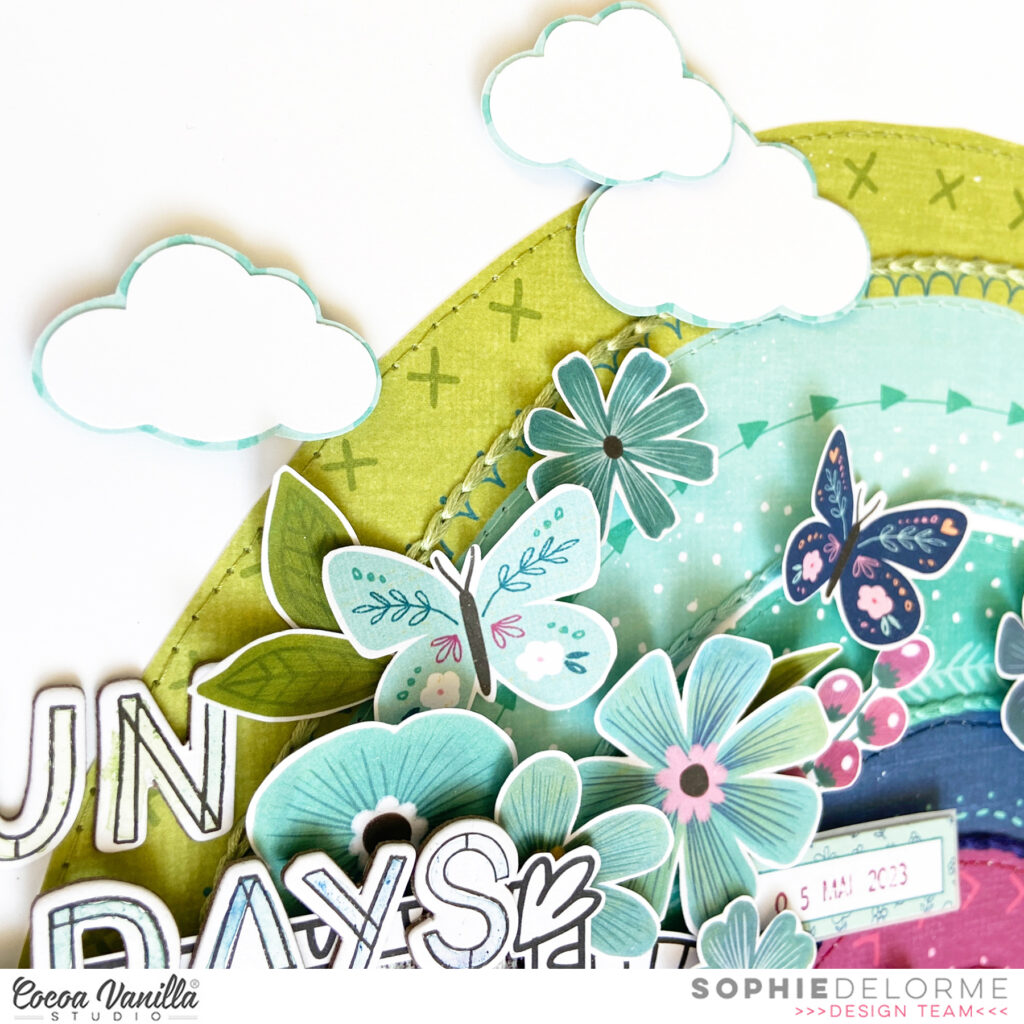
 I started this layout off by trimming down a sheet of white cardstock and matting it on the gorgeous magenta Flutterby paper. I added a doodled border around the white cardstock to add some further definition and interest. Next I cut two triangles, one larger than the other, out of the beautiful yellow Feel Good paper, and adhered these on each side of the page. I matted my photo with a paper from the A5 Paper Stack and adhered that over the larger triangle on the left hand side of the page.


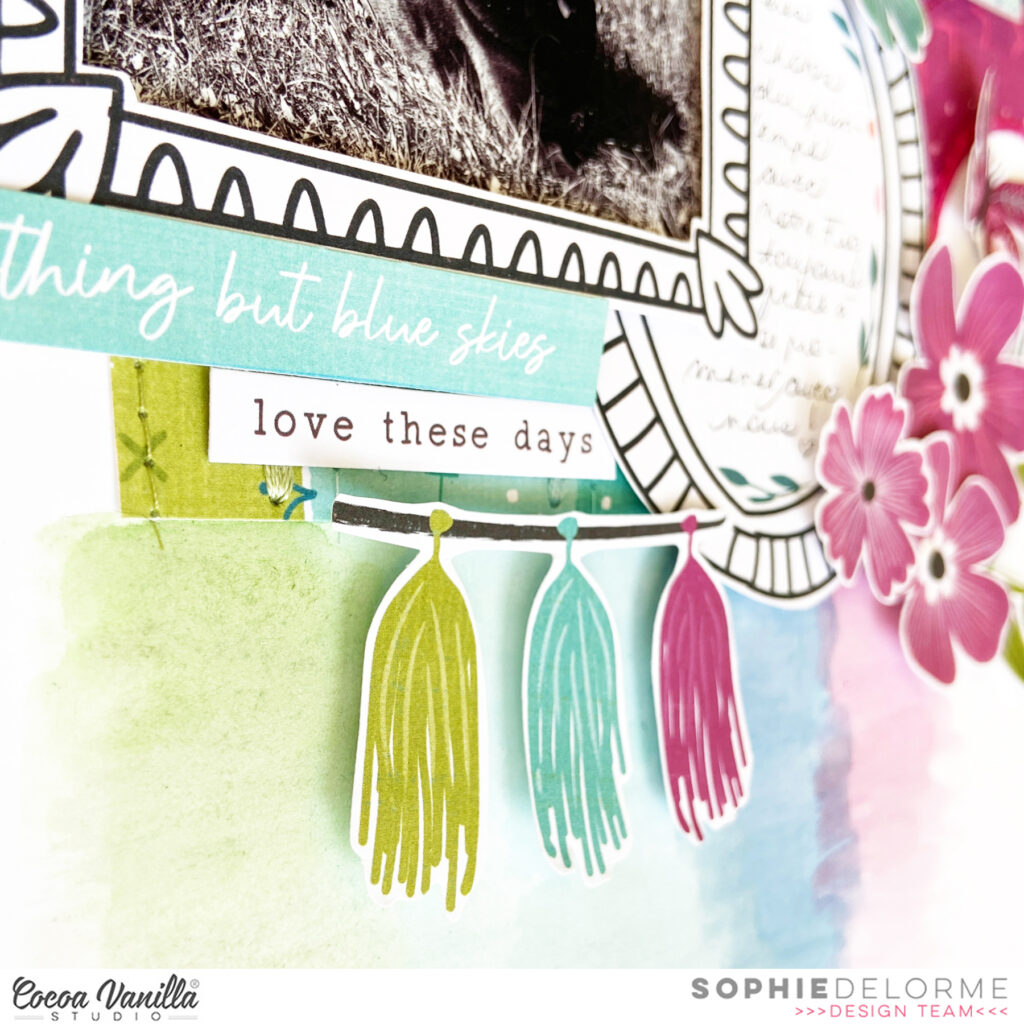
 I finished the layout off with some cute banners in the top right hand corner of the page, a couple of little phrase stickers from the Accessory Sticker Sheet, and of course a sprinkling of hearts from the Die Cut Ephemera and the Puffy Sticker Pack.