Fall garland | Heart & Home Collection | Anna Komenda
Hello, hello! It’s Anna here with another project made with brand new “Heart & Home” collection. I was recently decorating my home for fall and after putting all the pumpkins and other stuff, I felt I needed something in the upper part of the composition, that felt quite empty. That’s how I came up with an idea for a fall garland. I didn’t want to make it from triangles so I used my digital die cutting machine to cut leaves in variety of shapes.

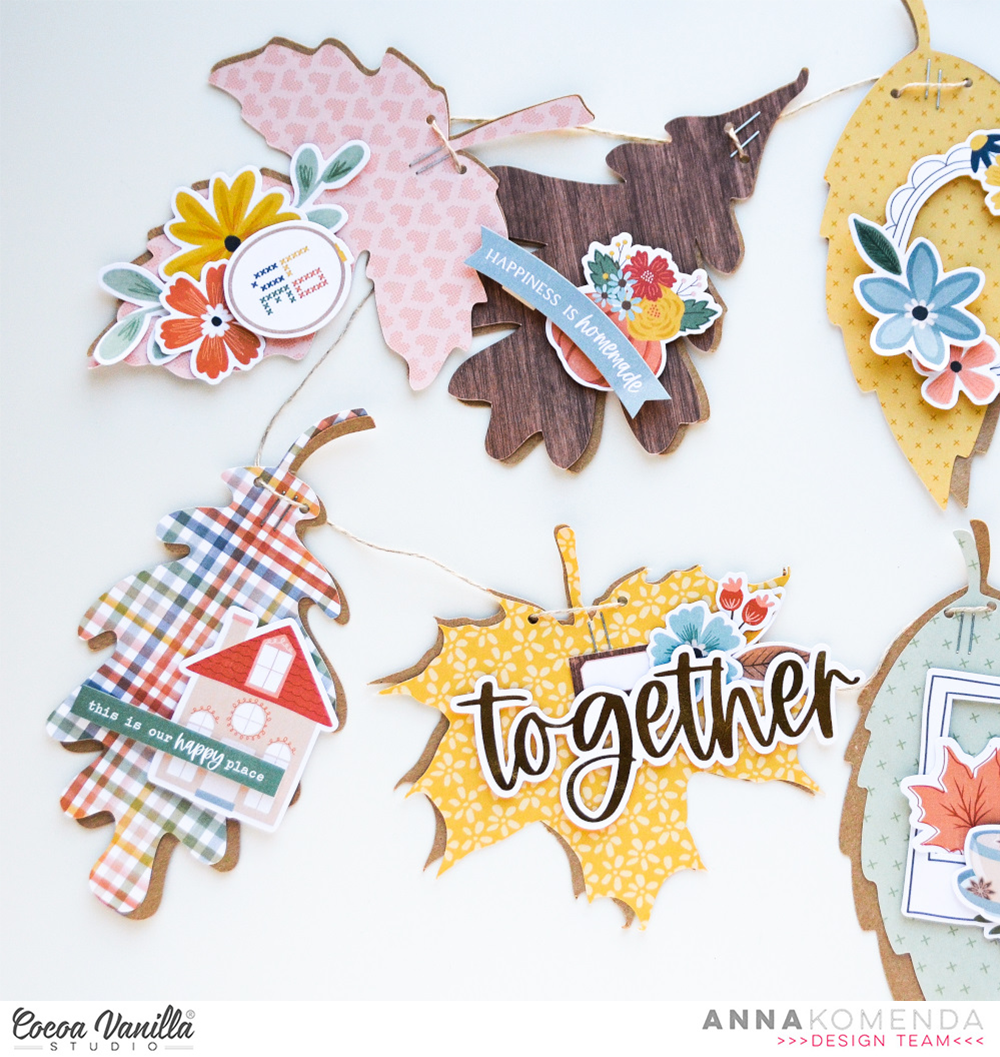
They are a little bit less than 15 cm big and cut out from a variety of pattern papers both from 12*12 sheets and A5 Paper Stack. I used “Bountiful”, “Leaf litter”, “Fall beauty” and “Gather” patterns. I cut out 12 leaves with papers and another 12 with kraft cardstock. I combined leaves in the same shapes together and stapled them instead of adding glue.

Next step was to make little holes in each leaf to add string, that combines all the leaves together into the garland. I made two holes so the leaves doesn’t spin around on the string.

Each leaf is decorated with a little something – either a flowers from Floral Ephemera pack or elements from Die Cut Ephemera. Two of them are embellished with words from Titles With Gold Foiling – “celebrate” and “together”. I din’t want to overdo it as the leaves are colorful already.
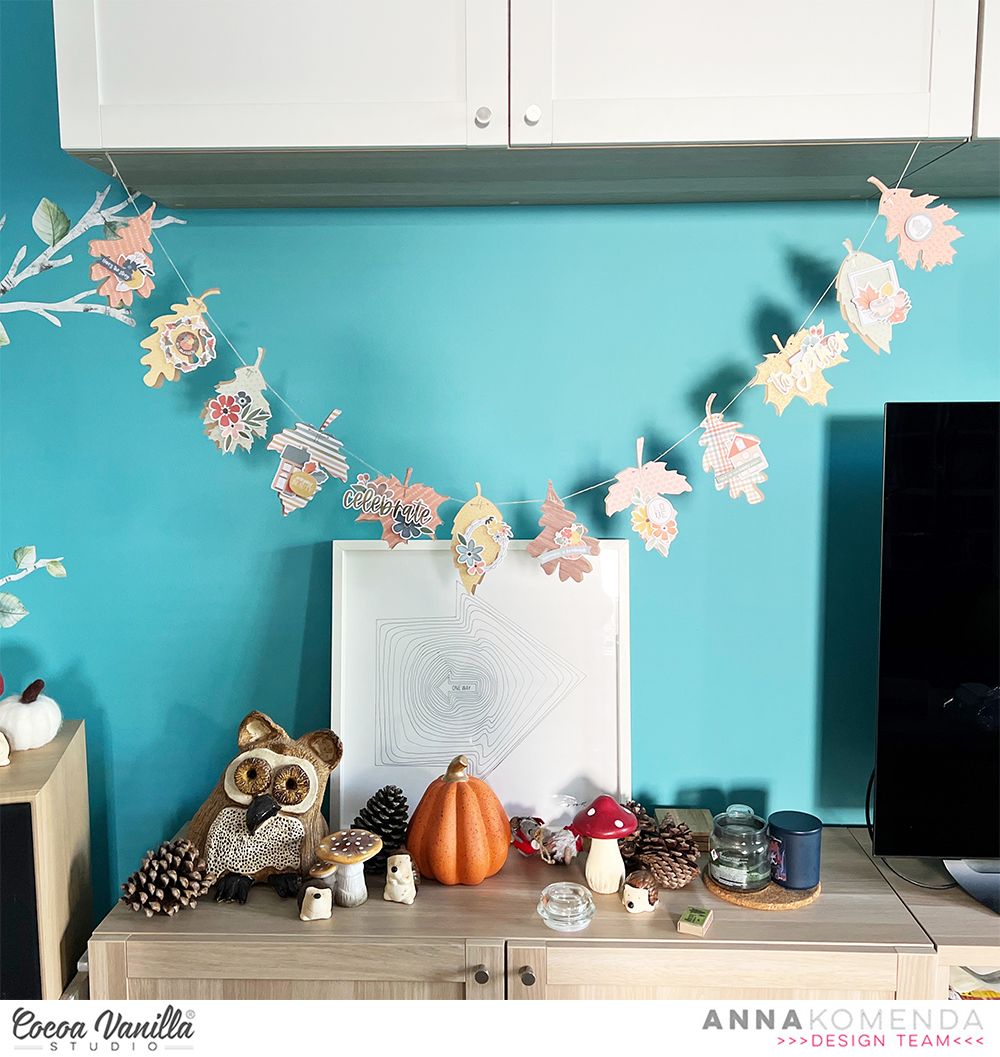
My garland is already hanging in the livingroom, over my decorated cabinets. This is how it looks:
That is all for today! Thank you so much for spending this time with me. See you in November!
XO Anna

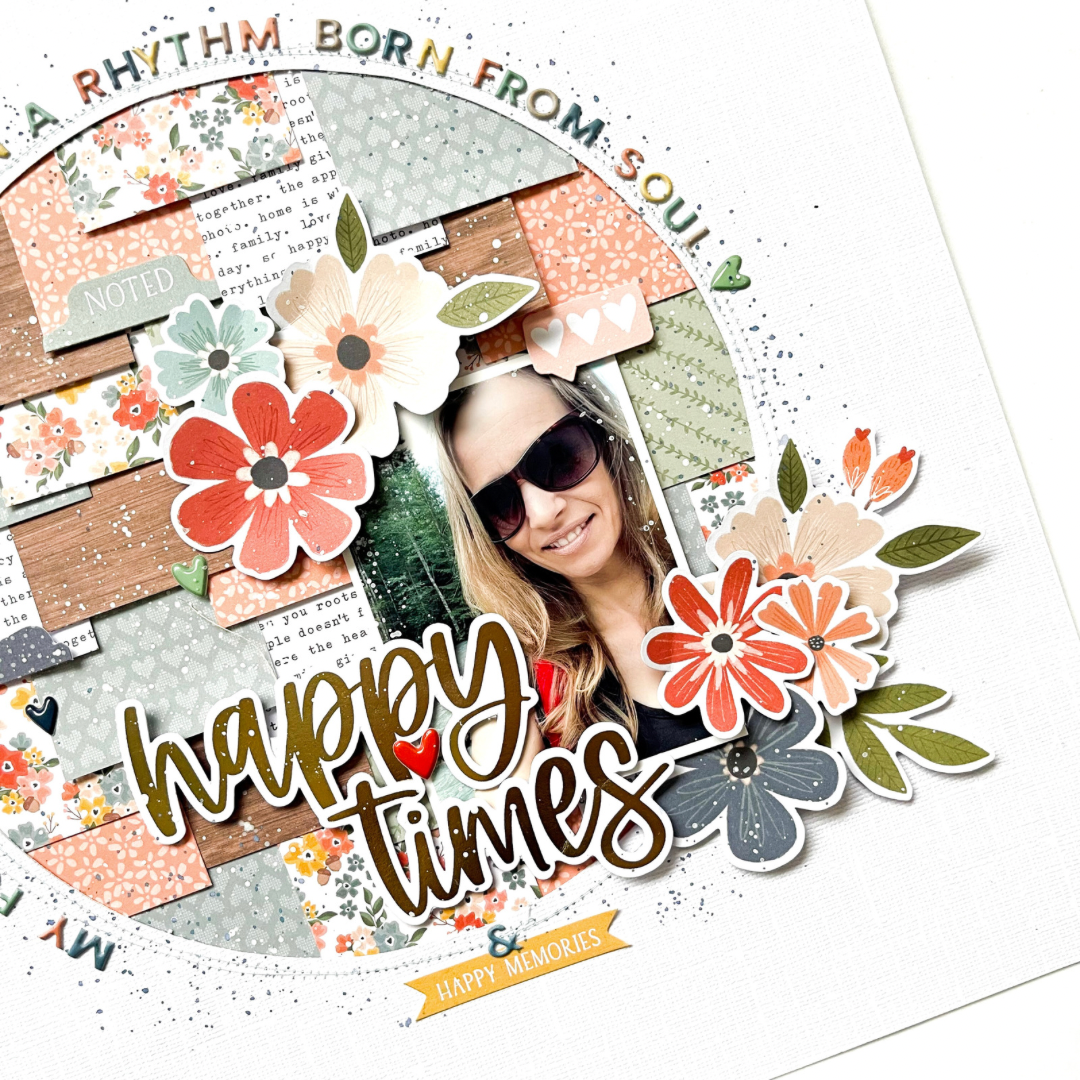
 The photo, a snapshot from a memorable hike during our Austrian adventure, harmonized beautifully with the color palette I chose. The rich, earthy tones and soft pastels in the Home and Heart collection fits perfectly with the picture. To add some dimension and flair to the patchwork, I incorporated stickers and mini puffy hearts, strategically placing them between the paper squares.


 I kept to a warm colour palette on this page, choosing the reds, pinks and oranges, and making sure to repeat these colours in both clusters to keep them looking balanced. By tucking some flowers under the edge of the photo, and adding others on top, it helps to give the cluster some extra dimension and interest. I also finished off both clusters with some Puffy Stickers.
 Thanks so much for joining me here on the blog today! I’ll be back next month with some more inspiration.


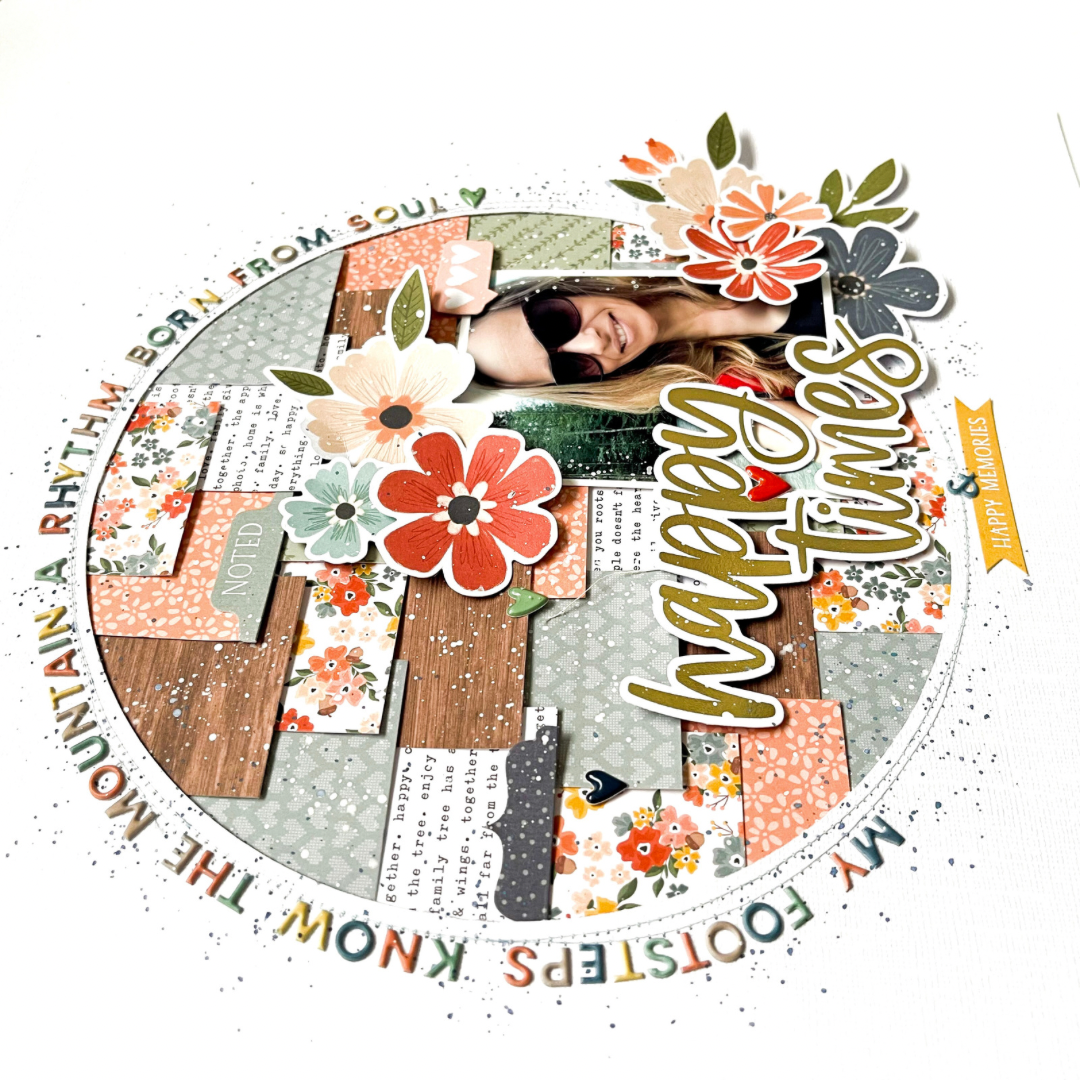
 To balance out the heaviness of the right side of the layout, I created a cluster of embellishments that mostly included some more of the gorgeous florals. I adhered some flat and adhered some with craft foam to create different heights and dimension. I did add a die-cut that said ‘Everyday Beauty’ here also. Some more phrases were added too including the Happiness Is Homemade banner that I added under the title and the Moment Captured banner die-cut that I adhered on top of the photo. I also added the Joyful Days sticker from the Accessory sticker sheet just above the title. Lastly I added some of the puffy hearts around the page, stamped the date stamp and sprinkled some white mist around.