Living the Dream | Unforgettable Collection | Sue Plumb
Hi everyone! It’s Sue Plumb here to share my latest layout featuring the gorgeous ‘Unforgettable’ collection. For this page I wanted to document some sweet photos of my hubby and our cat that were taken when he was just a kitten. (And yes, I think a pop of purple is perfectly acceptable for a masculine page!)
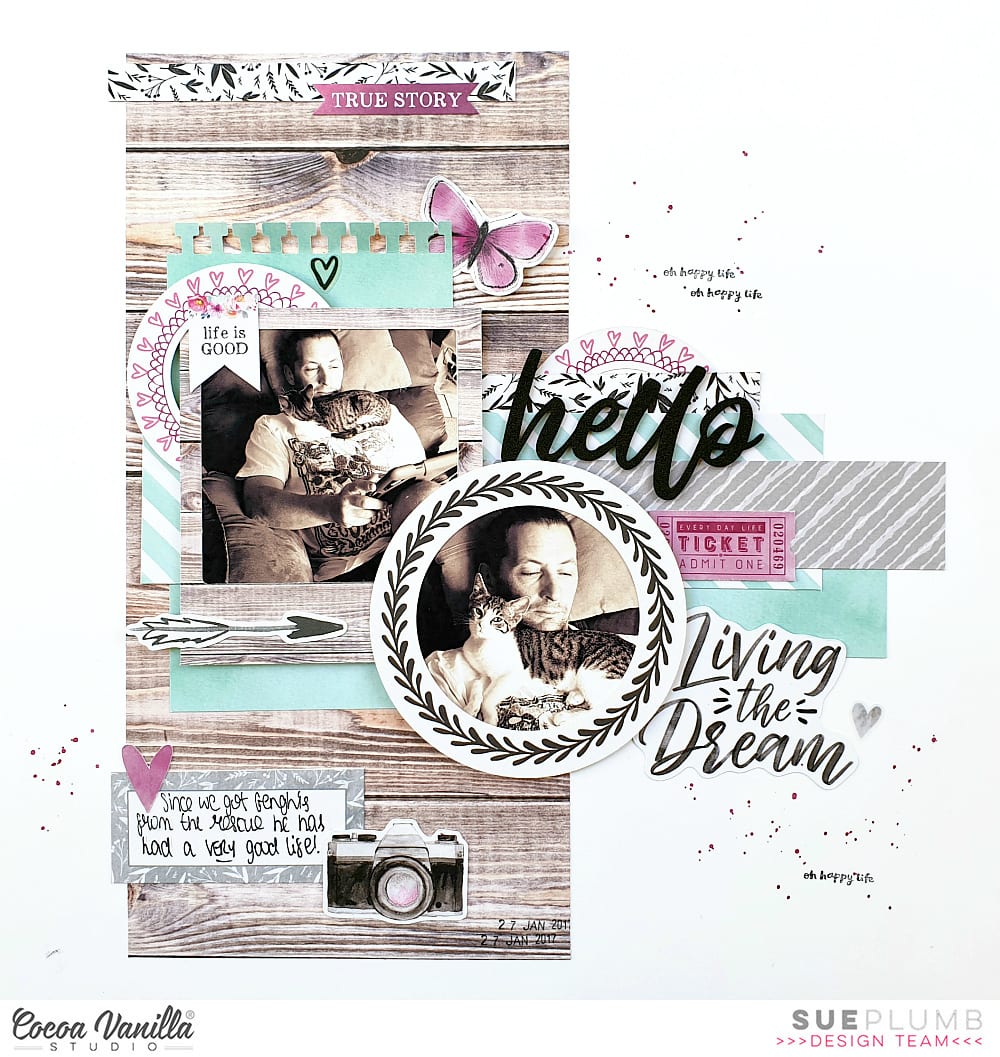
Starting with a white cardstock background, the first paper I was drawn to was the gorgeous wood grain print of the Natural Beauty paper. I am a huge fan of wood grain papers, and I have to say, I think this one is my favourite so far! The tones, the pattern of the grain – it’s just perfect. I cut a large piece and placed it vertically on the left side of my page.

I overlaid the wood grain print with a piece of the minty green watercolour print paper from the 6×8″ Paper Stack (in the 12×12″ papers this is the reverse print of the Garland paper). I used a notebook style paper punch to punch the edge of it for extra interest.
Then it was time to add some horizontal structure to my page. I used an extra piece of the same mint paper again; along with a piece of the black & white leafy print from the reverse side of the Natural Beauty paper; the grey stripe from the reverse of the Glorious paper; and the mint diagonal stripe from the Sprightly paper.
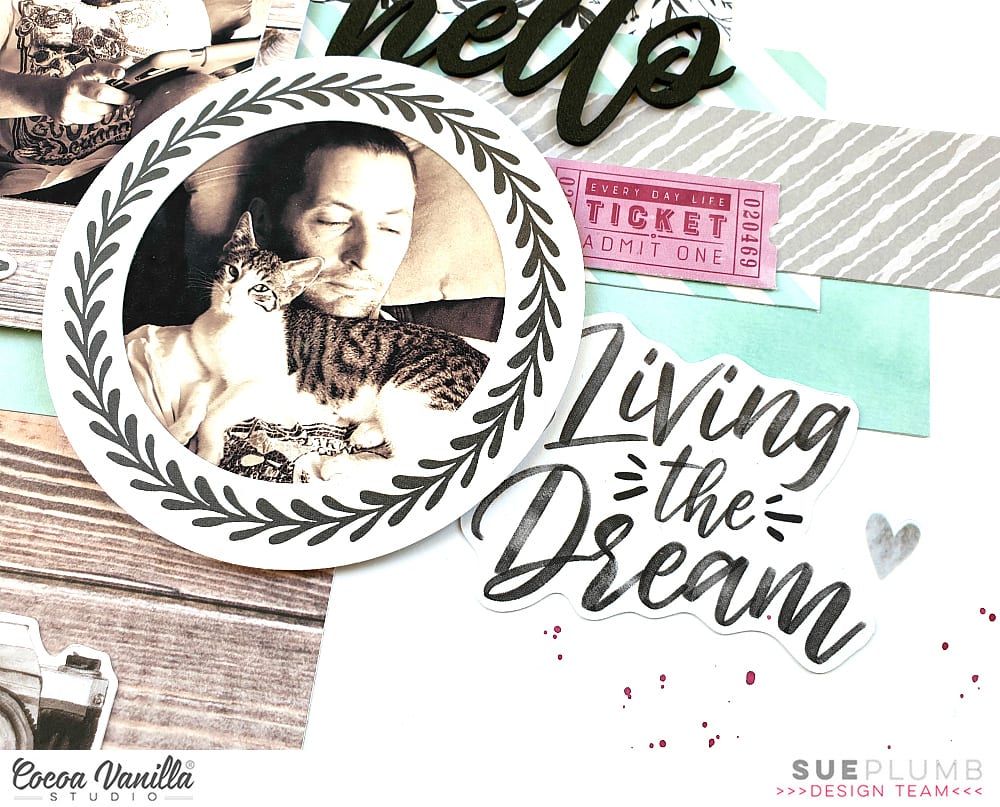
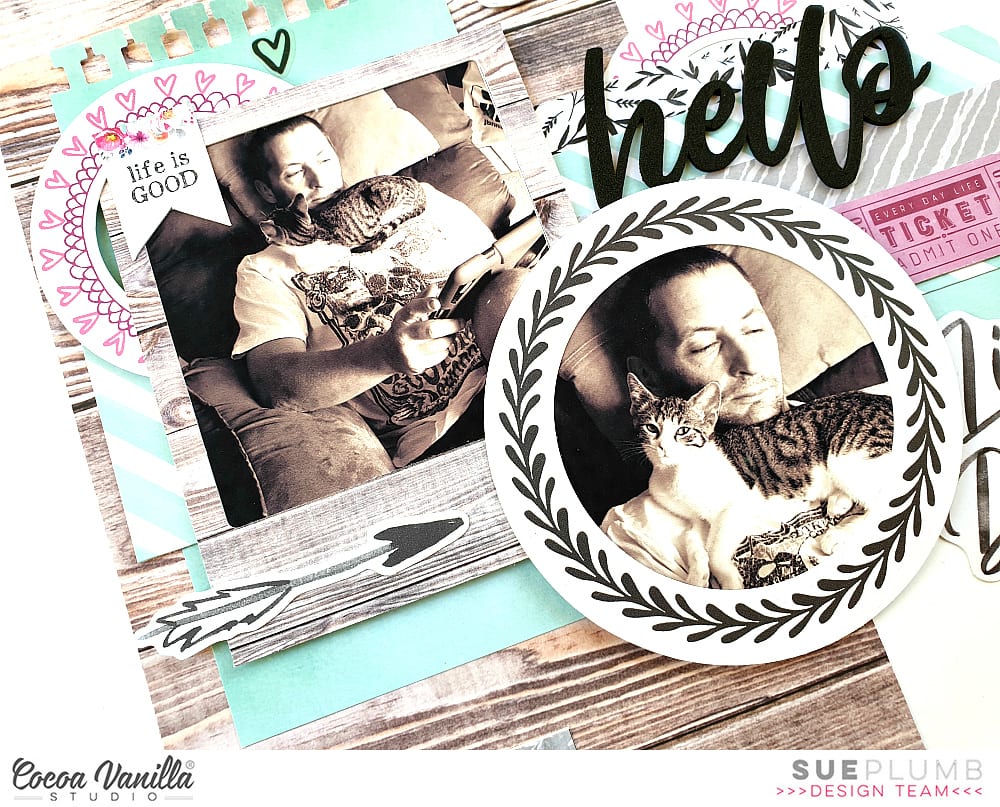
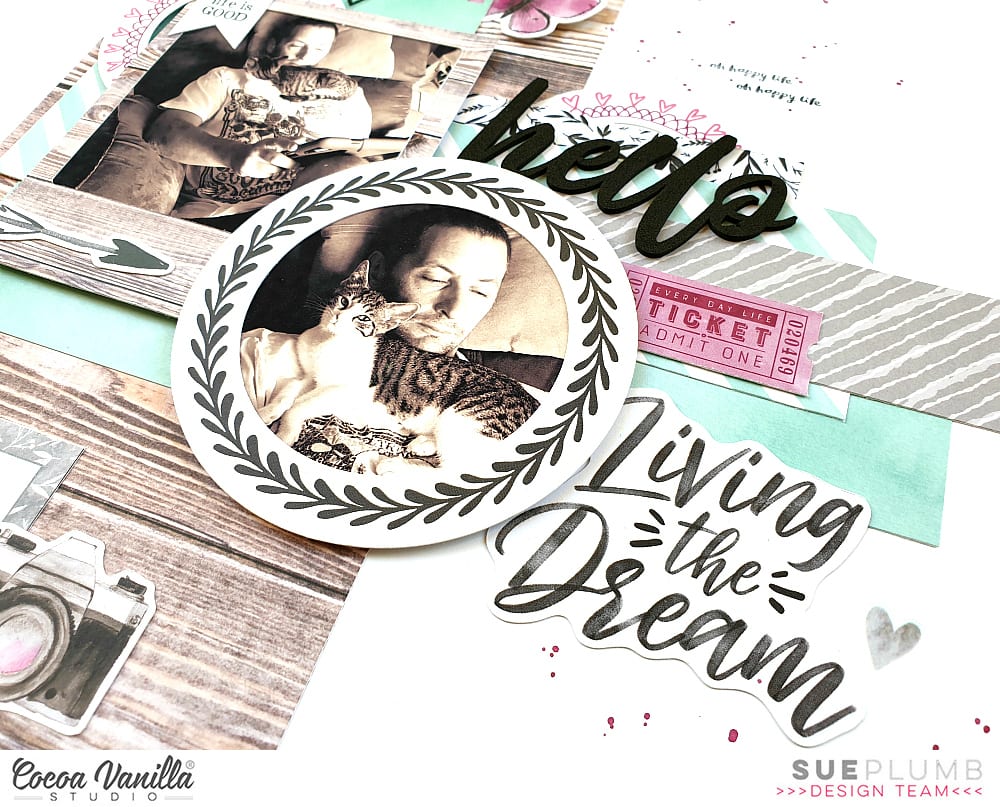
I decided to frame each of my photos using frames from the Die Cut Ephemera pack – one a gorgeous polaroid style wood grain and the other a black and white wreath. I positioned each of them over the patterned papers layers, using some cardboard behind them to pop them up from the page.
Now it was time to add some fun embellishments to bring all the elements of my page together.
I started with the Foam Title Stickers, choosing the word hello and adding it alongside my top photo. I then reached for the Die Cut Ephemera pack again – choosing the Living the Dream phrase piece to go alongside the lower photo. Between the two, I added the purple ticket from the ephemera pack.
I then took another frame from the ephemera pack, this time a sweet circular frame with a doodled heart border. I cut it into two pieces, tucking the larger piece around the corner of my top photo, and the second smaller piece in behind the hello sticker. I also added a label for my journalling that was fussy cut from the Story Teller paper.

After writing my journalling on the label, I added the super cute retro style camera and a small heart (both from the ephemera pack) to create a small cluster. Then, to balance it out, I added a small strip of the reverse side of the Natural Beauty paper at the top of my page, and the true story sticker from the Accessory Sticker sheet over the top.

Almost done – time for a few finishing touches! I added two small hearts from the Clear Sticker sheet; the purple butterfly from the Die Cut Ephemera pack; and the Life is Good sticker from the Accessory Sticker sheet.
I then stamped the oh happy life phrase using a stamp from my stash and added a few tiny splatters of berry ink.
That’s all from me today, thanks for stopping by so I could share this with you. The ‘Unforgettable’ collection is now hitting the shelves of retailers around the world. If you have a chance to get your hands on it, just do it! It’s really a stunning collection and I know you will enjoy creating with it as much as I am.
Until next time, happy scrapping!


 I decided to cut a strip of the stripe side of the ‘Sprightly’ paper and placed it vertically down a plain white cardstock background. I then trimmed the white cardstock down so that I could use the pink side of the ‘Unscripted’ paper as a border. I added some machine stitching down each side of the vertical strip. I added some layers under my photo including the floral paper from the ‘Pretty Bits’ paper and one of the die-cut frames, I popped these all up using craft foam.
  I tucked in one of the tab stickers both at the top and bottom of my photo from the Accessory sticker sheet. As you can see in the detail photo above, I used some of the gorgeous new foam words as my title! They are gorgeous and aren’t too sticky, perfect if you aren’t sure of placement, they are easily repositionable which is very handy for me! I also added one of the gorgeous bows and a few other embellishments finish off this side of the layout.
 On the left hand side, I added one of the cute banner stickers and tucked in some of the gorgeous floral die-cuts. I also layered one of the flair buttons to the top of one of the florals. A few other small embellishments like the clear stickers and enamel dots finish off this side. One thing I wanted to point out in the floral die-cuts is that gorgeous texture you can see in the detail photo below. I just love that not only are there beautiful colours in this collection but the texture is awesome too.
 This gorgeous cut file So Loved is from Cut to You. I sized it to fill most of my page choosing the ombre blue paper
  I used the
  I added my photo with foam tape which I framed with a die cut
  I have used
  Thank you for taking the time to pop by today and I hope this layout has inspired you in some way. See you later in the month were I will have another layout using the new CVS collection Unforgettable yay! Have a great week.


