Living the Dream | Unforgettable | Mandy Melville
Hello everyone and Happy New Year!
I hope that you all had a lovely Christmas and are looking forward to a fabulous 2020! Today I have a new layout to share with you using the gorgeous Unforgettable collection. I chose to scrapbook a couple of photos of my beautiful Abi, taken when we were on holidays recently. I think that the colours in the photo work perfectly with the Unforgettable collection!

I started off with the Garland patterned paper as my background, however I turned it upside down as I wanted the cluster of flowers on the garland to be at the top of the page rather than the bottom. I love that this paper provides a gorgeous, ready-made background, which makes the design process so much quicker!

I printed my photos about 3×4 inches, and then matted them using two of the patterned papers from the 6×8 paper stack. I then positioned them overlapping the larger floral cluster at the top of the page. I also added a couple more floral die cuts into the garland to give it some more dimension and interest.

I added a few embellishments around the photos including a flair button to the left, and a tab sticker and butterfly die cut to the right.

To balance out the large floral cluster in the top left hand corner of the page, I added another smaller one in the bottom right hand corner. I fussy cut this one from the beautiful Glorious patterned paper. I also added a butterfly to the cluster, which I cut out of the Pretty Bits paper. I adhered it just in the middle section so that the wings would lift nicely off the page, once again adding some lovely dimension to the layout.
For my title, I chose the die cut piece that says ‘Living the Dream’, which I think was appropriate for these holiday snaps! I added this over on the right hand side of the page above the floral cluster. To finish the layout off I scattered a few little die cut flowers and some enamel dots around the page.

Thanks so much for joining me here on the blog today and taking a look at my layout! I’ll be back later in the month with another project to share with you.
Mandy x


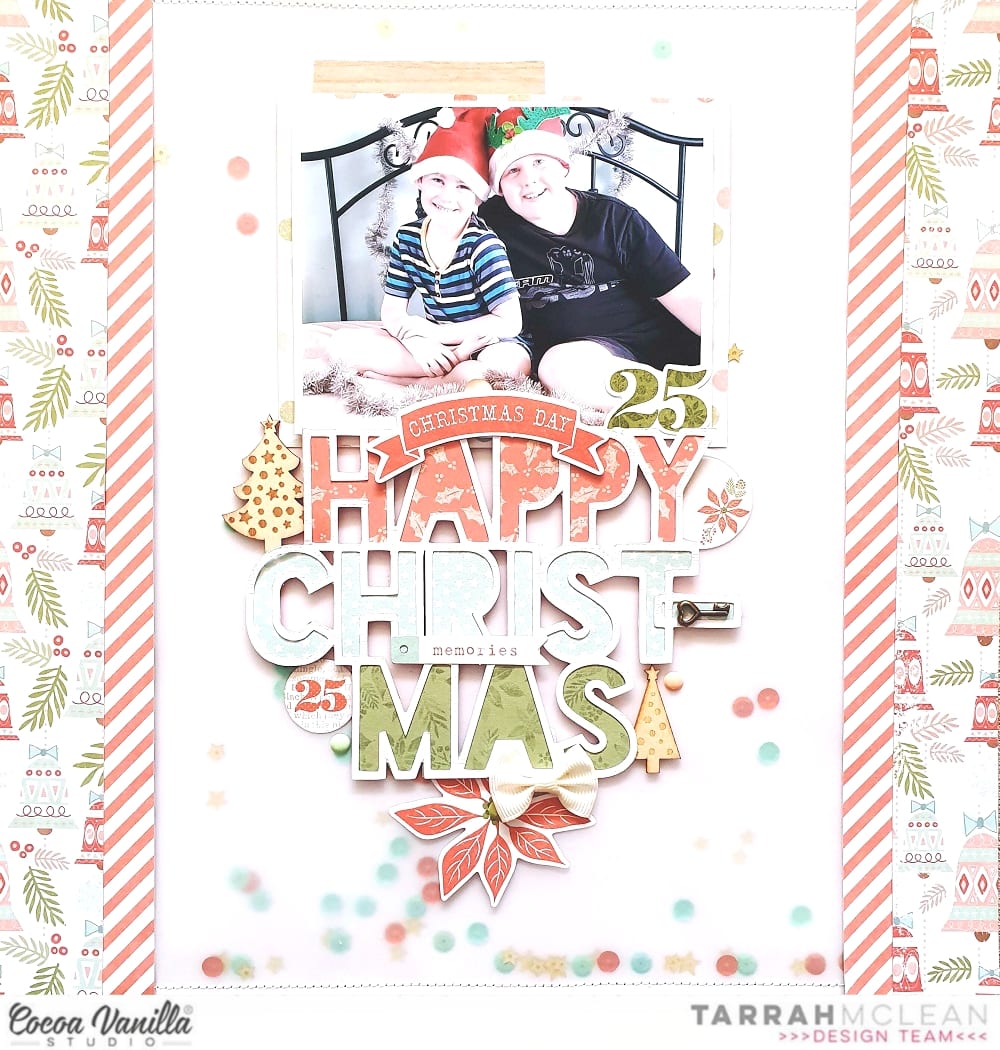
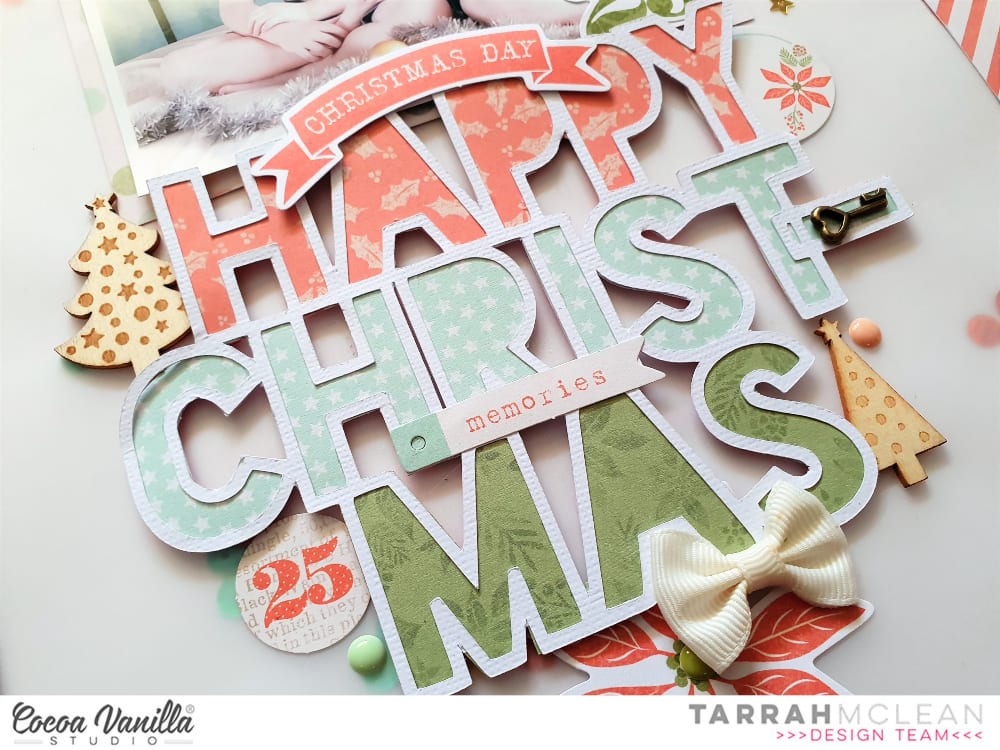


 Santa is quite big so there was no much room left for embellishing. I created my title using ephemera leftover – word “christmas”. I added word “merry” using
 I don’t have much of the traditional collection left now but I am so happy to be able to get everything I need in digital form! I will never run out again! If your stash is getting low of
  I chose a photo of my youngest taken on Christmas Day when he was about 3 weeks old, he just turned 9 yesterday so the photo is quite old but its one of my favourites! I changed the colour of the photo to a soft black and white as the colours in the photo would have clashed with the soft colours in the collection. Underneath the photo I layered a small paper doily and a smaller piece of the red and white stripe paper to the right of the photo. I also layered a wood veneer frame on top of the photo, I like how this draws your eye to the photo. I popped up the photo using craft foam and then placed embellishments around the photo. The ticket that says ‘Child’ die-cut definitely had to be added, it was perfect tucked at the bottom of my photo.
 I used accessory stickers, enamel dots, die-cuts, wood veneer, sequins and a bitty bow to embellish. I have tons of the sequins left, I love the gold stars so I scattered a few of those around to add some sparkle. I placed the white bitty bow at the base of the tree to separate the tree from the pot. To finish the page, I added the date stamp of when the photo was taken. I love how my page turned out even with only minimal pieces from the


