Stay Weird Stay Wonderful | Legendary Collection | Raquel Bowman
Hi everyone, it’s Raquel here today sharing a new layout featuring the amazing new Legendary collection and the freebie cut file designed by Gwen at Cut to You exclusive to CVS. This layout today features my little man, who is not so little anymore, and our gorgeous puppy Lola.
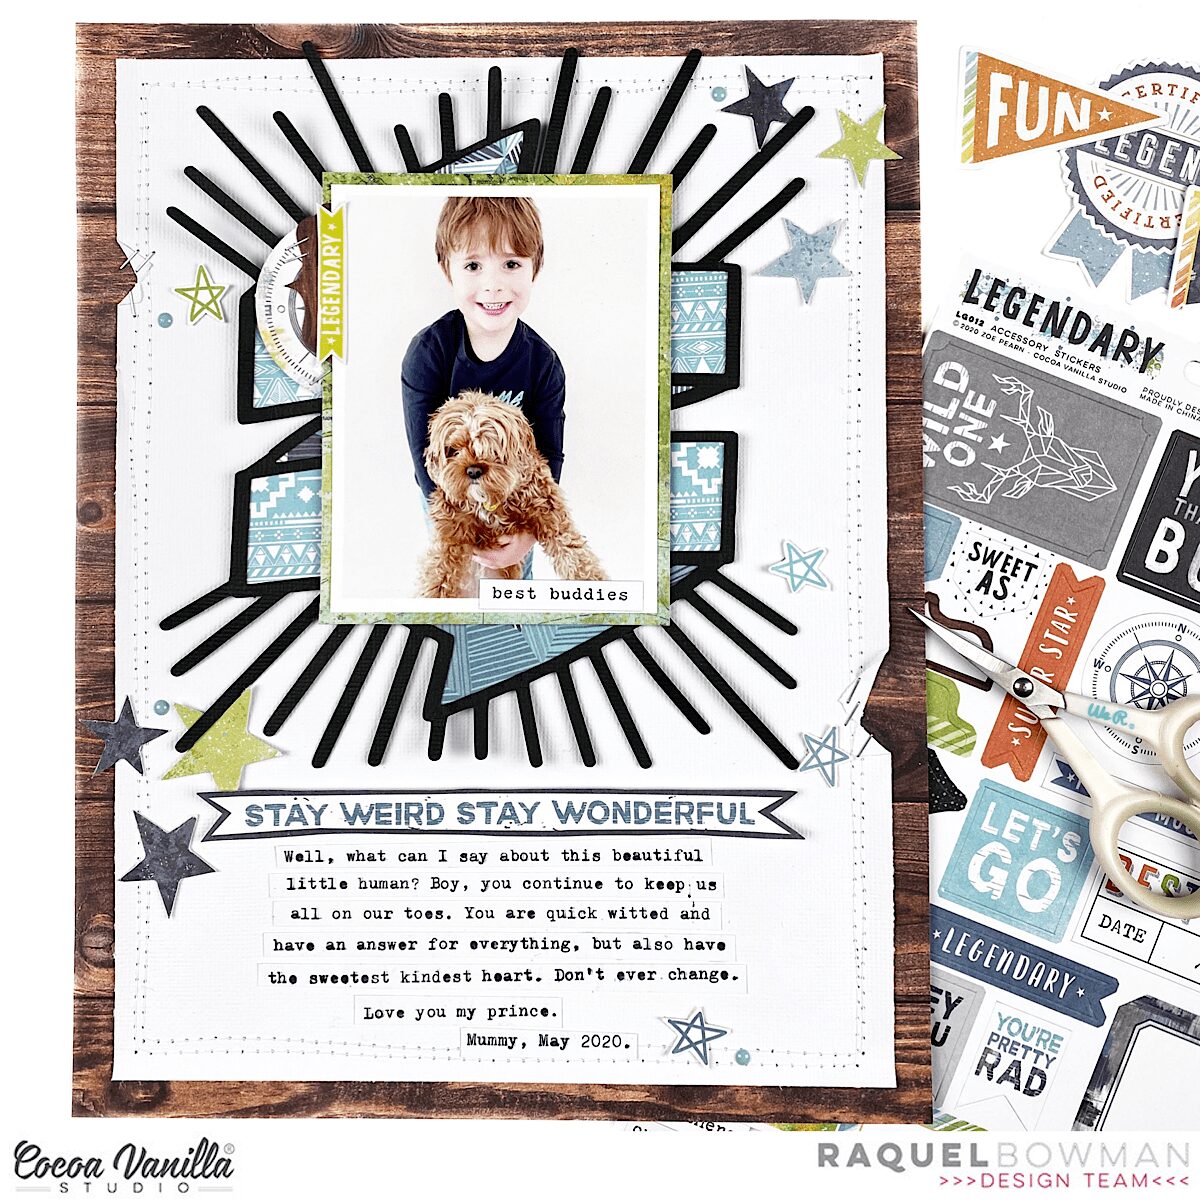
Here is the layout that I created:
Here is a process video for how this layout came together:
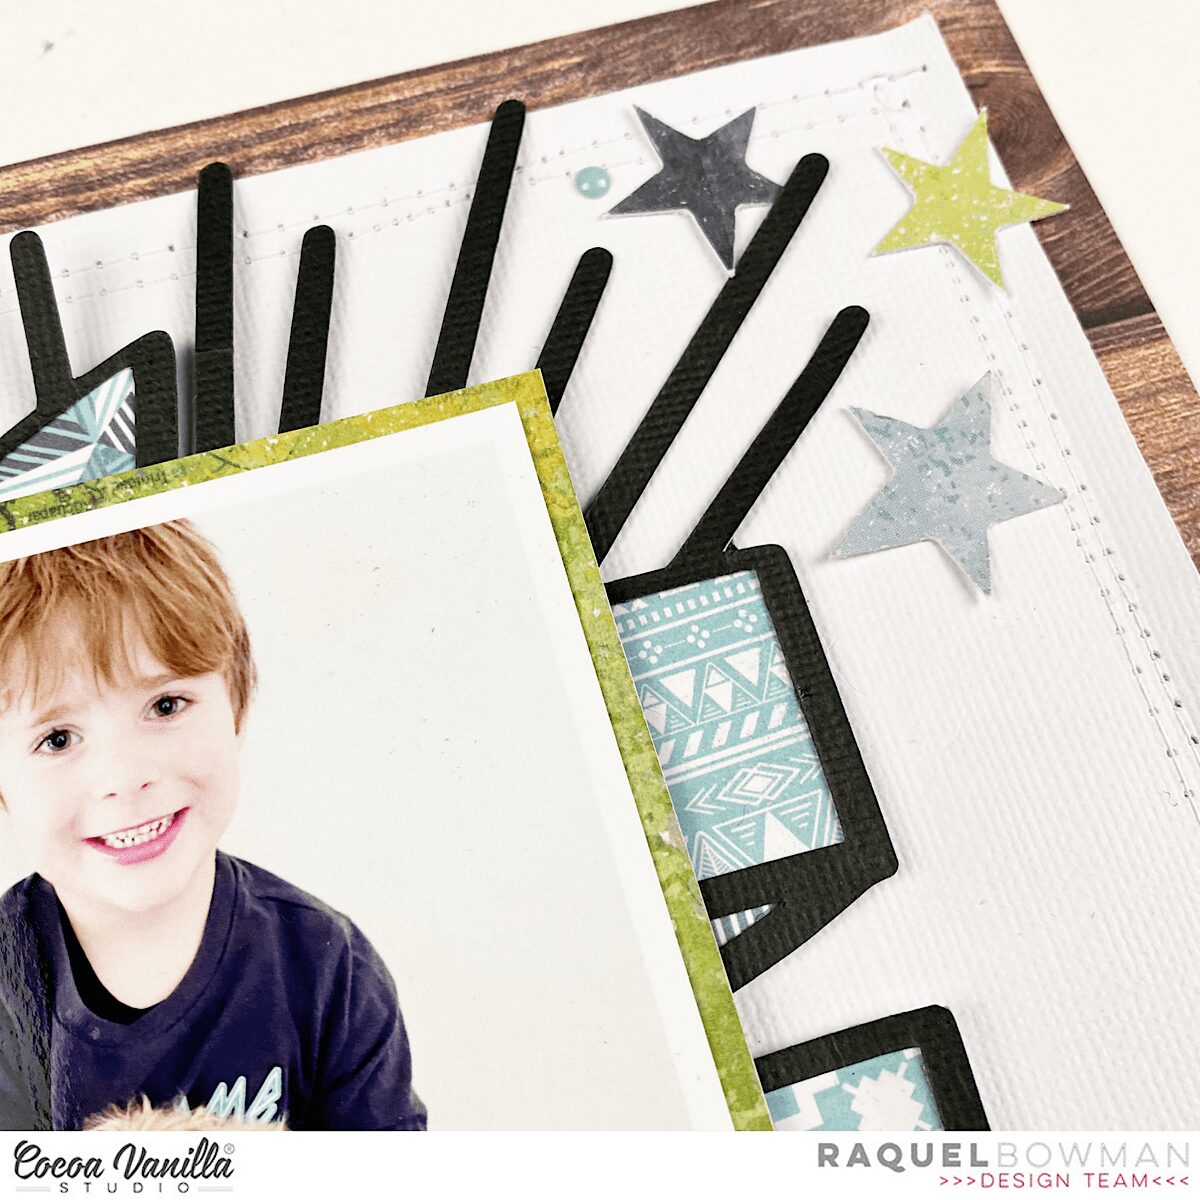
The main feature of this layout, along with the photo of course, is the banner cut file which I have cut on black textured card stock. I normally cut all my cut files on a white so choosing the black was a big change for me. I have to say though I love the masculinity that this adds to the layout and that striking pop of contrast. To back the cut file I used both sides of the ‘Total Legend‘ patterned paper. My colour palette for this layout was to stick to the woodgrain, green, blues and greys which I was able to do with the embellishments and papers within the collection. These colours really complimented the colours in the photo of Jack and Lola.
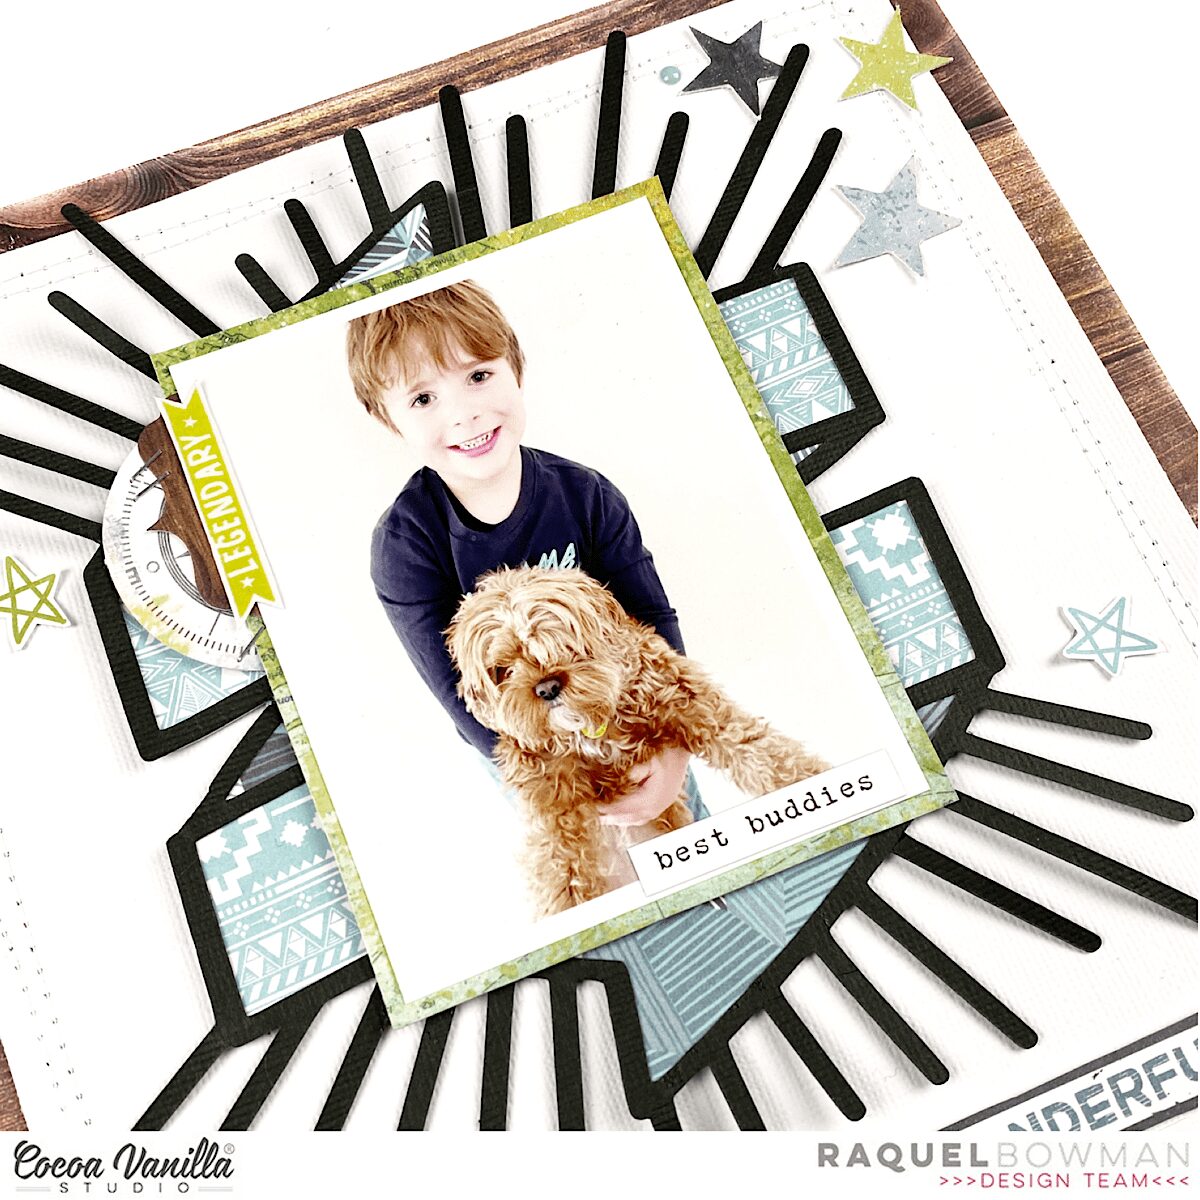
The photo was matted on the green of the ‘Outdoors Type‘ patterned paper. I then added a cute woodgrain tab and a compass ephemera piece to the top left of the photo. The green legendary embellishment that you can see is actually a clear sticker, adhered to a piece of white card stock and cut out. I tend to do this a lot with the clear stickers as that gives me the freedom to move them around. Plus adhering them on white allows them to really feature and pop as an embellishment. I used my tiny attacher to add a few staples to the embellishments – more for a design purpose than for the use of adhesion. 
Stars feature on this layout heavily and were mainly chosen from the ephemera pack. There is nothing better than a scattering of stars on a layout, wouldn’t you agree? Of course, I added them in a number of 3. I always tend to work in threes when I embellish.

The enamel dots in this collection have this beautiful shade of blue. I scattered a few on this layout too.
For the title today, it did take me a while to figure out what I wanted to add. When going through my Legendary stash I came across the phrase ‘Stay weird, stay wonderful” on the ‘Epic Tales‘ paper and I just knew this was perfect. I fussy cut the heading out and then added my typewritten journaling in strip form underneath. 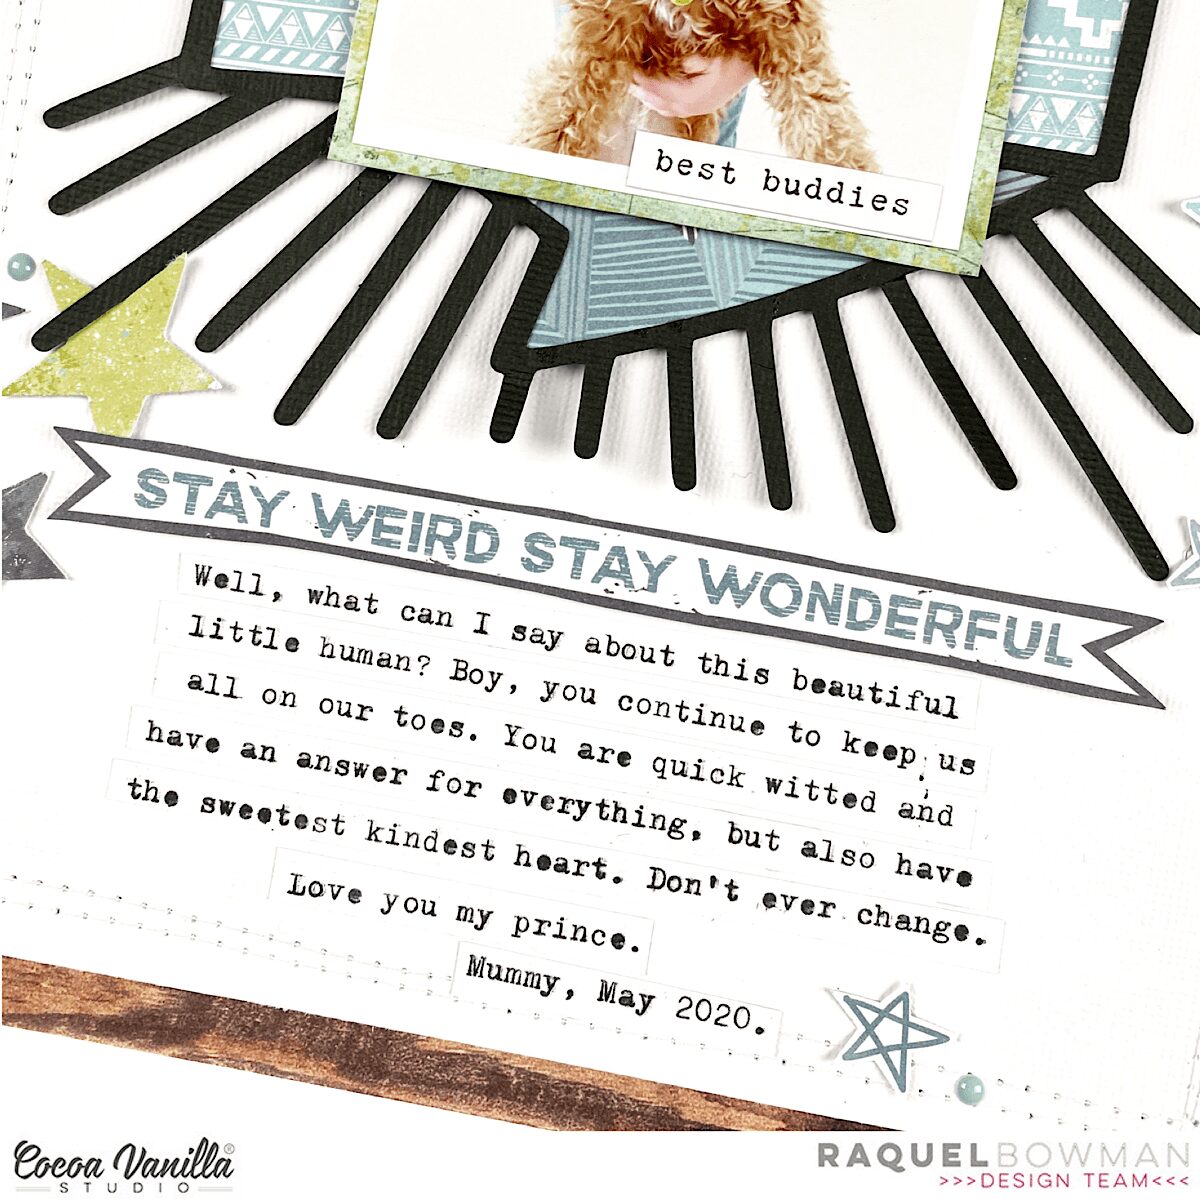
The line style stars scattered amongst the page are a fussy cut star from the ‘Epic Tales‘ paper. I love the look of these as an added embellishment. 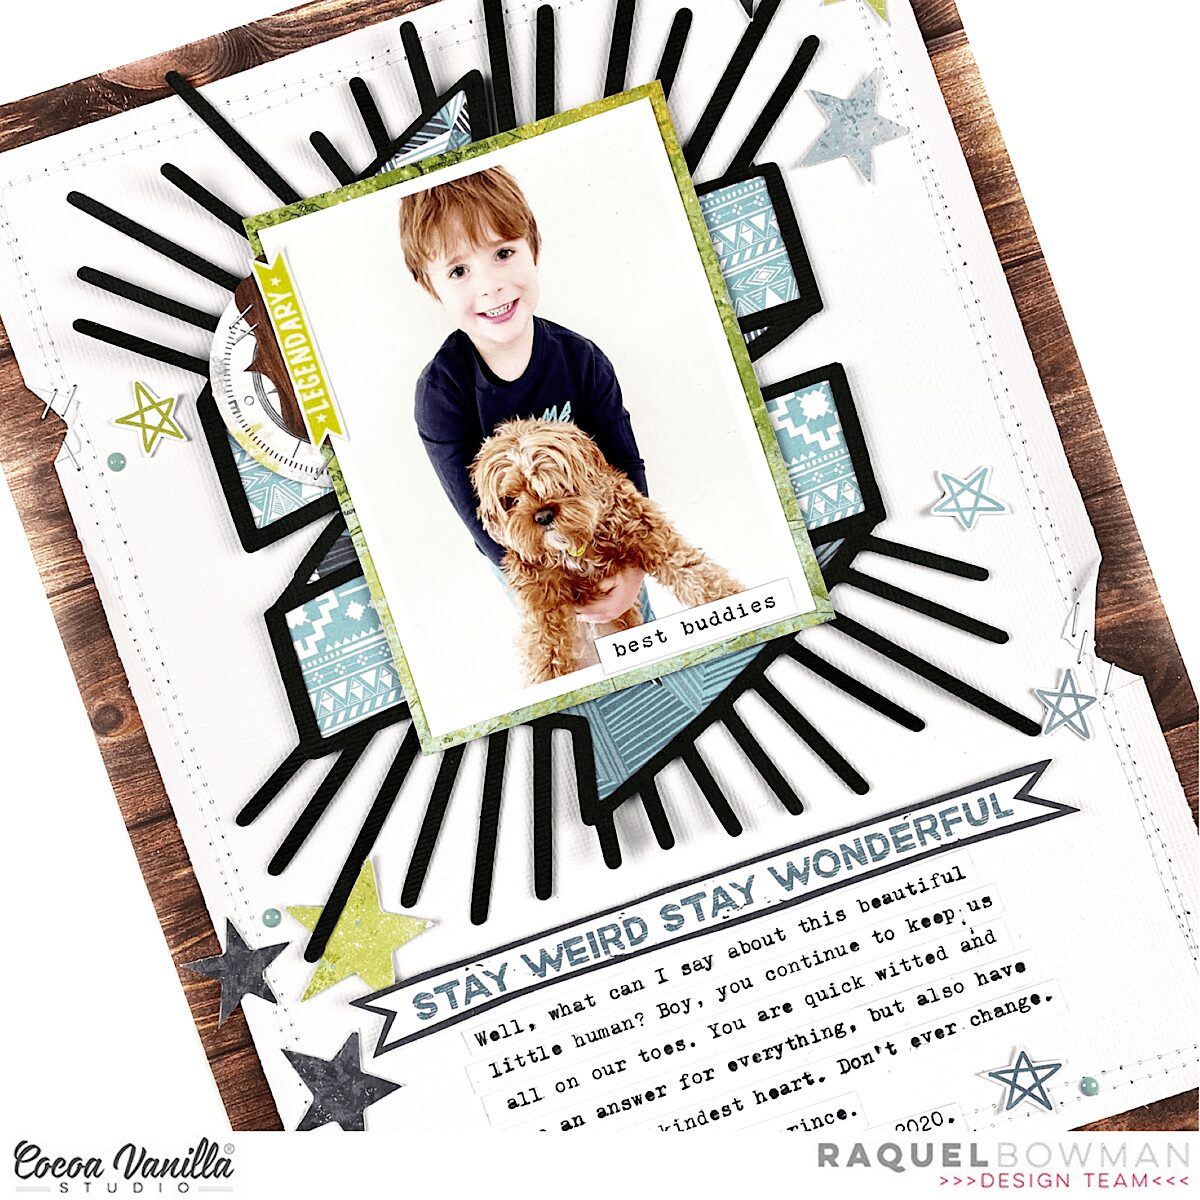
I framed this layout with the woodgrain from the ‘Outdoors Type‘ paper. I love the woodgrain in this collection. So so amazing. I added extra detain to the border using machine stitching and also some staples.
I hope you have been inspired by todays layout. Thanks so much for stopping by the CVS blog.
Stay safe,
Raquel xxx


 I found a really lovely cut file designed by fellow team member Gwen from Cut To You, I cut it out from white cardstock and then backed the hearts at the top of the cut file with the pink side of the
  I chose the ‘B’ side of the
 I tucked in one of the cute die-cut frames from the die-cut ephemera pack into the top of my photo, I then took one of the paint strip clear stickers and added it to white cardstock, I then fussy cut it out and tucked it into the right side of my photo. I also added one of the cute flair buttons here. The jar and flower chipboard piece fit perfectly there just above the ‘You’ in the cut file, I love how this looks here. I also tucked in one of the floral die-cuts to the left of the jar to bring in some more of the florals to the page. I also added a few chipboard hearts and also a clear sticker heart too. Lastly I added some of the accessory word and phrase stickers and the date stamp to finish off!
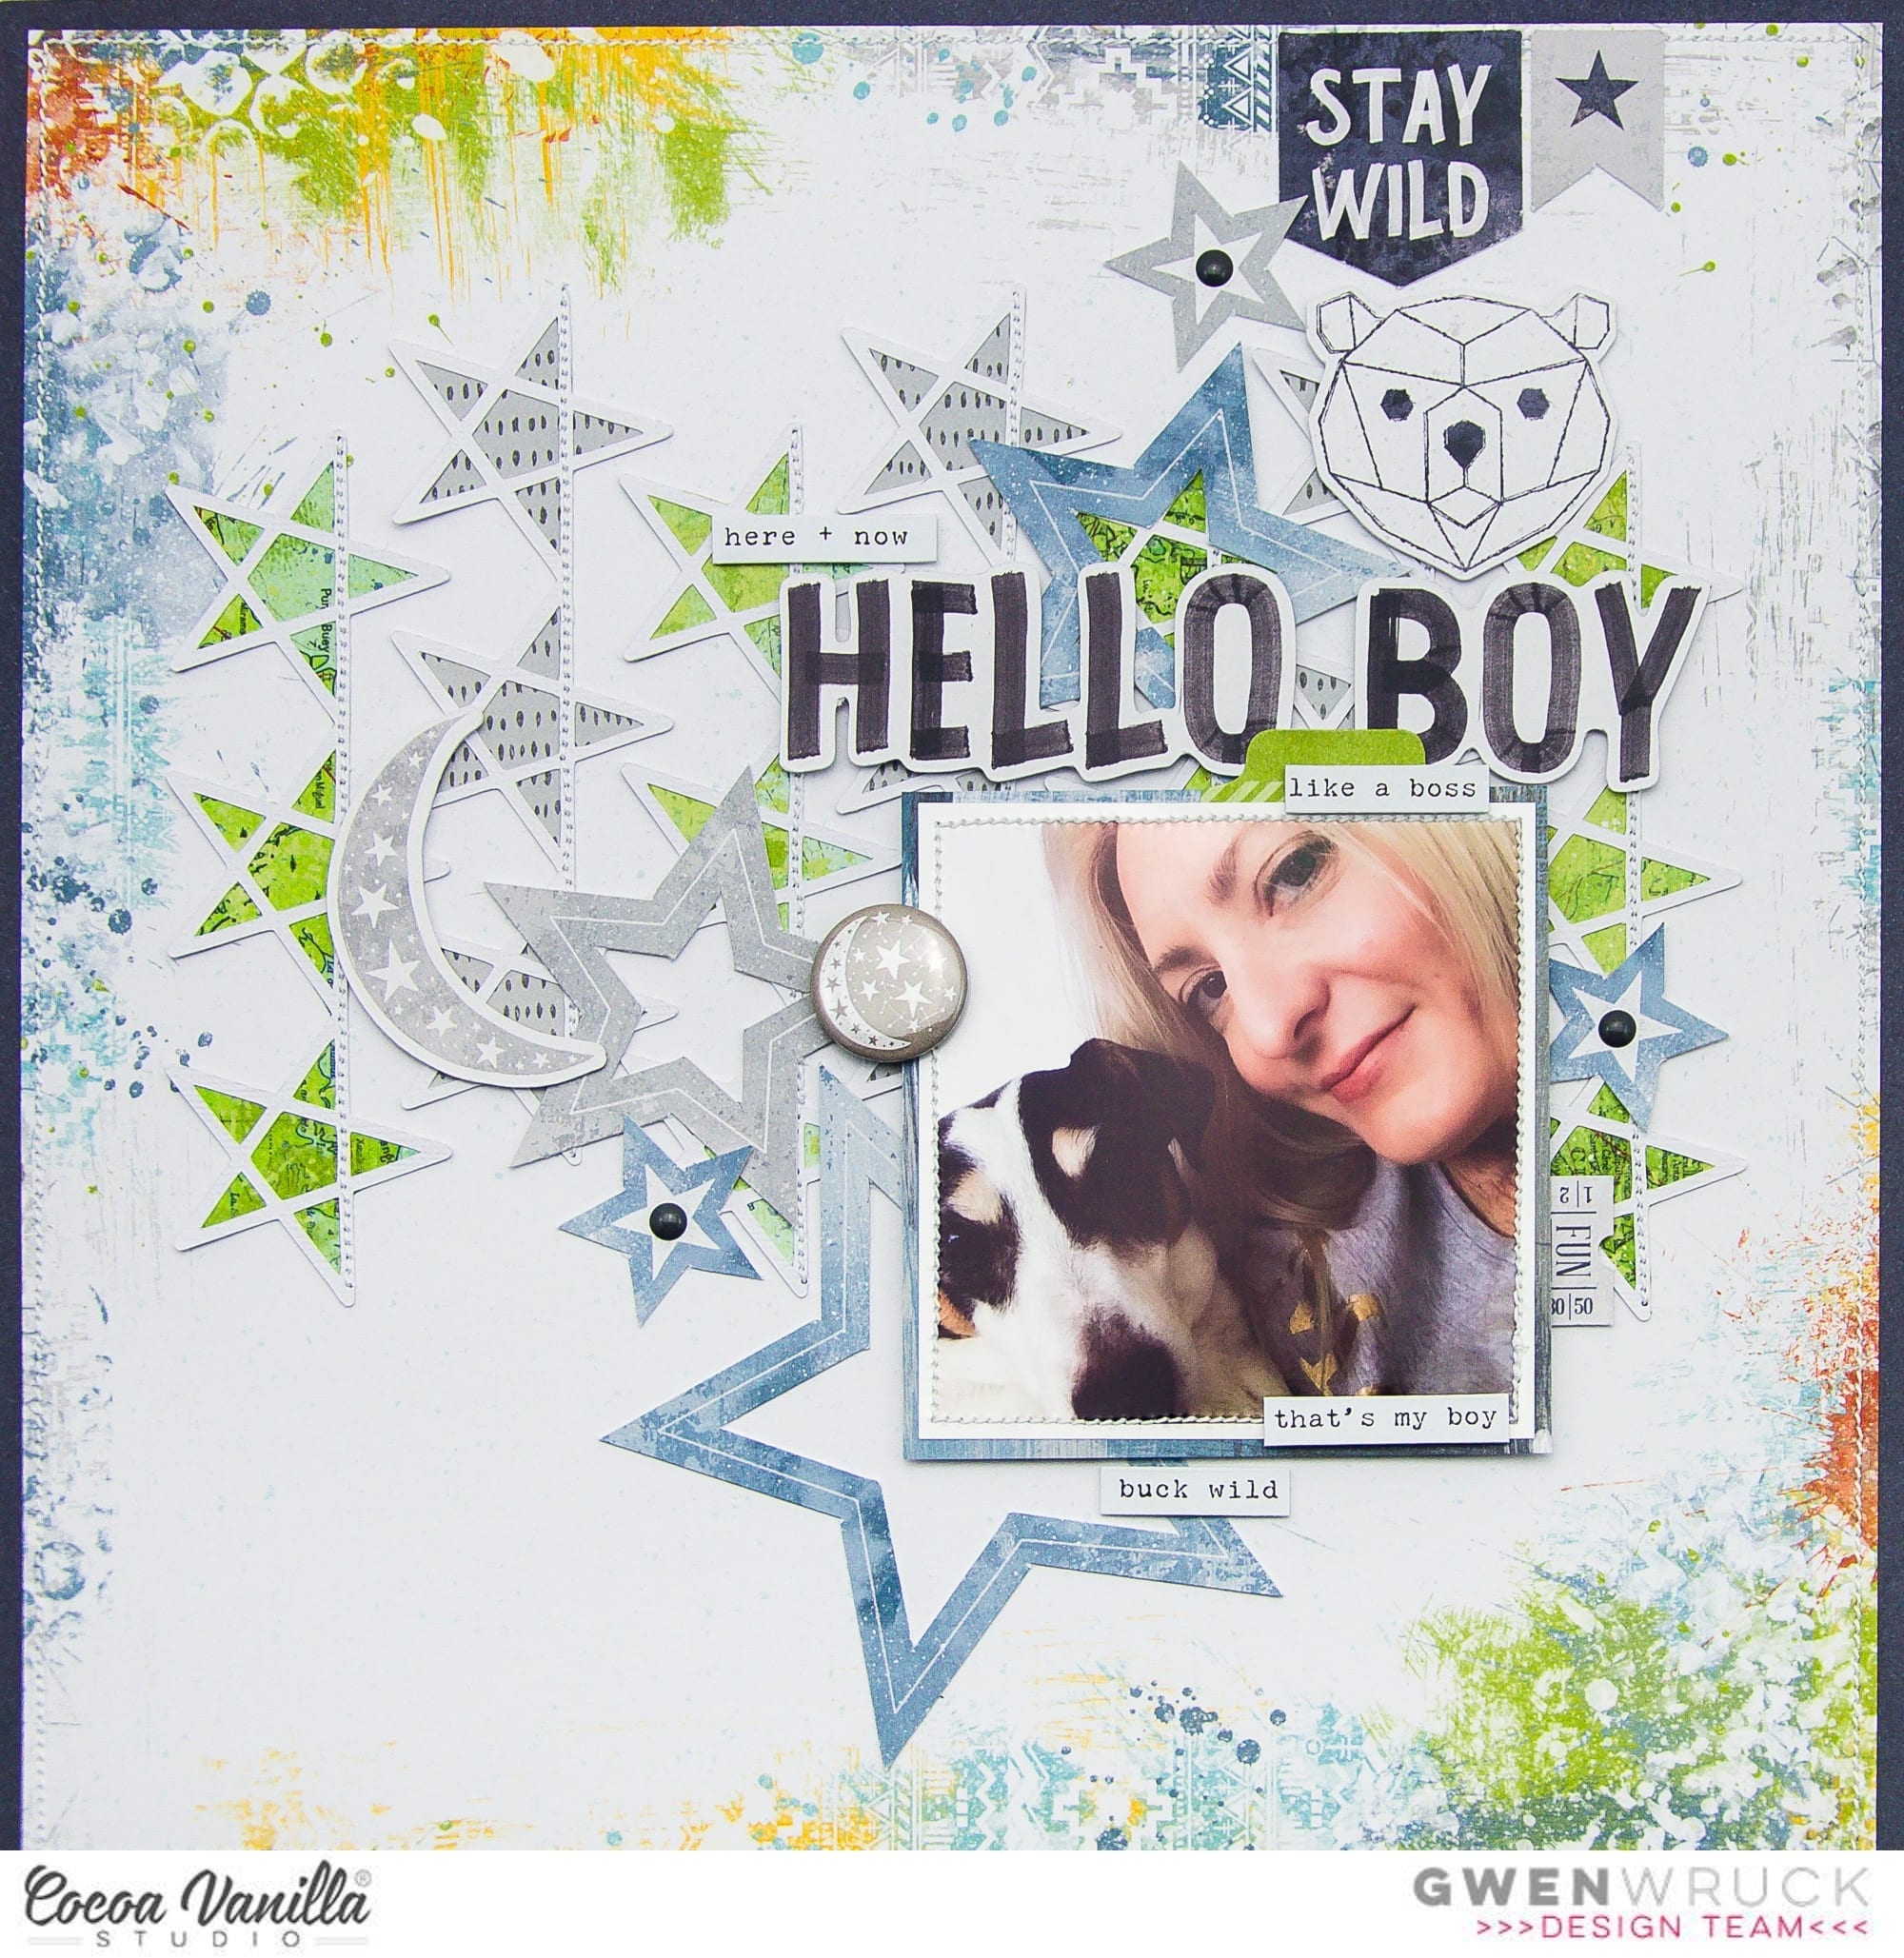
 I have used a fun cut file from Silhouette Design store, I chose it so I could use more of the designs on one layout.
 I then added my photo and again with foam to create more height. I chose to create an embellishment cluster around my photo, using the
  I used the accessory stickers to add my subtitle/journalling.
 I have used more foam tape to add die cuts to create more height and added some
  I love all these colours together but because I didn’t want my layout to look ‘too’ busy I was careful when it came to my embellishing.


 What I loved about the page kit was the paper strips were already designed to a length and width. Being a smaller layout, I was able to trim these narrower and shorter and still get the desired effect. I machine stitched the strips to the page and was able to curve the ends inwards to create dimension.
 I did add a couple of products from my stash to this page, but they were minimal. One thing I added was a piece of pink patterned paper from the ‘Make a wish’ collection to frame the whole layout in. I felt that the layout needed a border to ground it. I also machine stitched around the border. The other thing I added from my stash apart from white cardstock was the wood veneer pieces, they were from both the older collection Free Spirit and Colour me Happy. I had forgotten that I had them in my stash and were a surprising and welcomed addition to help complete this page. They added that finishing touch that I was after.
