Sweet Memories | Sunkissed | Rachel Lowe
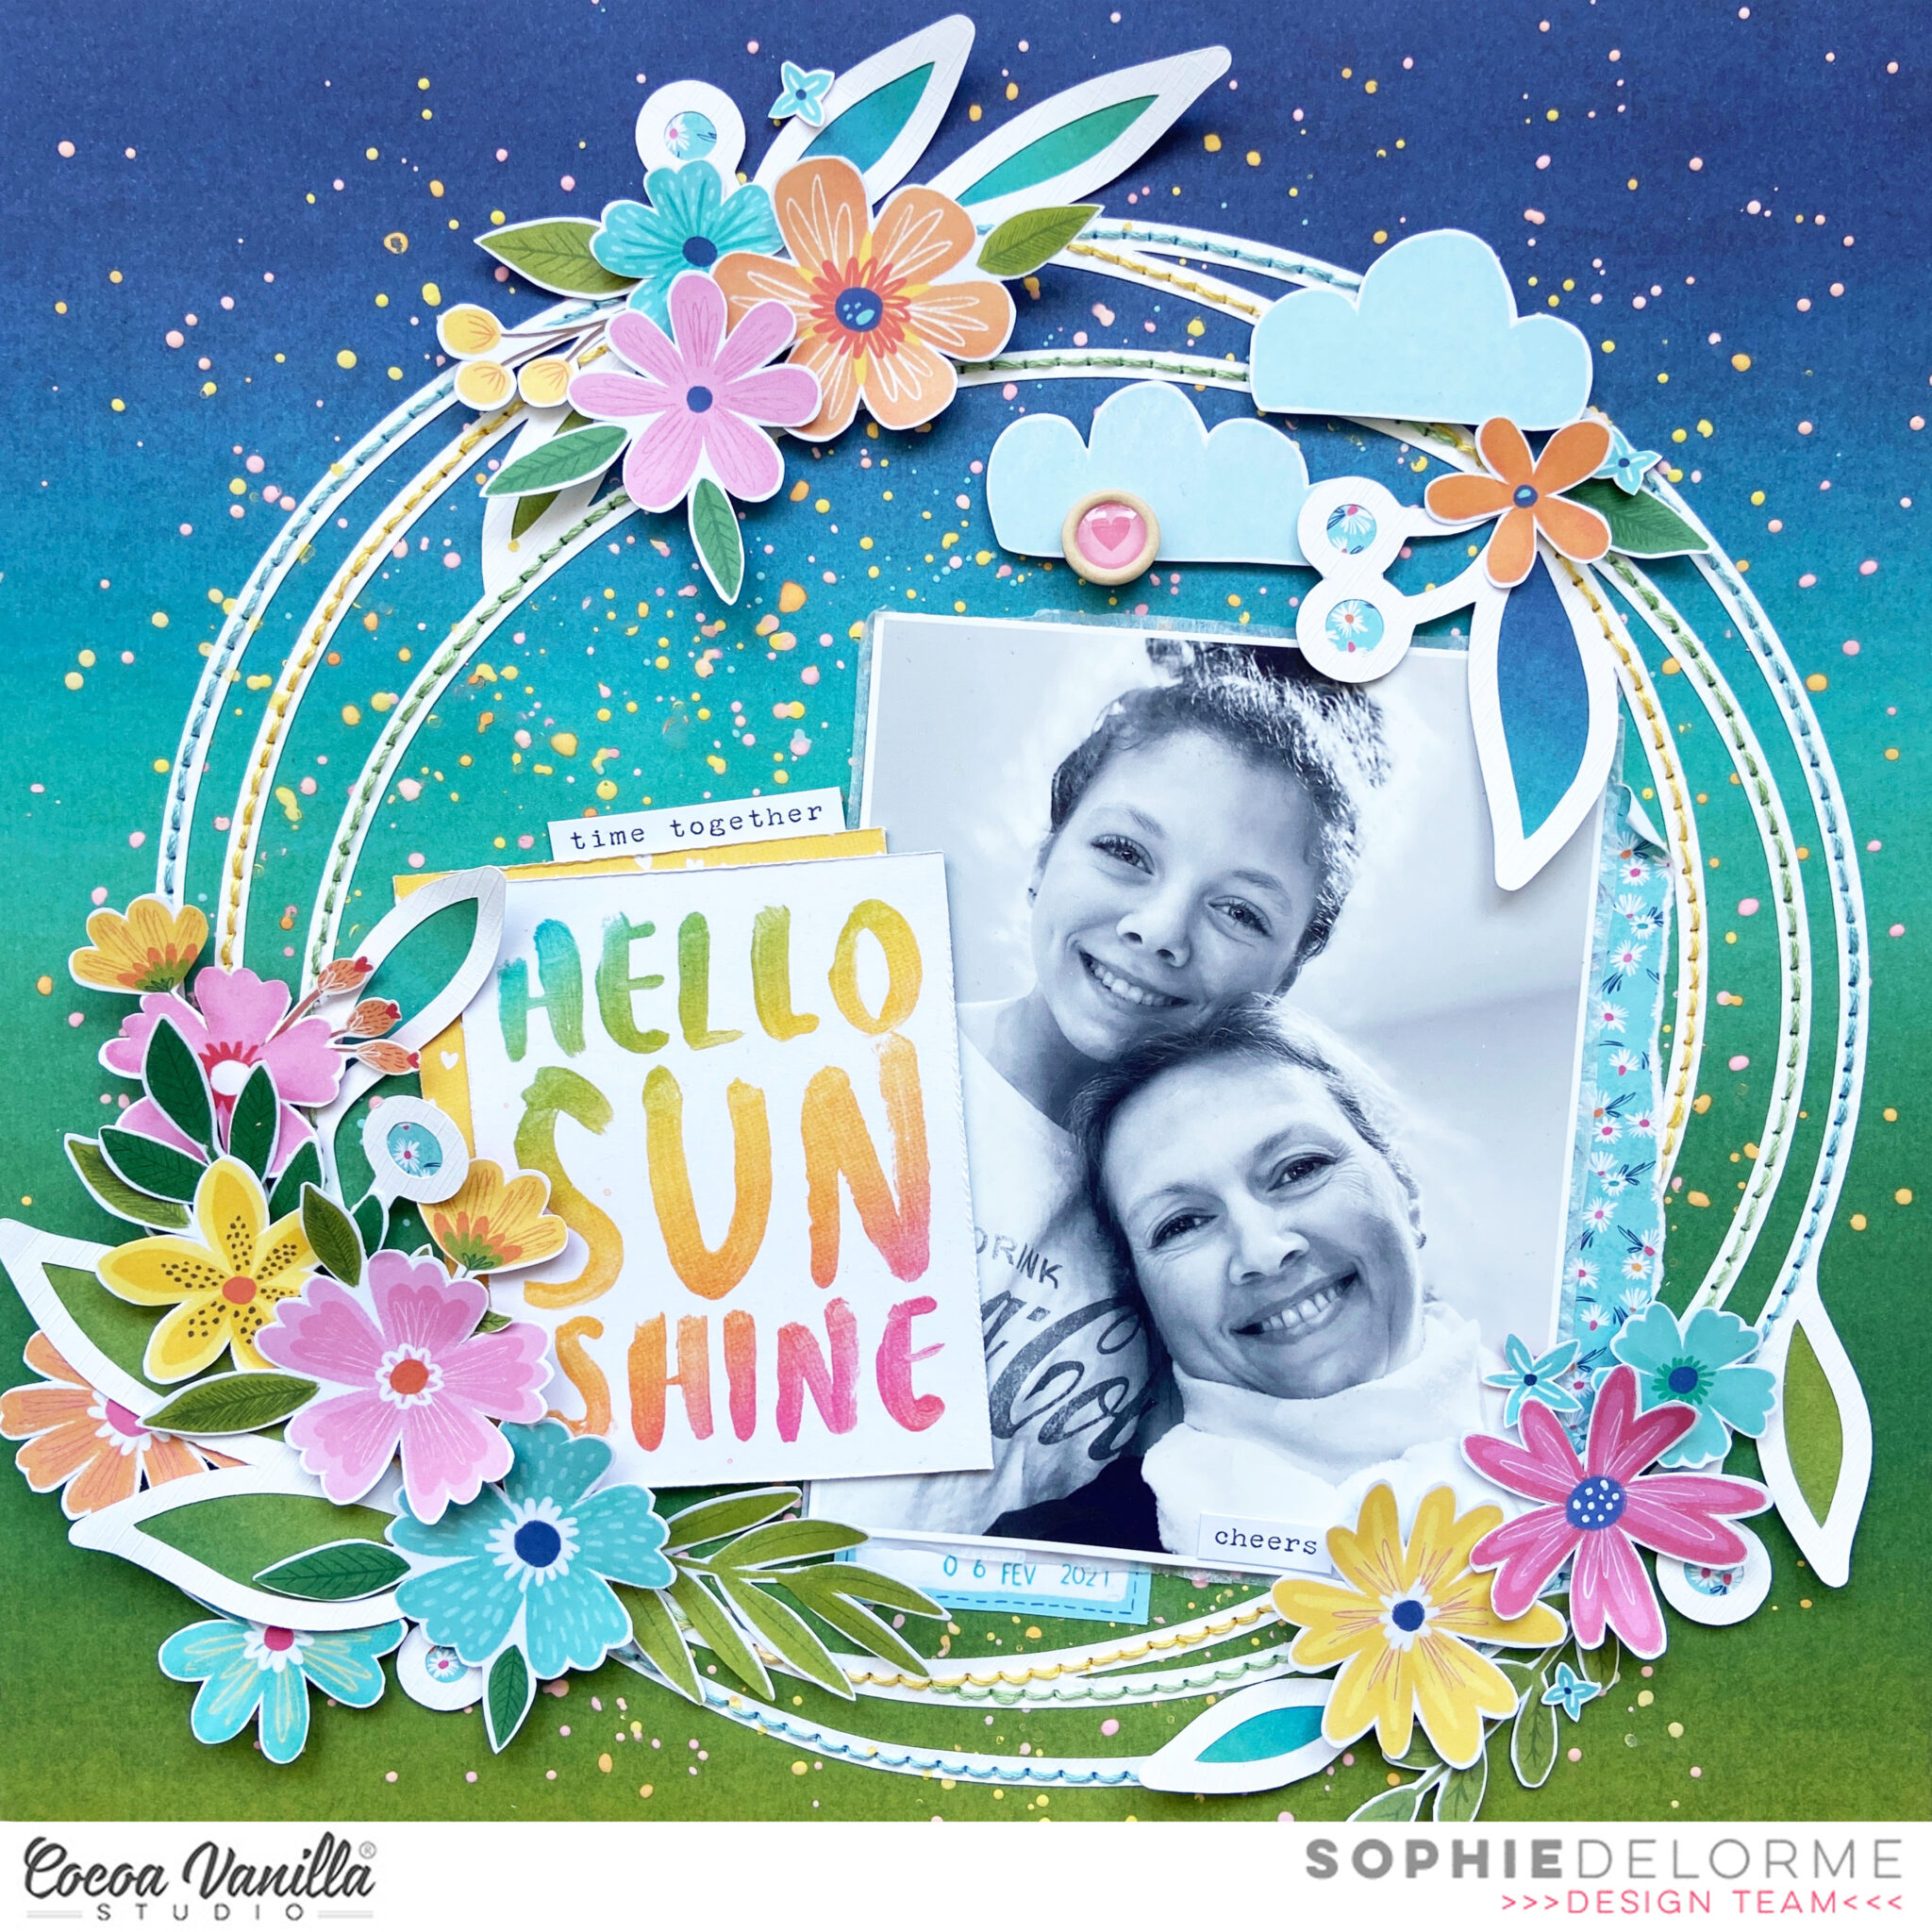
Hi everyone, today I have my second layout to share using the fab Sunkissed collection. I just adore this rainbow paper Sunny Days and this was the inspiration for my layout.
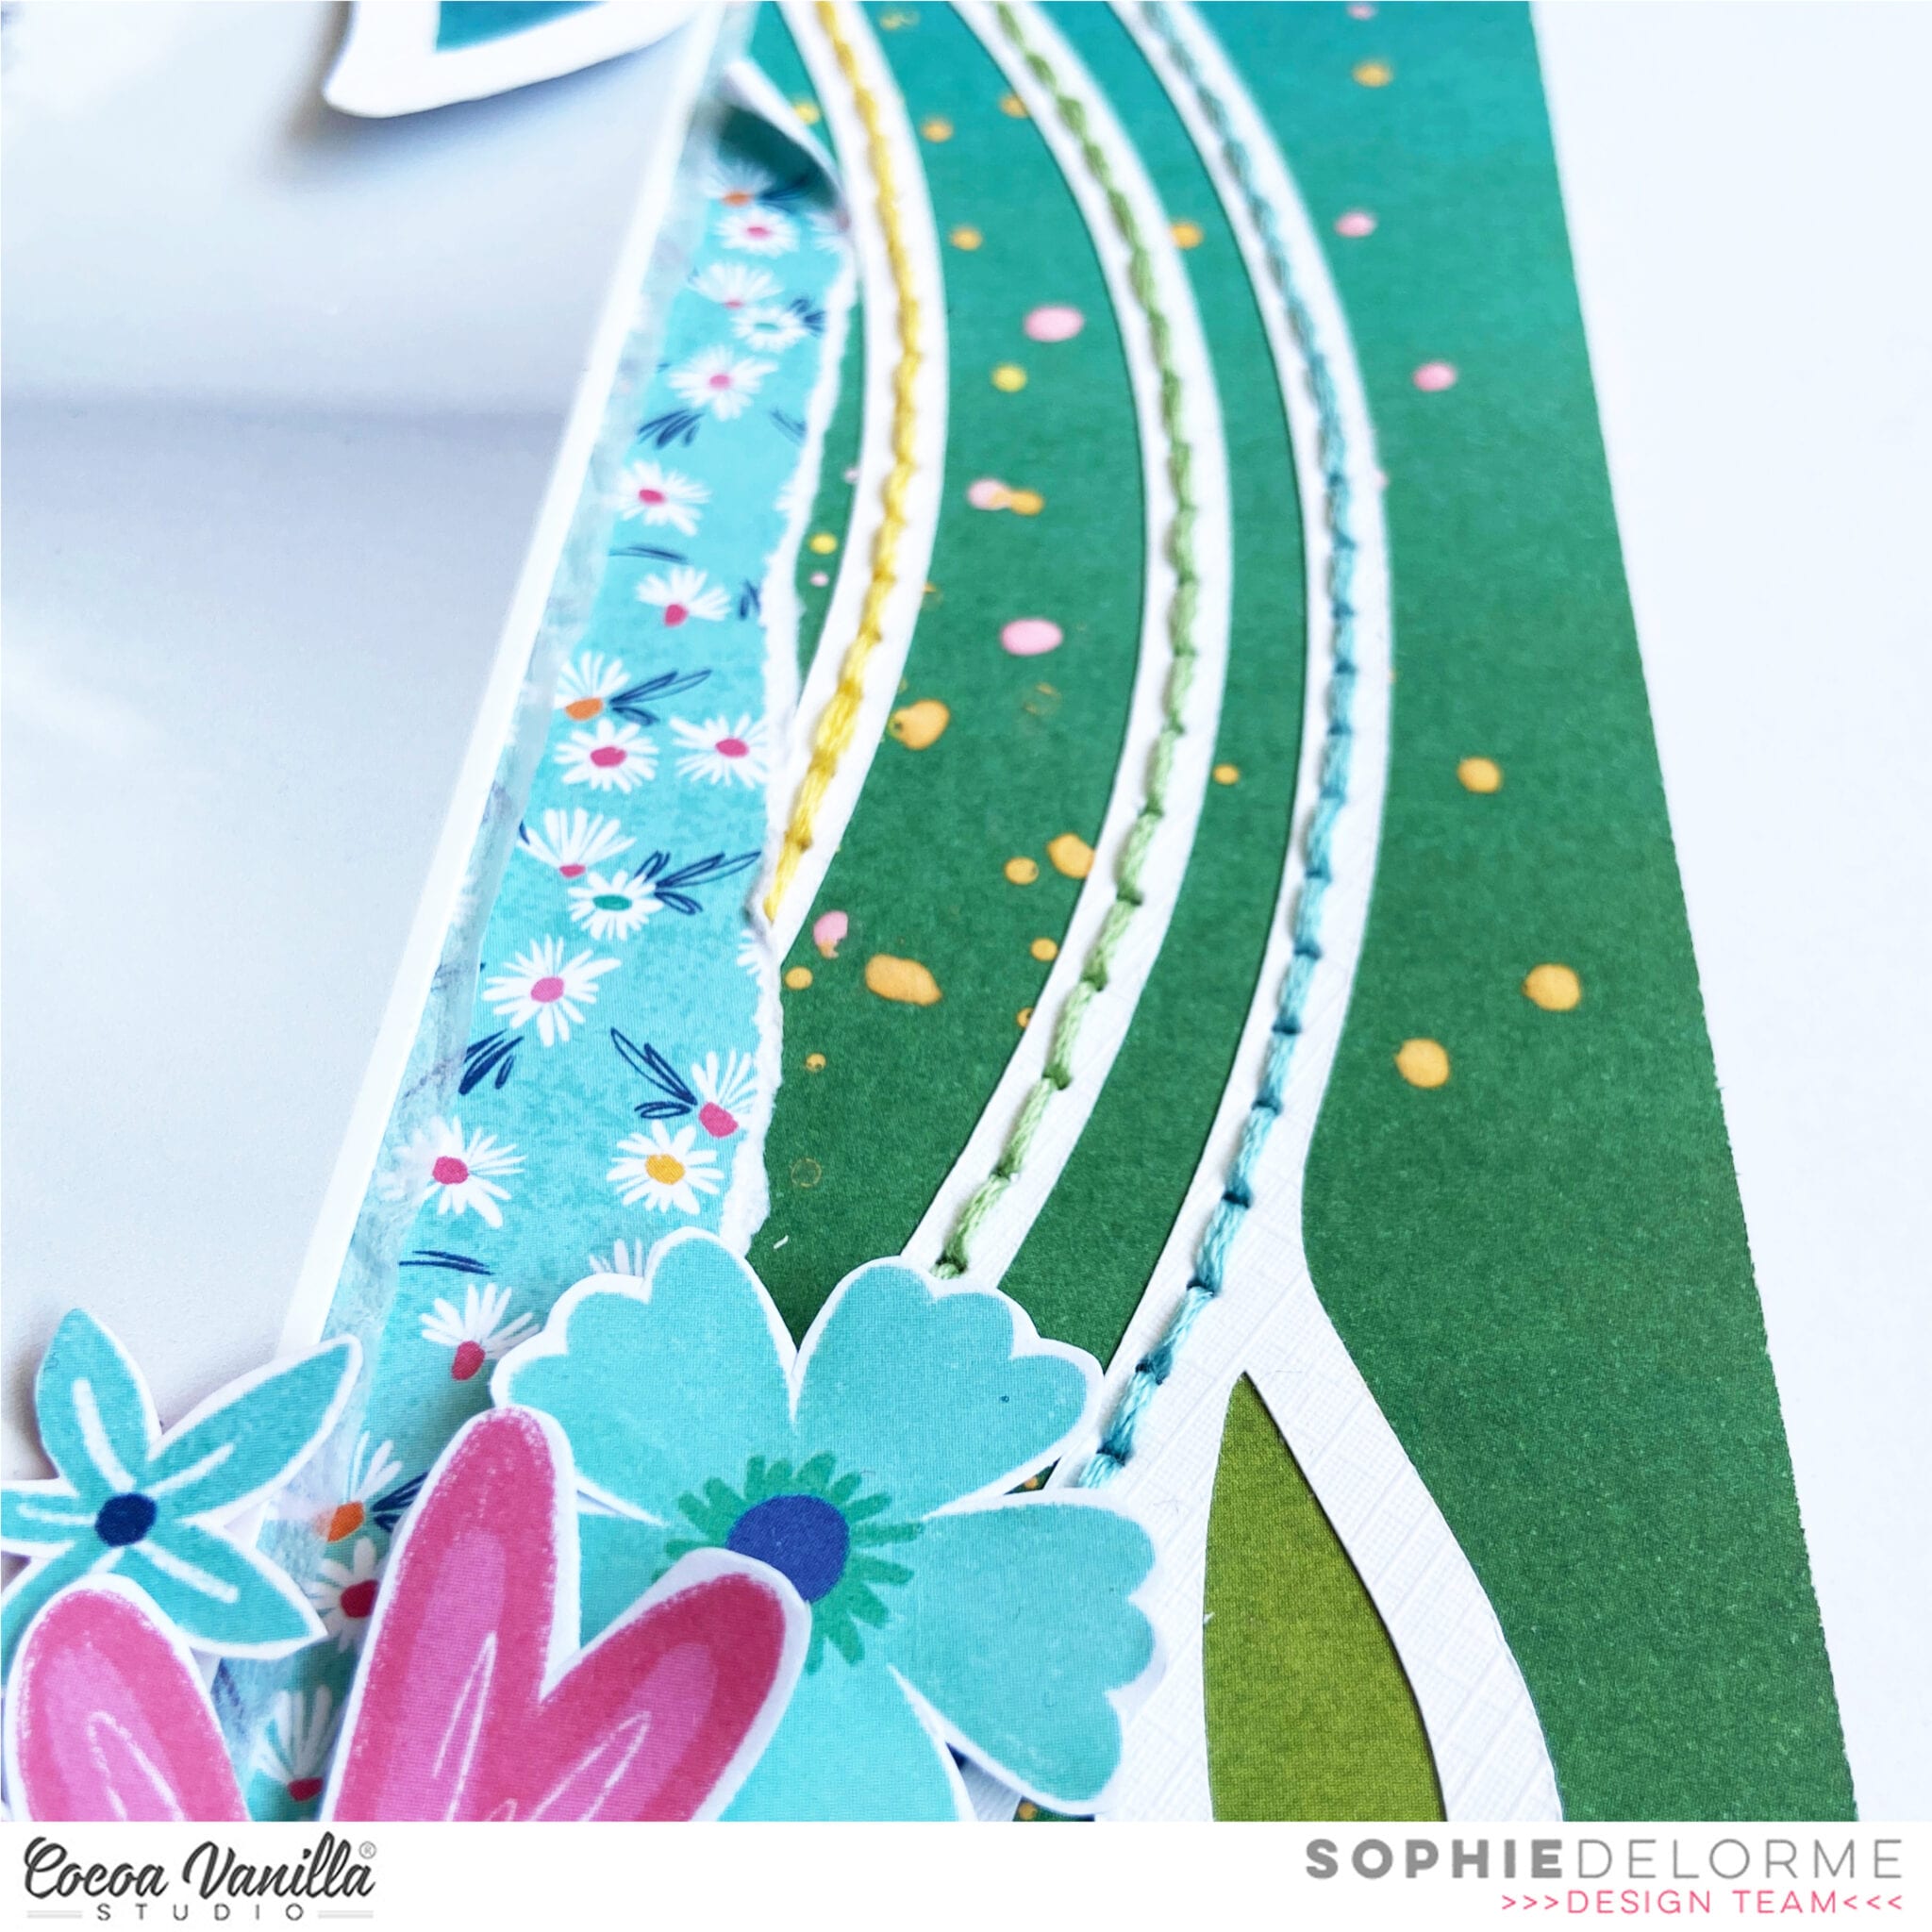
 My photo is of my daughter at one of our gorgeous beaches in Western Australia. I used a swimsuit cut file from the Silhouette Design Store. I placed this on a slight angle of my page but only putting double sided tape in the middle of the swimsuit so I could tuck some flowers from the floral ephemera pack and so I could add machine stitching to the swimsuit (sewing machine needles do not like double sided tape).

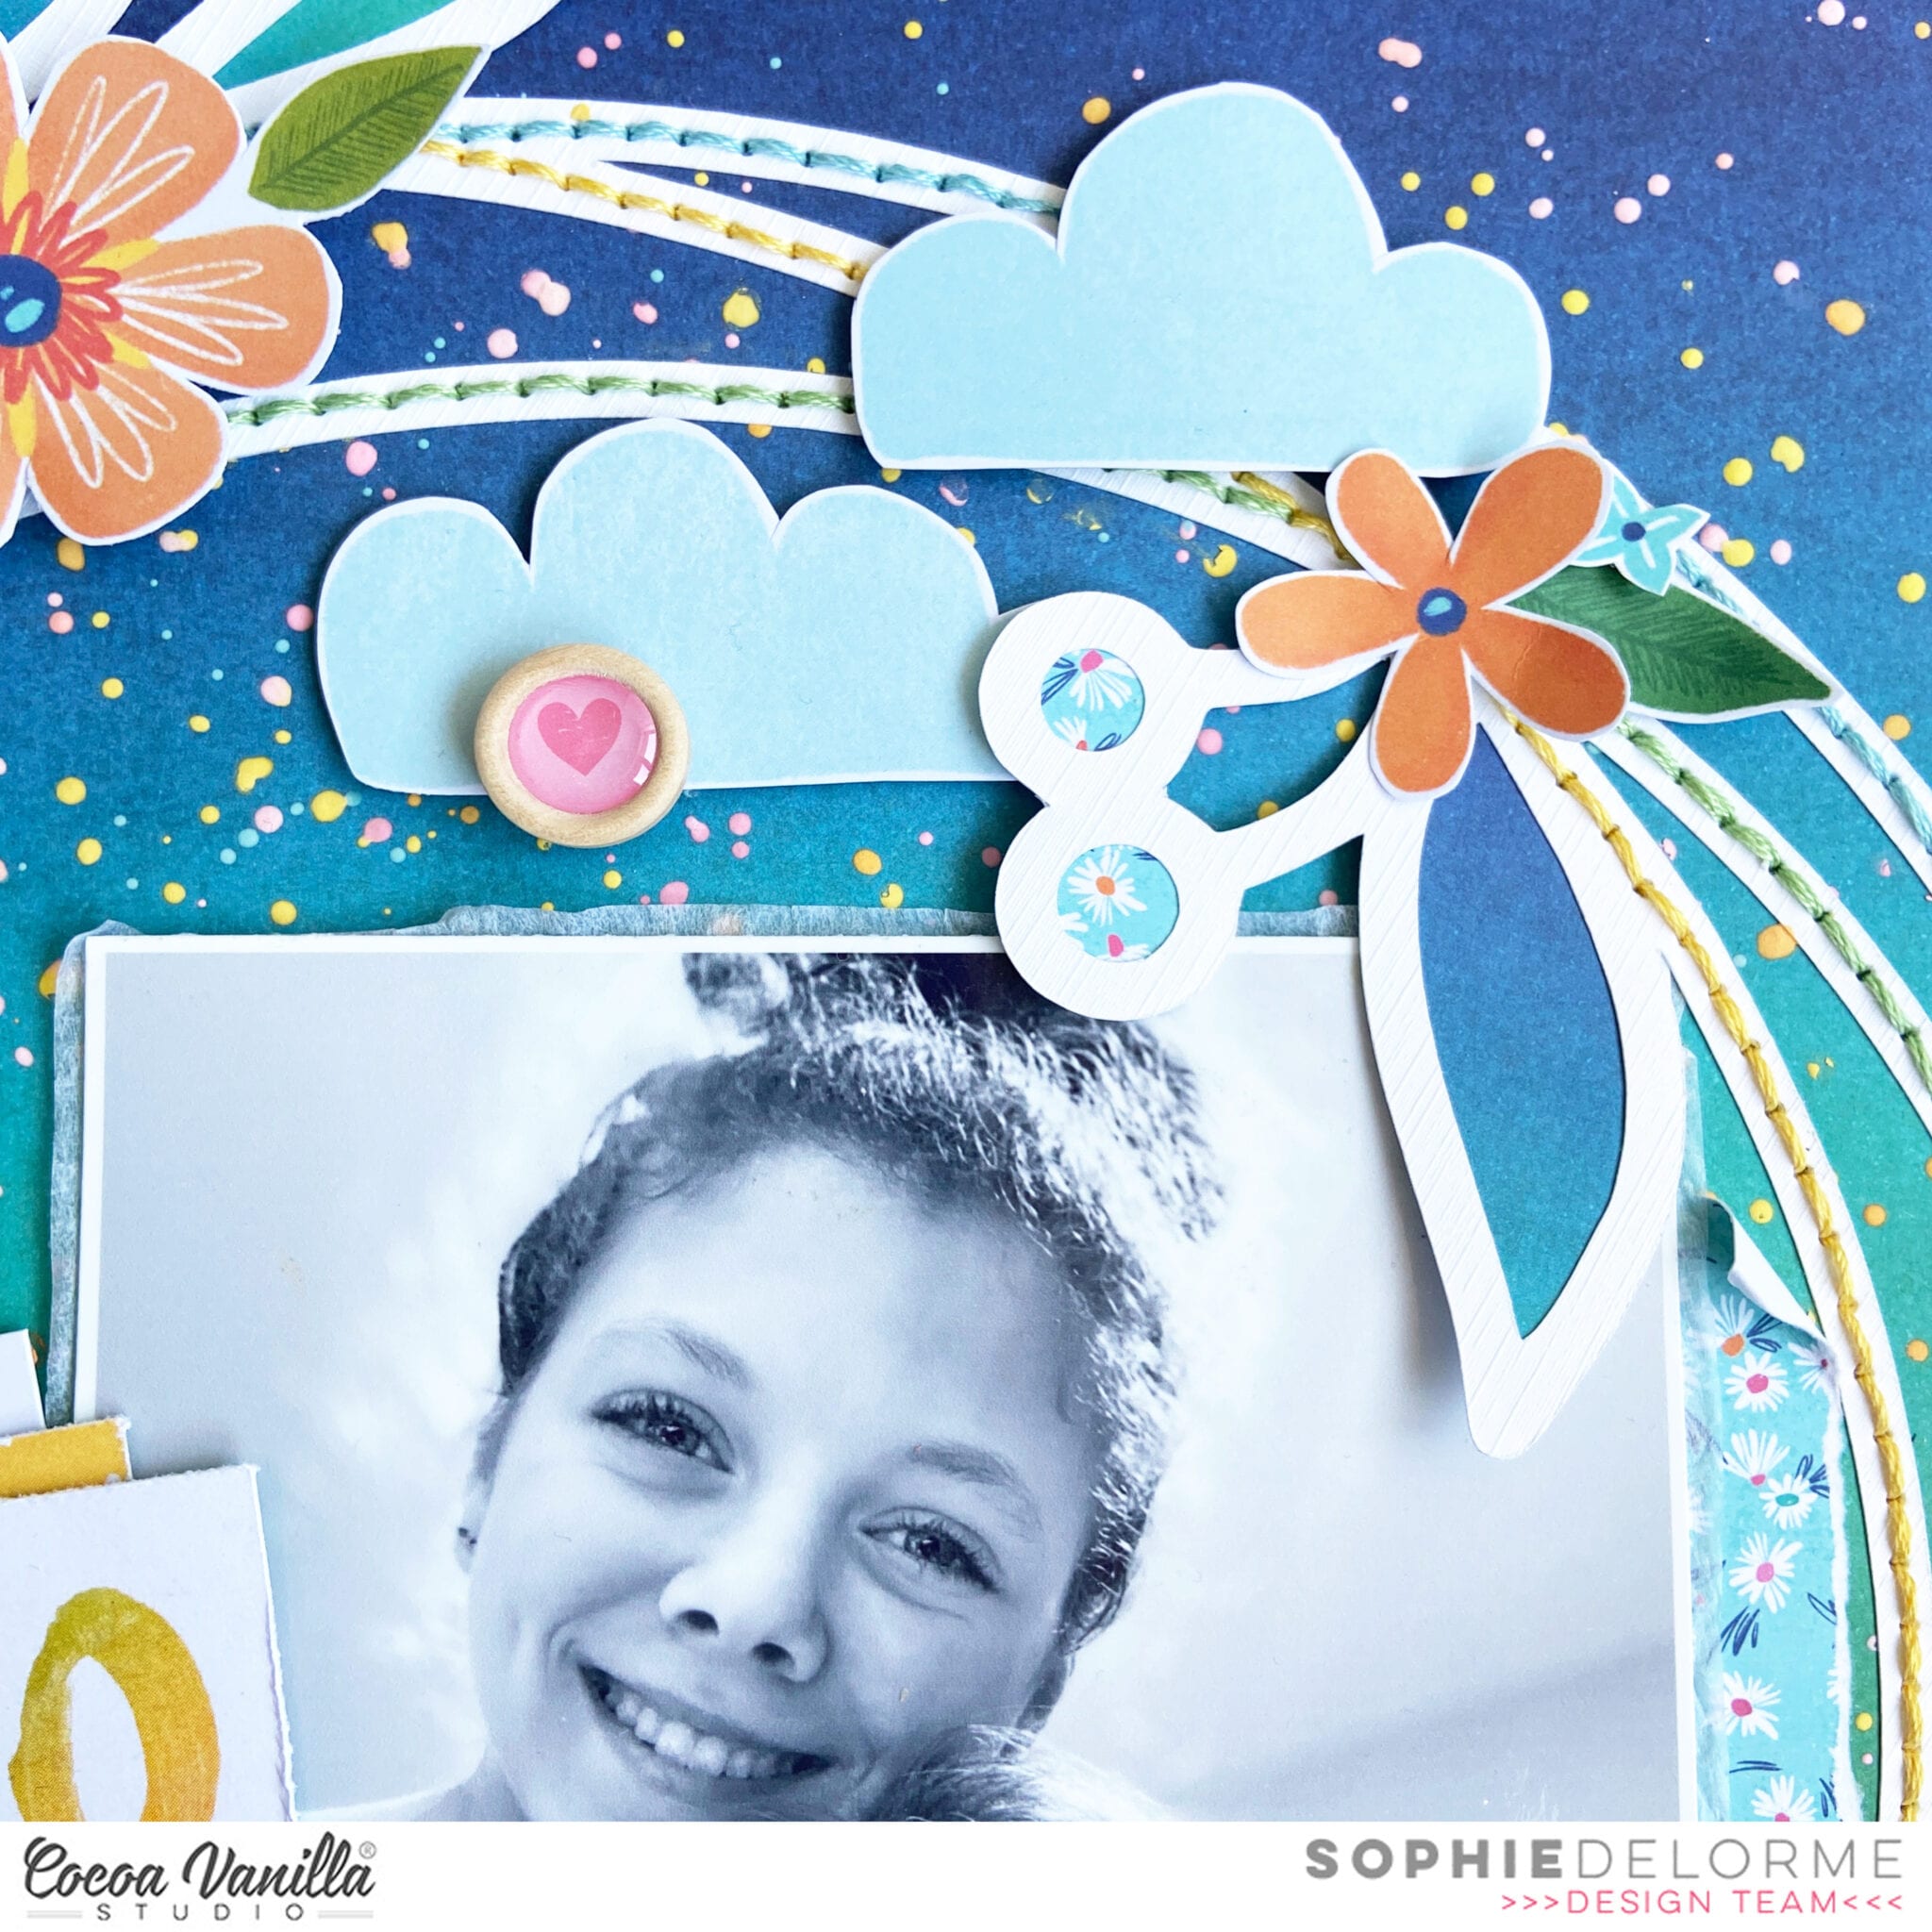
I next added my photo with foam tape so I could add elements under it. My photo size is 4×5 inches. I am such a fan of puffy stickers and wood epoxy buttons which I have used to layer a single die cut.


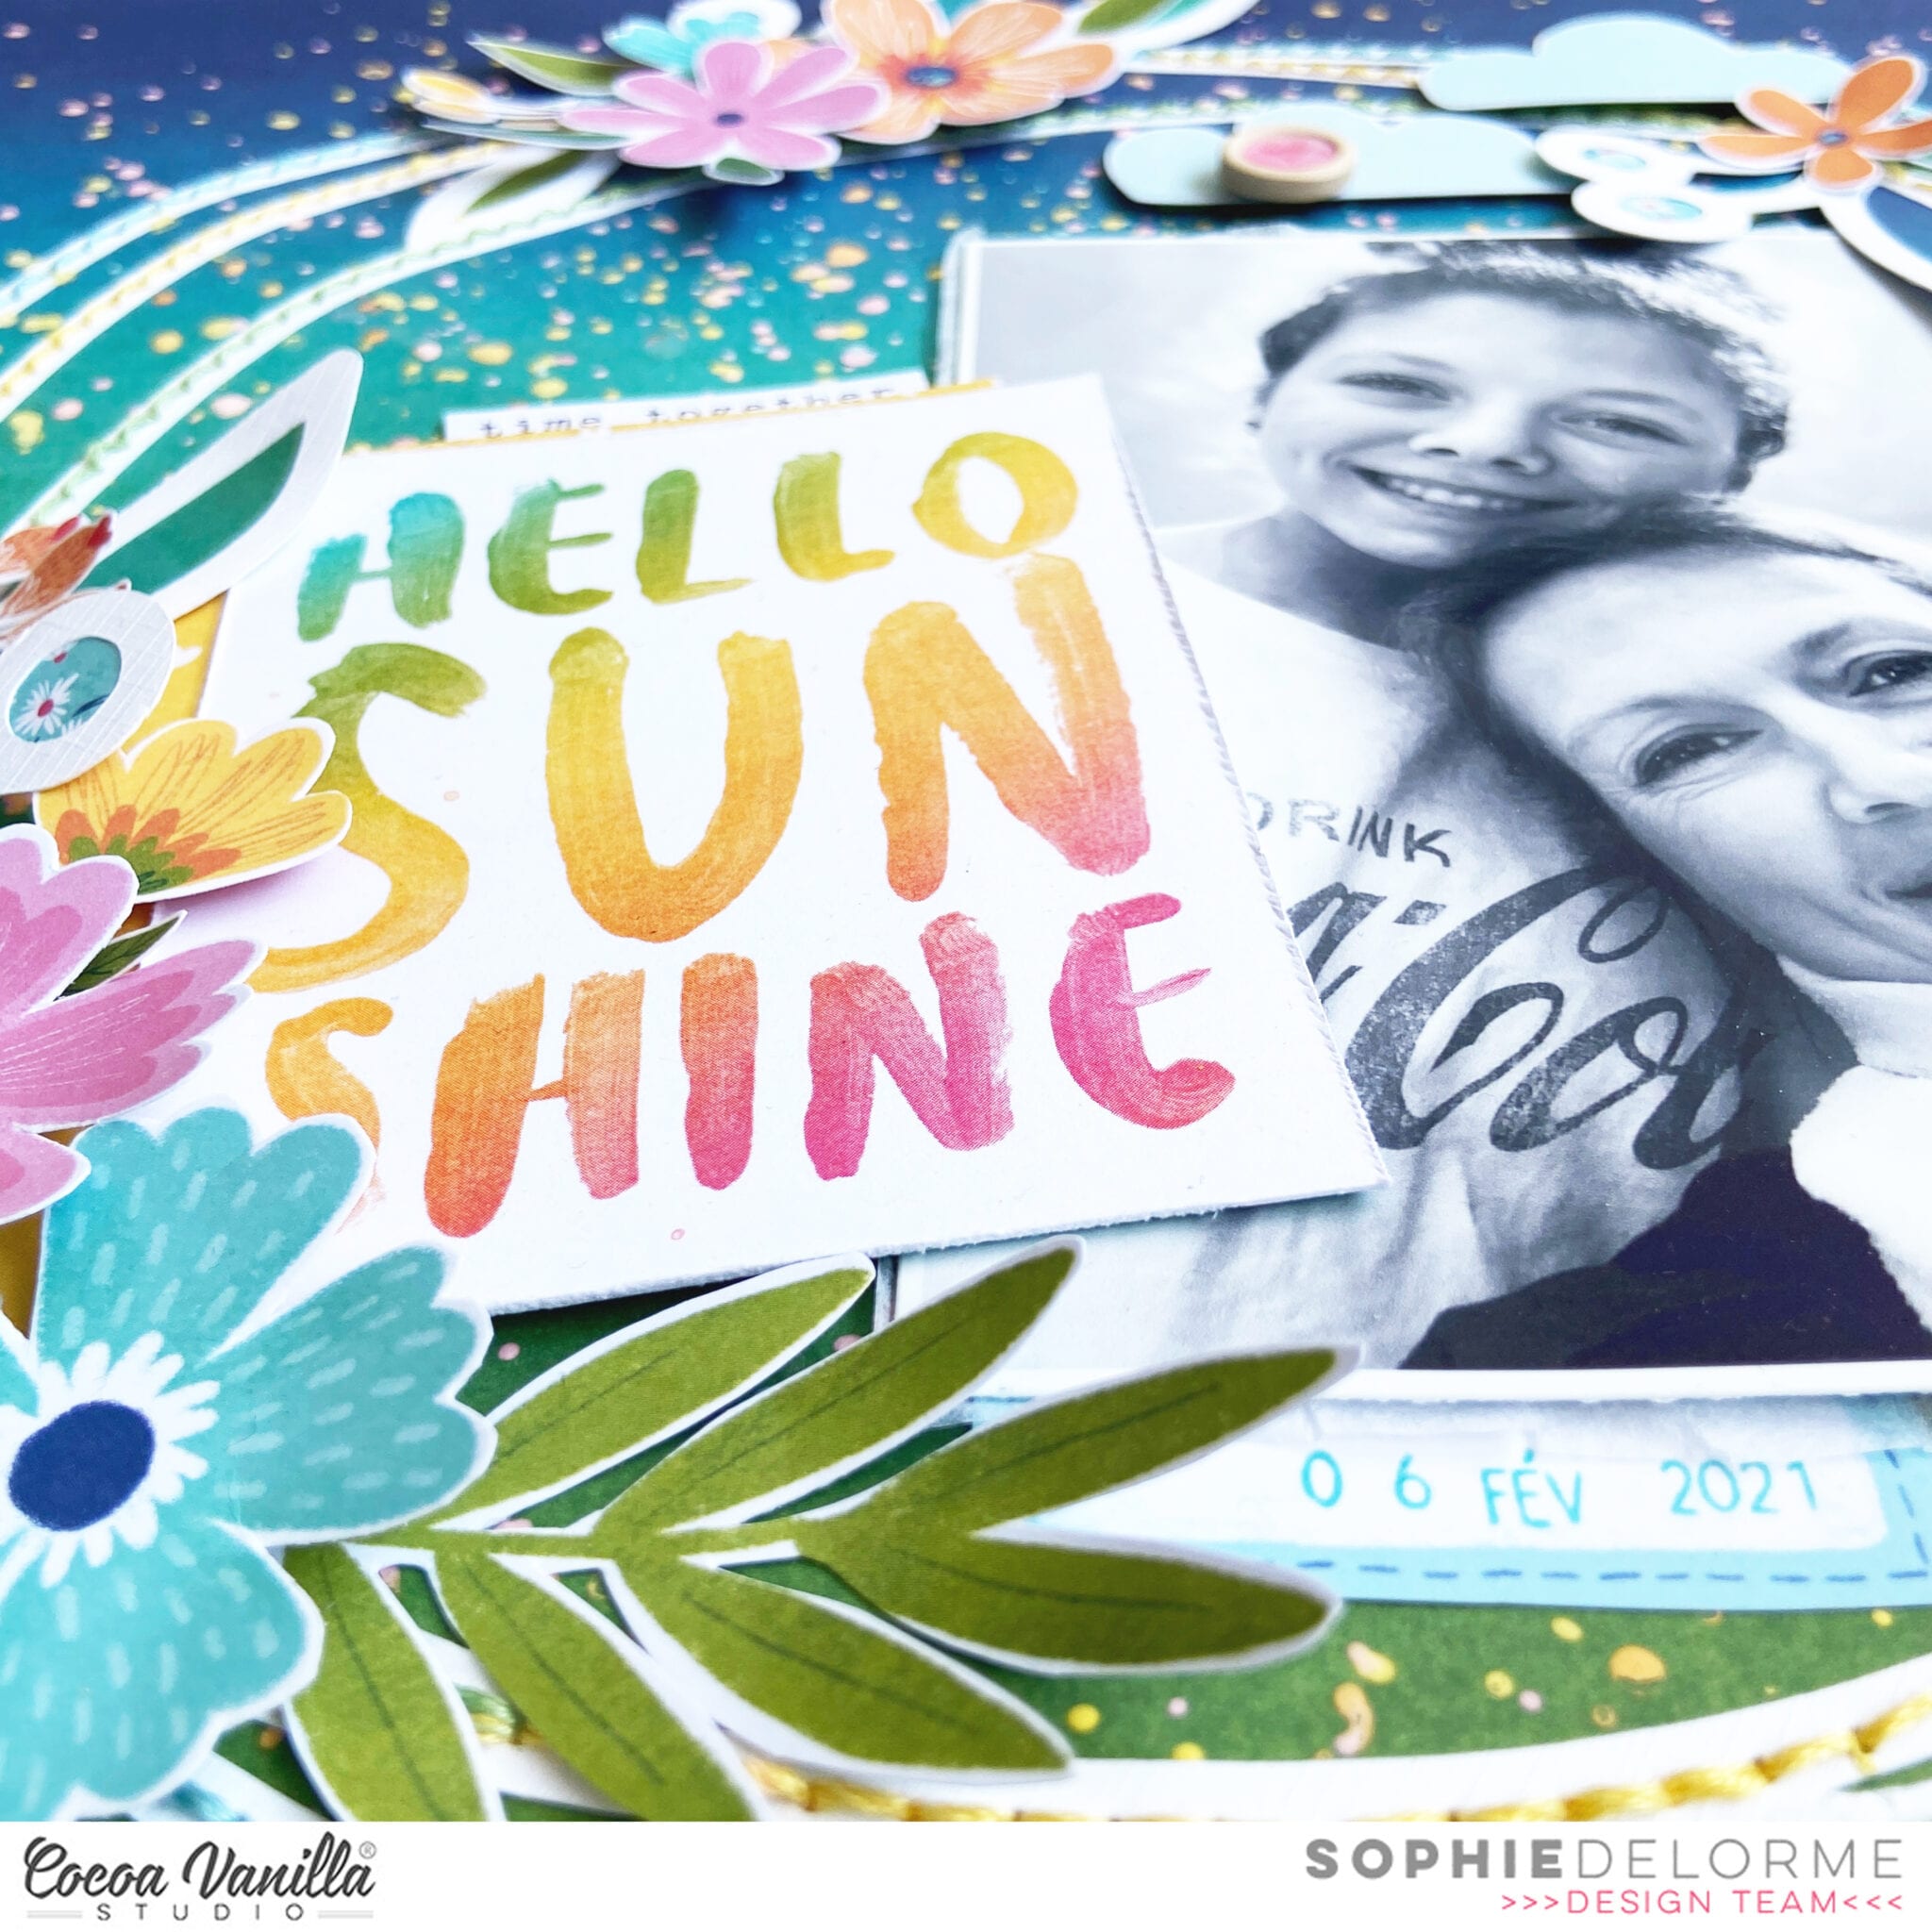
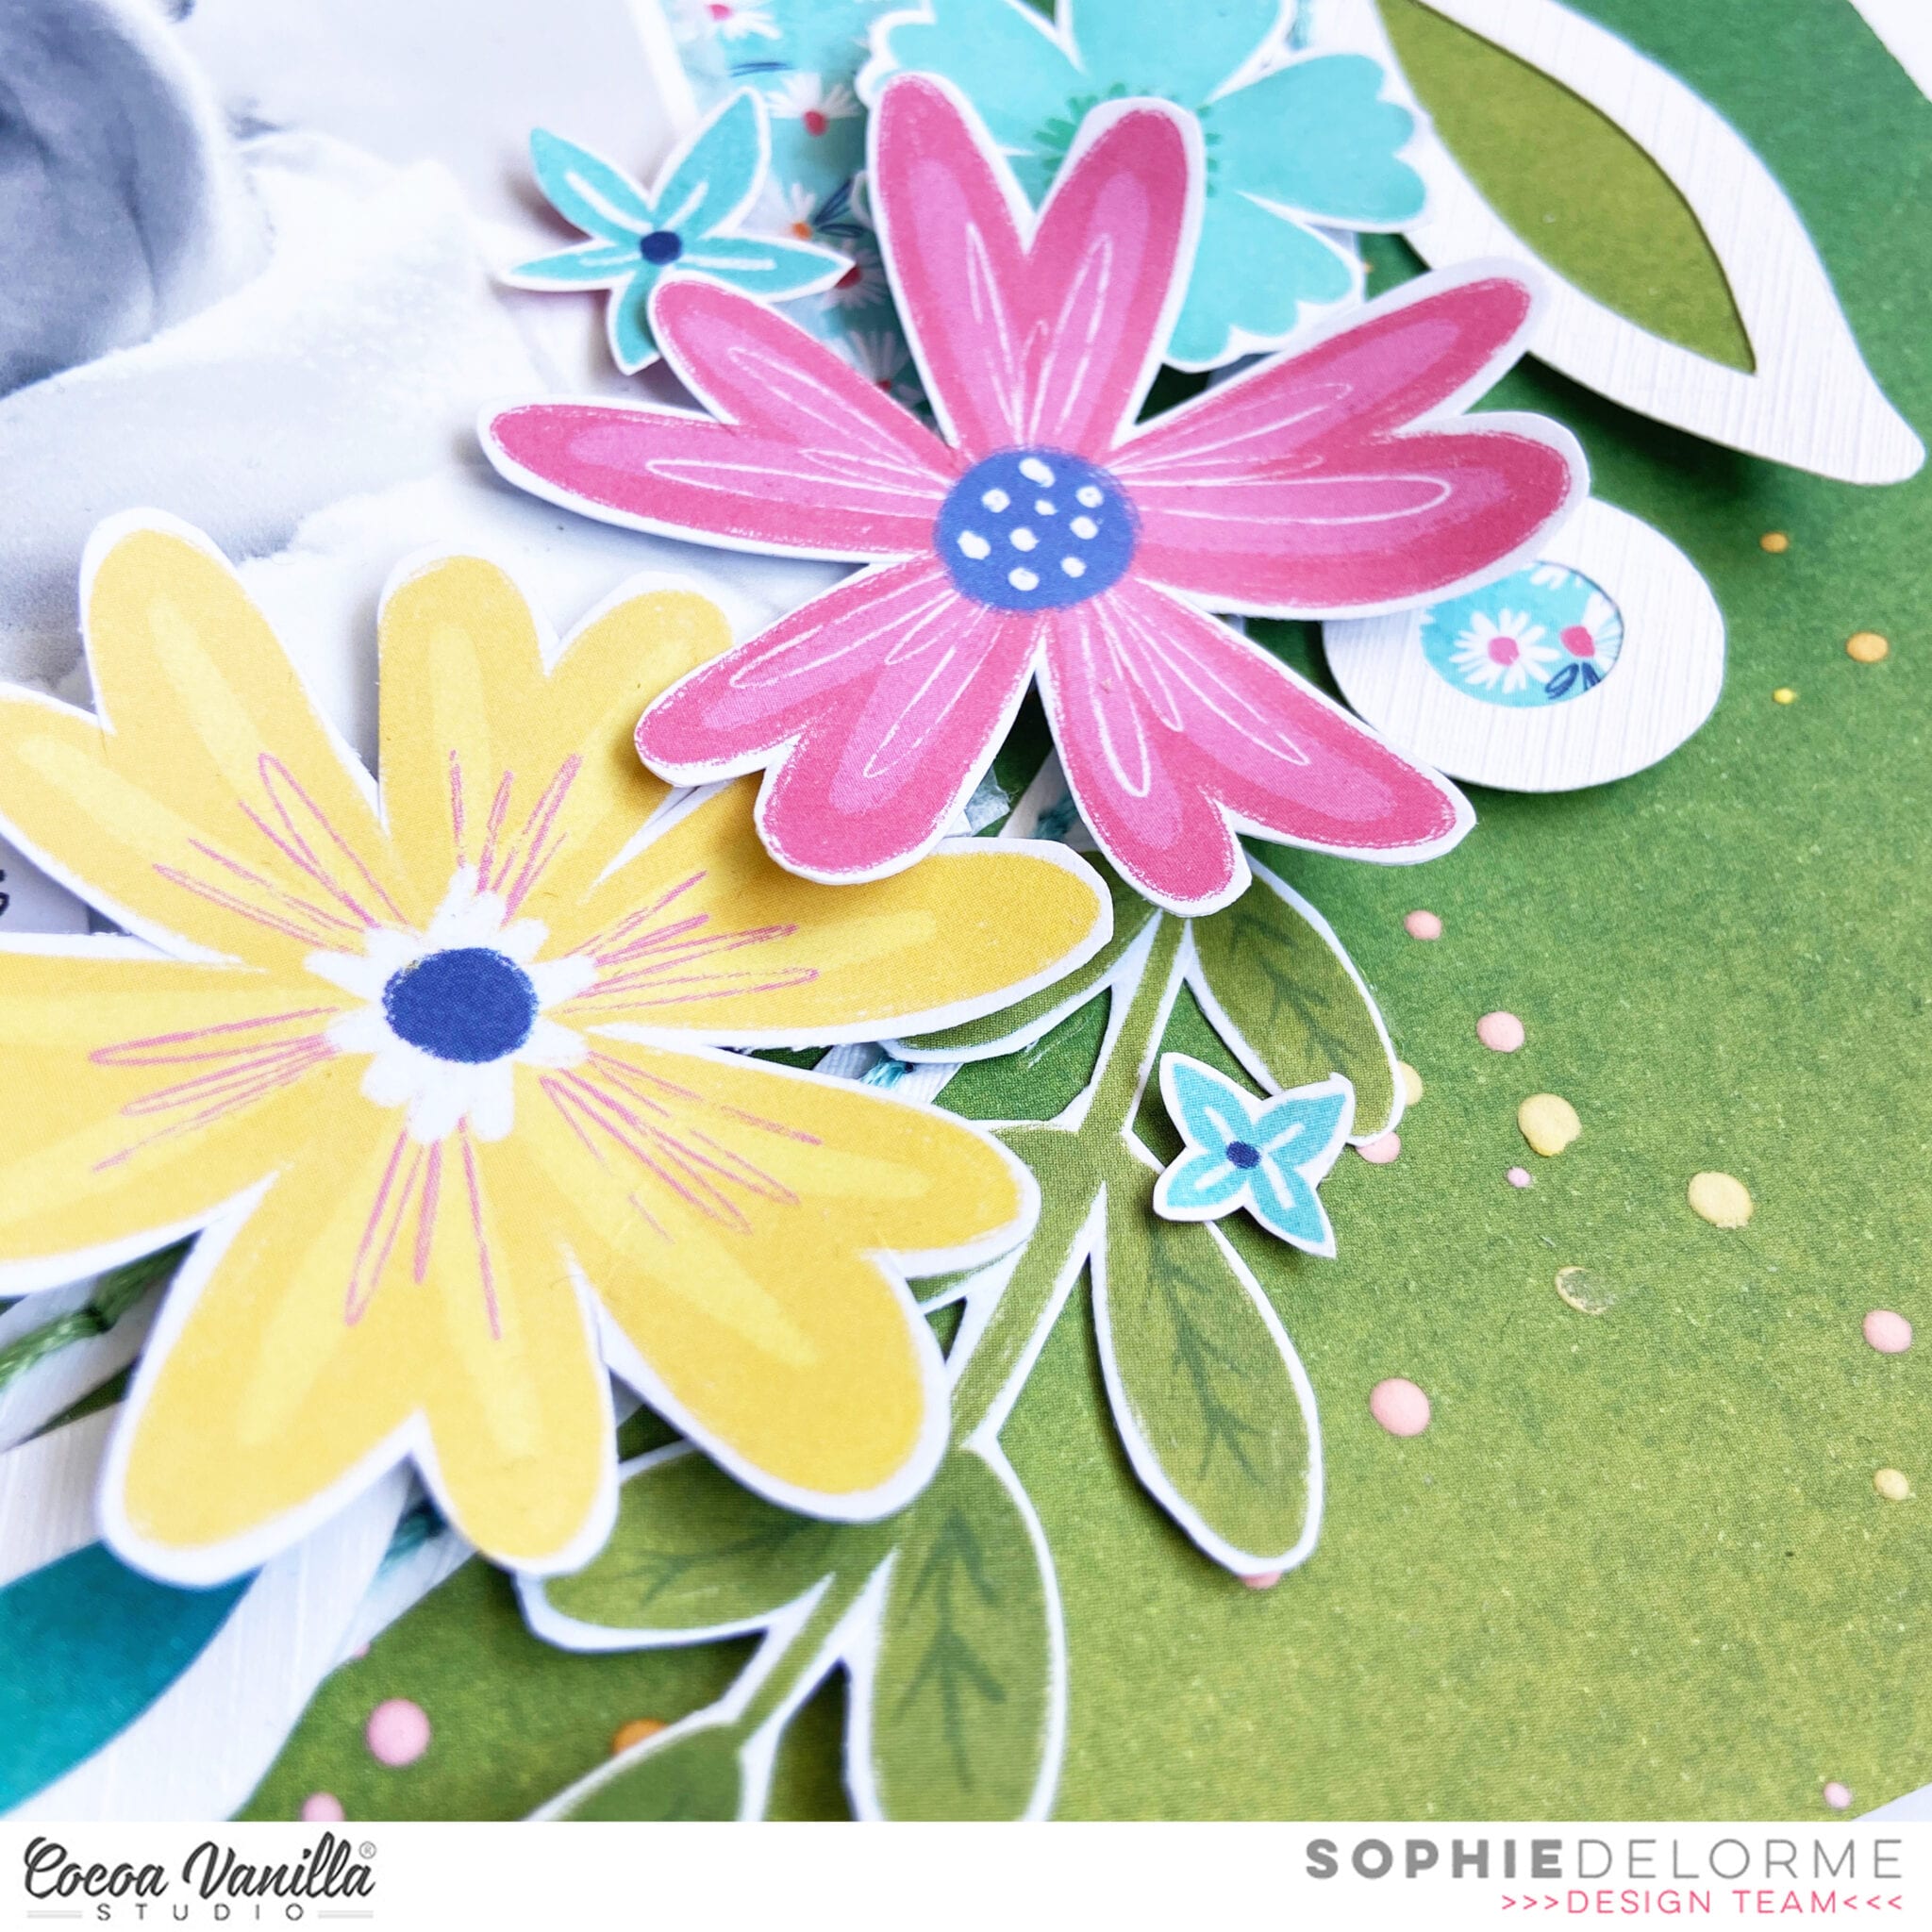
I created an embellishment cluster under my photo my photo and using phrase sentiments from the die cut ephemera pack and so they didn’t get ‘lost’ on the busy rainbow paper I chose strong contrasting colours and added with foam tape to add height. I finished this cluster off adding puffy stickers and all Australian Jandals or thongs (flip flops for everyone else!!!)

I love adding embellishments to my photos, the sun puffy sticker perfect on my photo. I also added some gold hearts randomly over my rainbow paper from the glitter foam title stickers to add more texture to my layout.


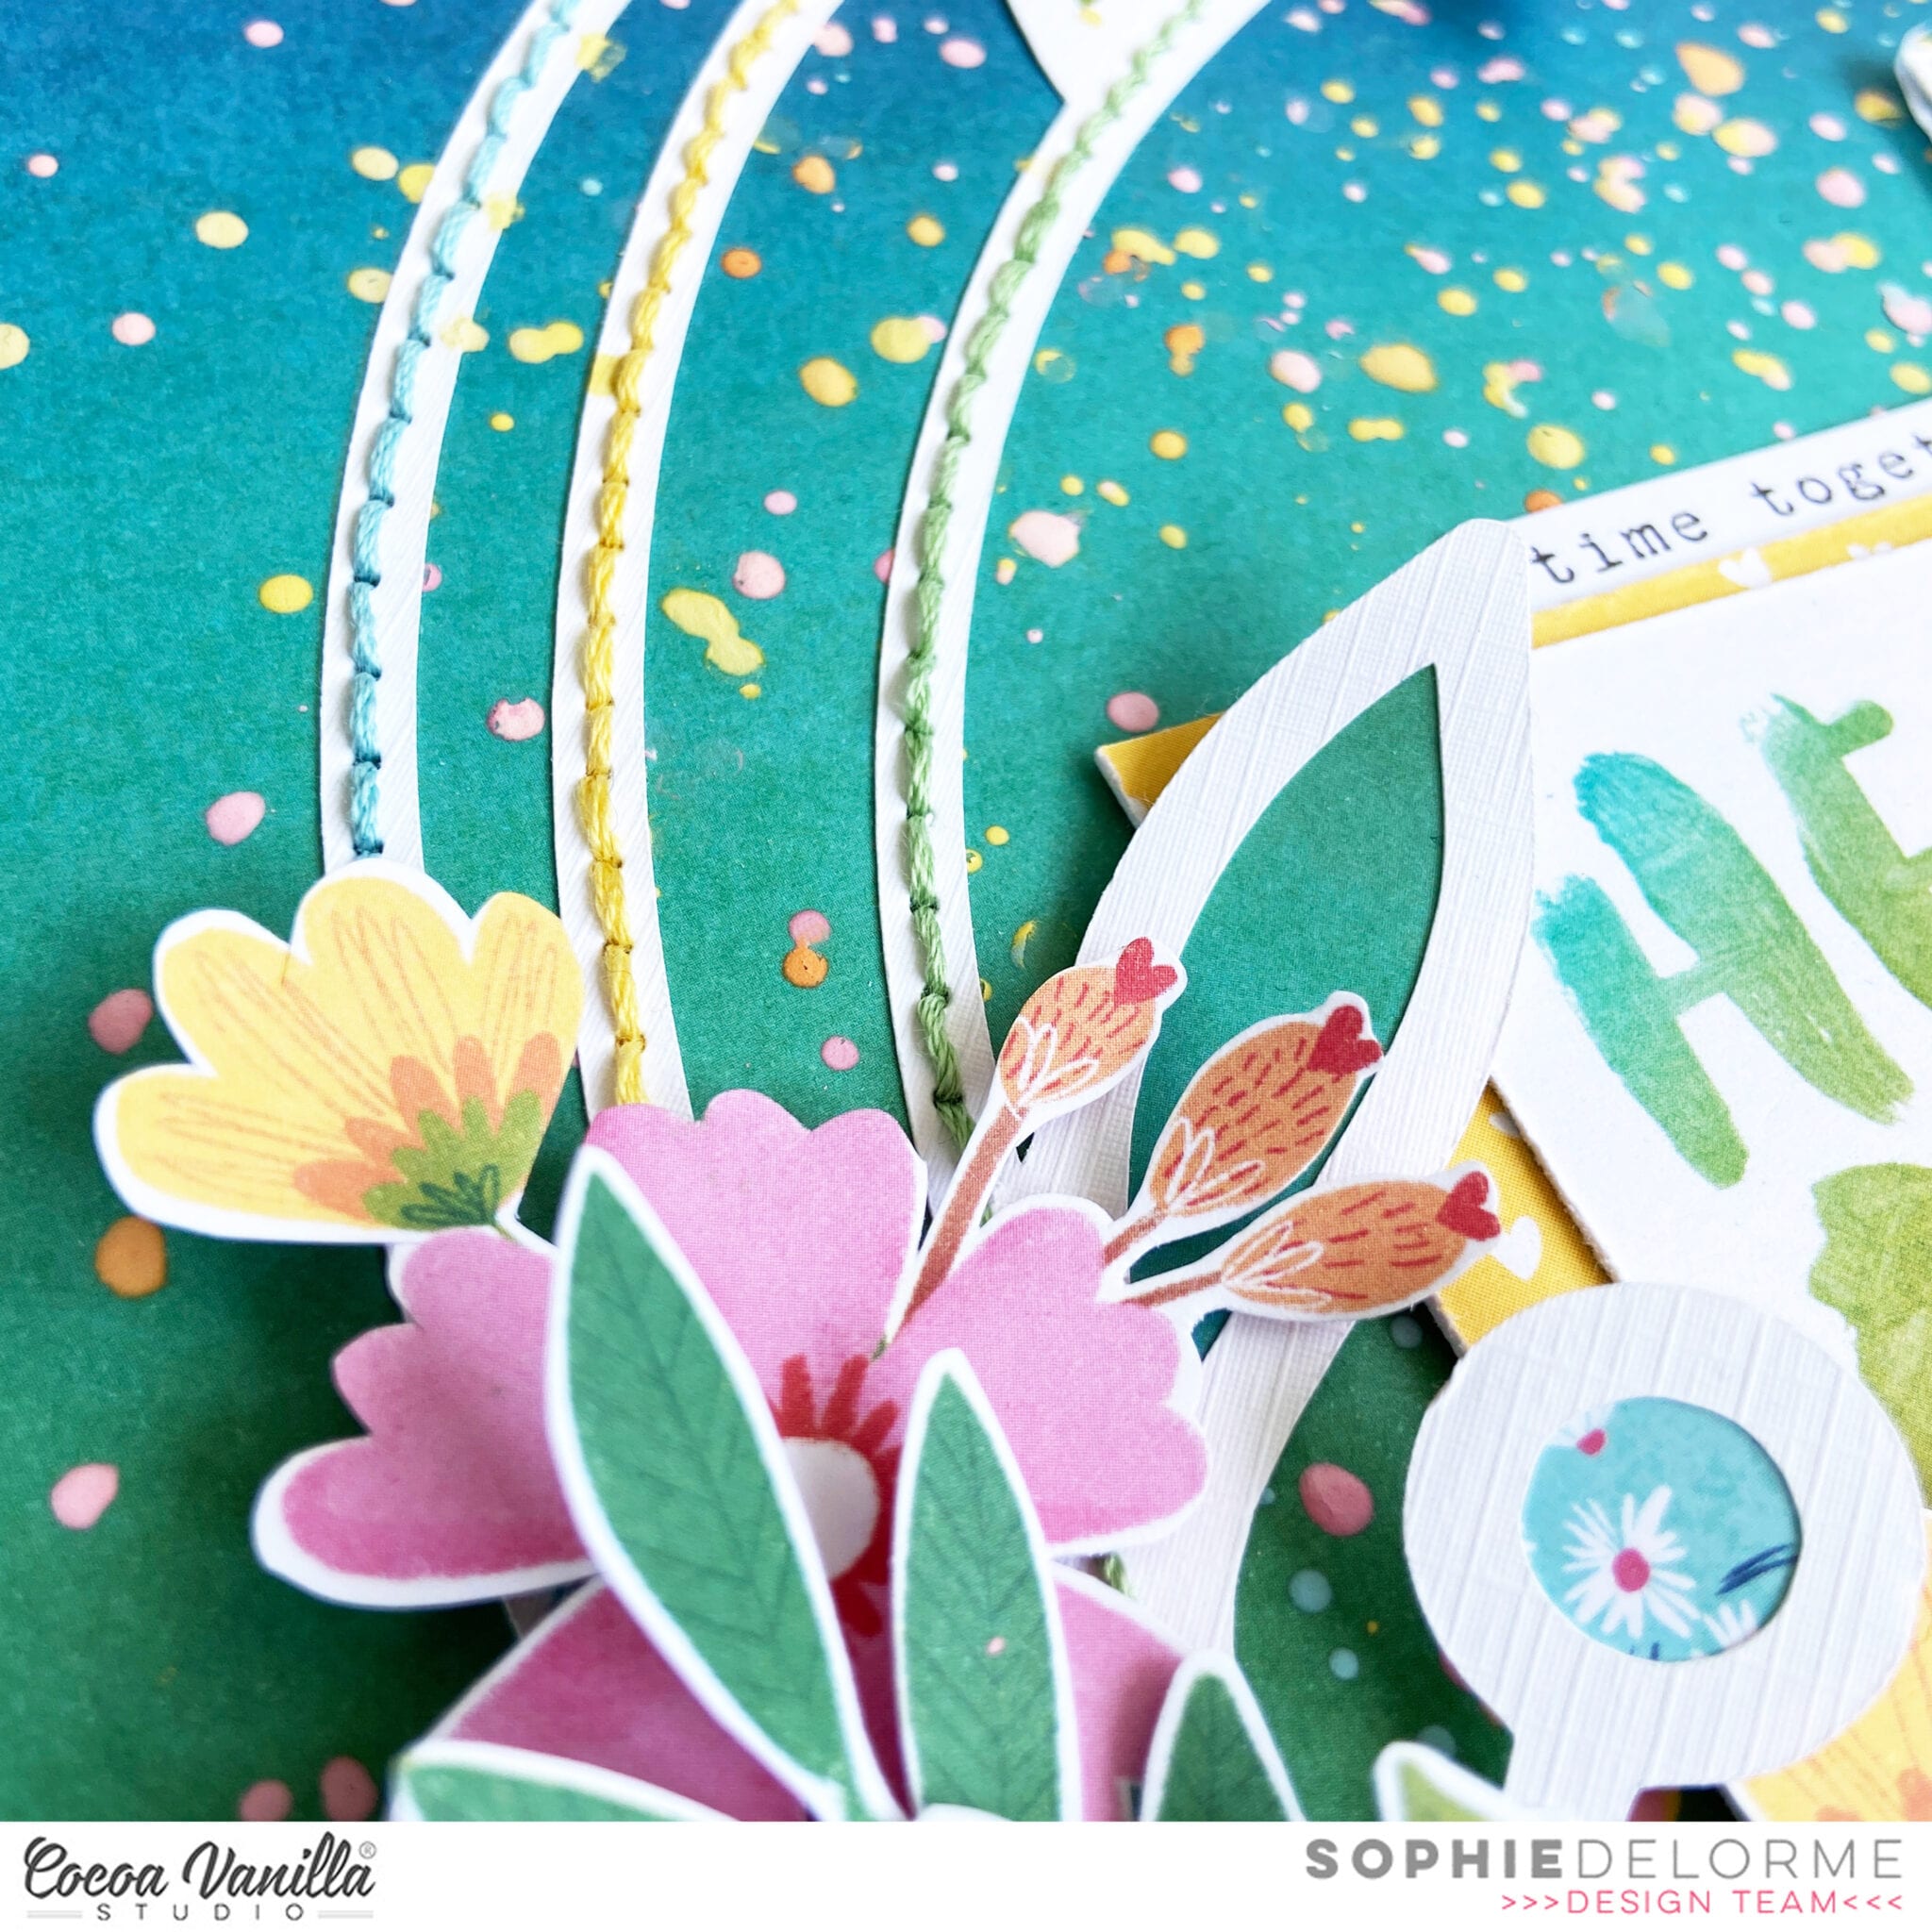
I added some sky to my layout by tearing the top right corner of the rainbow paper and using the Just Chillin paper, which is the same paper I used for the swimsuit and adding a rainbow puffy sticker so they looked connected. If you are not sure about machine stitching on your layout here are some tips to make it easier: firstly make sure your speed is at the slowest in can be, this gives you more control and allows you to sew on the curves with greater accuracy, also I always add stitching at the beginning of my layout so if I mess it up I am not ruining a whole layout.
Thank you for stopping by today and I hope you all have a wonderful week with some time to scrap!
Rachel X


 Here is my throwback Thursday layout featuring a photo of my daughter. I went for an uplifting/inspirational layout for her. As you can see I have used a mix of collections here but they still coordinate so well together. I used two cut files from the Silhouette design store, paint palette and title ‘paint your dreams’.
 I used the script writing inspirational paper as my base. I cut a 10×10 inch white cardstock strip and centred this on my base page. I next cut the paint palette and brush as this was the feature of my page. I found a wood grain paper in my CVS 12×12 paper box, once cut I added machine stitching to the edge. I backed it with a marble paper and to add a little something extra I added glitter to the paint blotches. I then added with foam tape off centre onto the white cardstock.
 I then added my paint brush and added some small butterfly die cuts under the palette. I found a gorgeous die cut doily and used this to mat my photo. I used some phrase sentiments under my photo and finished off with a camera die cut.
 I added my title, I used some silver glitter paper for one word to stop it from looking too flat visually. I also added a light splash of black paint to add some contrast.
 To finish off my page I added some beautiful die cut flowers and enamel dots. I added some more light splatters of black paint.
 Most of these papers and embellishments are no longer in the store but you can recreate this layout with what you have in your CVS stash and don’t forget CVS have


