It’s Sophie here and I am so excited to share my very first page created with the brand-new Storyteller collection!!
Where to start?? I am sure you know the feeling of wanting to hoard every little thing of a new collection and having a hard time choosing and actually using some of the beautiful goodies from it… Well, it definitely was a struggle for me here!!
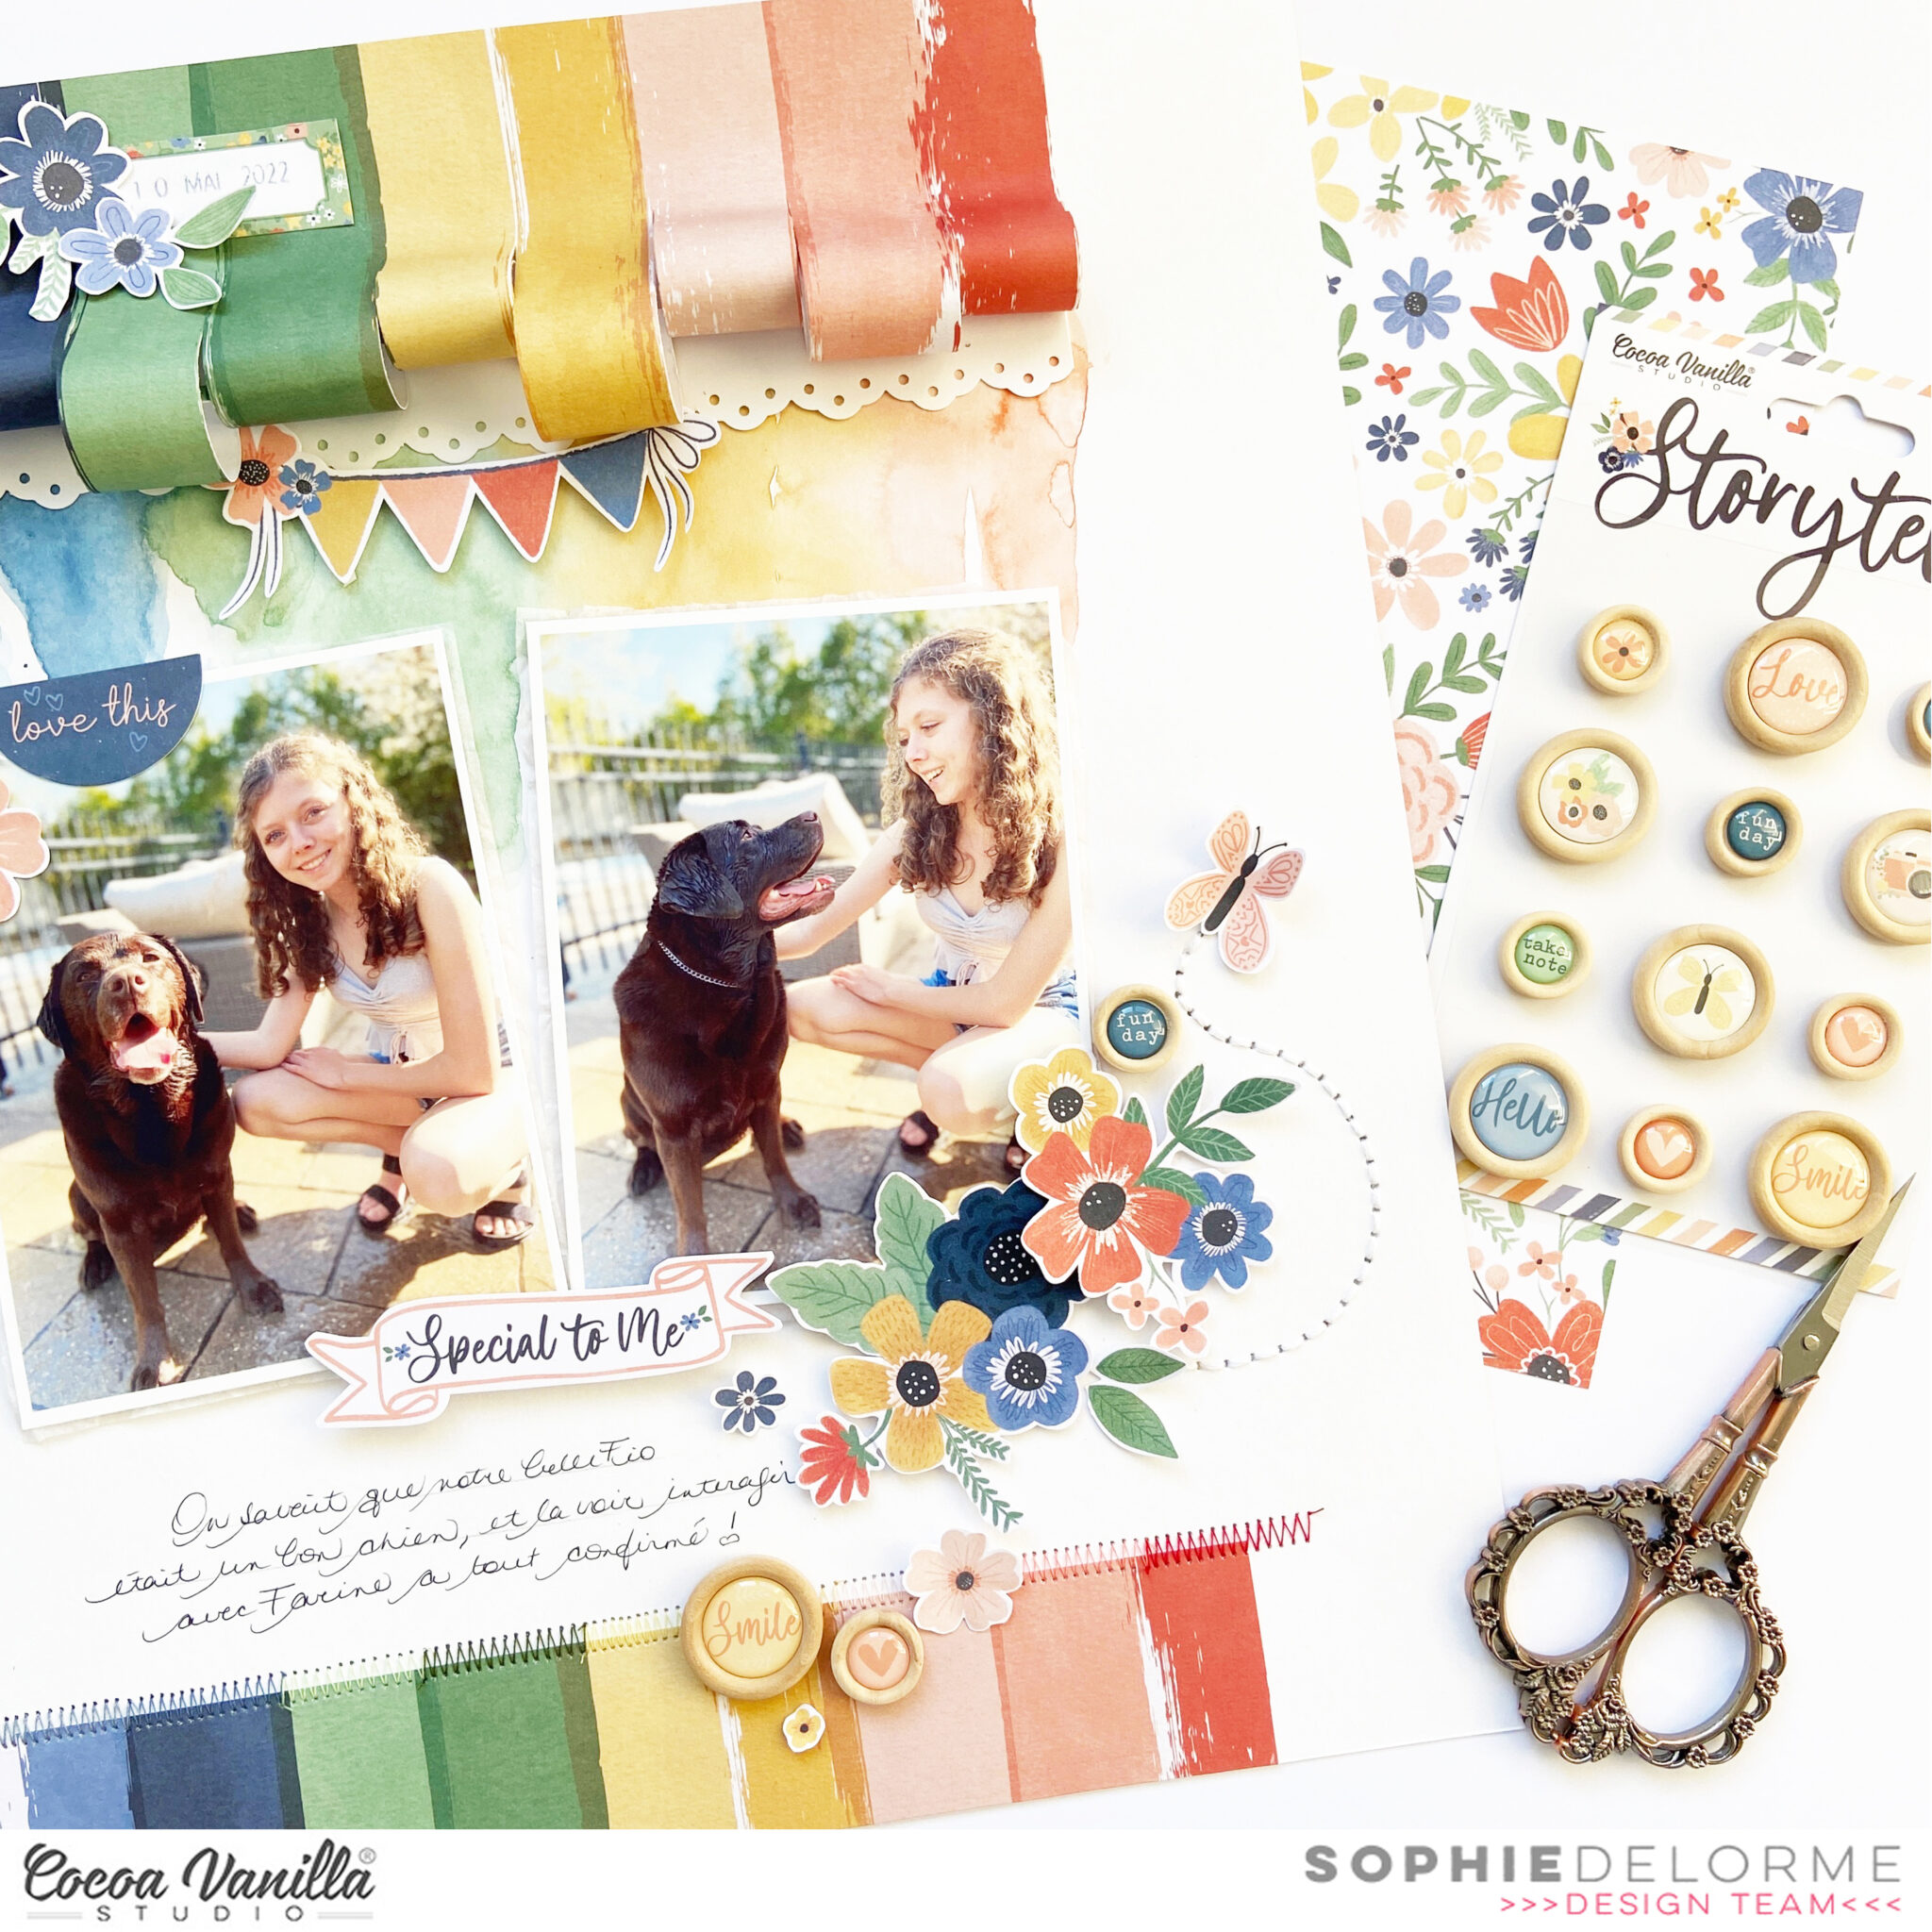
I used the striped paper from the A5 Paper Stack and used a piece of it on the upper and lower part of the page. I cut between the colored stripes and curled some in different lengths on the top part of the page, and applied watercolor paint on thick white cardstock in different colors matching the stripes just underneath them.
I created a zigzag stitch in matching colors for the lower strip of striped paper.
I centered two photos on my page, a little bit crocked, and mounted on tissue paper and foam adhesive.
I used a Die Cut Ephemera for my title and a cute little banner above the photos.
I created clusters of flowers, most of which were fussy cut out of the A5 floral patterned paper.
Finally, I used beautiful Die Cut Ephemera butterflies and made them fly around my page, and placed a few Wood Epoxy Buttons as the finishing touch.
Here are more close-ups:
I am sure that you fell in love with this gorgeous collection just like I did!
Please share all your creations on the Cocoa Vanilla Facebook group!
Hey friends and welcome back to the Cocoa Vanilla blog.
Today I am back to share my second page using the new Storyteller collection…. here it is….
When I sat down to create, I was really drawn to the script chipboard words “Love Our Story” so I decided that was what I was going to use for the title of my page. I substituted the ‘our’ word for some smaller alphas from my stash as they fit better with my design.
The photo I am scrapbooking is the our first photo as a family of 5….and I really do love our story….. Ollie was the icing on our cake.
Once again I have been loving hand stitching on my pages…. so I diecut some hearts from the A5 paper stack in three different sizes and layered them up, adding the stitching which brings so much texture to my page.
I always love the woodgrain papers in CVS collections, so today I used the ‘Cross it Off’ paper as my main piece… neutral but effective in popping off all the colours I was using…to add more detail I used a scalloped border punch to add strips down the sides from the navy paper found in the A5 paper stack.
To finish off my page I added some butterflies from the ‘Fly Away’ patterned paper, a camera cut from one of the ‘Pocket Cards’ and some word phrases from the ‘Accessory Sticker Sheet.’ I thought the bottom of the page was a bit empty so I cut out the hearts from the border strip found on the ‘Story Time’ paper and made a strip along the bottom of the page combining them with the ‘Puffy Stickers’.
That’s it from me today, I hope you enjoyed this page and it has inspired you to get creating with this GORGEOUS Storyteller collection.
Hello wonderful, scrappy friends!
Lina, here today on the blog sharing my very first layout with the brand spanking new, Storyteller collection. I know you’ve all heard me rave about how much I love certain collections, but this one, this one is my most favourite! It’s perfect! From it’s gender neutral colour palette, to the florals and ephemera…. it’s just a well rounded collection and I’m happy to have gotten my chance to play with it!
The photo I documented is of my youngest little girl, peace sign and big smile. I could not resist documenting this photo since all it’s colours coordinated perfectly with the collection. I matted the photo with the A5 Paper stack and popped it up on many layers of dimensional foam so that it sat on top of the rainbow die cut. The rainbow die cut is an image I found online, traced with my Silhouette Cameo and paper pieced with papers from the collection. I also cut stars, in multiple sizes to tuck into my layout as layering pieces. All of these elements sit on top of regular white cardstock that I matted with the 12×12, Little Love paper. It’s so sweet with it’s little colourful heart pattern with a navy blue background. It also features a yellow star pattern on the reverse that caught my eye.
The title is comprised of words from the Foam Title Stickers. And how fitting since this babe’s smile make me smile from ear to ear.
I also used some gold thread to create a little home for the Wood Button to sit on. This one is a darling little butterfly with a blue background. To finish off this bottom right corner of the layout, I added some phrases from the Accessory Stickers sheet and this conveys my feelings and emotions on my layout since I do not journal on my layouts.
For more embellishing, I used clusters in the top right corner of my photo and again at the bottom left. This along with my title creates a visual triangle that works in layouts and pleases the eye. I used some stars and pieces from both the Floral and Die Cut Ephemera packets. The ephemera in this collection is stunning and so sentimental as it pertains to telling a story and creating memories. I am just smitten by the collection itself… if you hadn’t noticed
Thanks a bunch for joining me on the blog today and I hope you enjoyed my layout!
xoLina
Mandy with you today, and I’m kicking off our Stars and Stripes theme that we’ll be featuring here on the blog for the next few days. I couldn’t go past using the amazing Legendary collection for this! I’ve definitely hoarded this collection, and it’s still one of my favourite masculine themed ranges. I decided on documenting a photo of my hubby on this layout, and I converted the photo to black and white to help it to really pop against all of the bright and bold colours in this collection.
I started this layout off by using the reverse side of the Epic Tales paper as my background. To bring in the ‘Stripes’ element of the theme I couldn’t go past using the gorgeous Wild One paper. I LOVE the beautiful artsy rainbow stripes on this paper and I added a strip of it across the bottom half of the layout. I distressed the edges of the paper before I adhered it to give it lots of nice texture. Next I used a notebook border punch on the blue Offbeat paper and then tucked this under the bottom edge of the striped paper.
I matted my photo with the beautiful woodgrain Outdoors Type paper and then adhered it on the left hand side of the page, overlapping the striped paper. To give the layout some more movement and interest, I adhered the photo on an angle. I also added a layer of craft foam underneath it to lift it off the page and add dimension.
Next I brought in the stars, which are one of my favourite elements to add to a masculine themed project! I included stars from the Die Cut Ephemera pack and the Clear Stickers, as well as some that I fussy cut out of the All Star patterned paper. I scattered them from the bottom left hand corner of the page up to the top right hand corner. This helps to draw the viewers eye from the photo, up through the title, and to the cluster in the top right. I adhered some directly to the page and others were adhered with foam tape to help them pop off the page.
Along the top of the page I added a narrow strip of both the All Star and the Offbeat patterned papers. I then created a cluster in the top right hand corner of the page using more Die Cuts and fussy cut stars, as well as a little banner Sticker.
To finish the layout off I added my title and typed journaling. For my title I decided on using the awesome Clear Stickers and I love the way this gives the look of it being handwritten directly onto the page!
Thanks so much for joining me here on the blog today. I hope that you enjoyed taking a look at my ‘Stars and Stripes’ themed layout. Wishing our friends in the United States a happy Independence Day!
Hello Cocoa Vanilla Studio fans! Danni here with my very first layout using the incredible new Storyteller collection! We have been completely spoiled for choice with this amazing collection, so it was difficult for me to decide where to begin. Then I remembered that I have been biding my time to scrap my university graduation pics, waiting for just the right collection to come along…and here we are!
The yellows and blues in this collection match my dress and hood in this photo perfectly. I was so inspired by all the gorgeous colours, I decided to pull out my vast collection of embroidery threads and begin stitching. I selected several of the flowers and leaves from the floral ephemera and added a variety of different stitches and knots to add lots of texture.
I had trouble choosing a title for this page because this was such a huge and important moment in my life, so I ended up going with a card from the 3×4 pocket cards instead of a traditional title. The longer sentiment on it really sums up the importance and gravity of this special moment better than a short title. I also love how the yellow ties in with the colour of my dress. I gently distressed the edges and outlined the card with a hand drawn border.
Next I popped my photo up on dimensional foam and layered it with the 3×4 card. Before I added my stitched florals to the page, I wanted to jazz up the white background. I added a border using Spring Fling 12×12 patterned paper, then added some delicate watercolour splatters in the same colours as the florals. I included some pearlescent watercolour splatters to add some shine.
Once the background was done, it was simply a matter of adding my florals around my photo and title card, creating three main clusters. I tucked some underneath the photo and overlaid others, creating a sense of dimension and realism on the page. Using the A5 paper stack, I fussy cut three tiny butterflies from the butterfly patterned paper and added one of these to each cluster, bending the wings up to create a feeling of movement. I also added a tiny wood button to each cluster, followed by two small puffy sticker hearts in varying colours.
I love how this layout turned out and I hope you did too. I have so many wonderful ideas for this collection! There is a process video for this one on the Cocoa Vanilla Studio YouTube channel linked below, if you would like to see this come together in more detail. Thanks for watching and happy scrapping!
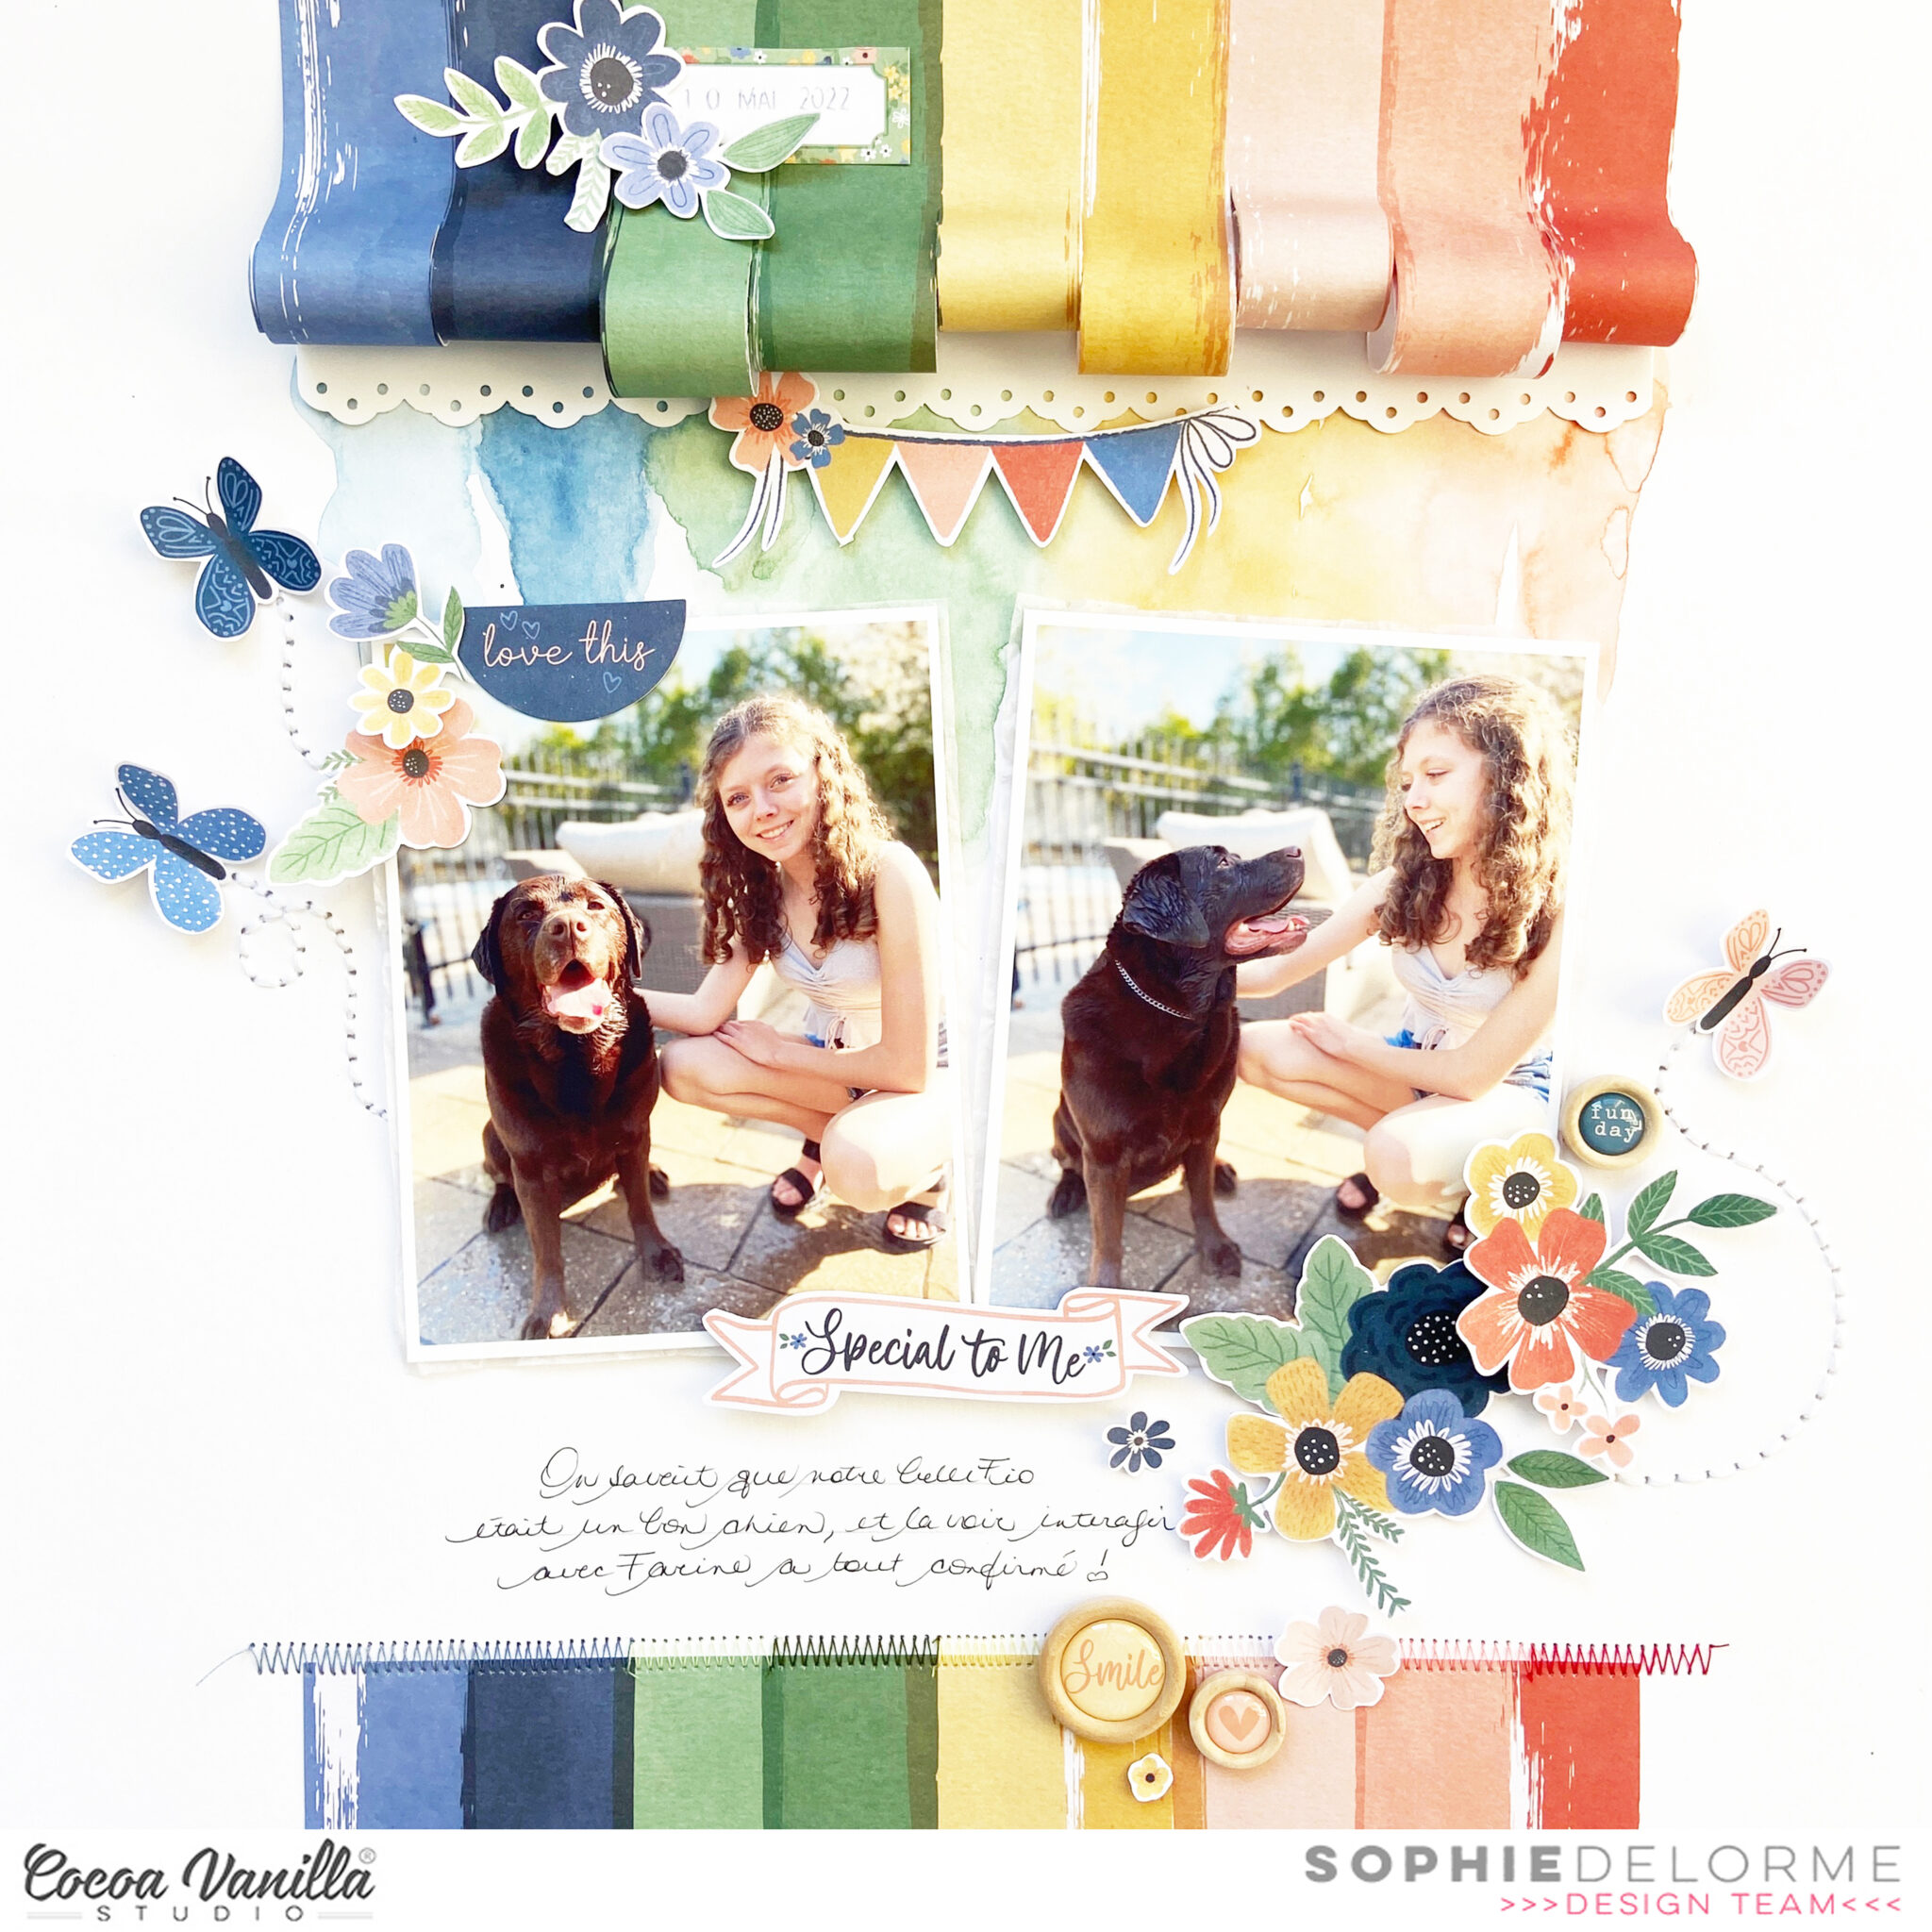
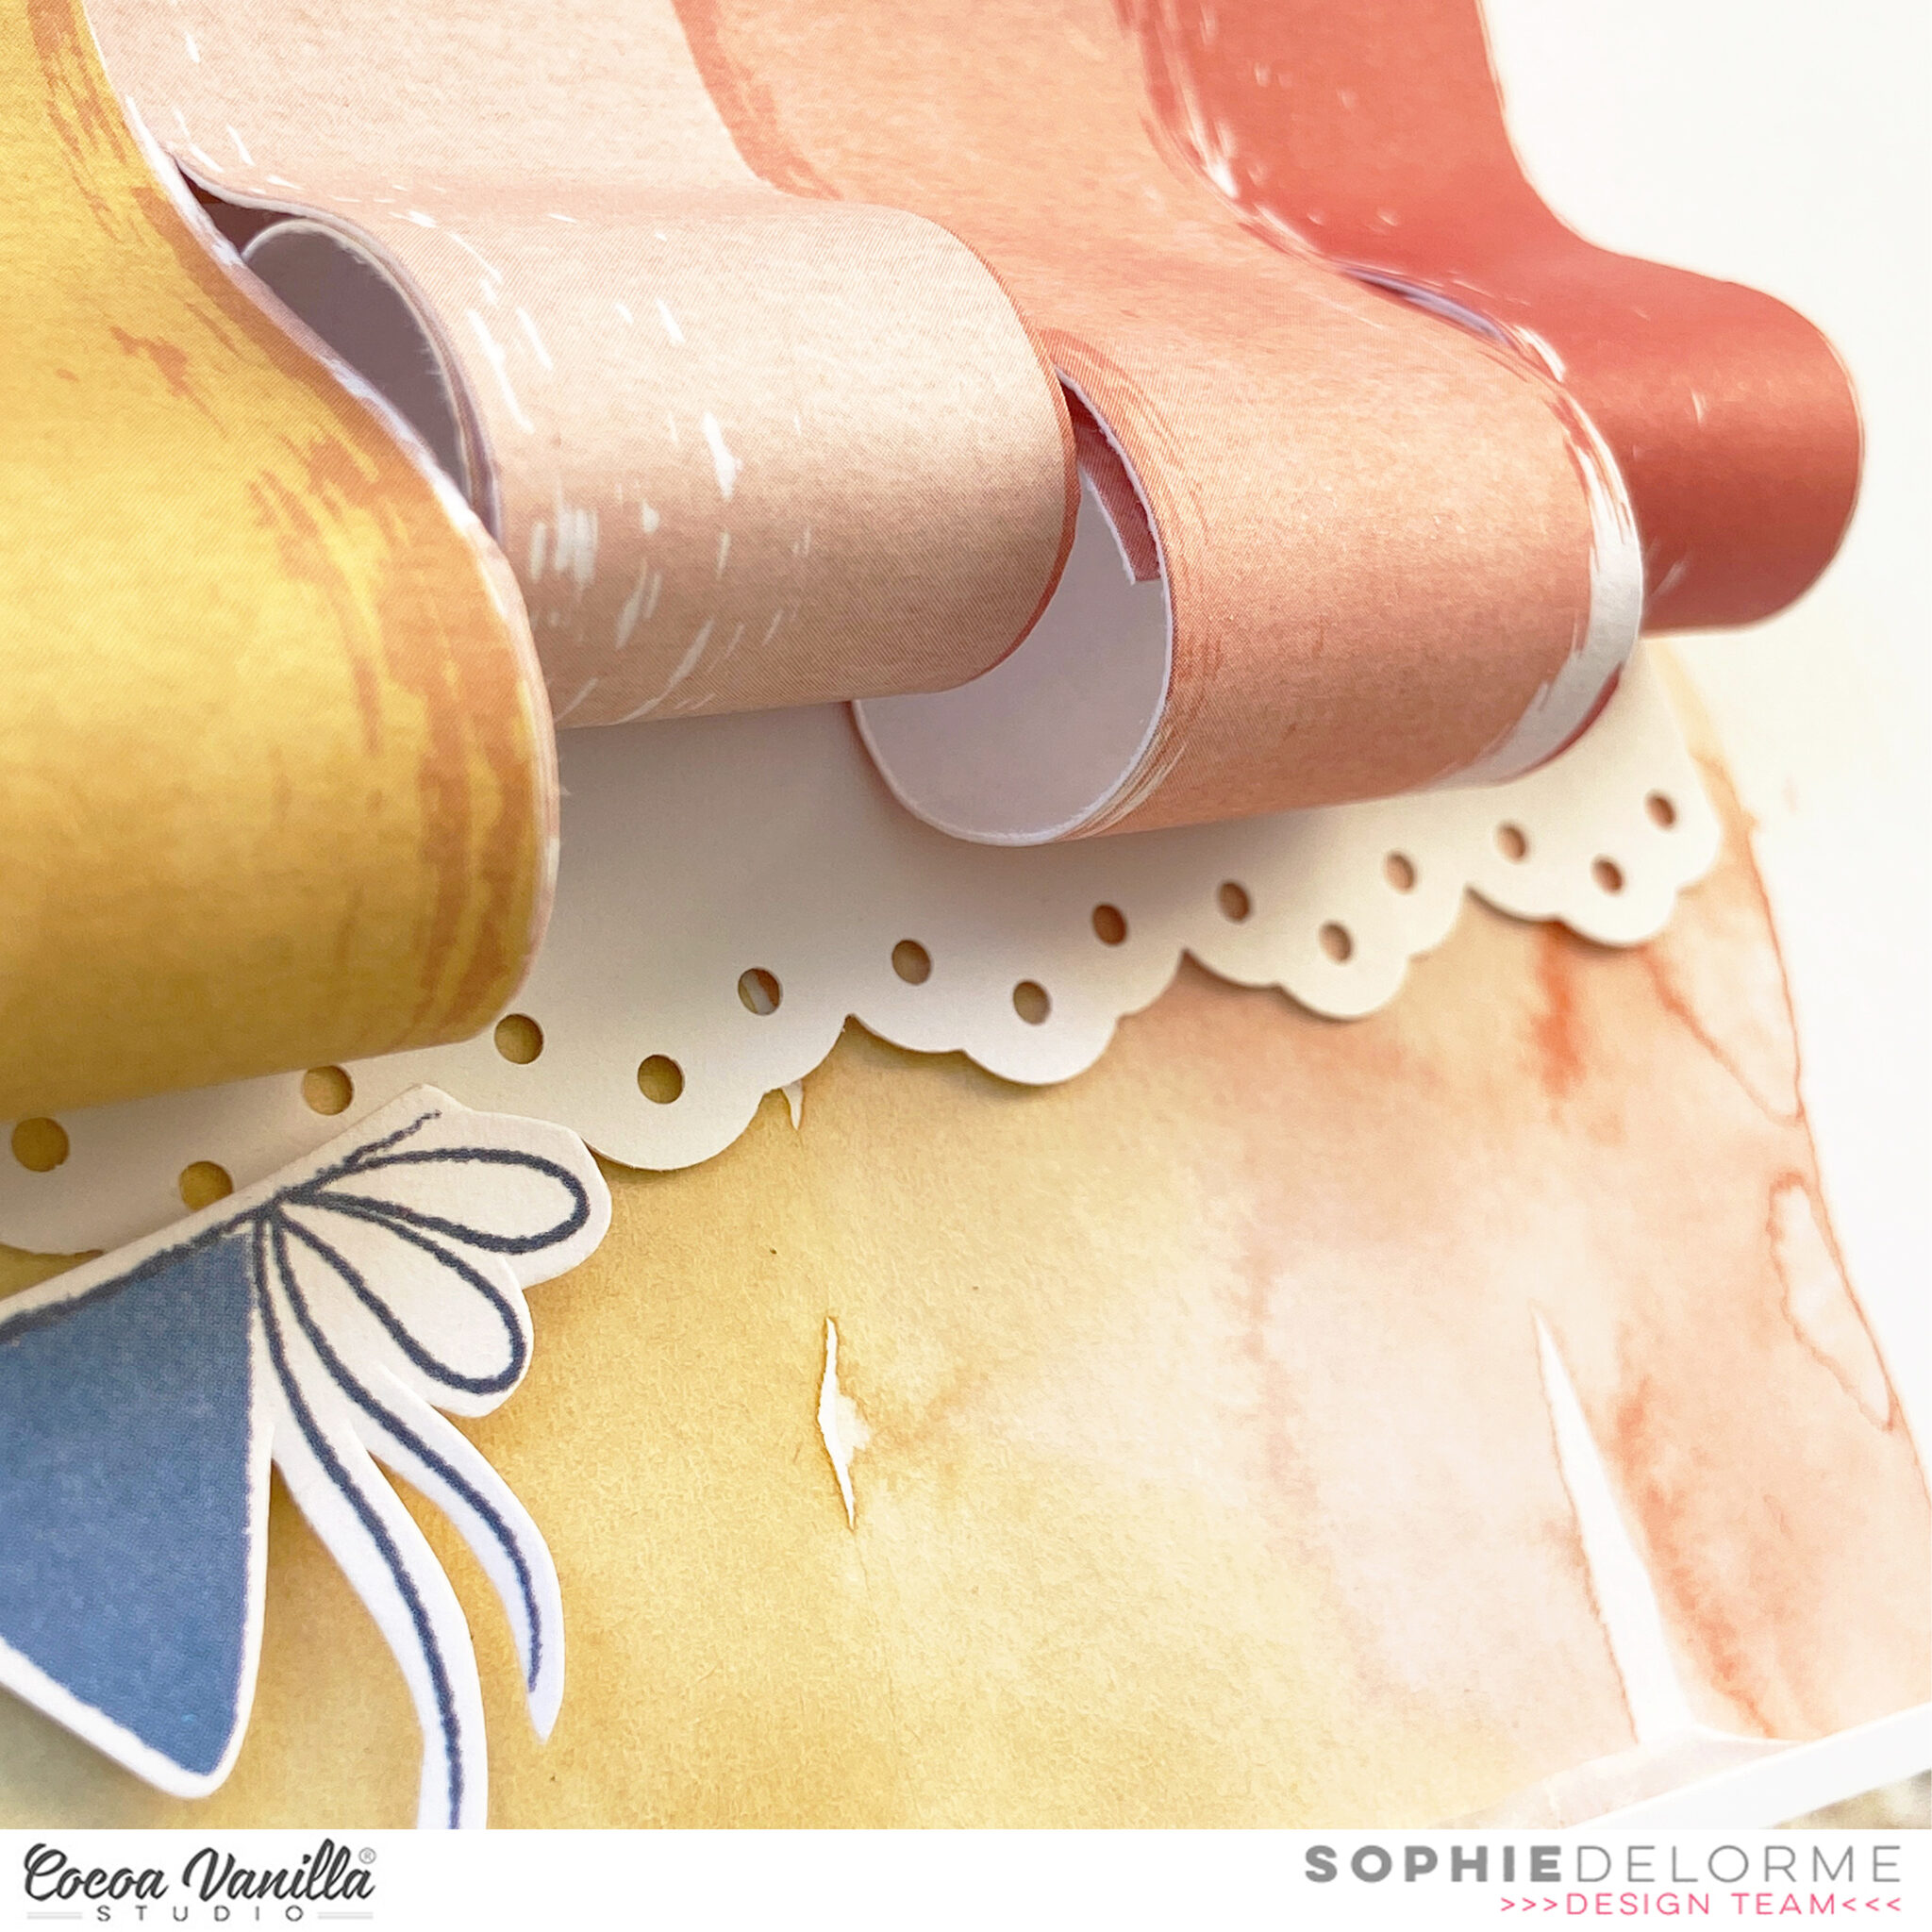
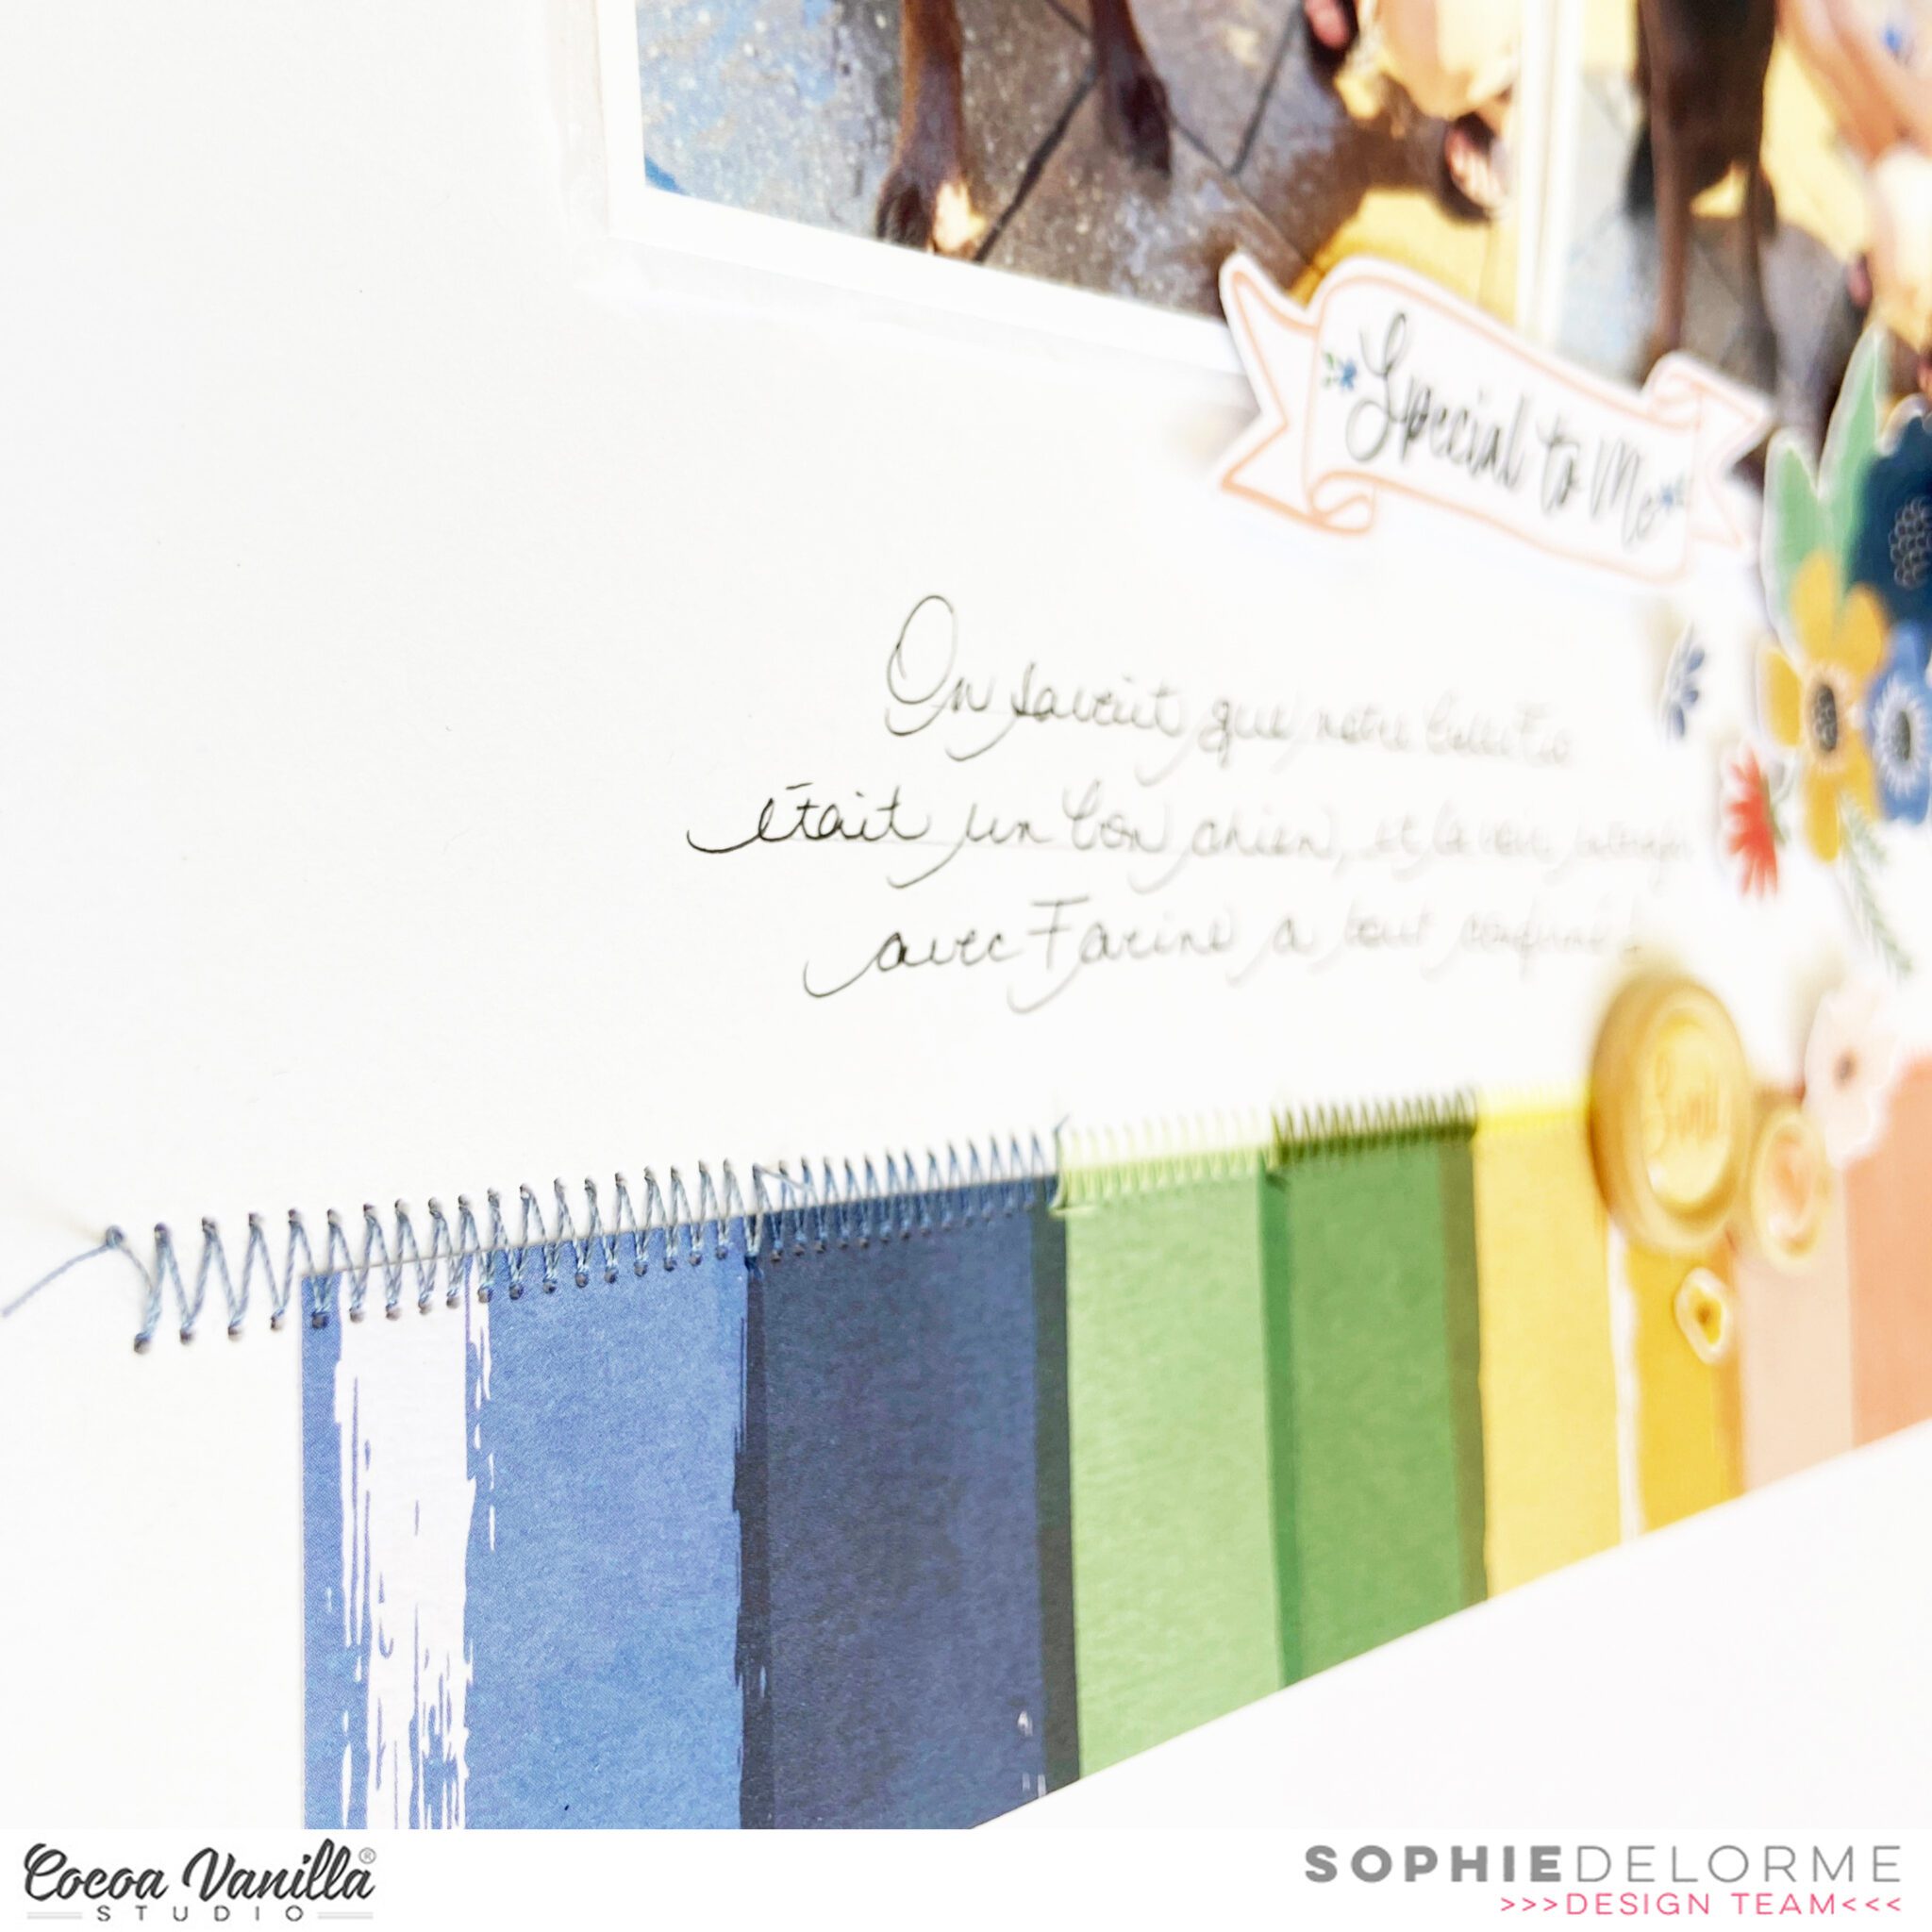
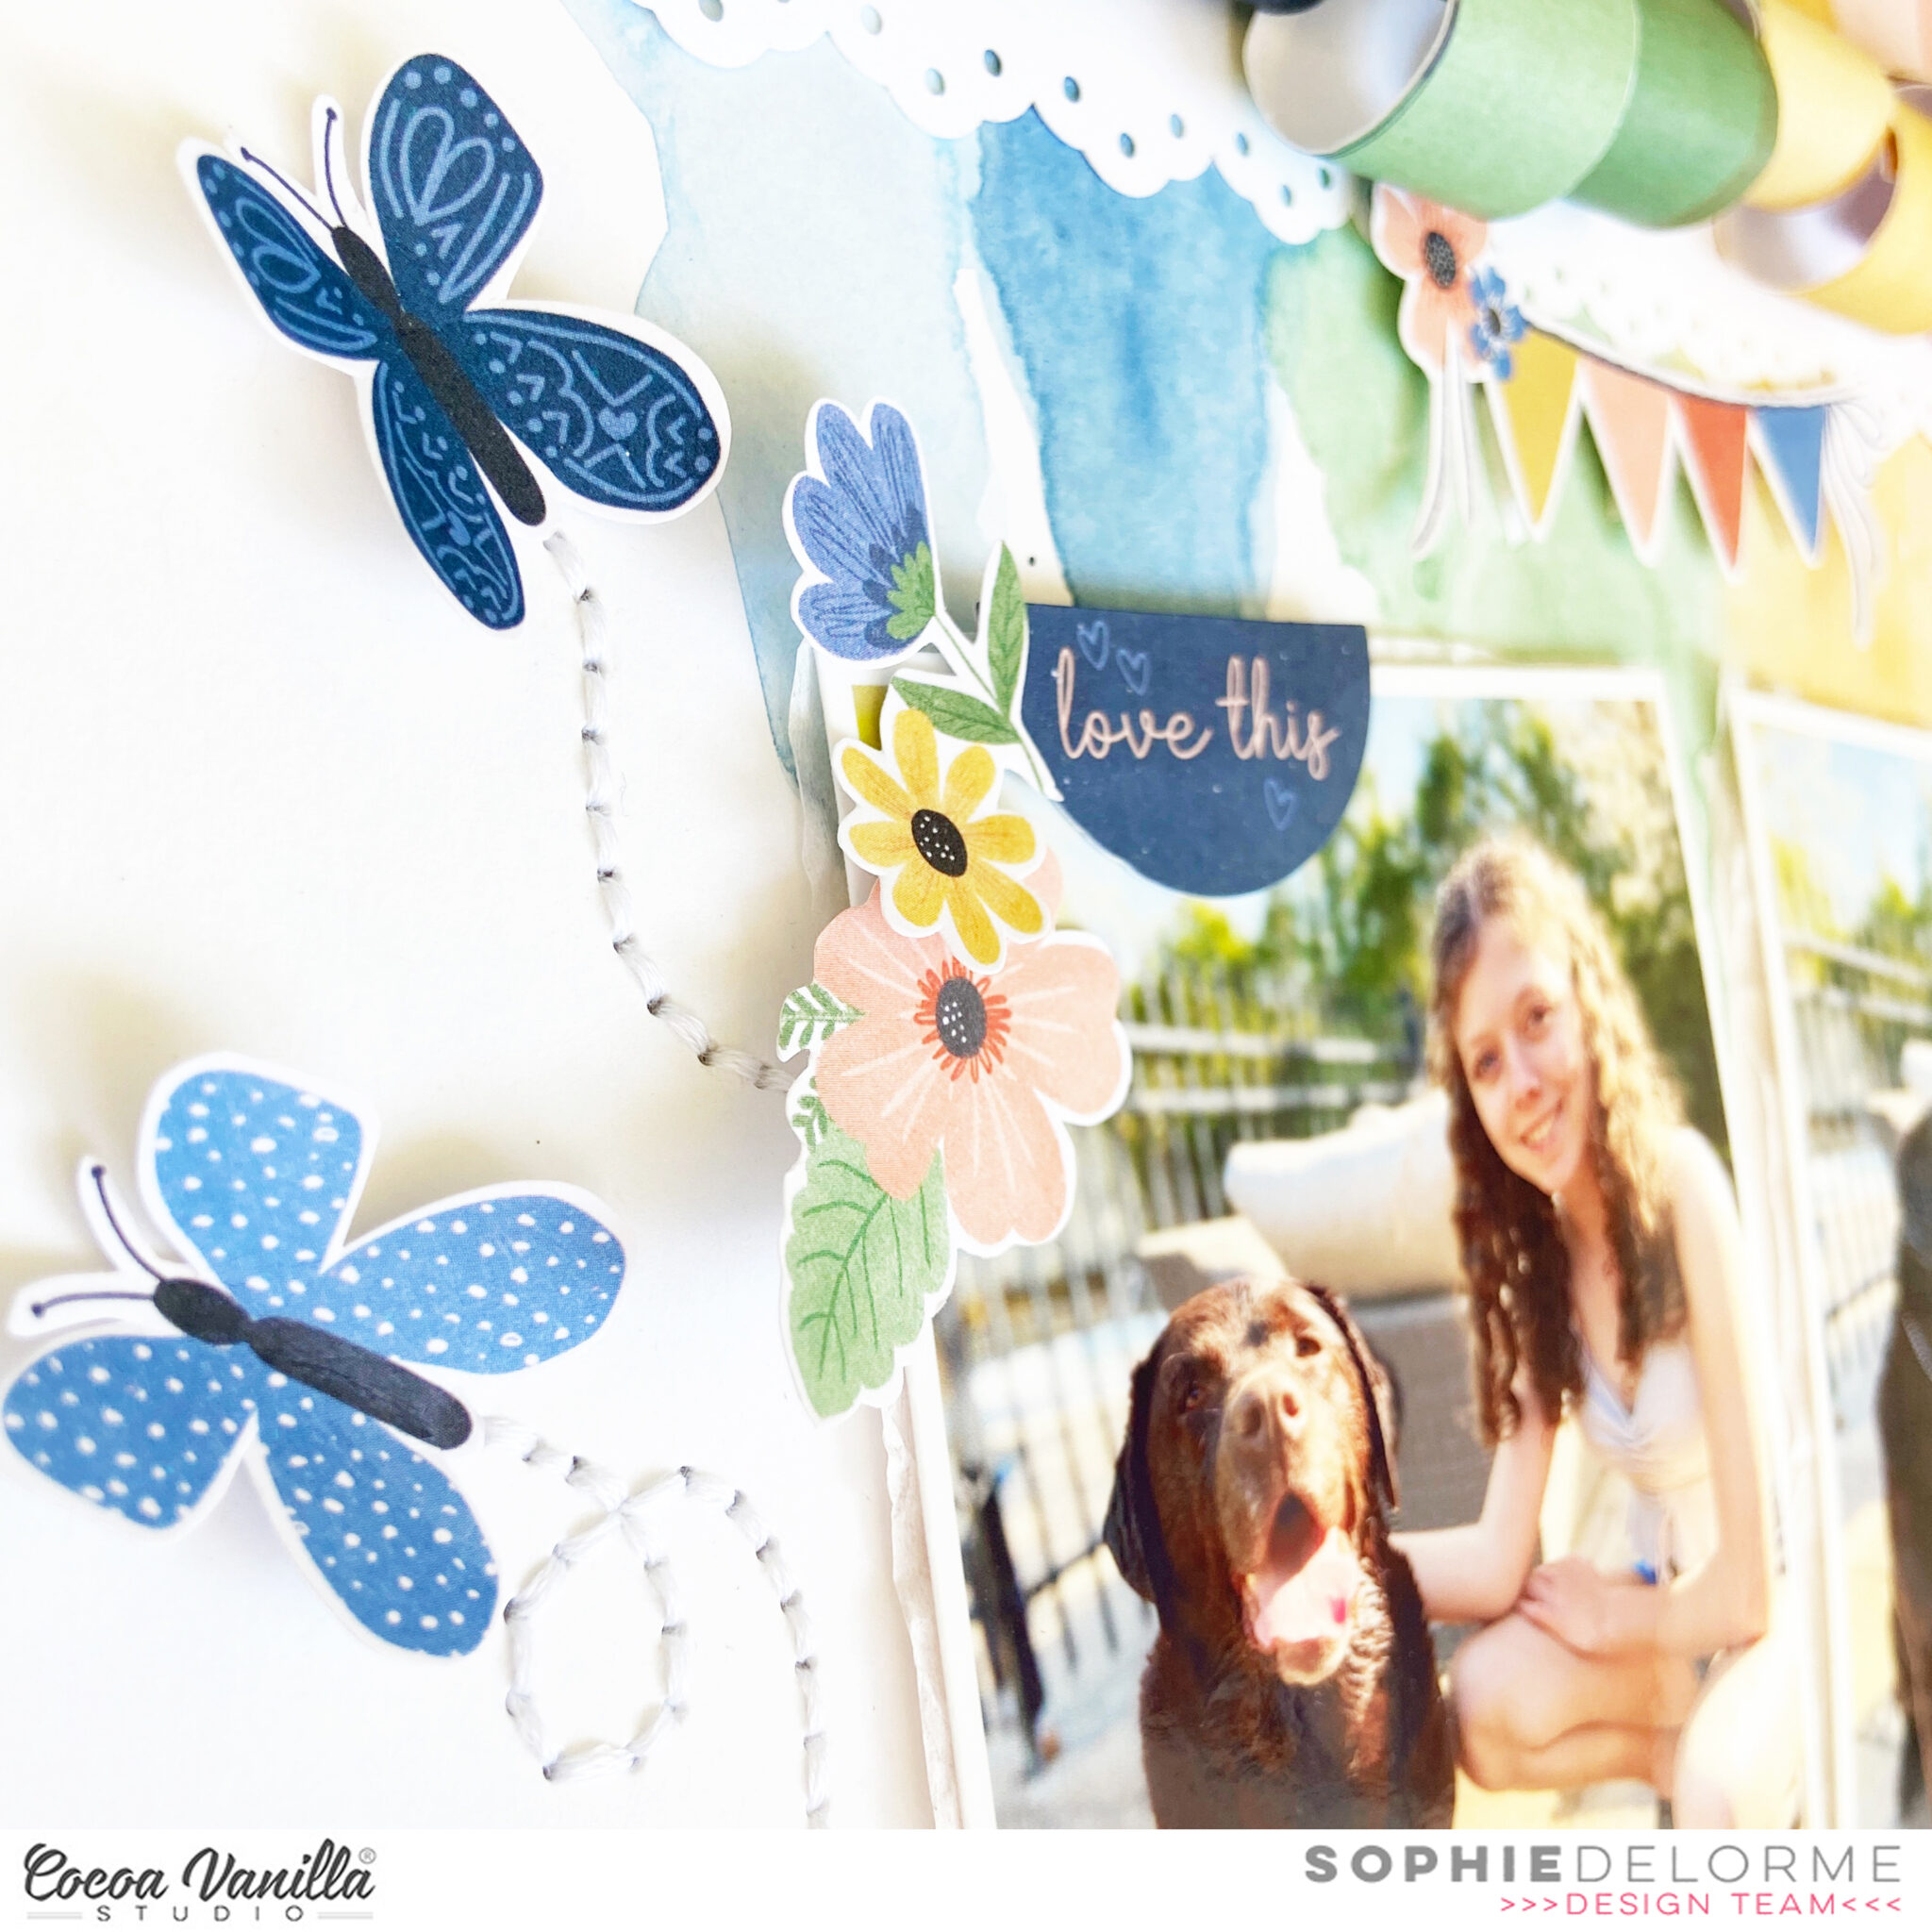
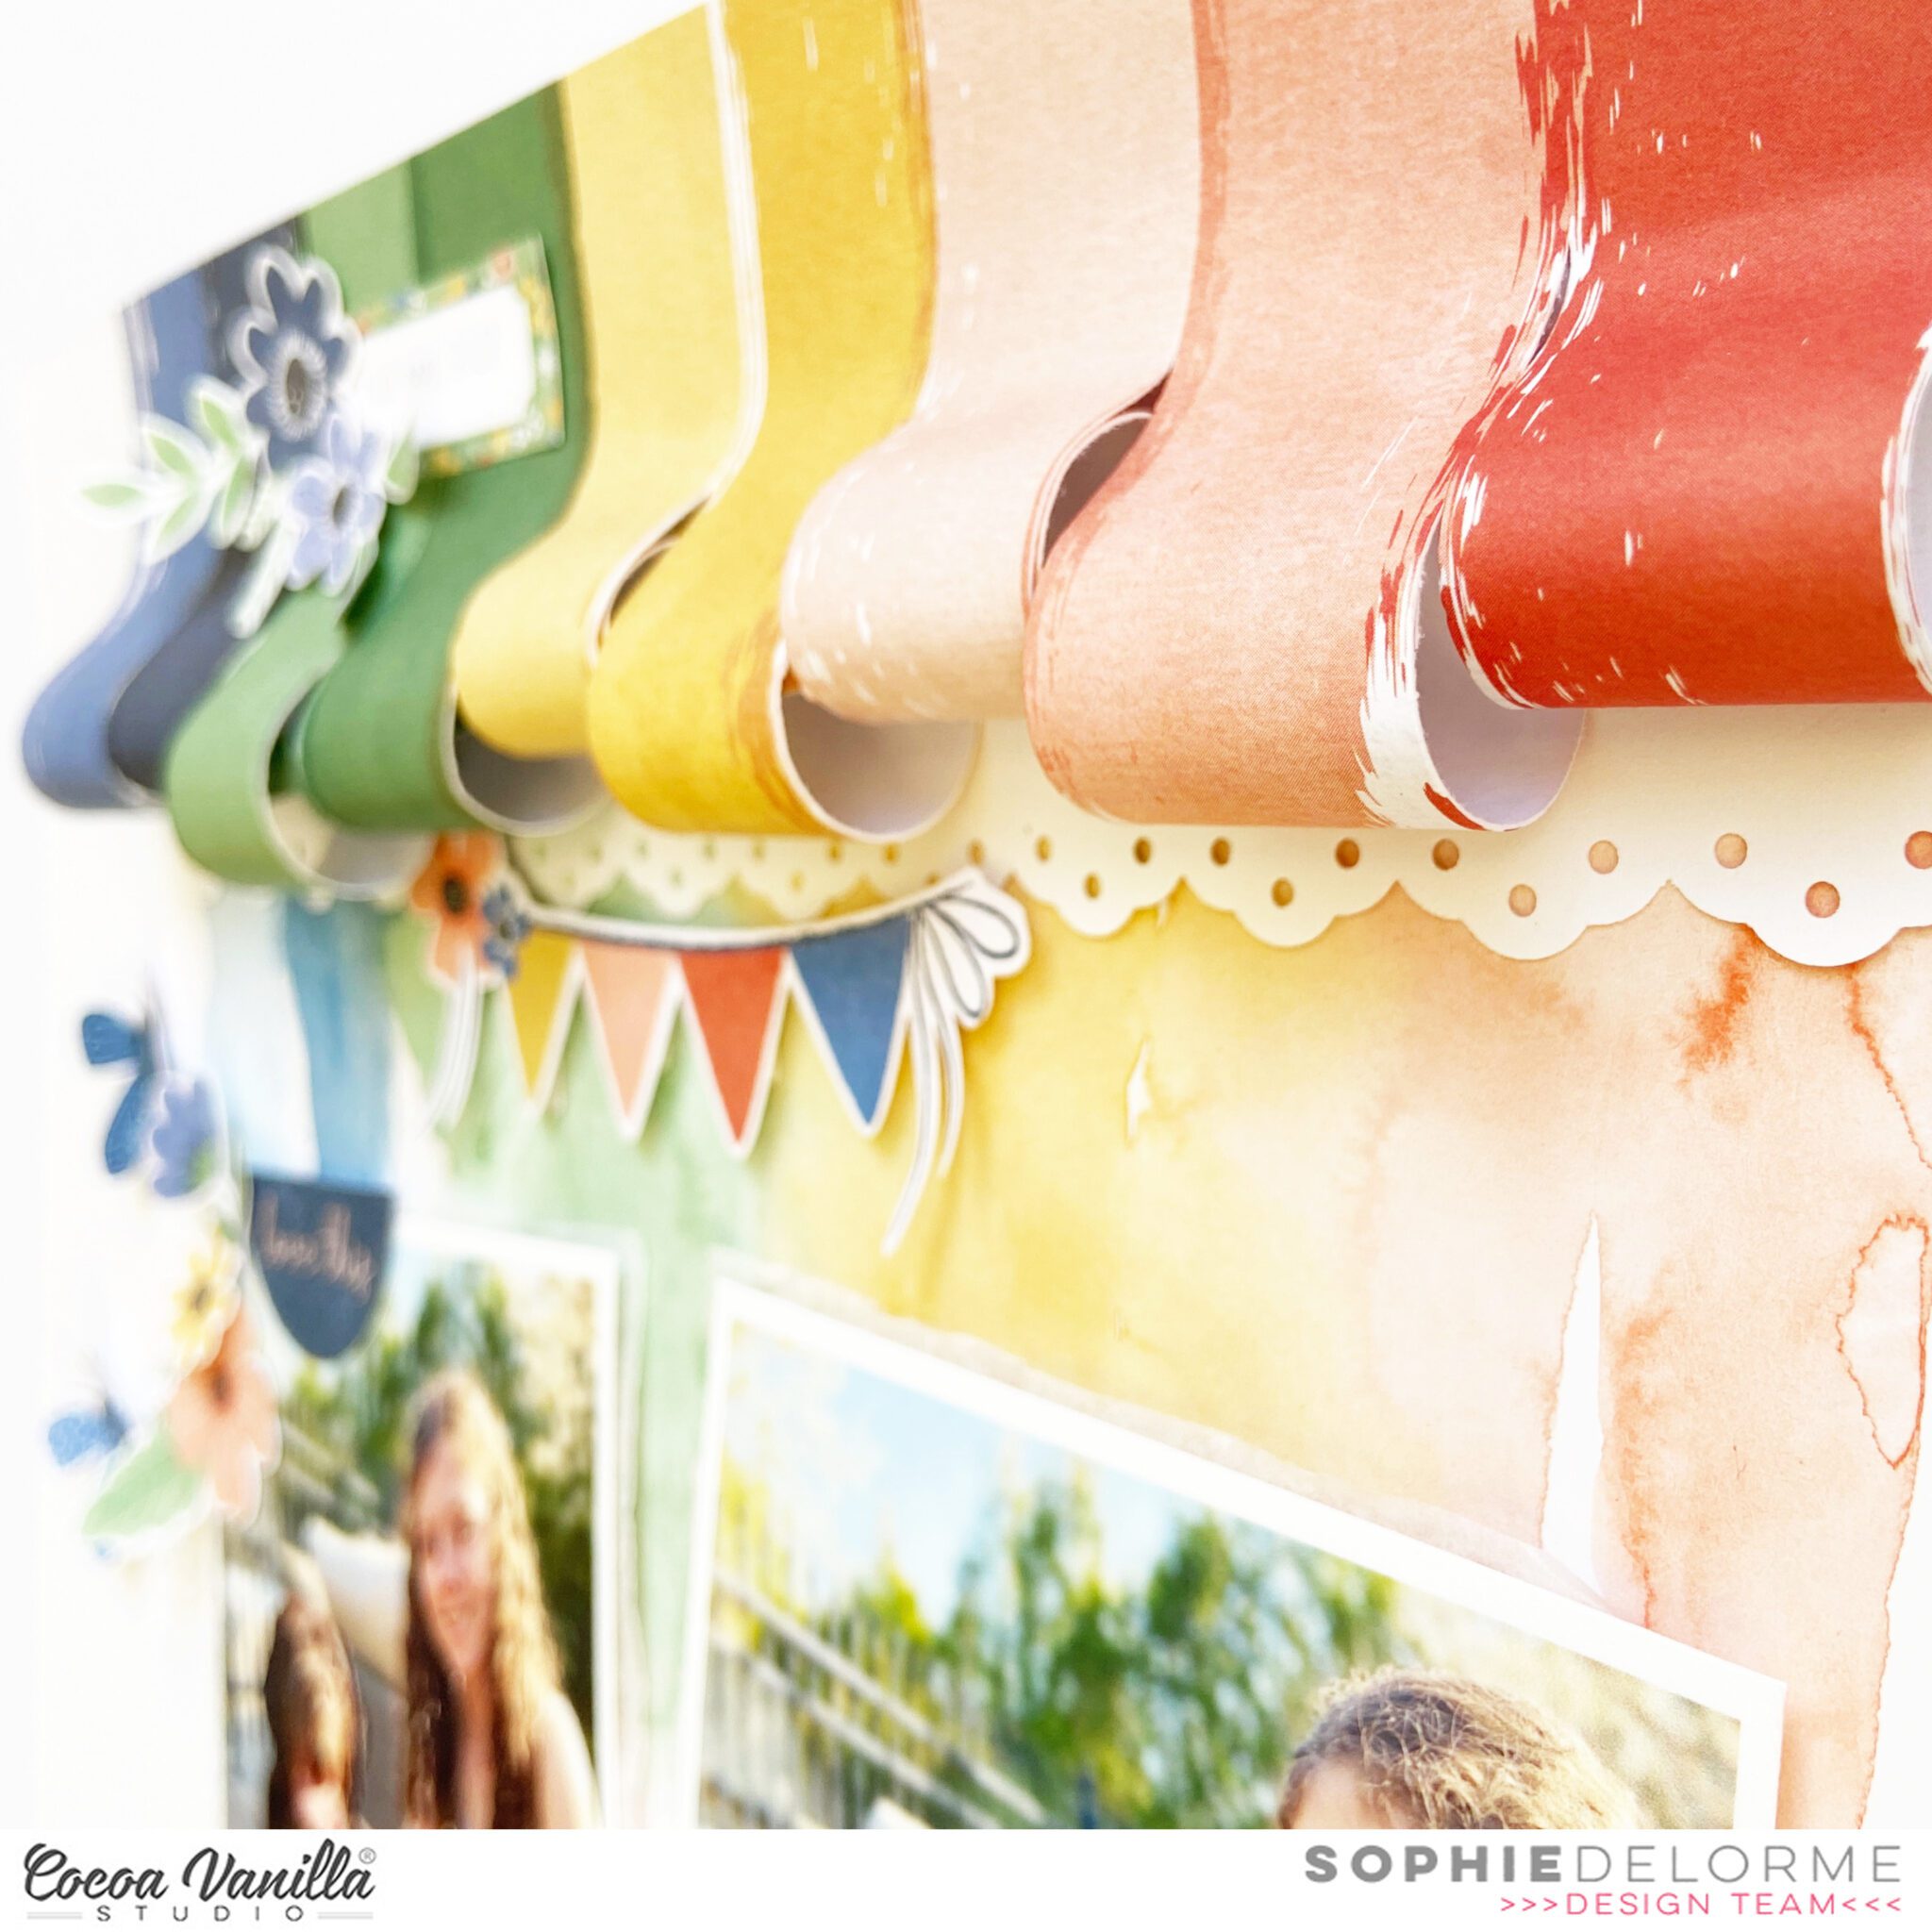
Hey y’all! Laura Alberts back again with a fun column style layout featuring the gorgeous new Storyteller collection! I am completely in love with this one! The stunning color scheme and all of the tiny details are just perfection. Scrapping a handful of fun selfies for this layout, I opted for two columns on either side of the page. Using the Cross It Off woodgrain paper for the background really helps these photos a pop off the page. Then, I pulled in three papers from the A5 paper stack for my columns, as well as a floral strip from the Story Time cut-apart paper.
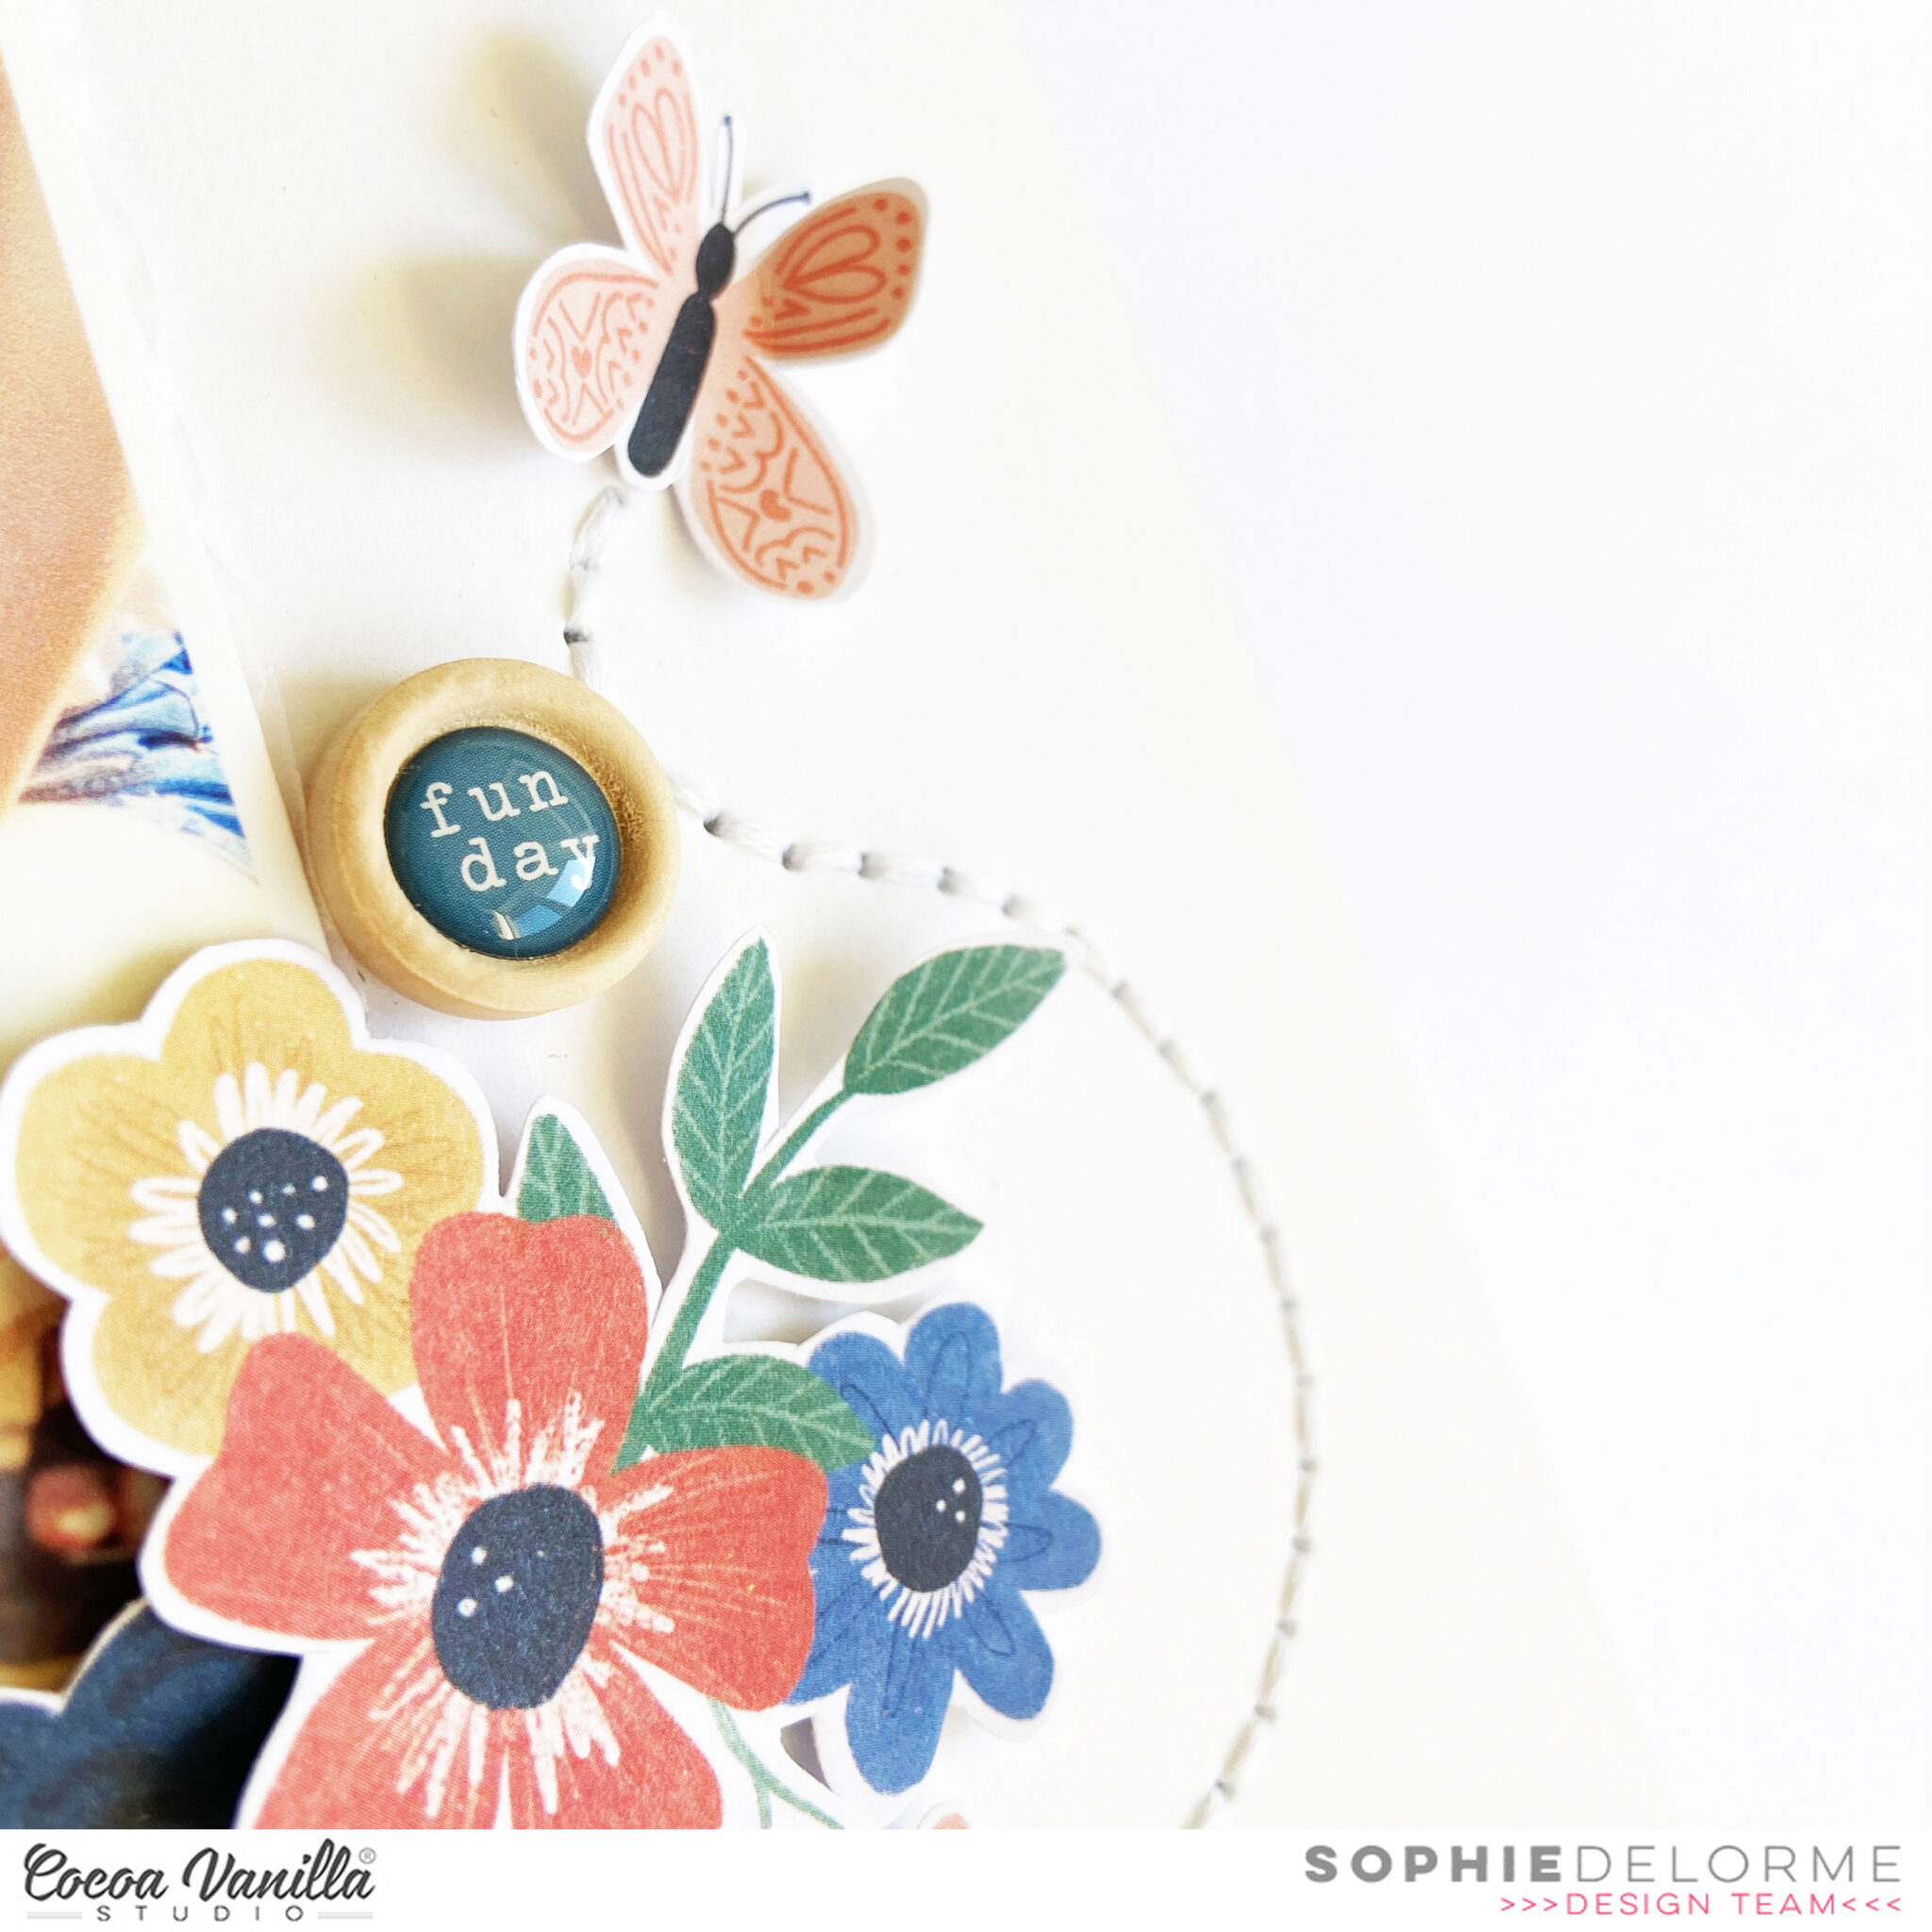
I stacked two 3×3″ photos together on the left column and then added a mixed title below them. The ‘Love this’ is from the icon ephemera pack and then ‘Story’ is a foam title. Along with a floral cluster between the two photos, I added a banner along the bottom of the column. One of my favorite details on this page is the tiny flowers I fussy cut and added around my clusters and title.
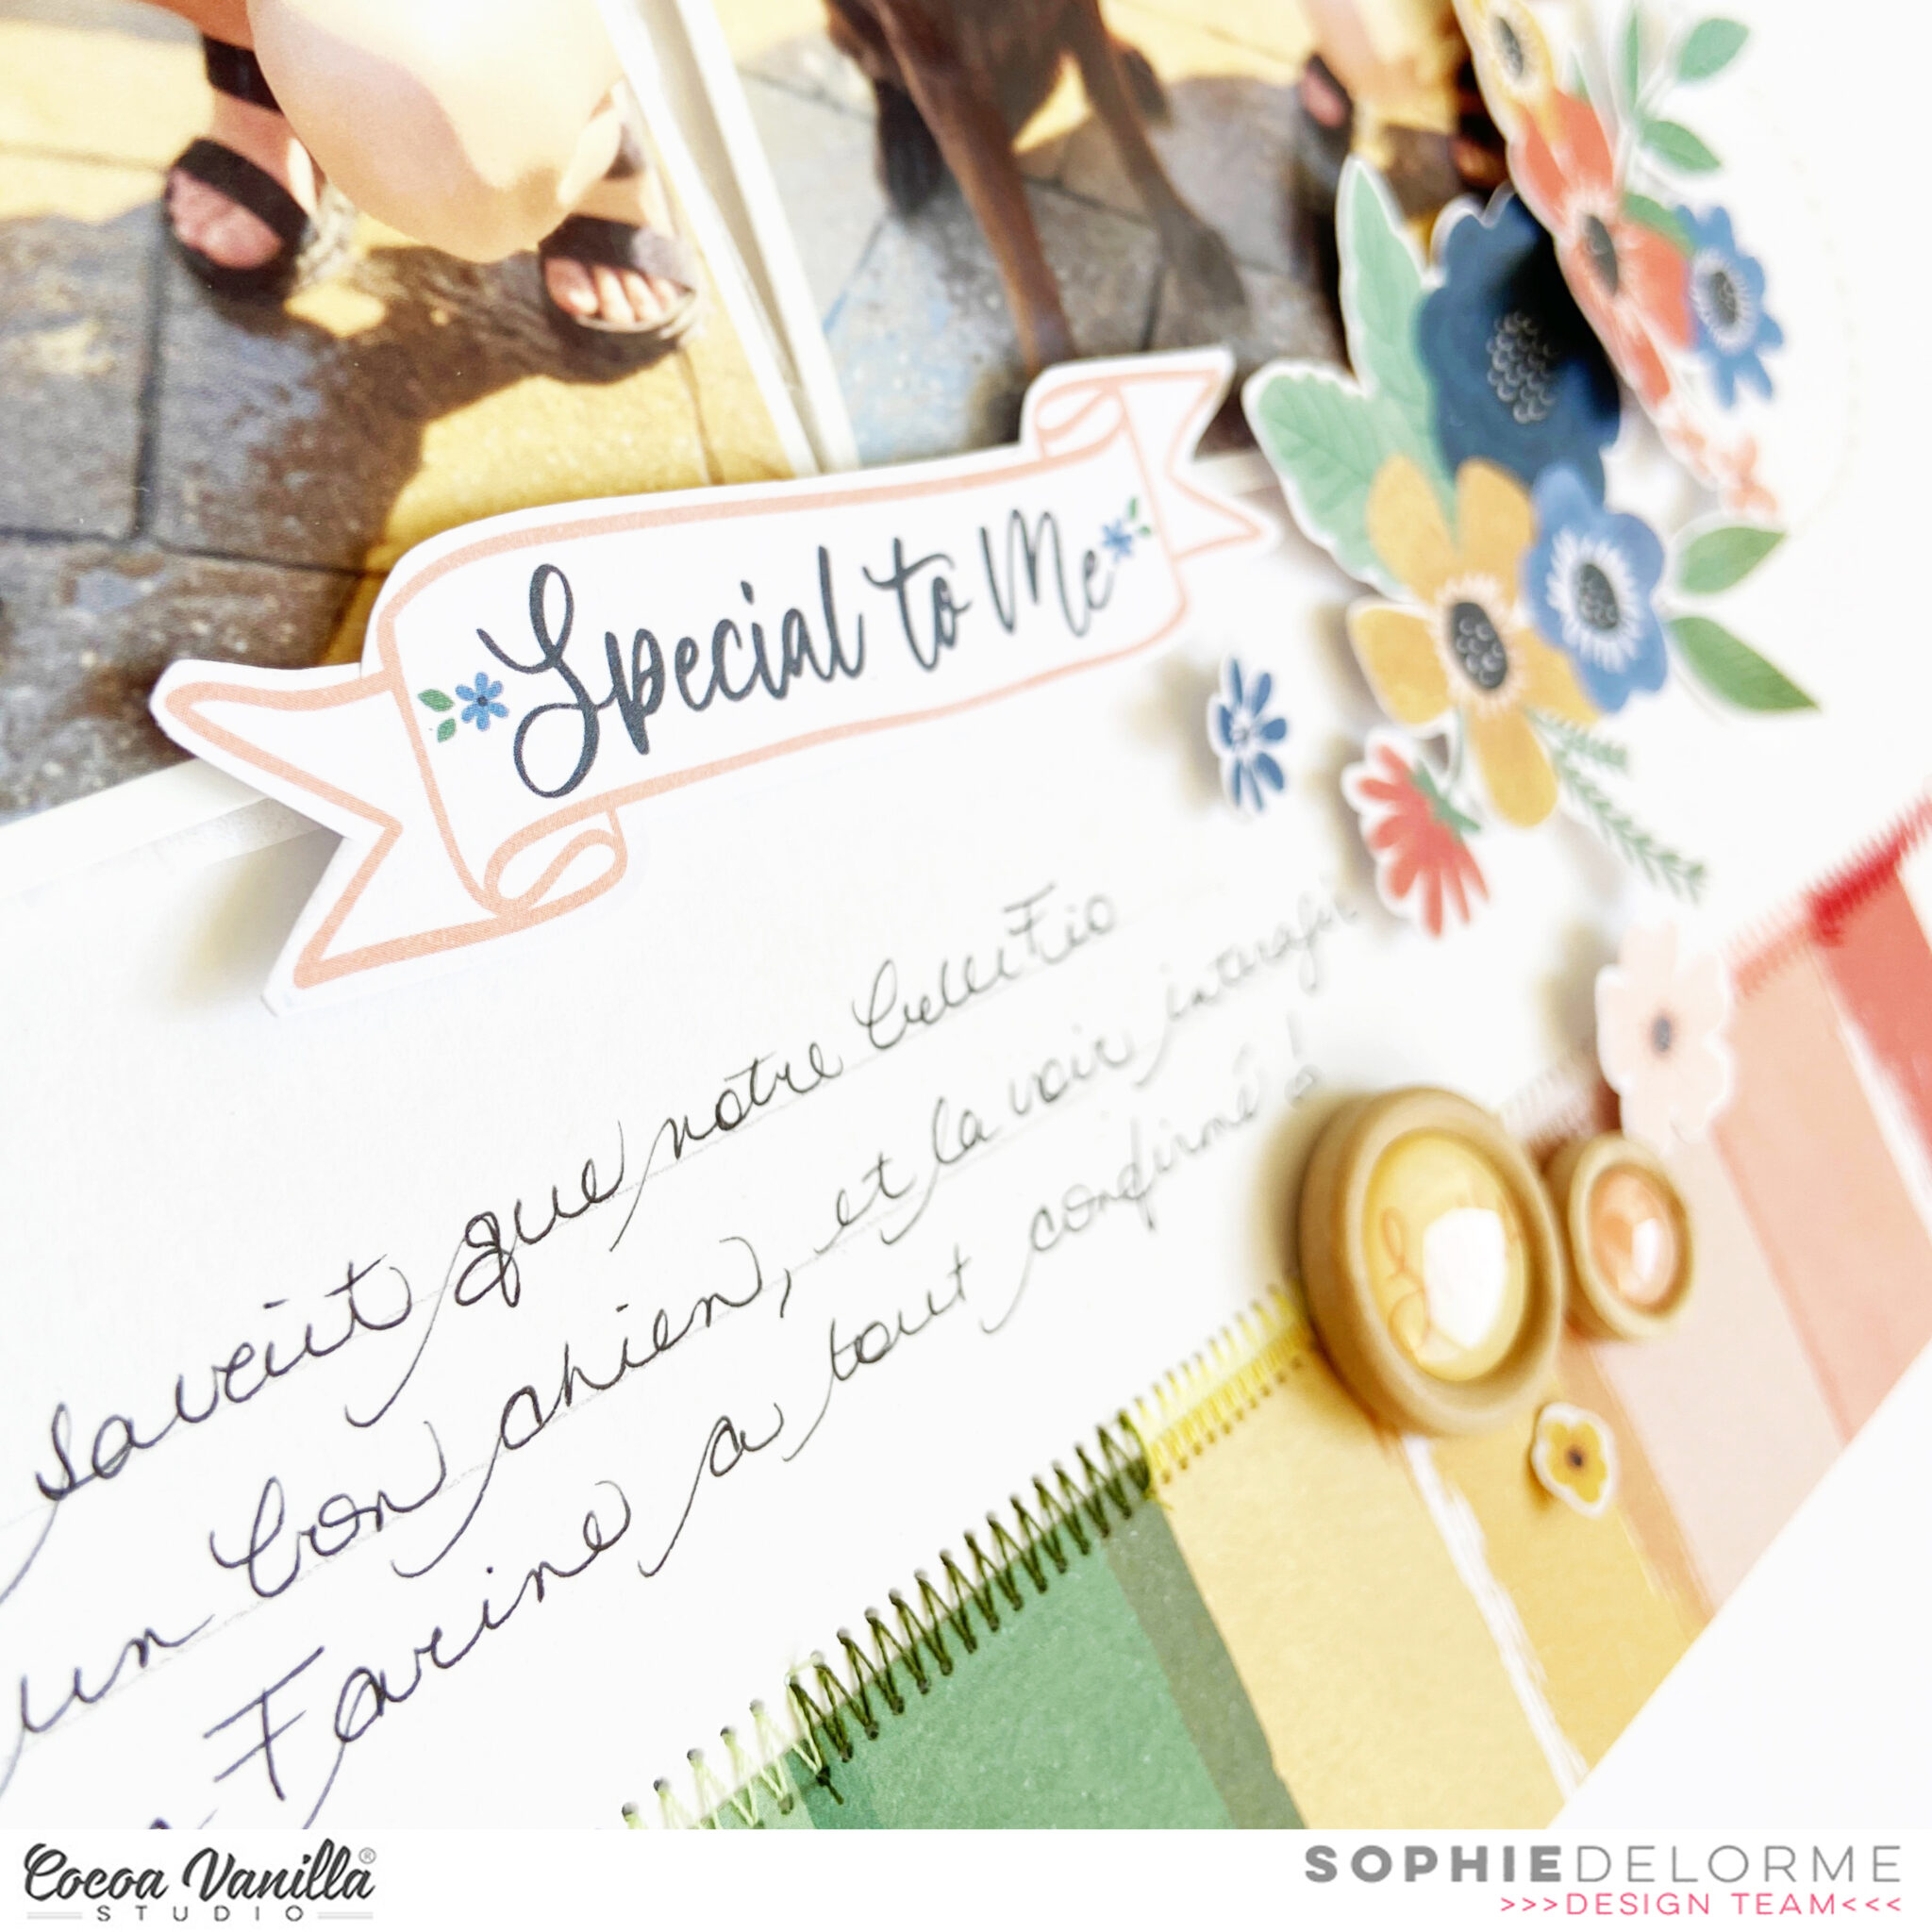
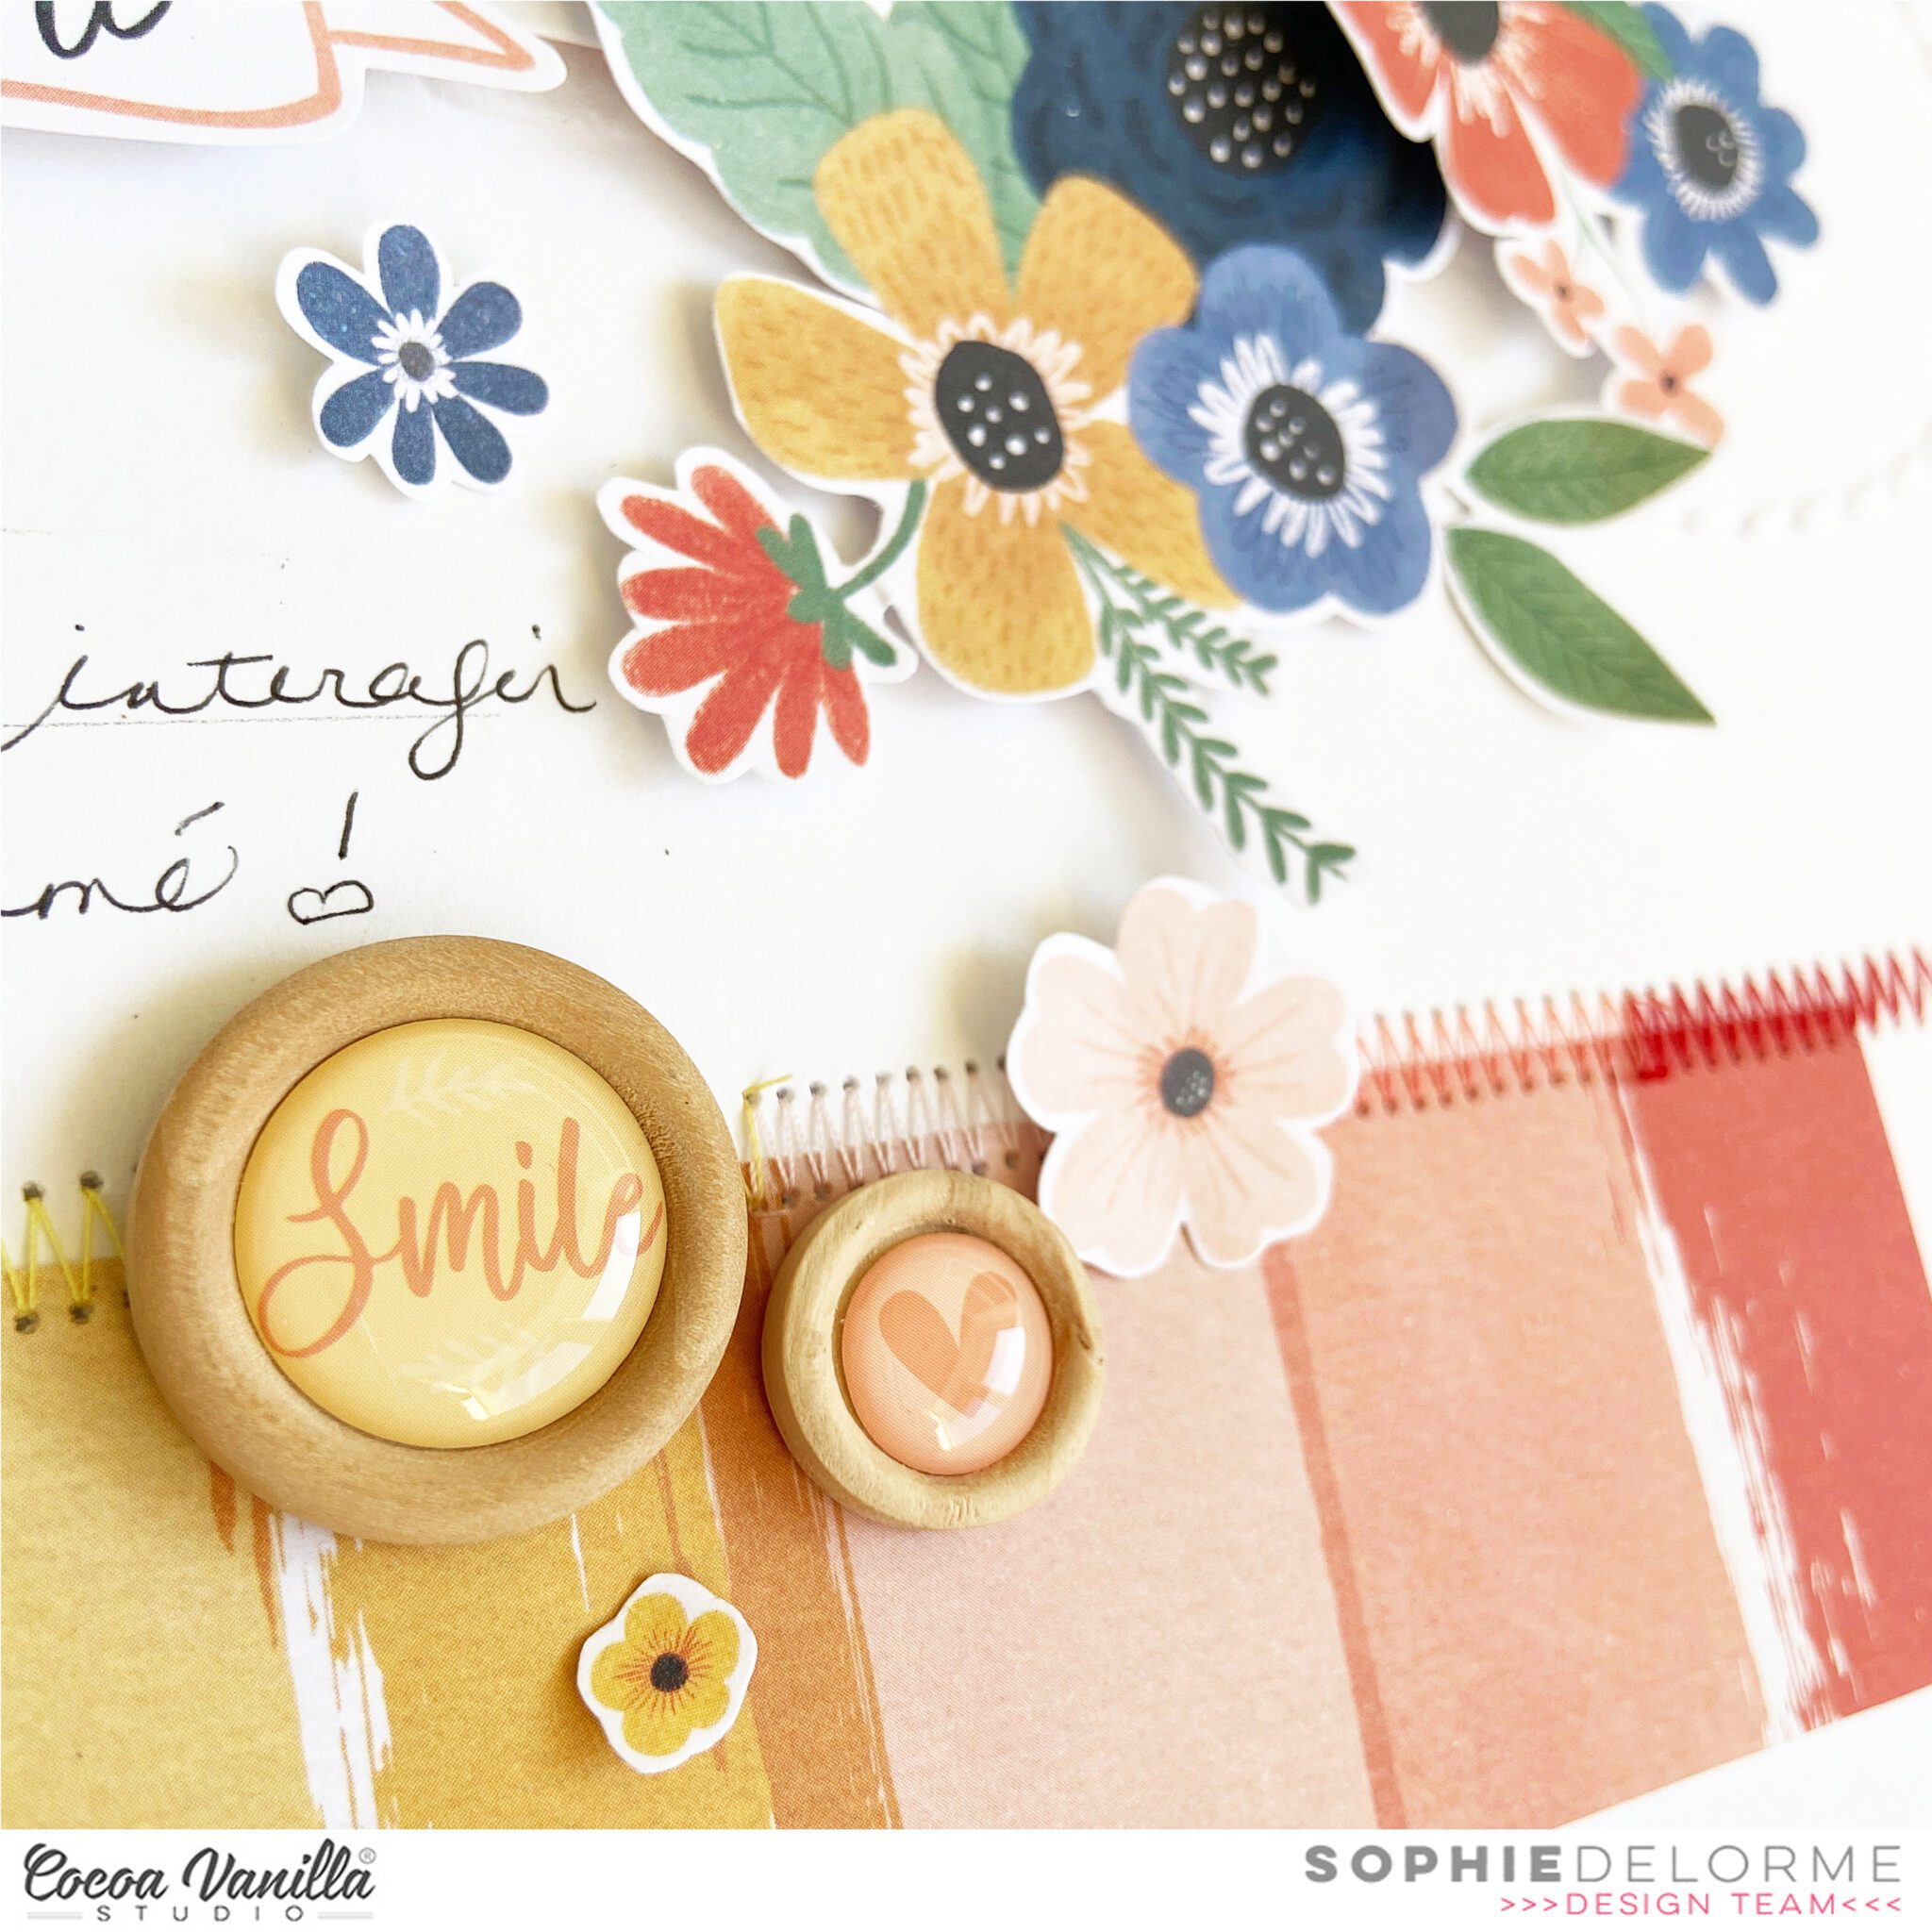
On the right column, I combined a 3×4″ photo and a 3×4″ journaling card to mimic the stacked design on the left. Tucking in a floral cluster between them and then adding a banner gave it the perfect, simple touch it needed. The wood buttons made the best little accents at the top of my columns, giving the impression that they are pinned to this woodgrain paper. Such a fun detail!
I hope this layout gave you some inspiration to incorporate a variety of different-sized photos into your layout! If you’d like to see how ‘Love This Story’ came together, check out the process video below!
Hi everyone, new product is always so inspiring and today I’m thrilled to share my first layout made with the amazing and gorgeous Storyteller collection!! I’m sure I’ve said this before, but the first cut into a new collection is always the hardest for me, and Storyteller was no exception. I looked at my Instagram feed and saw that the child to get a layout next was Brielle. She turned 8 in April and I decided to create her birthday photo page.
I started this layout by fussy cutting lots of clusters and single flowers from Spring Fling. I just love fussy cutting, and I especially love the look that the extra time and care to cut creates. I used my Envelope Punch to create an envelope from Little Love, which is one of my favourite papers in the collection because I adore the navy and small hearts! I embellished it with the flowers, an Accessory Sticker and a Chipboard Sticker. The “8” is from my stash.
I created my watercolour background with a navy distress oxide ink, followed by gold shimmer mouse through a stencil. I just love how it turned out! The packaging technique is a perfect mixed media look when you want something a little random and not too perfect! The butterflies in this collection are adorable, and the butterfly below is from the Chipboard Stickers.
I used one of the Pocket Cards tucked into the envelope because I loved the sentiment, and I loved the fun design feature it added! I distressed the edges of the card and machine stitched around the outside. It was fun to embellish too!
I layered my photo over the envelope and then added more fussy cut flowers, an Accessory Sticker and a Wood Button. I backed my photo with two layers of the same pink paper from the A5 Paper Stack, and of course I distressed the edges!
I created my title with a word from the Foam Titles, they just make it so easy! I added a distressed and machine stitched piece of Brighter Days to add some interest at the bottom of my page, and to write my journaling.
Thanks for looking! I hope I’ve inspired you to create with Storyteller!
It’s Tarrah back with you and today I am very excited to be sharing my first layout featuring the stunning new Storyteller collection! This collection is absolutely gorgeous and so versatile for any themed projects and layouts you want to document your memories with! I absolutely LOVE anything with hearts so the 12′ x 12′ patterned papers with the hearts on them would have to be my favourite!
As soon as I saw the rainbow striped paper, I knew I wanted to use this paper for my first layout. I decided to cut the coloured strips up and placed them all but one, onto a sheet of plain white cardstock. I adhered them down and then bent the edges of all of them with my fingers to create some texture. I left one of the coloured strips out as I wanted to leave some space in between each coloured paper.
I placed my photo slightly to the right of the page using craft foam to add dimension. I layered some papers from the A5 paper stack underneath the photo and distressed the edges slightly to add some texture and to help make the photo pop! I searched through the pocket cards and found the perfect one to suit the photo of my son as photographer! I used craft foam to adhere the pocket card to the left of the photo. When I am placing elements on my page and I am not 100% certain about their position, I will mostly always only use a very small amount of adhesive in case I need to reposition anything or add an extra layer underneath. Once I am happy with where everything ends up on my layout, I add extra adhesive for reinforcement.
Now I have the main focus of the layout sorted out, next I added a title. I went through the gorgeous black Foam Titles and chose the word ‘Smile’. I placed this word at the bottom of the pocket card to help tie the photo, pocket card and title together. At either end of the photo and pocket card, I tucked in some pretty flower ephemera pieces, I also added the little piece that says ‘Snap Happy’ to the right of my photo.
On top of my photo, I adhered the ephemera piece that says, ‘The Story Behind the Photo’ and also a small phrase sticker from the Accessory Sticker sheet in the top right corner. I also added some more of the phrase stickers above the photo and below the photo, these are great additions to a page to help tell a story! Above the pocket card, I added the camera die-cut using craft foam. From this point, I decided to add my embellishments in a tone on tone look…I took some of the super cute heart die-cuts, enamel hearts and wood epoxy buttons and placed them on their corresponding colours.
Thank you so much for stopping by the Cocoa Vanilla blogtoday! I had so much fun creating this layout, I hope you enjoyed reading how I created it. Make sure to ask your retail store for the gorgeous Storyteller collection…you absolutely NEED this in your life!
Hi everyone, it’s Sue Plumb here to share my latest design team project with you. Today I am super excited to be sharing my very first layout using the brand new ‘Storyteller’ collection! And as with any new collection I receive, the first layout is always the hardest. This is partly because there are SO many pretty things to choose from, and partly because they are just so gorgeous you don’t want to use them up. haha (I know I am probably not alone on this one.) I decided the best way to “break the seal” was to just get stuck straight in and create something quick and simple.
My daughter is quite a talker. She loves nothing more than to entertain me with hilarious stories and she gets very animated when she tells them. I knew I had a great set of photos taken during one of her storytelling sessions and I decided they would be perfect to match with this collection.
I began my layout with a very simple background – some dark grey acrylic paint applied to a sheet of white cardstock with a brayer. The reason I chose to apply dark paint first instead of just working on the white background, is to help the colours pop against it.
I wanted to have a vertical style design for my layout, as I thought it would work well with the size and shape of my photos. I also wanted to keep the focal area of my layout confined to a central strip. I chose the stunning Brighter Days paper with its painted stripe pattern and cut it in half vertically. I then tore along the vertical edges to give an uneven edge, then I cut away the red stripe at the top to shorten it. I used scissors to make a small incision (about 1-2cm) from both sides along each of the painted lines. I then used a wooden skewer to roll up the edges of the paper.
Once I had the edges rolled, I adhered the patterned paper on top of the paint, then added my photos to the page with some scrap cardboard behind them. With the main elements of my layout in place, it was now time to add some embellishments! I used the pattern on the paper to dictate my embellishment placement by blocking the colours together. I began by fussy cutting some pieces from the Story Time cut apart paper, including the fabulous love this tag, which I tied with a little twine.
I then moved onto a mix of pieces from both the Die Cut Ephemera pack and Floral Ephemera pack and placed these strategically around my page. (I used foam tape under a few of the pieces to give a little more dimension.) I also added a couple of stickers from the Accessory Sticker sheet. I finished off my layout by adding several hearts and dots from the Puffy Stickers pack. At this point I actually had to stop myself from adding more to the page, because sometimes the key is knowing exactly when to stop.
Thanks so much for stopping by today so I could share this with you. Please make sure to contact your favourite scrappy retailer if you would like to get your hands on this stunning collection. It’s going to be a big seller, so get in early to avoid disappointment!
Until next time, happy scrapping!
It’s Sophie here and I’ve got a new layout to share!!
I used the beautiful These Days collection for my page today and decided to go with stripes!
I used a thick white cardstock for my background and cut a few strips of the Family Ties paper in several different lengths. I placed them below my photo, machine stitched on them with white thread and also added small teared pieces of velum on each of them for more interest. I think it also adds softness to the page.


 I placed my photo slightly to the right of the page using craft foam to add dimension. I layered some papers from the A5 paper stack underneath the photo and distressed the edges slightly to add some texture and to help make the photo pop! I searched through the pocket cards and found the perfect one to suit the photo of my son as photographer! I used craft foam to adhere the pocket card to the left of the photo. When I am placing elements on my page and I am not 100% certain about their position, I will mostly always only use a very small amount of adhesive in case I need to reposition anything or add an extra layer underneath. Once I am happy with where everything ends up on my layout, I add extra adhesive for reinforcement.
 Now I have the main focus of the layout sorted out, next I added a title. I went through the gorgeous black Foam Titles and chose the word ‘Smile’. I placed this word at the bottom of the pocket card to help tie the photo, pocket card and title together. At either end of the photo and pocket card, I tucked in some pretty flower ephemera pieces, I also added the little piece that says ‘Snap Happy’ to the right of my photo.
 On top of my photo, I adhered the ephemera piece that says, ‘The Story Behind the Photo’ and also a small phrase sticker from the Accessory Sticker sheet in the top right corner. I also added some more of the phrase stickers above the photo and below the photo, these are great additions to a page to help tell a story! Above the pocket card, I added the camera die-cut using craft foam. From this point, I decided to add my embellishments in a tone on tone look…I took some of the super cute heart die-cuts, enamel hearts and wood epoxy buttons and placed them on their corresponding colours.


