You Are My World | No Limits collection | Tarrah McLean
Hi creative friends!
It’s Tarrah back with you today to share my second layout using the awesome, new No Limits collection! I absolutely LOVE the dark papers in this collection, I love how the white cardstock cut file really pops against the dark paper.
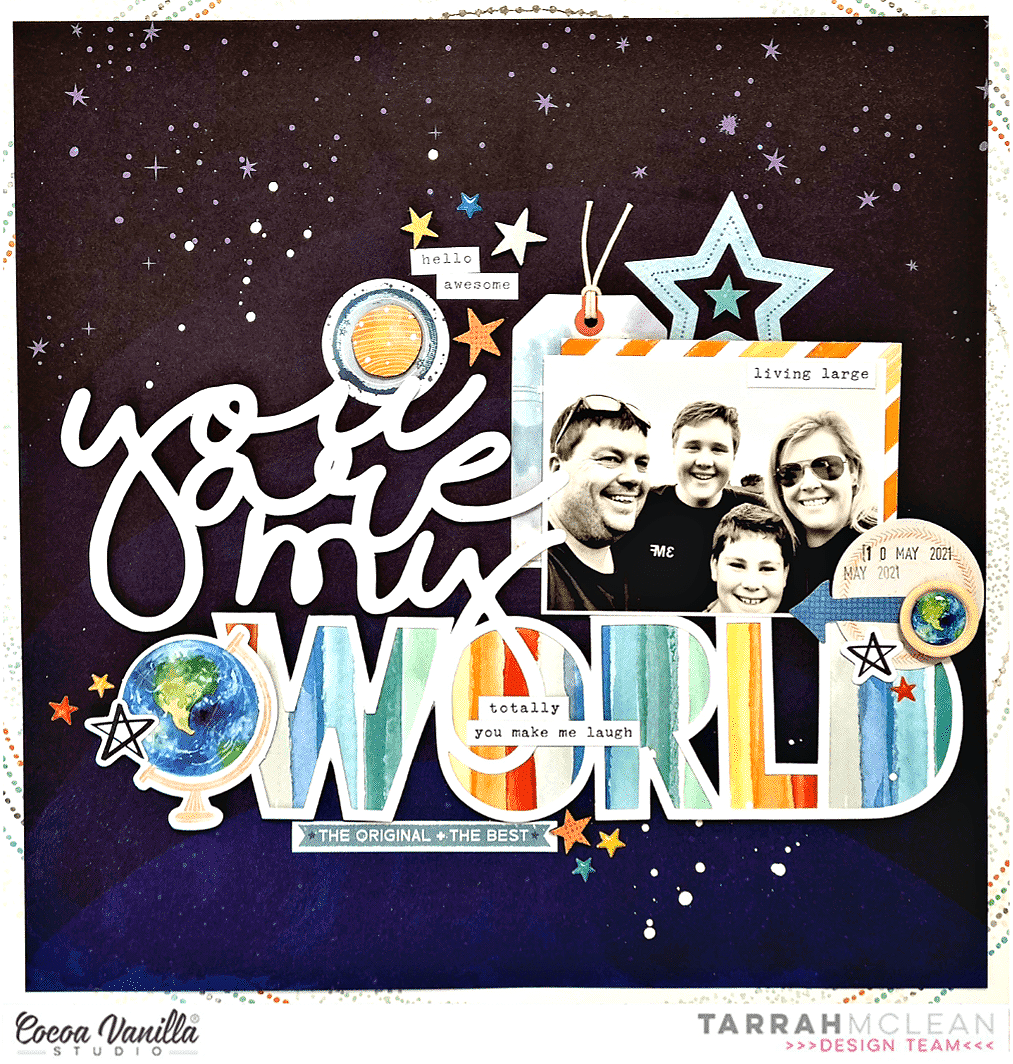
The cut file I have used is from CUT to YOU, I cut it out of white cardstock and backed the ‘World’ word with one of the multi stripe rainbow papers from the A5 paper stack. The reason I picked the multi stripe rainbow paper was so there was some colours added amongst the white and the dark. Once the word was backed I added craft foam underneath the entire cut file and adhered it to the background paper. For the thin words, I did have to add super small pieces of craft foam so that it was not visible on the layout. It really helps to create a page when you add title cut files, it more or less helps determine where everything else can go on the layout.

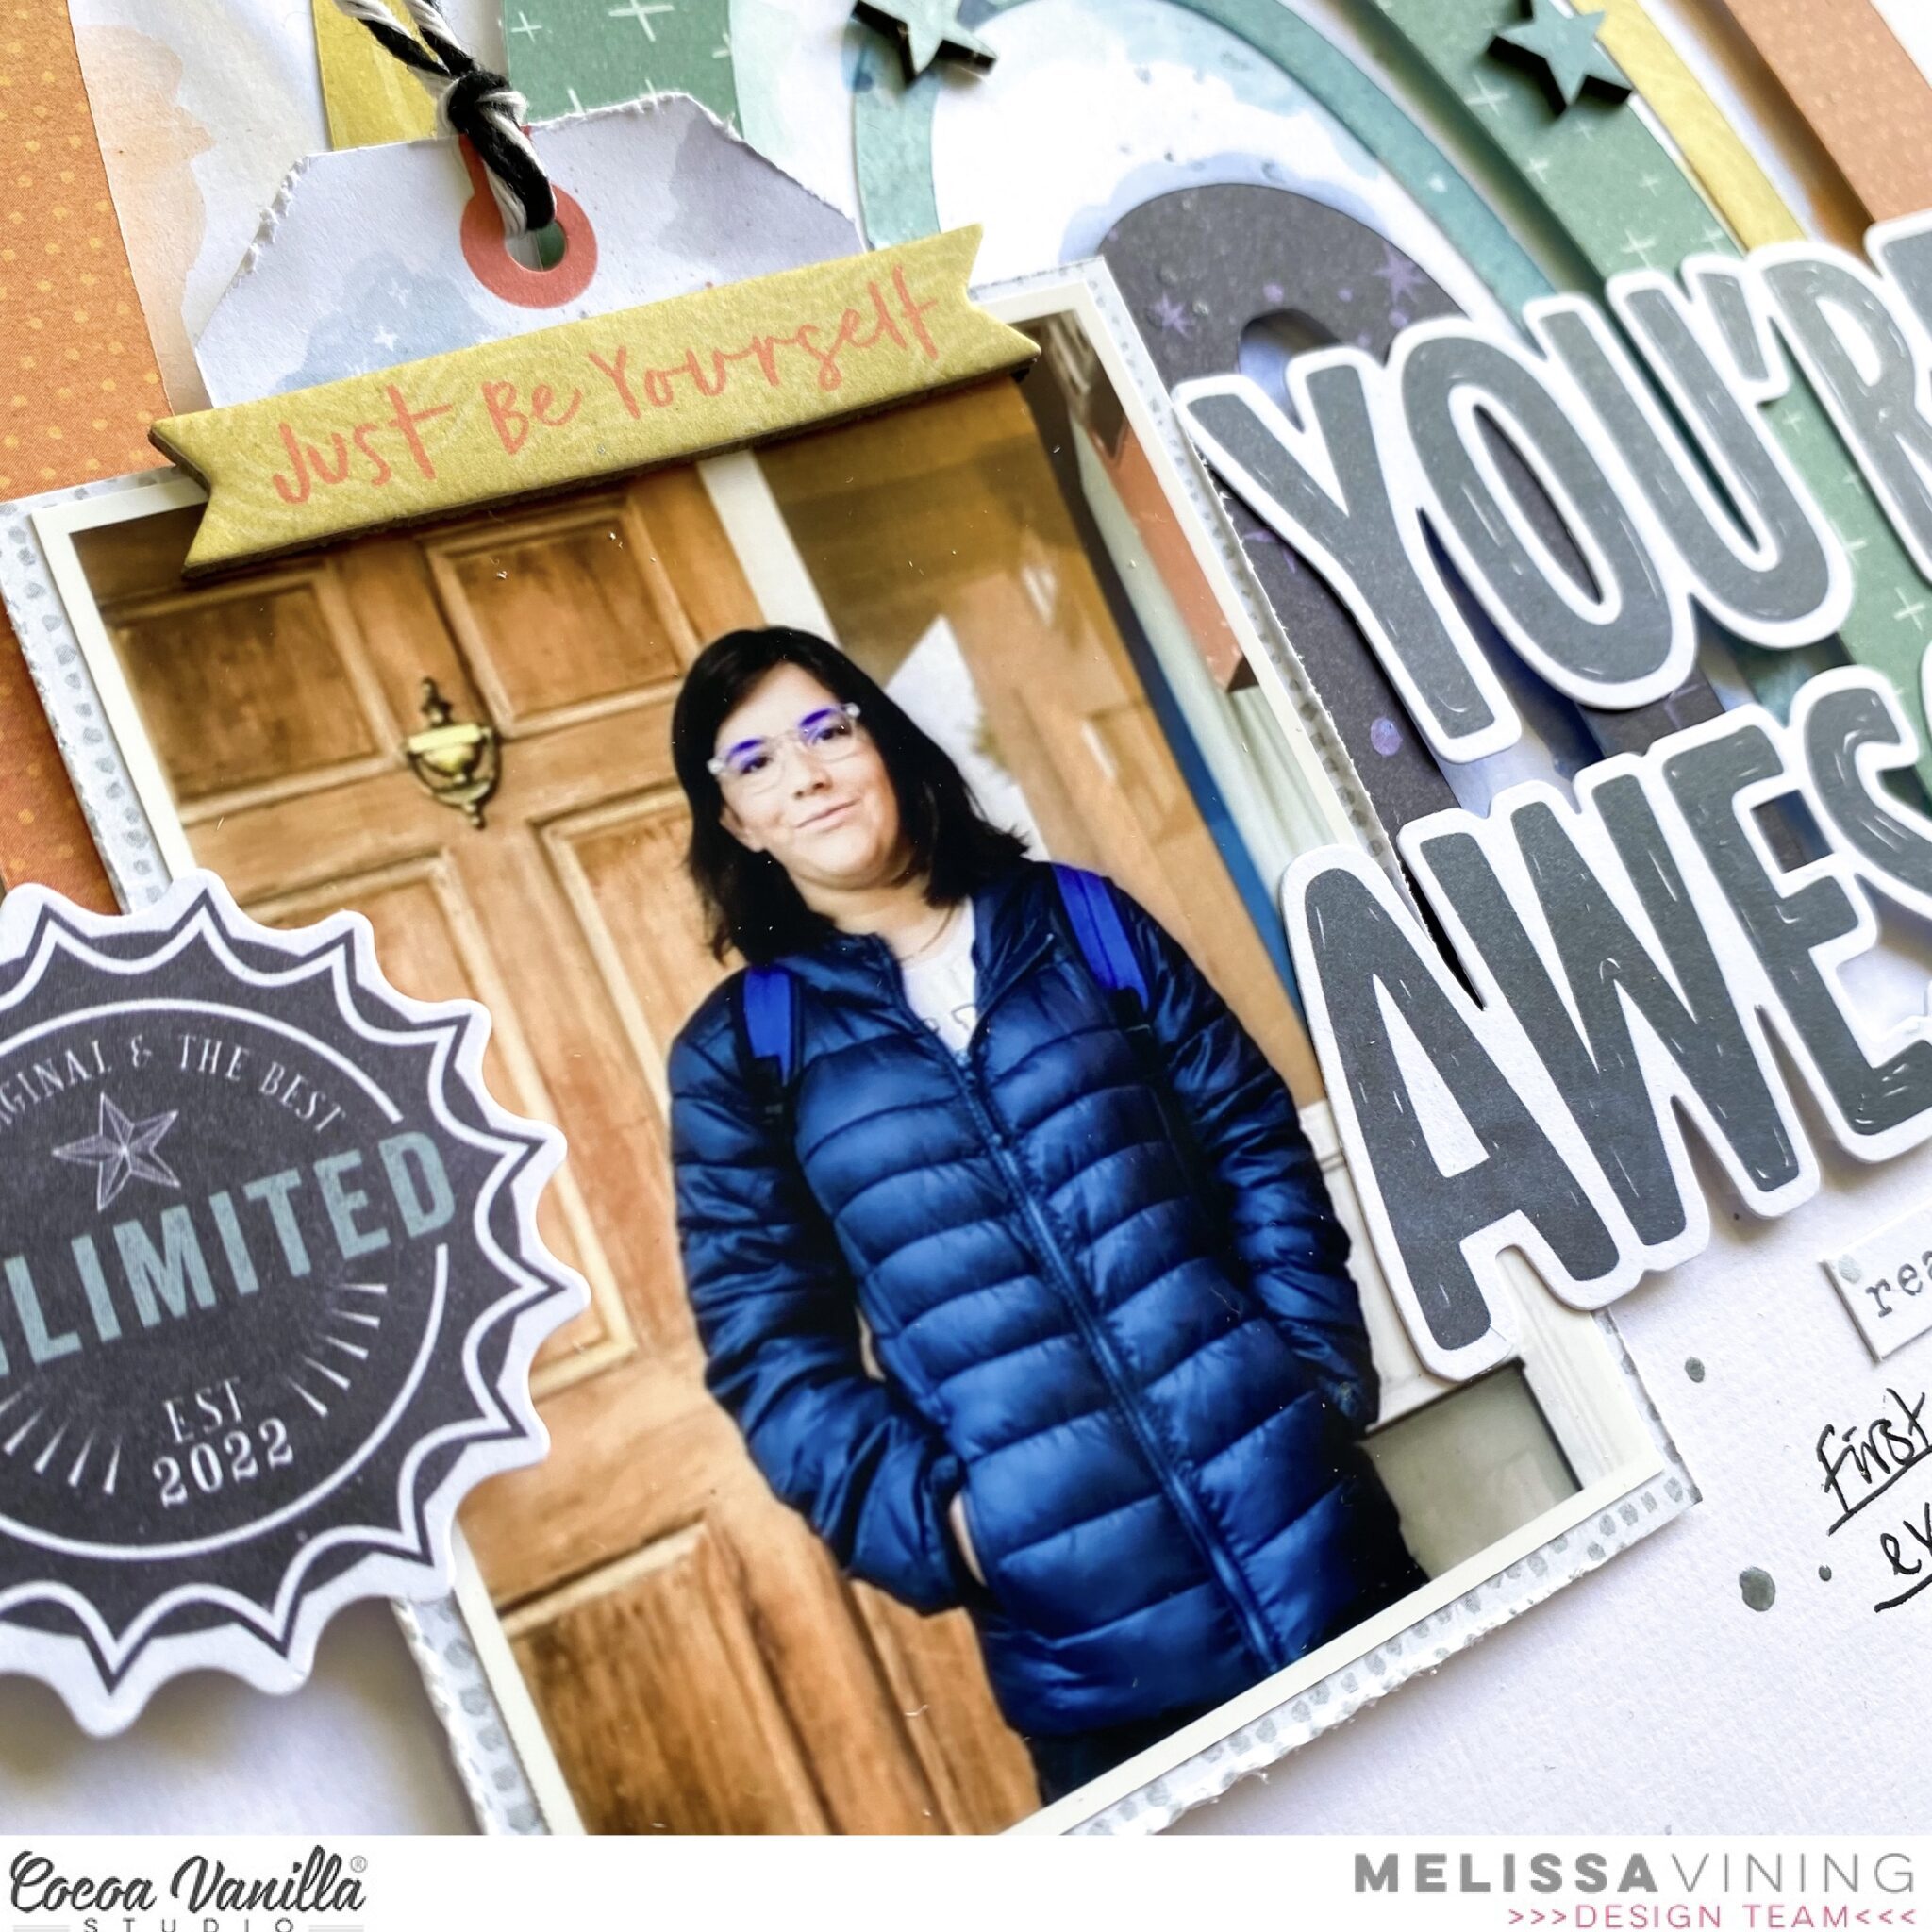
The photo I am documenting is of myself and my family printed in black and white so that it matched the page perfectly. I layered one of the 3′ x 4′ journaling cards underneath and also one of the die-cut tags from the ephemera pack, I added some craft foam underneath the photo and placed it to the right of the ‘You Are My’ on the cut file. I added some twine in the hole at the top of the tag. At the bottom right corner, I created a small cluster of embellishments here to create a visual triangle with the other 2 clusters I also added to the page. This cluster consists of the circle journal spot die-cut, an arrow die-cut and a star die-cut. I also added one of the gorgeous wood epoxy buttons and a star puffy sticker too. I stamped the date stamp also. Up in the top right corner of my photo I placed a phrase Accessory sticker. I added a few more of the Accessory stickers around the page to help tell my story as well.
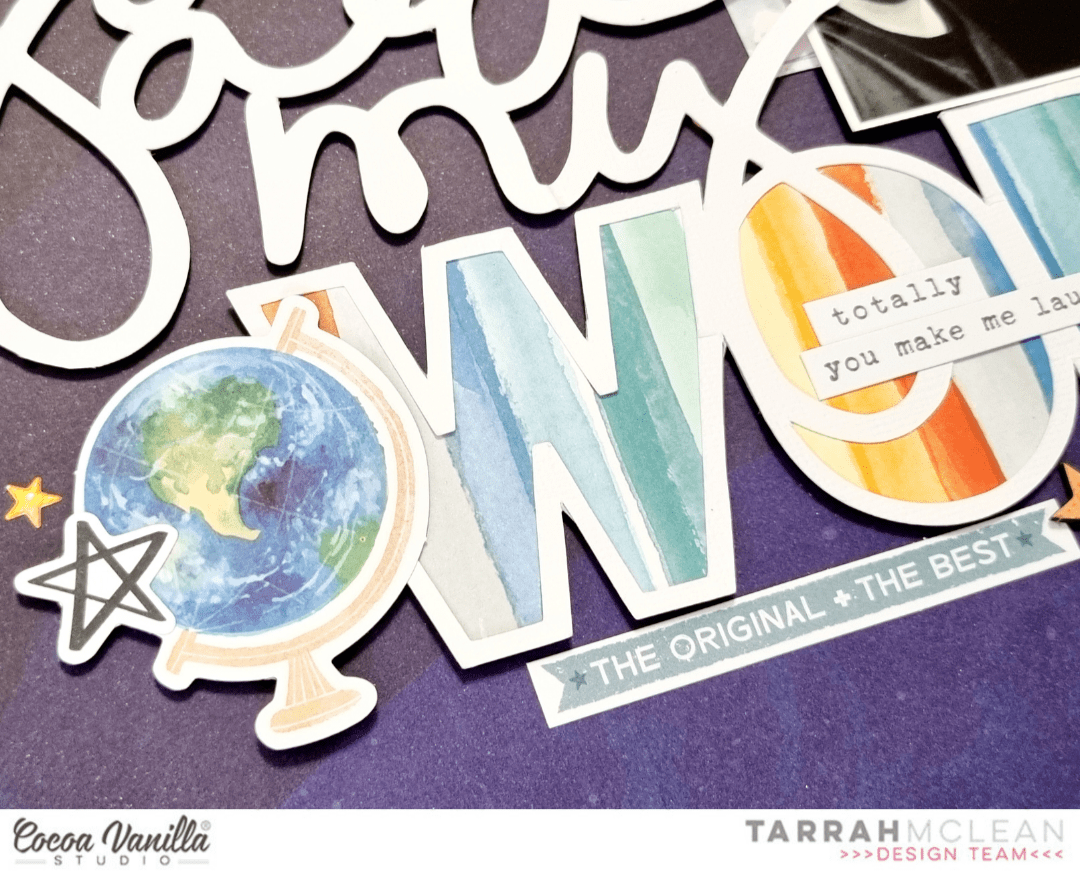
To the left of the word ‘World’ I created another embellishment cluster, this time placing a globe die-cut using foam tape, another star die-cut and a star puffy sticker too. Below the cut file, I also placed the ‘The Original + The Best’ die-cut piece and some more stars in both chipboard form and puffy sticker form. Above the cut file title I added the third cluster of embellishments that included some die-cuts, some chipboard and puffy sticker stars and a couple more phrase stickers from the Accessory Sticker sheet.

Above my photo I tucked in one of the large die-cut stars and added one of the chipboard stars in the centre. Once I have added all of the embellishments I think my page needs, I take a step back and give my page a look from a few different angles to make sure I am happy with it, this is when I might opt for another small embellishment in a particular spot or I think about what else my page may need. I usually do not go too over board though and in this case it was a matter of sprinkling some white mist to finish off.

Thank you so much for stopping by the Cocoa Vanilla Studio blog today! I hope you enjoyed my layout as much as I enjoyed creating it?!
Make sure you get your hands on this amazing collection for yourself to create with!
Happy creating!
Tarrah x


 I cut another circle from the dark blue patterned paper and placed it with 3D tape in the center of the yellow/orange mixed media background. Now it’s time to decorate my layout with die-cuts, stickers, stars and of course a title.


 The challenge for this week is, scrap lifting myself. I couldn’t wait to make the “Pool Party” layout again. I wanted to challenge myself to use a different collection though and chose the beautiful “Daydream” collection.

 I cut the title loose and placed the photo in between. I placed the cut file and photo in the center of my mixed media background. I picked different die-cuts, butterflies and flowers to made a cluster on the left side of the photo.


 I used two cut files on this layout. The deer in the background I cut out twice and glued half on top of each other. The cut file is from the Cricut design studio. The “Outdoor Adventure” title is a cut file from Cut to You. I cut a circle from the design paper and stitch the edges with brown sewing thread. I place the circle in the center of the mixed media background. I placed the deer on top and cut some design paper to size and glued it behind my son’s photo. I placed the design papers with the photo on top of the cutfile. I use 3D foam to create more dimension.
 I make a cluster of die-cuts and word strips on both sides of the photo. I stitched the words “So Epic” in the middle. I colored the cutfile title with a green Distress Oxide color. The color I used for that is “Peeled paint” I cut out several stars from the design paper and placed them in different places on my layout.
 I attached the stars with 3D tape. I like the way the stars. stand out a little from the background. I mix the white gesso with water and with a thin brush I make white gesso splatters on my layout. I like the effect. I think Legendary is a great collection with pretty cool colors. I am so happy that No Limits will be the next wonderful boys collection from Cocoa Vanilla Studio!
 I hope I was able to inspire you with this boys layout and am curious if you are also looking forward to the new collection “No Limits” I want to thank you for visiting for the blog today and hope to see you again next time with a new project.


