Happy Days | Happy Days collection | Mandy Melville
Hello everyone!
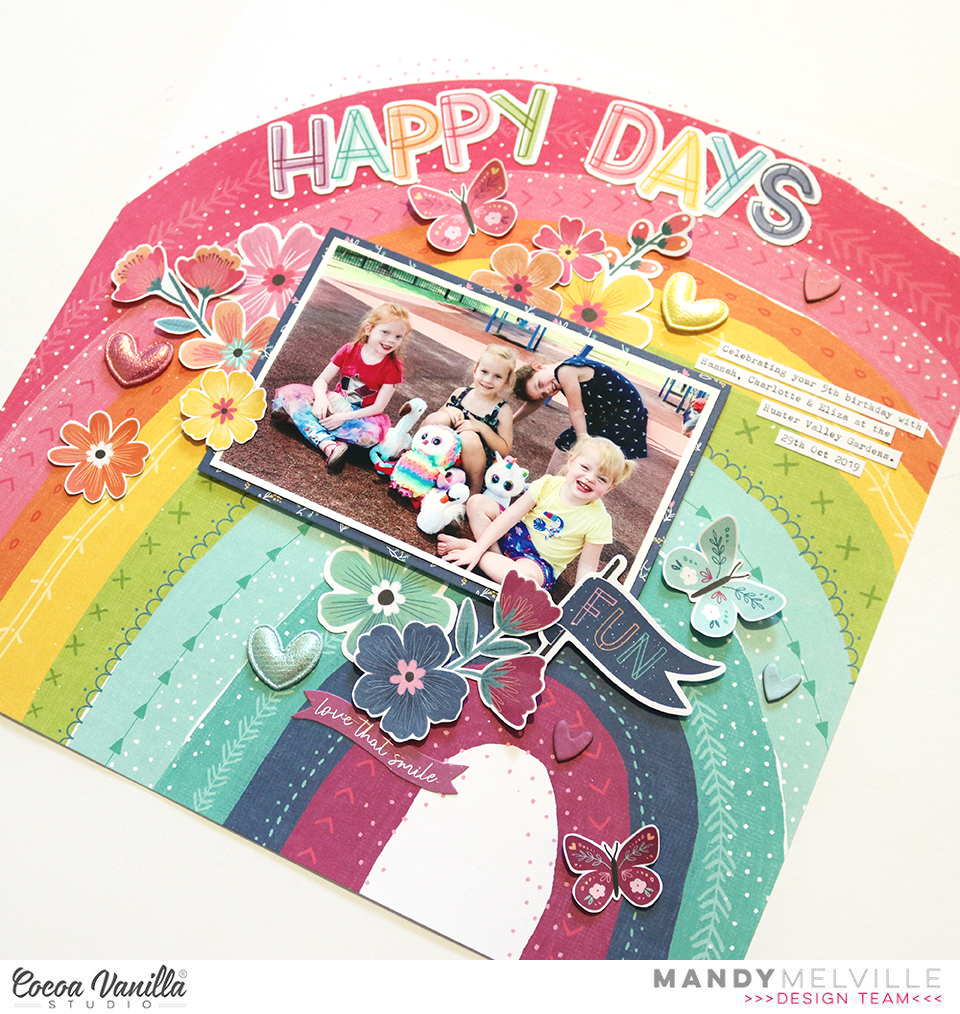
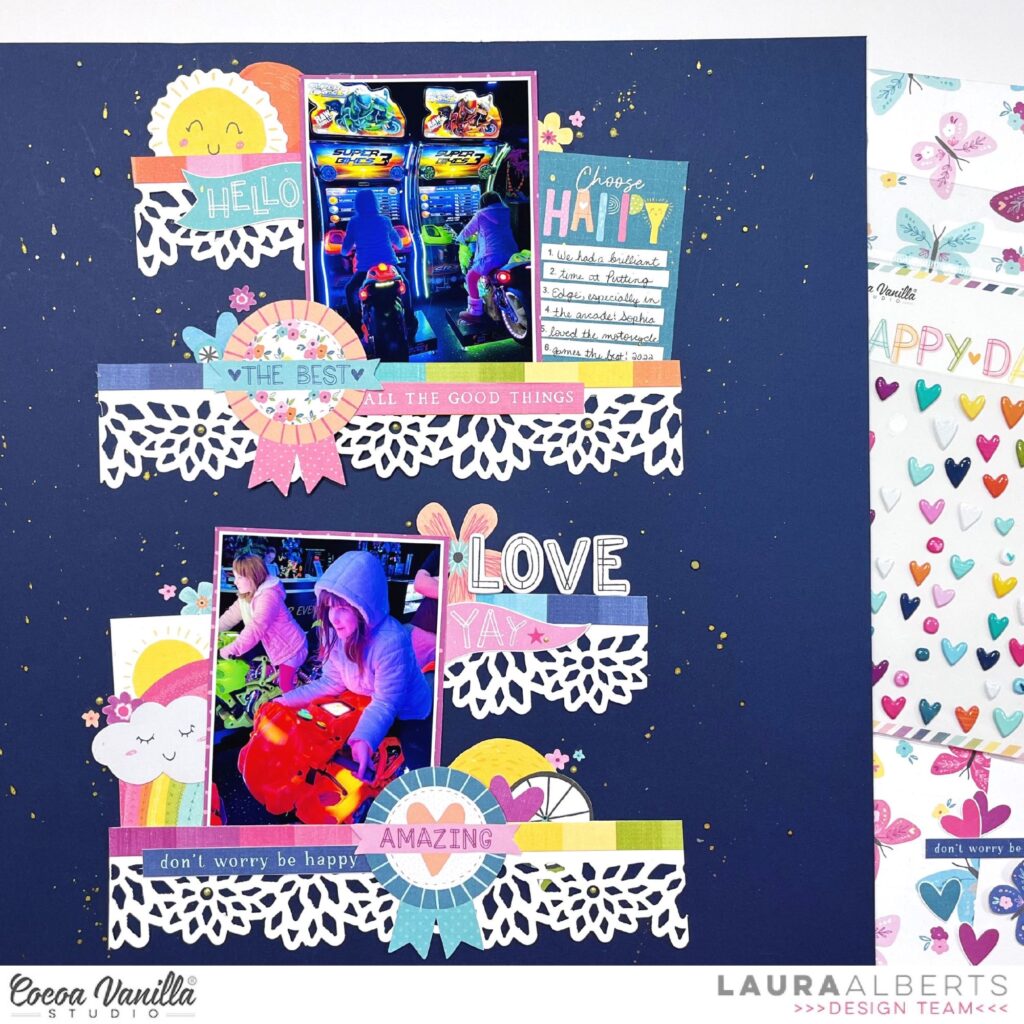
Mandy here today to share a new layout using the beautiful new Happy Days collection! I absolutely love all of the gorgeous bright colours in this collection and for this layout I wanted to create a fun and happy layout featuring all of the colours! What better paper to use for this than the Rainbow Bright paper! I knew that this would be perfect for documenting a photo of my youngest daughter with her besties on her 5th birthday.
 The Rainbow Bright paper made such a gorgeous background for this photo and really brought the layout to life! Once I had decided on this paper, I then matted my photo with one of the papers from the A5 Paper Stack. I adhered it to the page using craft foam in order to give it some nice dimension and to help it stand out against all of the bright colours in the background.
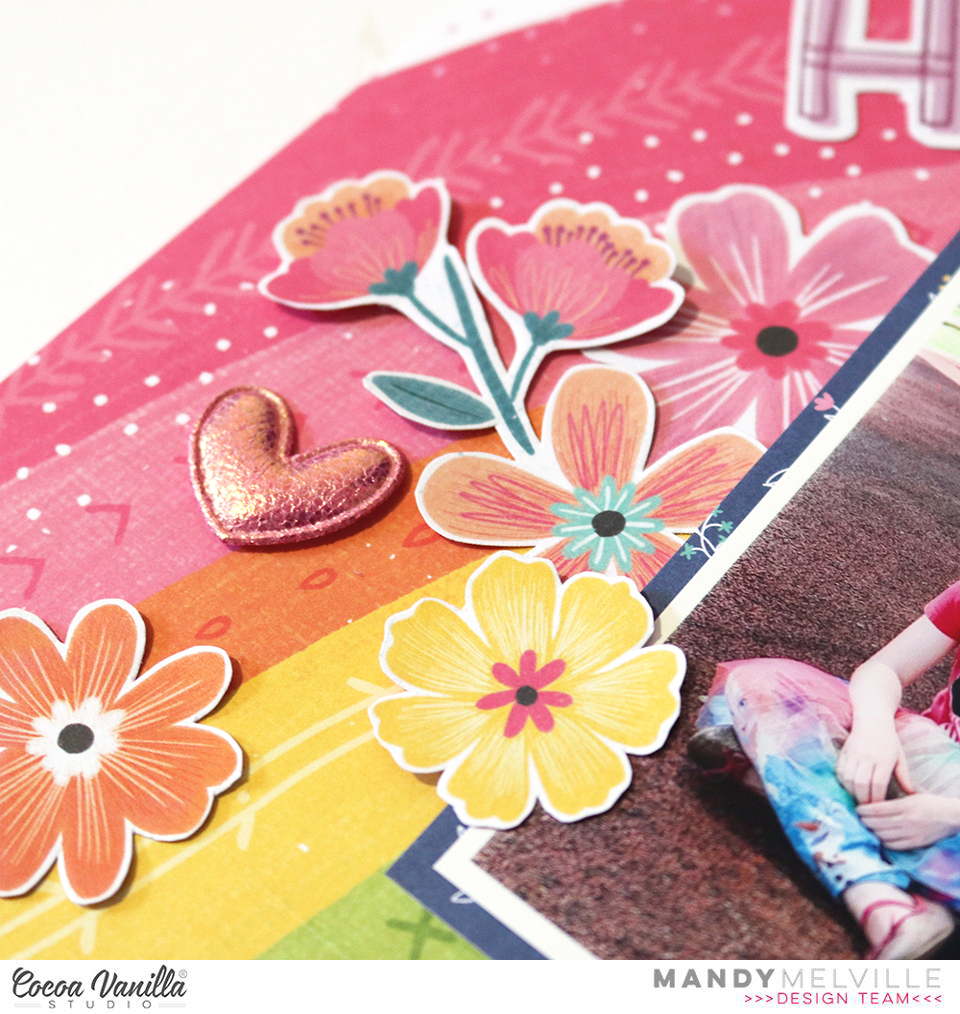
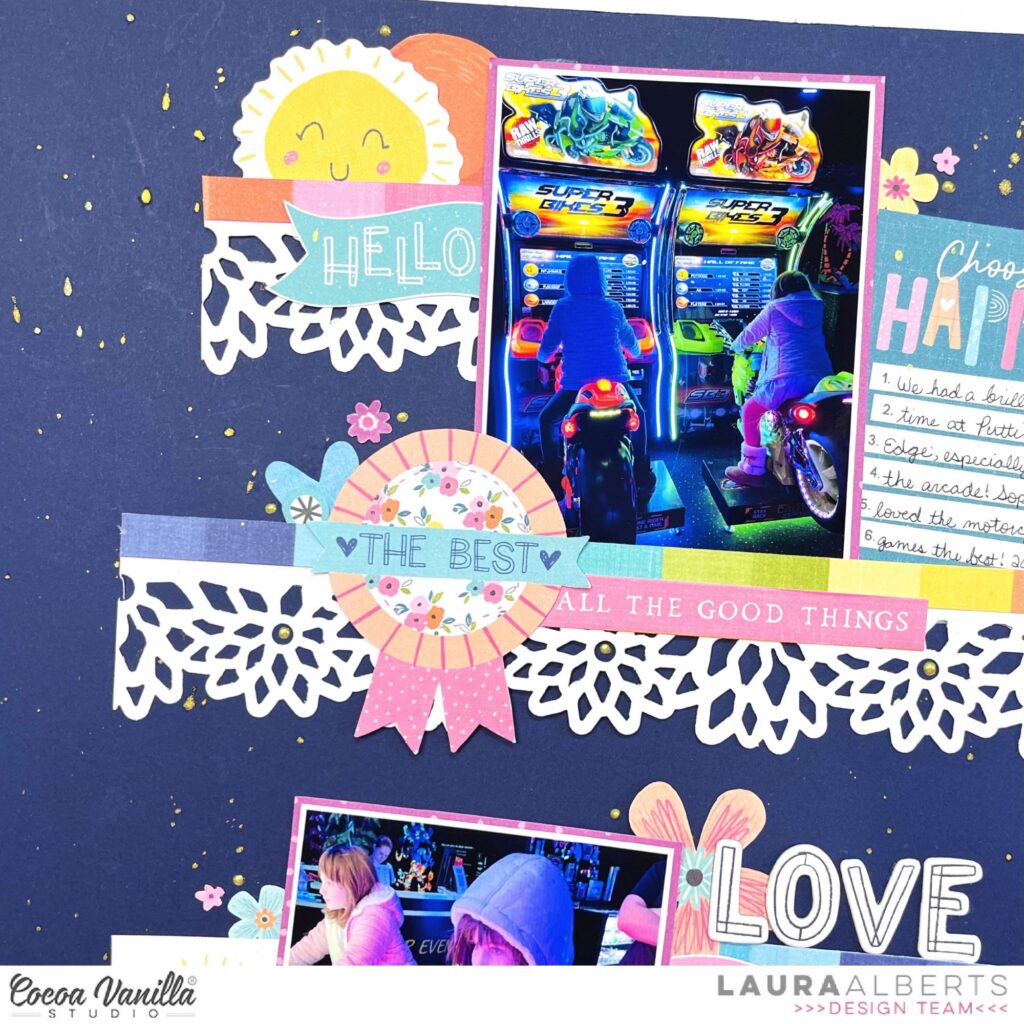
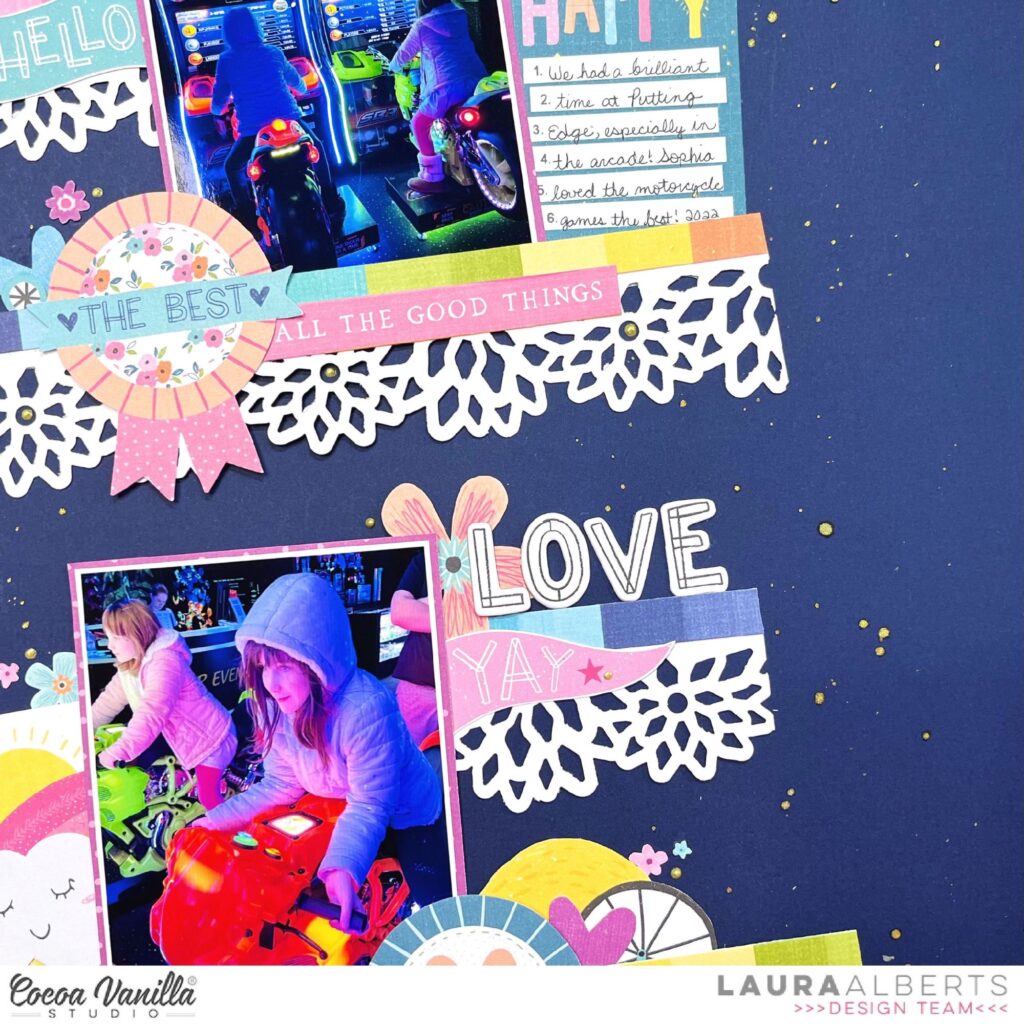
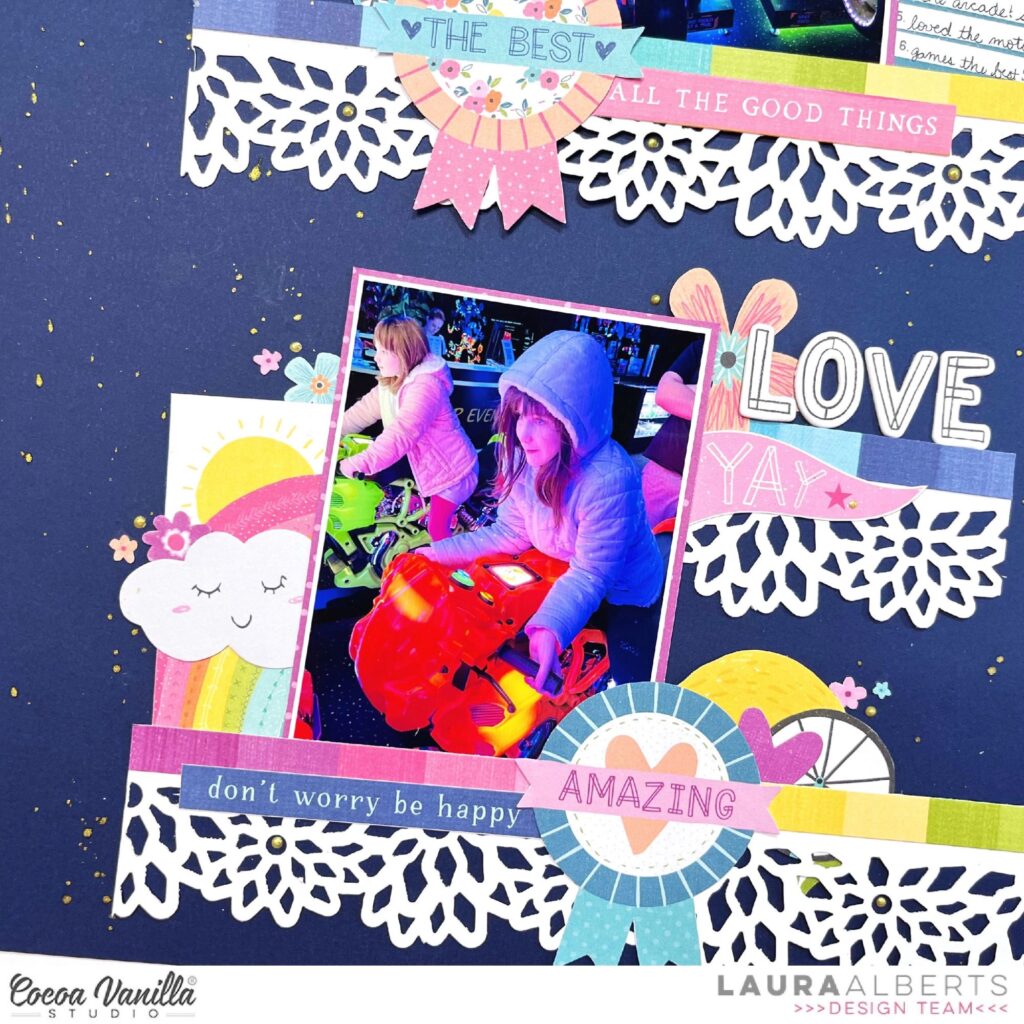
 For my embellishing I decided to keep it mostly tone-on-tone. So on the pink section of the rainbow I added pink embellishments, on the yellow I added yellow embellishments, and so on. I started with a fun little cluster on the bottom right hand corner of the photo. As this was on the blue and purple section, those were the colours that I chose for this cluster. I included some florals from the Floral Ephemera pack, as well as some that I fussy cut out of the Lush Blooms paper. I also added a couple of Die Cuts to the cluster.
 Moving over to the left hand side of photo, I added another embellishment cluster using similar items that I used in the first. I tucked some of the flowers under the edge of the photo and some on top to give the cluster some dimension. How gorgeous are the Puffy Hearts?! I couldn’t resist adding one to each of my floral clusters!
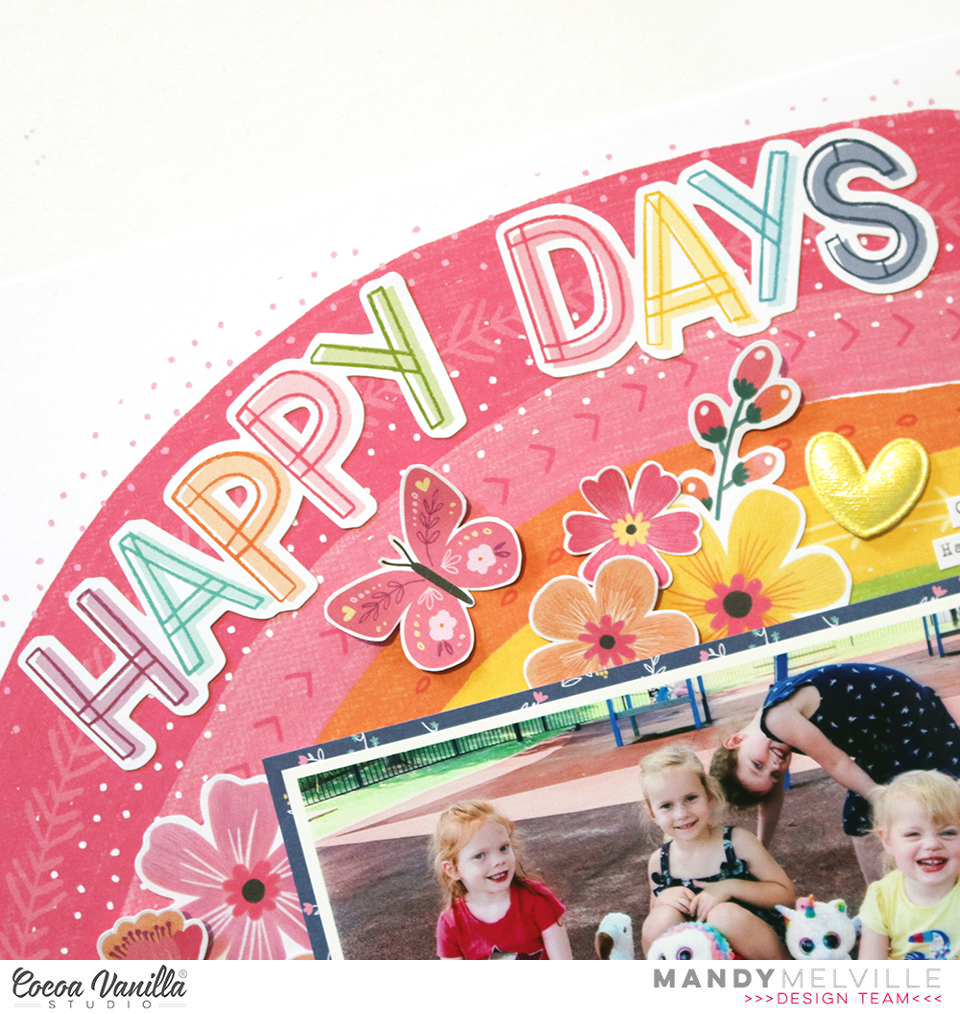
I added a third cluster above the photo, creating a visual triangle to draw the viewer’s eye around the page. To keep the clusters looking balanced I again included similar items to the first two. You can also see that I fussy cut a few butterflies out of the Flutterby paper and I scattered these around the page, again keeping them tone-on-tone.
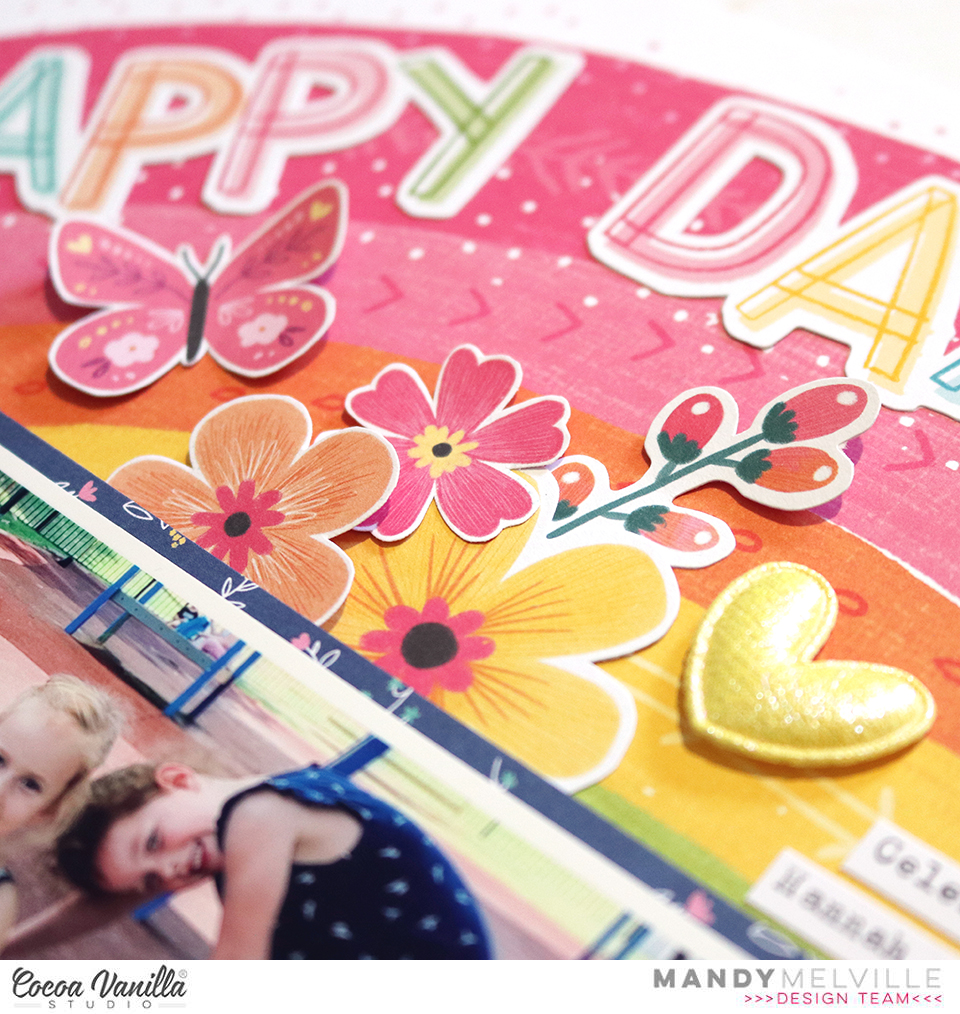
For my title I decided on using the ‘Happy Days’ words from the Die Cut Ephemera pack. I positioned the words so that they curved around the arc of the rainbow. It was the perfect title for this happy photo!
I finished the page off with some typed journalling strips and a few little hearts from the Chipboard Titles pack.
Thanks so much for joining me here on the blog today! I hope that you’re able to create some bright and fun layouts with this collection too!
Mandy x


 I also printed my photo as a square and positioned it amongst the smaller squares on the page. I pieced it all together a little like a puzzle until I was happy with the placement of everything. The photo was adhered with craft foam in order to give it some extra dimension on the page.
 The fun part about creating a grid design layout is embellishing each of the sections in the grid. I added various die cuts and stickers to each of the squares in the grid, using foam tape to pop some up off the page. I tried to make sure that it looked well balanced by making sure that I didn’t have too much of one colour in any particular area.


