My biggest treasure | These days Layout | Anna Komenda
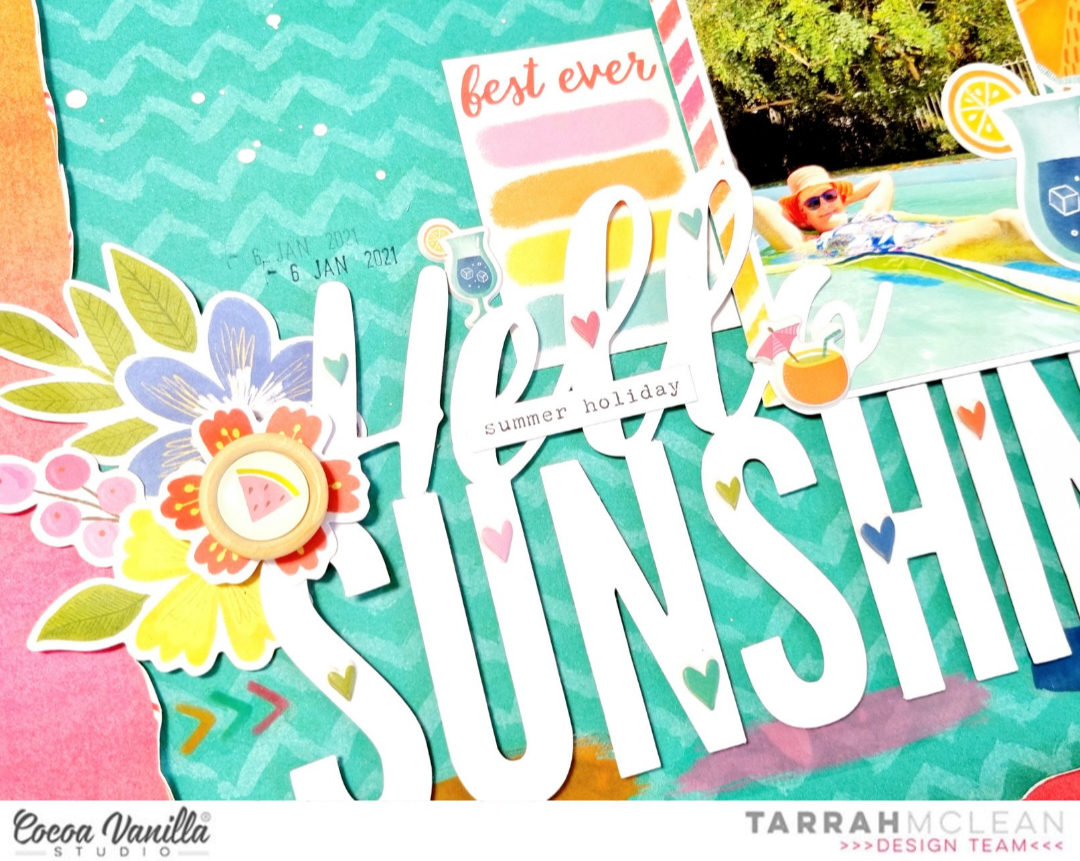
Welcome crafty friends! It’s Anna here with my newest page. I decided to let the christmas go (even though I stil have plenty of “Joyful” collection on hand) and created a generic type of page, where I could play with colors. I was missing it so much! It’s not a vivid, summer rainbow as I used a bit muted and dreamy “These days” collection, but it still warms my heart. I am total sucker for colors. Inspiration for this page was very simple – pie chart! It’s not the first one I created in this style and for sure not last. This composition is great if you like mixing pattern papers. You can even use up some paper scraps!
![]()
This page is based on “These days” collection mostly but I also mixed in few other pattern papers, as I needed some green and navy to finish the rainbow order. I reached for some “Merry and bright” paper scraps with red and white stripes and green chequered pattern. I also added “Up in the clouds“, “Sun shower” and “Happy place” patterns from “Daydream” collection. Orange “Wall of fame” and mint “Family ties” along with some patterns from Paper Stack come from “These days” line.
![]()
The easiest way to make a pie chart type of layout is to take some unused 12*12 paper or a failed background, mark the point you want your triangles to meet and think of a number of triangles you want to include. Then, simply start drawing lines starting at the chosen point to the edges of the page using ruler. After you are happy with how it looks, cut out triangles (don’t forget to number them first so you won’t be lost later) and use them as a stencils on pattern paper. This is exactly what I did here. You can save those triangles for any future pie chart layout!
![]()
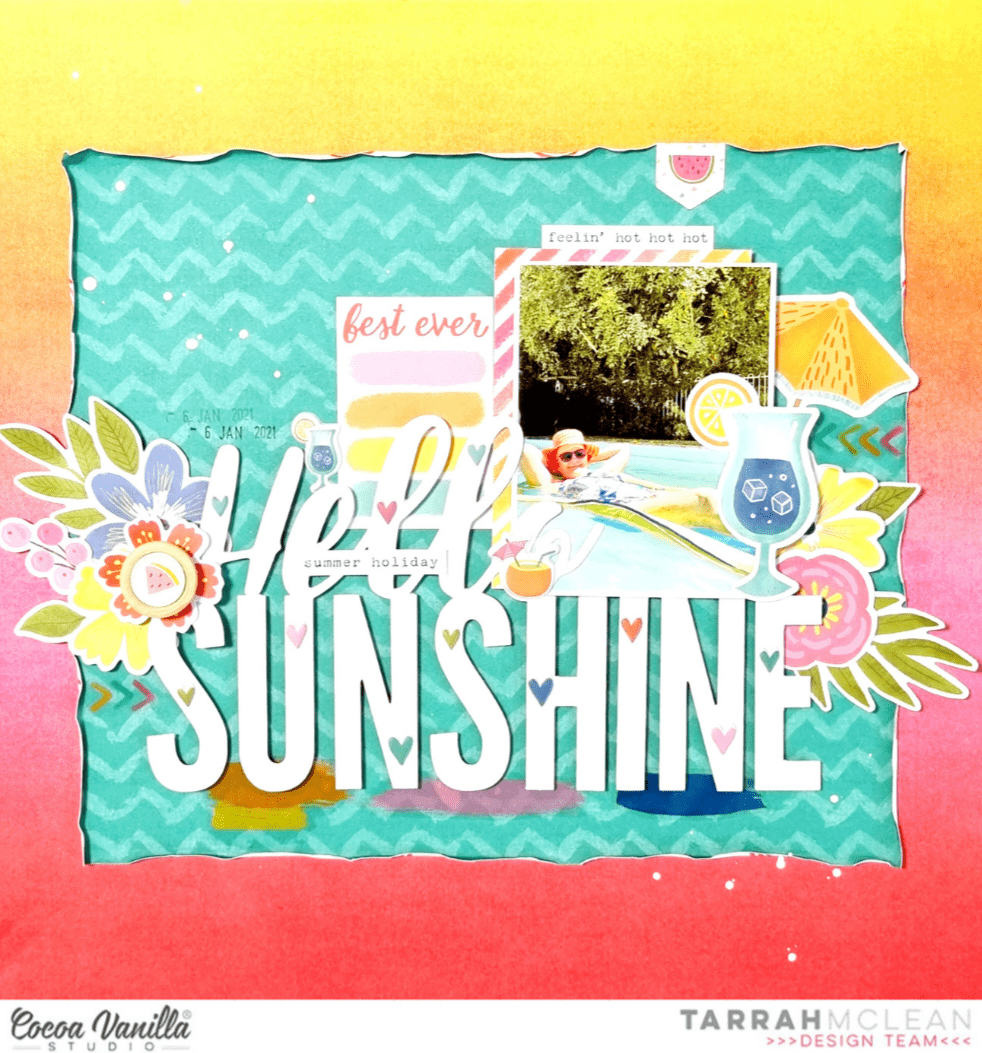
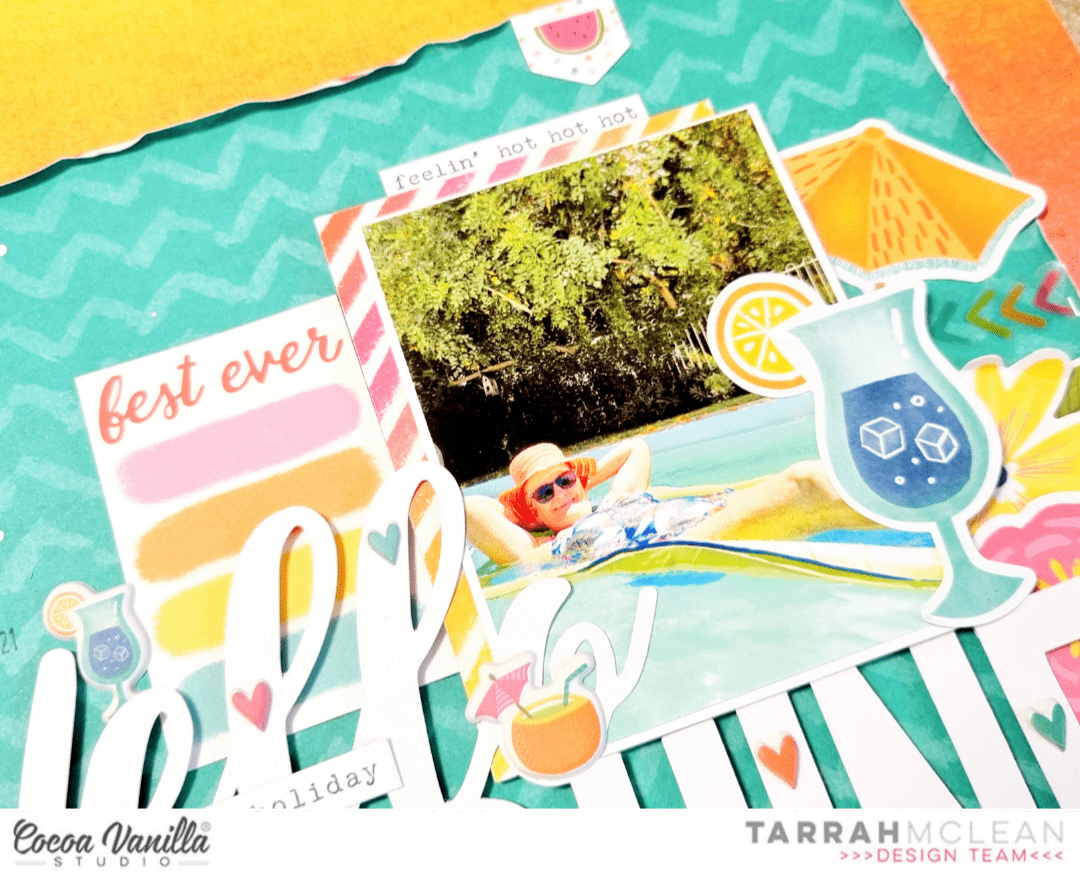
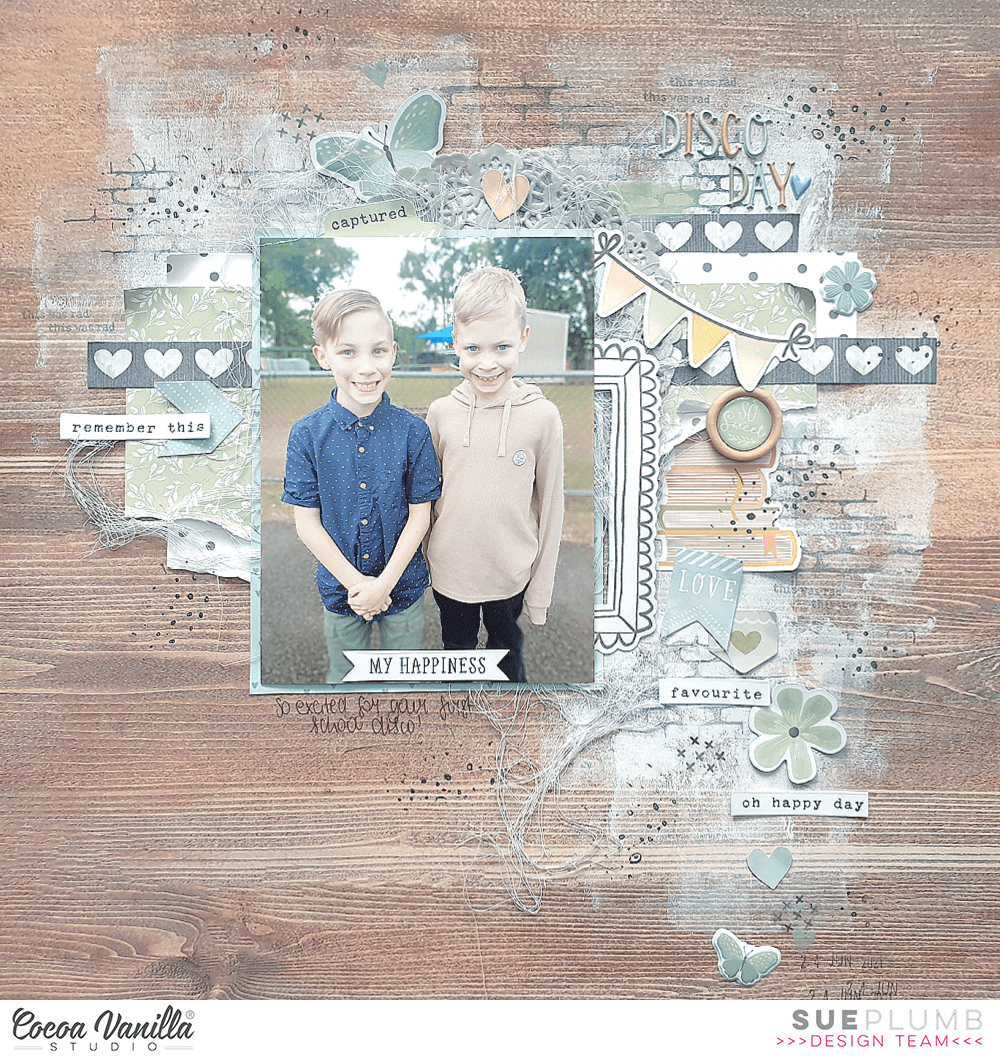
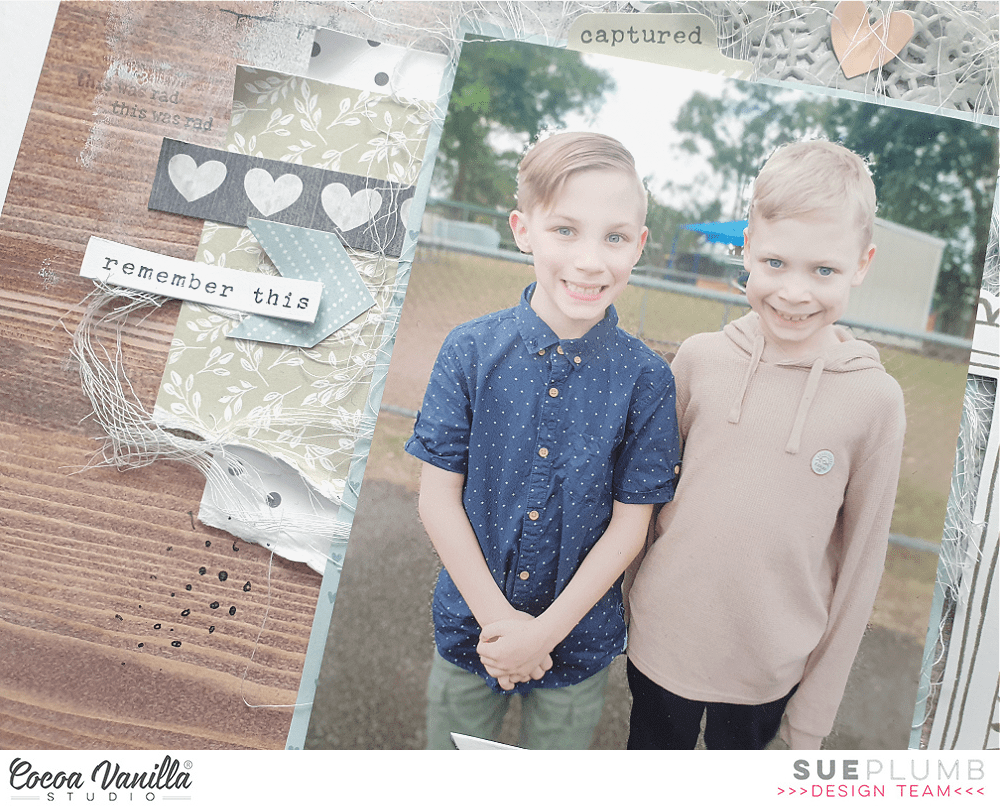
After parts of my pie chart were ready, I glued them down over the white sheet of paper. I also added stitching along each side for more texture. Best spot for the photo is in the middle of the pie chart as the eye is naturally drawned to this point by all the lines. My paper pieces are arranged in rainbow order but you can create anything you want! Use only shades of one color or mix two colors. There are many possibilities. Next step was to decorate everything with lovely flowers from Floral Ephemera Pack. They come in many colors, shapes and sizes, along with some leaves and twigs, that you will be able to make many amazing projects with just one pack of them. I placed my flowers color on color enchancing the rainbow order. I also fussy cut few butterflies from “Take flight” paper and added thm to composition.
![]()
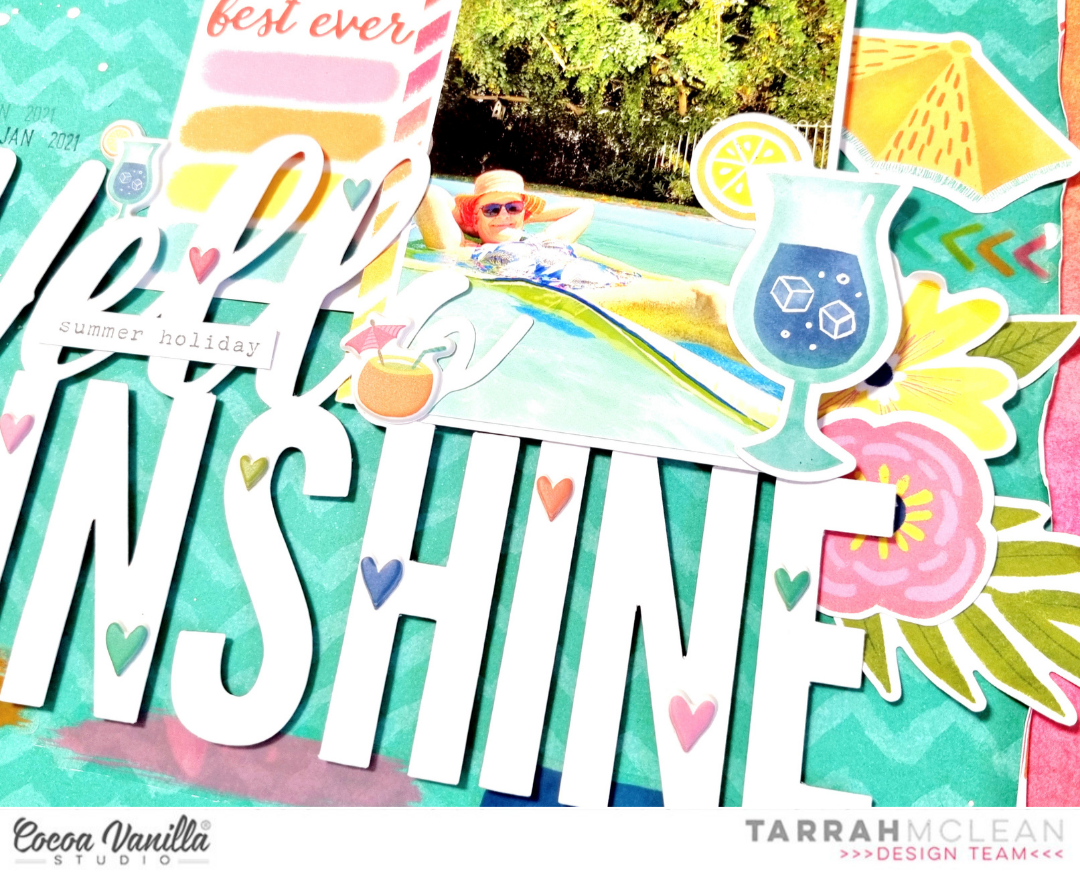
Few more transparent stickers and puffy stickers here and there and a title made with super cute puffy alpha stickers and the page was done. I don’t think I will ever get tired of making projects like this one – full of colors and flowers, with a girly vibe.
That is all for today friends. Thank you so much for stopping by and see you in two weeks!
XO Anna


 I used a Triangle cut file from the Cut to You store and backed it with patterned papers in the Legendary collection. I love that I can find a cut file to for every layout topic/purpose. When documenting layouts of my son I tend to choose shape style cut files like stars!


 I placed die-cuts, flowers and stickers between the butterflies. I loved how that turned out. Look the gorgeous word strips on my layout and the gold title Memories under the butterflies. I splashed white gesso and gold acrylic paint splatters on top of the butterflies and embellishments.I punched some white twigs out of white cardstock and gave them a winter look with the Nuvo glacier. WoW, such a cool effect! I really love the shimmers. Curious to see more details and exactly how I made the layout! Just hop over to the Cocoa Vanilla Youtube channel for the process video!