Today I am thrilled to be able to announce the winners of our recent ‘No Limits’ giveaway. Thank you all for your feedback and kind words about the collection, this one was certainly a mix of pleasure and pain to create but I am so happy with how it turned out and I hope you love it as much as I do. We are almost ready to start shipping to retailers, so keep an eye out at your favourite store. You can also check with our list of retailers on our website HERE, but you will need to contact the individual store to check if they will be stocking it.
Now onto some winners…
Our first lucky winner who will be receiving the ENTIRE ‘No Limits’ collection is…
Congratulations to Jodi!
And our runner-up who will receive a collection kit is…
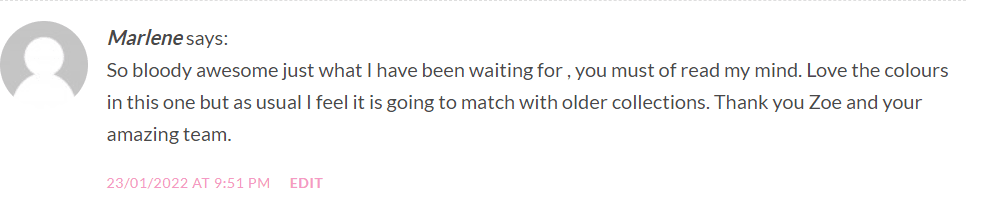
Congratulations to Marlene!
Congratulations to both lucky ladies. (Please keep an eye on your Inbox and Sue will be in touch to organise your prizes.)
To everyone else – thank you so much for your ongoing support. Keep an eye out for ‘No Limits’ hitting the shelves soon!
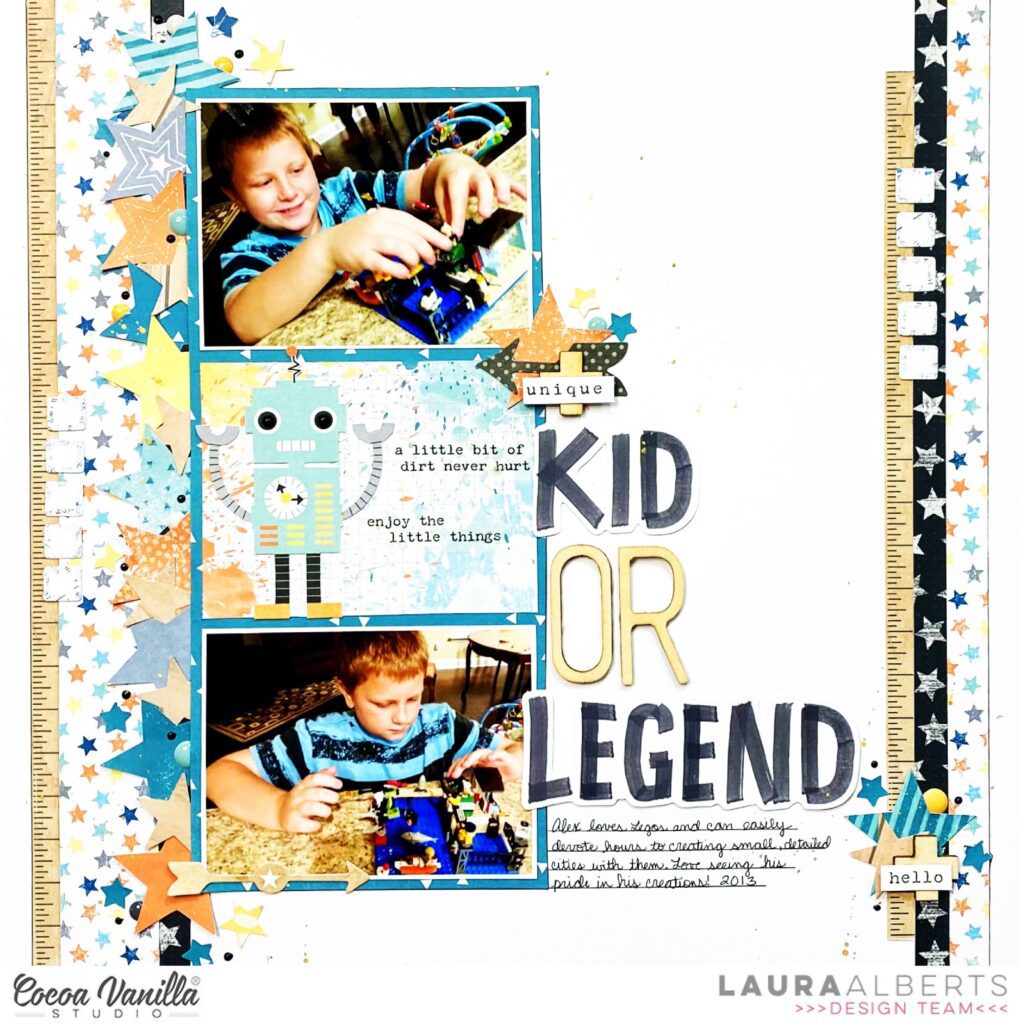
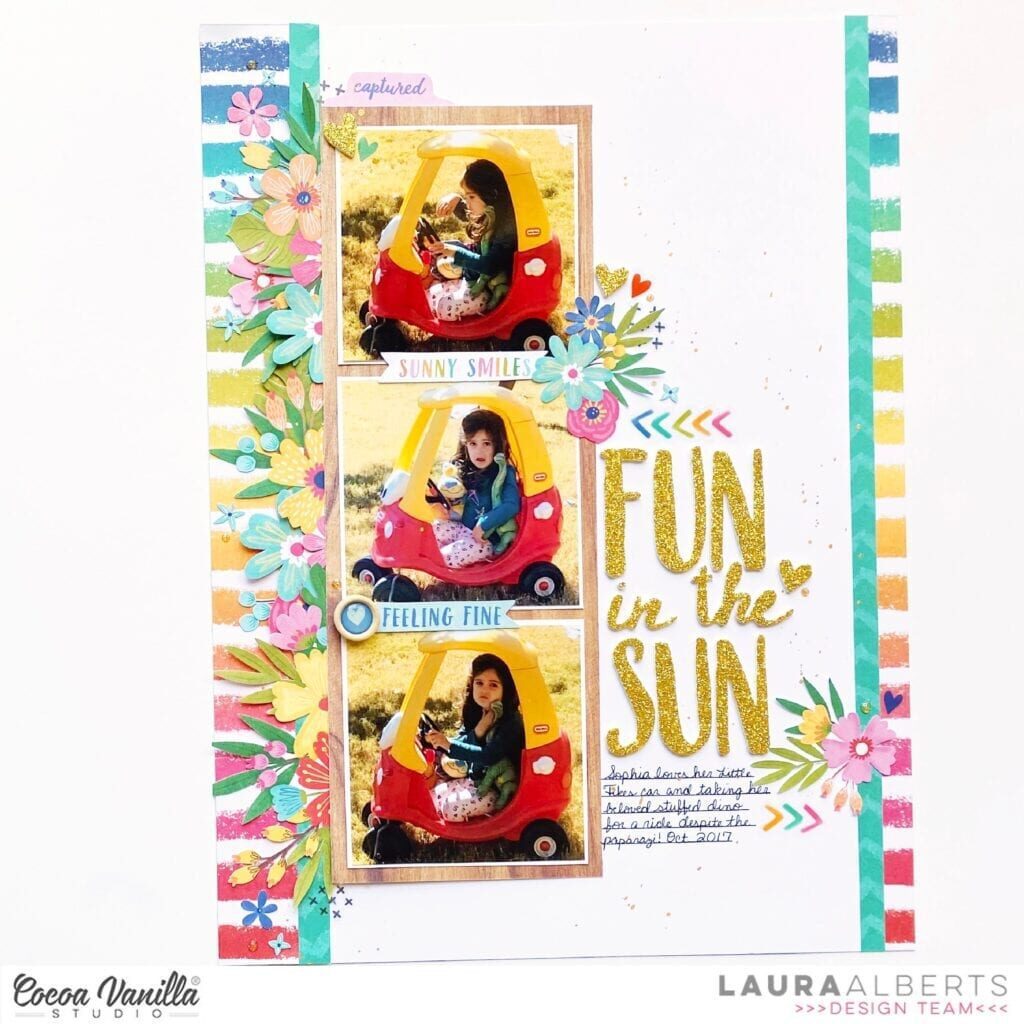
Hey y’all! Laura Alberts back again with a fun boy layout! This month we were challenged to scraplift ourselves and I immediately knew which layout I wanted to lift! This super fun Sunkissed layout featuring my youngest daughter has such a fun vertical design that I definitely wanted to convert to a more masculine style! Using the You Rock collection mixed with a little bit of Legendary, I scrapped these fun photos of my oldest son and his Lego city. He adored Legos for ages and I love finding these gems in my albums!
Like the original layout, I started with strips of paper down the left and right side of this layout. The original was a 9×12, so I’d just used two fairly small strips, but to match the scale of a 12×12, I added a third strip on both sides. The stars are a mix of fussy cut stars from the Starshine patterned paper and punched scraps left over from previous layouts. Since this layout only had two photos, instead of three, I added a decorative cut apart piece in the middle, adding washi strip phrases and the last robot ephemera piece from the Totally Rad collection.
For my title, I used a mix of wood veneer pieces from the You Rock Collection and die-cut titles from Legendary. I’ve tied in these wood veneer pieces with two plus signs that I added to each of my small clusters on the page. These small clusters add a little bit of whimsy to the page, breaking up the heavy linear design with a bit of fun.
A fun detail on this page are the rows of tiny rectangles along each set of borders. These are actually the punched out leftover pieces from an ephemera piece in the You Rock collection that looked like a viewfinder reel! They made a great vertical embellishment on this page. The stars that border the left side of my photos vary in sizes and colors, mimicking the floral clusters along the original layout.
I hope you enjoyed this look at how I scraplifted myself, changing not only the color scheme and theme, but also the size! Such a fun challenge! To see how this layout came together, check out the process video below!
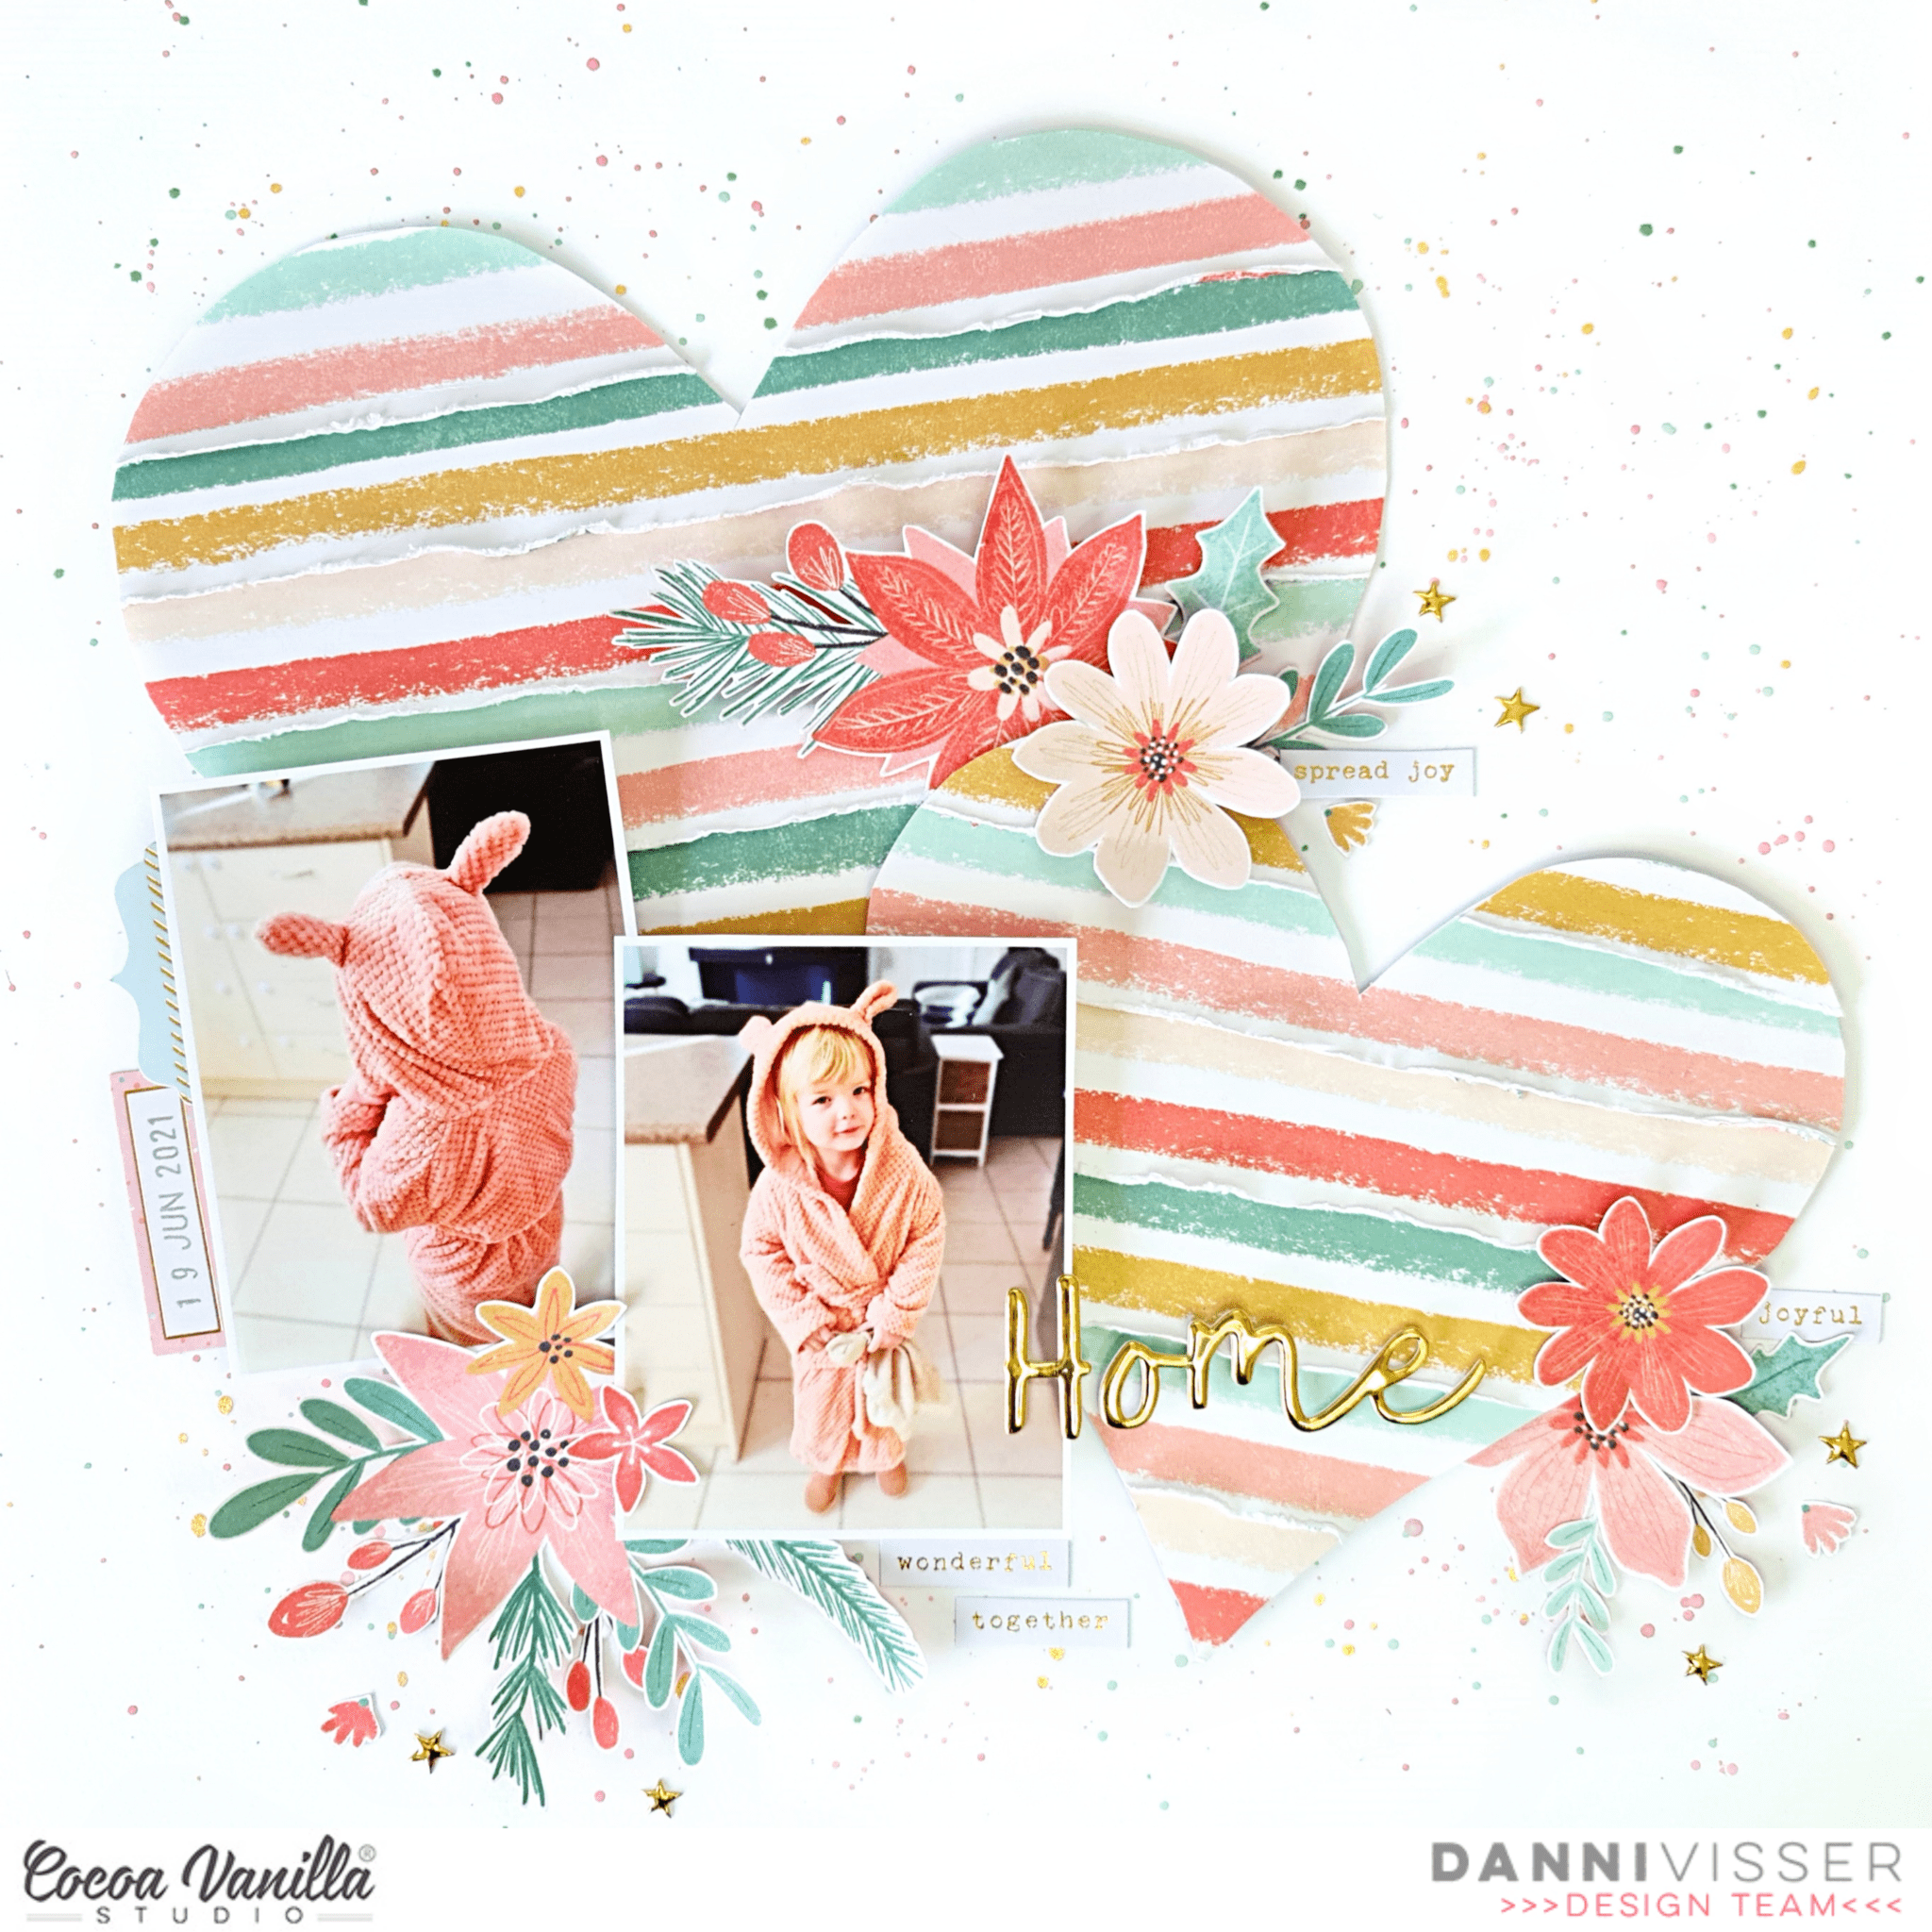
Hello Cocoa Vanilla studio fans! Danni here with a fun take on one of my previous Cocoa Vanilla layouts – that’s right, I am scraplifting myself today! The layout I chose to scraplift is one of my favourites and was quite a fave among the Cocoa Vanilla Studio community as well. I made that layout using the incredible These Days collection which is still one of my absolute favourite collections to date. Here is the layout I scraplifted:
I stuck pretty close to the original layout, using a white background and textured paper hearts using patterned paper. I used the Joyful collection because the colours matched my photos beautifully, and I wanted to use the gorgeous stripes in the Holly Days 12×12 patterned paper. I started by cutting that paper into strips and distressing the edges. Next I cut two large heart shapes from plain cardstock by folding it in half and drawing a half-heart shape on one side, then cutting it out. You could also use an electronic or manual die-cutting machine if you wanted. Once I had my hearts, I layered my paper strips onto them working from the bottom up, adhering them as I went.
Once I had both hearts covered in strips and allowed them to dry, I flipped them over and used the back side of the shape to trim off the excess paper. I used my fingers to fold and roll the edges of the paper strips a bit more, as they had flattened a little in the glusing process and I wanted lots of texture! I jazzed up my background a little by adding lots of ink splatters in different shades of pink and green, plus some metallic gold (I may have gone slightly overboard on the splatters!).
Once the ink was dry I adhered my hearts down and added my photos on top. I added some dimensional foam to the back of my photos, particularly where they hung over the edges of the hearts, because the hearts are quite dimensional with all those paper layers.
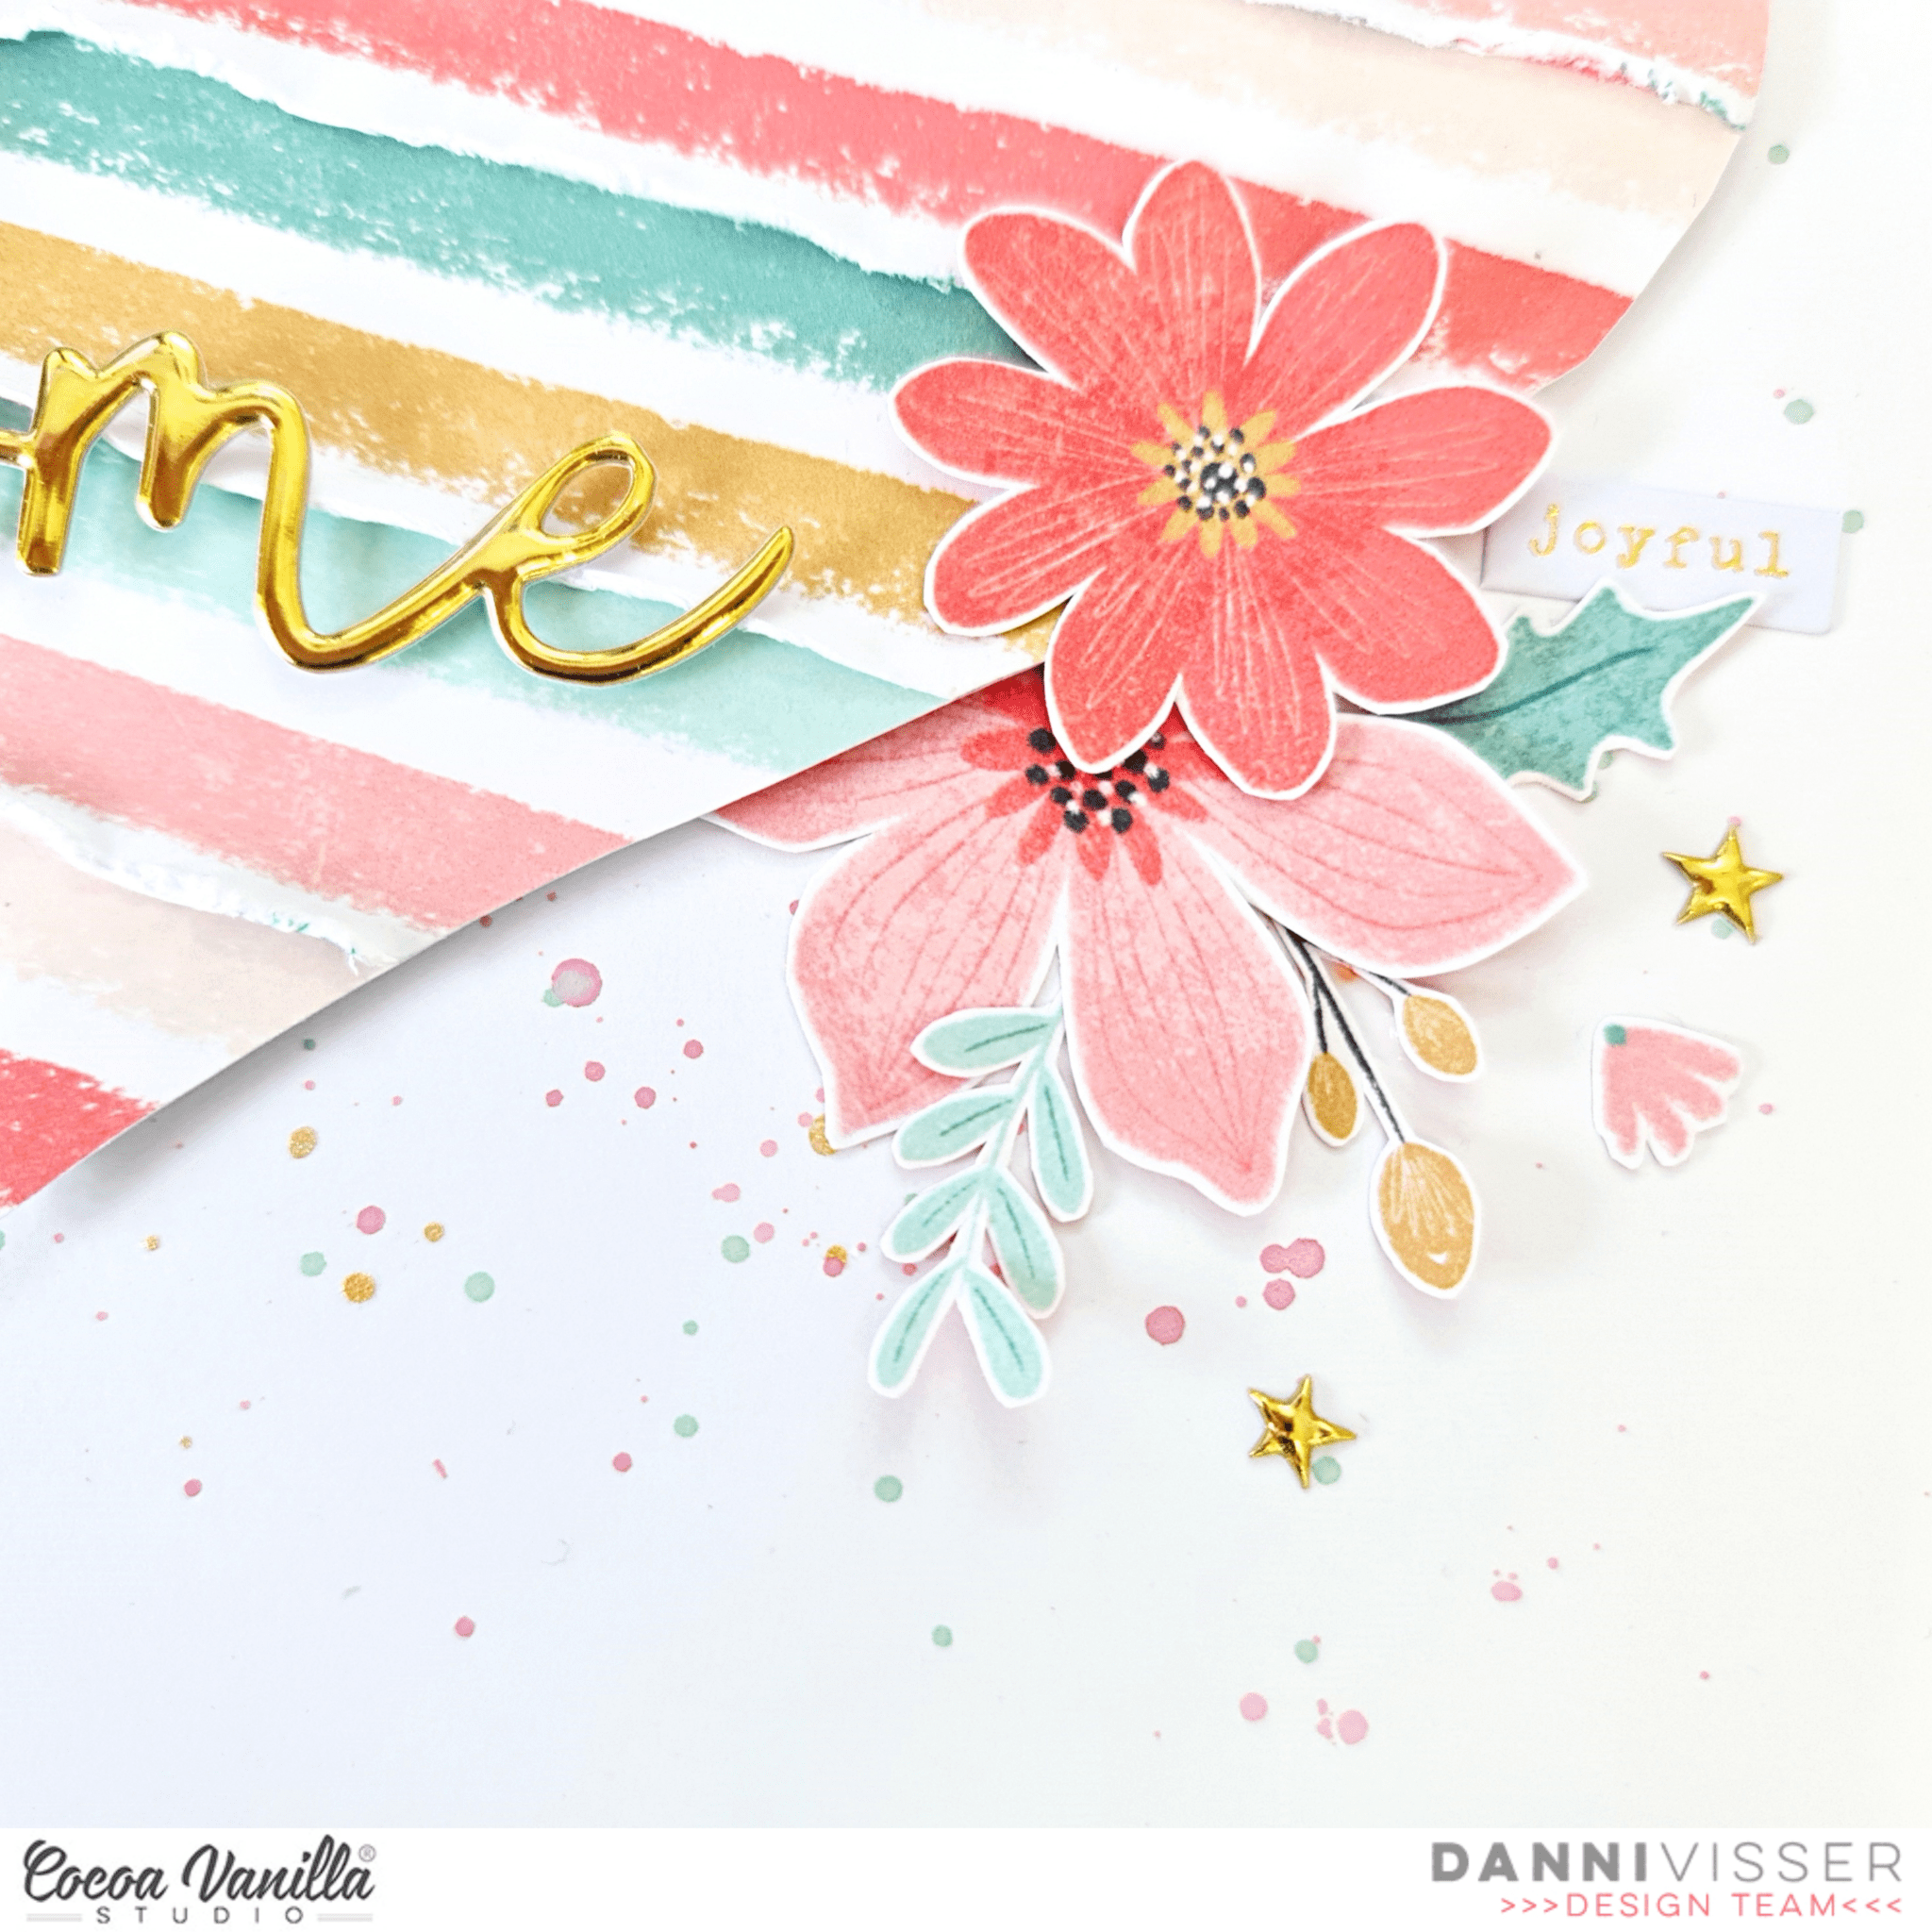
Now I could decorate, the best part. I took ‘Tis the Season 12×12 patterned paper and fussy cut a bunch of the gorgeous florals. I made sure to get some large bunches as well as some smaller flowers and leaves, plus some teeny tiny blossoms and buds to sprinkle. I created three clusters of florals – one below my photos, one on the opposite side of the layout and one between the two heart layers. I tucked all the tiny leaves and sprigs between the blossoms.
I stamped the date onto a label from the accessory stickers in charcoal ink and layered it under my photo slightly. I also added a pretty gold-foiled tab sticker beside it for good measure. You can never have too much gold! From the same stickers I selected three tiny word phrases that were not Christmas-specific (even though Joyful is a holiday collection, this photo was taken in June and it works perfectly for non-holiday layouts). I sprinkled these among my flroal clusters and below my photos.
Finally I used the puffy gold title stickers to add a few tiny gold stars to each of my embellishment clusters, and the title ‘Home’ on top of the smaller heart. I hope you enjoyed this scraplift as much as I enjoyed making it! There is a process video linked below on the Cocoa Vanilla Studio YouTube channel if you would like to watch it all come together. Happy scrapping!
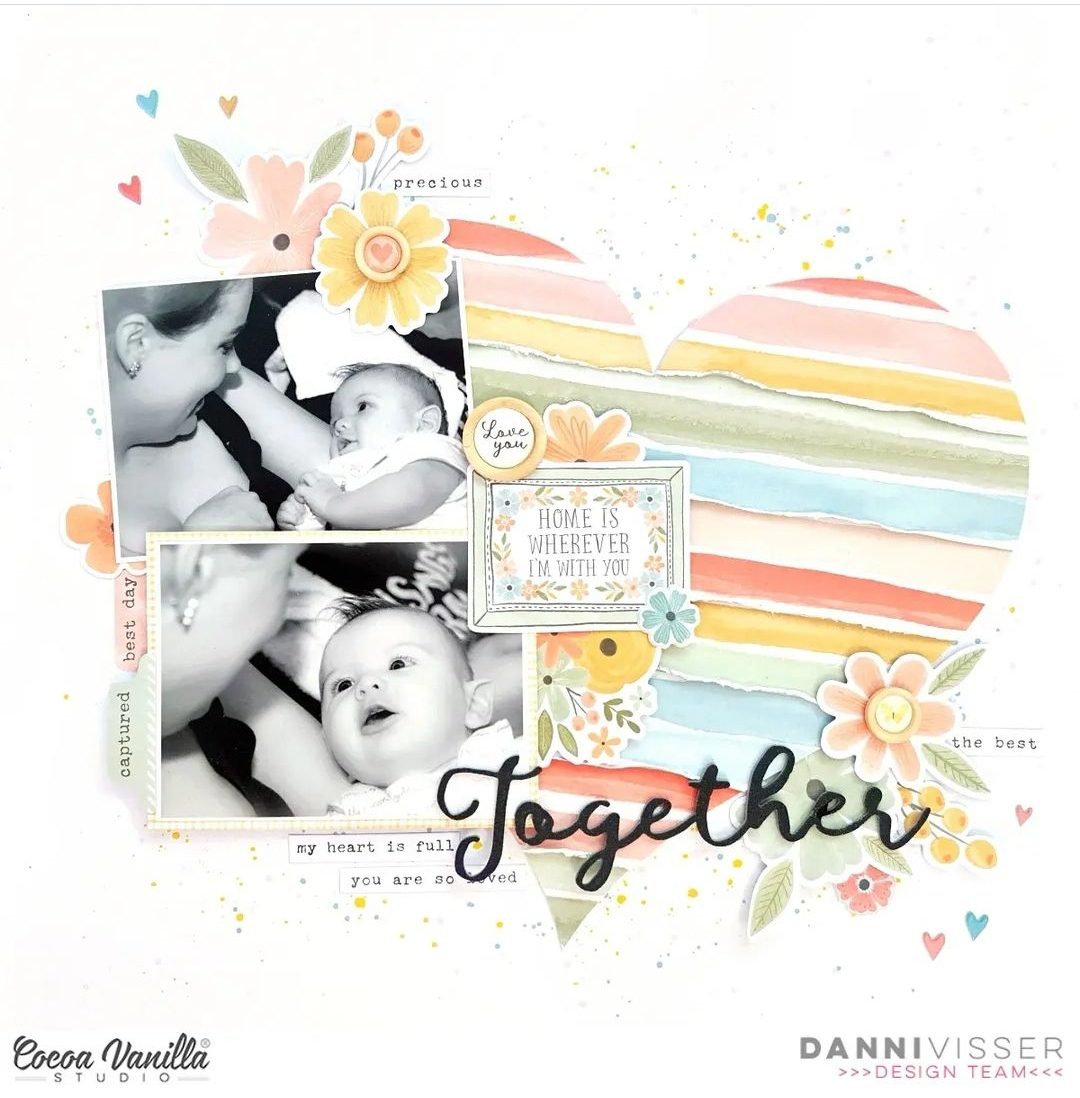
Hello everyone, its Melissa here and after weeks of creating Christmas pages I’m so happy to be back creating with the gorgeous Sunkissed collection. In fact it was a recent photo of my two youngest daughters at the beach that inspired a return to creating with this collection!
This month we are focusing on scraplifting ourselves, which is something I love to do when I’m lost for creative flow! Here is the fun and colourful layout I created.
And here is the original layout that I decided to scrap lift, which I created last year in February using the stunning These Days collection. I didn’t realise that it was created nearly a year ago when I selected it, and I was pleasantly surprised!
The first thing I decided to do was use a cut file, and this one by Paige Evans was perfect! I backed the letters with papers from the A5 Paper Stack.
I had so much fun recreating this layout with bright and bold colours, and I used Distress Oxides to applied with a small stamping block a more intensional position of ink than the packaging technique. I colour matched the colours of inks with the colours of the papers backing the cut file.
For the positioning of my photo I copied the original layout, and the smaller photo was perfect. It lets the cut file standout, but still shines as the main feature of the layout! I embellished with lots of Floral Ephemera, Clear Stickers, gold glitter hearts from the Foam Title Stickers and one Accessory Sticker.
I love how this scraplift turned out, you should definitely try lifting yourself!
Hello creative Paperlovers, Welcome to the Cocoa Vanilla Studio blog today! So happy to see you with this new share. It’s Josefine here with a new mixed media scrapbook layout using the beautiful “Daydream” collection.
The challenge for this week is, scrap lifting myself. I couldn’t wait to make the “Pool Party” layout again. I wanted to challenge myself to use a different collection though and chose the beautiful “Daydream” collection.
I used a white sheet of cardstock. I cut a kitchen sponge into quarters and one of them I’m going to use to stamp with. I moisten the sponge and with a brush I apply the Distress Oxide to the sponge. Then I start stamping on the background. I continue doing this until the stain is big enough.The color I’m using is “broken china” When I’m done stamping with my sponge I make splatters with the distress oxide.
I cut the title “Happy Times” with my Cricut Maker and backfilled it with the beautiful design papers from the Daydream collection. This happy cut file is from Cut To You. I cut some more different design papers to size and placed them behind the photo.
I cut the title loose and placed the photo in between. I placed the cut file and photo in the center of my mixed media background. I picked different die-cuts, butterflies and flowers to made a cluster on the left side of the photo.
I colored the alphas from the cut file with distress oxide. The color I used for the alphas is “fossiled amber” I used my blending tool for blending. I attached the alphas with gold sewing thread. I created splatters with white gesso and used my brush for it. The cute little button “choose joy” is a great addition to this layout.
I hope I was able to give you some great crafty ideas! I had a lot of fun creating this layout with the amazing “Daydream” collection. I want to thank you for stopping by on the blog today. Wishing you a beautiful and creative day. XoXo, Jo
It’s Tarrah back with you today to share a new scrapbook layout featuring the awesome Legendary collection. I have documented a rare photo of myself and my family from a day out together last year.
This week I had the task of scrap lifting myself, I chose my original 8.5′ x 11′ size layout below to ‘lift’ and chose the same collection to work with however I changed the size from the 8.5′ x 11′ into a 12′ x 12′ size.
You can see I added lots of the same elements in the same positions on my new page, including the large banner piece on the left as the main focus and a smaller cluster in the bottom right corner also. I cut the large banner piece from the ‘B’ side of the Explorer paper and popped it up using foam tape. The back ground paper is no longer available in the Cocoa store however the orange paper that the layout is matted on is the ‘B’ side of theOne Way paper.
I placed my photo slightly to the right of the banner piece and placed the wood frame over the top to draw some attention to the photo. I tucked in one of the large stars from the ephemera pack under the top left of the photo. Two more stars were added to the lower part on the right of the banner to continue the stars across the page. I also took the round piece that says authentic and tucked that piece into the left of the photo also. On top of the frame I added the Sweet As sticker from the Accessory sticker pack and adhered one of the arrows from the ephemera pack to the bottom of the frame also.
My title is made up of the Die Cut titlesand I also added one of the words from the Clear Sticker pack. I added a few more of the word and phrase stickers from the Accessory sticker pack, some enamel dots and a few more of the smaller stars from the ephemera pack popped up on pop dots. Lastly I bent the edges of the background paper to add a little texture to my page and I stamped the date stamp.
Thank you so much for stopping by the Cocoa Vanilla blog today. I hope you enjoyed my layout as much as I enjoyed creating it?! Have you ever scrap lifted yourself? You should give it a go if you are stuck for an idea when creating a page. It’s lots of fun!!
Hi everyone, it’s Sue Plumb here today to share my latest design team project with you.
This week we are doing a scraplift theme with a twist, as the team have been tasked with scraplifting ourselves! I have to admit, it was a great excuse to look back over some of my Cocoa Vanilla projects from years gone by, but the task of choosing one was a bit like choosing a favourite child. In the end I decided on a layout from back in November 2018. It was created for the “Throwback Thursday” feature and I used the ‘Life is Beautiful’ collection, which was actually released back in Cocoa Vanilla’s first year back in 2015. This collection remains one of my all-time faves, and I still have some of it lovingly hoarded in my stash.
Here is my original layout…
For once, I actually scraplifted a layout and stuck pretty much to the original design. This was partly because I wanted to see if it would hold up to the test of time, but it was also because I was sick with COVID and was lacking in mojo and energy. So this scraplift couldn’t have come at a better time for me.
As you can see, I stuck very closely to my original design. I chose to document a photo of myself and my family in front of our new house that we recently purchased, and I knew this collection would be perfect for it. In particular, it was the Neighbourhood paper with all the sweet little houses that I had in mind. I combined this with the spotty print of the Take Flight paper and some strips of the pretty orange leafy pattern of the Wall of Fame paper as the base of my design. To add texture, I lightly distressed the outer edges of my papers.
With papers in place, it was time to start working on the other components. I decided to add two elements that I include on most of my current layouts that were missing from the original page – frayed gauze and a paper doily. I opted for a dark charcoal doily to tie in with the black of my photo, and I layered them on the background before sticking my photo on top.
Alongside my photo, I added the no place like home 3×4″ card from the Pocket Cards pack; whilst the oh happy day quote along the bottom edge of the photo was from the cut apart The Good Life paper.
I used pieces from the Floral Ephemera pack as the basis for my embellishment and title clusters. I added foam tape behind some of the flowers as I layered them, and I also bent the petals up away from the page to add dimension. In the cluster around the bottom left corner of my photo I added one of the Wood Epoxy Buttons to mimic the flair button from the original layout.
For the title cluster above my photo, I used the word home from the Foam Title Stickers, flowers from the Floral Ephemera pack and the small sweet flag from the Die Cut Ephemera pack. Being the butterfly lover I am, and also as a nod to all the butterflies on my original page, I couldn’t resist adding one of the butterflies (also from the ephemera pack).
A few finishing touches included a label from the Accessory Sticker sheet for my journalling and the date; small hearts from the Puffy Stickers pack added to my photo; and some small splatters of black ink around the page.
If you would like to see exactly how this page came together, you can watch my process video here:
I would highly recommend scraplifting one of your own layouts if you are ever stuck for inspiration – just pick one you love and go for it! Stay tuned over the coming days for more scraplift inspiration from the team.
It’s Sophie on the blog today and I am sharing a soft wintery layout created with the lovely DayDream collection. It’s my favorite collection for Winter pages!
I used the Sweet Serenity paper for my background.
I created two little mountains out of white cardstock, distressed the edges and added a simple backstitch on them with white embroidery floss.
I had this beautiful photo of Sabrina playing outside with our dog. Since she is looking to the right, I placed the photo, with tissue paper behind it, on the left side of the page.
I selected numerous beautiful floral embellishments from the Die Cut Ephemera pack, and also fussy cut a few from the Garden Variety patterned paper, and tuck most of them behind each mountain. They match the background patterned paper beautifully!
My title comes from the Die Cut Titles pack. I added foam adhesive behind it.
I created a little cluster on the top of the page with a piece of teared paper, die cuts and a few stickers from the Accessory Stickers sheet (first sticked to velum paper, fussy cut and mounted on foam dots).
Finally, I added a few crystal gems from my stash, printed my journaling in light blue on white cardstock, created paper strips with it and stamped the date.
Here are more close-ups:
This page has come together in no time at all. I am so happy with the result! The beautiful floral die cuts helped quite a lot!
I hope that I could inspire you with this page today! If you have snow in your country, try to use this beautiful collection with your winter photos. I am sure that you will love the result!
Hello Cocoa Vanilla Studio friends! Danni here with my final Christmas layout for the year (until the festive season rolls around again of course!) and naturally I had to use the amazing Joyful collection to round out my festive scrapping.
I still had a bunch of the gorgeous Christmas trees from this collection left, both die cut ephemera and chipboard stickers, so I decided to make a little tree scene using these along with some patterned papers. I started with Deck the Halls 12×12 patterned paper as a base for my layout, because I knew all those tiny trees would be a great backdrop for my embellishment trees. I laid down a layer of white acrylic paint in the centre of the page to soften the pattern and allow my elements to stand out better.
To finish off the background I added a bunch of ink splatters in forest green, a soft red and lots of bright metallic gold. While my paint and ink mediums were drying, I went ahead and hand-cut three tree shapes from the A5 paper stack papers in different shades of green. I did this by folding rectangles of paper in half lengthways, drawing a tree outline on the outside fold in pencil, then cutting out the shape. Super easy!
Next I arranged my trees on the background where I liked them, then sewed a line of machine stitching straight down the middle of each, along the fold line, to anchor them to the page securely and add some texture. I tucked my die cut ephemera and chipboard sticker trees in amongst the paper trees, then arranged my three 3×2’ photos of Christmas morning along the bottom of the cluster with dimensional foam to lift them up.
For my title I took the beautiful gold foiled ‘Christmas’ title piece from the chipboard stickers and added it along the bottom of my photos. I finished it off with some kraft stickers from my stash and a tiny word phrase from the accessory stickers. I also added two more tiny words from the accessory stickers around my photos.
I wanted to decorate my little trees, so I took the puffy stickers and added some tiny gifts beneath the ephemera trees, some candy canes and leaves to the paper trees and added some gold stars from the puffy gold title stickers. Finally, I topped my trees with a gold chipboard sticker star and some tiny wood epoxy buttons.
I hope you like this layout today – I am thrilled to bits with how it turned out. There is a process video on the Cocoa Vanilla Studio YouTube channel linked below if you would like to watch it come together. Happy scrapping!
Hi y’all! Laura Alberts back again with a Christmas layout with the gorgeous new Joyful collection. This layout features a large 5×7 inch photo of my youngest daughter, so I opted for a simple L-shaped design to keep the focus on that lovely smile of hers! I cut two large strips of the Holly Days patterned paper and then two smaller strips of the Feeling Festive paper. Running these strips both vertically and horizontally creates a perfect place to tuck my photo where they meet.
I fussy cut an entire 12×12 of Tis the Season patterned paper for these stunning florals, even the florals that run off the edge. I use these half pieces for layouts just like this one to tuck behind the photo! This helps me get the most from my fussy cut florals without having to hide half of a floral behind the photo. On two of the florals, I added wood buttons for added texture and dimension on the page. I filled in most of the large florals’ centers with gold Nuvo Drops for a little extra shine!
For my title, I layered the ephemera ‘Jolly’ over my largest floral cluster. Underneath of the floral, I tucked a ephemera frame for added detailing. My favorite part was adding these tiny little stars from the gold puffy word phrases. They gave the perfect scattering detail to the clusters!
If you want to see how ‘Jolly’ came together, be sure to check out the process video below! I hope this layout inspires you to try scrapping a large photo too!


 The challenge for this week is, scrap lifting myself. I couldn’t wait to make the “Pool Party” layout again. I wanted to challenge myself to use a different collection though and chose the beautiful “Daydream” collection.

 I cut the title loose and placed the photo in between. I placed the cut file and photo in the center of my mixed media background. I picked different die-cuts, butterflies and flowers to made a cluster on the left side of the photo.


