Love Our Story | Storyteller | Kellie Moore
Hey friends and welcome back to the Cocoa Vanilla blog.
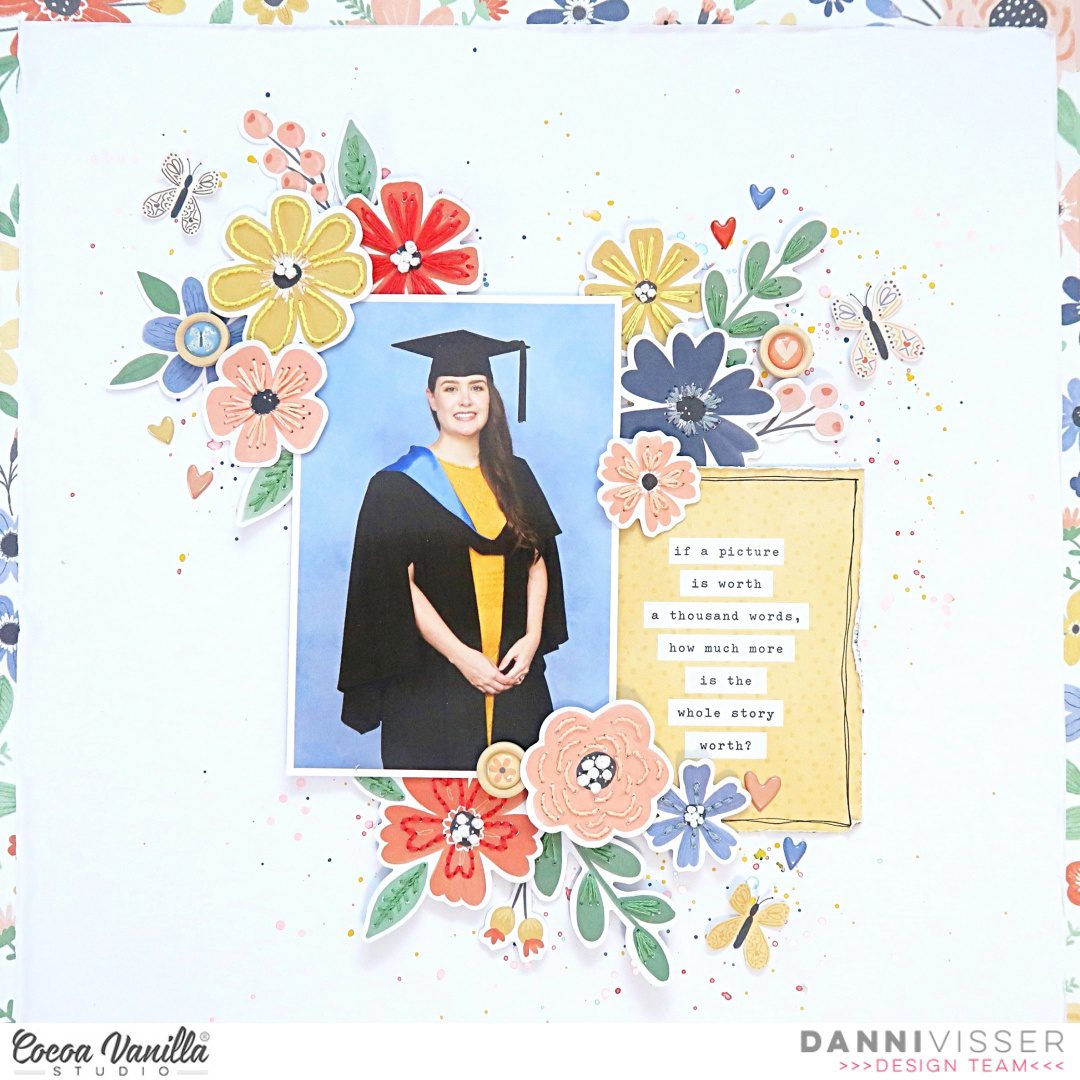
Today I am back to share my second page using the new Storyteller collection…. here it is….
![]()
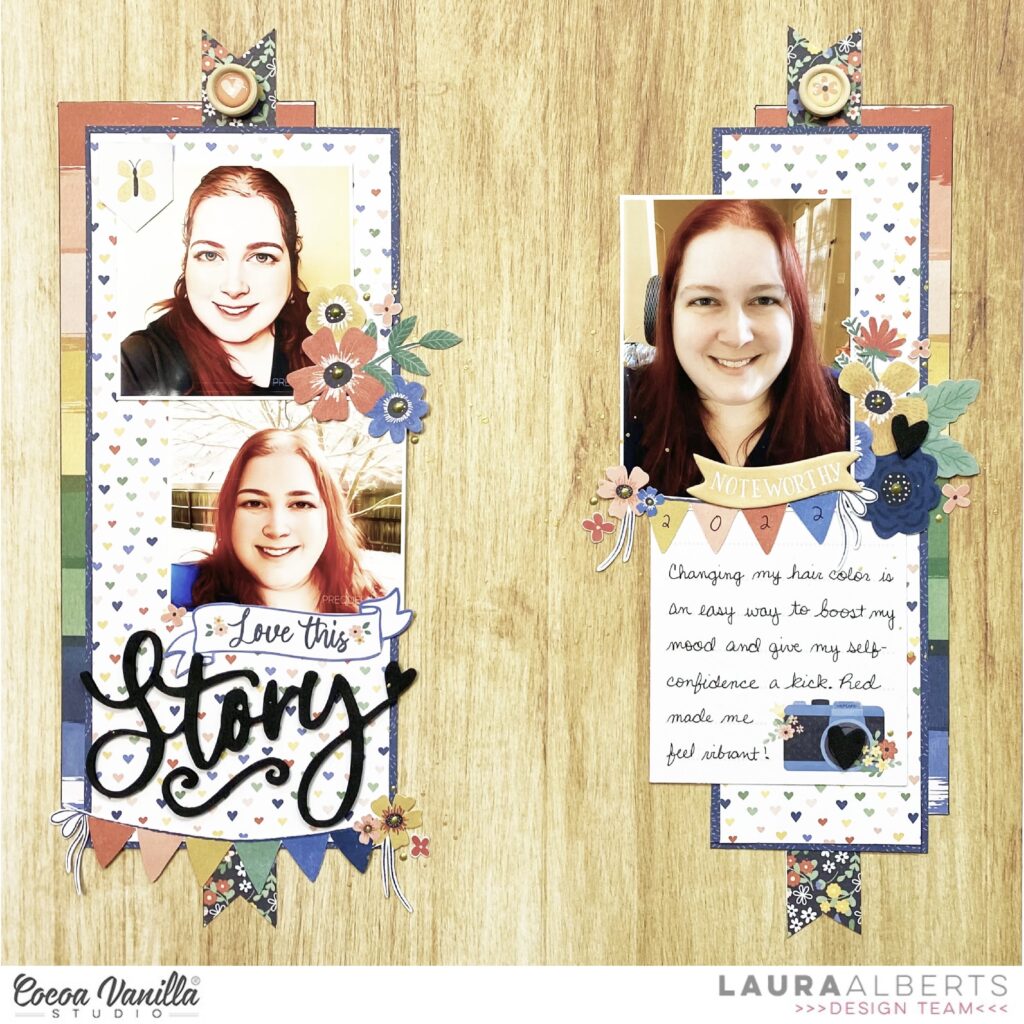
When I sat down to create, I was really drawn to the script chipboard words “Love Our Story” so I decided that was what I was going to use for the title of my page. I substituted the ‘our’ word for some smaller alphas from my stash as they fit better with my design.
![]()
The photo I am scrapbooking is the our first photo as a family of 5….and I really do love our story….. Ollie was the icing on our cake.
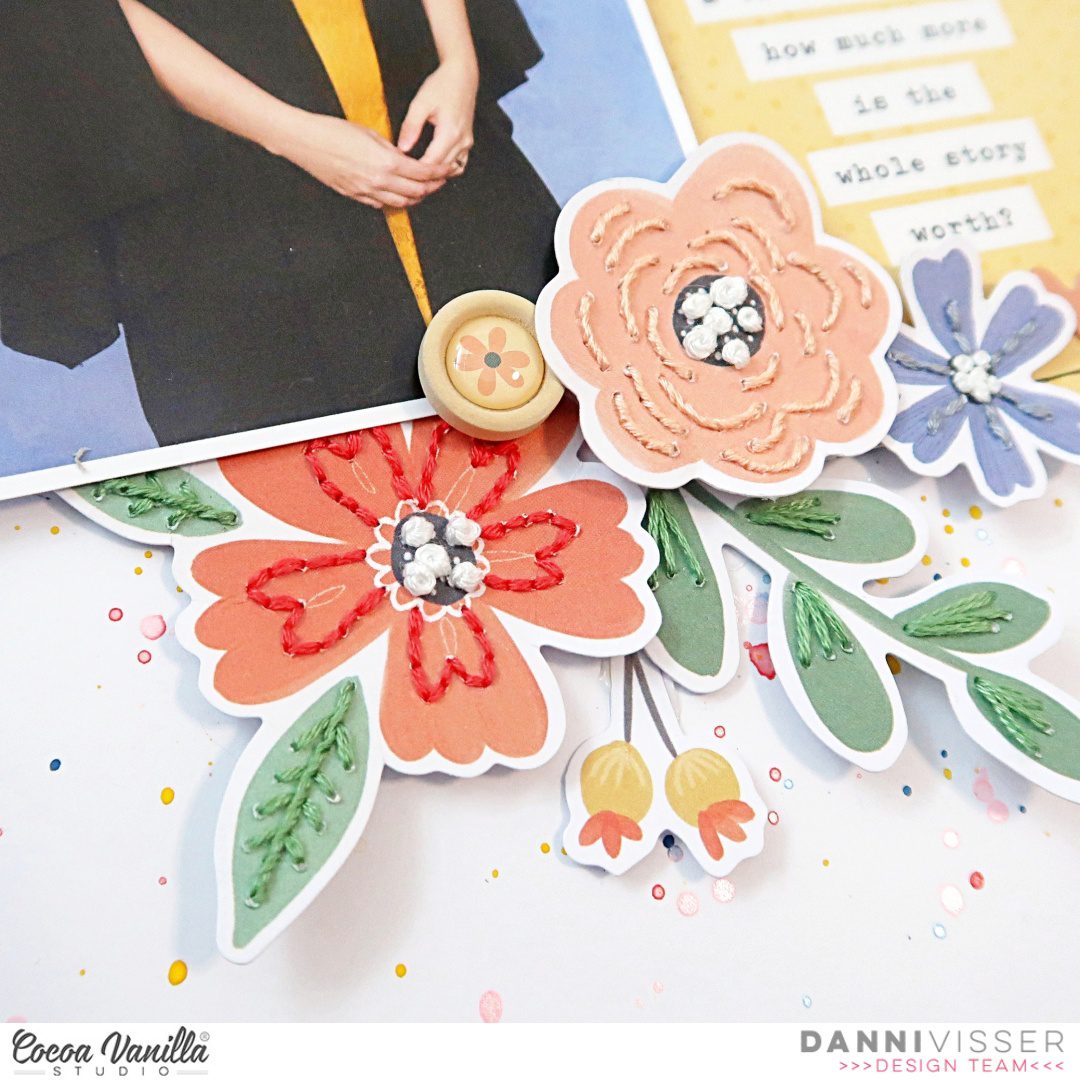
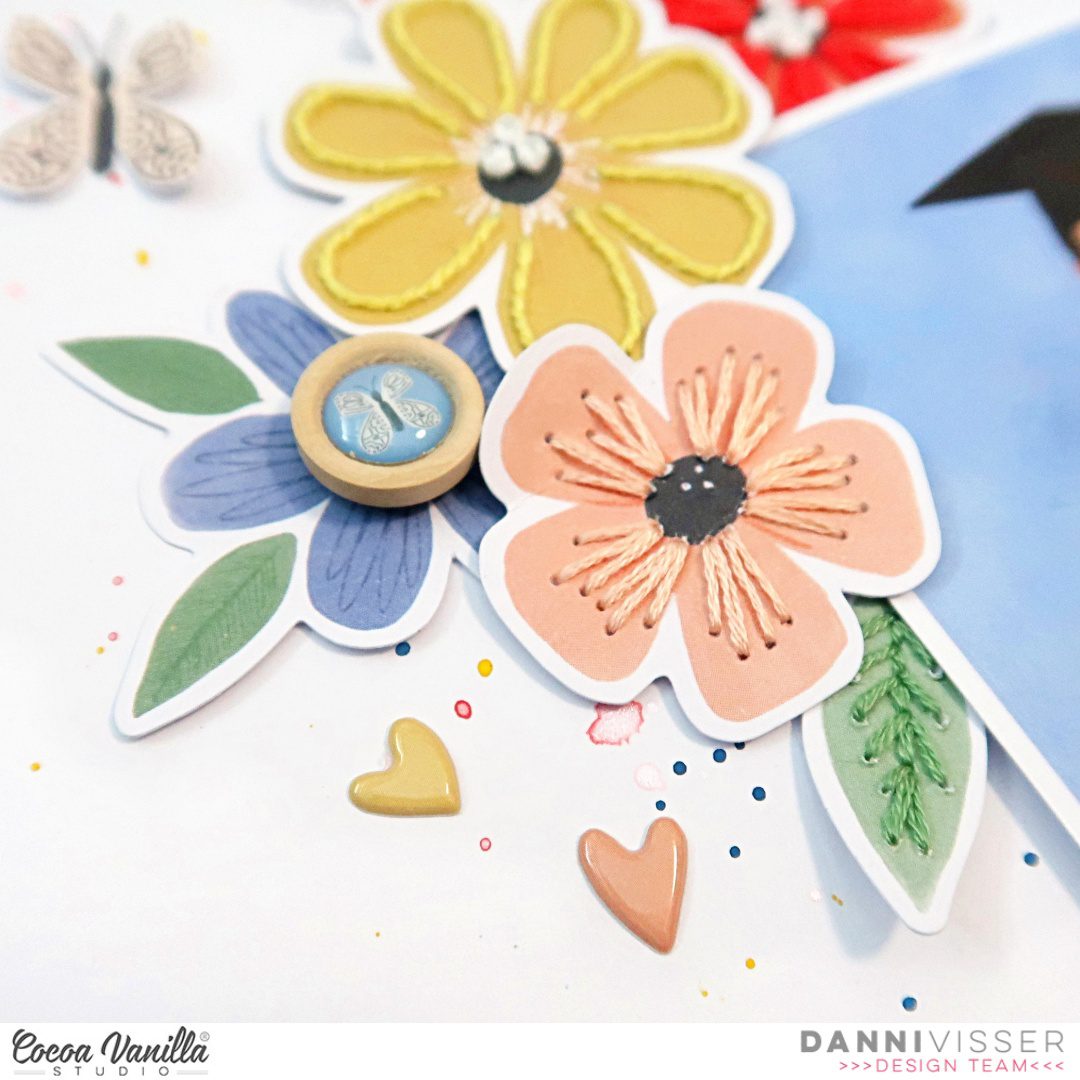
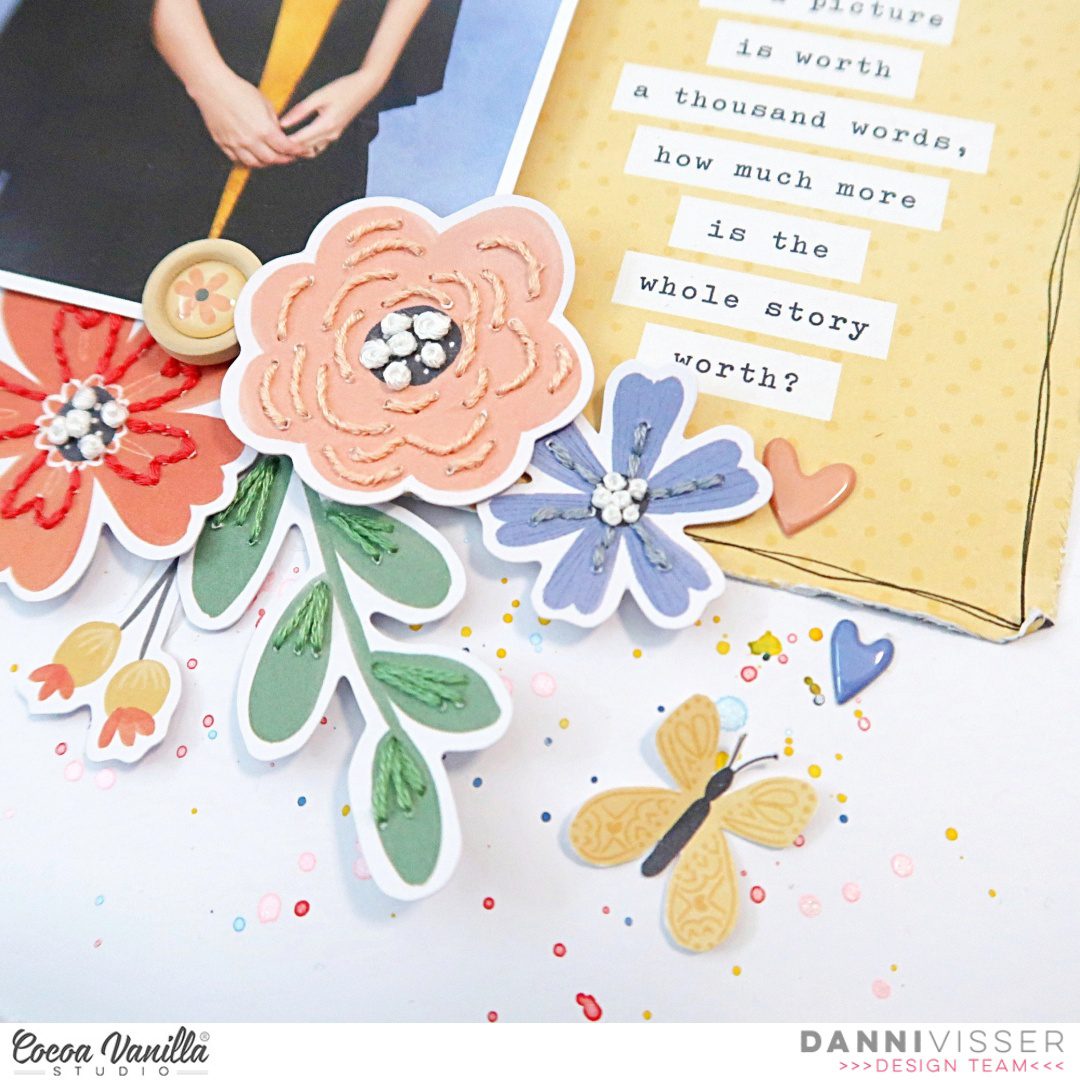
Once again I have been loving hand stitching on my pages…. so I diecut some hearts from the A5 paper stack in three different sizes and layered them up, adding the stitching which brings so much texture to my page.
![]()
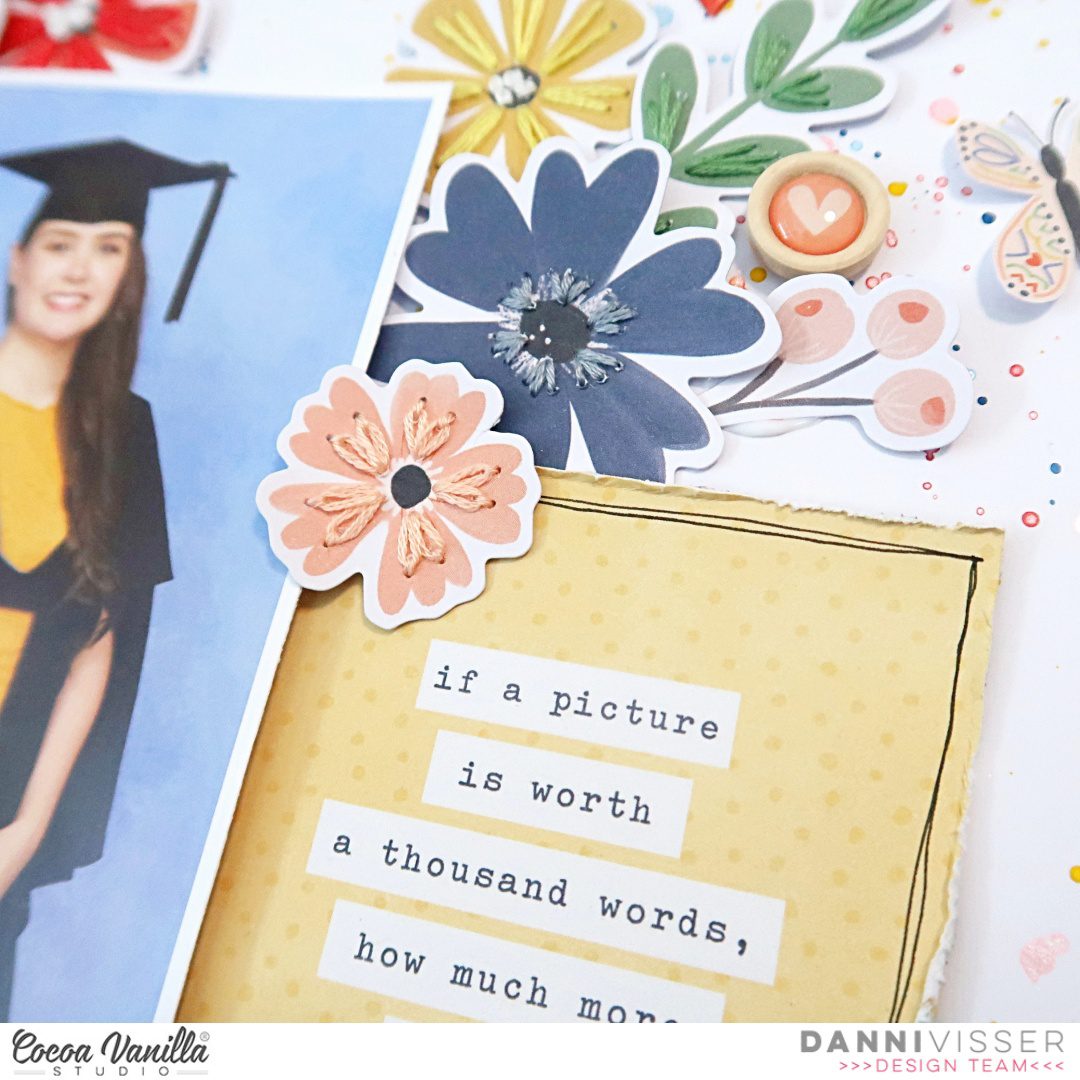
I always love the woodgrain papers in CVS collections, so today I used the ‘Cross it Off’ paper as my main piece… neutral but effective in popping off all the colours I was using…to add more detail I used a scalloped border punch to add strips down the sides from the navy paper found in the A5 paper stack.
To finish off my page I added some butterflies from the ‘Fly Away’ patterned paper, a camera cut from one of the ‘Pocket Cards’ and some word phrases from the ‘Accessory Sticker Sheet.’ I thought the bottom of the page was a bit empty so I cut out the hearts from the border strip found on the ‘Story Time’ paper and made a strip along the bottom of the page combining them with the ‘Puffy Stickers’.
![]()
That’s it from me today, I hope you enjoyed this page and it has inspired you to get creating with this GORGEOUS Storyteller collection.
Thanks for popping in!
Kel x


 I placed my photo slightly to the right of the page using craft foam to add dimension. I layered some papers from the A5 paper stack underneath the photo and distressed the edges slightly to add some texture and to help make the photo pop! I searched through the pocket cards and found the perfect one to suit the photo of my son as photographer! I used craft foam to adhere the pocket card to the left of the photo. When I am placing elements on my page and I am not 100% certain about their position, I will mostly always only use a very small amount of adhesive in case I need to reposition anything or add an extra layer underneath. Once I am happy with where everything ends up on my layout, I add extra adhesive for reinforcement.
 Now I have the main focus of the layout sorted out, next I added a title. I went through the gorgeous black Foam Titles and chose the word ‘Smile’. I placed this word at the bottom of the pocket card to help tie the photo, pocket card and title together. At either end of the photo and pocket card, I tucked in some pretty flower ephemera pieces, I also added the little piece that says ‘Snap Happy’ to the right of my photo.
 On top of my photo, I adhered the ephemera piece that says, ‘The Story Behind the Photo’ and also a small phrase sticker from the Accessory Sticker sheet in the top right corner. I also added some more of the phrase stickers above the photo and below the photo, these are great additions to a page to help tell a story! Above the pocket card, I added the camera die-cut using craft foam. From this point, I decided to add my embellishments in a tone on tone look…I took some of the super cute heart die-cuts, enamel hearts and wood epoxy buttons and placed them on their corresponding colours.


